If your or the kids’ necklaces are a tangled mess, you’ll love this simple craft idea! Make some order from the chaos with this easy DIY wall necklace organizer idea. All you need is a cedar plank from the grocery store, some paint and finishing nails.

Necklace Tangles Everywhere!
What girl doesn’t love to accessorize? Well in my daughter’s case, she has so many dress-up pieces that she just doesn’t even know what she has! All of her necklaces and bracelets have been piling up at the bottom of a drawer in our washroom. And since Spring is just around the corner, what better time to start organizing. I only used materials from around the house to create this handy personalized organizer.
Materials Needed for this Necklace Organizer Idea:
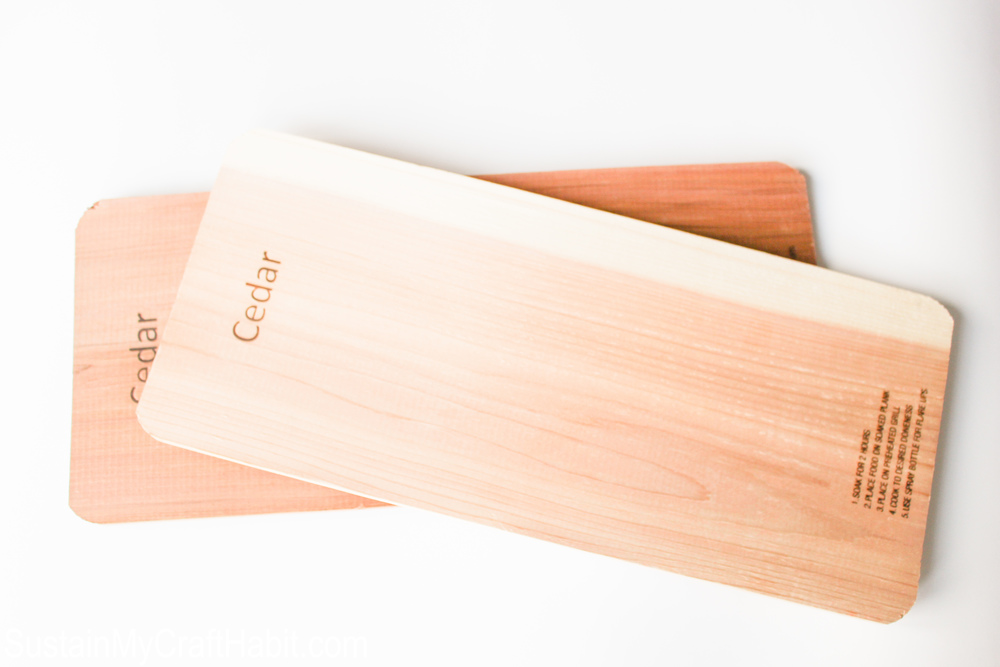
- 2x Cedar Plank (the kind you would use to BBQ fish)
- Small can of trim paint and small paint roller (if desired)
- Alphabet Stencil
- Scotch Tape
- Kid’s Crayola Paint and 1x Paint Brush
- Carpenter’s Glue and Clamps
- Carpet Nails and Hammer
- Ribbon – approx. 1 ½ yards
- Hook and wire set for hanging to wall


How to Make a Handy DIY Necklace Organizer for the Wall:
Paint one side of cedar plank using a small roller for a smooth finish. I chose to paint my plank white because it matches my daughter’s bedroom decor AND because I had leftover white trim paint. It took 4-5 coats of paint before all surfaces were evenly coated. I left the back side unfinished.
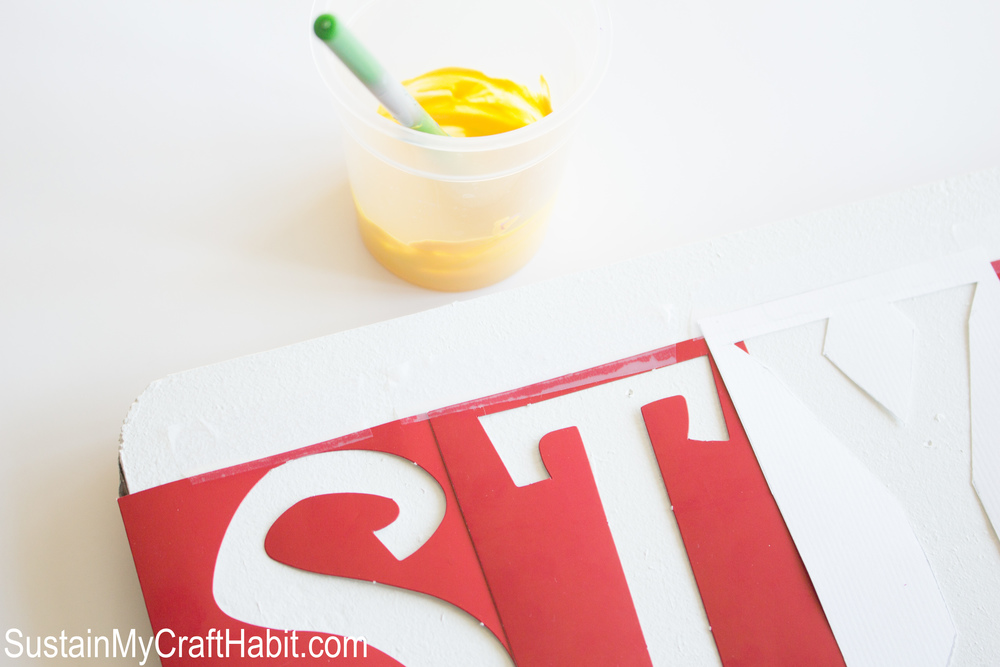
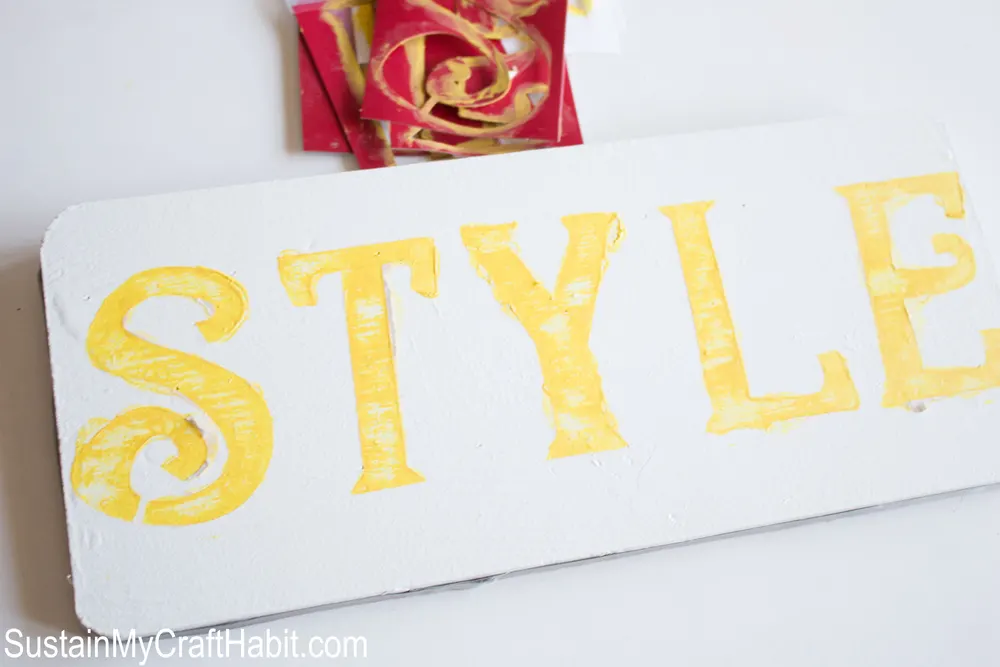
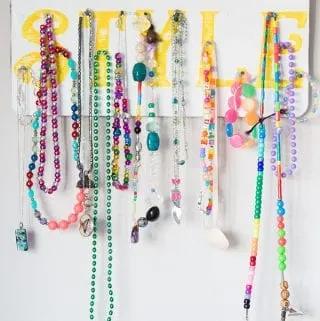
Decide on one word to stencil onto the plank. In my case, I chose the word STYLE. It fit perfectly on the plank!
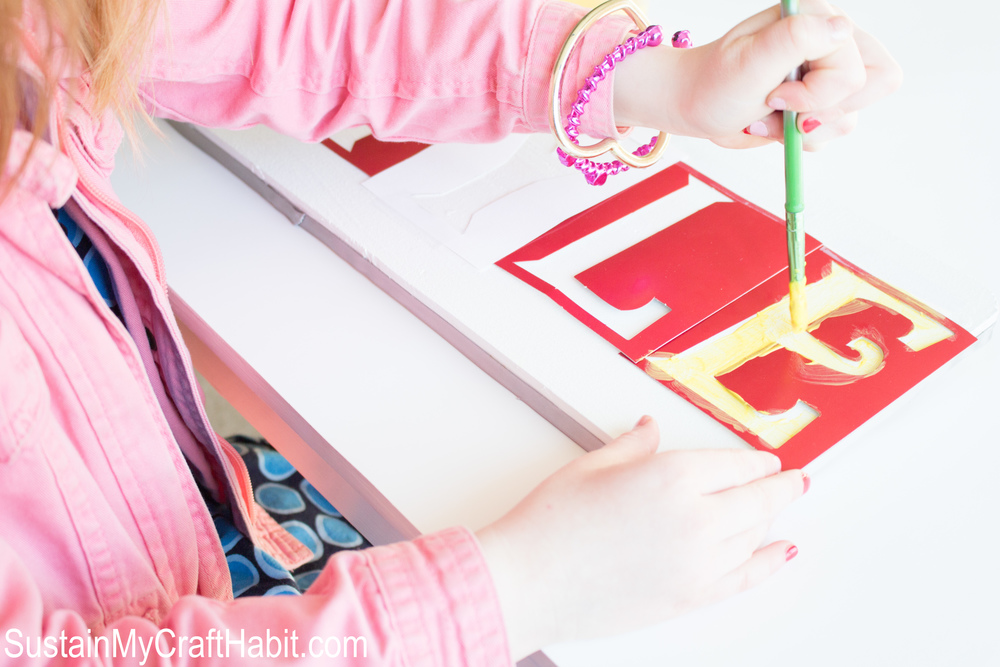

Tape stencils onto plank and begin painting the lettering onto the plank. I enrolled the help of my daughter:) Using the Crayola paint, I found several coats were needed.
Remove stencil and let dry. Some minor touch ups were needed.

Glue two planks together and clamp in place. Let dry overnight.
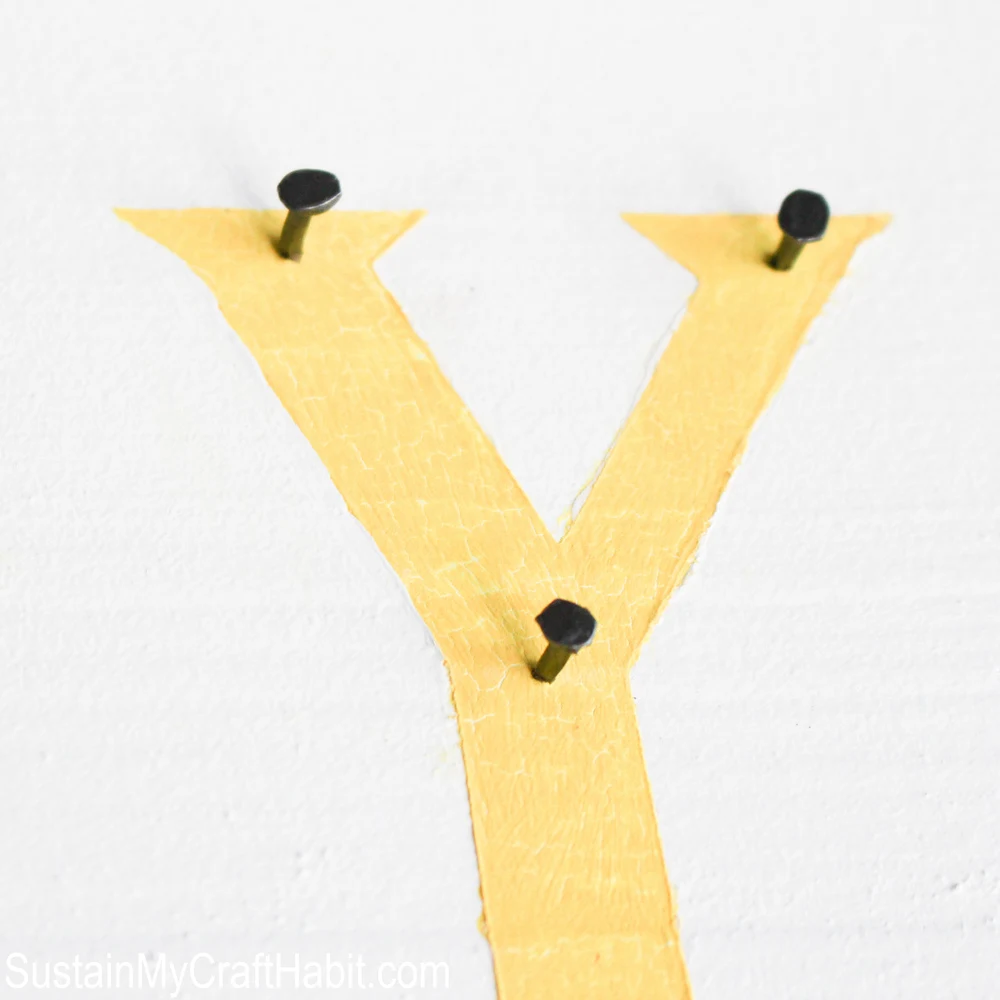
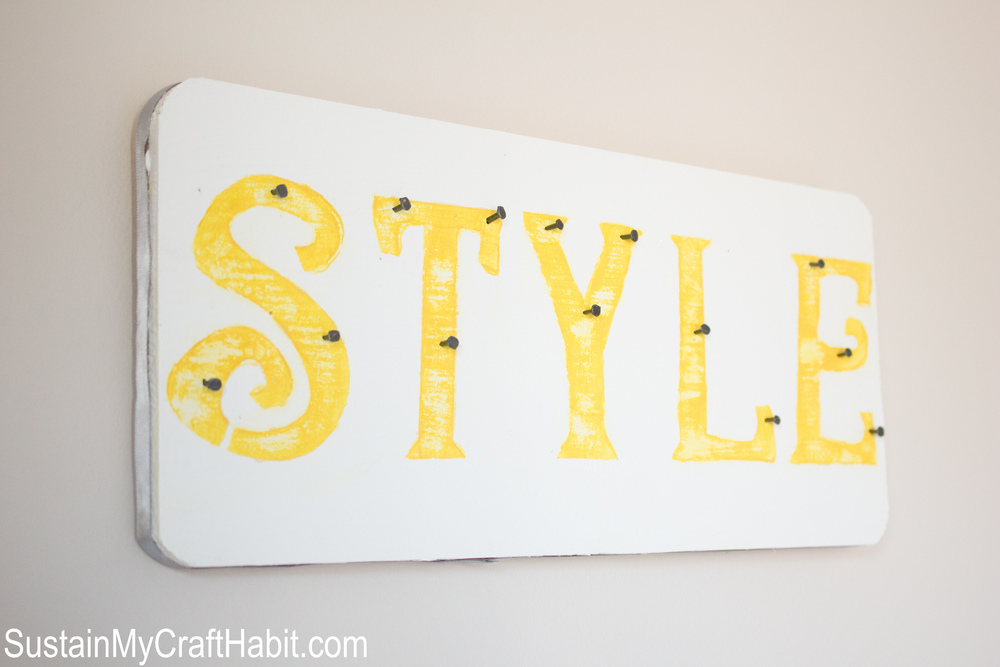
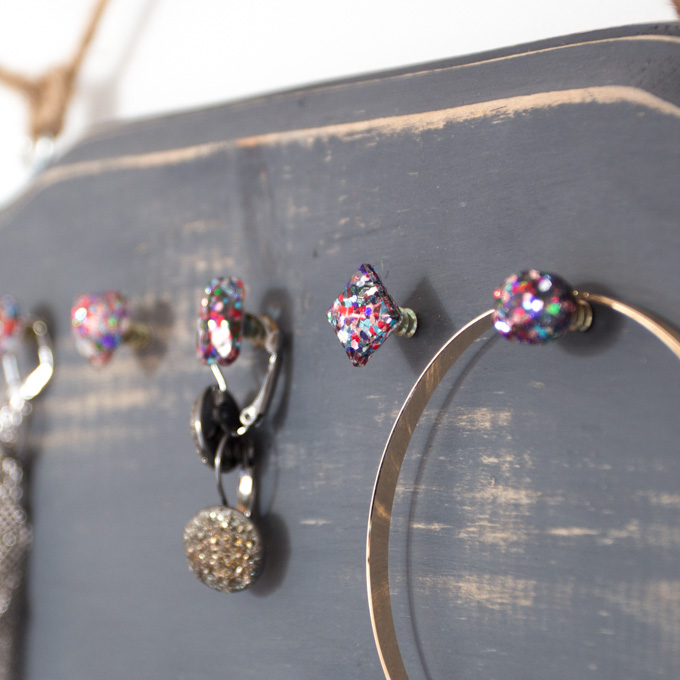
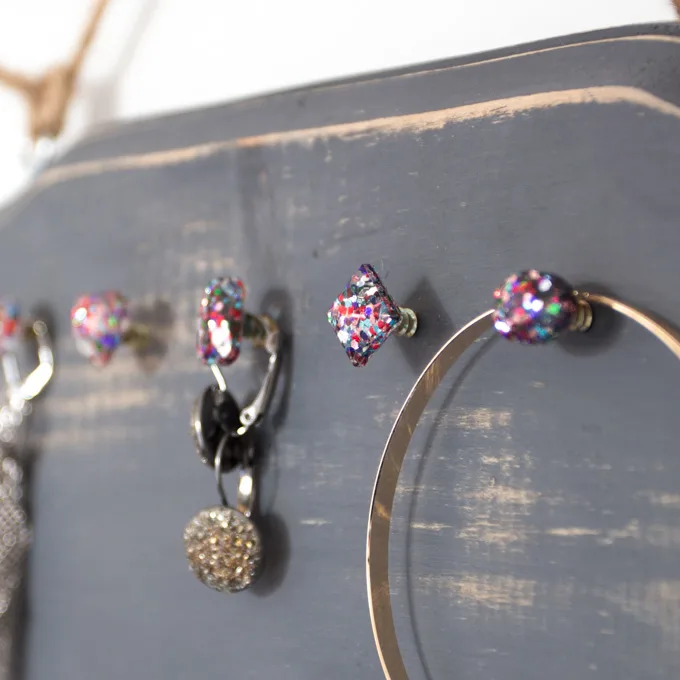
Position nails strategically onto the plank (these nails will be what the accessories hang off of) and hammer in place.

If desired, finish sides of organizer by glueing on ribbon.
Add wall hanging hooks and wire to back side of plank. Secure onto wall.

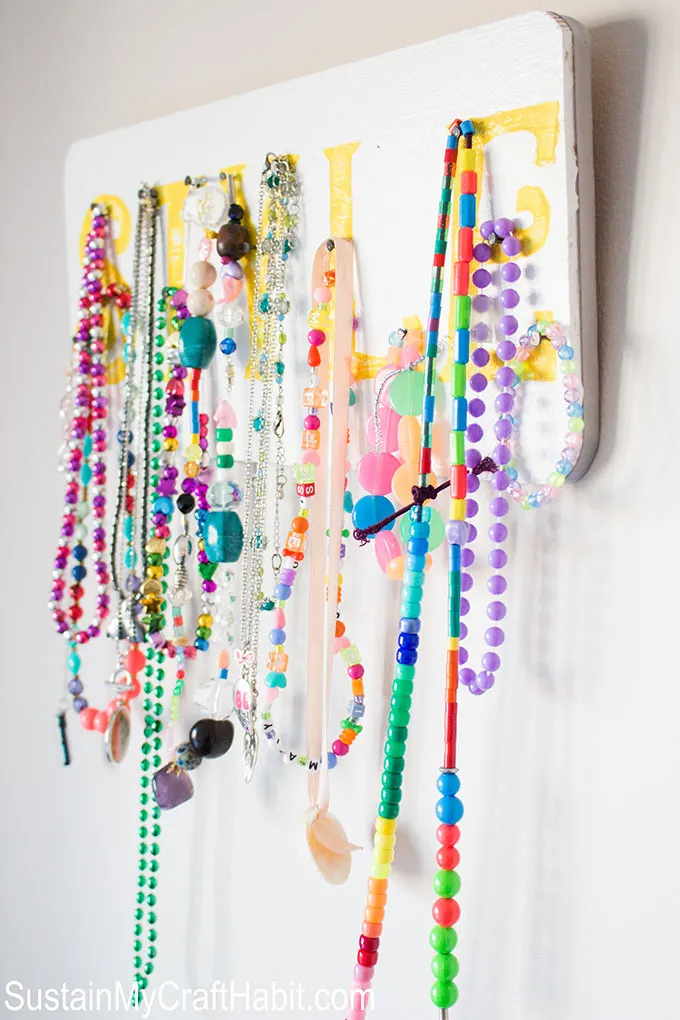
Begin organizing those necklaces…and ACCESSORIZING!

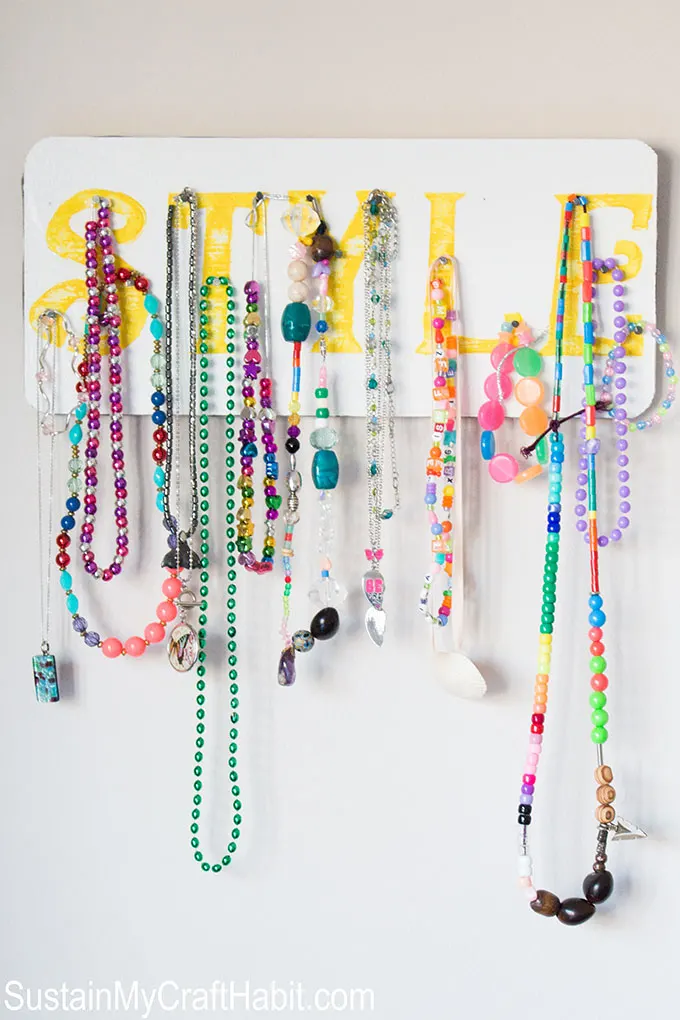
My daughter loves her new necklace organizer. And I love that I’m not tripping over them all the time!
Other Jewelry Organizing Ideas
Looks for more way to tidy up all that jewelry? Here are several funn DIY jewellery and necklace organizer ideas:
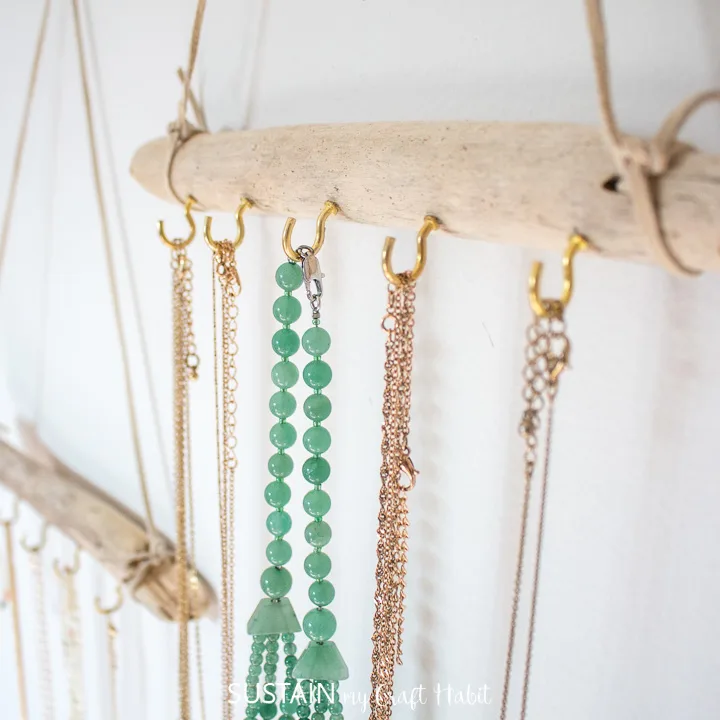
- Rustic glam jewelry organizer
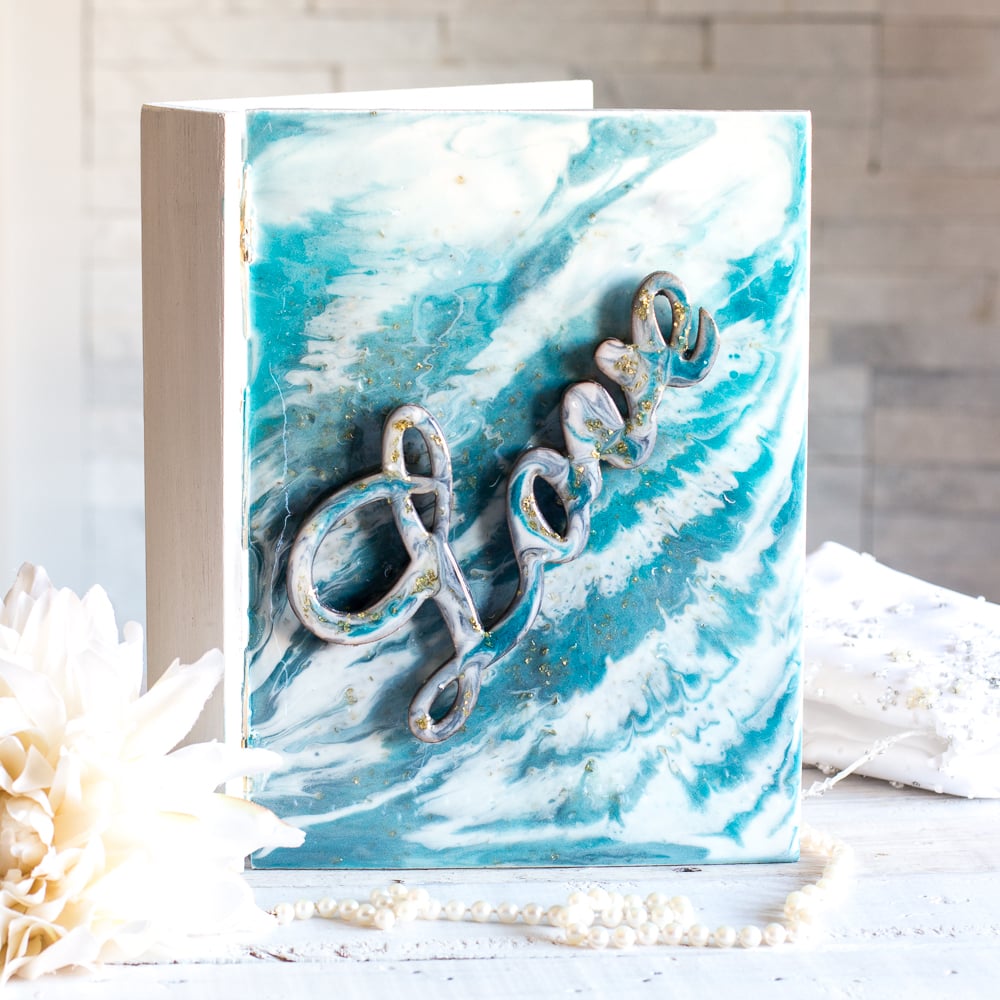
- Resin pour memento box
- Creative jewelry display ideas
- Hand painted jewelry box


DIY Necklace Organizer for the Wall
Materials
- 2 Cedar Plank the kind you would use to BBQ fish
- Small can of trim paint and small paint roller if desired
- Alphabet Stencil
- Scotch Tape
- Kid’s Crayola Paint and 1x Paint Brush
- Carpenter’s Glue and Clamps
- Carpet Nails and Hammer
- 1.5 yards Ribbon
- Hook and wire set for hanging to wall
Instructions
- Paint one side of cedar plank using a small roller for a smooth finish. I chose to paint my plank white because it matches my daughter’s bedroom decor AND because I had leftover white trim paint. It took 4-5 coats of paint before all surfaces were evenly coated. I left the back side unfinished.
- Decide on one word to stencil onto the plank. In my case, I chose the word STYLE. It fit perfectly on the plank!
- Tape stencils onto plank and begin painting the lettering onto the plank. I enrolled the help of my daughter:) Using the Crayola paint, I found several coats were needed.
- Remove stencil and let dry. Some minor touch ups were needed.
- Glue two planks together and clamp in place. Let dry overnight.
- Position nails strategically onto the plank (these nails will be what the accessories hang off of) and hammer in place.
- If desired, finish sides of organizer by glueing on ribbon.
- Add wall hanging hooks and wire to back side of plank. Secure onto wall.
Kristen Campbell
Tuesday 2nd of June 2015
I love this! So bright and cheerful, and what a great organizational tool! Thanks so much for taking the time to link up with us over at the #HomeMattersParty - we hope to see you again on Friday! Feel free to bring a friend :)
Jane and Sonja
Thursday 4th of June 2015
Thank you so much for stopping by Kristen! We love all the great projects we find at the #HomeMattersParty every week and the thoughtful writing on your blog (http://theroadtodomestication.com/).