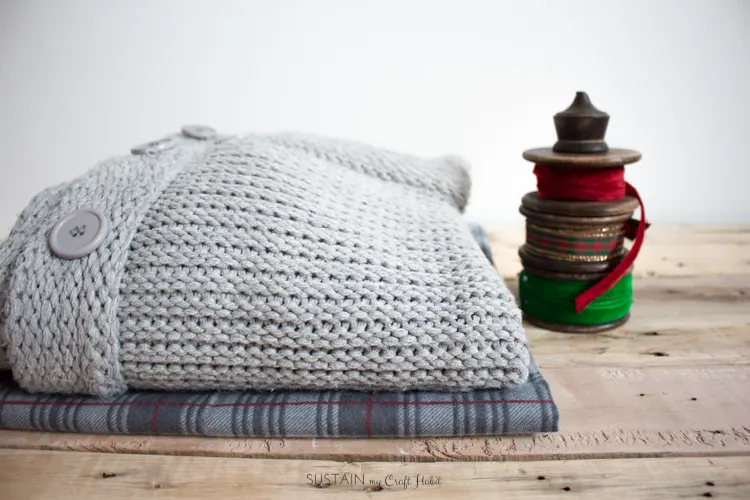
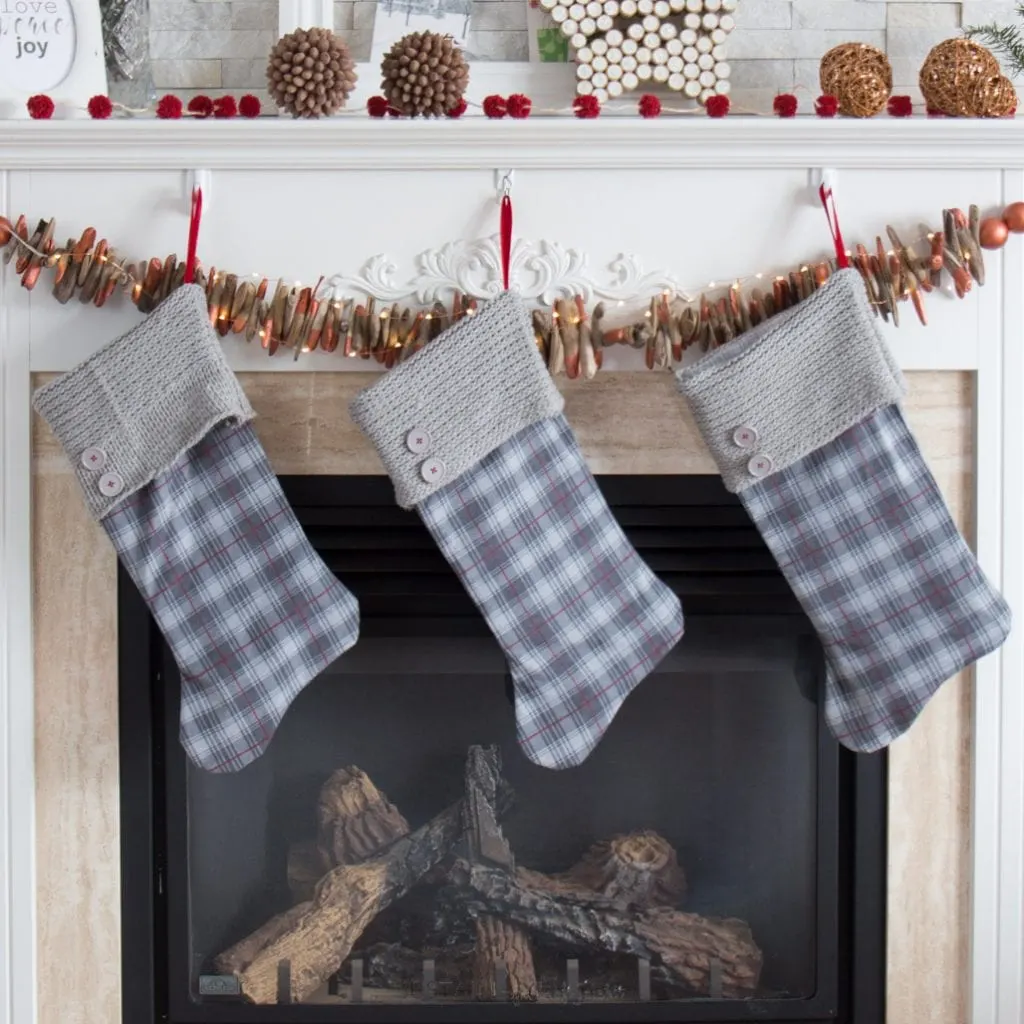
All you need is a simple Christmas stocking pattern and a few supplies to create beautiful, vintage-inspired Christmas stockings for the whole family! Santa won’t be able to resist stuffing these babies 🙂 .

It’s almost reveal time, friends! Our DIY rustic Christmas mantel is just about complete.
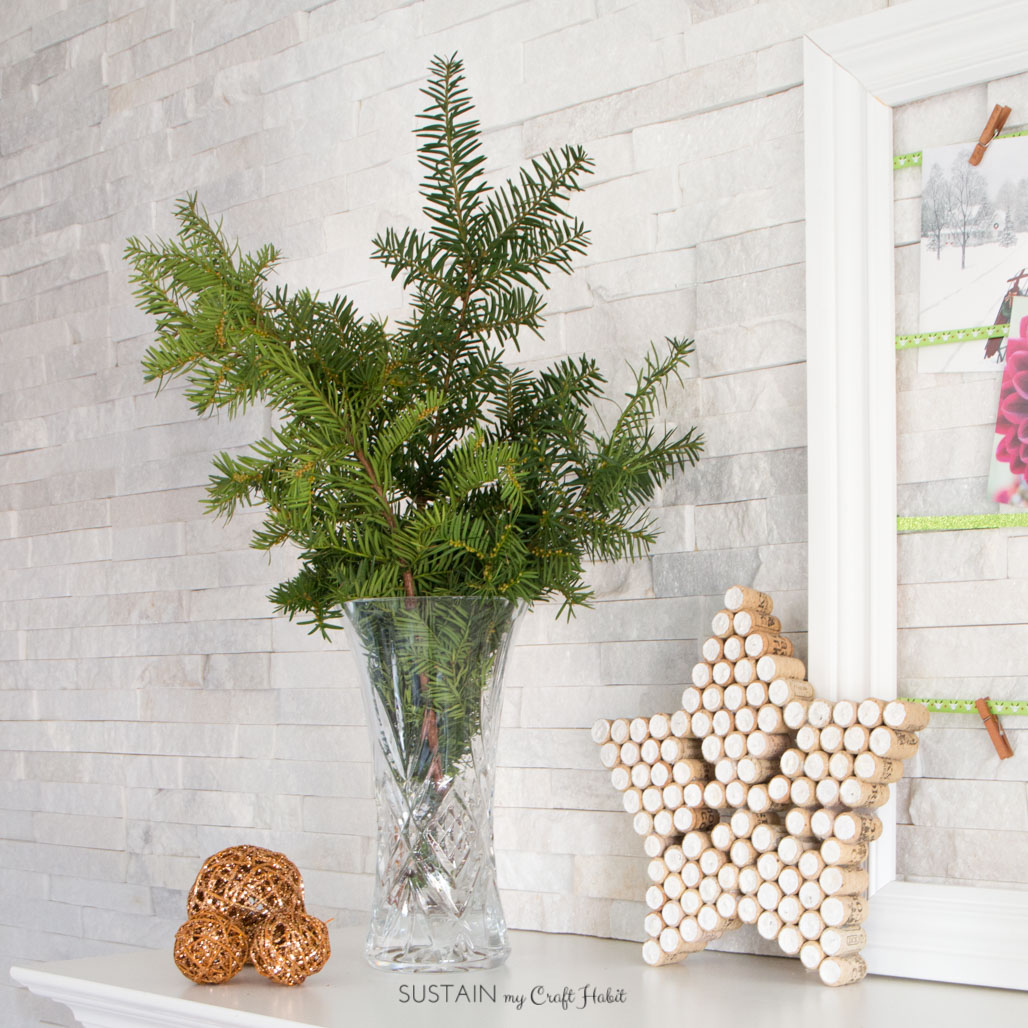
If you’ve been following along, we’ve been decking out Jane’s fireplace mantel week-by-week leading up to the holidays. How’d she get to be so lucky? Ok, ok I’ll move on :). So far we’ve made a simple greeting card display, upcycled a photo frame and added a free holiday printable inside, an untraditional copper-dipped driftwood garland and last week we foraged outdoors for a fresh winter green arrangement. We’re also pairing each new DIY with an ornament or Christmas-inspired craft we made last year.
-
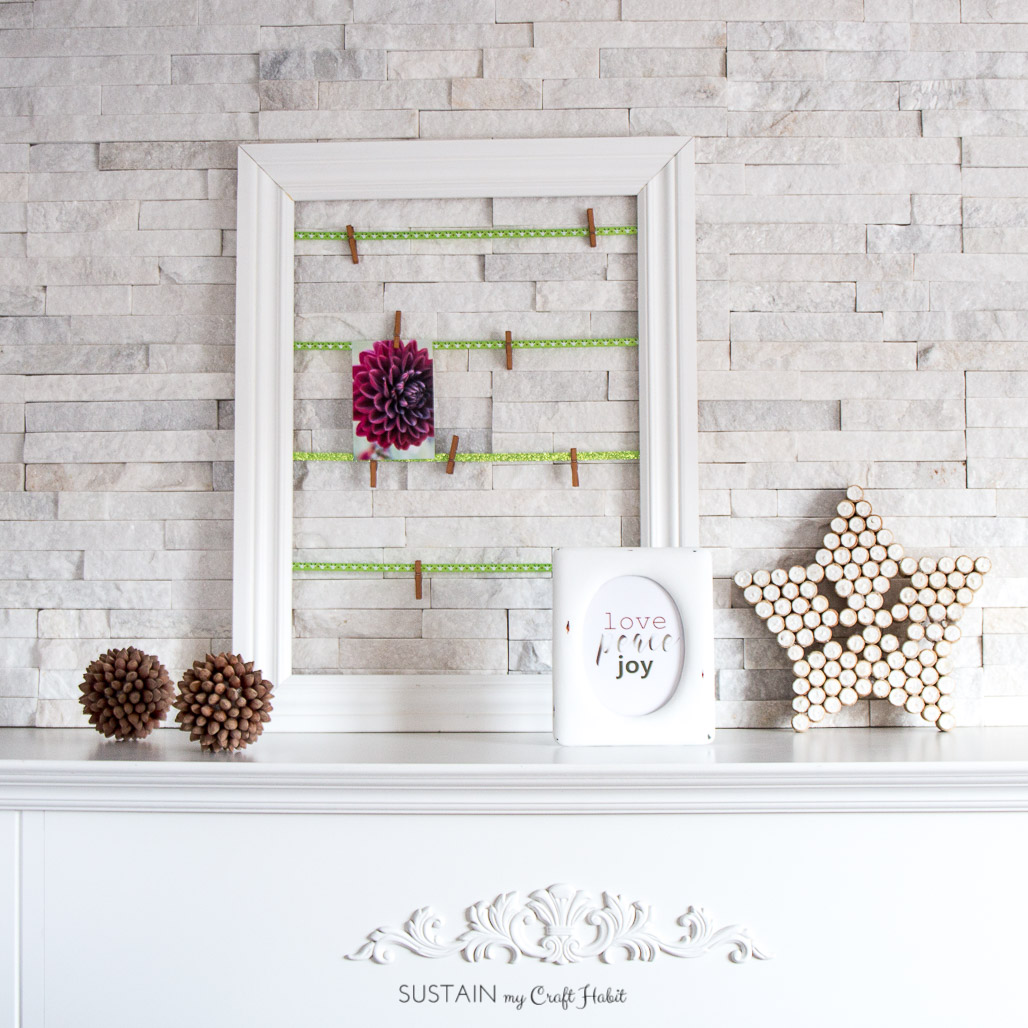

- Christmas Card and Photo Display


-

- Rustic Centerpieces with Foraged Greens

Free Christmas Stocking Pattern
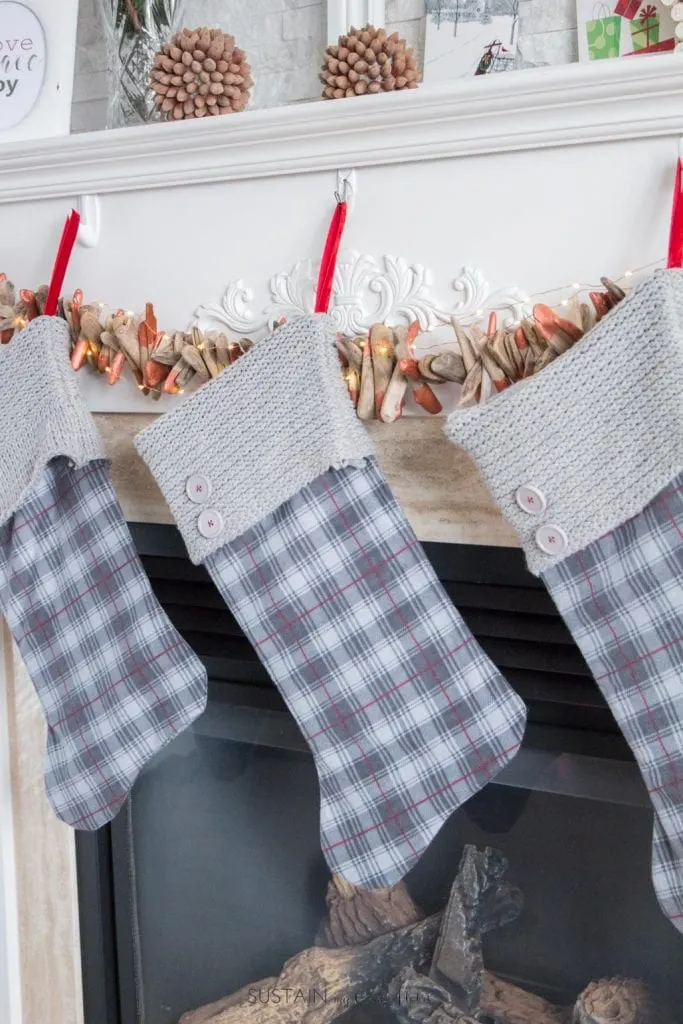
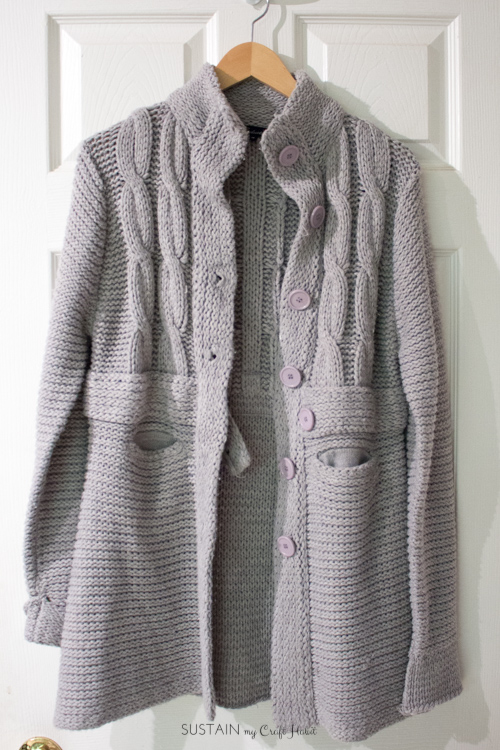
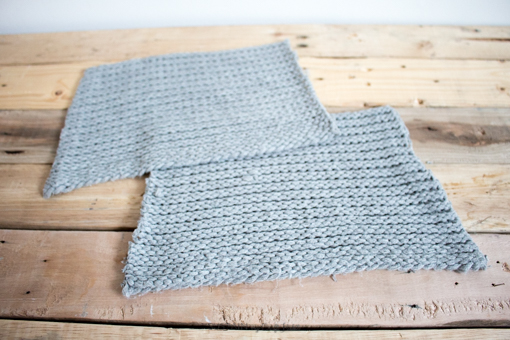
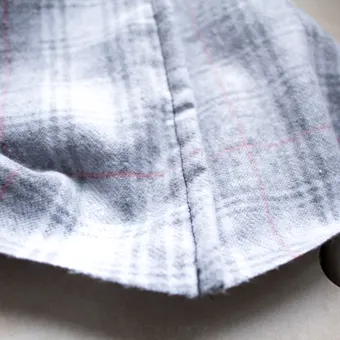
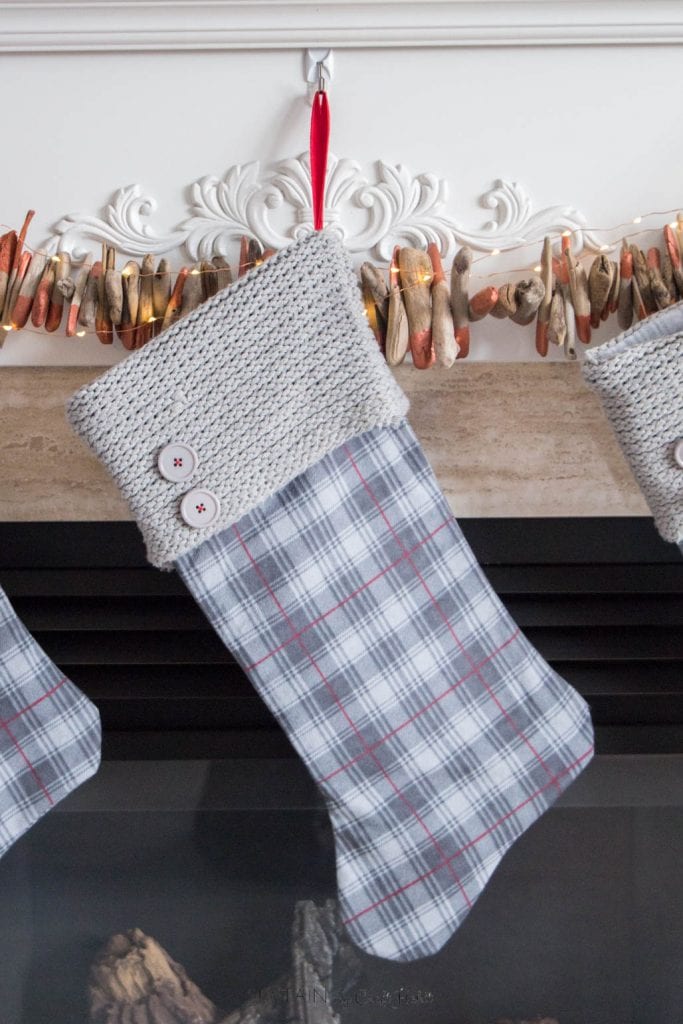
It just wouldn’t be a Christmas mantel without stockings, would it? We have a lot of whites, greys and pops of deep red and copper worked into our mantel already so we thought it would be best to stick to these colour tones. I already had leftover flannel in a beautiful grey plaid pattern, which I wanted to use. My original plan was to make a reversible fur and flannel stocking but with the holidays around the corner, I just couldn’t find the time to make it to the fabric store! In true, Sustain My Craft Habit fashion, I rummaged through my clothing donations bag and found this old grey sweater. Light bulb went off!


Materials Needed to make your own DIY Christmas stockings:
Materials needed to make 2 stockings:
- Large knitted sweater (thrift store find or one you no longer wear)
- Flannel fabric – 1 yard, 45″ wide (there are so many printed patterns and styles to choose from but I’m really loving this one)
- Fabric Scissors
- Sewing Machine and matching thread
- Velvet Ribbon, 3/8″ wide
- Buttons (optional – we used the ones from the sweater but I have loved to use these wooden buttons)
- Printable Christmas stocking pattern
Instructions for making your own DIY Christmas stockings:
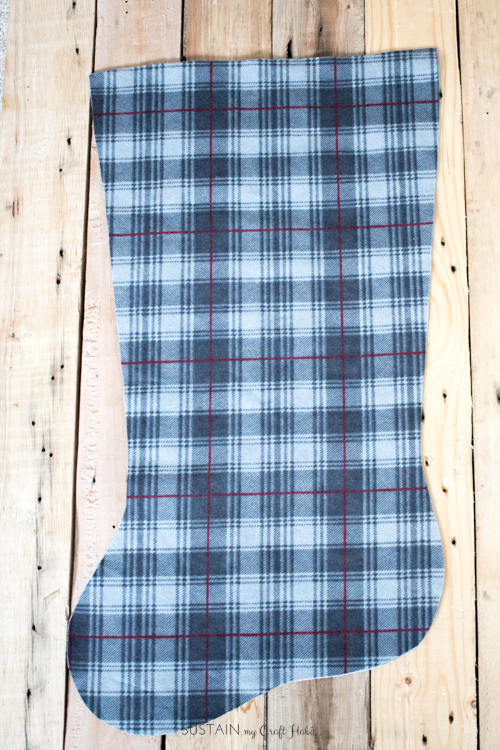
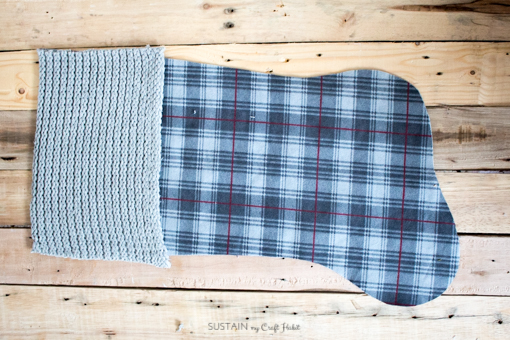
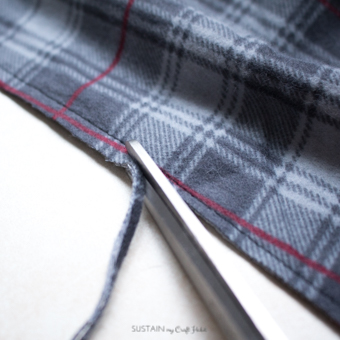
1. Cut out the flannel using our free Christmas stocking pattern. You will need to cut 2 pieces.
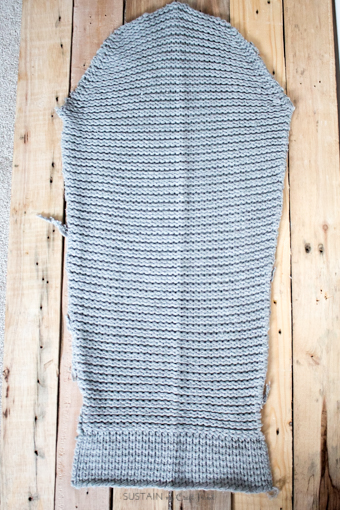
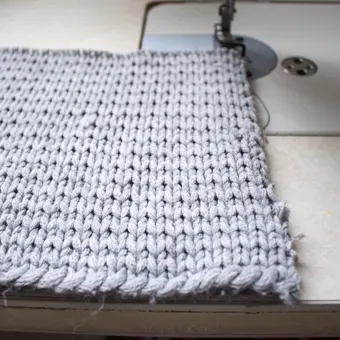
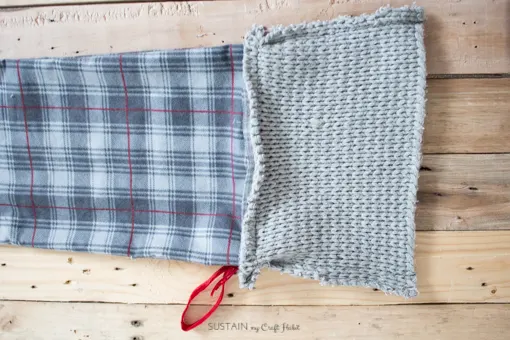
2. Cut the sweater using the stocking cuff template. It’s important to align the finished edges of the sweater (such as the bottom hem and sleeve cuffs) as the finished edge of the stocking cuff to avoid unravelling.


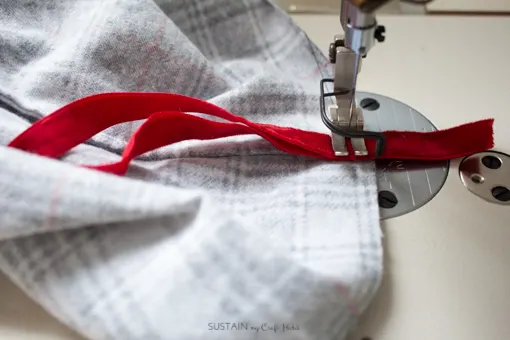
3. Cut ribbon at 5″ long. This will be the loop used to hang the stocking from the mantel.
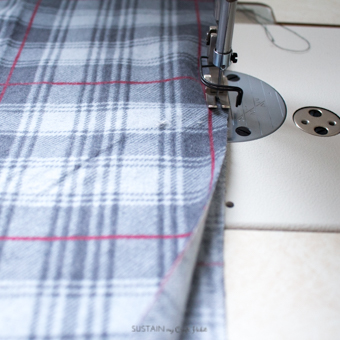
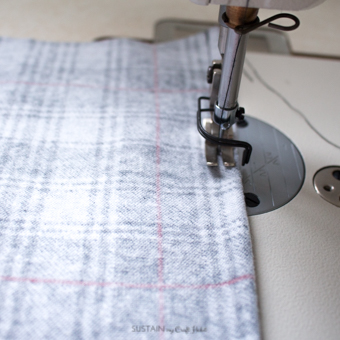
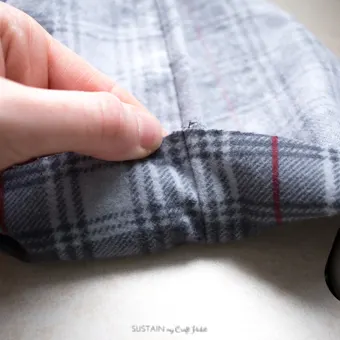
4. To clean finish the stocking and not have fraying edges, sew flannel with wrong sides together first at 1/4″ seam allowance using a single stitch.
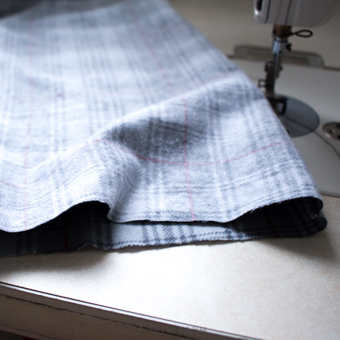
5. Trim away 1/8″ seam allowance.


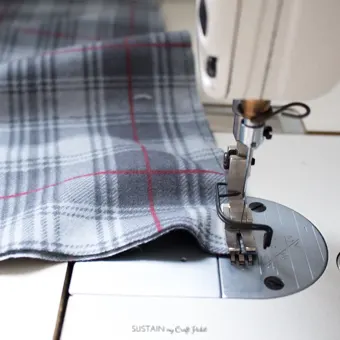

6. Turn stocking right side in (or in other words, with right sides of flannel together). Single stitch along the seam line another 1/4″.
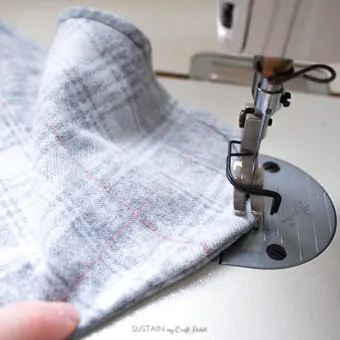
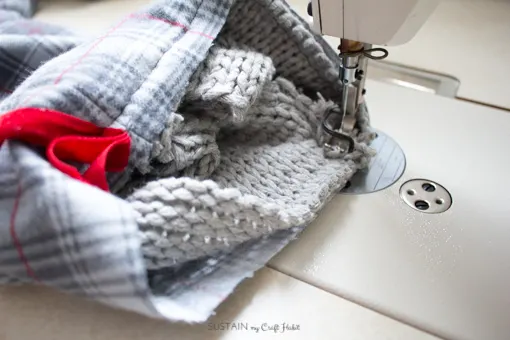
7. Position the ribbon loop at back side of stocking (on wrong side of flannel, with loop facing down) and single stitch in place.


8. Sew the sides of the sweater rib together.

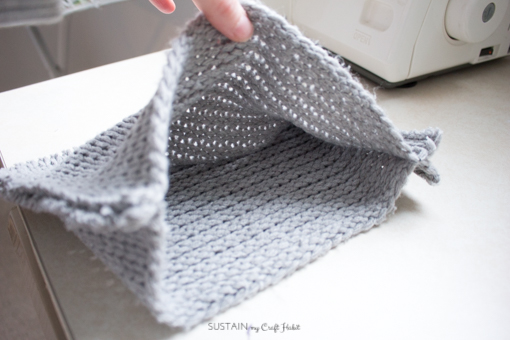

9. Sew the sweater cuff to top of stocking.
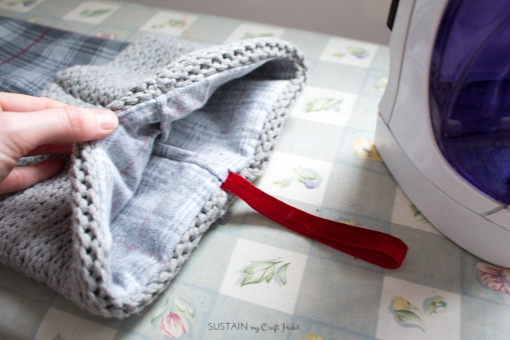
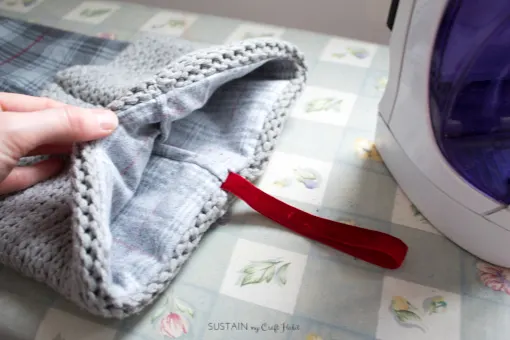
10. Fold cuff over and iron to remove creases and smooth out seams.


11. If your sweater has buttons you can reuse them by adding them to the stocking for extra decoration.
Hang on your fireplace mantel and begin filling with goodies!

Stay tuned for the full fireplace mantel reveal coming this week!

Happy holiday decorating! Do you hang stockings on your mantel?