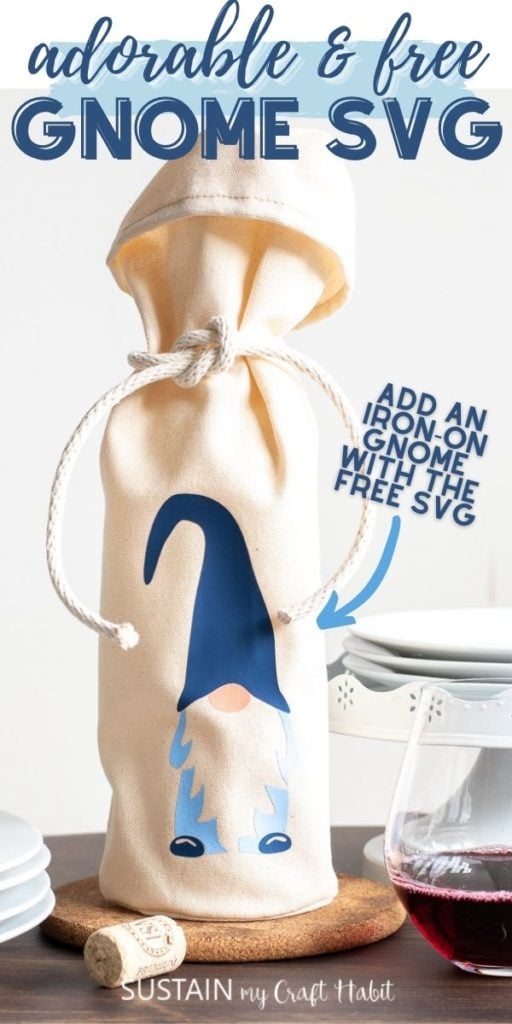

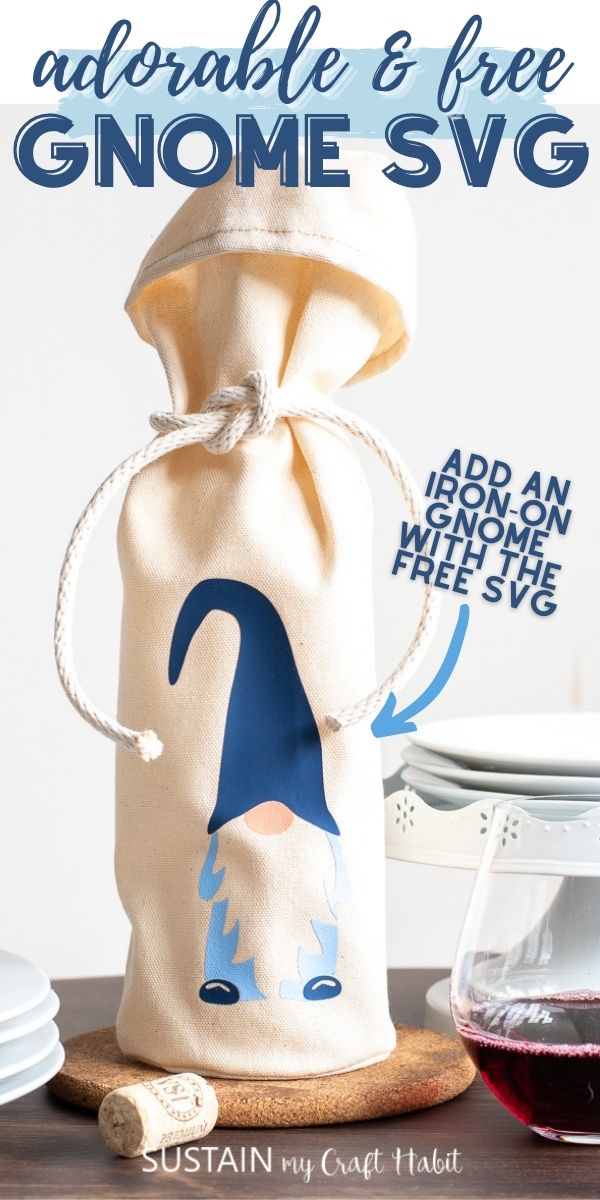
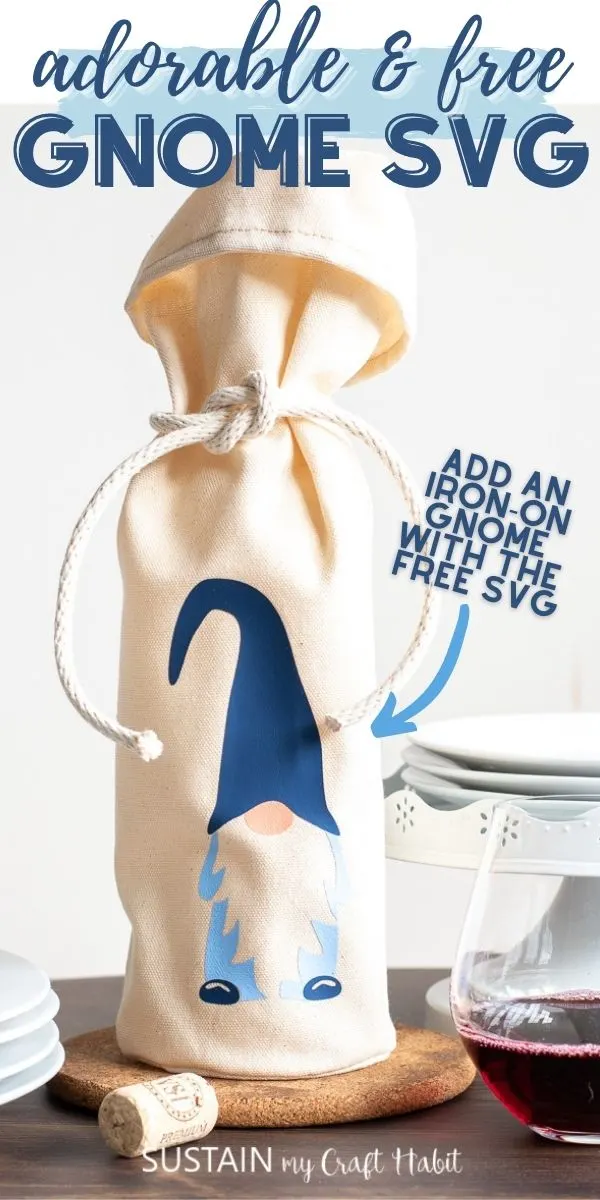
Since we can’t get enough of adorable Scandinavian-inspired gnomes, we created a super cute and free gnome SVG file as a treat for our crafty readers.
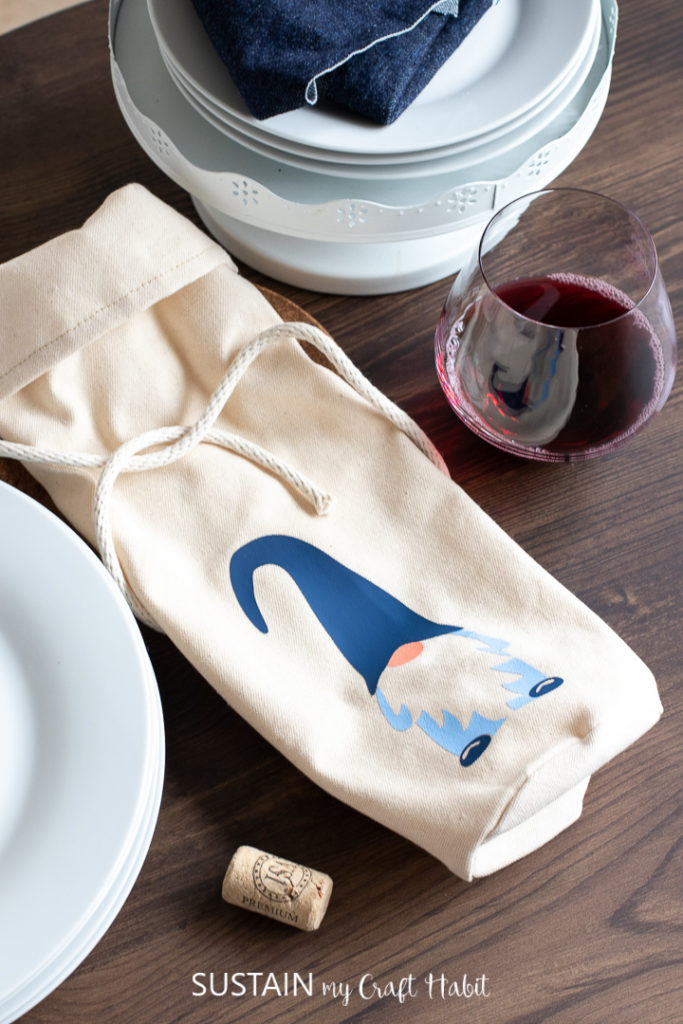

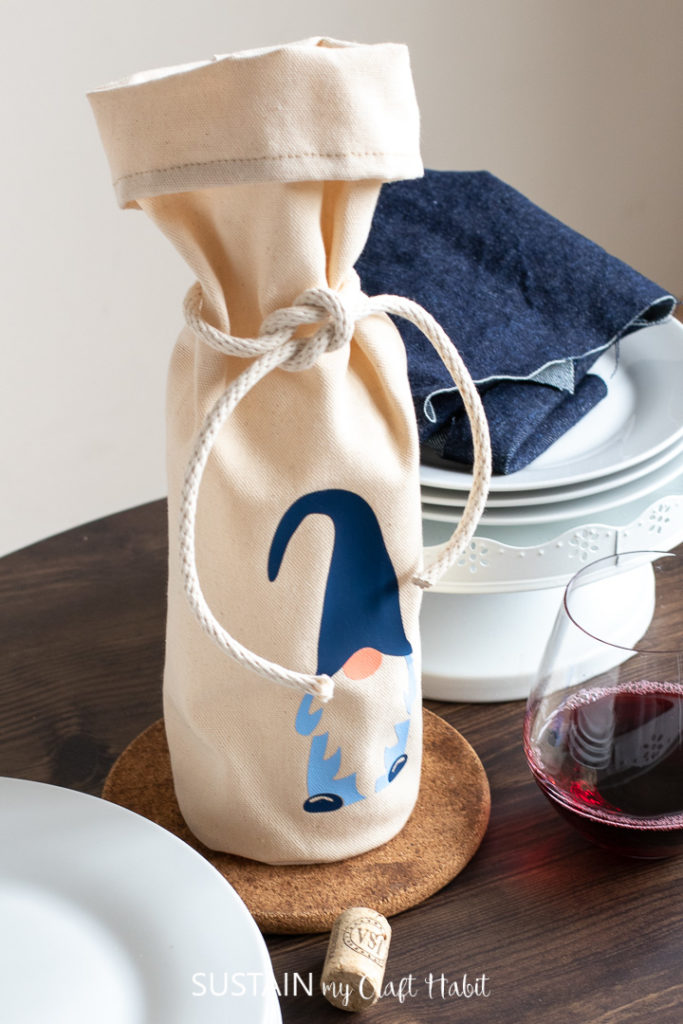
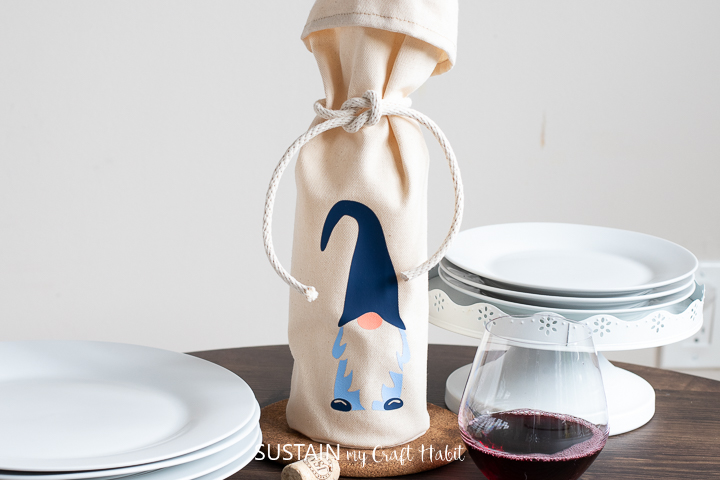
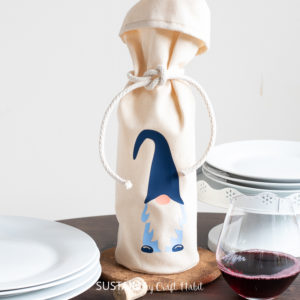
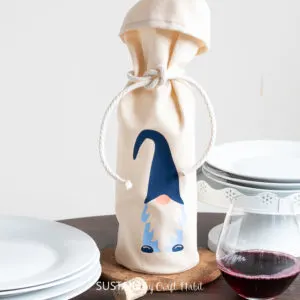
Embellishing a DIY Wine Bottle Bag with a Gnome SVG cut file
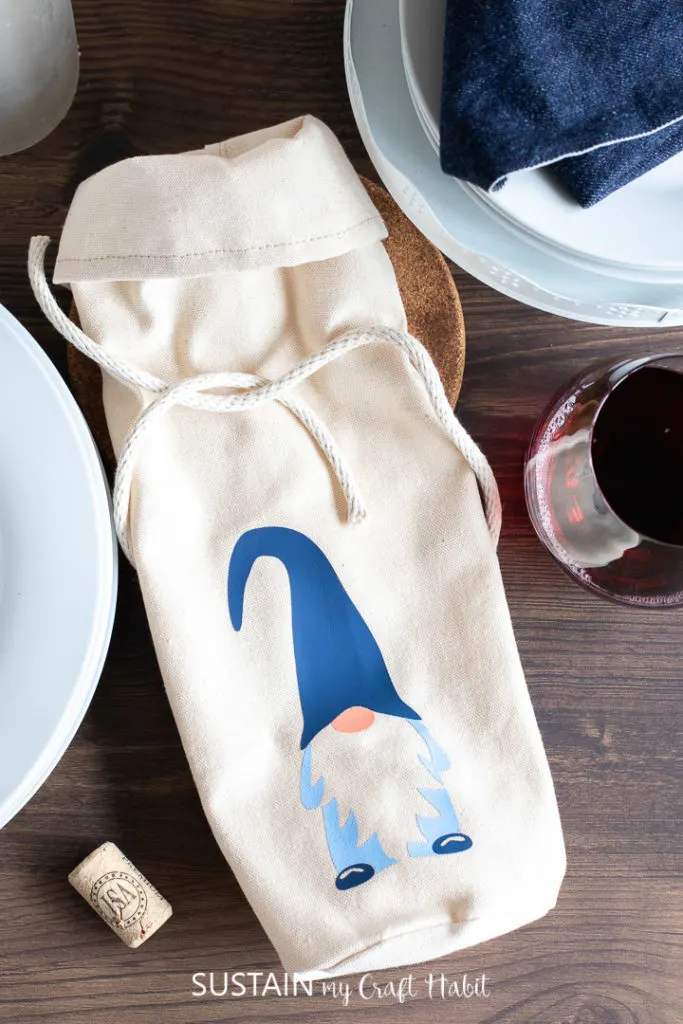
Yesterday, we shared a sewing tutorial and free sewing pattern for making a simple canvas wine bottle bag and today, we’re writing to tell you how we added the adorable holiday gnome to the front of the bag. The wine bag on it’s own is a great way of adding that handmade touch to a gifted wine bottle but the gnome…well, he adds that extra special something.

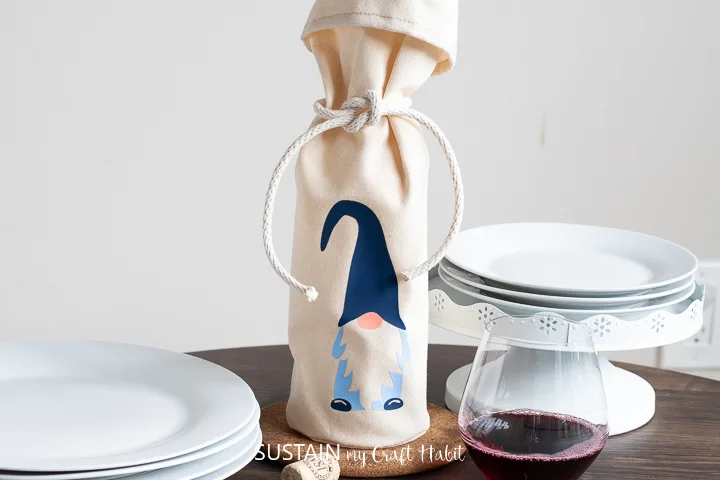
It’s no wonder, these gnomes have gotten to be such a popular decor trend in the last few years. You can’t help but smile at the look of their tall hats, long bushy beards and round noses. Although we’ve used the gnome SVG file to make an iron-on decal for a wine bag, it can really be used for a variety of other crafts like this mini canvas art idea, a cute embellished coffee mug or this candy jar idea.
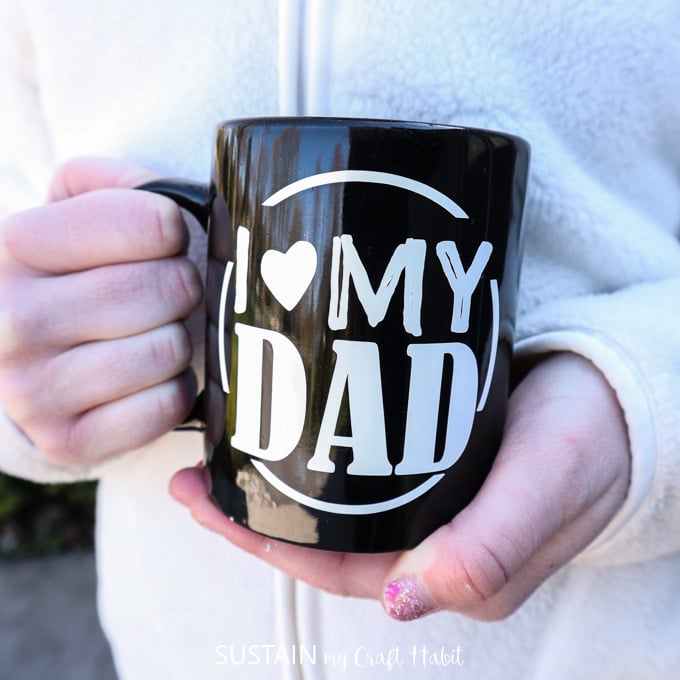

I Love My Dad Coffee Mug 
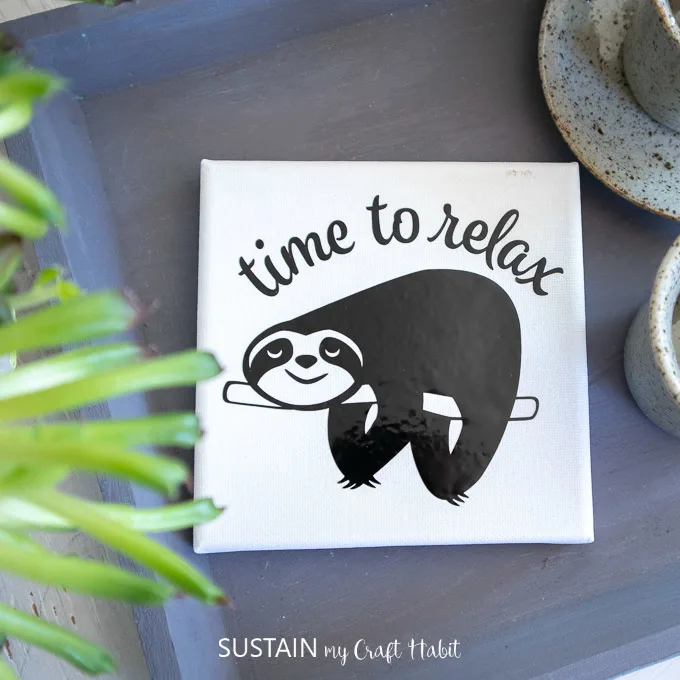
Mini Canvas Art 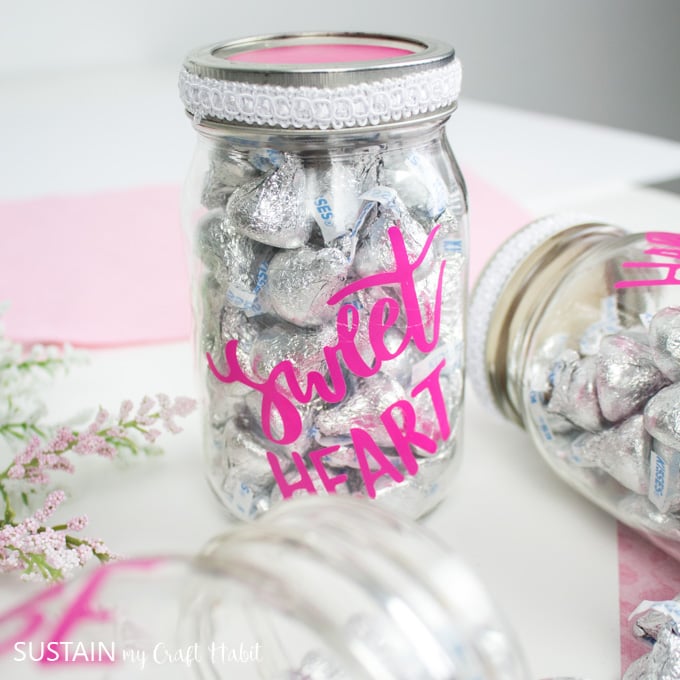
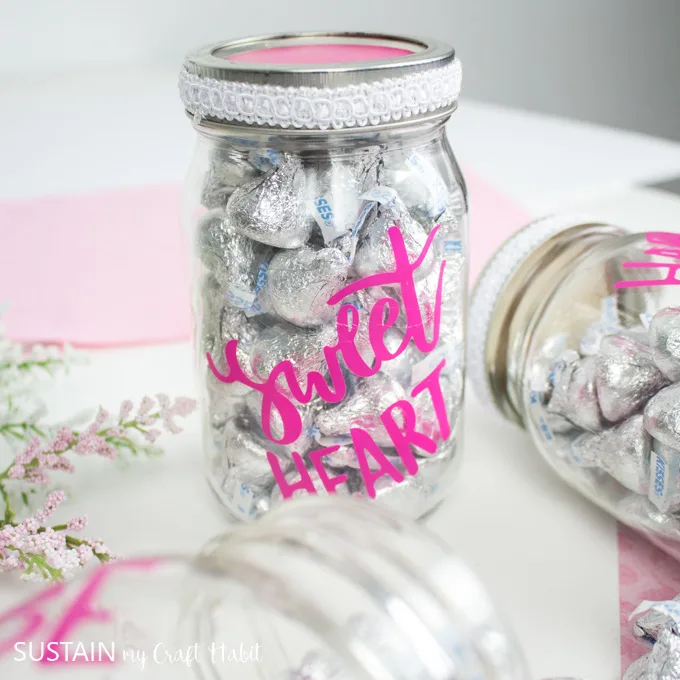
DIY Candy Jar

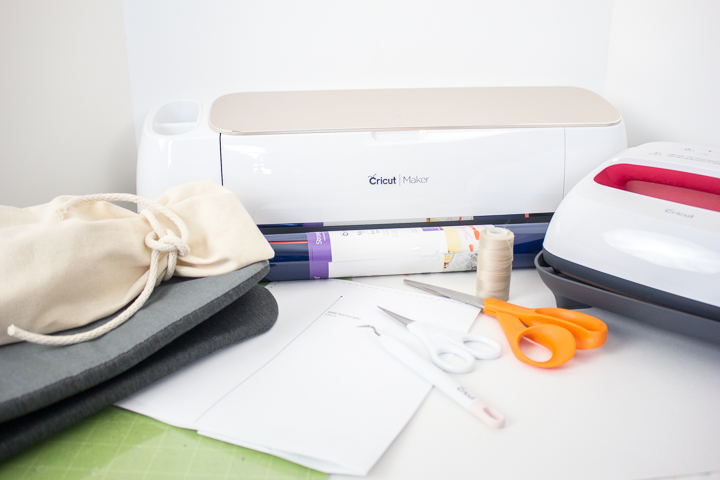
Materials Needed:
Disclosure: This post contains affiliate links for your shopping convenience. Should you choose to purchase through them, we will make a small commission at no extra cost to you. You can read our full disclosure policy here.
- Wine Bottle Bag (or refer to our wine bag pattern to sew post for making your own canvas wine bottle bag)
- Gnome SVG (see above for access instructions)
- Cricut Maker
- Everyday Iron On Vinyl, Nautical Collection
- Cricut Standard Grip Mat
- Weeding Tool
- Scissors
- EasyPress 2
- EasyPress Mat or Towel

Instructions:
Preparing the Image:
Open Cricut Design Space and click on the “+” sign to start a new project, opening up a blank canvas.
Click on the Upload button from the toolbar to insert the Gnome SVG file onto the canvas.

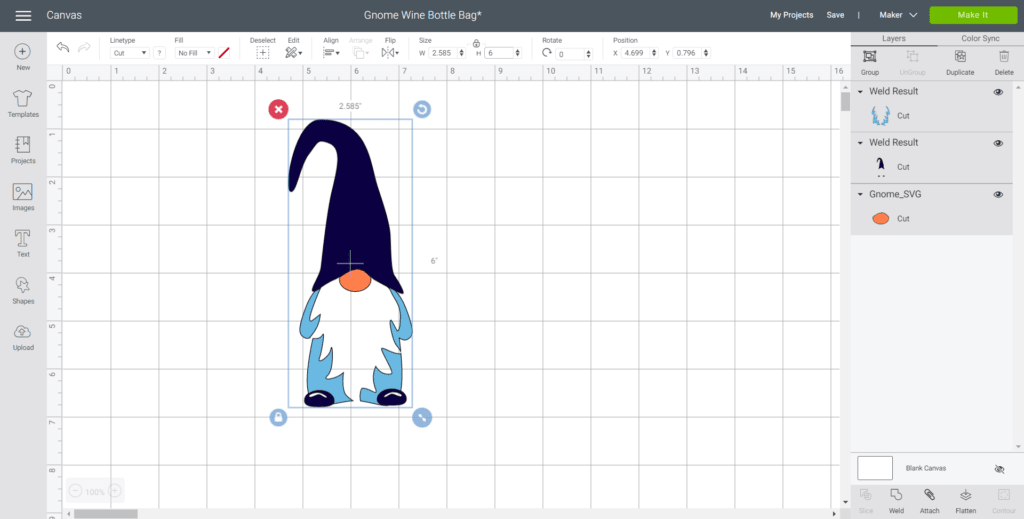
Select the hat and the gnome feet and attach the pieces together to have them maintain the shape and spacing for cutting. DO the same with the gnome body, attaching all the same color pieces together.

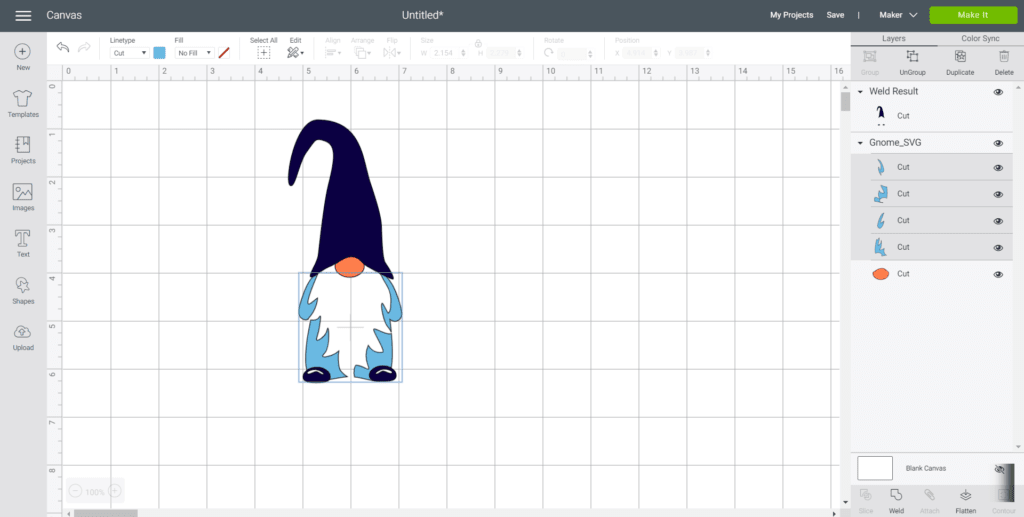
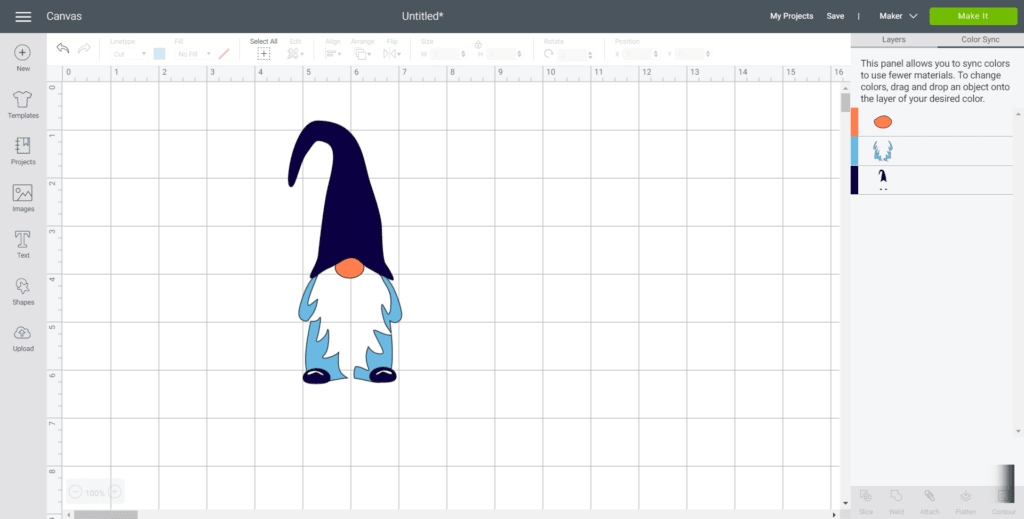
Adjust the colors in the layers section to match your material color if needed.

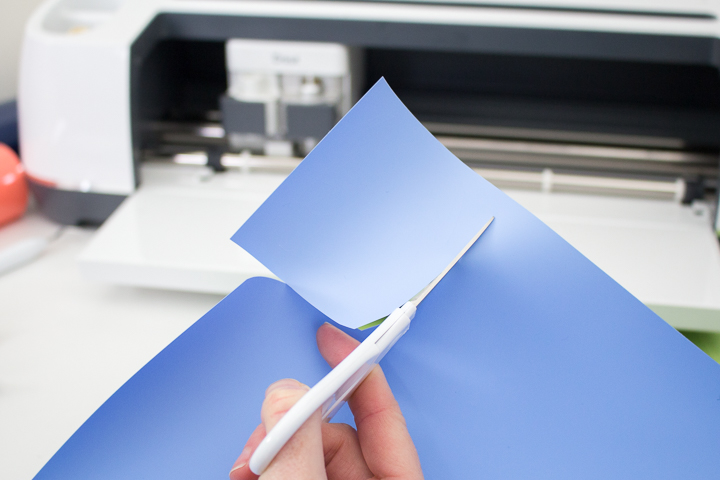
Cutting the Iron-On Vinyl:
Select “Make It” in the upper right corner to proceed with cutting. Click the “Mirror” toggle button to on as this is necessary for ALL iron on vinyl cuts.


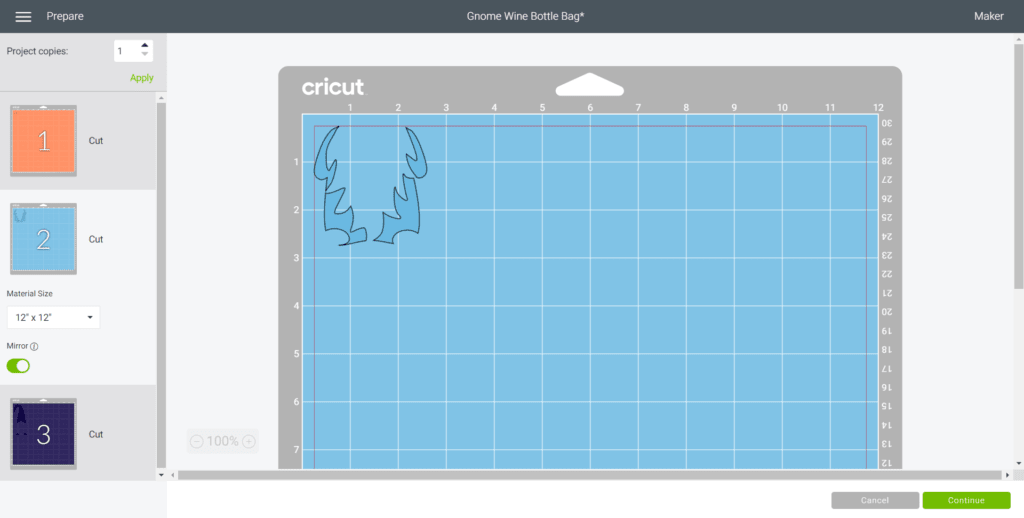
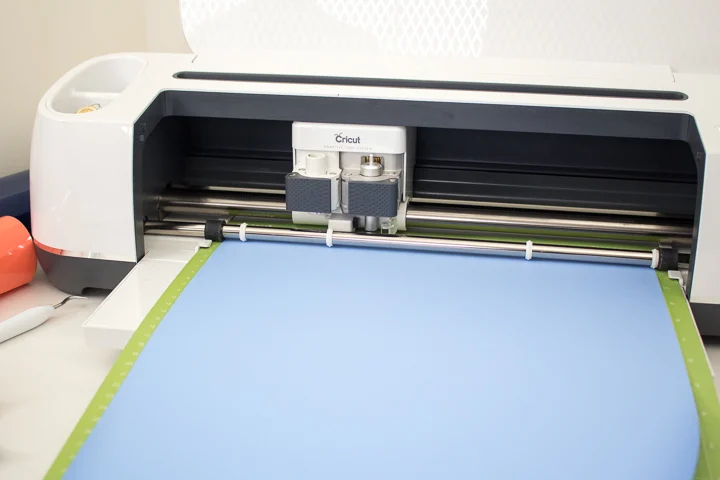
Place the Iron-On vinyl in the color of your choosing directly onto the standard grip mat with the SHINY SIDE DOWN.
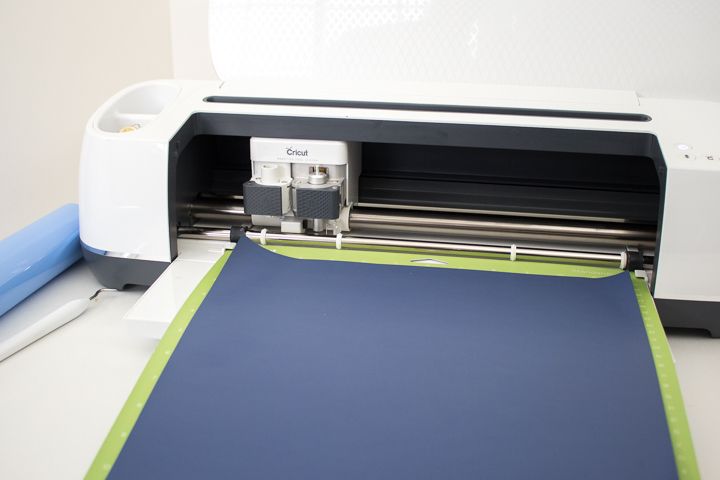

Choose Everyday Iron-On Vinyl from the list of options in the drop down menu and following the instructions prompted on the screen, cut out the vinyl.
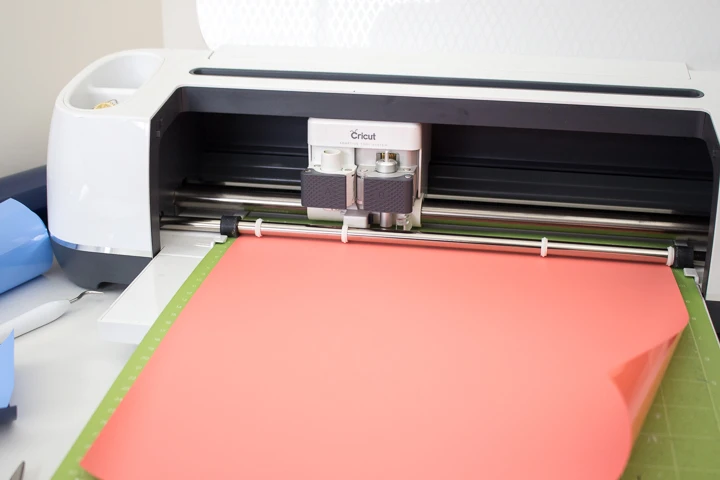
Remove vinyl from matte when done and repeat for the other Iron-On Vinyl colors.


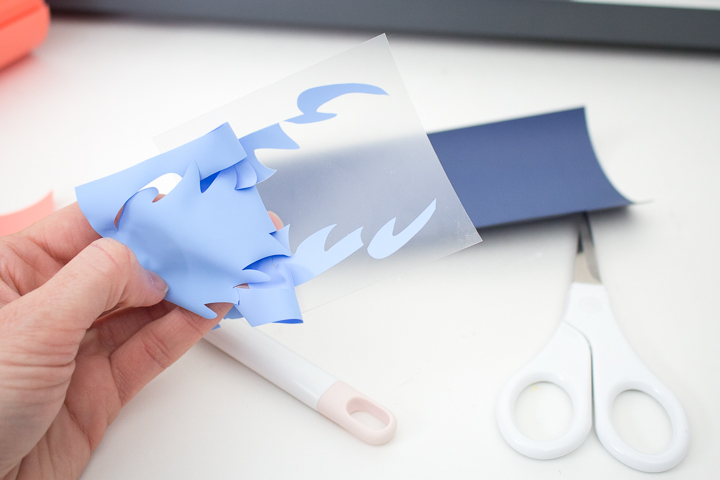
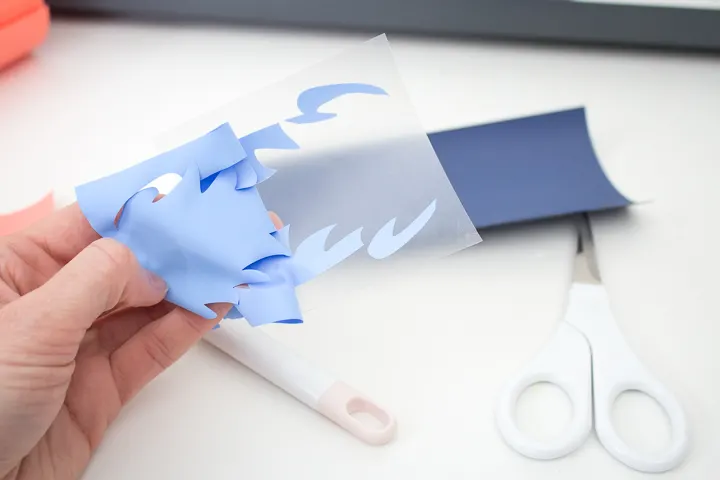
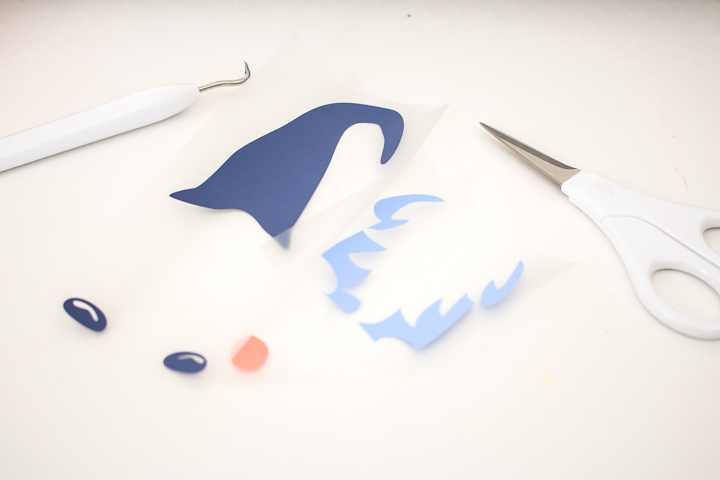
Preparing the Cut Image:
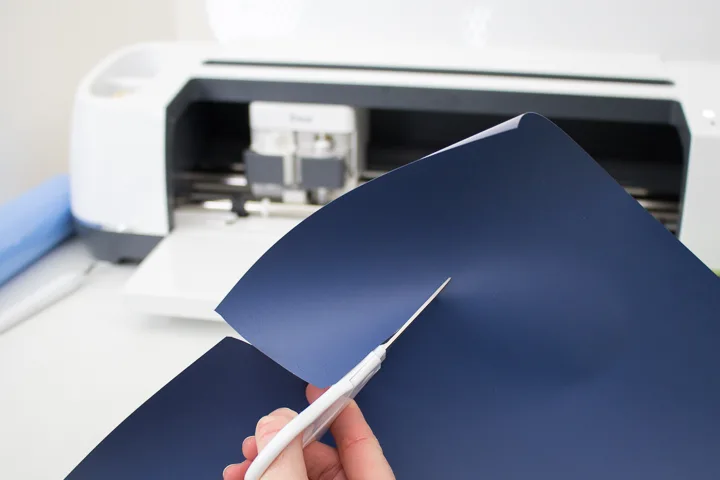
Cut around the images and using a weeding tool, peel away the excess vinyl leaving only the gnome pieces.


Applying the Image with the Cricut EasyPress 2:
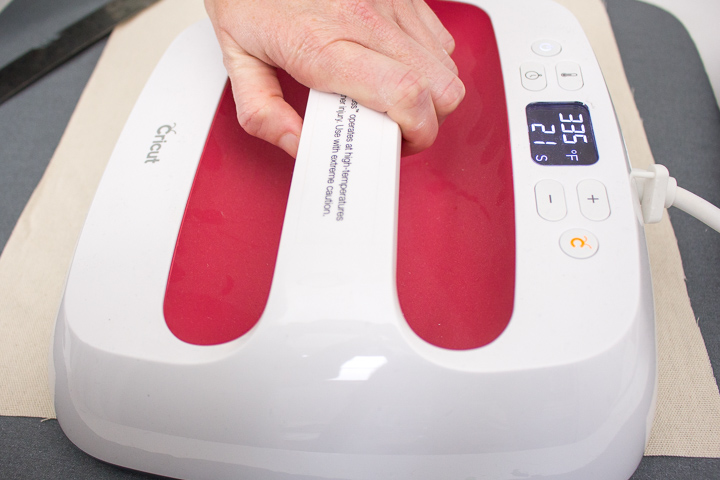
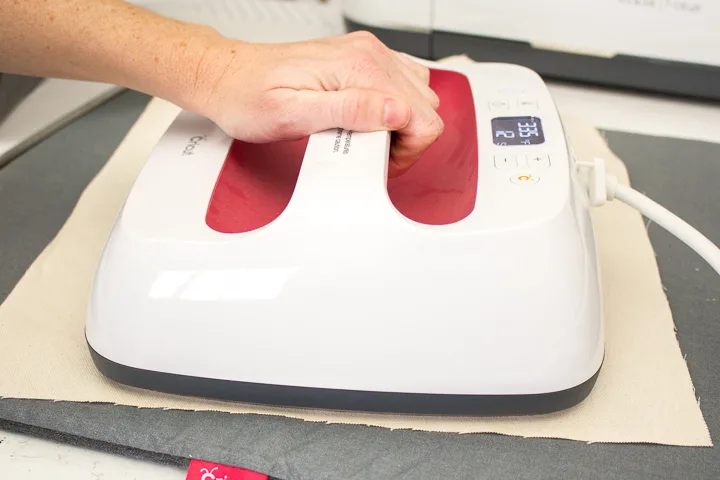
Position the mat or a towel on a flat surface. Set the temperature and time on the EasyPress 2 machine following the chart for the type of vinyl and material being used. Refer to this EasyPress Interactive Quick Reference Guide for your settings.
For a 100% Cotton canvas material and Everyday Iron-On Vinyl, set the EasyPress 2 to 340F.
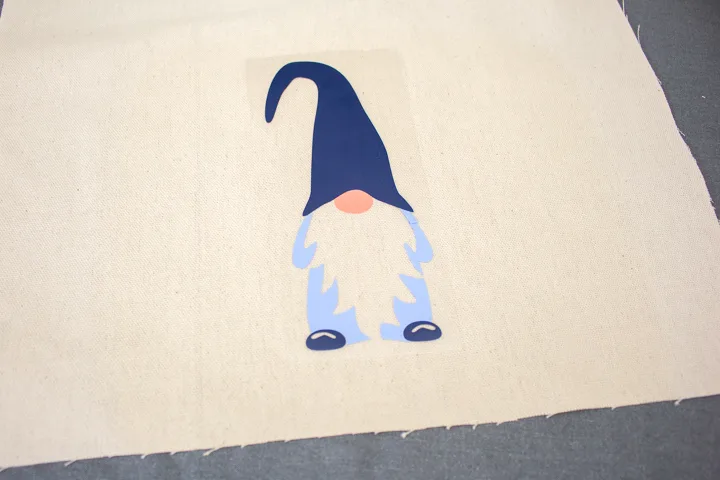
Determine where you will be placing the gnome and preheat the fabric in that spot for 5 seconds. I placed my gnome in the center of the rectangle (before sewing the wine bottle bag) and 1.25” from the bottom edge.
Place the pieces on to the fabric with the shiny side up starting with the gnome body and nose.
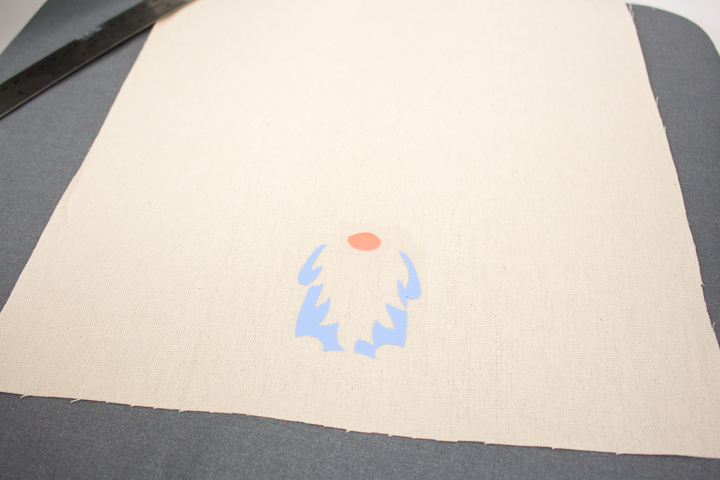
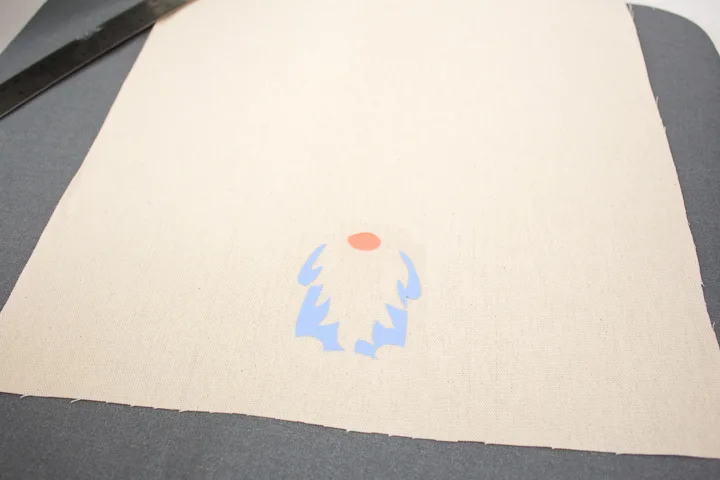
Press the image on to the fabric for 30 seconds with light pressure.
Turn the fabric upside down and apply heat for another 15 seconds.

Peel the plastic part of the vinyl off carefully once it cools and discard.
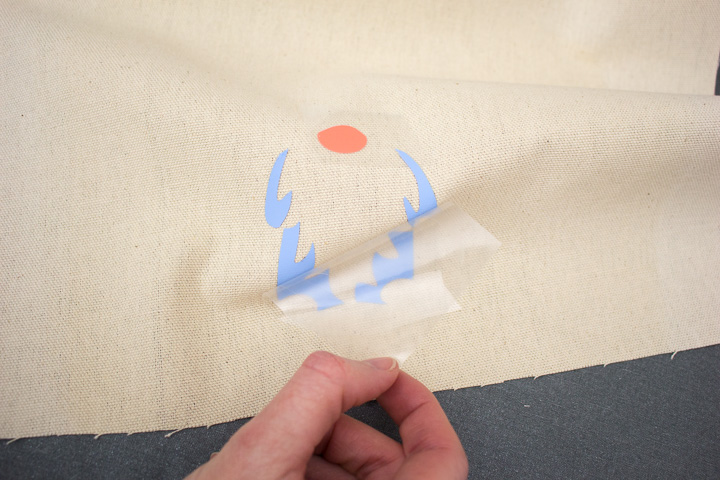

Place the other gnome pieces on to the fabric (hat and feet), covering the other parts of the gnome with the plastic covering.

Make sure the hat (and any other pressed vinyl) is always covered by a plastic protector.
Press the image again for another 30 seconds.

Turn the fabric upside down and apply heat for another 15 seconds.
Peel the plastic part of the vinyl off carefully once it cools and discard.


Make sure you do not place an iron or the EasyPress 2 directly over the vinyl without the protective plastic cover.

More Gnomes, please!
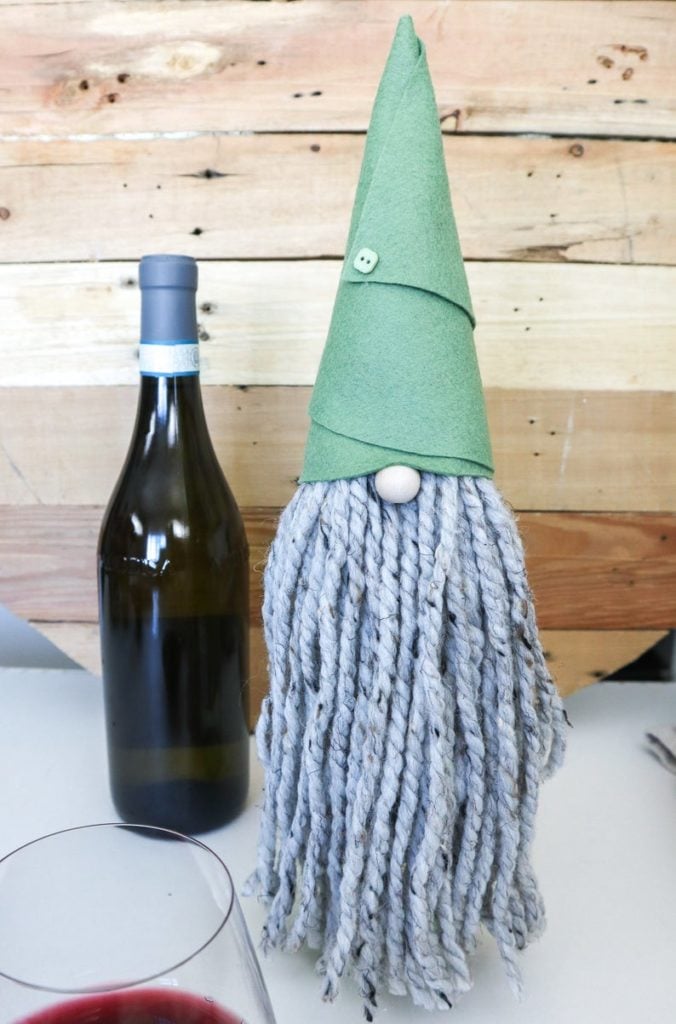
We recently added these gnome wine bottle toppers to our Etsy shop for all year gift giving. And we even have a post on using scrap yarn to make gnome ornaments! And if you still want more, our friend Kippi has a fabulous easy DIY gnome tutorial to check out. I told you we can’t get enough of these cuties!

Like it? Pin it for later!
Embellishing a Wine Bag: Free Gnome SVG
Materials
- Wine Bottle Bag
- Gnome SVG
- Cricut Maker
- Everyday Iron On Vinyl Nautical Collection
- Cricut Standard Grip Mat
- Weeding Tool
- Scissors
- EasyPress 2
- EasyPress Mat or Towel
Instructions
Preparing the Image:
- Open Cricut Design Space and click on the “+” sign to start a new project, opening up a blank canvas.
- Click on the Upload button from the toolbar to insert the Gnome SVG file onto the canvas.
Cutting the Iron-On Vinyl:
- Select “Make It” in the upper right corner to proceed with cutting. Click the “Mirror” toggle button to on as this is necessary for ALL iron on vinyl cuts.
- Place the Iron-On vinyl in the color of your choosing directly onto the standard grip mat with the SHINY SIDE DOWN.
- Choose Everyday Iron-On Vinyl from the list of options in the drop down menu and following the instructions prompted on the screen, cut out the vinyl.
- Remove vinyl from matte when done and repeat for the other Iron-On Vinyl colors.
Preparing the Cut Image:
- Cut around the images and using a weeding tool, peel away the excess vinyl leaving only the gnome pieces.
Applying the Image with the Cricut EasyPress 2:
- Position the mat or a towel on a flat surface. Set the temperature and time on the EasyPress 2 machine.
- Determine where you will be placing the gnome and preheat the fabric in that spot for 5 seconds.
- Place the pieces on to the fabric with the shiny side up starting with the gnome body and nose.
- Press the image on to the fabric for 30 seconds with light pressure.
- Turn the fabric upside down and apply heat for another 15 seconds.
- Peel the plastic part of the vinyl off carefully once it cools and discard.
- Place the other gnome pieces on to the fabric (hat and feet), covering the other parts of the gnome with the plastic covering.
- Press the image again for another 30 seconds.
- Turn the fabric upside down and apply heat for another 15 seconds.
- Peel the plastic part of the vinyl off carefully once it cools and discard.
Harry Roy
Monday 30th of November 2020
Good essay. Thanks for share