Spring forward, Fall back. Living in this part of the world (that would be South-Western Ontario, Canada), we still follow the practice of Daylight Savings Time (DST); which means that in early Spring we set our clocks forward 1 hour in order to lengthen our evening daylight. And then in the Fall, we set the clocks back again 1 hour. So with all this going on, there’s literally no better time than the present to show you how to make a clock!
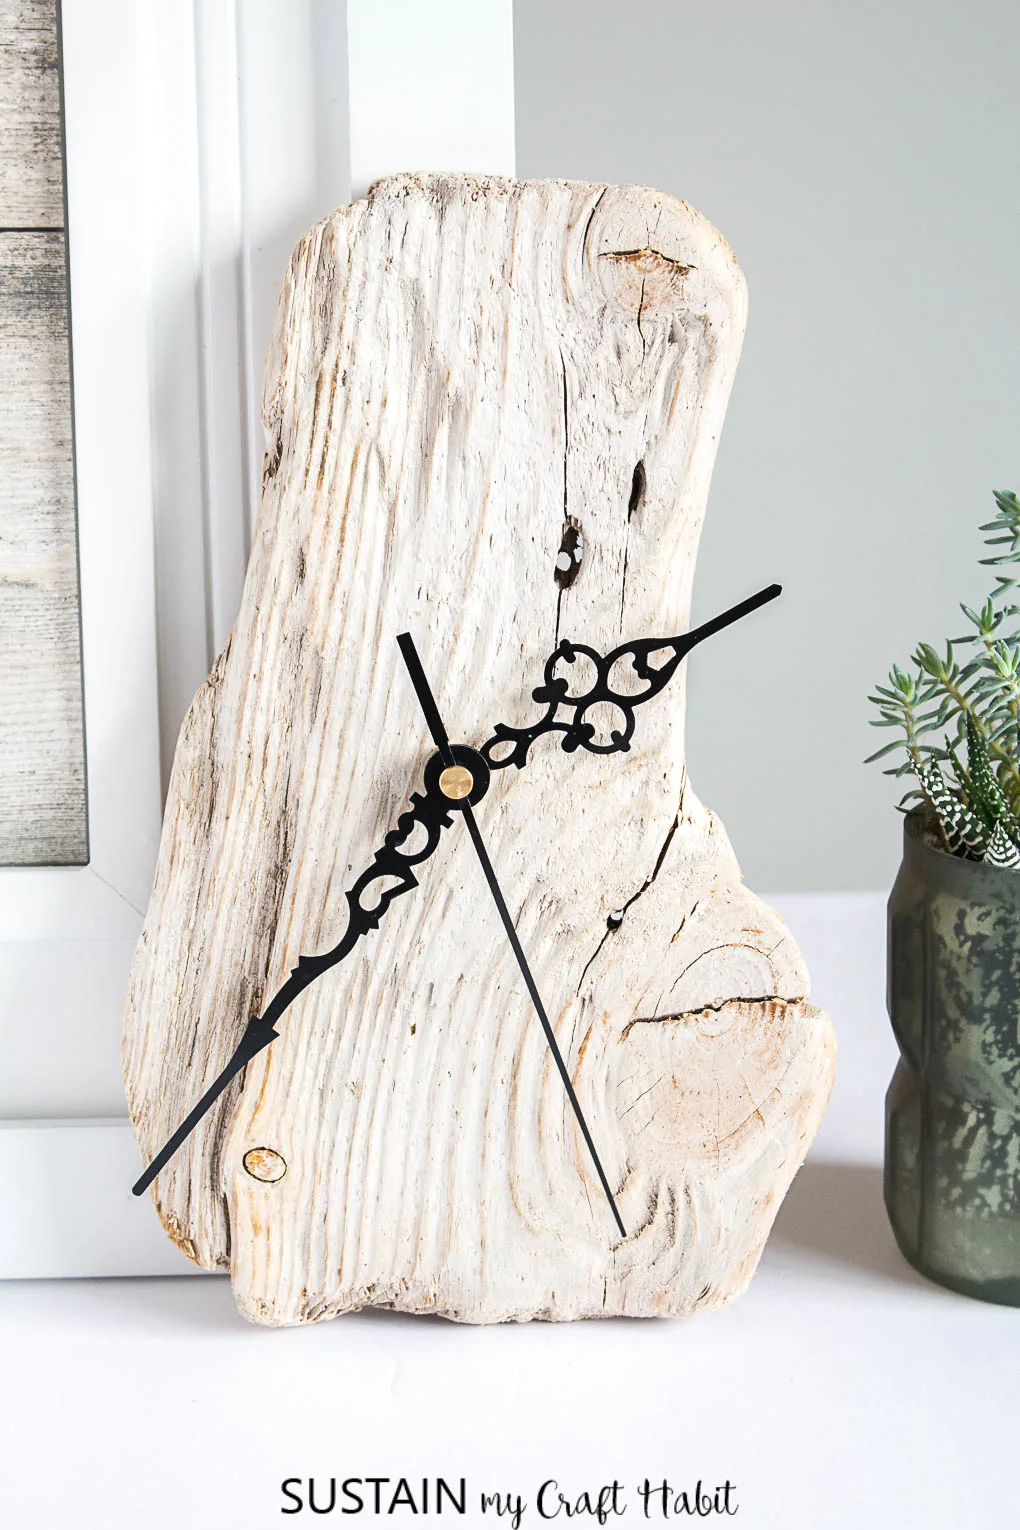
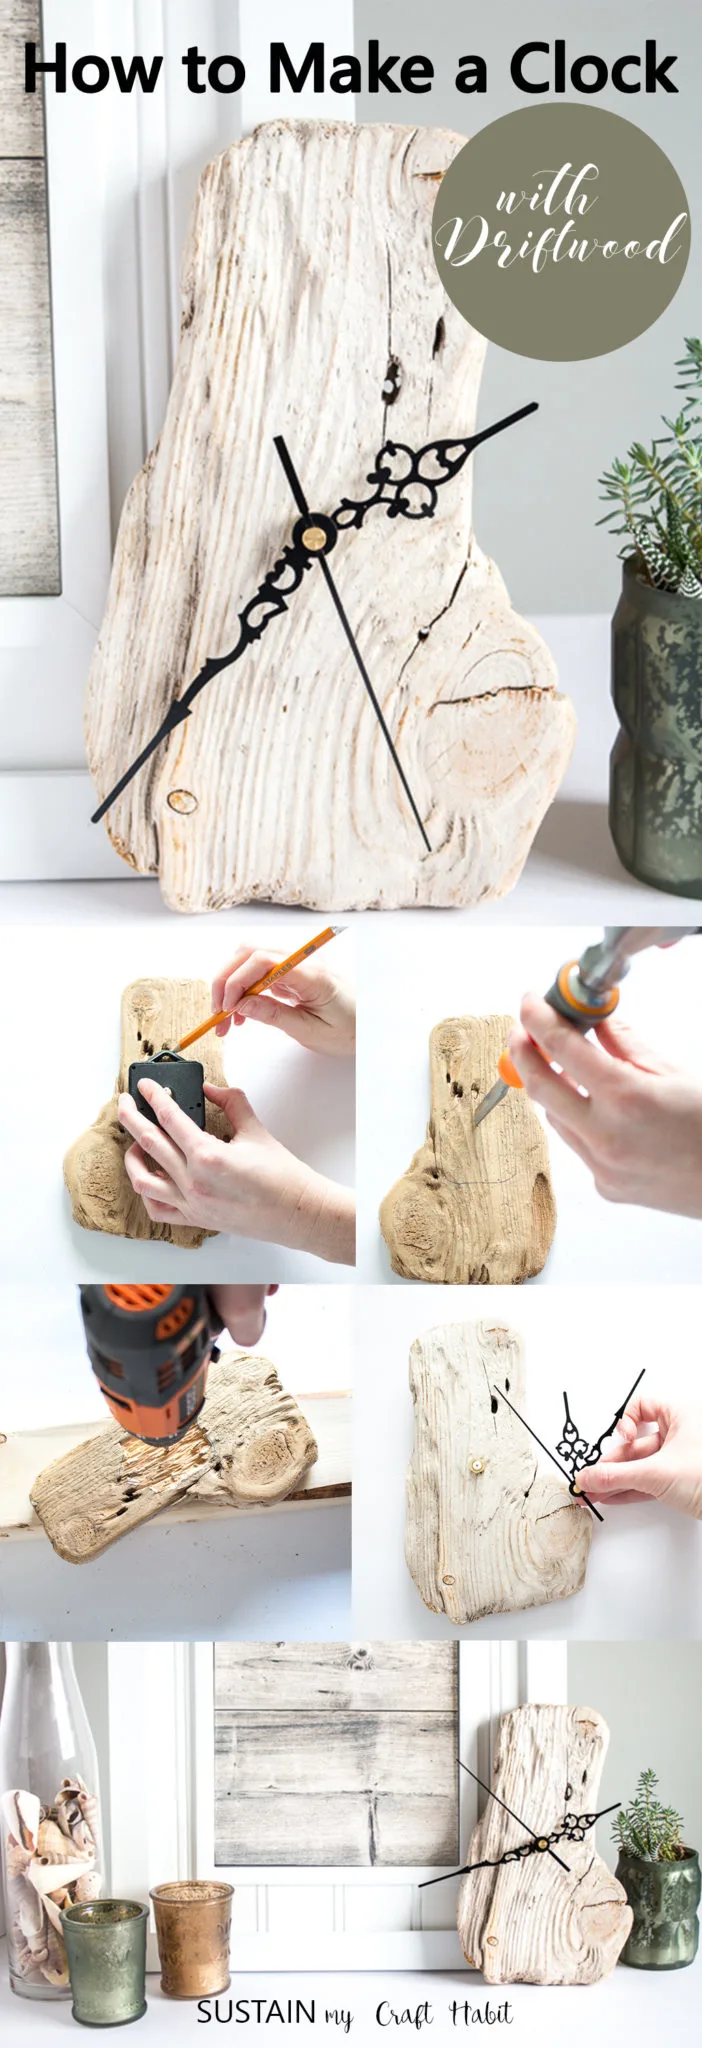
I’d been holding on to this perfectly water-worn, sun bleached piece of driftwood for quite some time. Since it was too small to make into a shelf, like this driftwood hanging shelf or this large driftwood wall shelf, I decided to turn it into a unique, one-of-a-kind, very rustic driftwood clock.
The clock kits are readily available and come in a variety of sizes and styles. When ordering the clock kits, make sure to consider the size of your driftwood to ensure they’ll fit well together. I have to say. there is something pretty gratifying about making your own functioning wood clock.
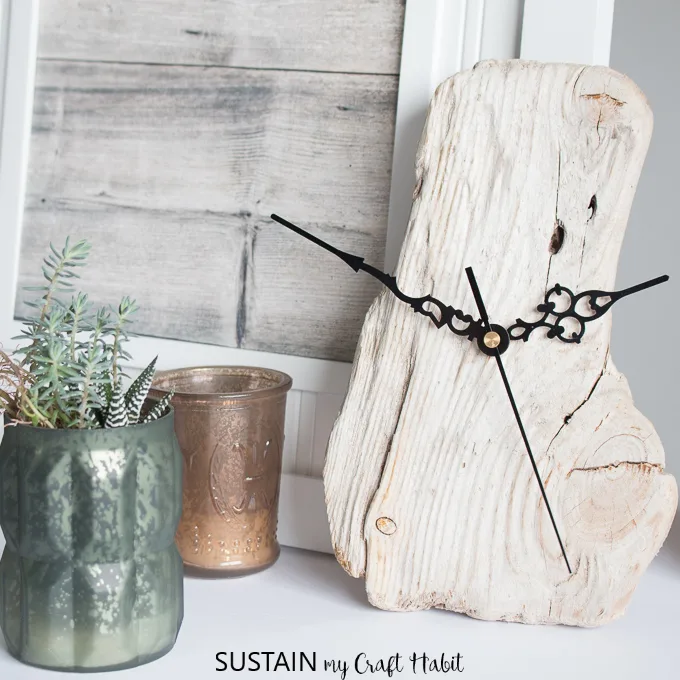
This clock is also a great product to sell at craft sales and bazaars. Check out our whole list of scrap wood projects to make and sell.
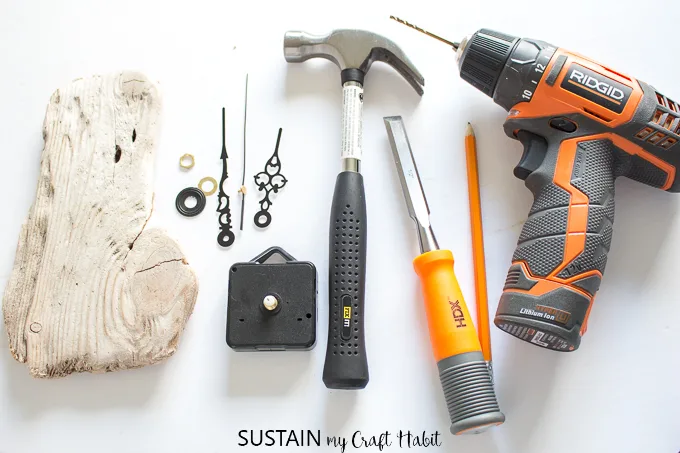
Materials Needed to Make your own DIY Clock with Driftwood:
Disclosure: This post continues affiliate links for your shopping convenience. You can find our full disclosure policy here.
- Large / flat piece of driftwood (our piece was approximately sized 10” x 4” and about ¾”-1″ thick: you can see the minute hand hangs past the piece of wood width-wise (at 3 o’clock and 9 o’clock) but fits lengthwise (at 12 o’clock and 6 o’clock))
- Clock Making Kit (choose size according to driftwood piece)
- Chisel
- Hammer
- Drill with applicable sized drill bit
How to Make a Clock with Driftwood:
Preparing the Wood:
Clean and dry driftwood.
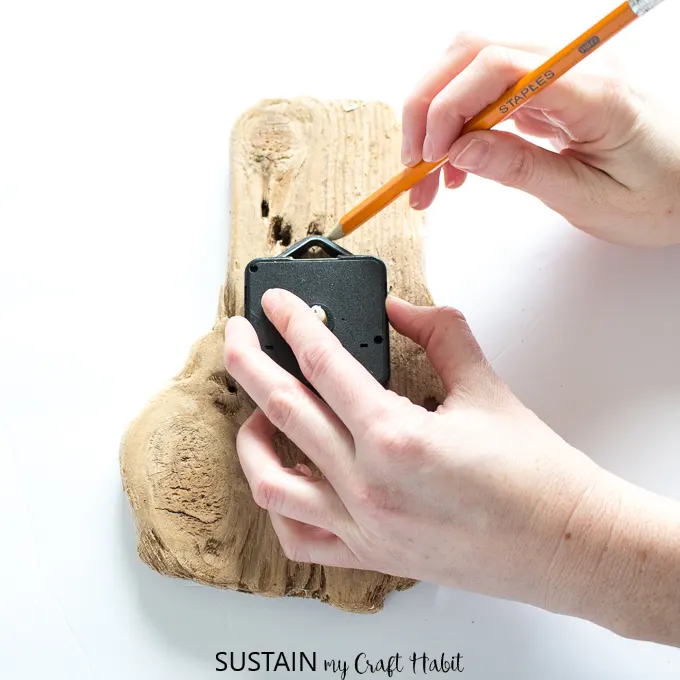
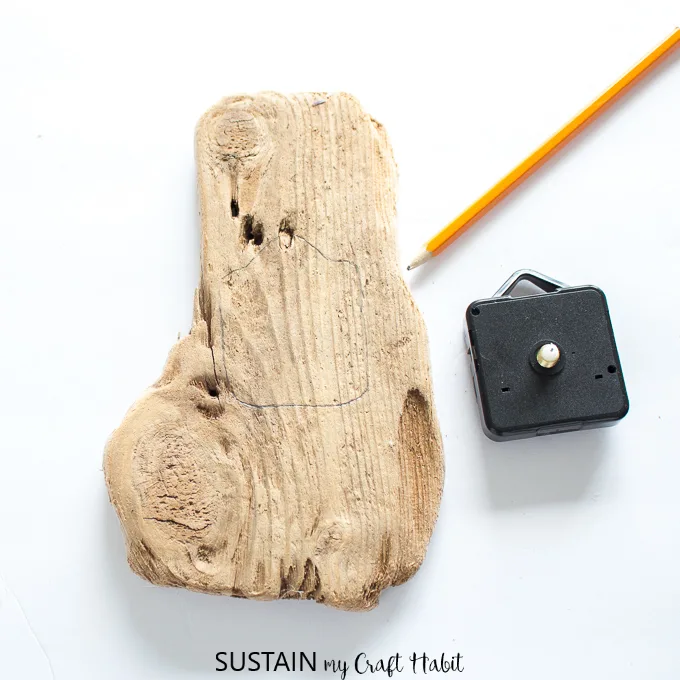
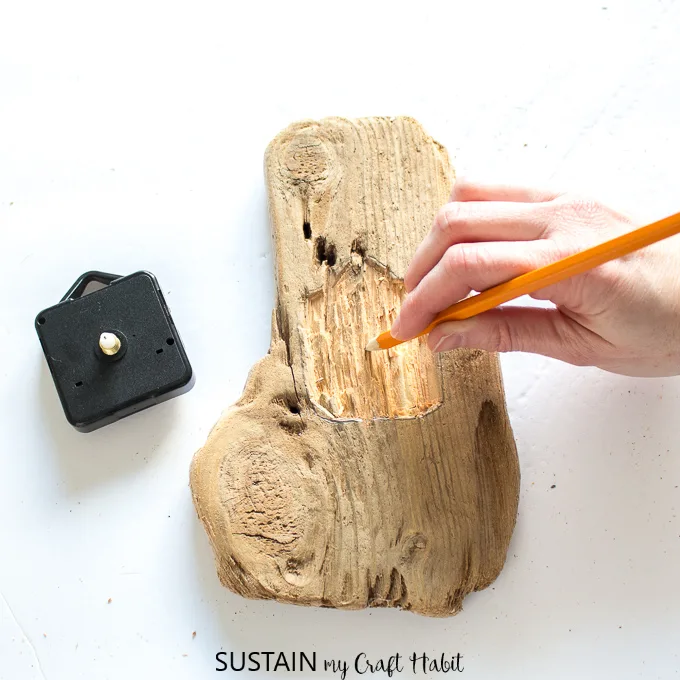
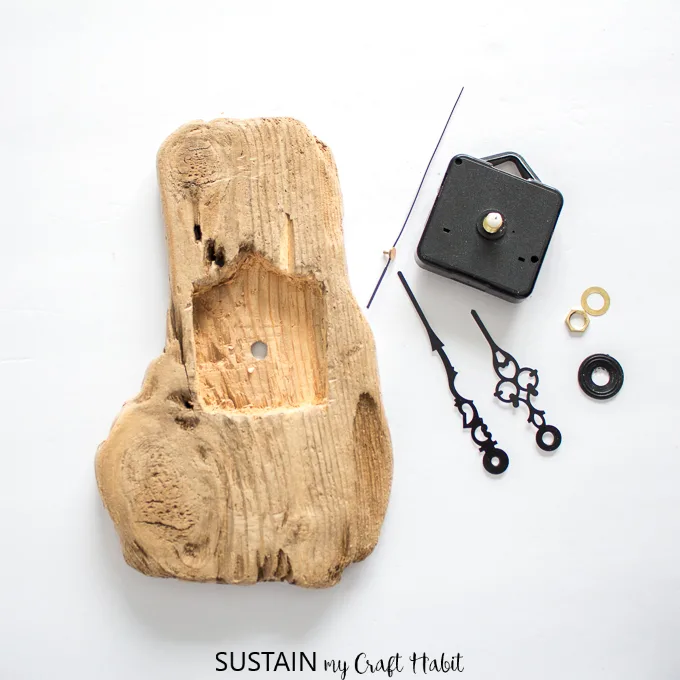
On the wrong side (or back side) of the driftwood, mark the placement for the clock mechanism. Trace the mechanism with a pencil.
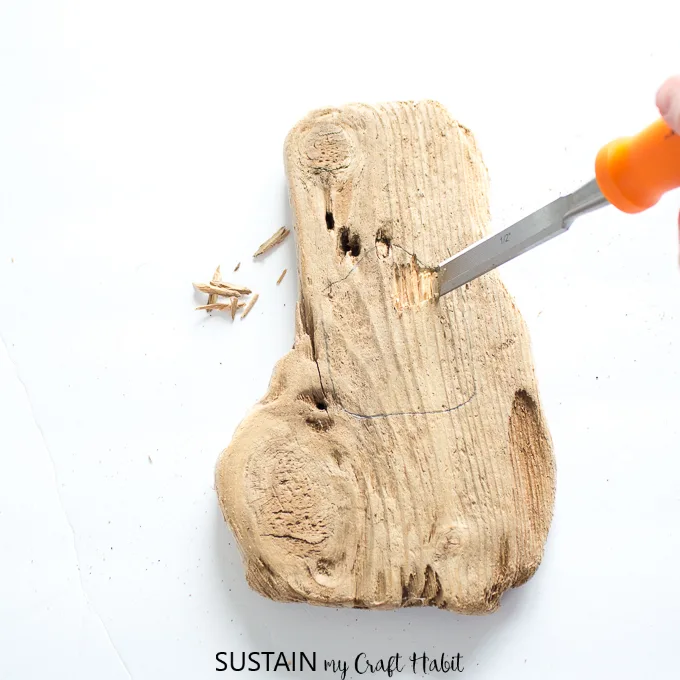
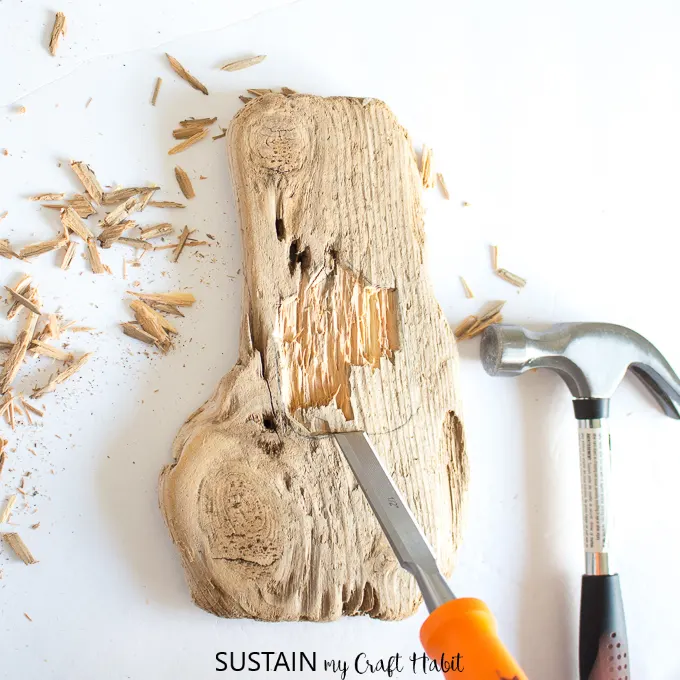
Begin to remove the wood from inside the lines using a medium sized chisel and a hammer. Hold the wood piece in place with another set of hands or use a table clamp.
The depth of the clock shaft will determine how much you’ll need to chisel out of the back. There needs to be at least ⅛” of the shaft poking out on the other side in order for the nut to attach securely onto the shaft.
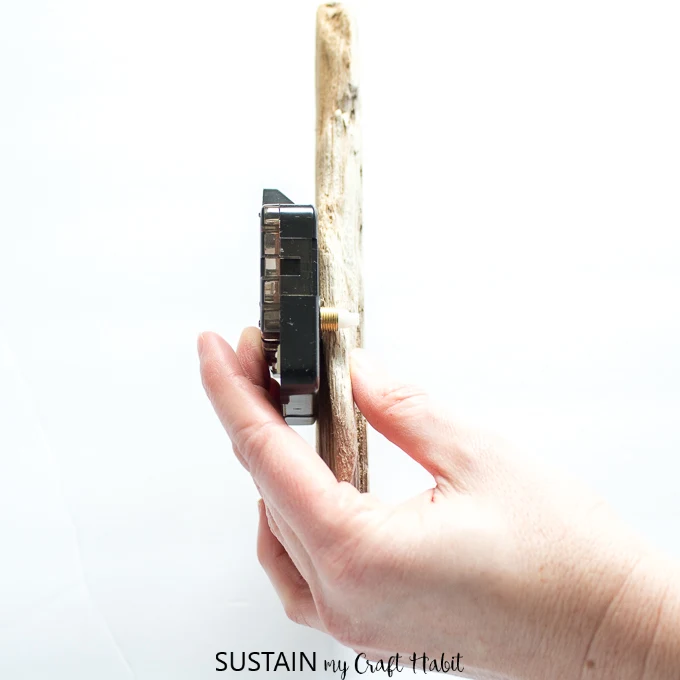
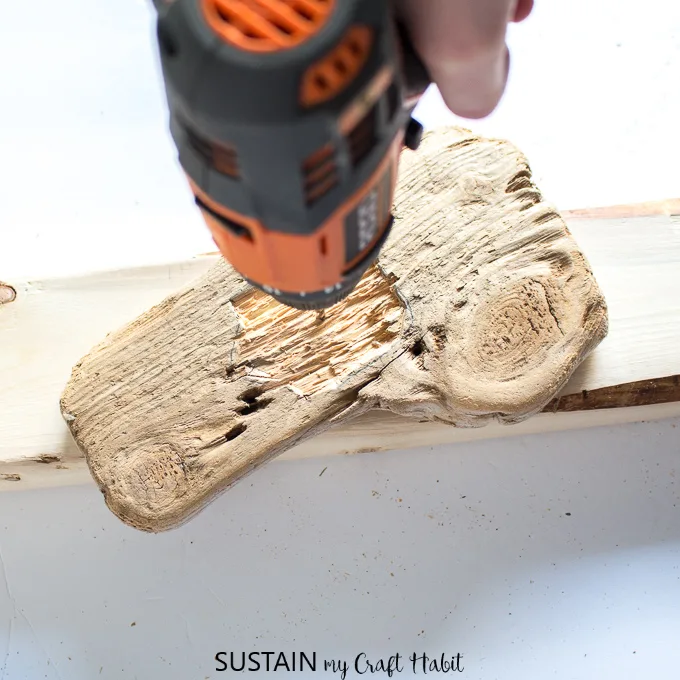
Mark the placement for the shaft and drill a hole all the way through to the other side. Use a drill bit that is slightly larger than the diameter of the clock shaft. The clock shaft will stick through the center hole.
Check that the mechanism fits inside the chiseled out section. Continue to thin out and chisel as needed until the mechanism fits in fully and the shaft pokes through to the other side.
Assemble the Clock:
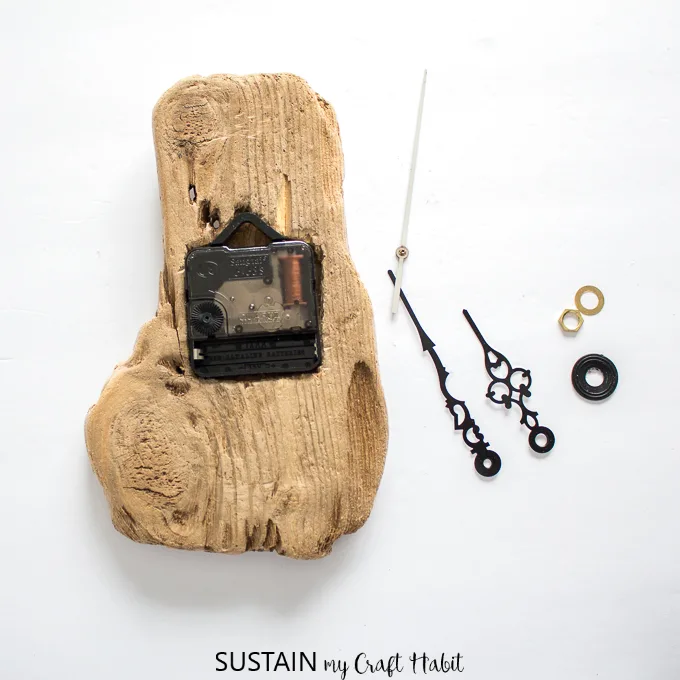
Once you’ve chiseled out enough, insert the mechanism pushing the shaft all the way through the hole.
Depending on how much of the shaft sticks out on the right side, you may or may not need to include the rubber gasket and washer. In my case, I didn’t use these additional pieces.
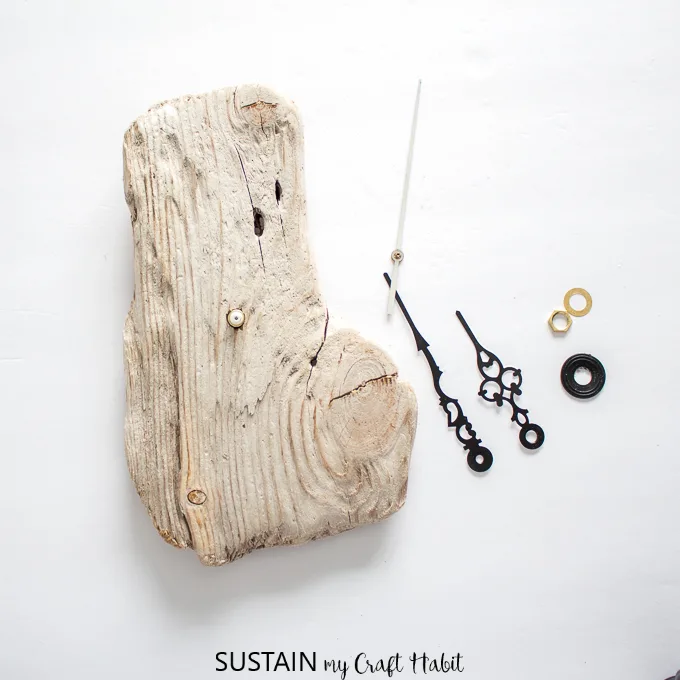
Screw the nut onto the shaft to secure in place.
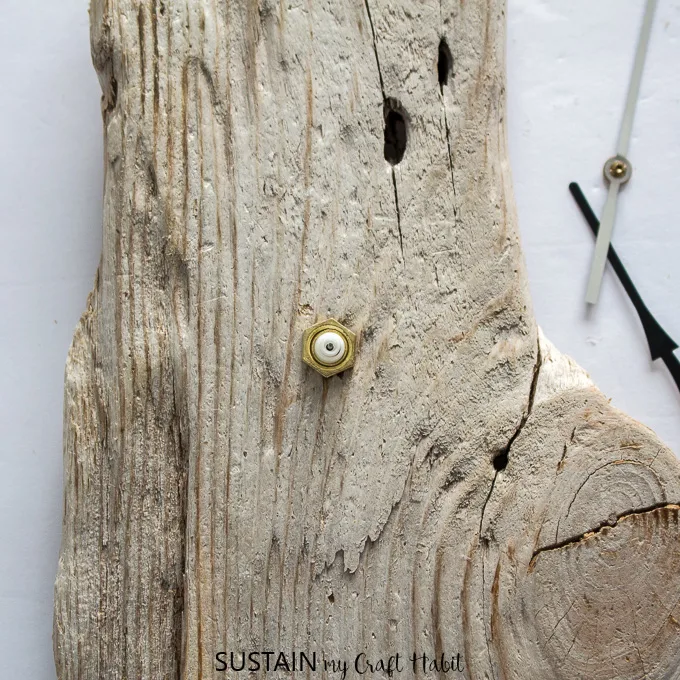
Attach the hour hand.
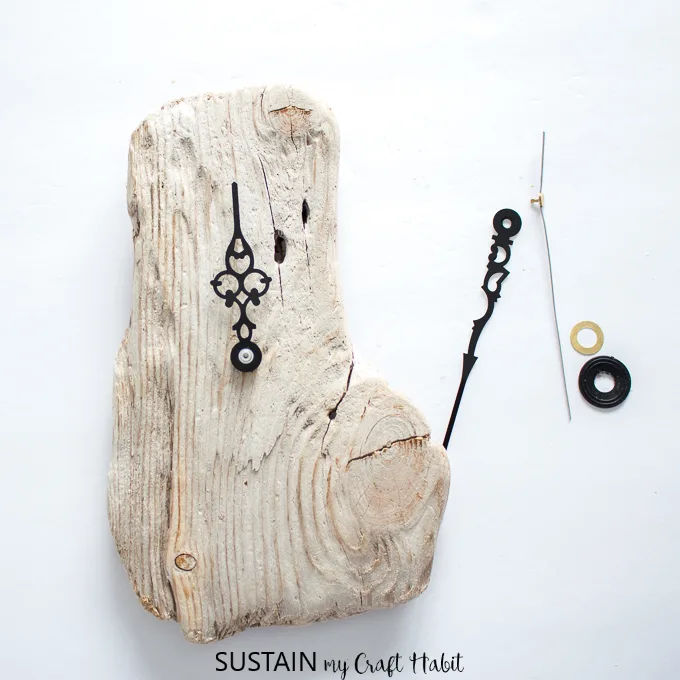
Next, attach the minute hand.
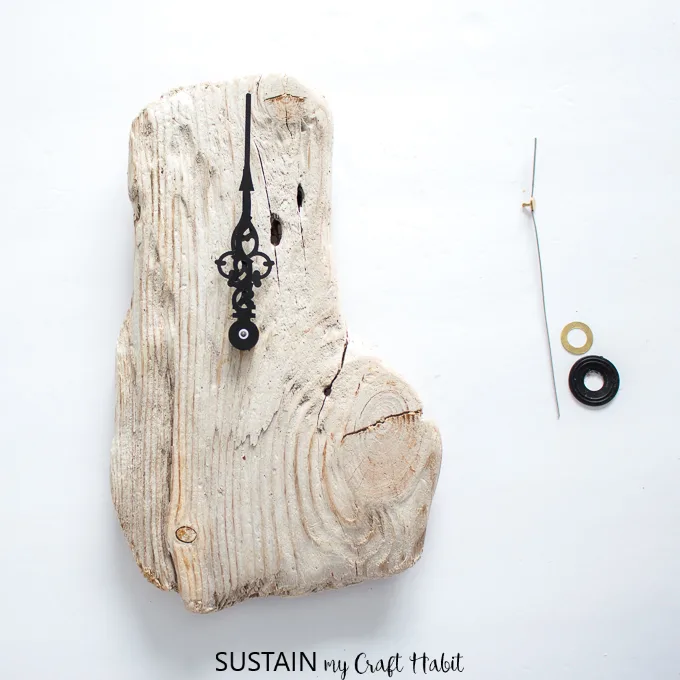
And lastly, attach the second hand.
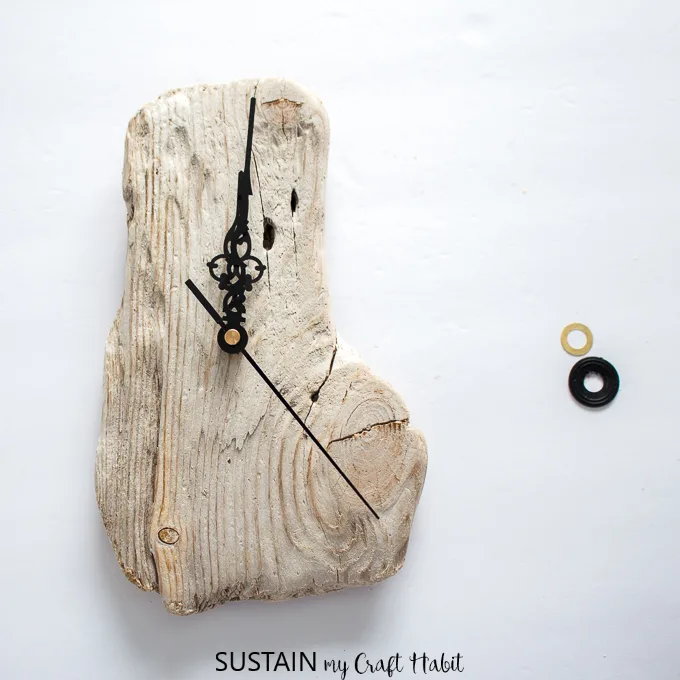
Insert the battery and you’re good to go!

I’ve displayed it in my craft room for the time being and propped it on the shelf but it could also be hung on a wall as well.

For more DIY ideas using driftwood, check out our driftwood hand lettered sign and our driftwood blanket ladder.
Like it? Pin it for later!

Kellamehhanism
Tuesday 17th of December 2019
This old wood from the sea looks really nice when you make a clock out of. It is not very easy to finf something good that makse your clock look special. You have found it. Thanks for the good ides.
James Borst
Wednesday 27th of November 2019
I love the driftwood with the hole used on that clock. It looks so beautiful. My wife and I have an old clock that we inherited when my dad passed but it doesn't work. We were looking for ways to bring new life to it, but we may reach out to a clock repair service to see if they can fix it.