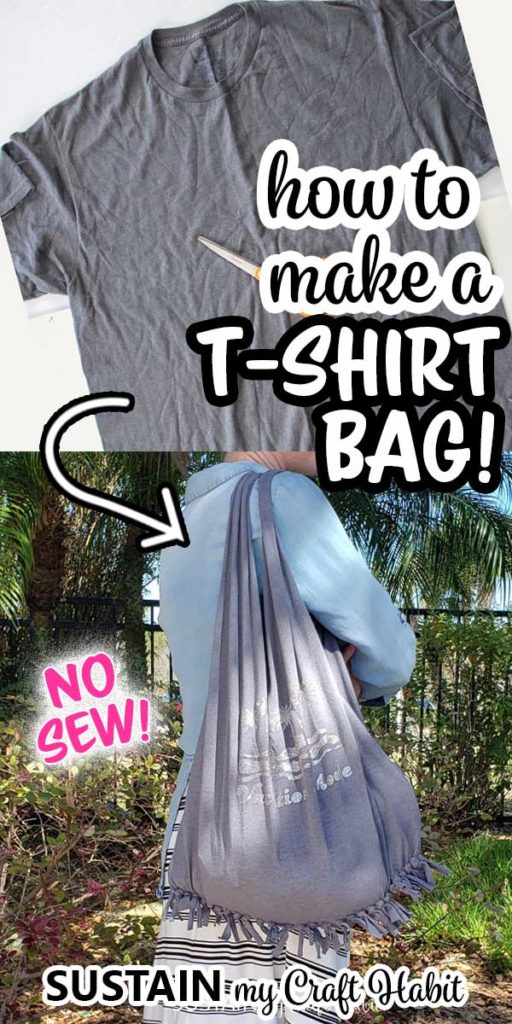
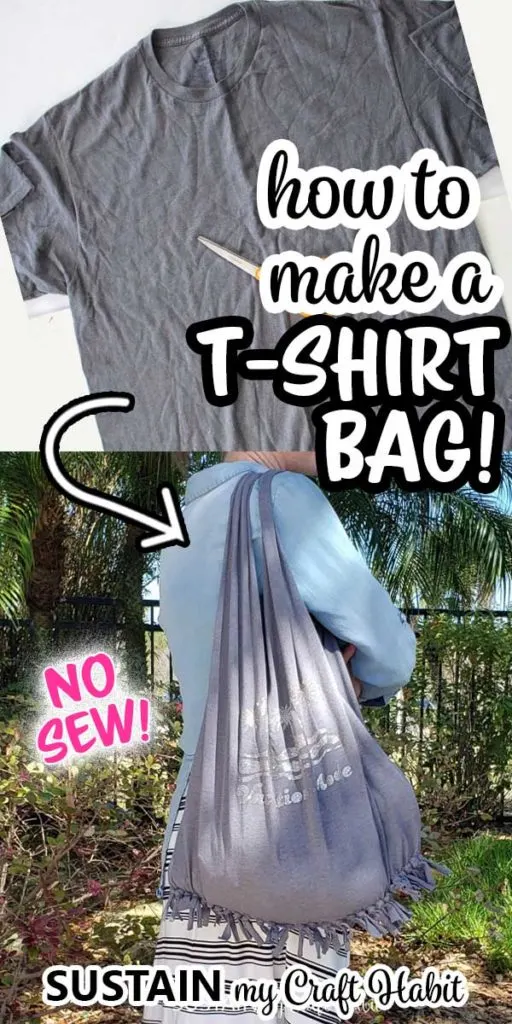


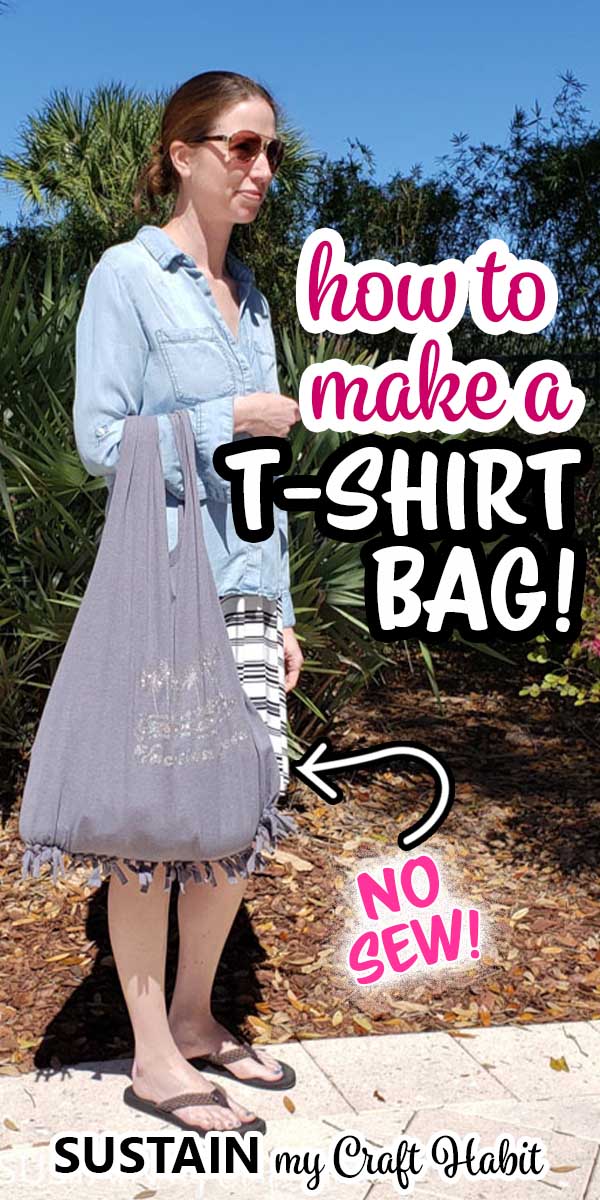
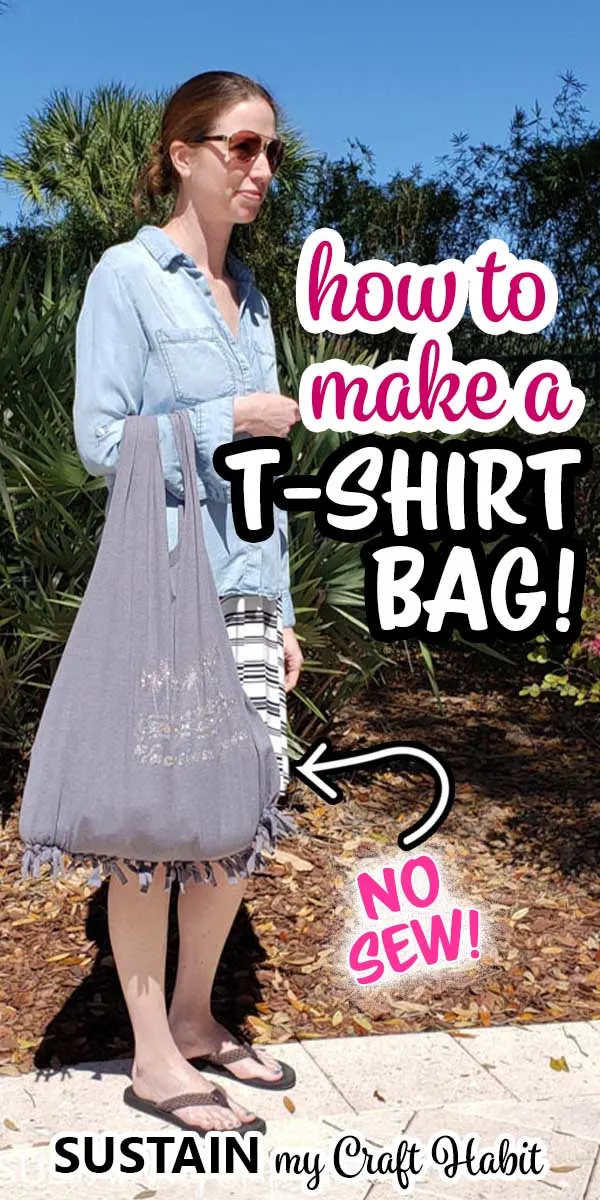
Before you give away those old tshirts or turn them into rags, consider making a no sew tshirt bag instead!

A Super Simple No Sew Tshirt Bag
As I was packing my bags for a family vacation a few weeks ago, I quickly whipped together this DIY beach bag in less than 30 minutes. Rummaging through my stash of clothes to upcycle, I found one of my husband’s old cotton tshirts that I was holding on to for making tshirt yarn.
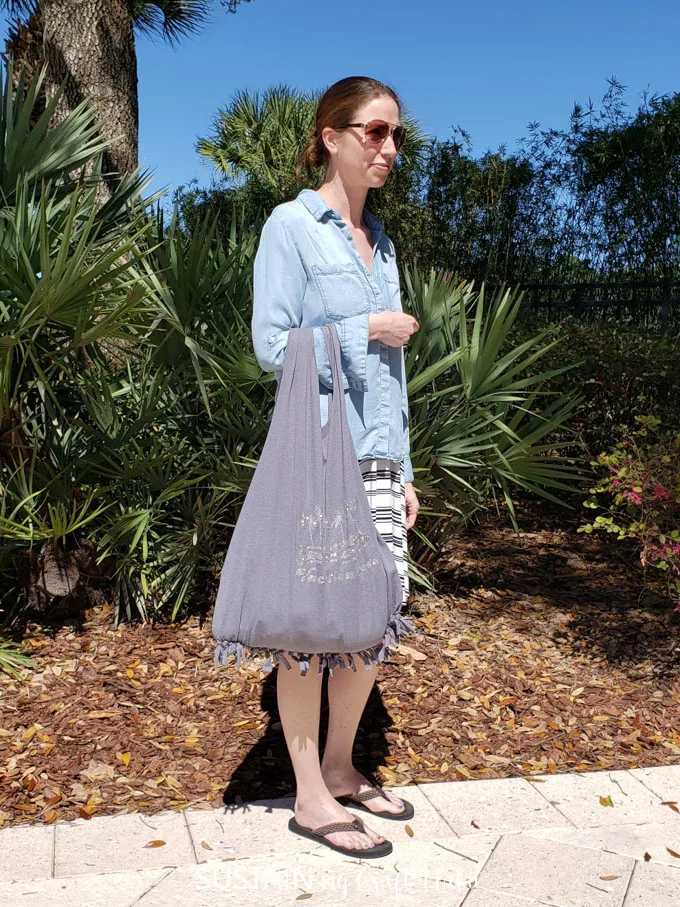
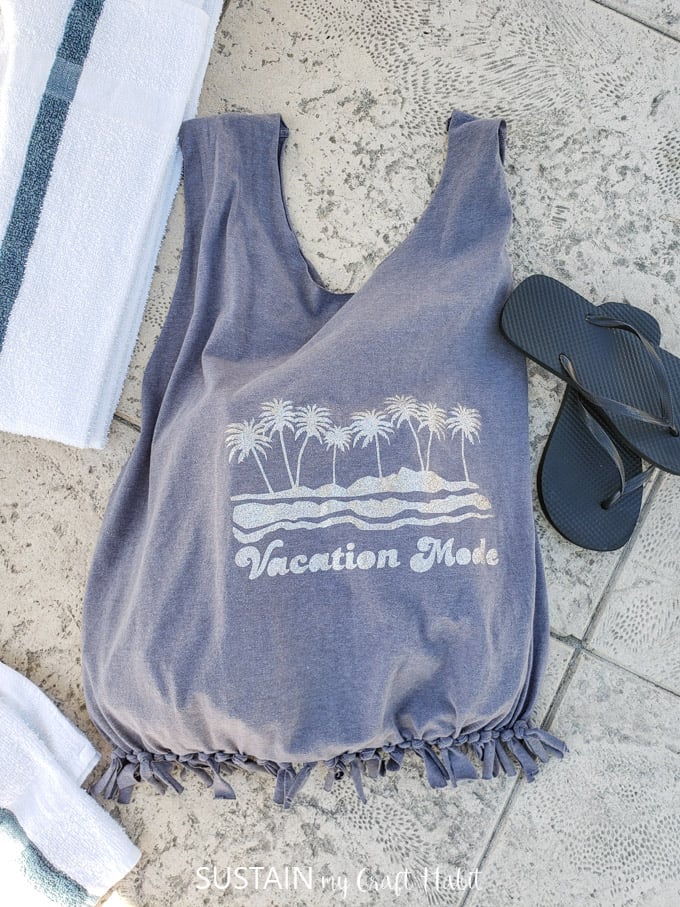
And since I have a Cricut Maker, I chose to add a fun vacation mode design in a glitter iron on vinyl to the tshirt bag. Even this added step took only a few minutes by choosing the project template from Cricut’s Design Space gallery.
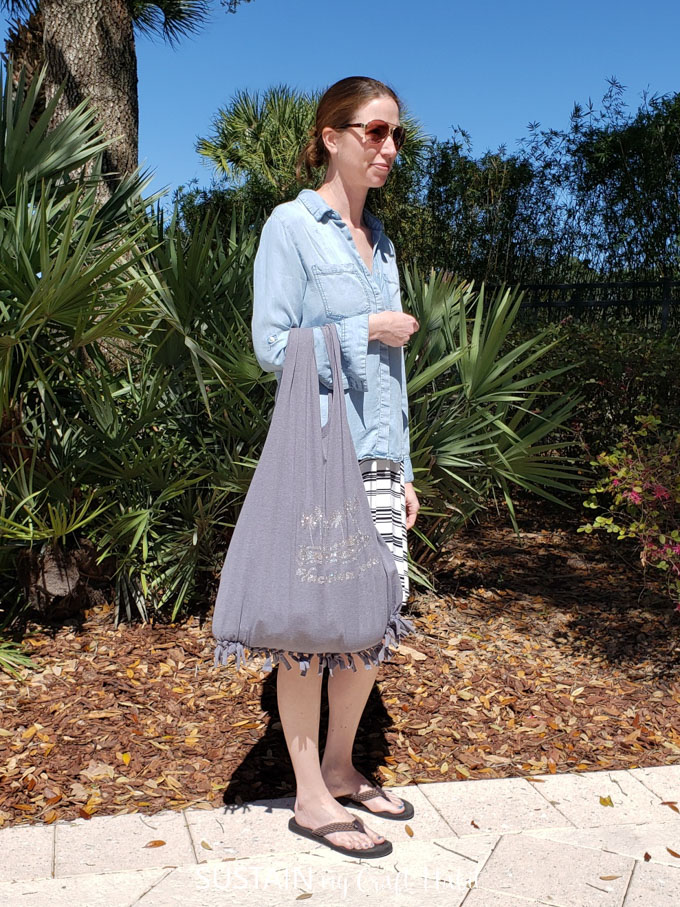
I must admit, I was proud of myself for using materials I had around the house and not immediately running out to the store to buy something new. The bag really came in handy for our days spent poolside, our day trip to the beach and for the day spent at Disney World’s Magic Kingdom.
Materials Needed to Make a No Sew Tshirt Bag
This post contains affiliate links – should you choose to purchase through these links we make a small commission at no cost to you. Read our full disclosure statement here.
- Tshirt, 100% cotton or Cotton/Poly Blend, Size L or XL, with no side seams
- Fabric scissors
- Measuring tape
- Vacation Mode Tshirt Project Template in Design Space
- Cricut Maker
- Cricut standard grip mat
- Glitter Iron On Vinyl
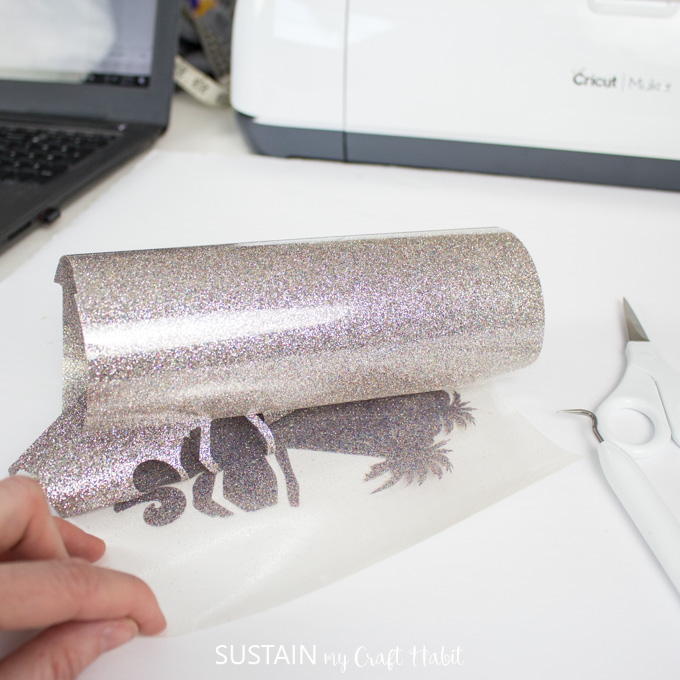
- Weeder
- Scissors
- Cricut Easy Press
- Cricut Easy Press mat (or towel)
How to make a Tshirt Bag
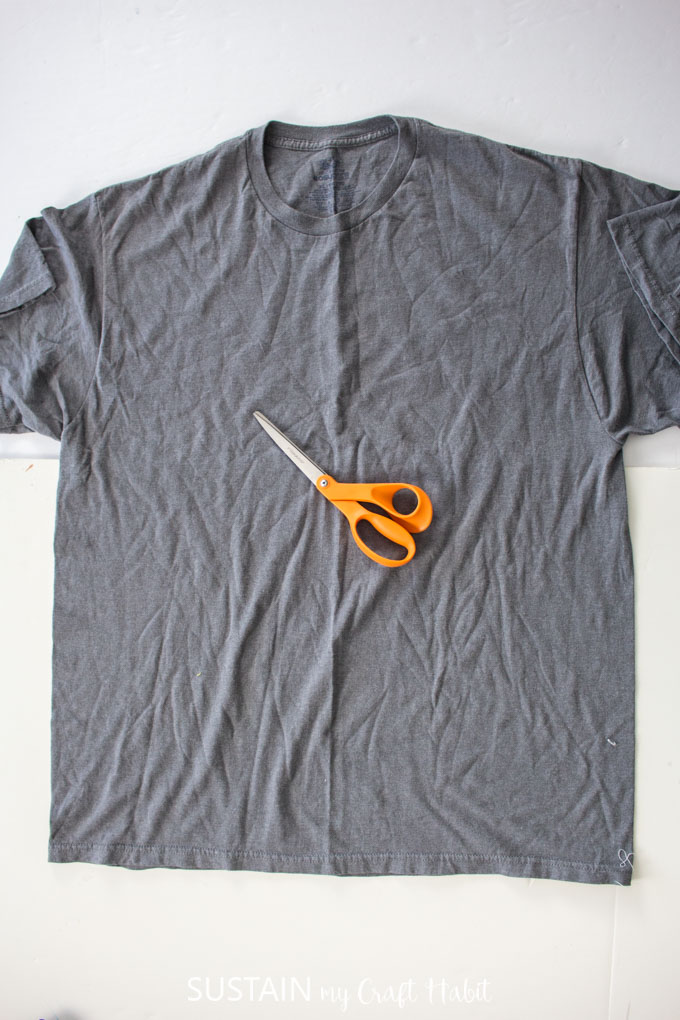
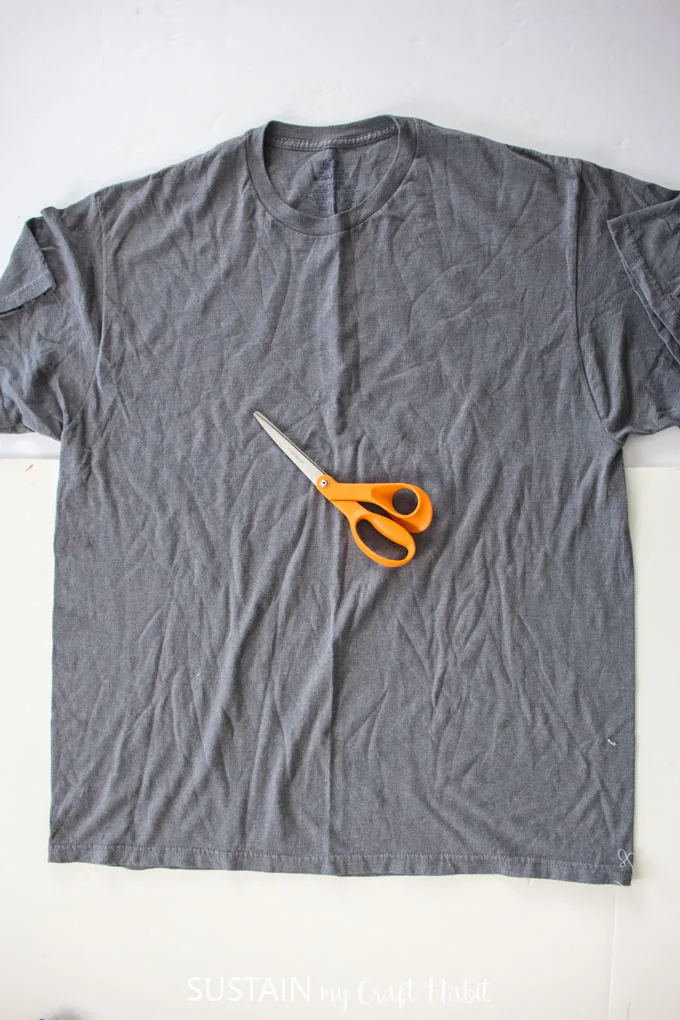
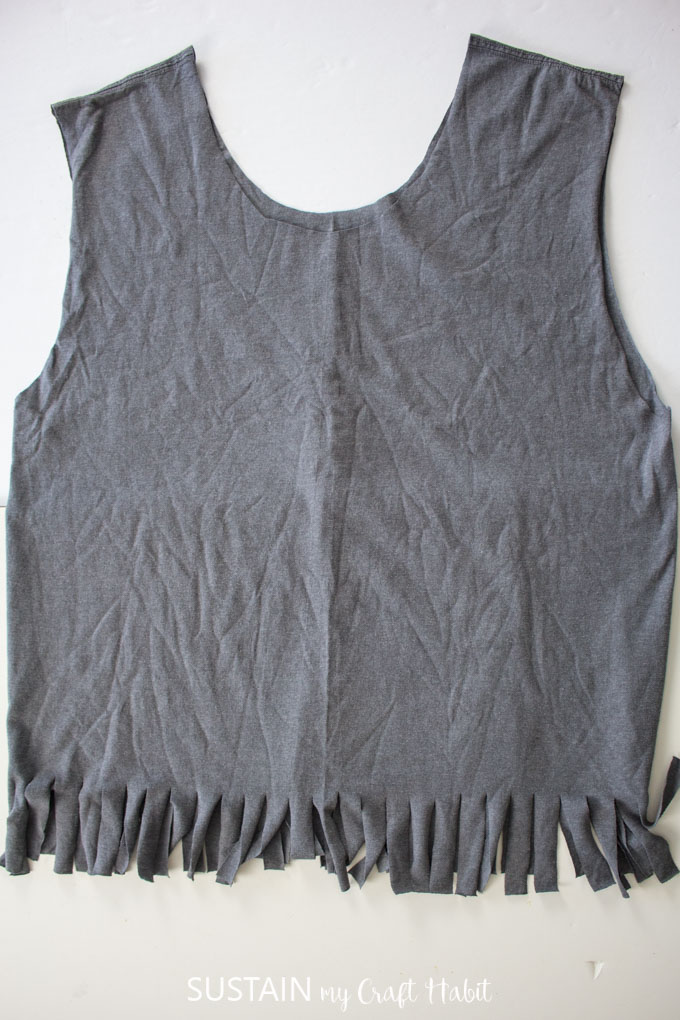
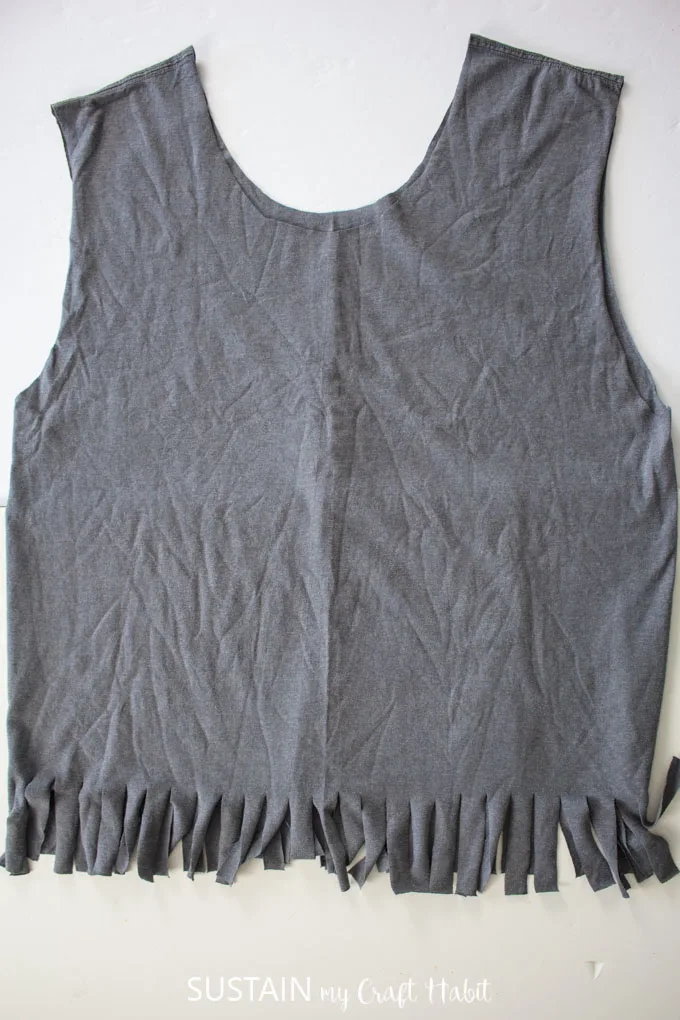
Lay tshirt down on a flat surface with the front side up. If you can, try to use a tshirt that doesn’t have any side seams. If you don’t have, don’t worry, the tshirt bag will still turn out great!
Cutting the Tshirt
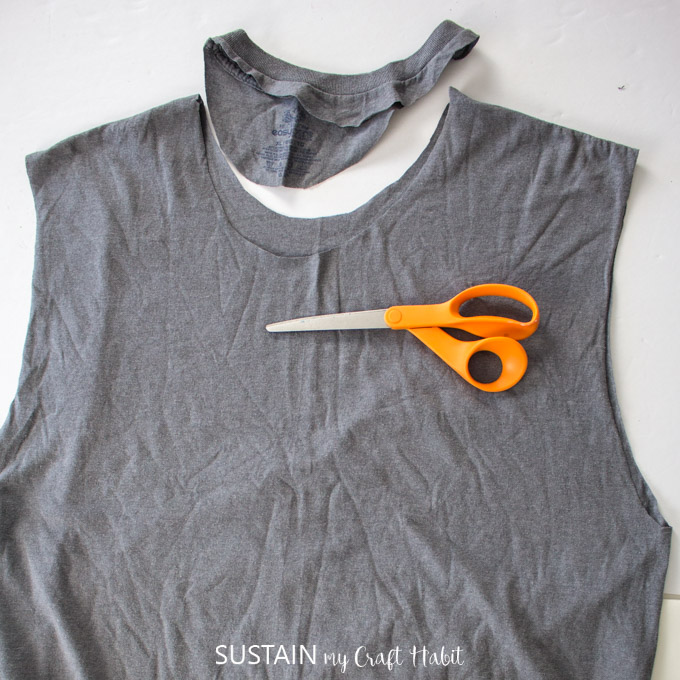
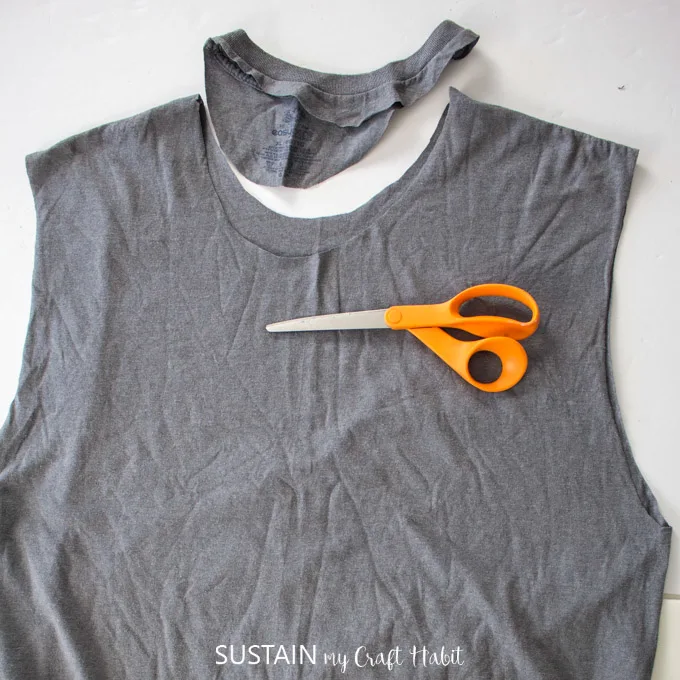
Cut off the bottom hem just above the stitching.


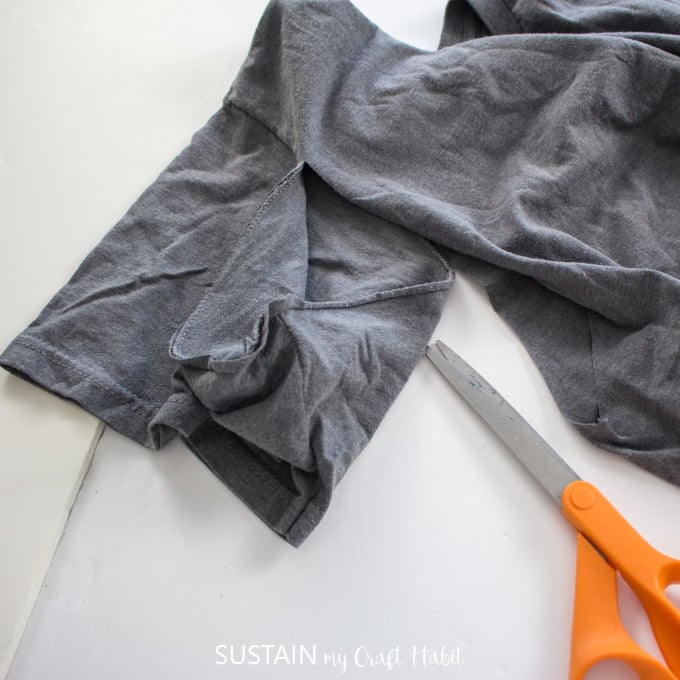
Next, cut out the sleeves along the armhole seams on the side of the body.

And then last but not least, cut out the neckband creating a large scoop at the front and back. I did this in two stages as I didn’t want to make the opening too big right off the get-go.
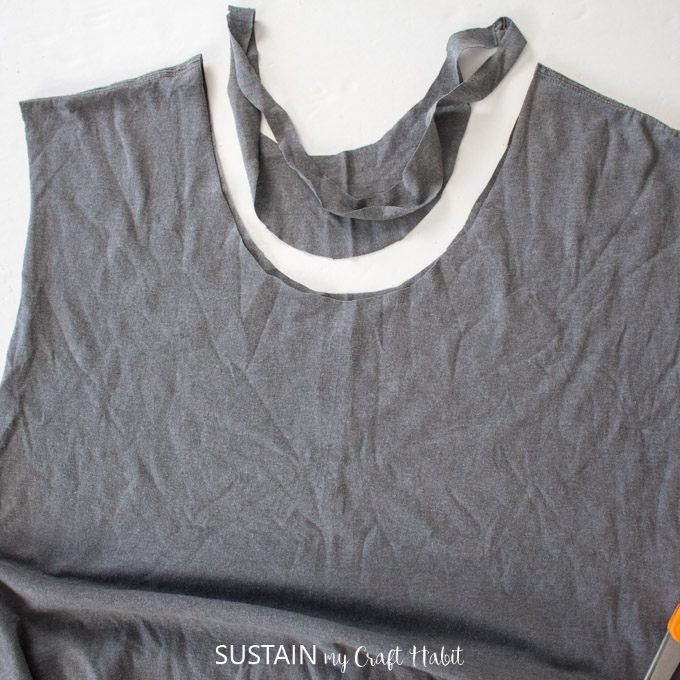
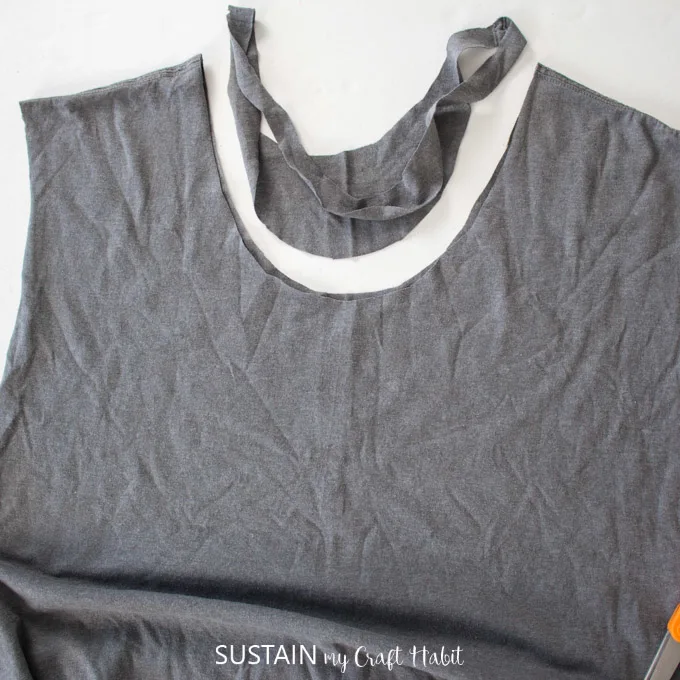
Along the bottom opening, cut evenly sized strips measuring 4” long x 3/4” wide.


Continue along the entire length of the bottom opening.
If you want to add an iron-on decal like I did, then continue with the instructions below. Otherwise, skip the next part and proceed to the finishing section below.
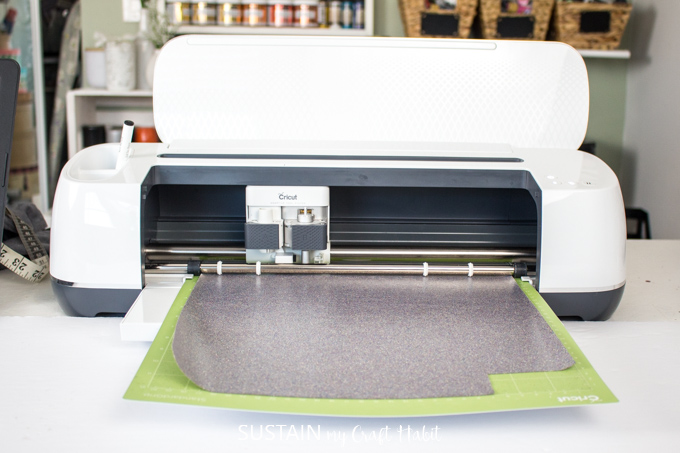
Cutting the Vinyl Decal with the Cricut Maker
Upload the ‘Vacation Mode Tshirt’ project template on to a blank canvas.
Resize the design to fit your tshirt bag. In my case, I sized it to 10″ wide by 6.4″ high.
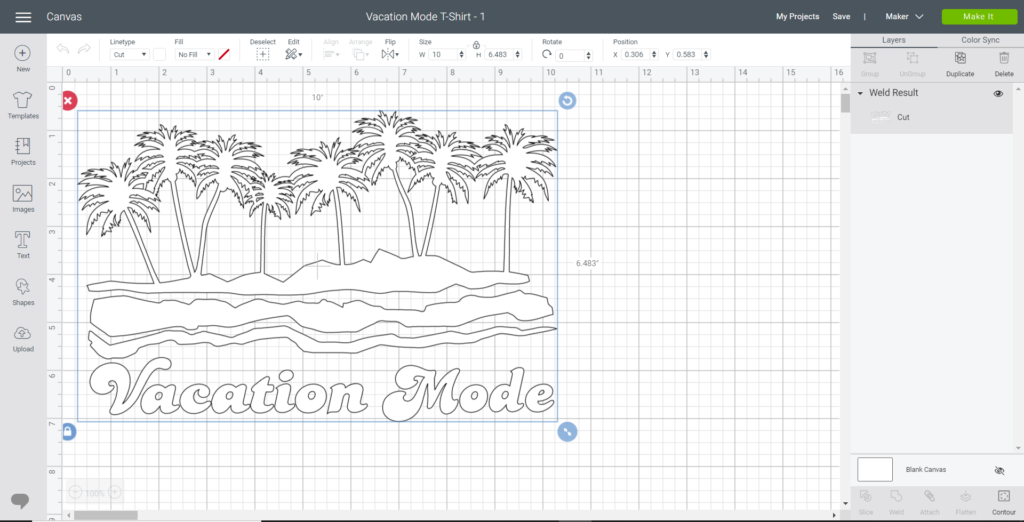
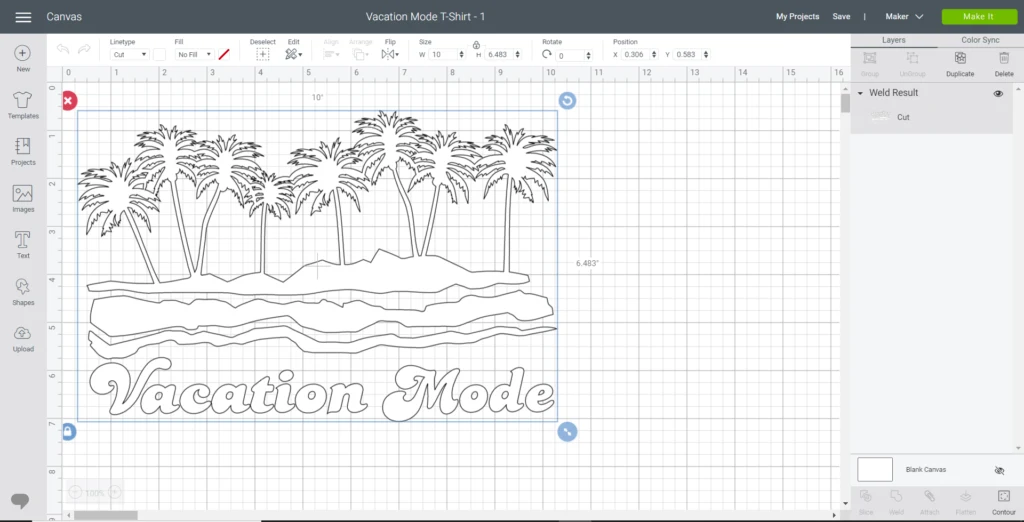
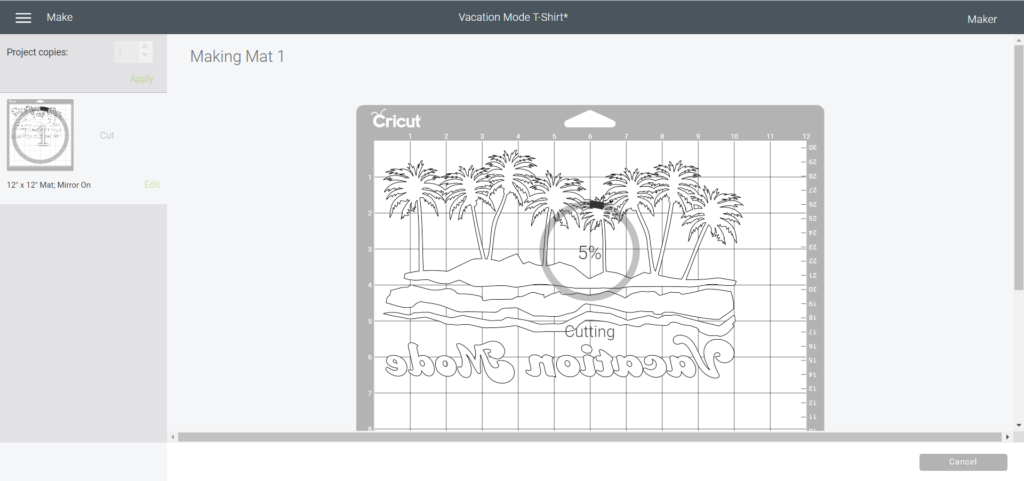
Select ‘Make It’ in the top right corner to see the design on the mat and make sure the “Mirror On” toggle is set.
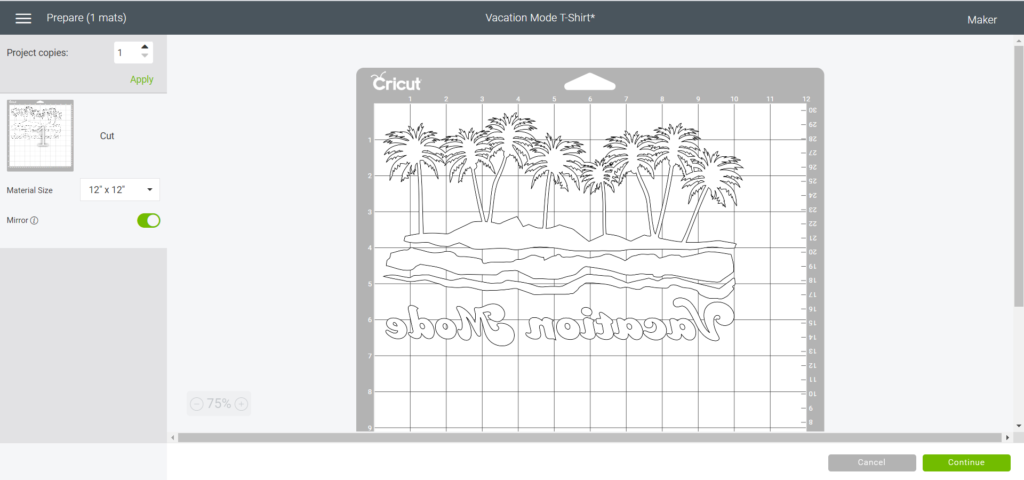

Place the glitter iron-on vinyl on to a standard grip mat and press ‘Continue’ to select material type and to proceed with cutting.

Upload the mat and continue with the cut following the prompts on the screen.
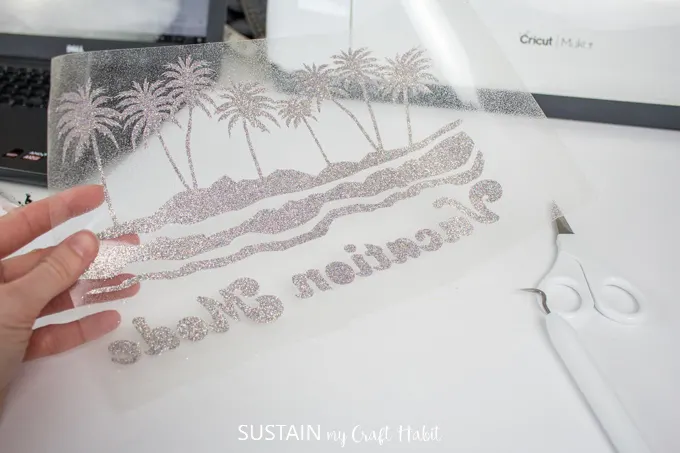
When cut is done, unload and use a weeder to remove the excess vinyl. In my rush, I forgot to remove some of the vinyl inside the letters but honestly. it looks great anyways!


Using the Cricut Easy Press

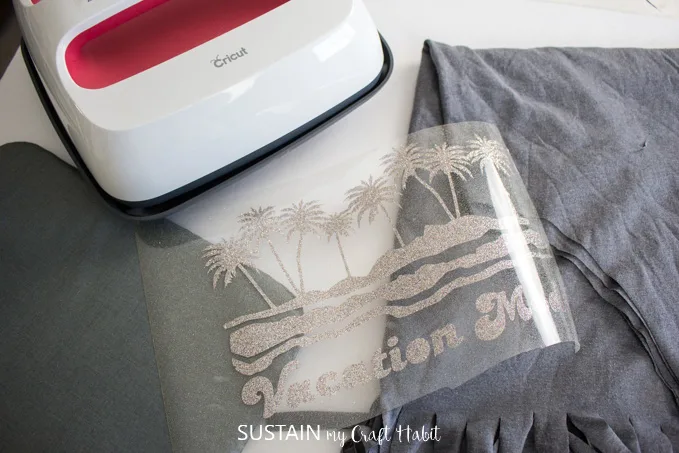
Place the Cricut Easy Press mat inside the prepared tshirt bag. Following the Easy Press Heat Guide, preheat the fabric.
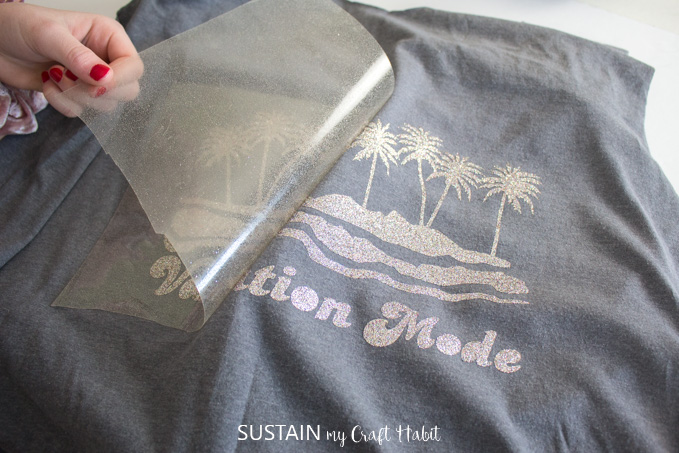
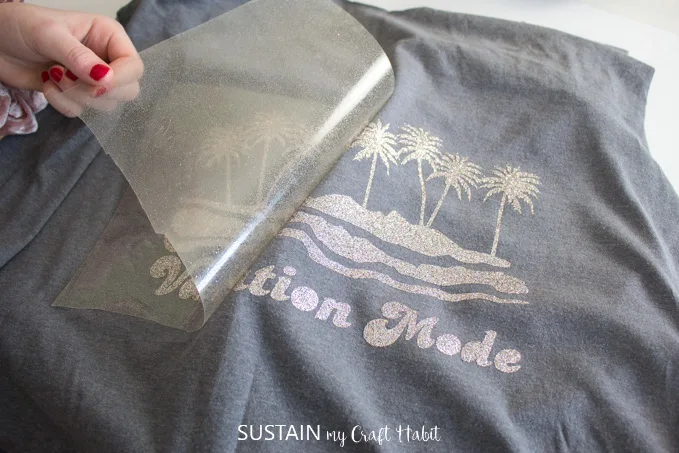
Place the vacation mode glitter iron-on vinyl on the tshirt in the desired location.
And apply the heat to the iron on vinyl following the instructions on the guide.

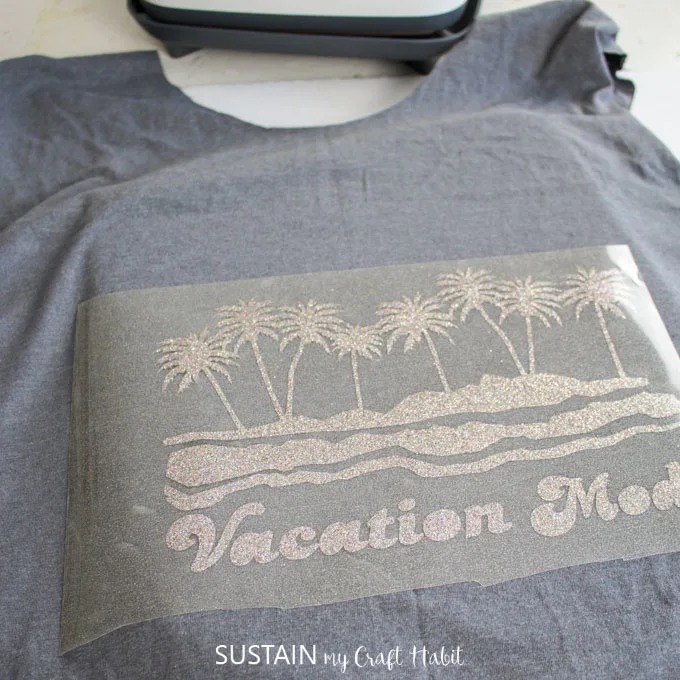
I love this next part….remove the plastic covering to reveal the new fun design!
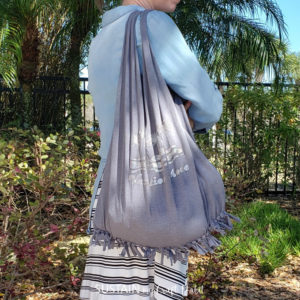
Finishing the Tshirt Bag
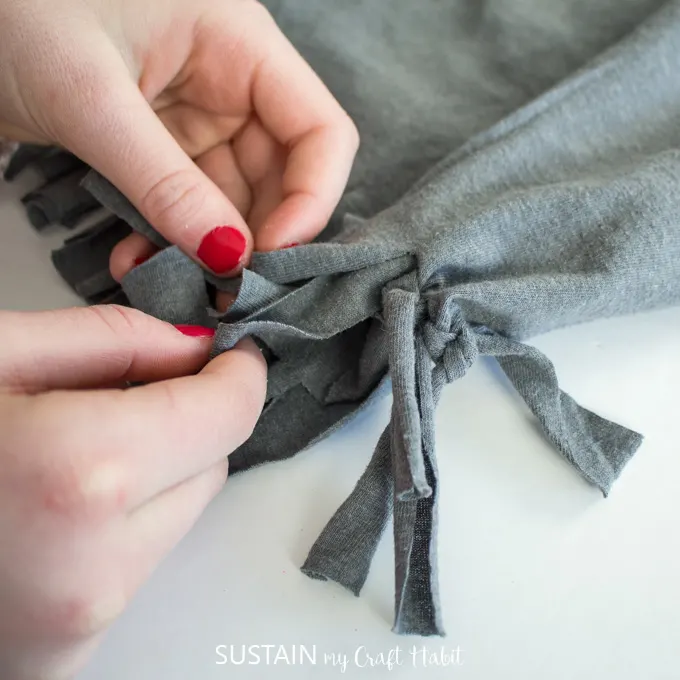
Starting on one side and working your way across to the other side, knot one front fringe with one back fringe as shown. Continue until all the fringe is knotted together and the bottom opening is sealed.

And that’s all it takes to turn a tshirt into a bag! Time to head to the pool!


For more upcycled clothing ideas, check out these fun DIYs:
- Repurposed denim picnic blanket
- how to make tshirt yarn using the whole tshirt
- top 20 tshirt yarn projects
- Upcycled baby clothes keepsake pillow
Do you have a stash of clothes you plan to upcycle?
Like it? Pin it for later!

How to Make a Tshirt Bag
Materials
- Tshirt 100% cotton or Cotton/Poly Blend, Size L or XL, with no side seams
- Fabric scissors
- Measuring tape
- Vacation Mode Tshirt Project Template in Design Space
- Cricut Maker
- Cricut standard grip mat
- Glitter Iron On Vinyl
- Weeder
- Scissors
- Cricut Easy Press
- Cricut Easy Press mat or towel
Instructions
- To cut the tshirt, lay tshirt down on a flat surface with the front side up and cut off the bottom hem just above the stitching.
- Next, cut out the sleeves along the armhole seams on the side of the body.
- Then cut out the neckband creating a large scoop at the front and back.
- Along the bottom opening, cut evenly sized strips measuring 4” long x 3/4” wide.
- Continue along the entire length of the bottom opening.
- If you want to add an iron-on decal, upload the ‘Vacation Mode Tshirt’ project template on to a blank canvas in Cricut.
- Resize the design to fit your tshirt bag.
- Select ‘Make It’ in the top right corner to see the design on the mat and make sure the “Mirror On” toggle is set.
- When cut is done, unload and use a weeder to remove the excess vinyl.
- Place the Cricut Easy Press mat inside the prepared tshirt bag to preheat the fabric.
- Place the vacation mode glitter iron-on vinyl on the tshirt in the desired location.
- Apply the heat to the iron on vinyl and then remove the plastic covering to reveal the new fun design.
- To finish the tshirt bag, starting on one side and working your way across to the other side, knot one front fringe with one back fringe as shown.
- Continue until all the fringe is knotted together and the bottom opening is sealed.
- And that’s all it takes to turn a tshirt into a bag! Time to head to the pool!
Kim
Thursday 10th of August 2023
Thank you!!! I am having a Tshirt quilt made and while I am cutting out the panels my thoughts are what can I do with the back!!! So I will have to do a little sewing to join the front and the back, but that's ok!! I can represent my football and baseball team with one bag??
Jane and Sonja
Friday 18th of August 2023
That is so smart Kim!
Mary
Monday 16th of March 2020
Such a cute idea and you know I love upcycling clothes.
Jane and Sonja
Tuesday 17th of March 2020
As do we, Mary! Thanks for your comment.