
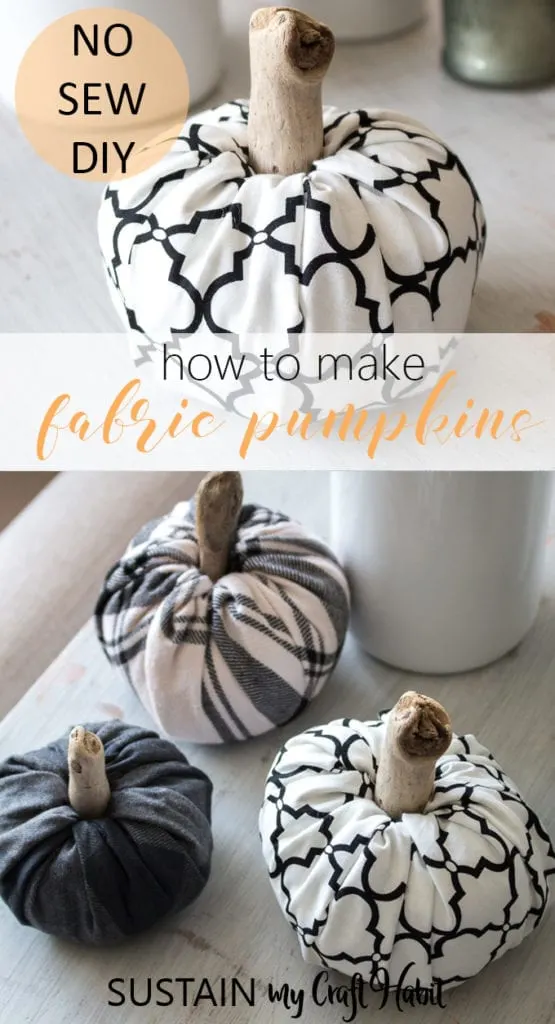
Hello friends! We hope you’re enjoying the cooler weather that comes with pumpkin season. Whether it’s carving them or making our own decor, we just can’t get enough of them! We’ll show you how to easily make these adorable fabric pumpkins that you can enjoy all season long.


We were inspired by those stylish velvet decor pumpkins we’ve seen in the shops and wanted to recreate the look using materials from around the house.
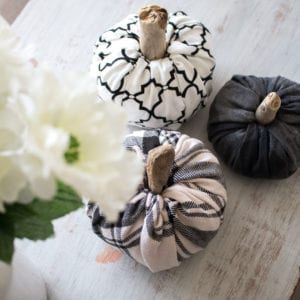
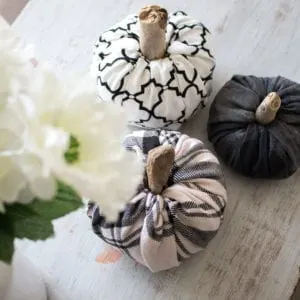
All of the scrap fabrics we used for these pumpkins had a similar look and feel with the textures, colors and geometric patterns. This cohesiveness helps when you’re planning to arrange a grouping of them together.
It ‘s always great when you can reuse leftover materials and trims or find them at a second hand store. One of the pumpkins was made using leftover materials from our upcycled cardboard box storage bin and another one was made from an old shirt that was headed for the thrift store. Can you guess which one?


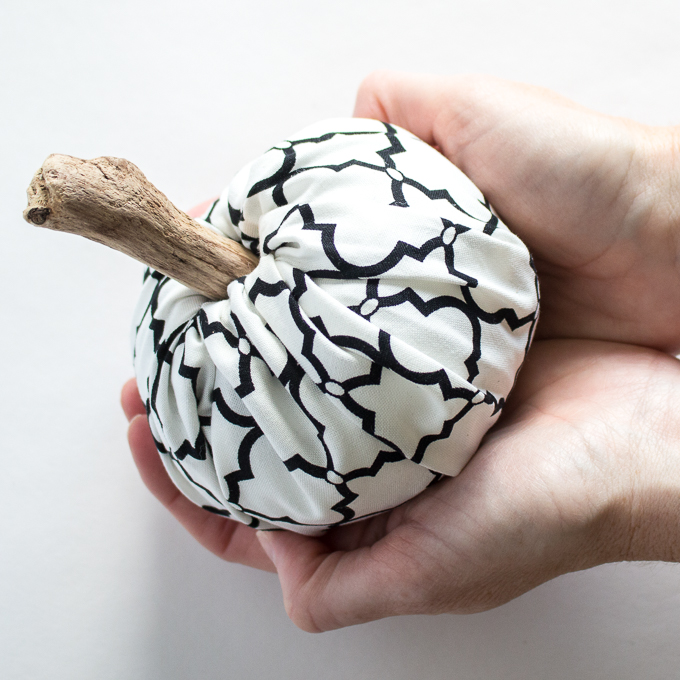
Although we used driftwood for our pumpkin stems, you can swap that out with any stick or small tree branch and create a similar rustic look.
Materials needed to make fabric pumpkins:
This list will make 1 fabric pumpkin measuring approximately 5” high (including stem) x 5” wide.
- Scrap fabric, lightweight woven material such as cotton twill, broadcloth or flannel
- Fabric Scissors
- Measuring tape or ruler
- Navy Beans, ½ cup (uncooked)
- Polyester Stuffing
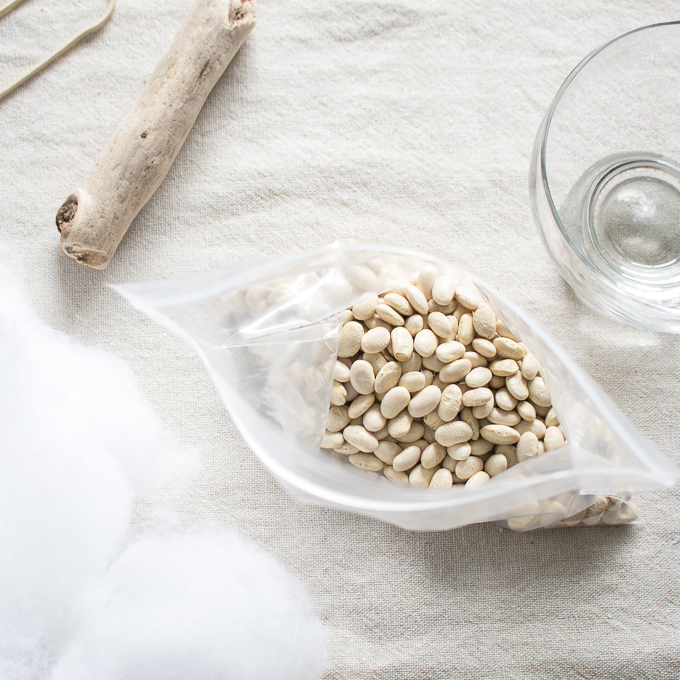
- Driftwood or tree branch, 4” long x 3” circumference
- Plastic zipper sandwich bag, approximately 16.5cm x 14.9cm size
- Rubber band


DIY Fabric Pumpkins Video Tutorial
How to make no-sew fabric pumpkins:
Begin by ironing your fabric prior to remove all creases and wrinkles.
Using fabric scissors, cut scrap fabric into a circle shape that measures 14” in diameter. Put circle aside.
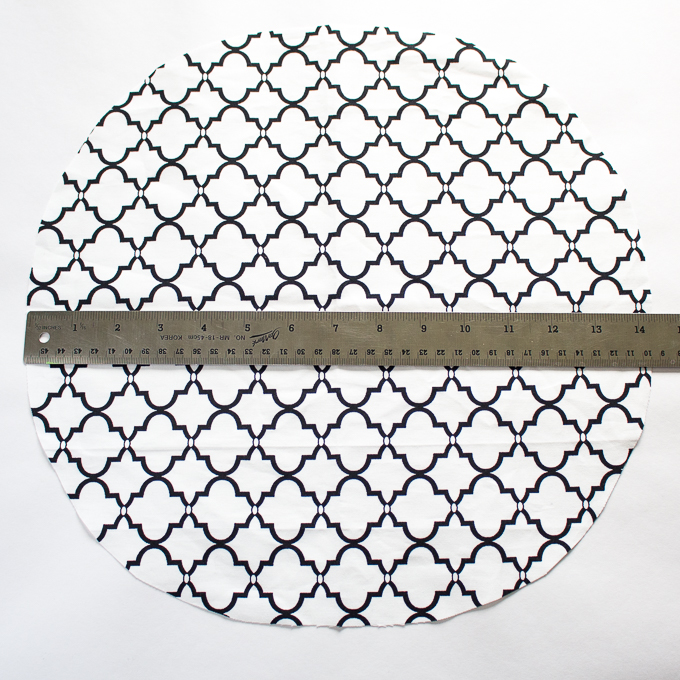

Here’s a little tip for cutting fabric into a circle:
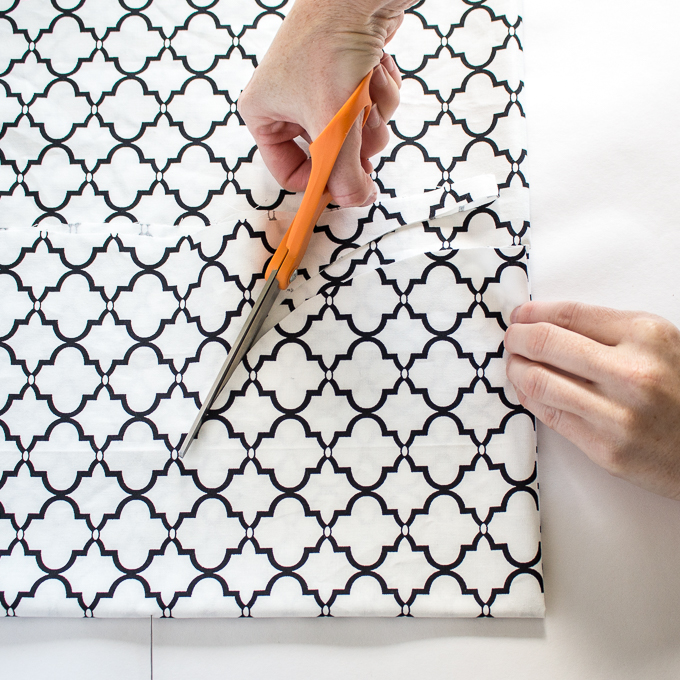
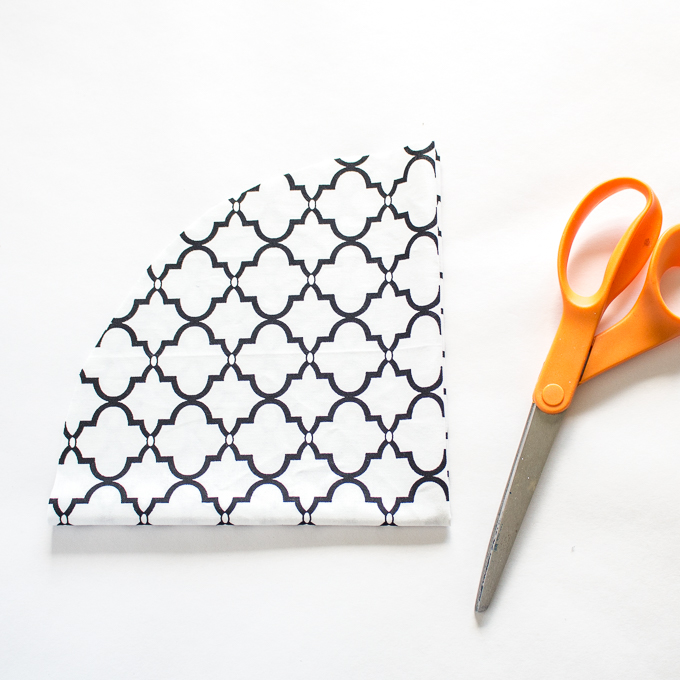
- Fold the fabric in fours.
- Measure and mark 7” along each side length and at the center length on the 45 degree angle.
- Cut the fabric joining the marked points.


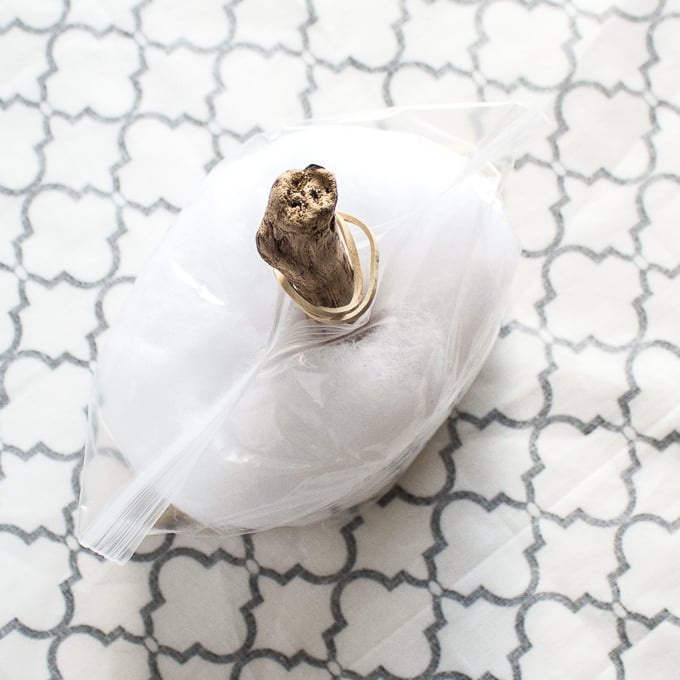
Fill plastic sandwich bag with ½ cup of uncooked navy beans.

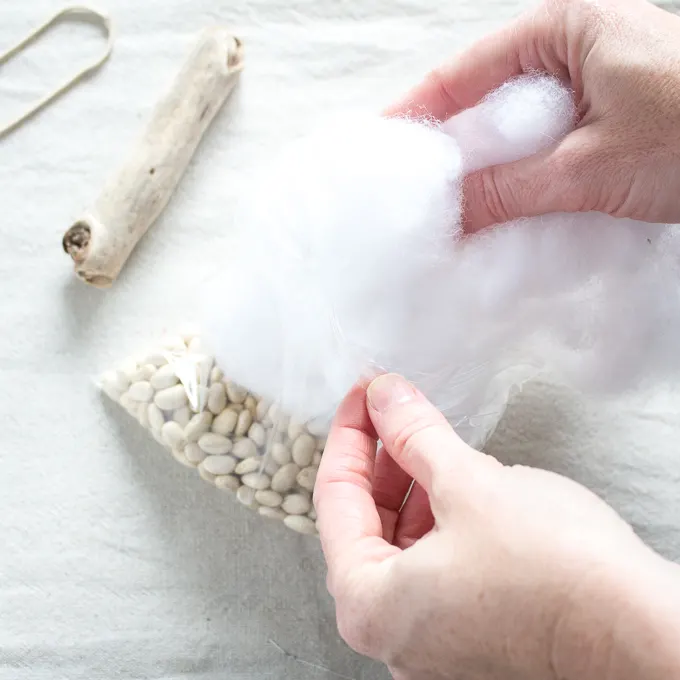
Fill the rest of the bag with polyester stuffing. Place over top of the beans.

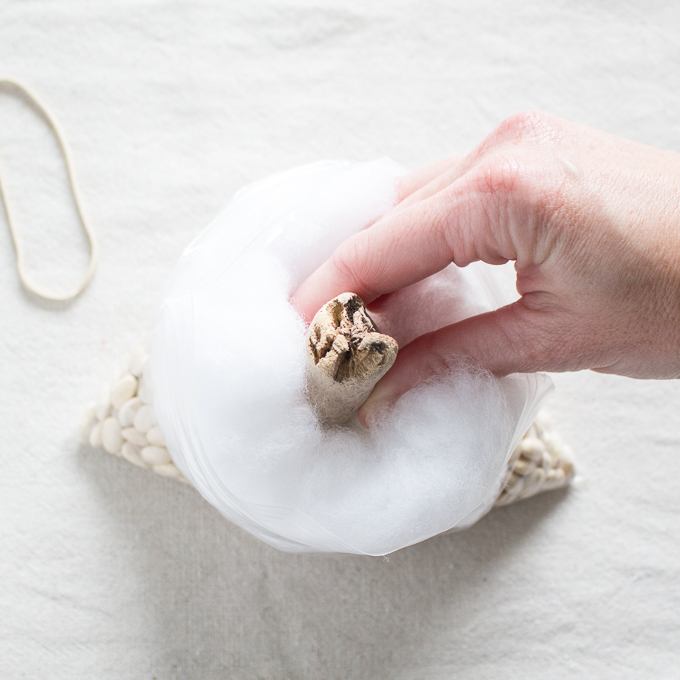
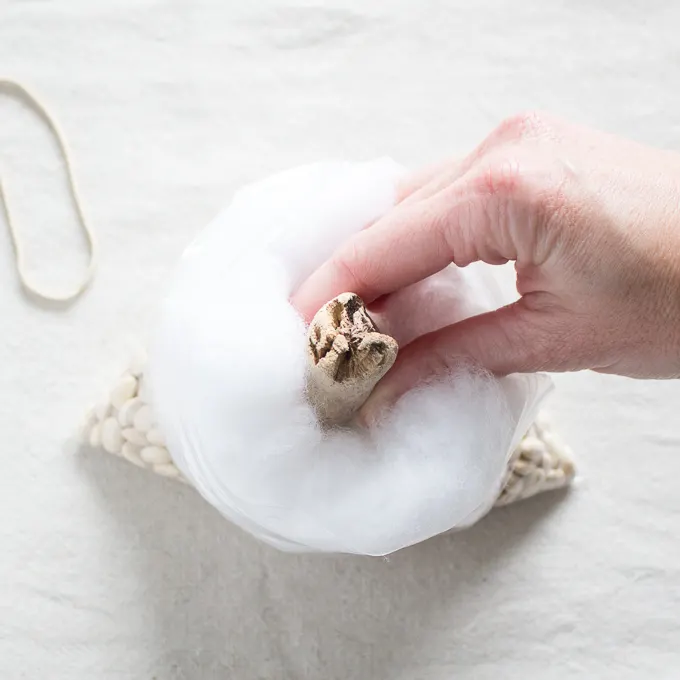
Insert the driftwood into the middle of the bag through the polyester stuffing with one end poking out of the bag in the center. Seal the bag closed on both sides of the driftwood.
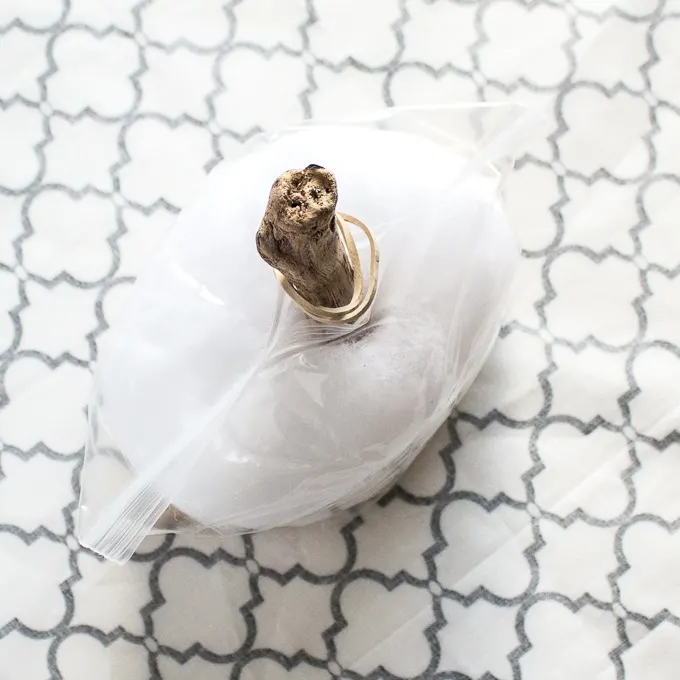
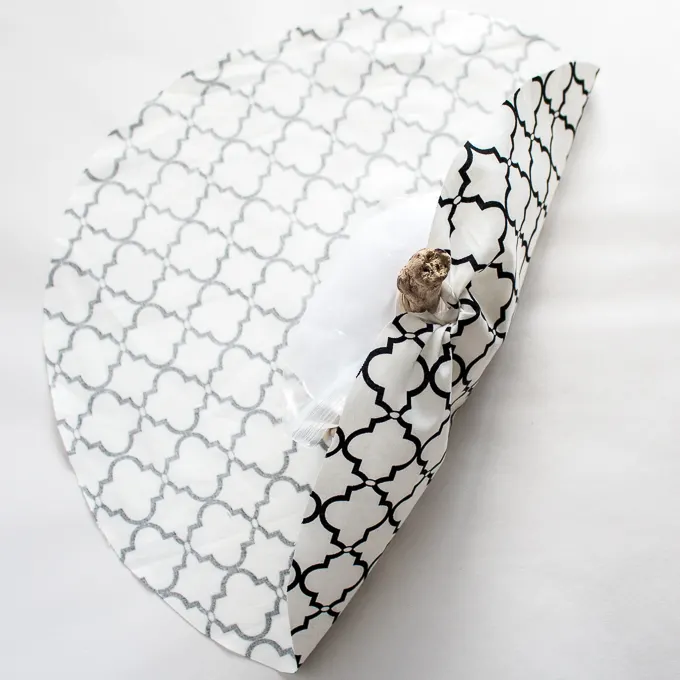
Lay the fabric circle with right side facing down and place the filled bag in the center.
Loosely wrap an elastic band around the driftwood and let it fall to the top of the bag.
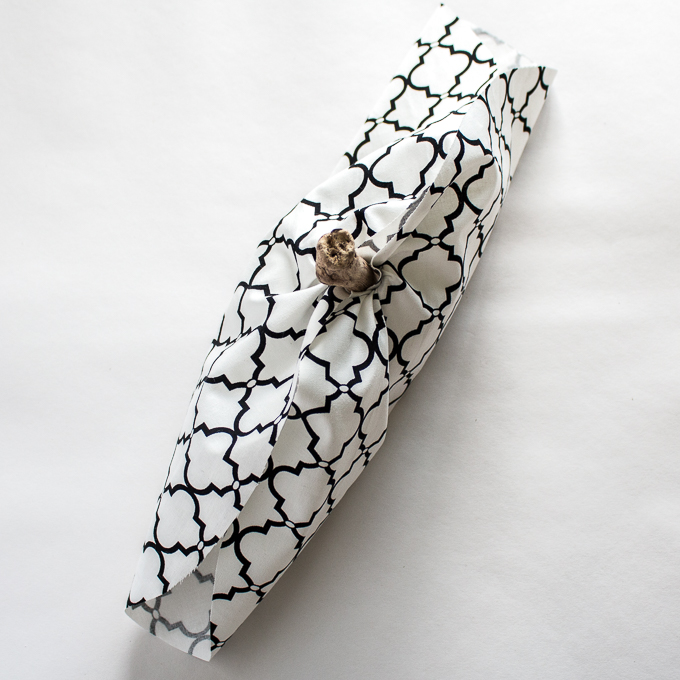
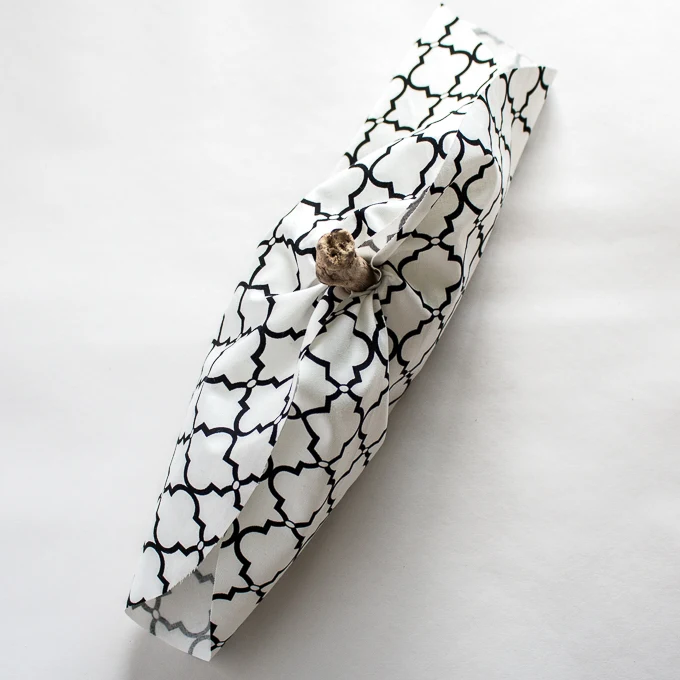
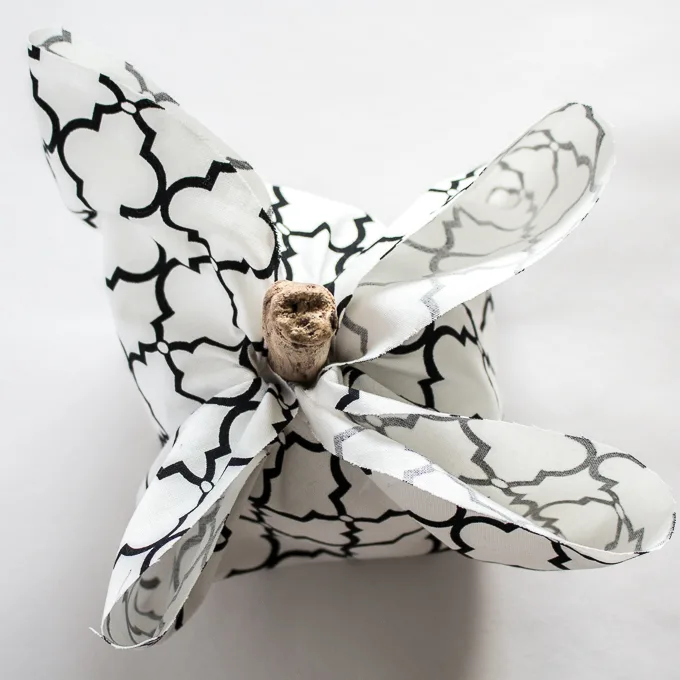
Begin folding the fabric edges up and into the elastic band.

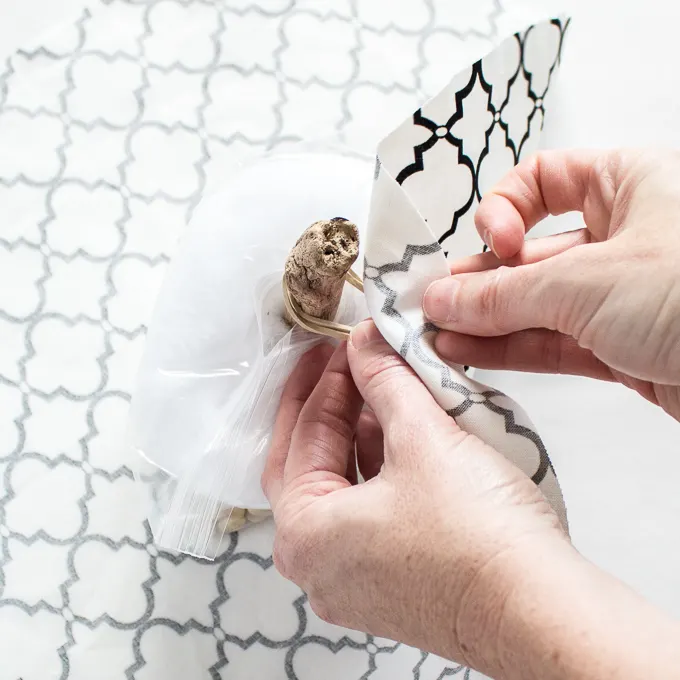
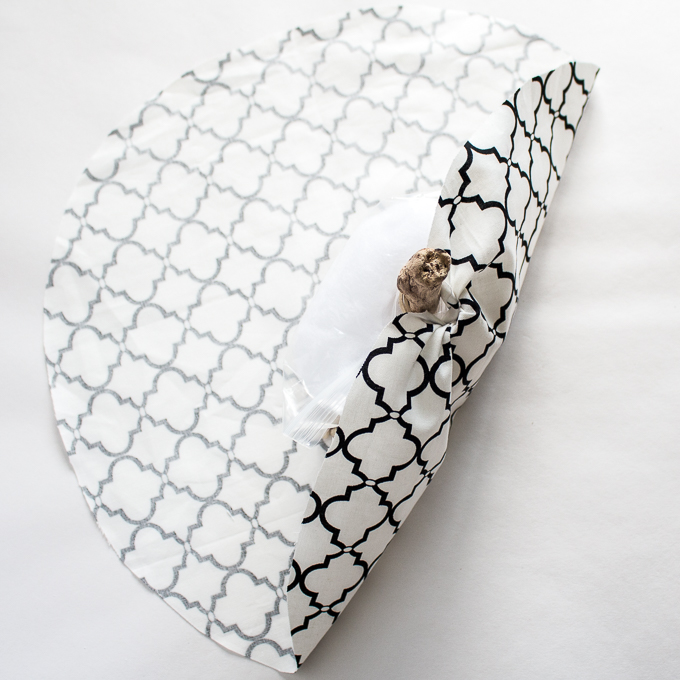
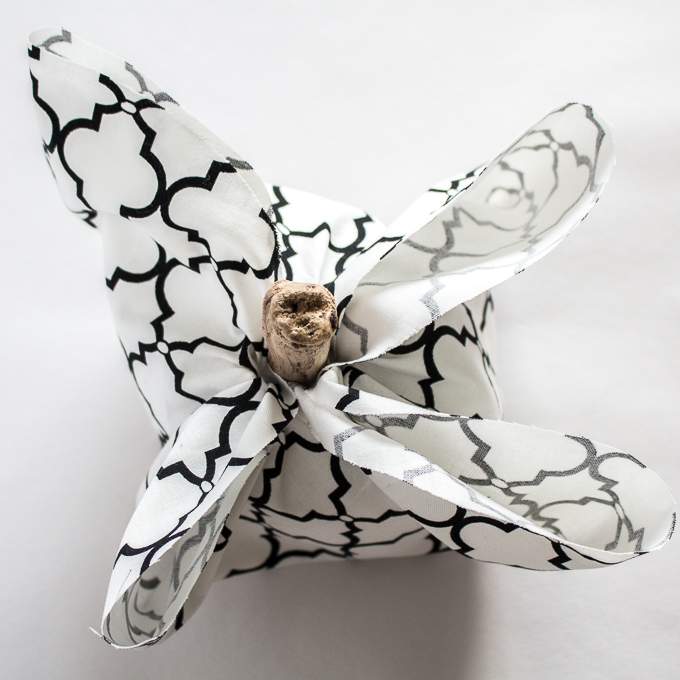
Work one side at a time until all fabric edges are folded in. Adjust as needed until the desired look is achieved.
For a smaller sized pumpkin, cut the fabric into a circle that measures 10” in diameter and reduce the amount of beans and badding inside the polybag. Use a shorter piece of driftwood and follow the steps listed above.
If the driftwood lifts up and out as you fold in the fabric, simply push it down into the center of the pumpkins where it needs to be and continue folding in the fabric.


We hope you’re found this tutoirla for easy fabric pumpkins helpful. Even without a sewing machine you can make these scrap fabric pumpkins for the fall season.
For more fall decor crafting ideas check out our toque pumpkins and glove turkey idea, how to make a pine cone wreath, and these pretty pumpkins made from mason jars.
Like it? Pin it for Later!


How to Make Fabric Pumpkins with Scrap Fabric (No-Sew!)
Materials
- Scrap fabric lightweight woven material such as cotton twill, broadcloth or flannel
- Fabric Scissors
- Measuring tape or ruler
- Navy Beans ½ cup (uncooked)
- Polyester Stuffing
- Driftwood or tree branch 4” long x 3” circumference
- Plastic zipper sandwich bag approximately 16.5cm x 14.9cm size
- Rubber band
Instructions
- Using fabric scissors, cut scrap fabric into a circle shape that measures 14” in diameter. Put circle aside.
- Fill plastic sandwich bag with ½ cup of uncooked navy beans.
- Fill the rest of the bag with polyester stuffing. Place over top of the beans.
- Insert the driftwood into the middle of the bag through the polyester stuffing with one end poking out of the bag in the center. Seal the bag closed on both sides of the driftwood.
- Lay the fabric circle with right side facing down and place the filled bag in the center.
- Loosely wrap an elastic band around the driftwood and let it fall to the top of the bag.
- Begin folding the fabric edges up and into the elastic band.
- Work one side at a time until all fabric edges are folded in.
Larke
Friday 15th of October 2021
Thank you! I'm a crafting stress ball and am in charge of a function at our church. These came out so perfect and adorable and I have zero skill.