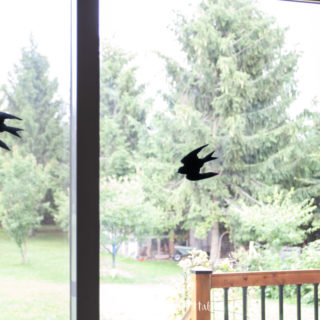
DIY Anti-Collision Window Decals
Make your own pretty yet functional anti-collision window decals using a Cricut cutting machine and some removable vinyl with this simple DIY.
Ingredients
- Design Space bird image #MB67F749
- Cricut Maker 3 or any of the Cricut cutting machines
- Removable Smart Vinyl in Black
- Scissors
Instructions
- Open Cricut Design Space and click on the “+” sign to start a new project, opening up a blank canvas. Next, click on the Image button from the toolbar to search pattern #MB67F749 and insert it onto the blank canvas.
- Maintain the size as is or adjust as you want and duplicate the pattern as many times as you need.
Cutting the Vinyl
- Ensure the machine is set to Cricut Maker 3 and select “Make It” in Design Space. Choose “Without Mat” as the option for cutting when using Smart Vinyl.
- Set material type to Smart Vinyl and follow the prompts for loading and cutting the vinyl.
- When prompted, unload the vinyl from the cutting machine.
Applying the Vinyl
- Cut around each of the bird decals and peel away the excess vinyl.
- Remove the bird from the backing and stick it to the screen or window.
- Repeat with the remaining birds placing them throughout the window and door and place some at eye level too.
Tried this recipe?Let us know how it was!