How to Trim Interior Windows
Outlining the step by step instructions (with photos) on how to trim interior windows.
Ingredients
- Jambs
- Casing
- Level
- Nail Gun
- Nails 1 ½”
- Wood Glue
- Mitre Saw
- Utiity knife
- Shims
- Tape Measure
- Wood Filler for the Nail Holes
Instructions
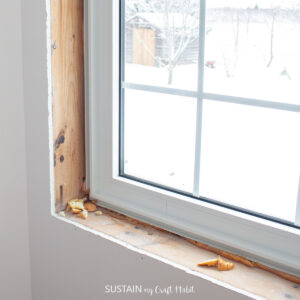
- Using a utility knife, trim away any excess spray foam that's expanded on to the window sill.
- Determine the length, width and depth you will need for the jambs to cover the exposed 2x4 frame.
- Insert the bottom jamb into the sill and level the jamb with shims.
- Repeat with the side jambs and then lastly with the top jamb.
- Nail the jambs in place.
- Measure the bottom width of the window from jamb edge to jamb edge. Add 1/8" on either side for the reveal.
- Cut the window casing using a mitre saw at 45 degree angle on both ends.
- Line up the window casing over the bottom jamb to reveal ⅛” (along the top and sides of the casing). Use the level to ensure the casing is straight.
- Using the wood glue, glue the casing to the wall and nail the casing with the nail gun.
- Repeat the process for the top and vertical sides of the window.
- Once the casing has been installed, take the wood filler and fill in the nail holes and mitered corners. Let the wood filler dry.
- Once the wood filler is dry, use a fine gauge sandpaper to smooth where the holes were filled.
- Lastly, paint or stain the trim to finish.
Tried this recipe?Let us know how it was!