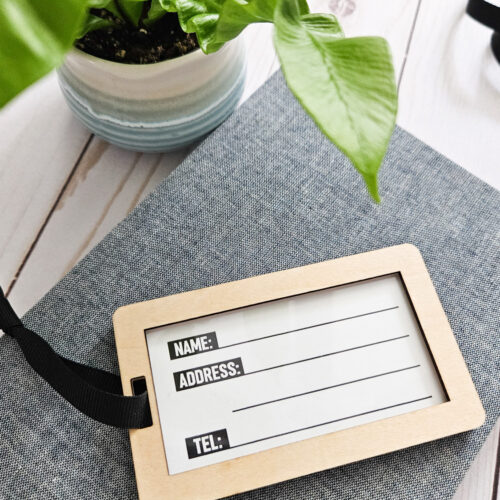
DIY Wooden Luggage Tags
Ingredients
- xTool P2 or other laser cutting machine
- 3 mm Basswood 1 sheet 12”x12”
- 1/16 " Clear Acrylic sheet
- E6500 Glue
- Paint Pen optional
- Ribbon or Zip Tie
- Lacquer Wood Sealer
- Luggage Tag SVG
- Luggage Name Label printable
- Printer with Cardstock paper
- Scissors or paper cutter
Instructions
- Open Creative Space and select a new project.
- Insert the luggage tag svg image to the canvas.
- Set the material type to 3mm Basswood and use your preferred basswood cut settings. Set the flag/text to SCORE and use your preferred basswood score settings.
- Move the shapes to be cut in acrylic on to a separate canvas and set the material type to clear acrylic with the settings set to your default power and speed settings.
- Starting with the wood, insert the material into the xTool P2 and refresh your screen.
- Position the design onto the surface and proceed to cutting and follow the prompts on the screen. Hit start and then remove when finished.
- Take care to position the design onto the surface.
- Hit start when settings are ready and then remove when complete.
Assembling
- Apply a coating of wood sealer over top of the wood cutouts.
- Layer the pieces by applying a thin layer of glue along the outer edges of each layer to hold them together.
- Print out the luggage name label template on white cardstock and cutout along the dashed lines.
- Fill out the label with your information and insert into the tag.
- Secure the luggage tag with a piece of ribbon or zip tie.
Tried this recipe?Let us know how it was!