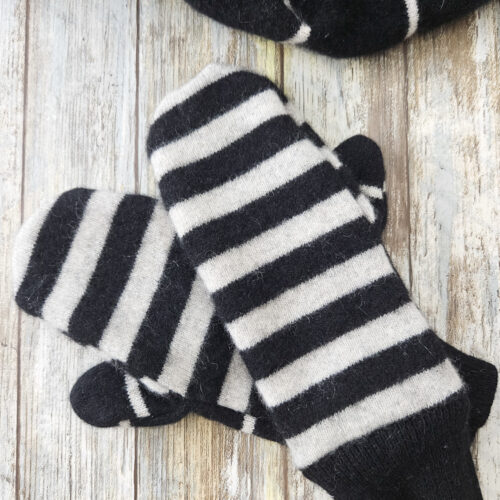
How to Make Mittens from Thrifted Sweaters (Free Printable Sewing Pattern!)
Using an old wool sweater and our free printable pattern, learn how to sew your own warm upcycled mittens in under an hour.
Ingredients
- Thrift store sweaters wool, cashmere, acrylic
- Sewing machine and thread
- Fabric Scissors
- Printable Mittens Pattern
Instructions
- Download and then print to scale the mittens sewing pattern. Tape the pages together along the solid red lines to form the complete sewing pattern. Cut out roughly around each pattern piece to separate.
Preparing the Sweaters
- Now that the sweaters are washed and dried, cut along the seams to separate the sweater panel pieces.
- For mittens, I like to reuse the rib cuffs so cut those off the sweater and put aside for time being. Make sure to give yourself at least a ½” seam allowance (space above the ribbing).
- Fold the panels in half with right sides together and position the pattern pieces on top. You’ll need 2 pieces for each pattern (one for left hand and another for the right).
- If you’re cutting the pieces for the right and left separately, make sure to flip the pattern for the other hand.
- Cut along the solid line.
- You can use the same sweater for the thumb pattern piece or use a contrasting fabric as I’ve done with these.
Sewing
- Working one mitten at a time.
- With right sides facing together, align UNDER MITT (2) with THUMB PANEL (3) piece and sew together along the curve with a ¼” seam allowance. Press seam allowance open.
- Next, fold the THUMB PANEL (3) piece right sides together to align the curved ends. Sew together with ¼” seam allowance.
- Next, align UPPER MITT (1) piece with the UNDER and THUMB pieces with RIGHT sides together. Sew along the outer edges with a ¼” seam allowance in two steps:
- From circle to outer edge (sewing along the long curved edge).
- From circle to bottom edge (sewing along the short straight edge).
- Lastly, insert the cuffs into the mitten, aligning the wrist edge with the cut edge of the cuffs, with right sides together. Sew together with a ½” seam allowance.
- Tun mitt right side out.
- Repeat with the other mitten to complete the pair.
Tried this recipe?Let us know how it was!