How to Make Mittens from Thrifted Sweaters (Free Printable Sewing Pattern!)
Keep your hands cozy all winter long with these cute, budget-friendly DIY mittens made from thrifted sweaters!
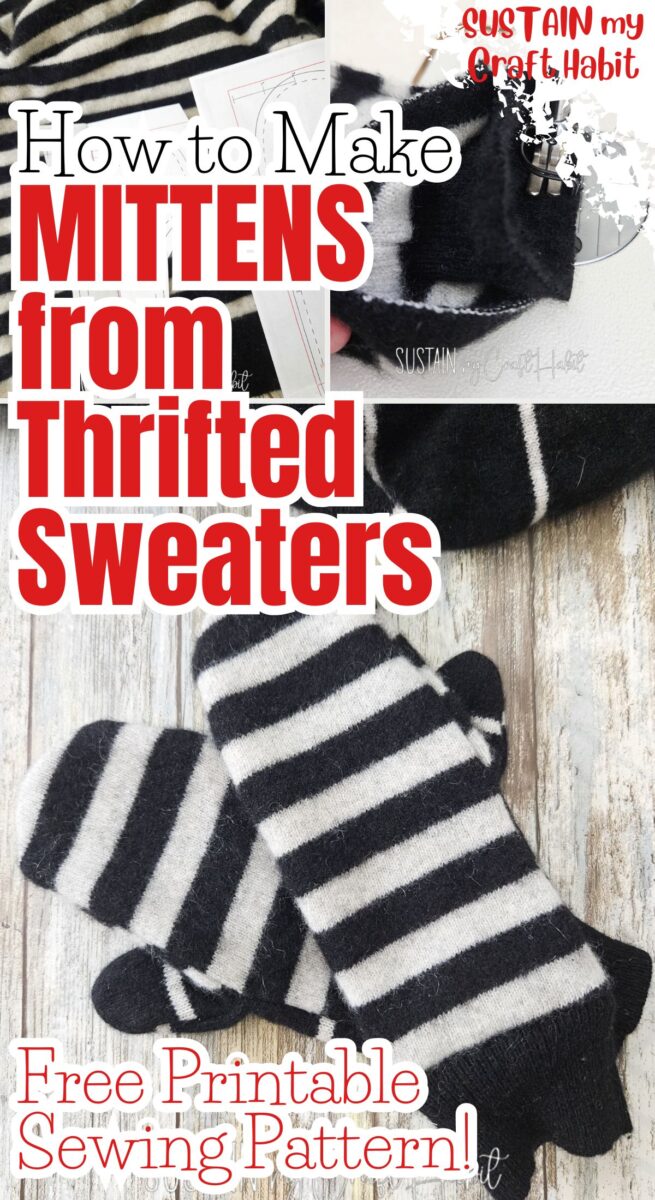
Have an old jumper tucked away in your wardrobe or spotted a lovely knitted sweater in a charity shop? Learning how to make mittens from thrifted sweaters is a brilliant way to turn unwanted clothing into something cosy, practical and completely unique.
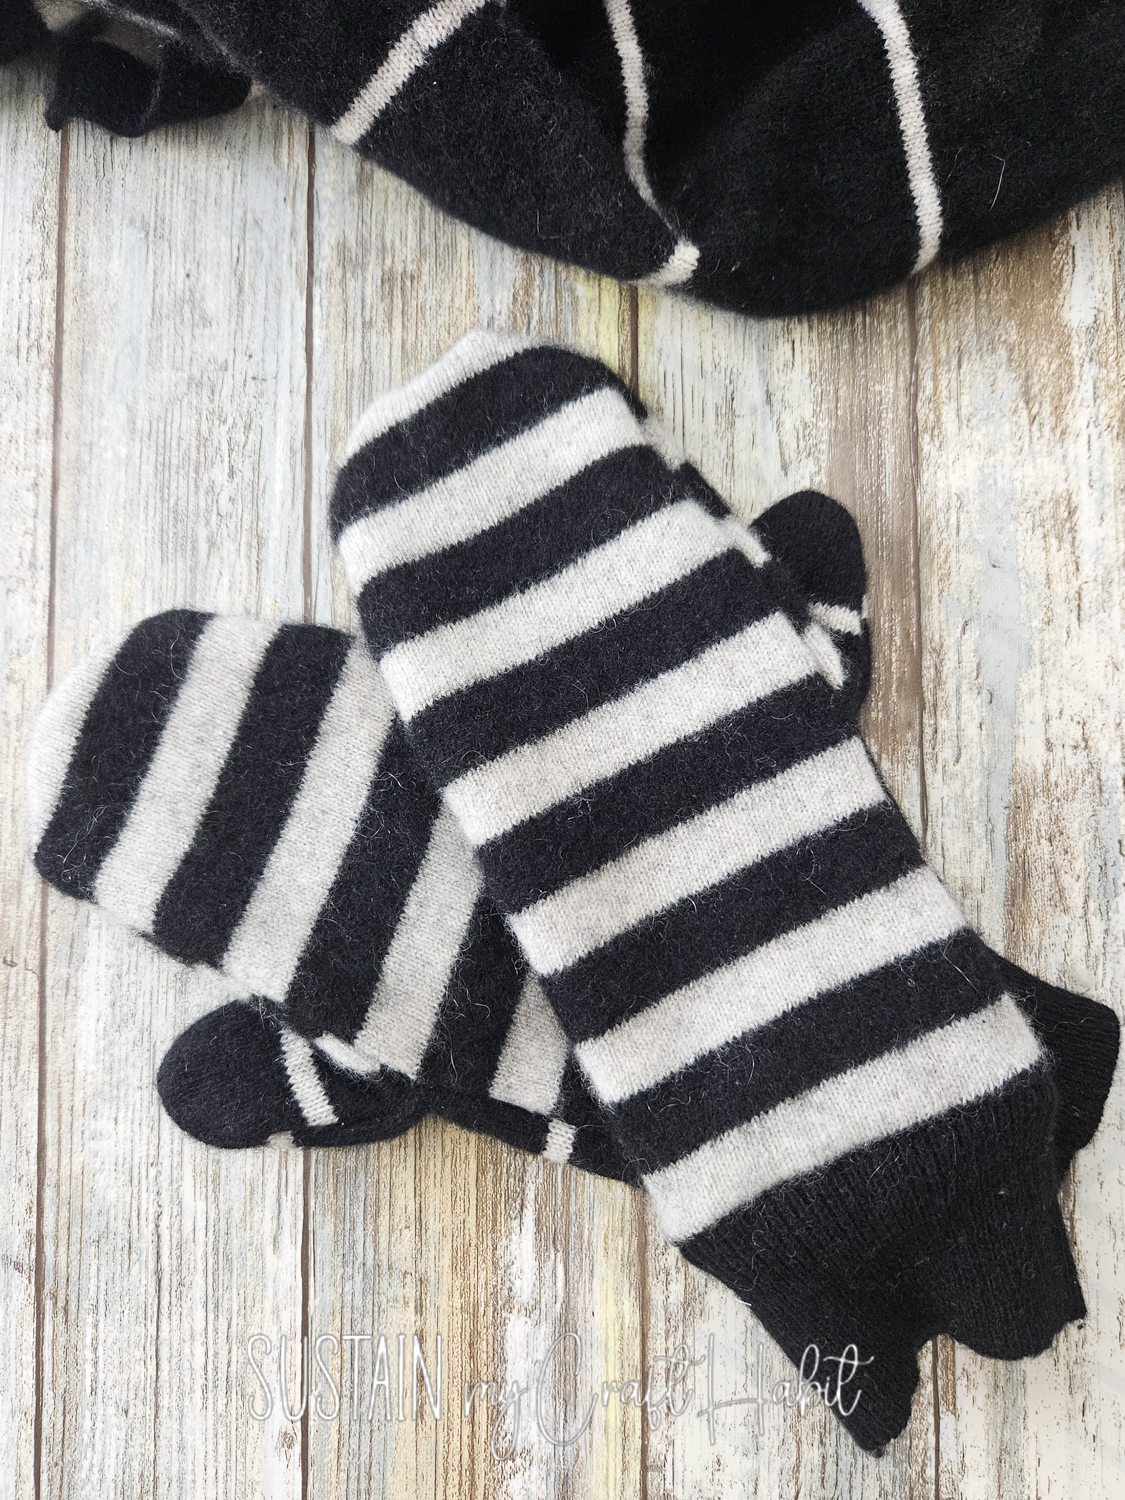
These DIY sweater mittens are an easy, budget-friendly sewing project that gives old knitwear a second life while keeping your hands warm throughout autumn and winter. They’re also a thoughtful handmade gift, especially when you choose soft wool or colourful patterned jumpers.
You don’t need expensive materials or advanced sewing skills to get started. With a few basic supplies, a little patience and a free printable mitten sewing pattern, you can create your own pair of upcycled mittens. Using an old wool sweater and our free printable pattern, learn how to sew your own warm upcycled mittens in under an hour.
Why You’ll Love Making DIY Sweater Mittens
- Budget-friendly and sustainable: Turn second-hand jumpers or old knitwear into cosy winter accessories without spending a fortune. It’s a lovely way to reduce textile waste and enjoy sustainable sewing.
- Beginner-friendly sewing project: These DIY mittens from old sweaters are manageable for beginners, especially when using a simple printable pattern and basic sewing techniques.
- Each pair is unique: Choose chunky cable knits, colourful Fair Isle patterns or classic neutral wool jumpers to create handmade mittens that reflect your personal style.
- Perfect for handmade winter gifts: Upcycled sweater mittens make thoughtful Christmas presents, stocking fillers or small gifts for friends and family.
- Warm and practical: Wool-rich sweaters are particularly good for making cosy mittens, while adding a soft fleece lining can provide extra comfort on chilly days.
Let’s stay in touch! Subscribe for our latest sewing patterns, tutorials and tips.
Materials Needed
- Thrift store sweaters – wool, cashmere, acrylic
- Sewing machine and thread
- Fabric Scissors
- Printable Mittens Pattern (grab it here)
Choosing the Best Sweaters for DIY Mittens
Selecting the right sweater is the key to making mittens that are extra warm, durable, and comfortable. While almost any thrifted knit can work, natural fibers offer the best warmth and structure—provided you prepare them correctly before cutting!
The Best Fabrics to Look For
- 100% Wool: naturally breathable, moisture-wicking, and incredibly warm. When felted, it creates a thick, wind-resistant fabric that won’t fray along the cut edges.
- 100% Cashmere: If you happen to find a thrifted cashmere sweater, snag it! Cashmere makes exceptionally soft, luxurious mittens that feel amazing against the skin. Because cashmere is lighter, pairing it with a cozy fleece lining gives you the ultimate blend of softness and warmth.
- Wool Blends (Lambswool, Alpaca, or Mohair): Sweaters made with a high percentage of wool mixed with nylon or acrylic work wonderfully. They offer great durability and flexibility while still felting nicely.
- Cotton or Synthetic Knits: While they won’t felt like pure animal fibers, chunky acrylic or cotton sweater knits can still be used! Just be sure to sew with a tight zigzag stitch or serger to keep the raw edges secure from unraveling.
How to Make Mittens from Thrifted Sweaters
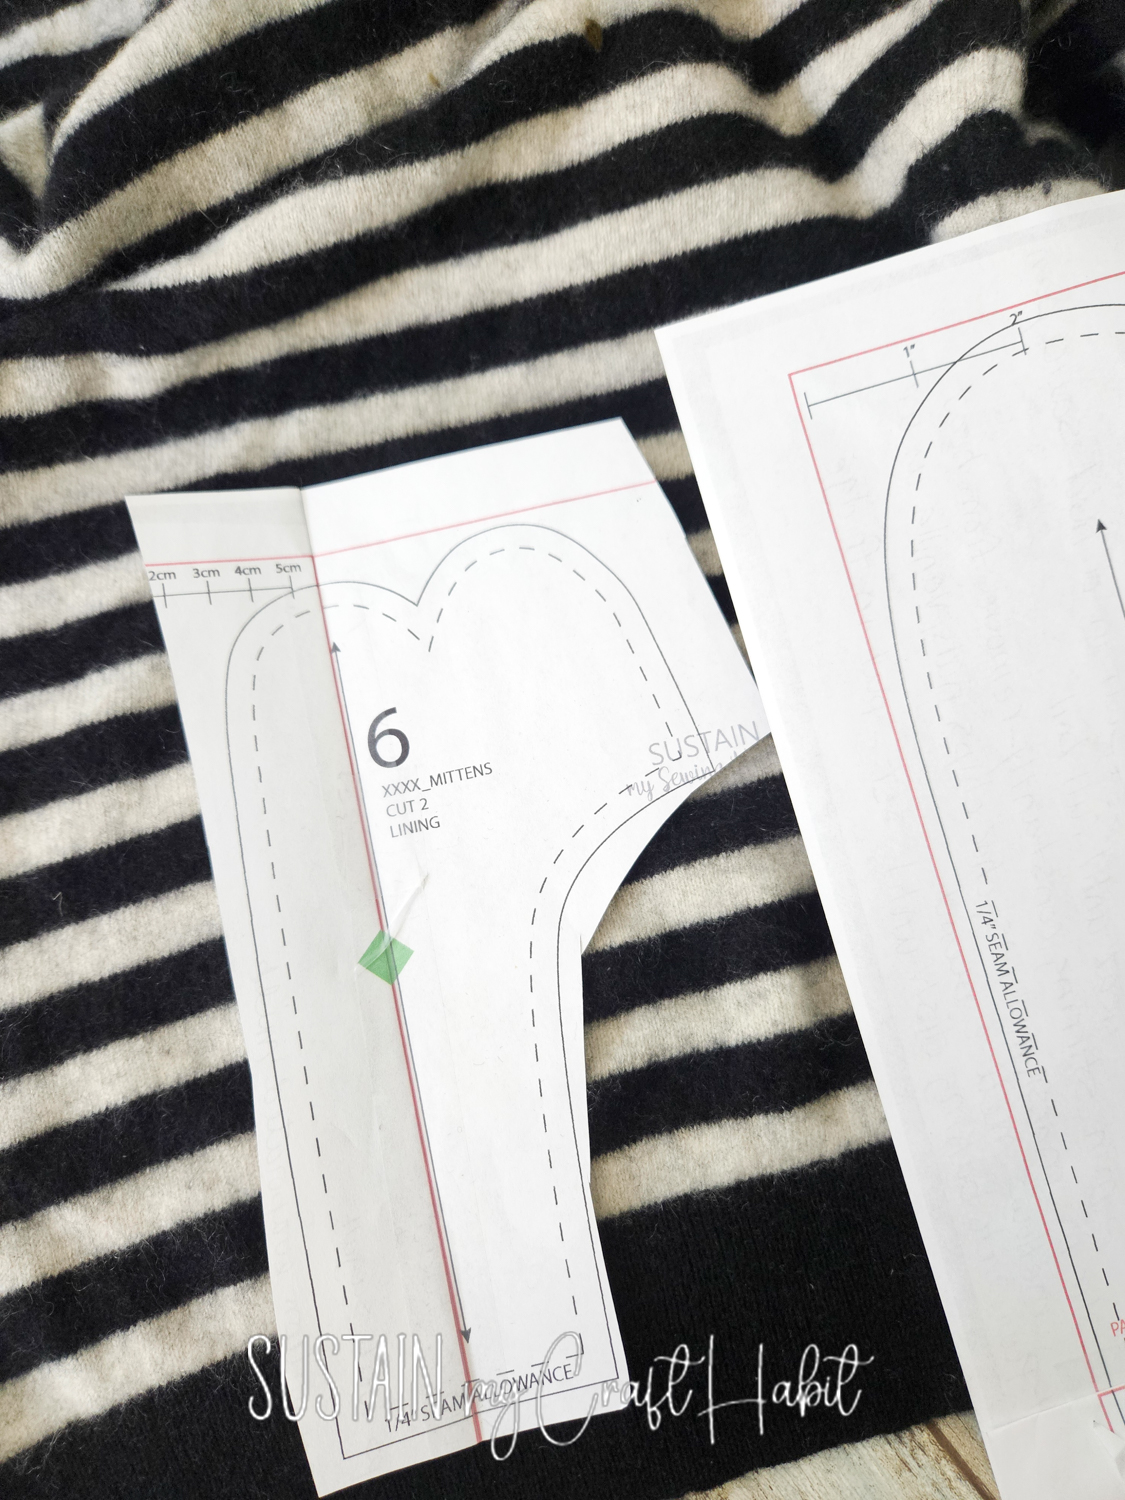
Download and then print to scale the mittens sewing pattern. Tape the pages together along the solid red lines to form the complete sewing pattern. Cut out roughly around each pattern piece to separate.
Preparing the Sweaters for sewing
Always wash clothes purchased at second hand stores. Best to follow the care instructions on the labels.
An exception to this would be if you wish to “felt” the natural wool sweaters or cashmere sweaters (meaning to tighten the knit and shrink the fiber). If this is the case, then place the sweater in the washing machine on hot cycle and tumble dry on high heat as well.
CUTTING THRIFTED SWEATER MITTENS
Now that the sweaters are washed and dried, cut along the seams to separate the sweater panel pieces.
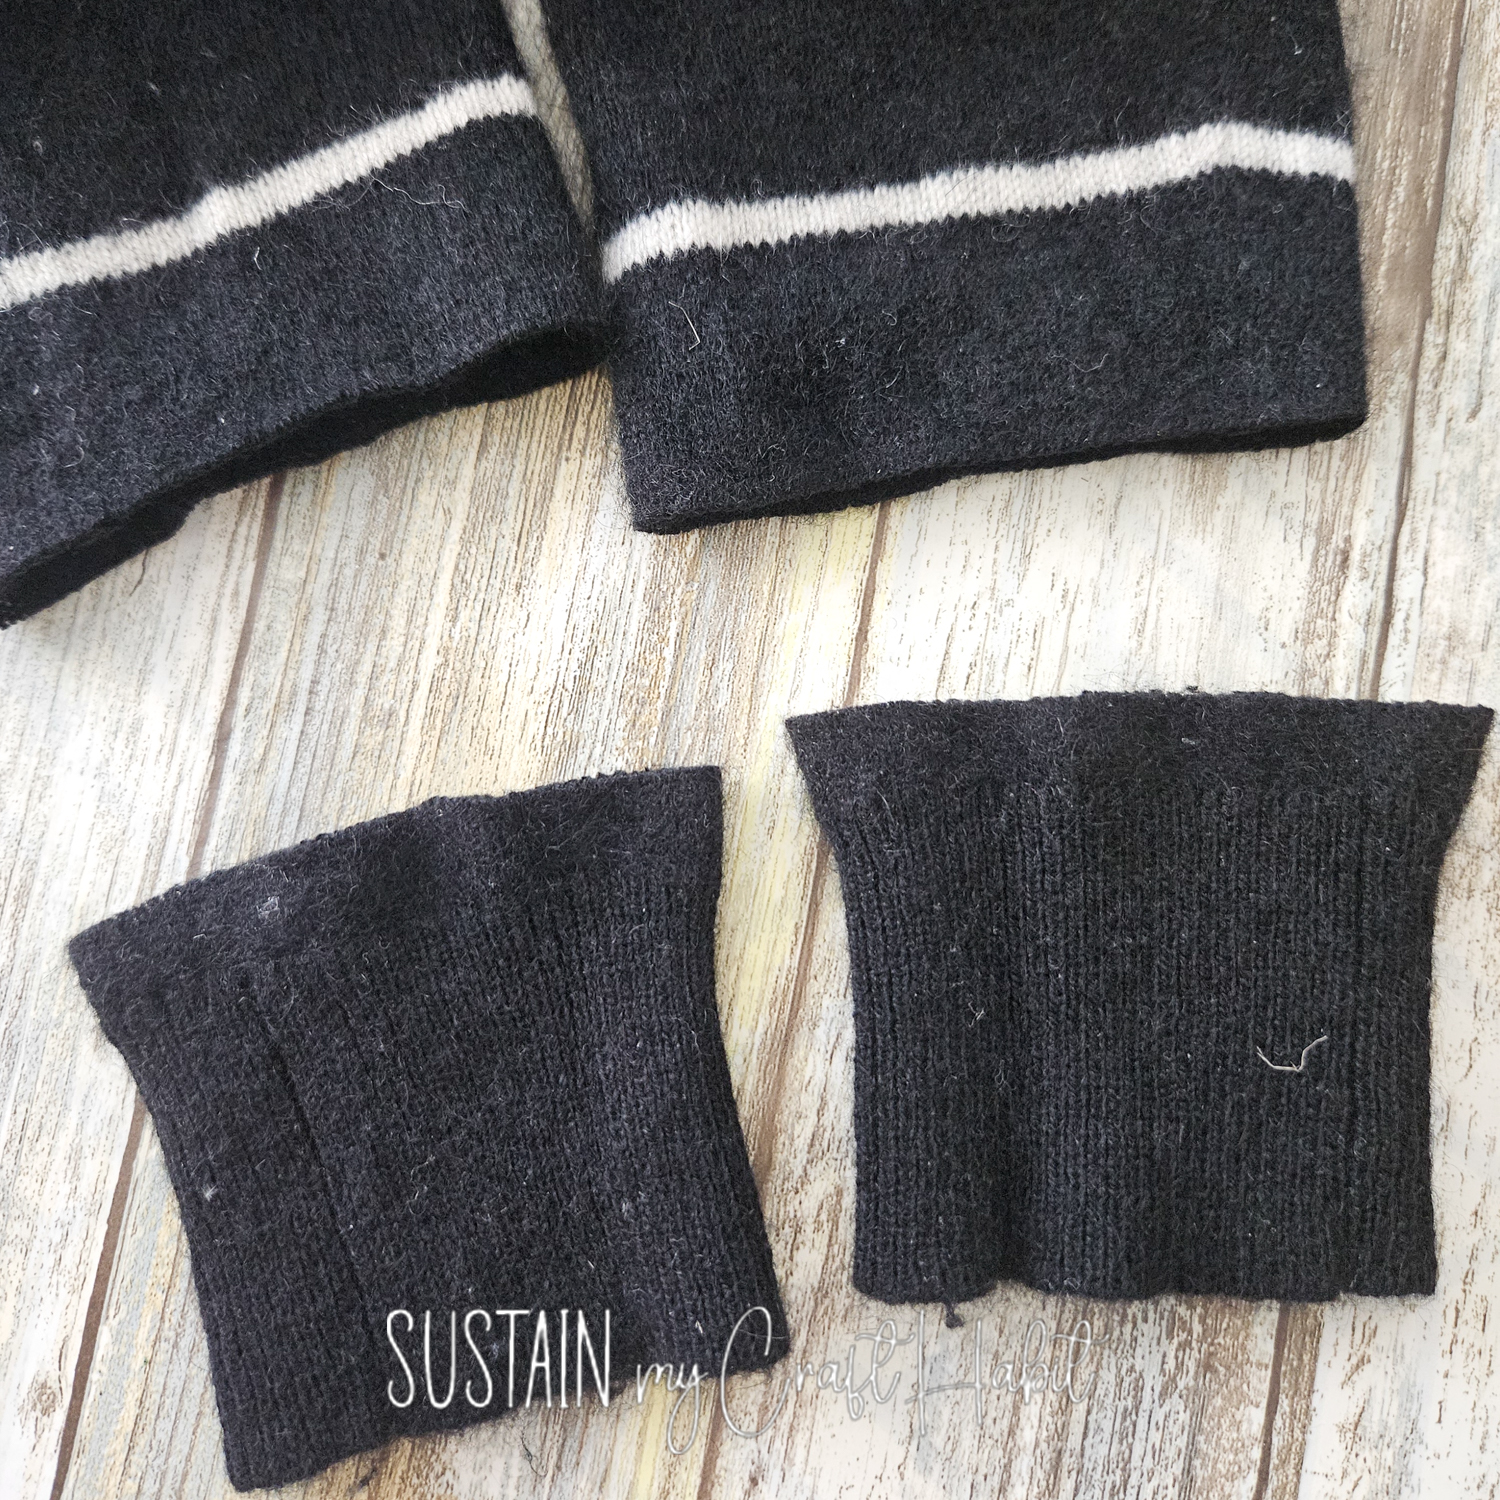
For mittens, I like to reuse the rib cuffs so cut those off the sweater and put aside for time being. Make sure to give yourself at least a ½” seam allowance (space above the ribbing).
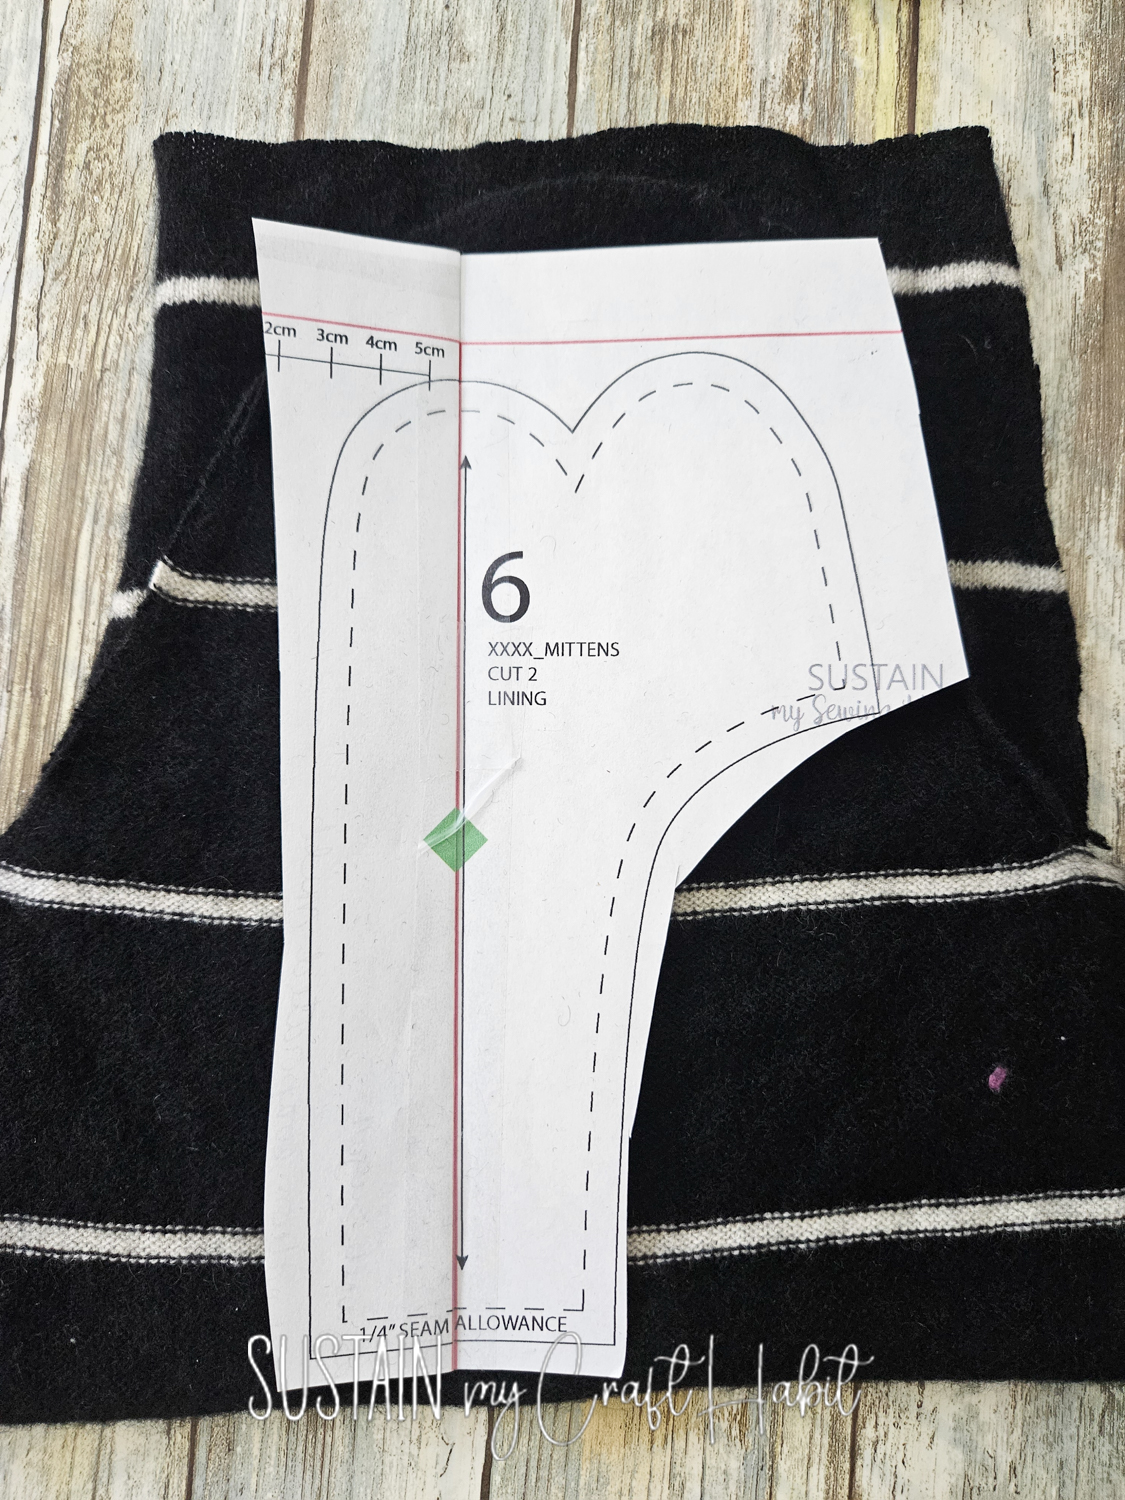
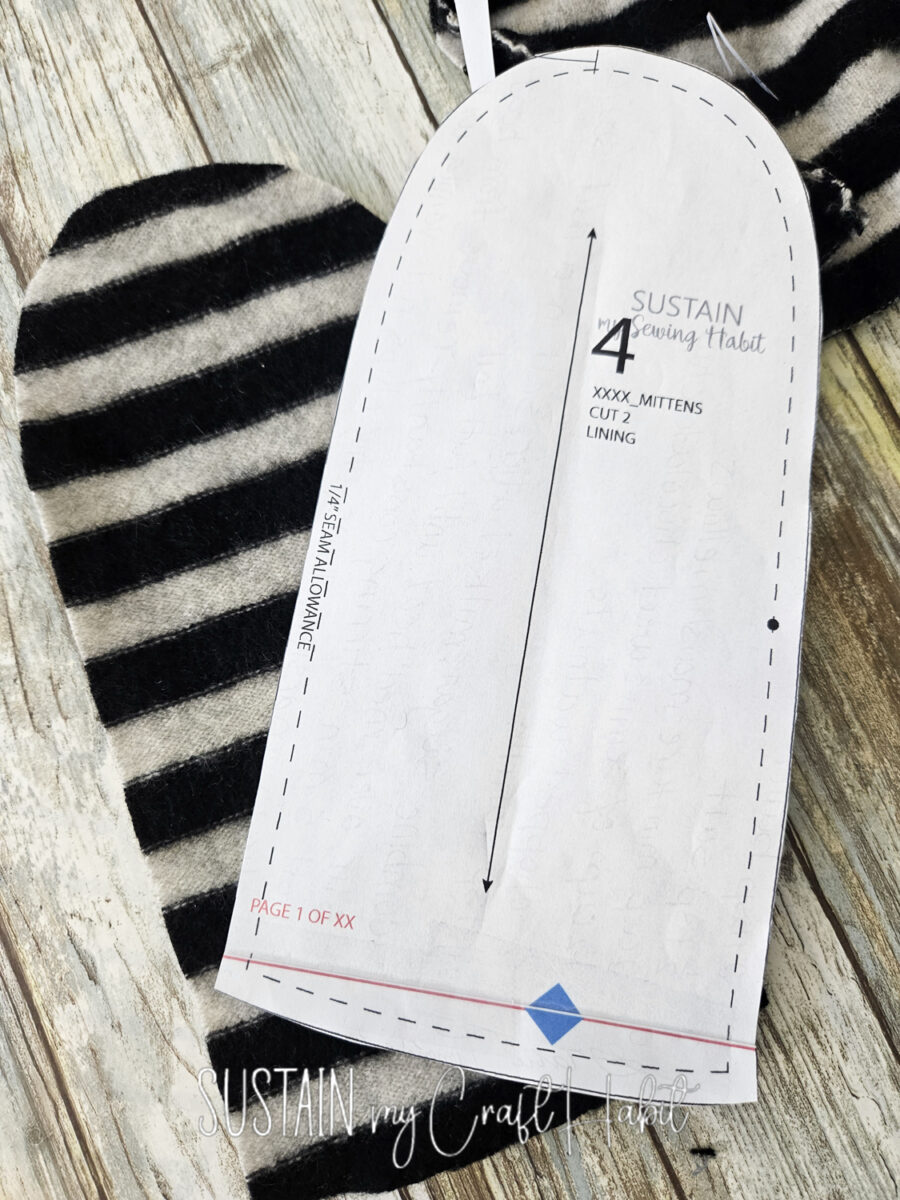
Fold the panels in half with right sides together and position the pattern pieces on top. You’ll need 2 pieces for each pattern (one for left hand and another for the right).
If you’re cutting the pieces for the right and left separately, make sure to flip the pattern for the other hand.
Cut along the solid line.
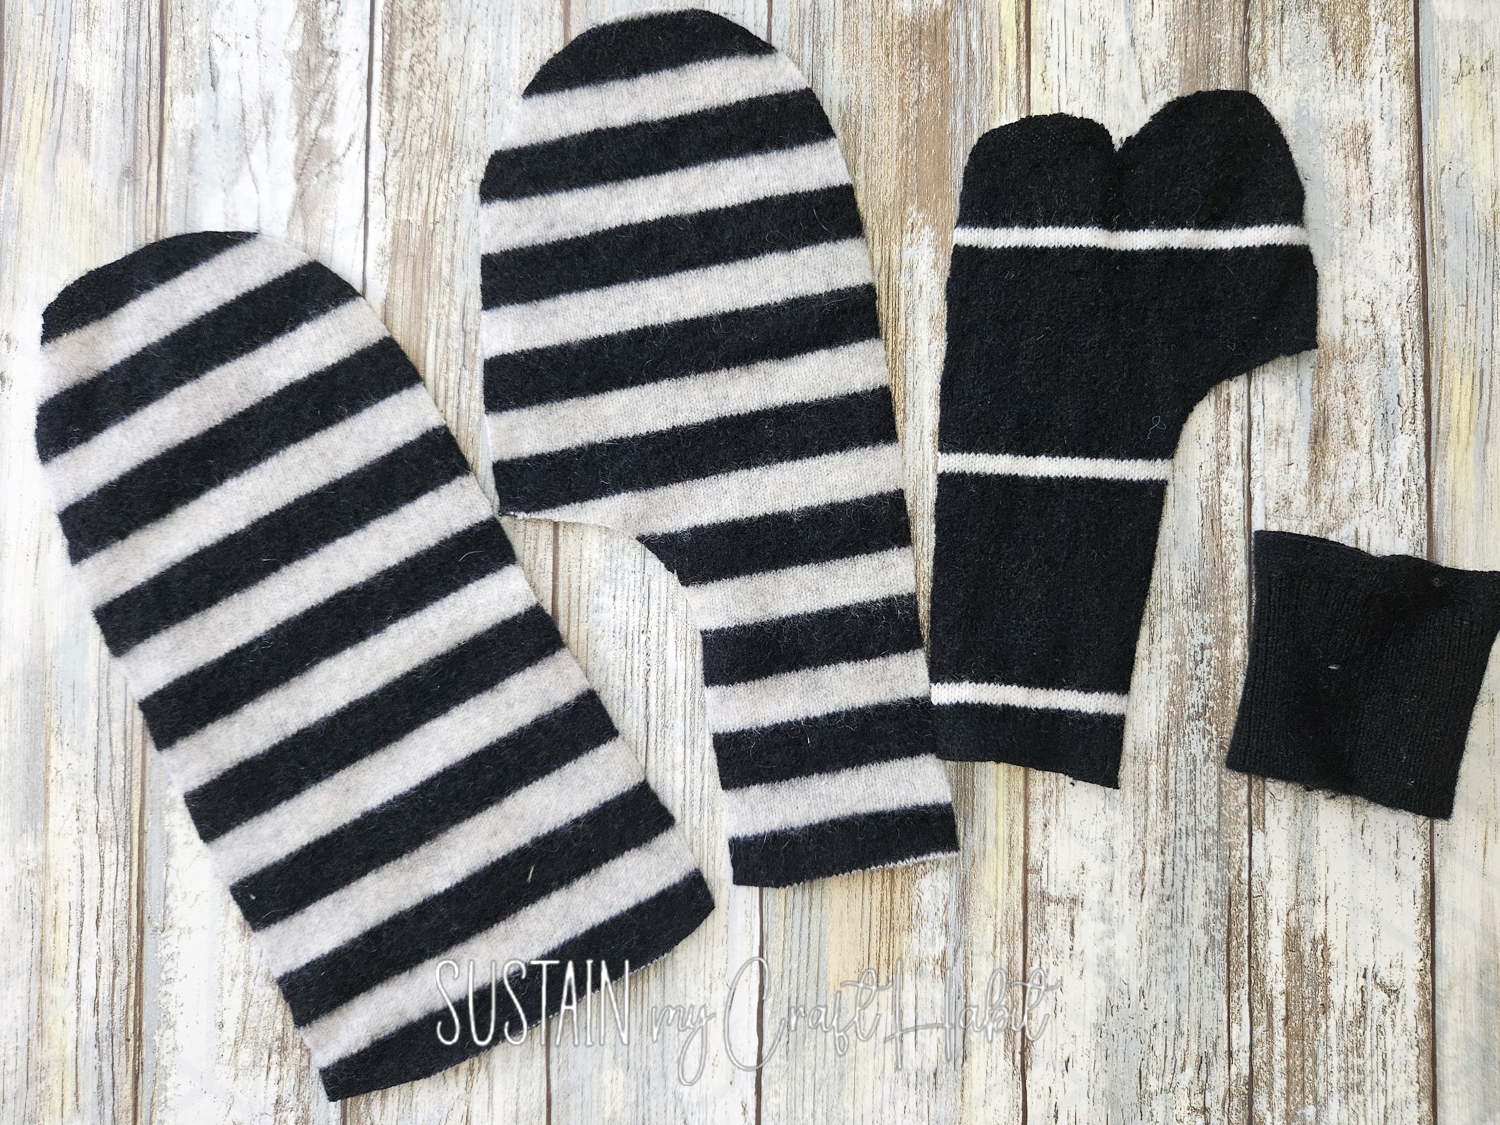
You can use the same sweater for the thumb pattern piece or use a contrasting fabric as I’ve done with these.
how to sew mittens out of an old sweater
Working one mitten at a time.
With right sides facing together, align UNDER MITT (2) with THUMB PANEL (3) piece and sew together along the curve with a ¼” seam allowance. Press seam allowance open.
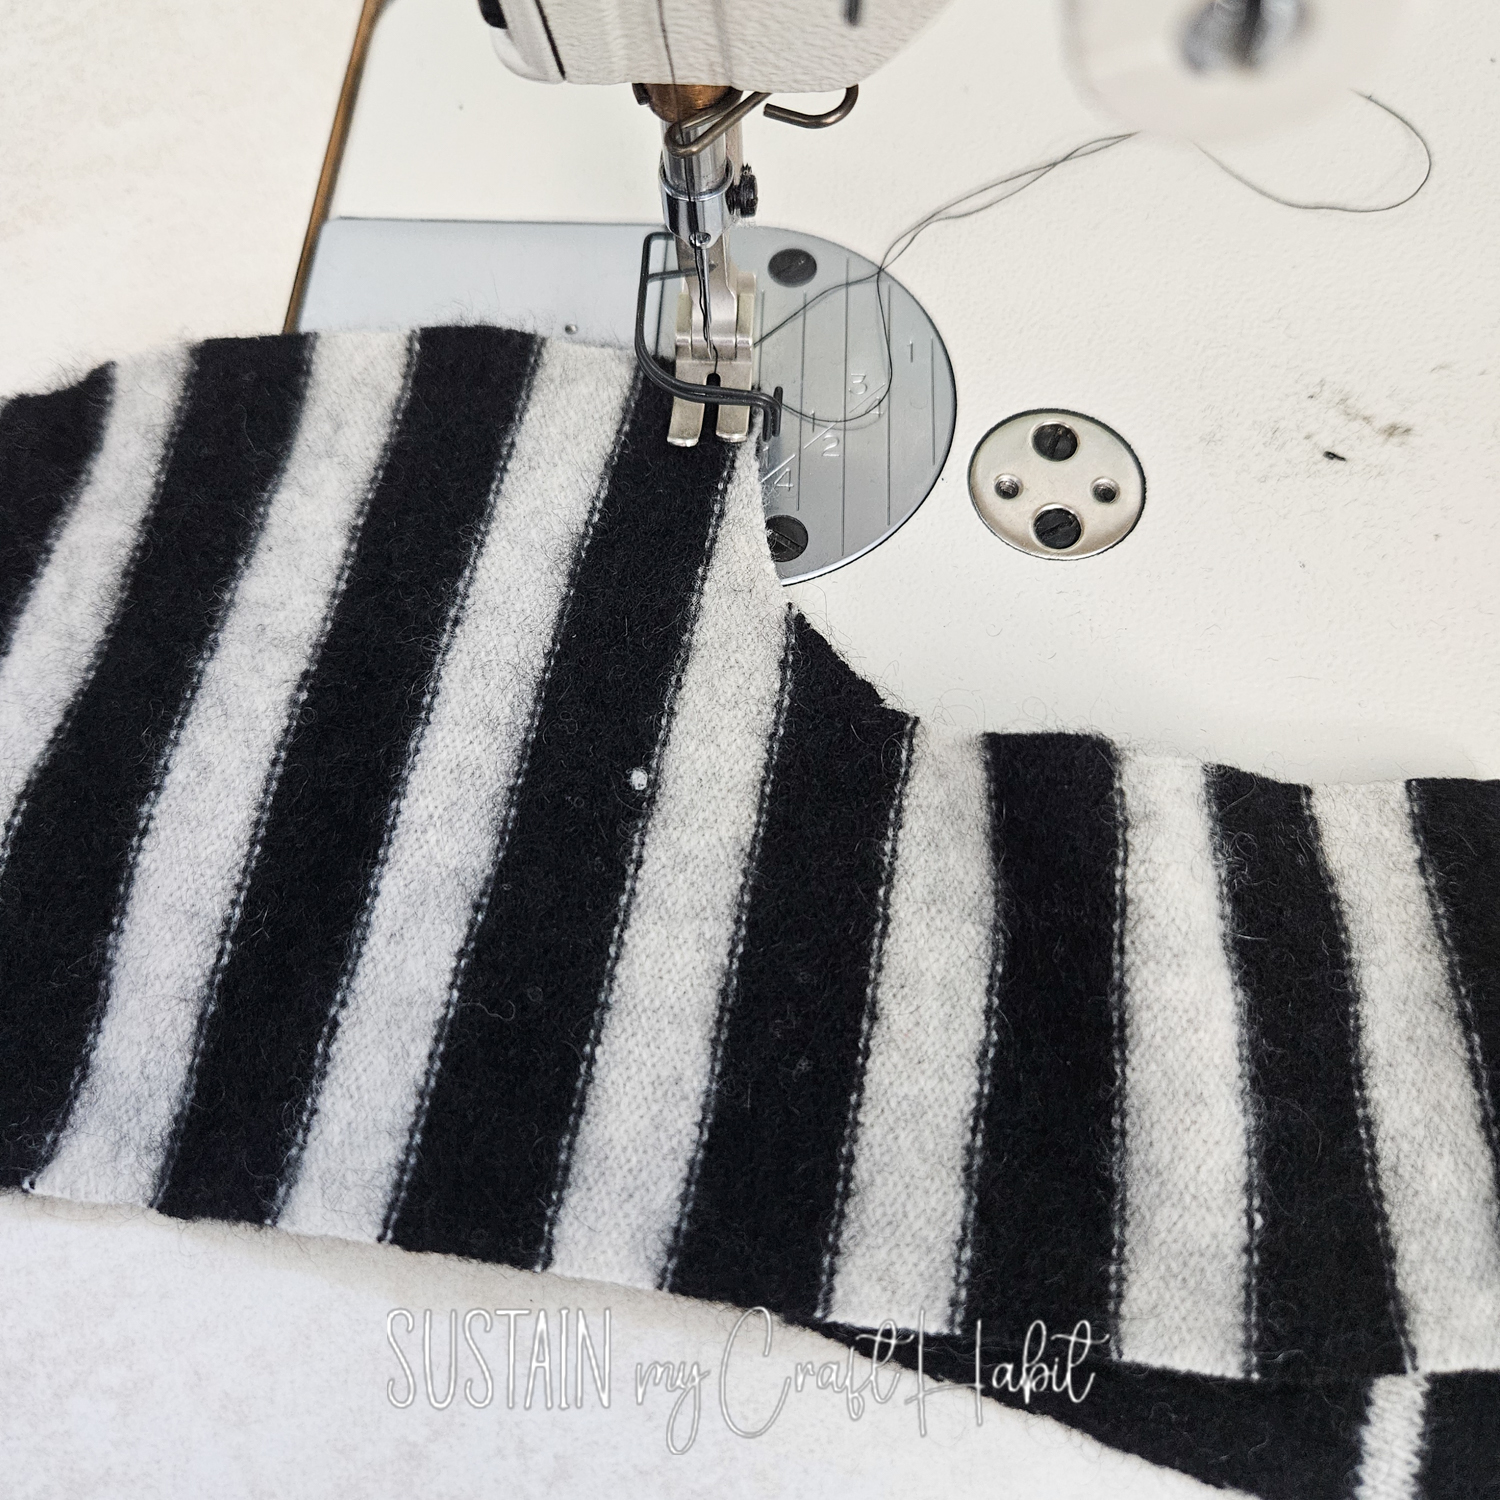
Next, fold the THUMB PANEL (3) piece right sides together to align the curved ends. Sew together with ¼” seam allowance.
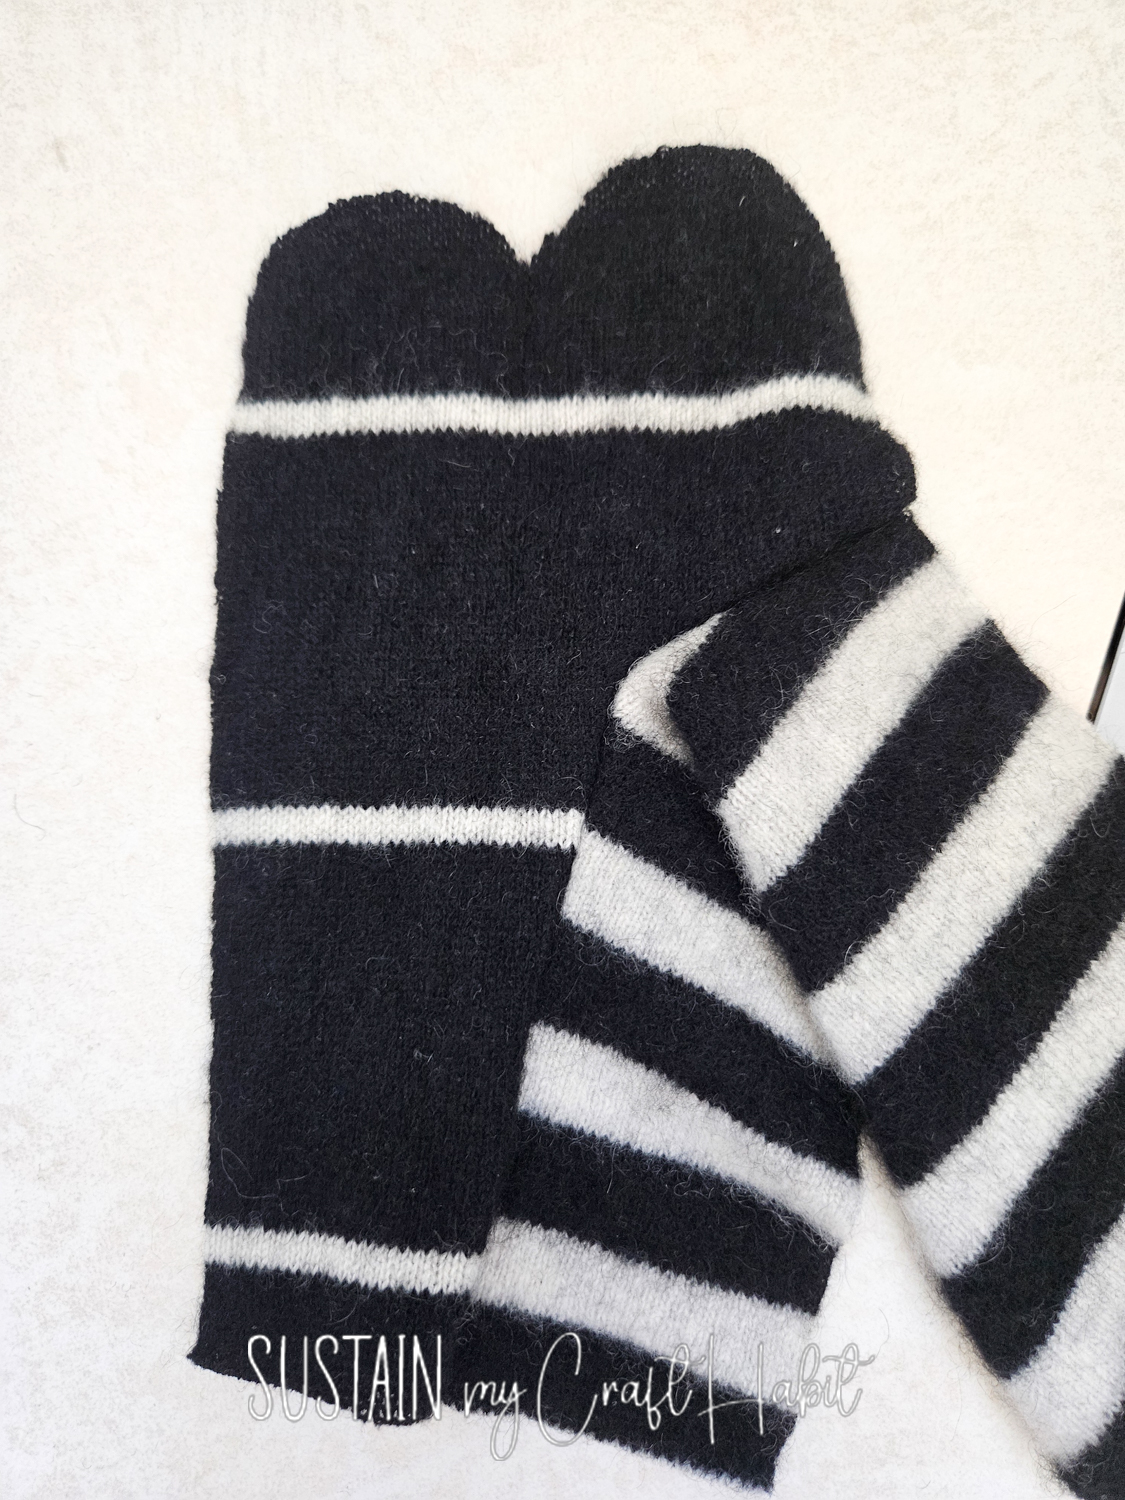
Next, align UPPER MITT (1) piece with the UNDER and THUMB pieces with RIGHT sides together. Sew along the outer edges with a ¼” seam allowance in two steps:
- From circle to outer edge (sewing along the long curved edge).
- From circle to bottom edge (sewing along the short straight edge).
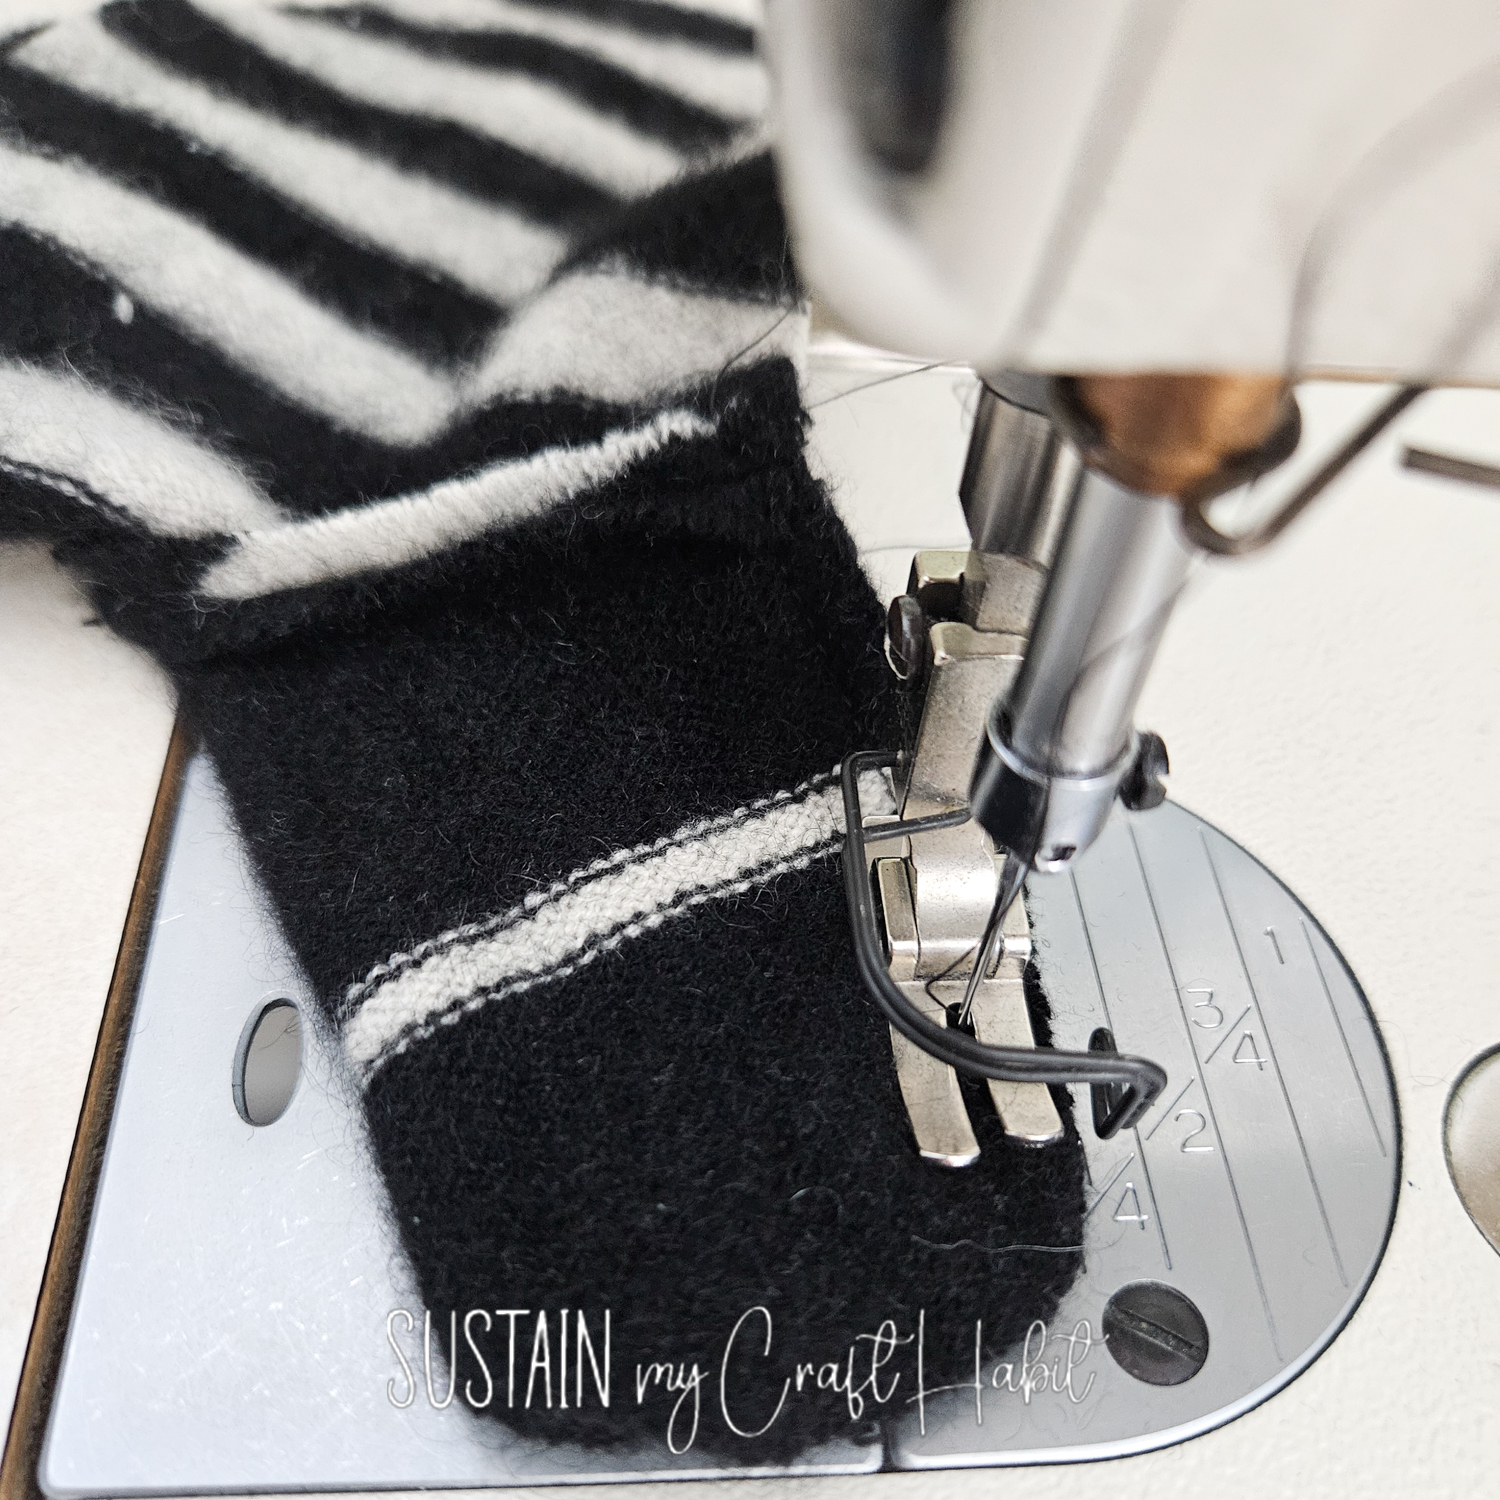
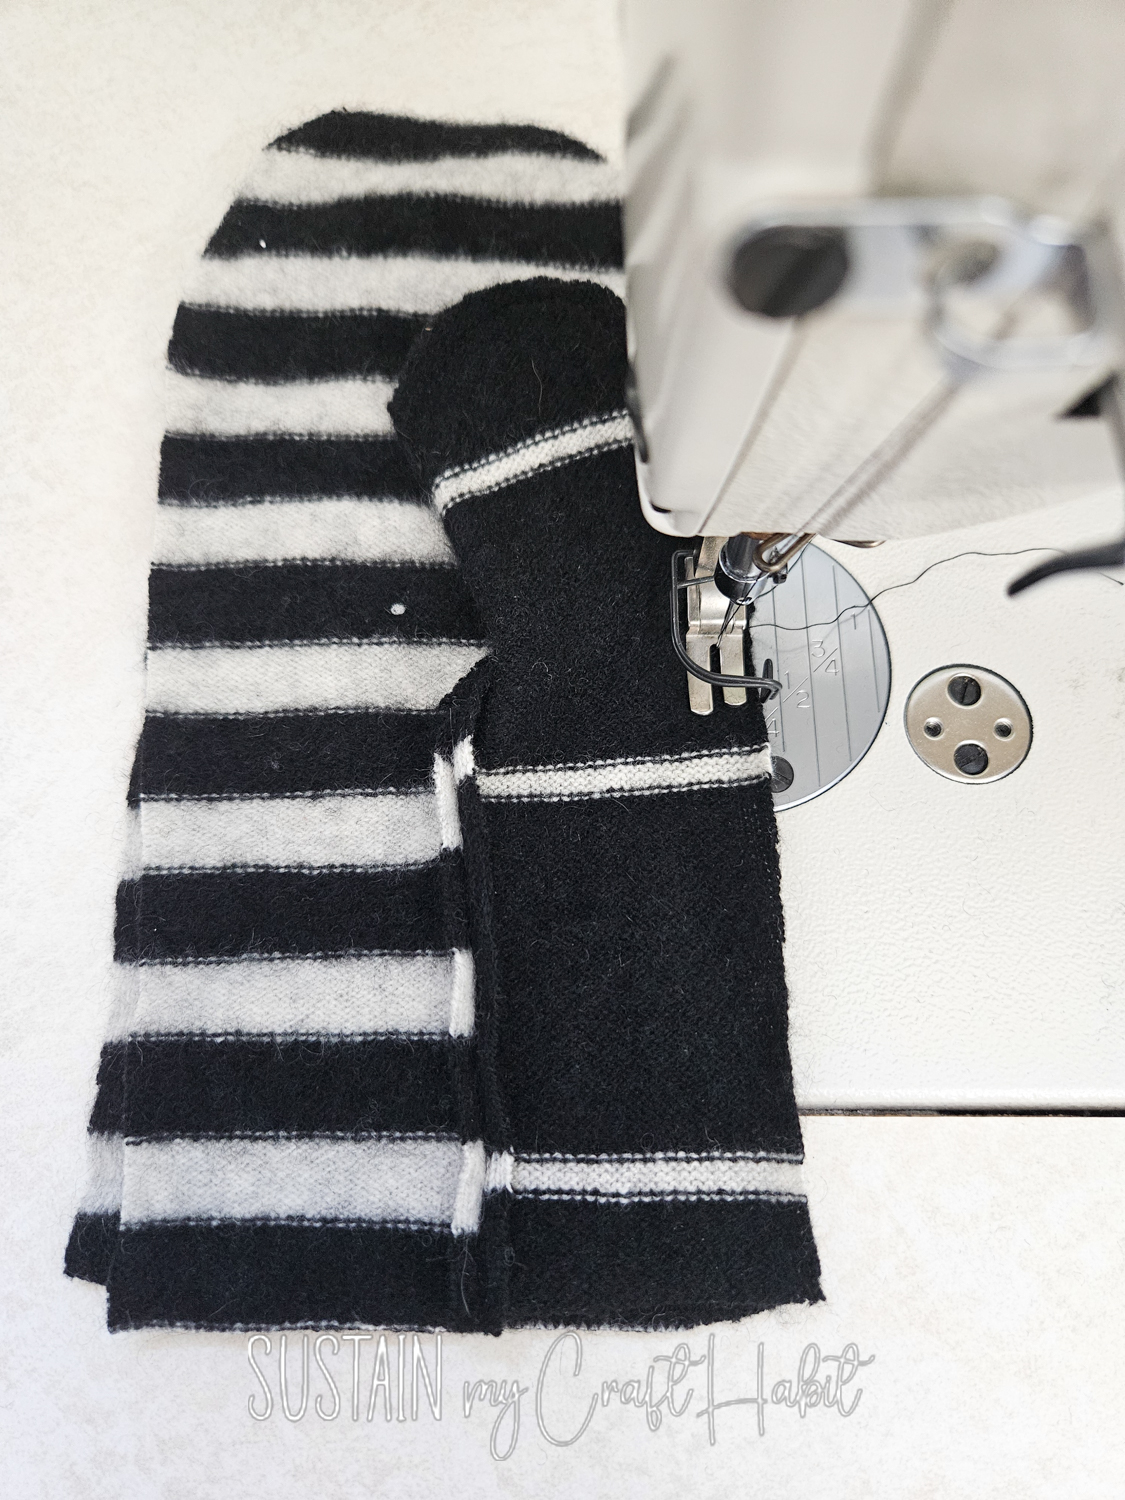
Lastly, insert the cuffs into the mitten, aligning the wrist edge with the cut edge of the cuffs, with right sides together. Sew together with a ½” seam allowance.
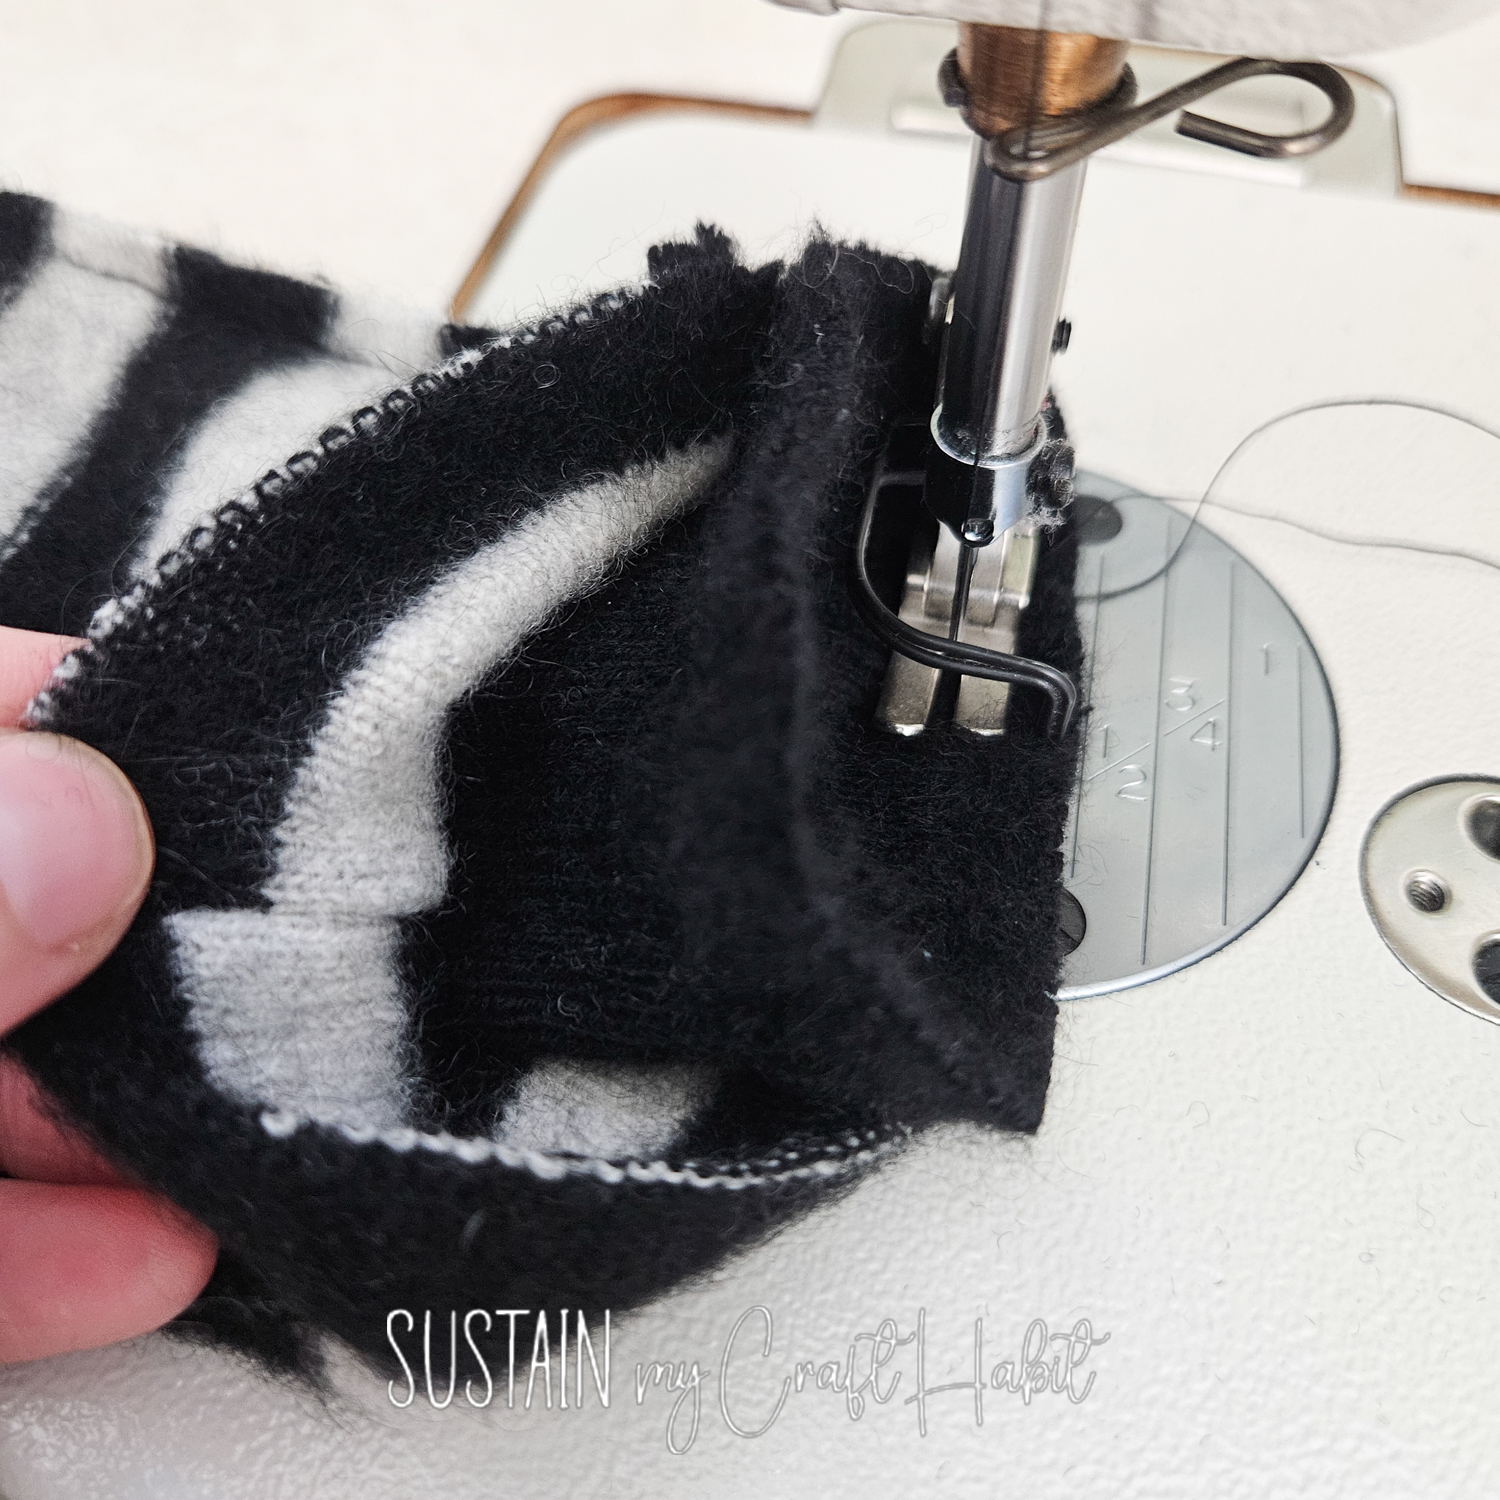
Tun mitt right side out and then repeat with the other mitten to complete the pair.
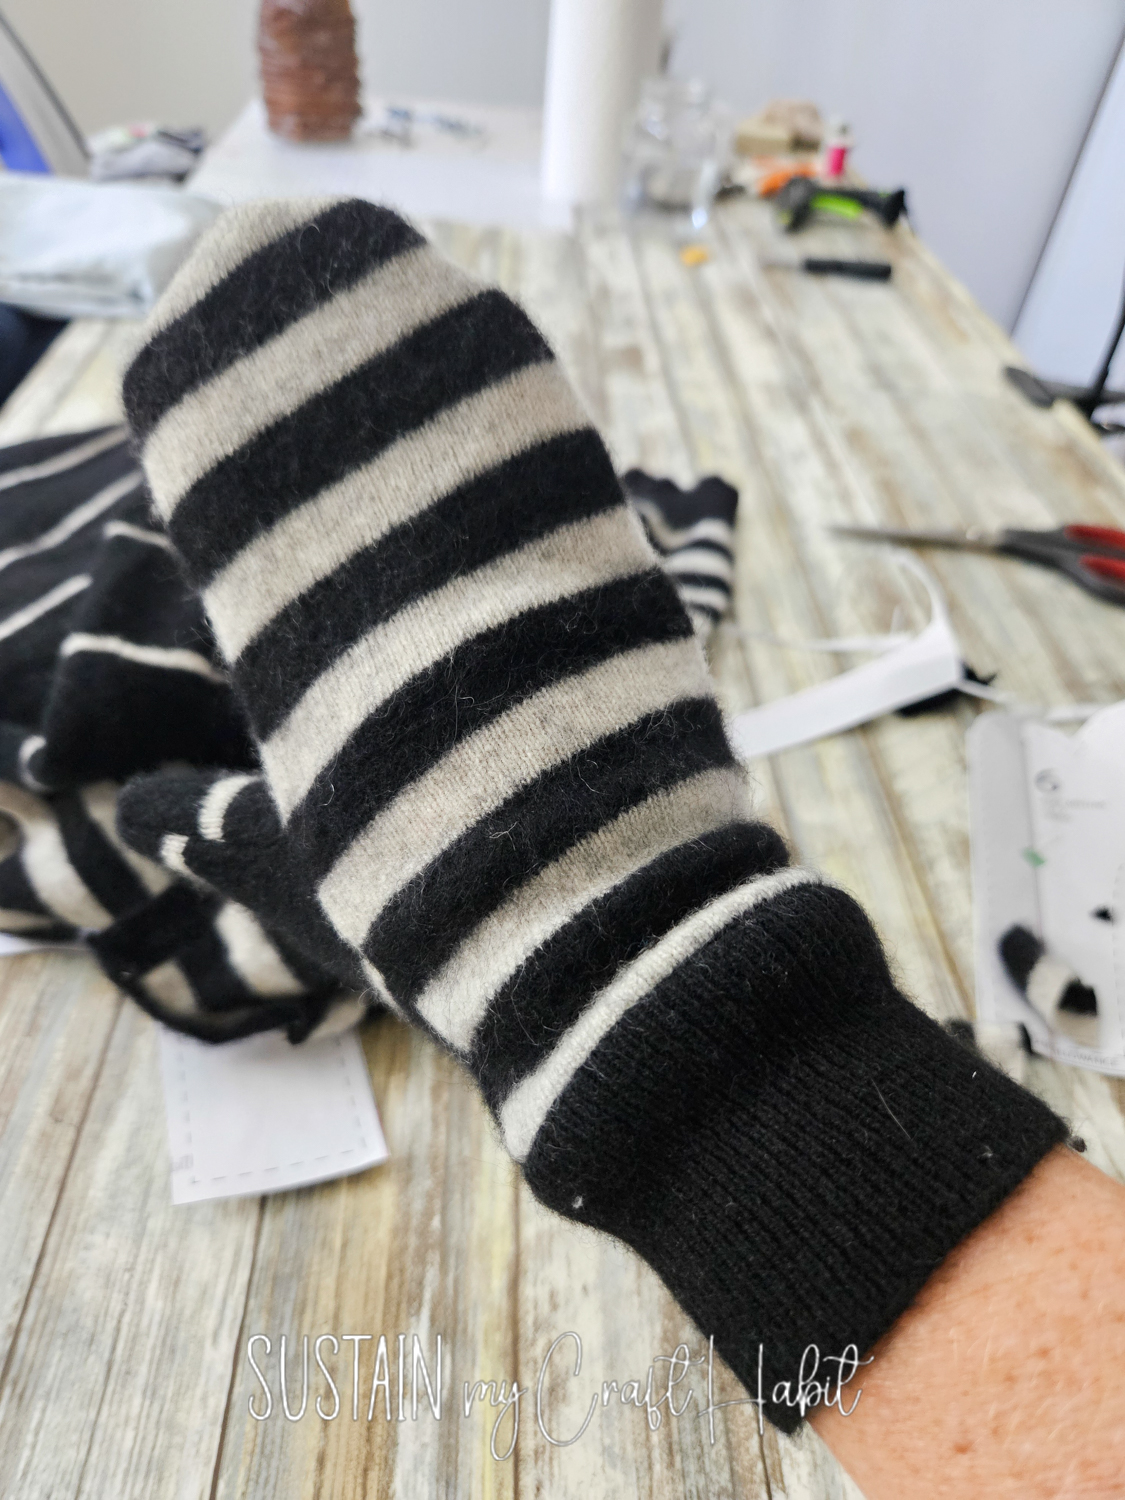
Add a Cosy Fleece Lining
Want to make your handmade sweater mittens even warmer? Adding a fleece lining is a lovely option.
Choose a lightweight, soft fleece that feels comfortable against your skin. Cut the lining pieces using the appropriate pattern, sew them together and attach them inside the outer mitten.
Troubleshooting Common Sweater Mitten Sewing Problems
The knitted fabric keeps stretching while I sew.
Try using a ballpoint or stretch needle and avoid pulling the fabric through your sewing machine. A narrow zigzag stitch can help seams move with the knit. Test your stitch on a scrap piece first.
The edges of my sweater fabric are unravelling.
Loosely knitted sweaters can fray when cut. Handle the pieces gently and consider finishing the raw edges with a zigzag stitch or overlocker. Felted wool is often easier to work with because its fibres are more stable.
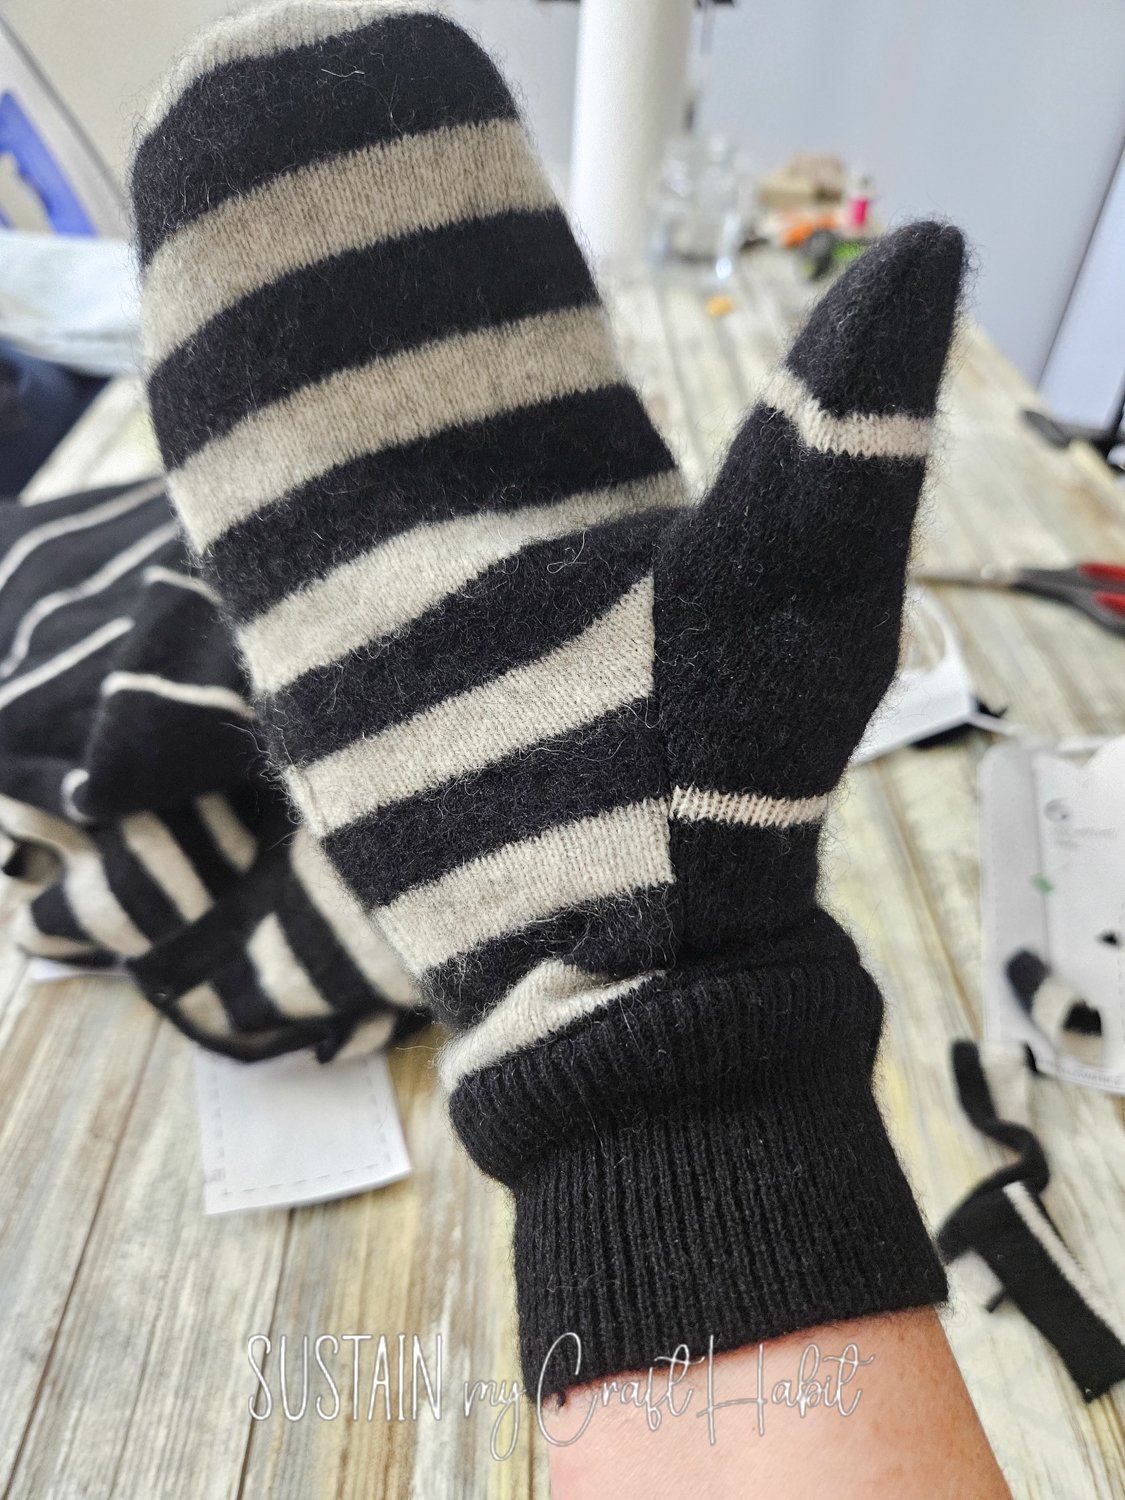
handmade winter gifts to sew
DIY mittens from thrifted sweaters are a lovely handmade gift idea for Christmas, birthdays or winter celebrations.
Choose a sweater in the recipient’s favourite colour and finish the mittens with a soft lining for an extra-special touch.
Give Old Sweaters a New Life
Making mittens from thrifted sweaters is a wonderfully simple way to combine creativity, sustainability and practical sewing. Instead of letting unwanted knitwear sit in a drawer or end up in the bin, you can transform it into something warm, useful and full of character.
More Upcycled Sewing Projects
If you love transforming thrifted finds and old garments into stylish new pieces, don’t stop here! Be sure to explore our full collection of DIY upcycled clothing sewing posts for more refashioning tutorials, scrap-busting projects, and creative wardrobe updates.
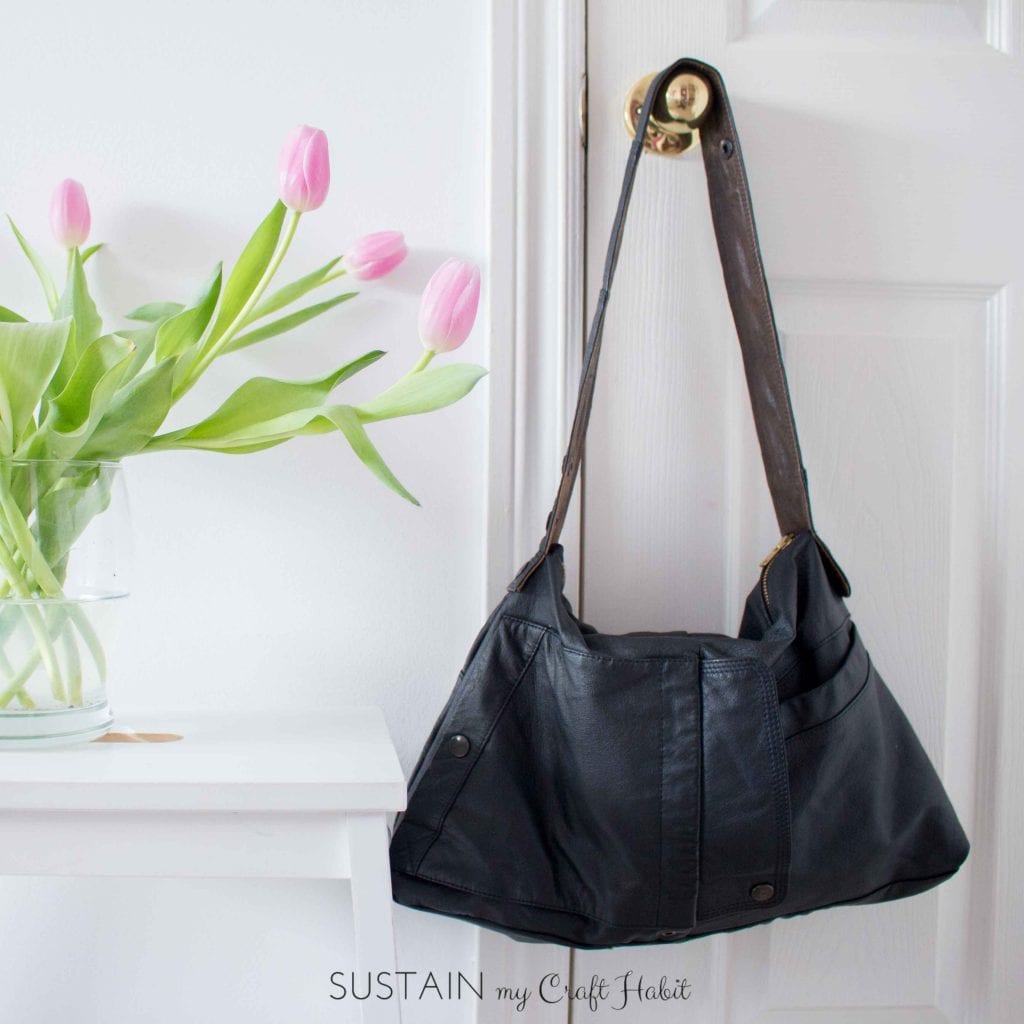
- Upcycling A Leather Coat into a Leather Bag
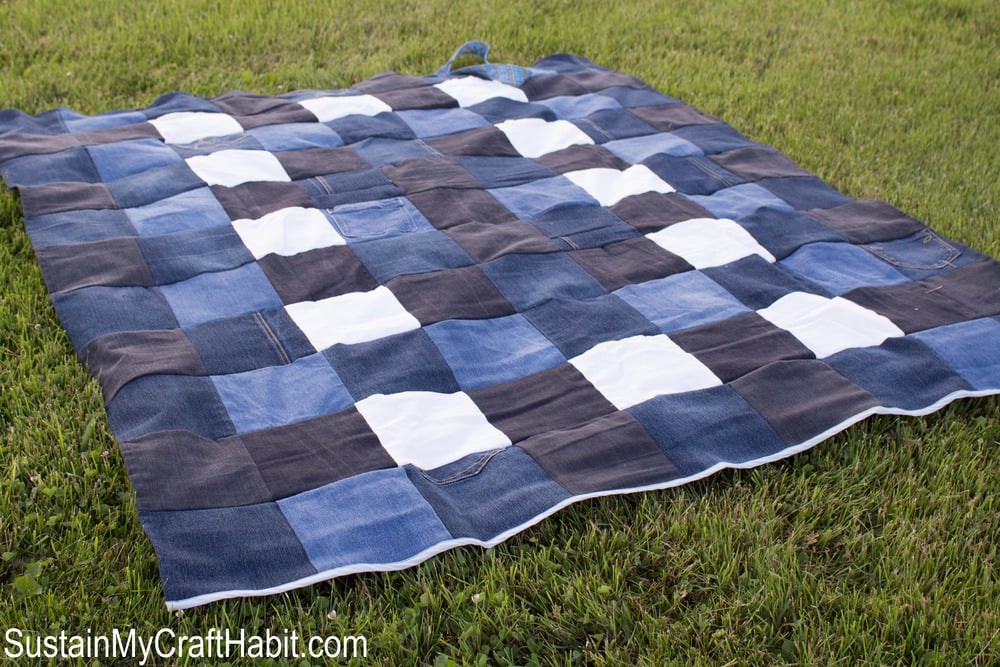
- Repurposed Denim Checkered Picnic Blanket
- Memorial Pillow from a Shirt
- The No-Pattern Men’s Shirt Apron Flip

Become a Sustain My Craft Habit insider to receive fun freebies!
Like it? Pin for later!
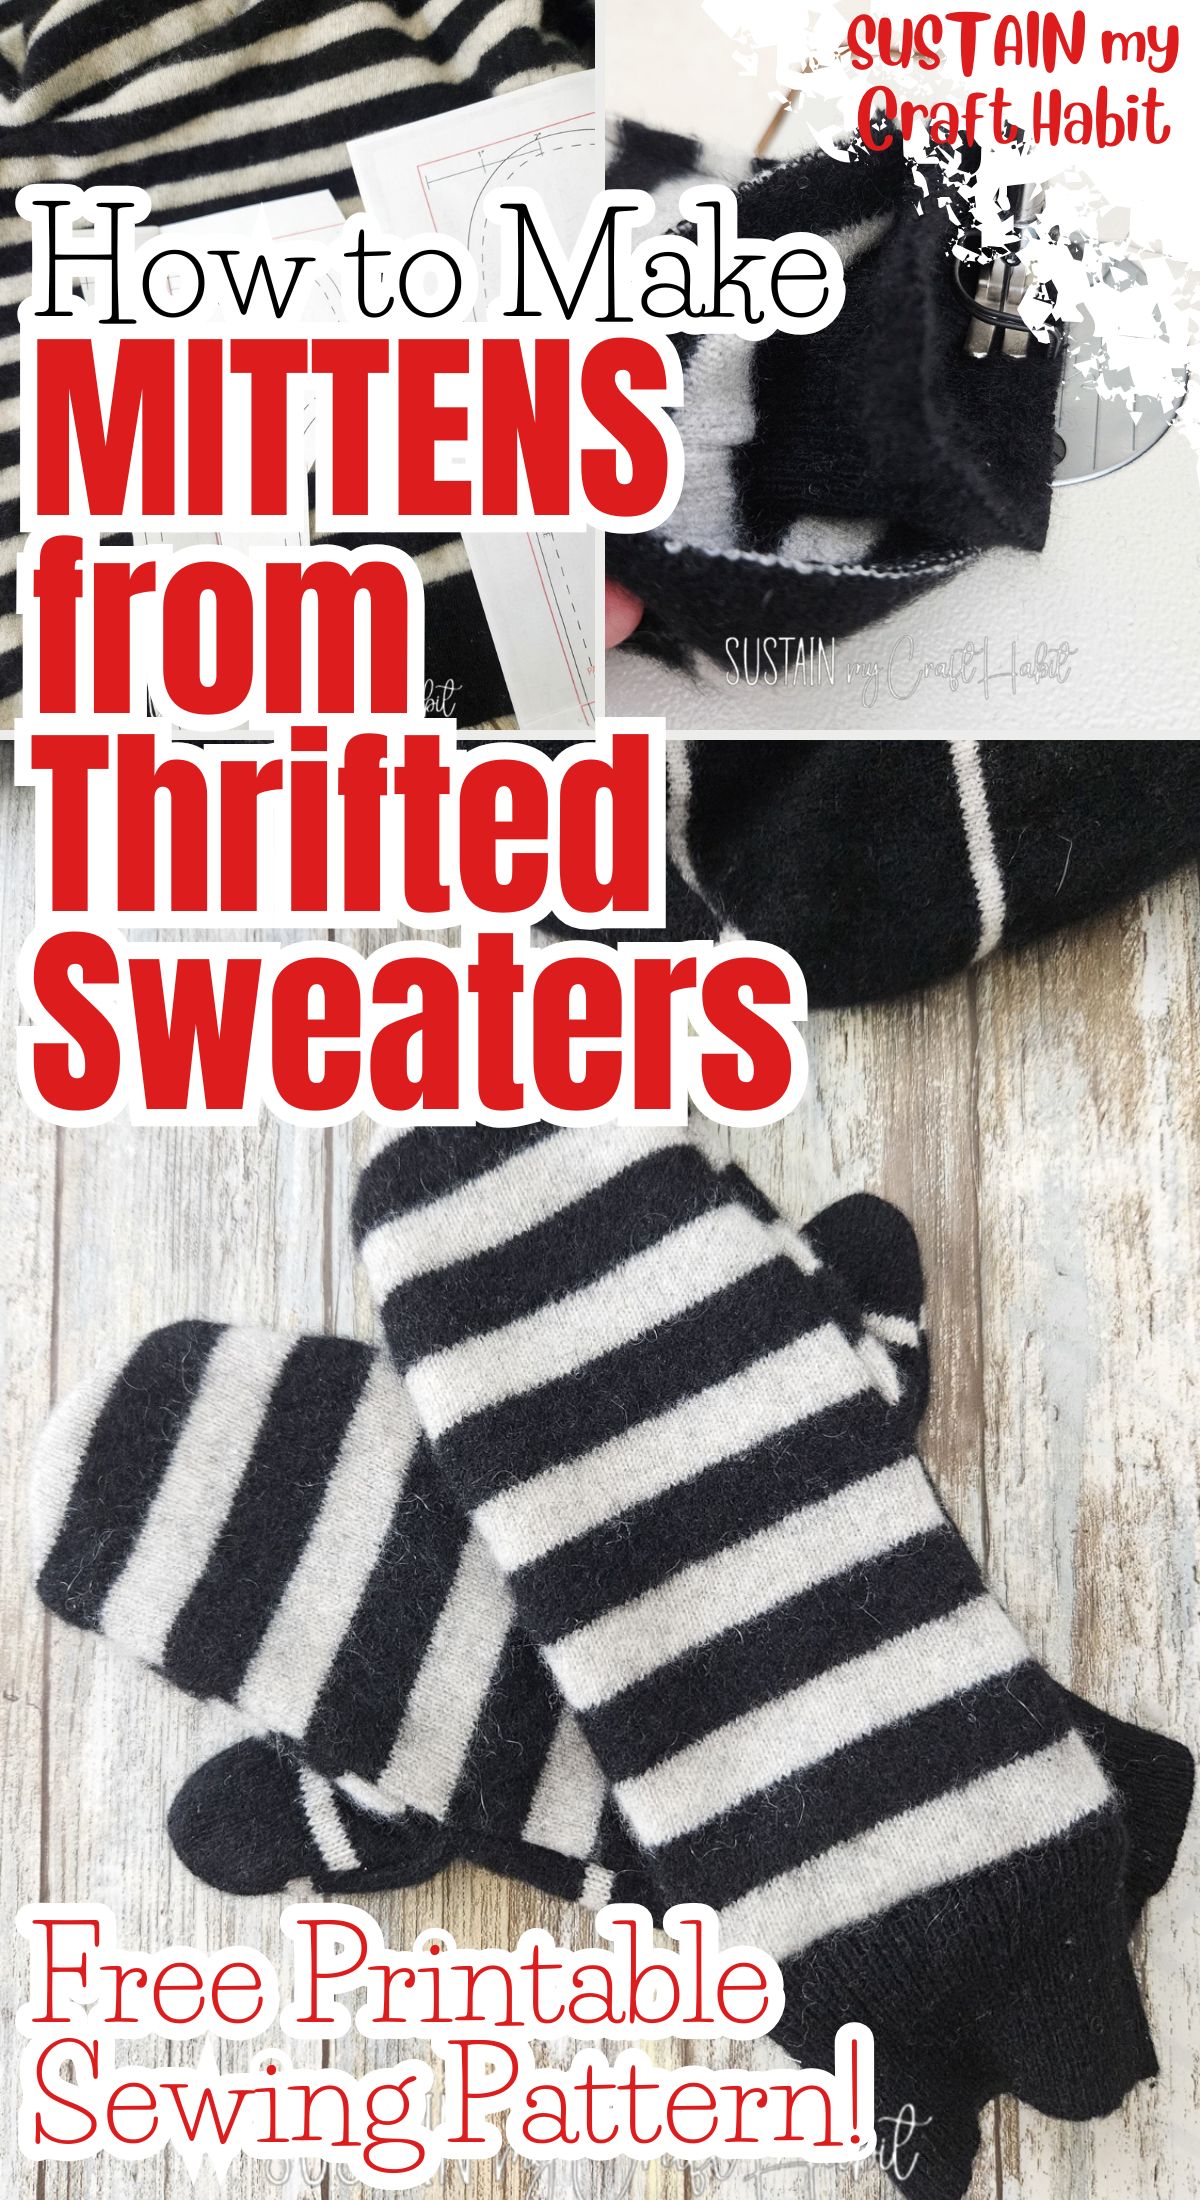
How to Make Mittens from Thrifted Sweaters (Free Printable Sewing Pattern!)
Materials
- Thrift store sweaters wool, cashmere, acrylic
- Sewing machine and thread
- Fabric Scissors
- Printable Mittens Pattern
Instructions
- Download and then print to scale the mittens sewing pattern. Tape the pages together along the solid red lines to form the complete sewing pattern. Cut out roughly around each pattern piece to separate.
Preparing the Sweaters
- Now that the sweaters are washed and dried, cut along the seams to separate the sweater panel pieces.
- For mittens, I like to reuse the rib cuffs so cut those off the sweater and put aside for time being. Make sure to give yourself at least a ½” seam allowance (space above the ribbing).
- Fold the panels in half with right sides together and position the pattern pieces on top. You’ll need 2 pieces for each pattern (one for left hand and another for the right).
- If you’re cutting the pieces for the right and left separately, make sure to flip the pattern for the other hand.
- Cut along the solid line.
- You can use the same sweater for the thumb pattern piece or use a contrasting fabric as I’ve done with these.
Sewing
- Working one mitten at a time.
- With right sides facing together, align UNDER MITT (2) with THUMB PANEL (3) piece and sew together along the curve with a ¼” seam allowance. Press seam allowance open.
- Next, fold the THUMB PANEL (3) piece right sides together to align the curved ends. Sew together with ¼” seam allowance.
- Next, align UPPER MITT (1) piece with the UNDER and THUMB pieces with RIGHT sides together. Sew along the outer edges with a ¼” seam allowance in two steps:
- From circle to outer edge (sewing along the long curved edge).
- From circle to bottom edge (sewing along the short straight edge).
- Lastly, insert the cuffs into the mitten, aligning the wrist edge with the cut edge of the cuffs, with right sides together. Sew together with a ½” seam allowance.
- Tun mitt right side out.
- Repeat with the other mitten to complete the pair.