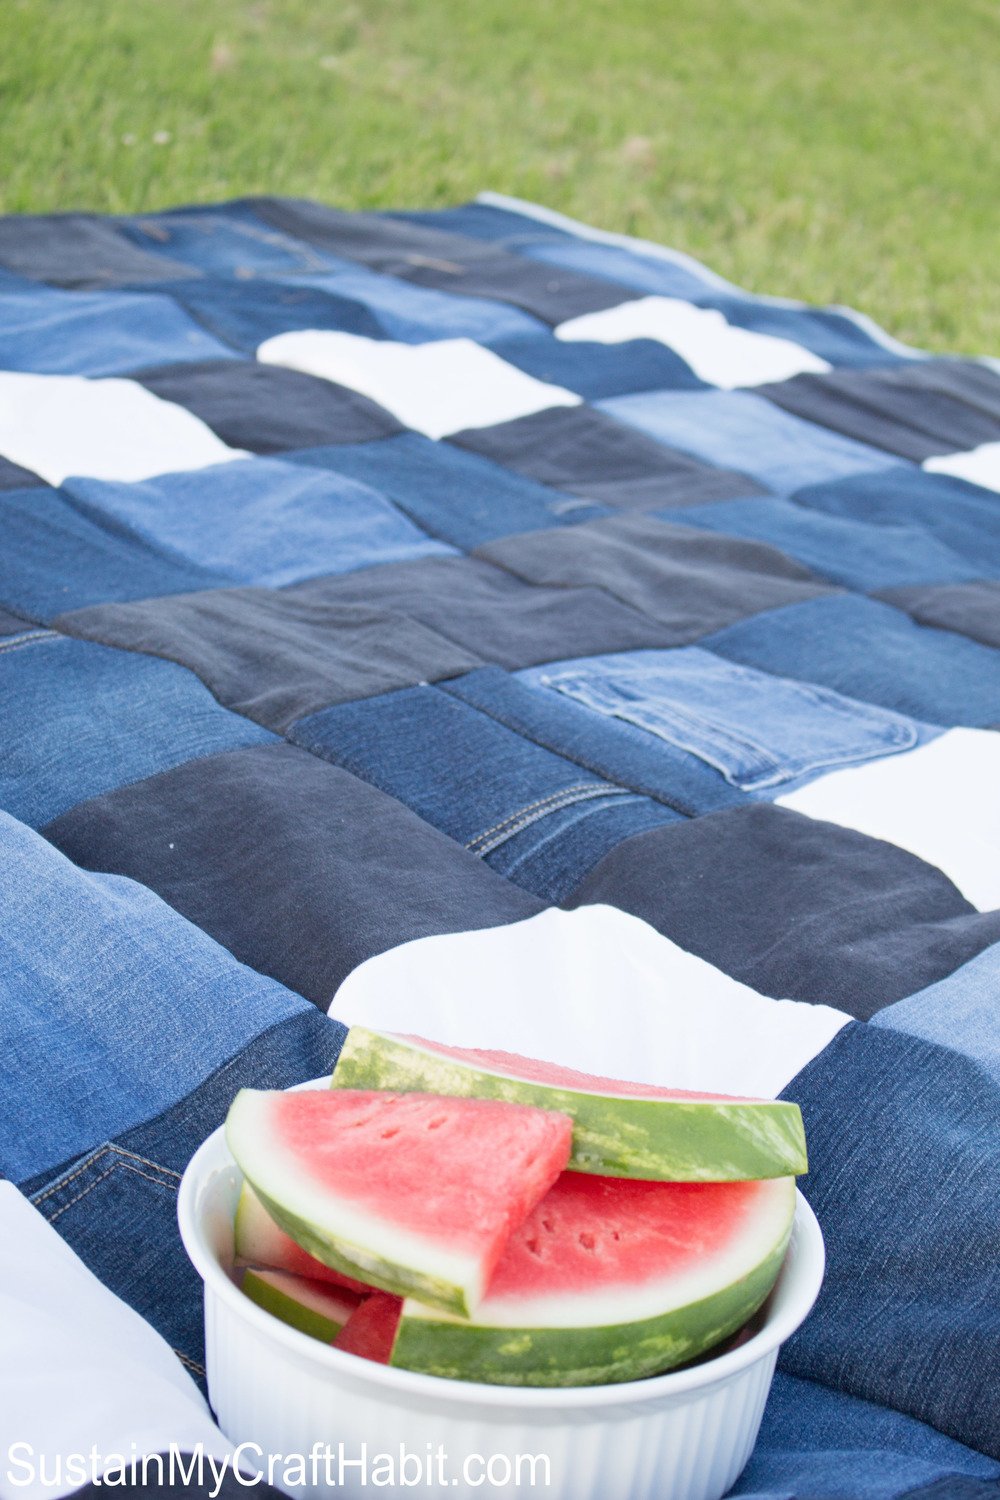
DIY Repurposed Denim Checkered Picnic Blanket
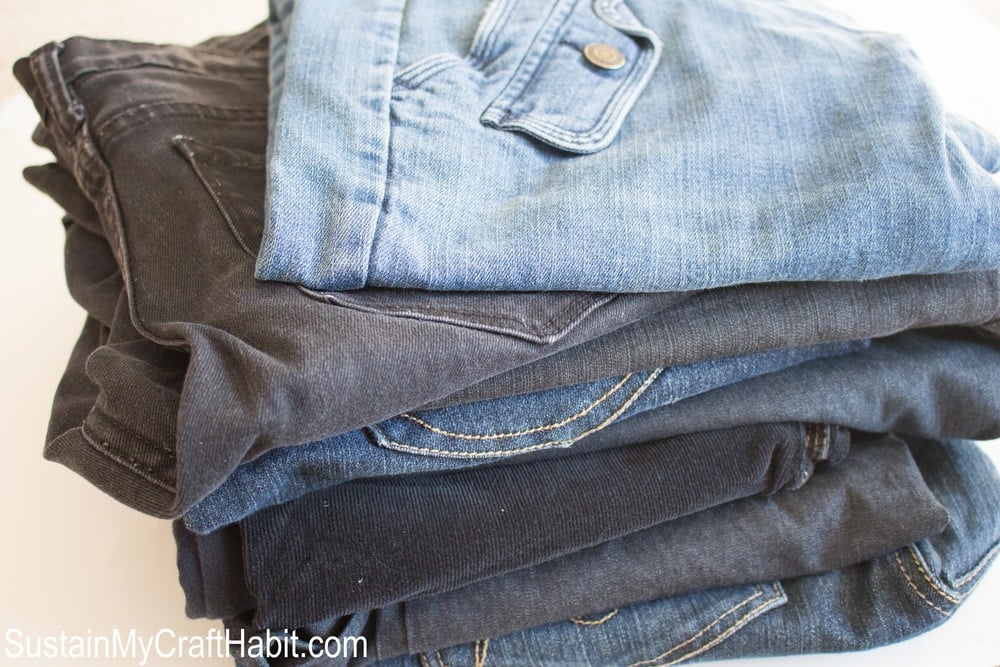
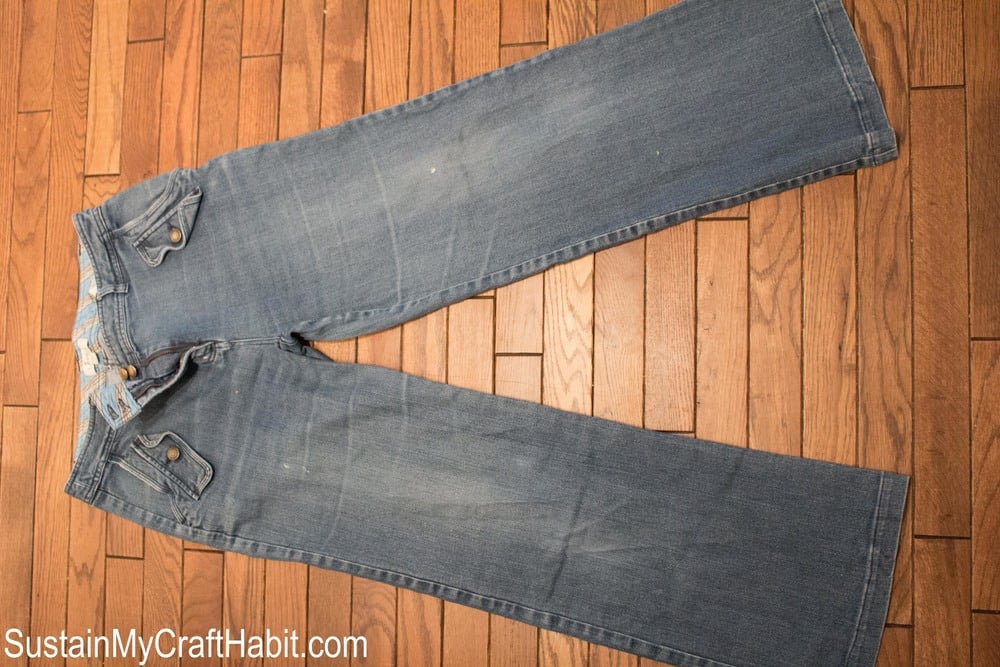
I recently finished a spring cleaning of my closet and collected a small pile of outdated, ripped up and no-longer-can-squeeze-into jeans (why was I holding on to these for so long?). I had been thinking of making a durable blanket for an upcoming camping trip. Also, with summer upon us and my family spending lots of time outdoors, a picnic blanket was much needed.

Rather than heading to the store, I decided to use up all of that great denim fabric to make a picnic blanket. Here are the do-it-yourself instructions to turn a bunch of unwanted jeans into a stunning and useful picnic blanket.
Related: DIY Mulberry Branch Wreath with Crochet Flower Pattern
DIY Repurposed Denim Checkered Picnic Blanket
Before taking out my fabric scissors, I had to do some simple math calculations to determine the number of square pieces I was going to need for the blanket. I knew I wanted to do a quilt-inspired blanket. So here’s the math:
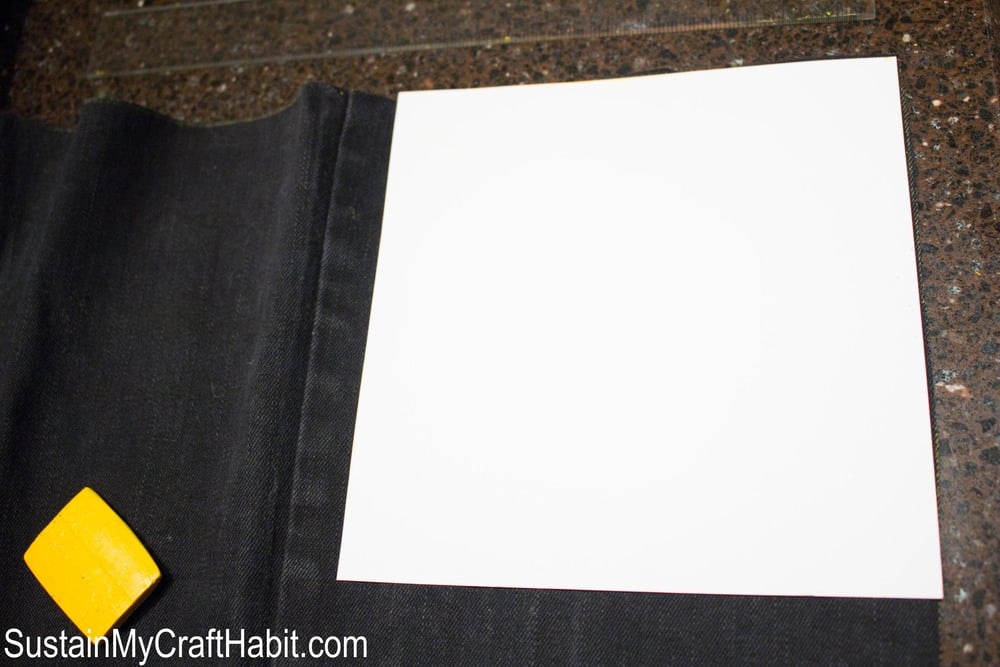
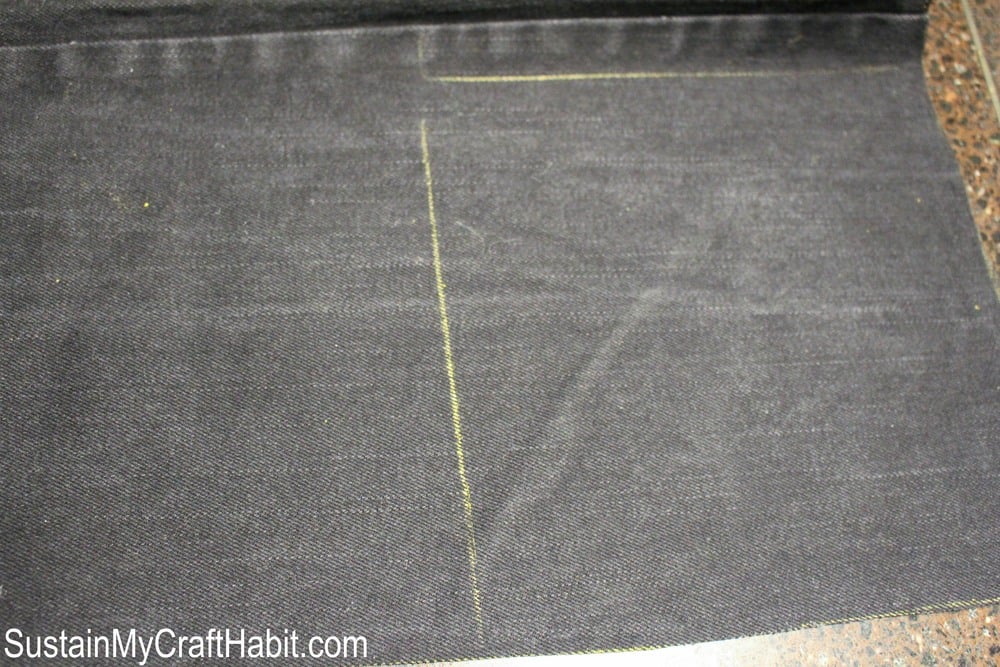
1. I chose the size of each of my finished squares to be 6”. I added ½” seam allowance to all sides which gave me a square template measuring 7” x 7”.
2. I knew a good size picnic blanket would be about 60” wide x 70” long.
- For the width – I multiplied my 6” finished square x 9 squares to get 54” wide.
- For the length – I multiplied my 6” finished square x 11 squares to get 66” long.
**So my finished blanket would be 54” wide (or 9 squares) x 66” (or 11 squares) long. Close enough to my desired size!
3. Next, I simply multiplied length x width (in squares) to get total # of needed squares:
- 9 squares * 11 squares = 99 squares (total)
4. I created a square template measuring 7”x7” out of cardstock to use as my cutting guide.
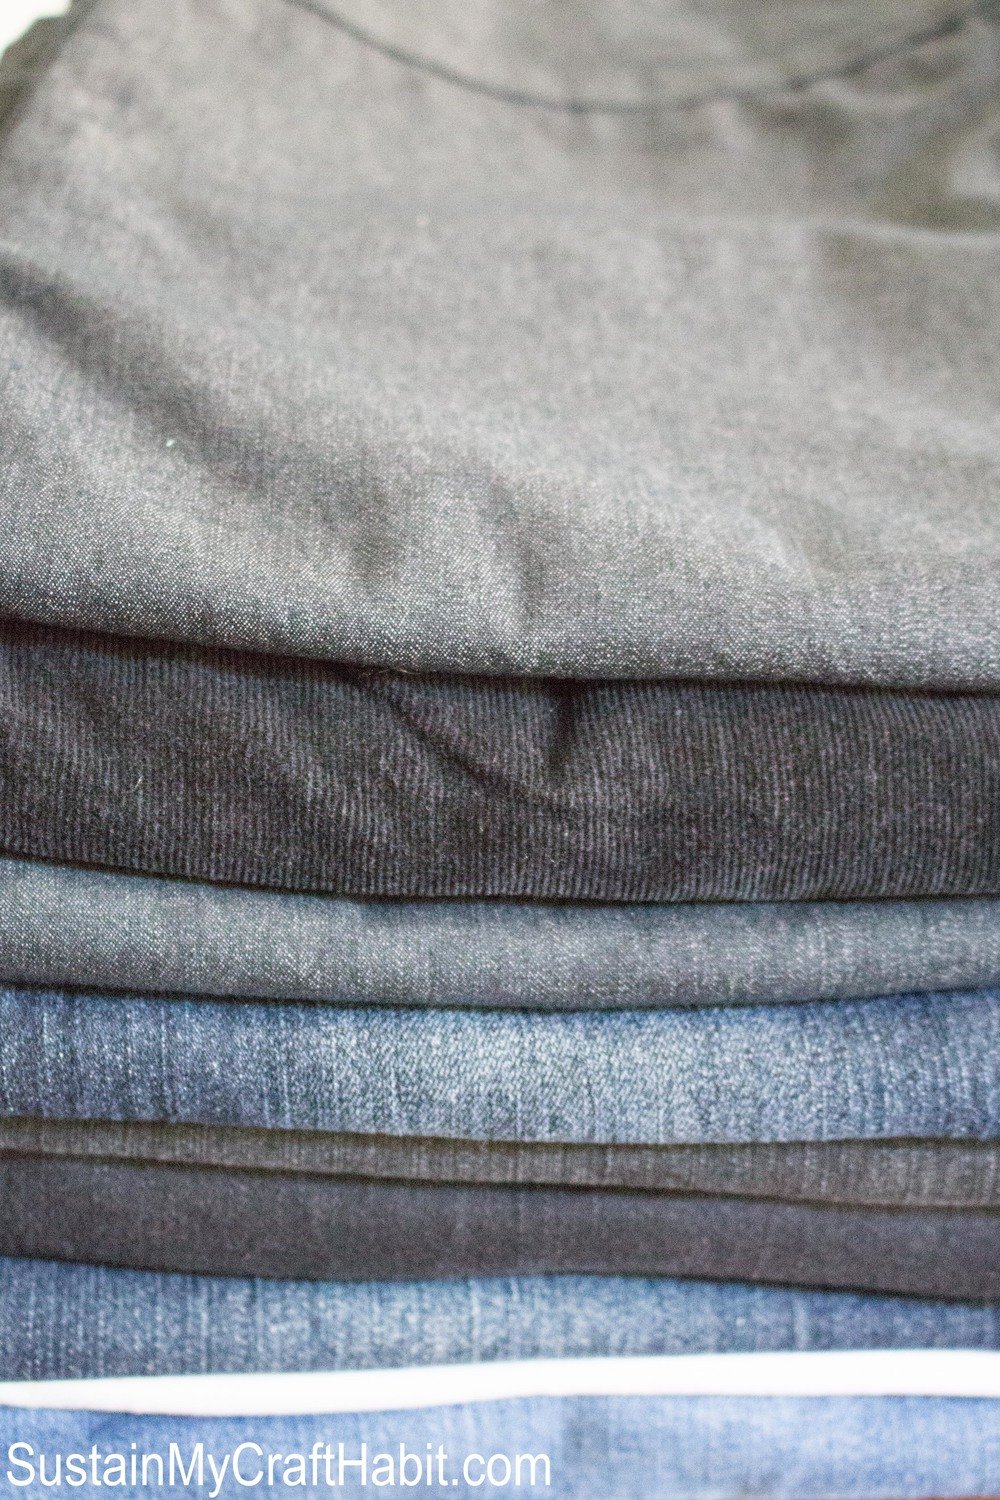
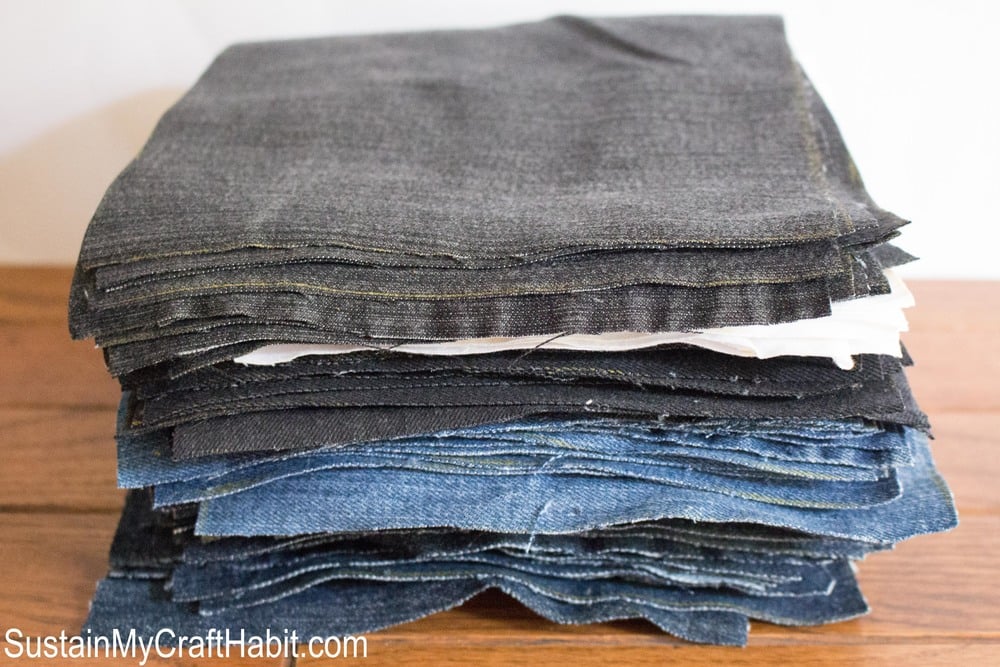
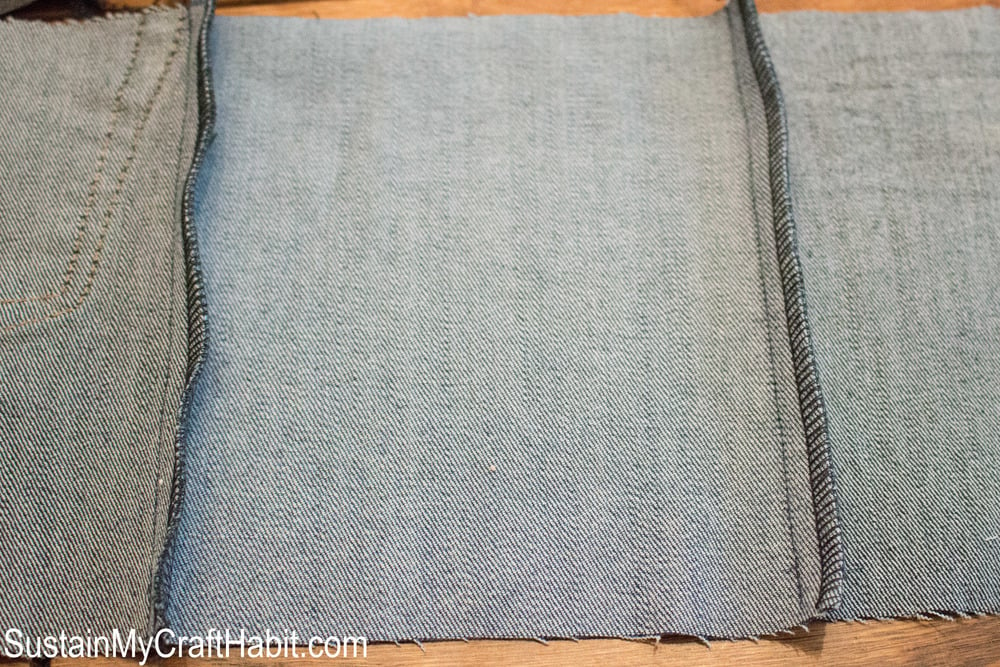
5. I cut up the jeans into usable fabric pieces. I cut the jeans along either the inseams or the outseams to avoid wasting any fabric.
Finally, the preparation was done and I could begin working on the blanket! I took the template and began tracing it out on the fabric using a washable wax pencil (or any washable pencil like a chalk pencil* would do). I take the time to make sure I was using the most out of each pair of jeans: my squares were aligned and followed the grainline of the fabric. Then, continued to mark and cut the squares until I had 99 pieces in total.
Related: The Best Craft Kits for Adults
I ended up using 5 different pairs of women’s size 10 jeans to make this picnic blanket.
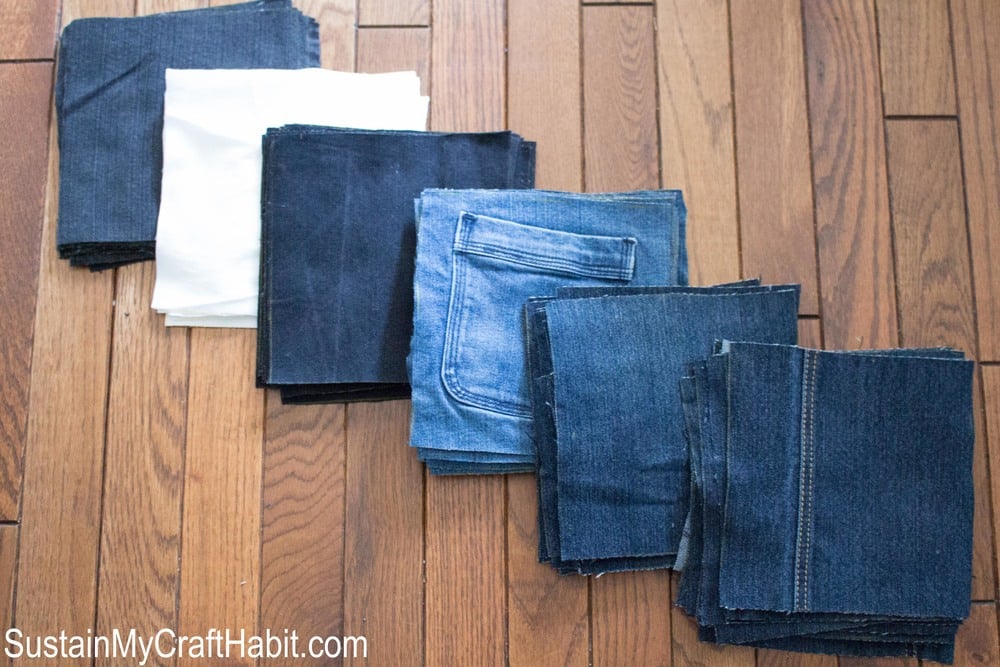
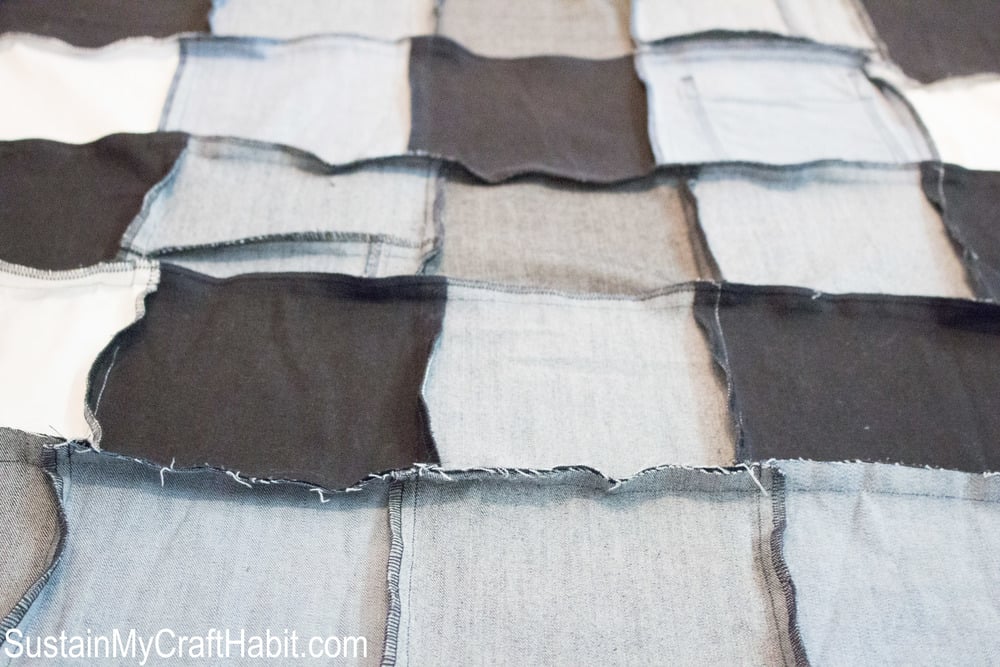
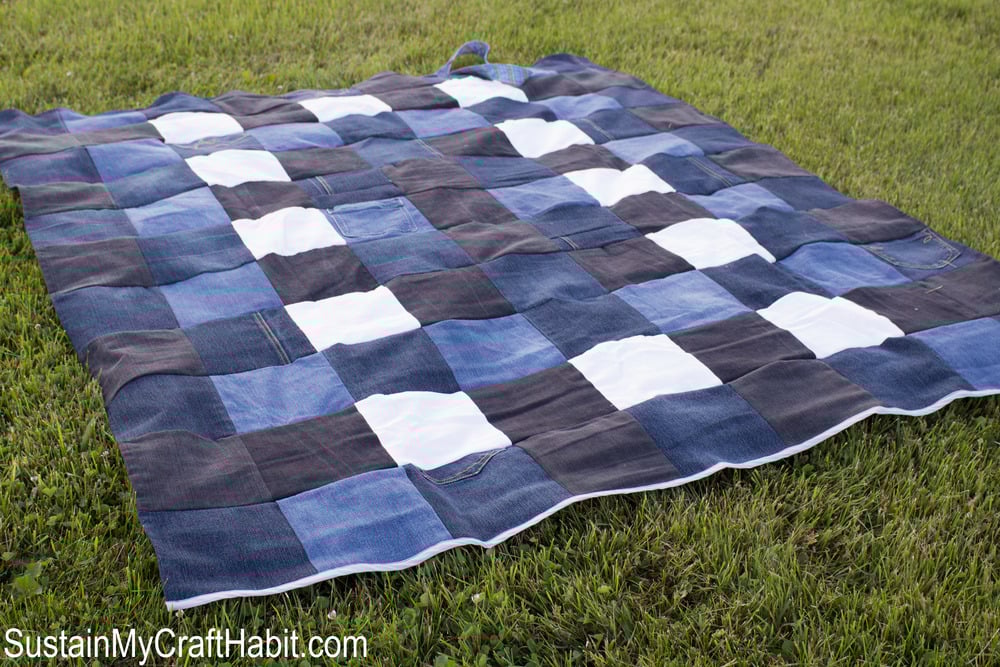
The next step was the fun part: l laid out the squares in a creative and visually appealing pattern. Or you can do random as well if you prefer.
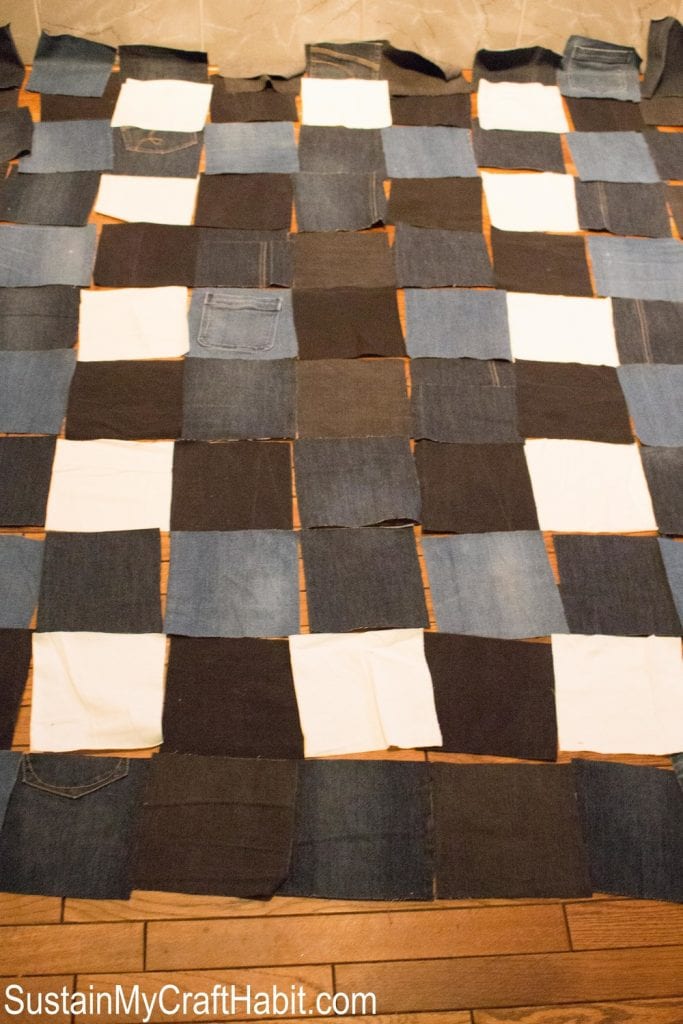
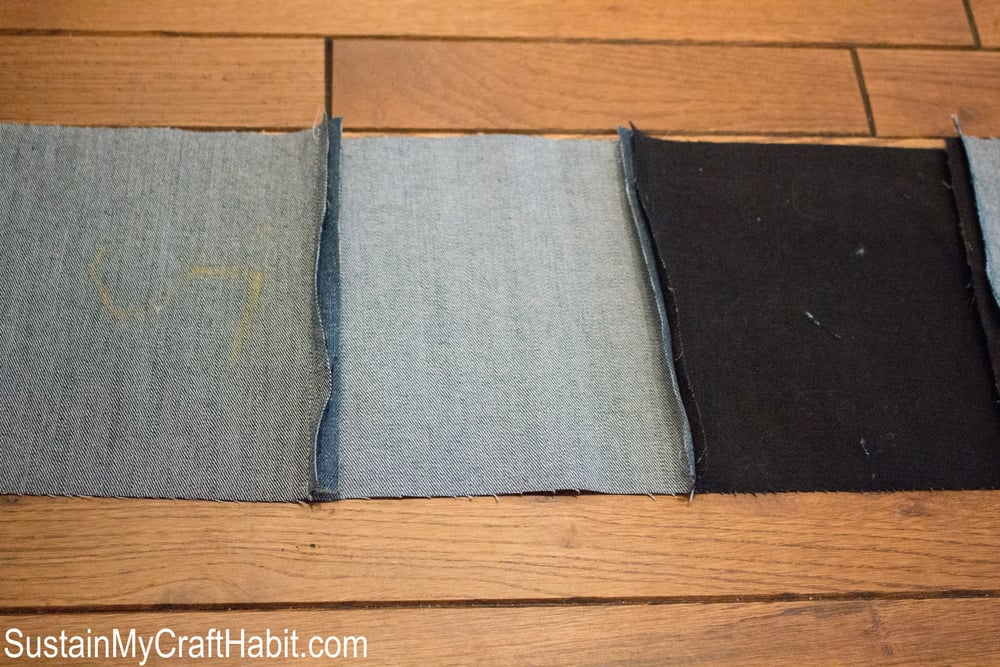
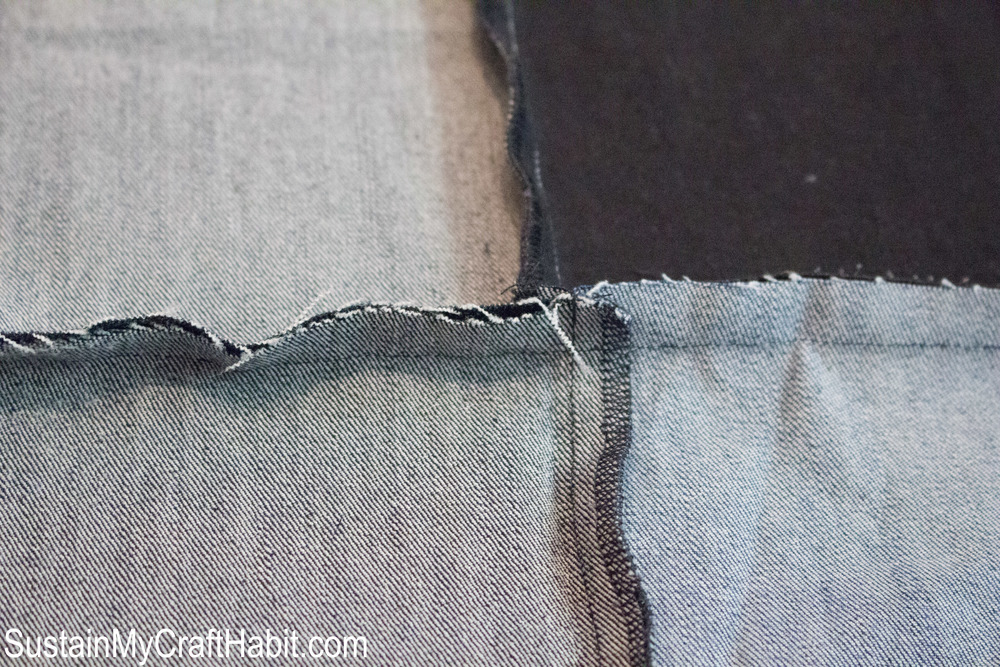
I marked the back side of the square at the start of each row with a number (1 to 11). This is important most especially when you are creating a pattern. I stacked each row the same way working from left to right. And then I began sewing the squares together along each row starting with row 1. After this, I finished the raw edges using a serging machine (zig zag stitching works as well if you don’t have a serger).
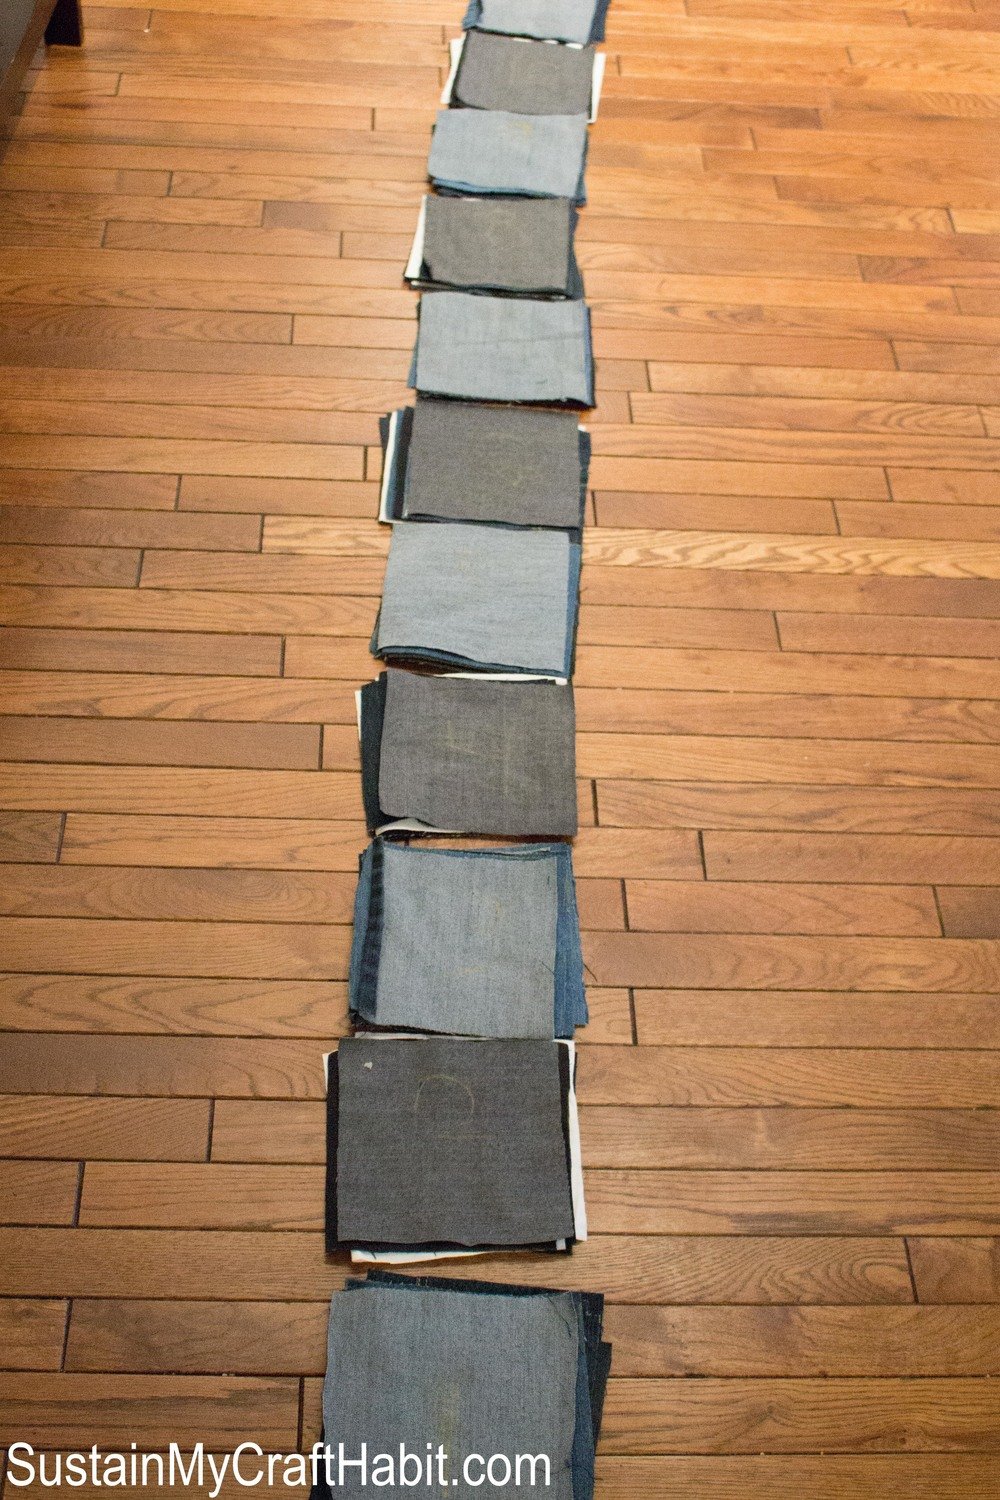
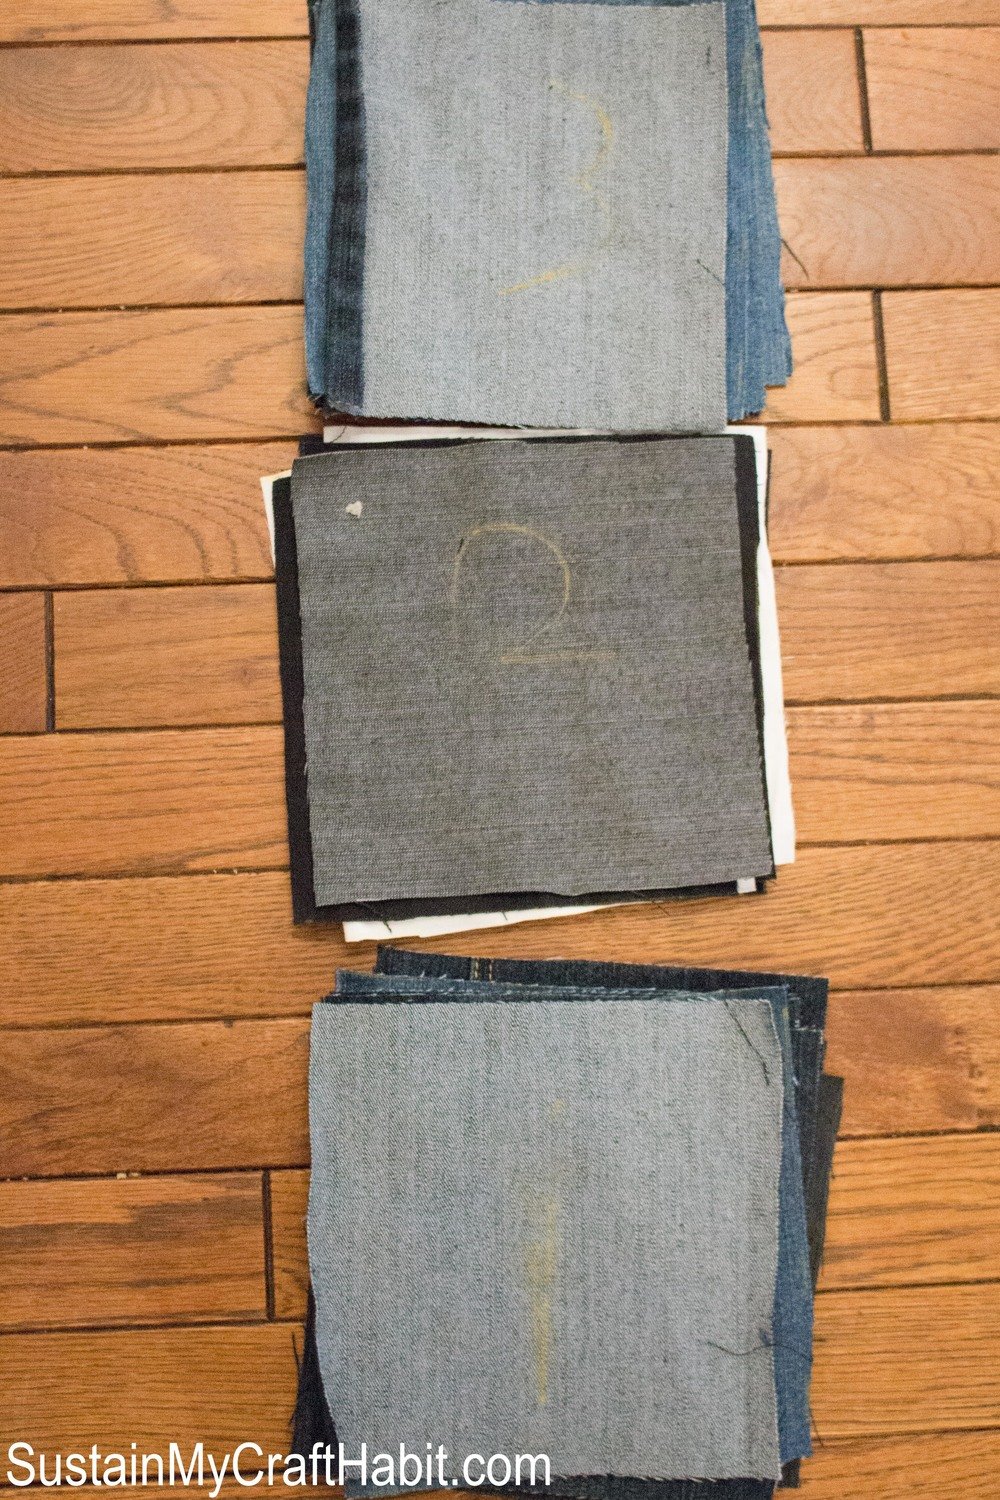
Next, it was time to join the rows together starting with completed row 1 and working up towards row 11. Take care to align the intersecting seams on each row as your sewing. Serge the length of the seam allowance to eliminate raw edges.
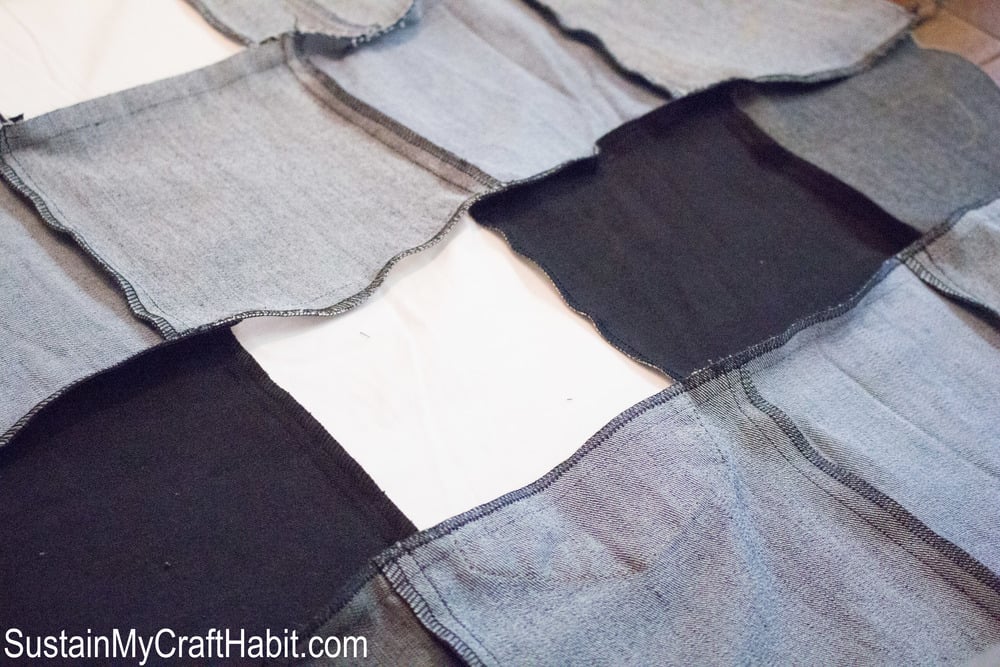
The picnic blanket is almost done! Iron out the seams so they are neatly pressed to one side (you can also do this as you finish sewing your rows).
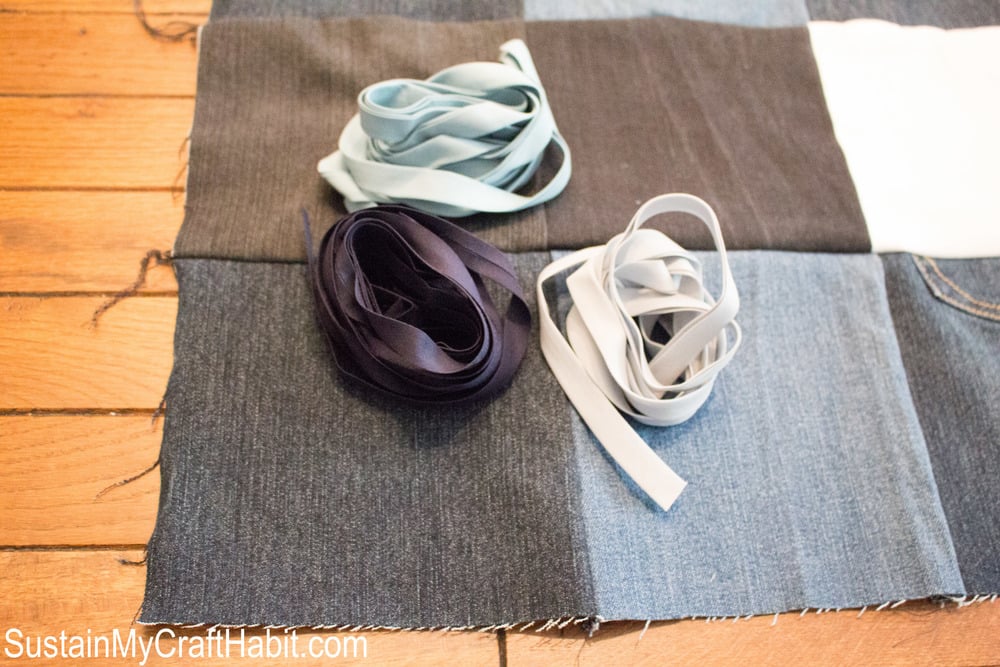
The next step is to finish the edges of the blanket with a ½” wide cotton binding or by simply turning edges under and topstitching.
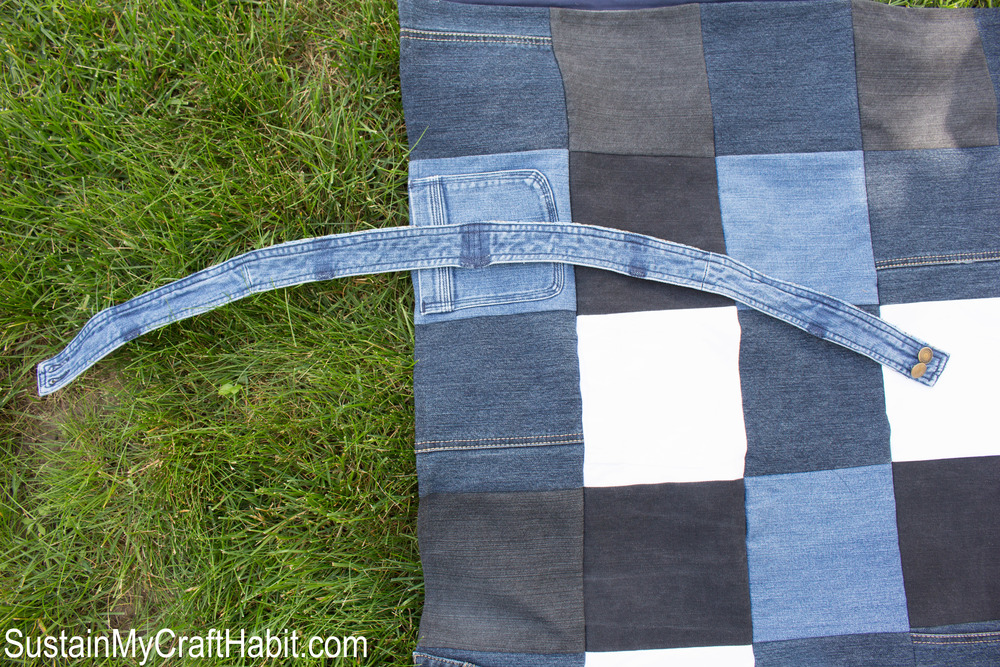
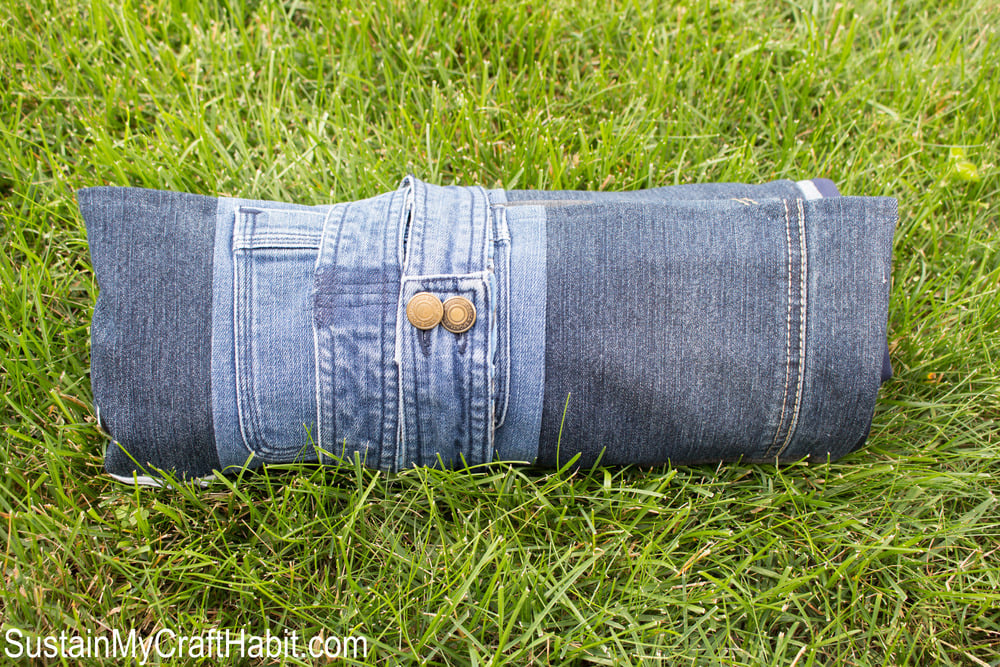
And the final step is to add a tie so the picnic blanket when rolled up stays in place. I chose to use one of the waistbands from the unwanted jeans to make the tie. I cut the waistband away from the rest of the jeans, cutting close the seam allowance.
Related: The Sweetest Vintage Repurposed Planter Idea
And done! So who’s up for a picnic in the park?
What other ways have you thought to repurpose old clothes? Do you have a favorite picnic blanket you use?

What a great way to repurpose old jeans. Thank you for linking up on the #HomeMattersParty linky. I hope you will come back and link up again.
Thankyou, Melissa. It was fun to make and the best part is my daughter keeps suggesting a picnic just so we can use the blanket! We LOVE your posts on http://adventuresfrugalmom.com/ and definitely we will link up again on #HomeMattersParty.
I love this idea and so handy. Using the waistband to tie it was a great idea! Have a great day!
What did you use for a backing?
Hi Janey – for this picnic blanket, we didn’t use a backing. It’s simply one layer of the cut denim making it easy to throw into the washing machine when it needs cleaning. We did consider adding a vinyl backing (actually an old vinyl tablecloth we had) but decided to leave it without in this case.
Thanks for this great idea! I made a dog blanket for my backseat in my Mini Cooper and used the waist bands to loop around the head rests. It holds the dog blanket in place. I used an old navy blue sheet as a backer and then used bias tape to bring it all together on the sides! My husband suggested I take orders but I quickly quashed that idea by telling him the labour hours were about 30! (I’m a slow seamstress!)
That’s amazing and so clever to use it to hold the blanket in place! Well maybe he’s on to something…the more you sew, the faster you sew 😉
Great use of all the denim! That blanket is also perfect for the beach! Your family can find you easily because nobody else has a blanket like yours.
I love it! What a great job you did! Again, I absolutely love it!
Thank you so much!
I am going to try this DIY, as I have alot of old jeans laying around in my house. Thank you for the great idea.
I too am making a blue jean quilt. Mine is 60×60, but I plan to make it like a quilt. It will have batting and flannel backing. I plan to tie or quilt it my self. I want to make it very warm so when we go to foot ball games when it is cold we will be warm!
I made beach mats for my grandkids. Alternate denim rectangles on which I embroidered their particular interests and hobbies onto ( books, musical instrument, sports balls, bowling balls , dancer etc) The top left block I embroidered their name on. It’s a keepsake for each. I also wrote the date that it was made- no surprise- I made the 7 mats during covid.