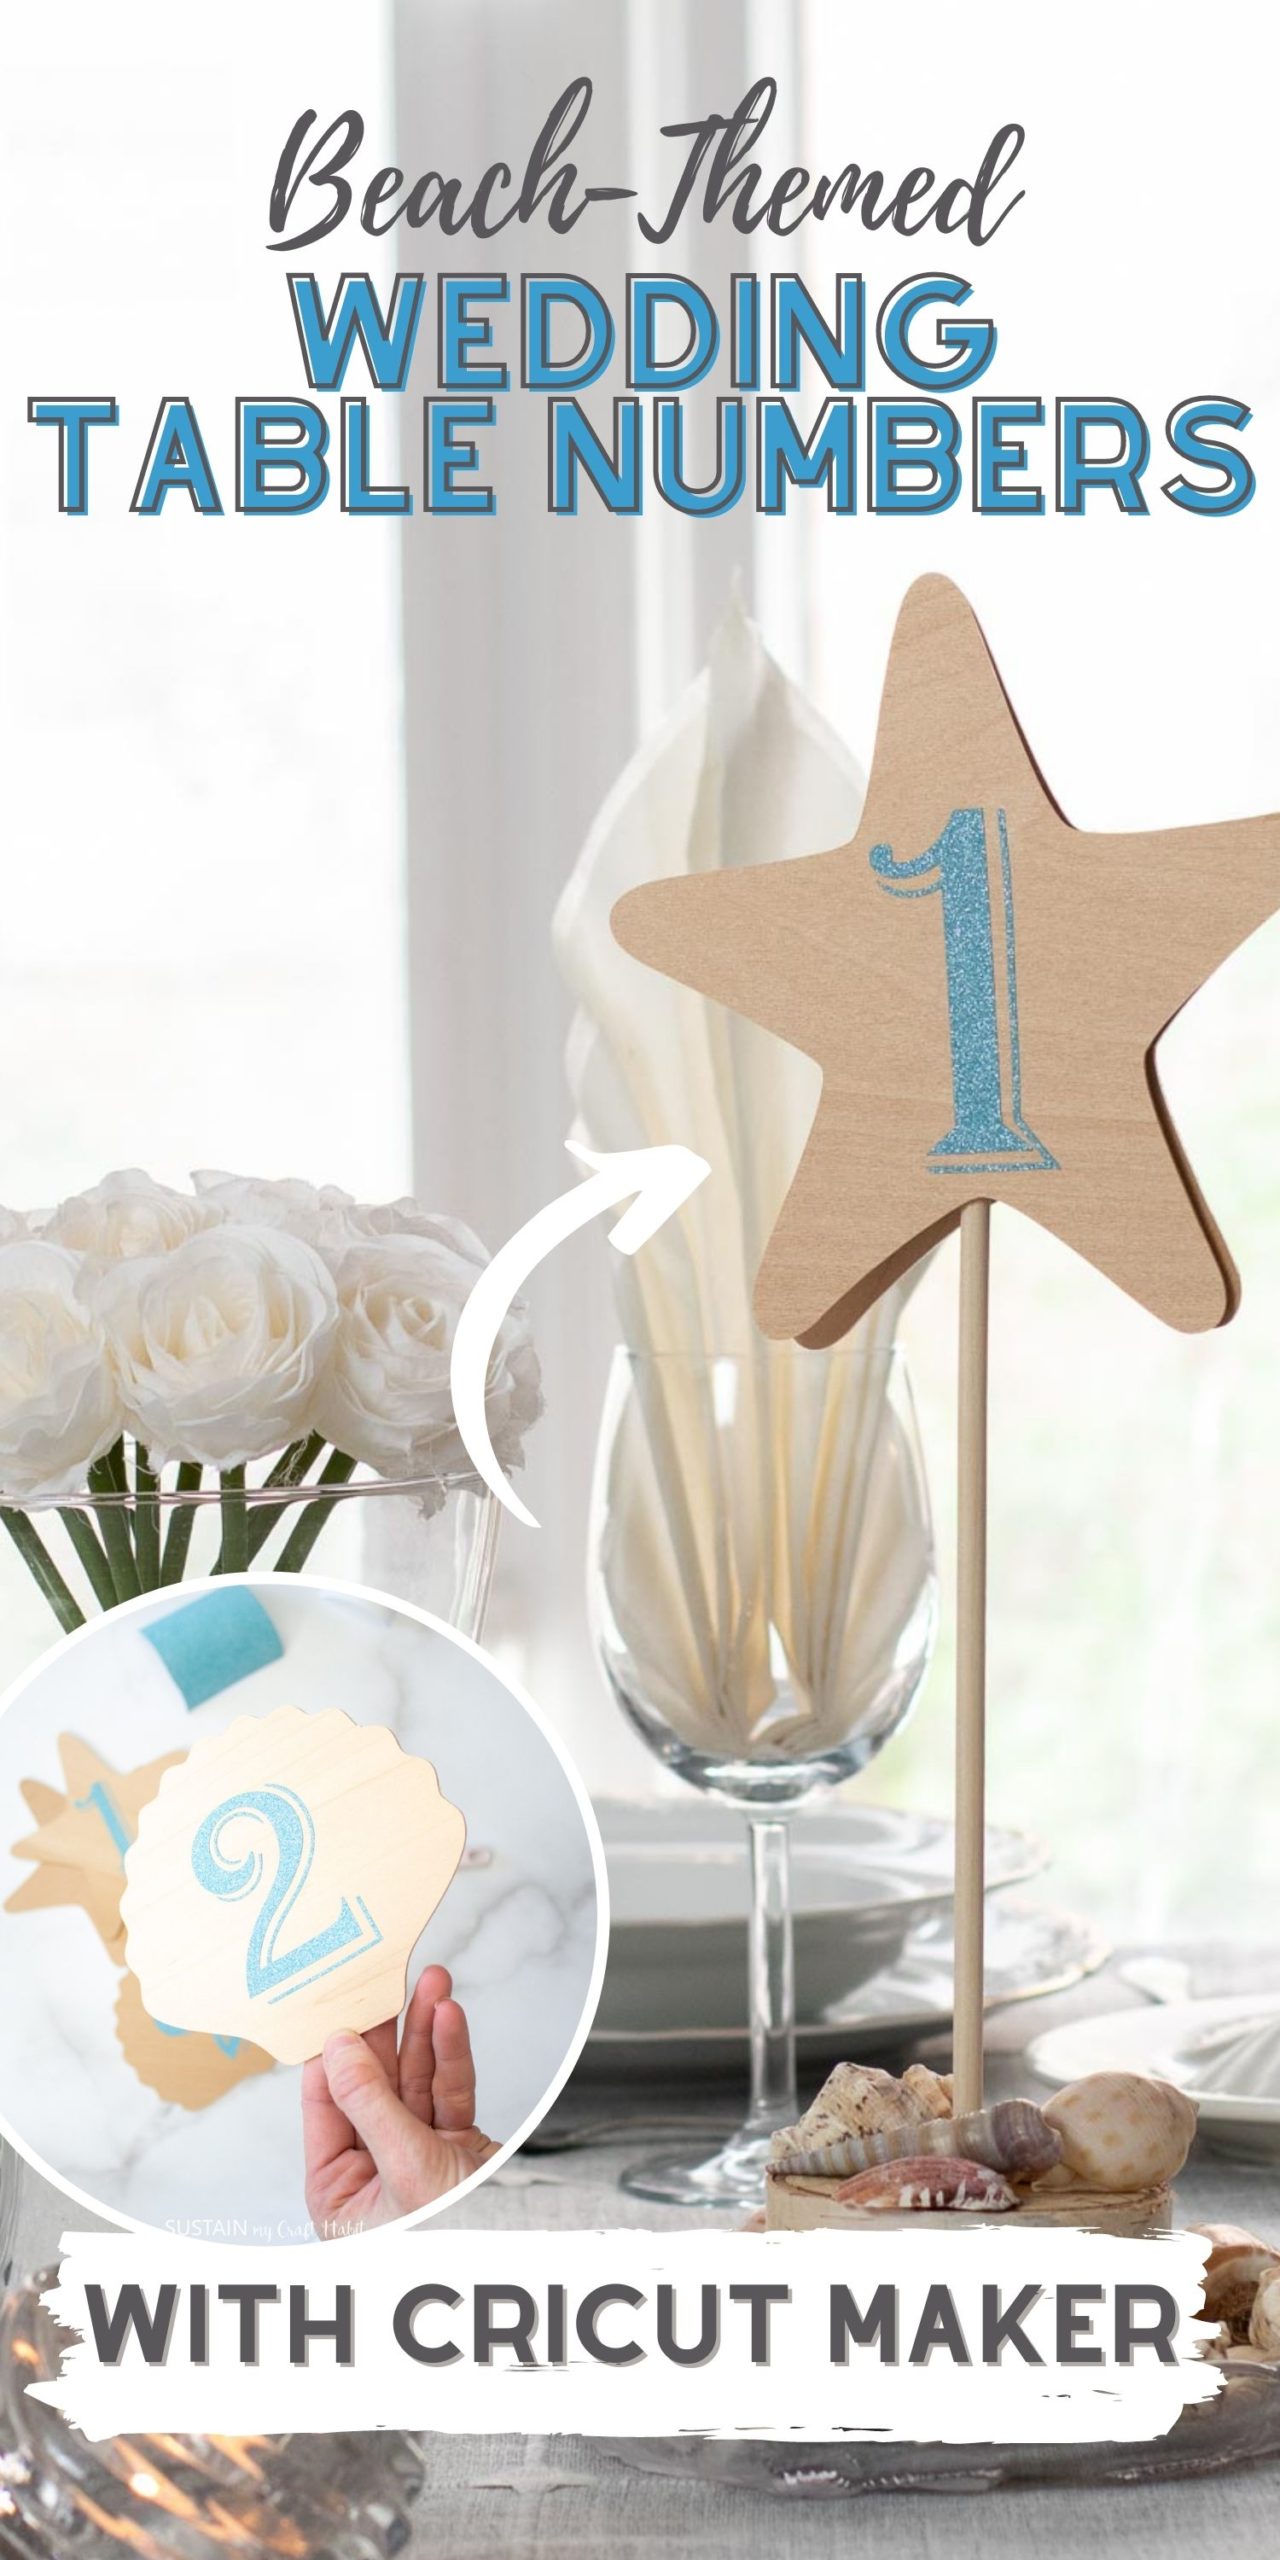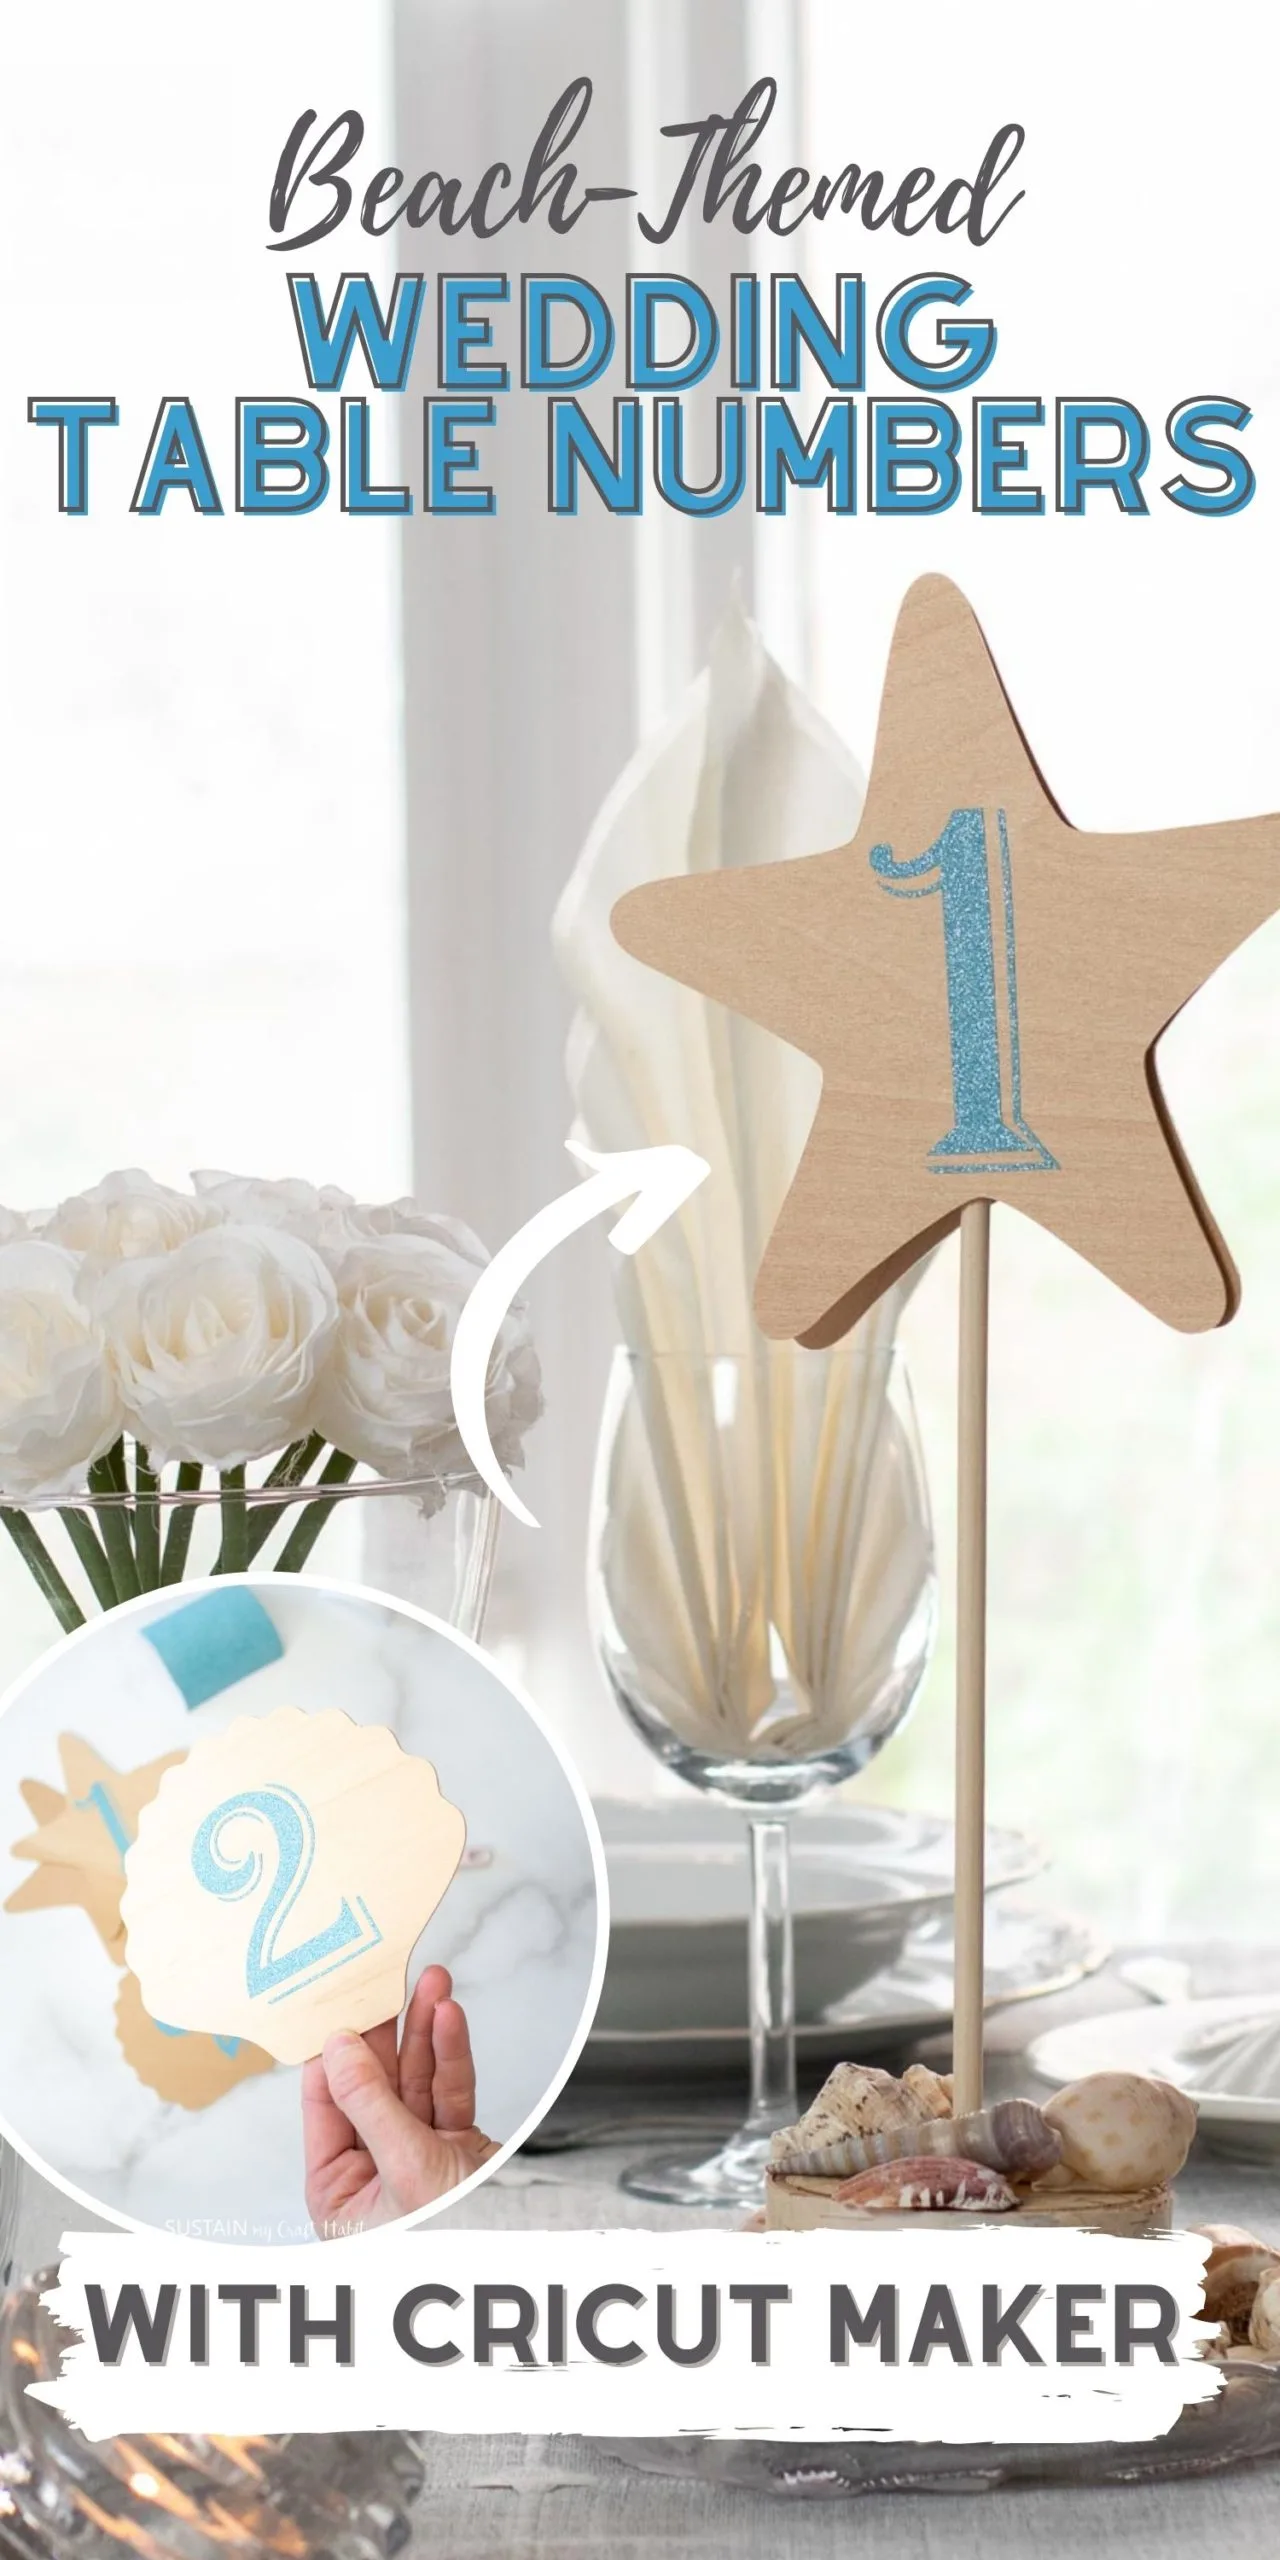

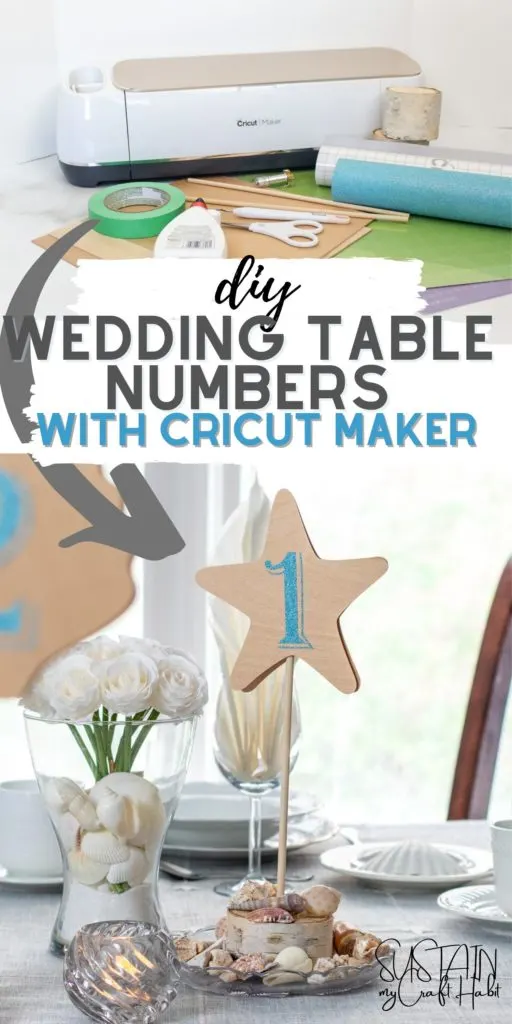
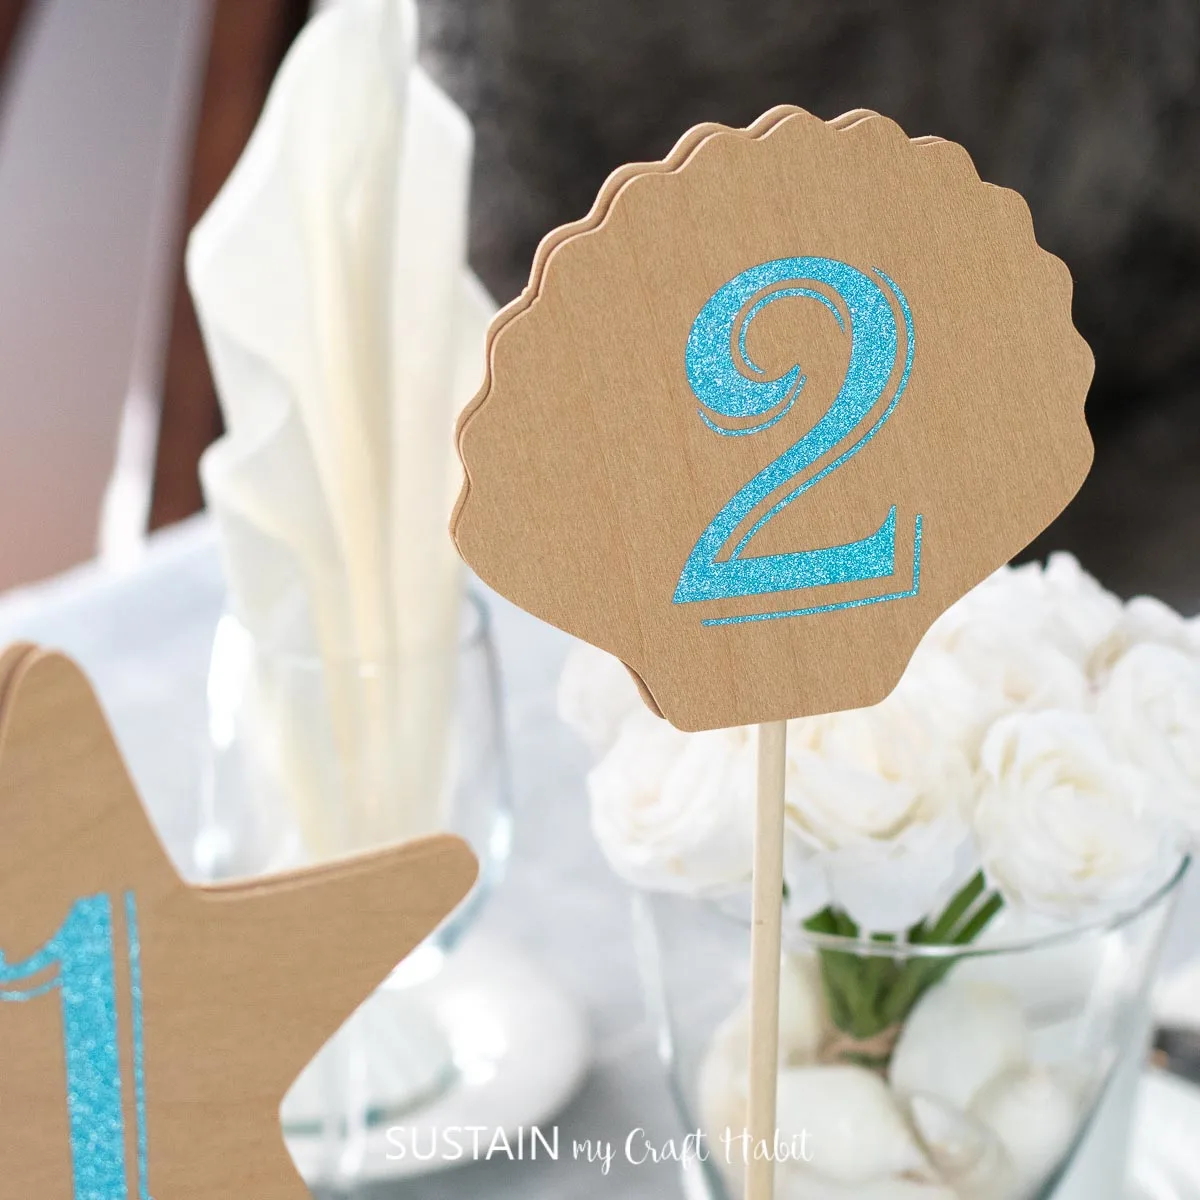
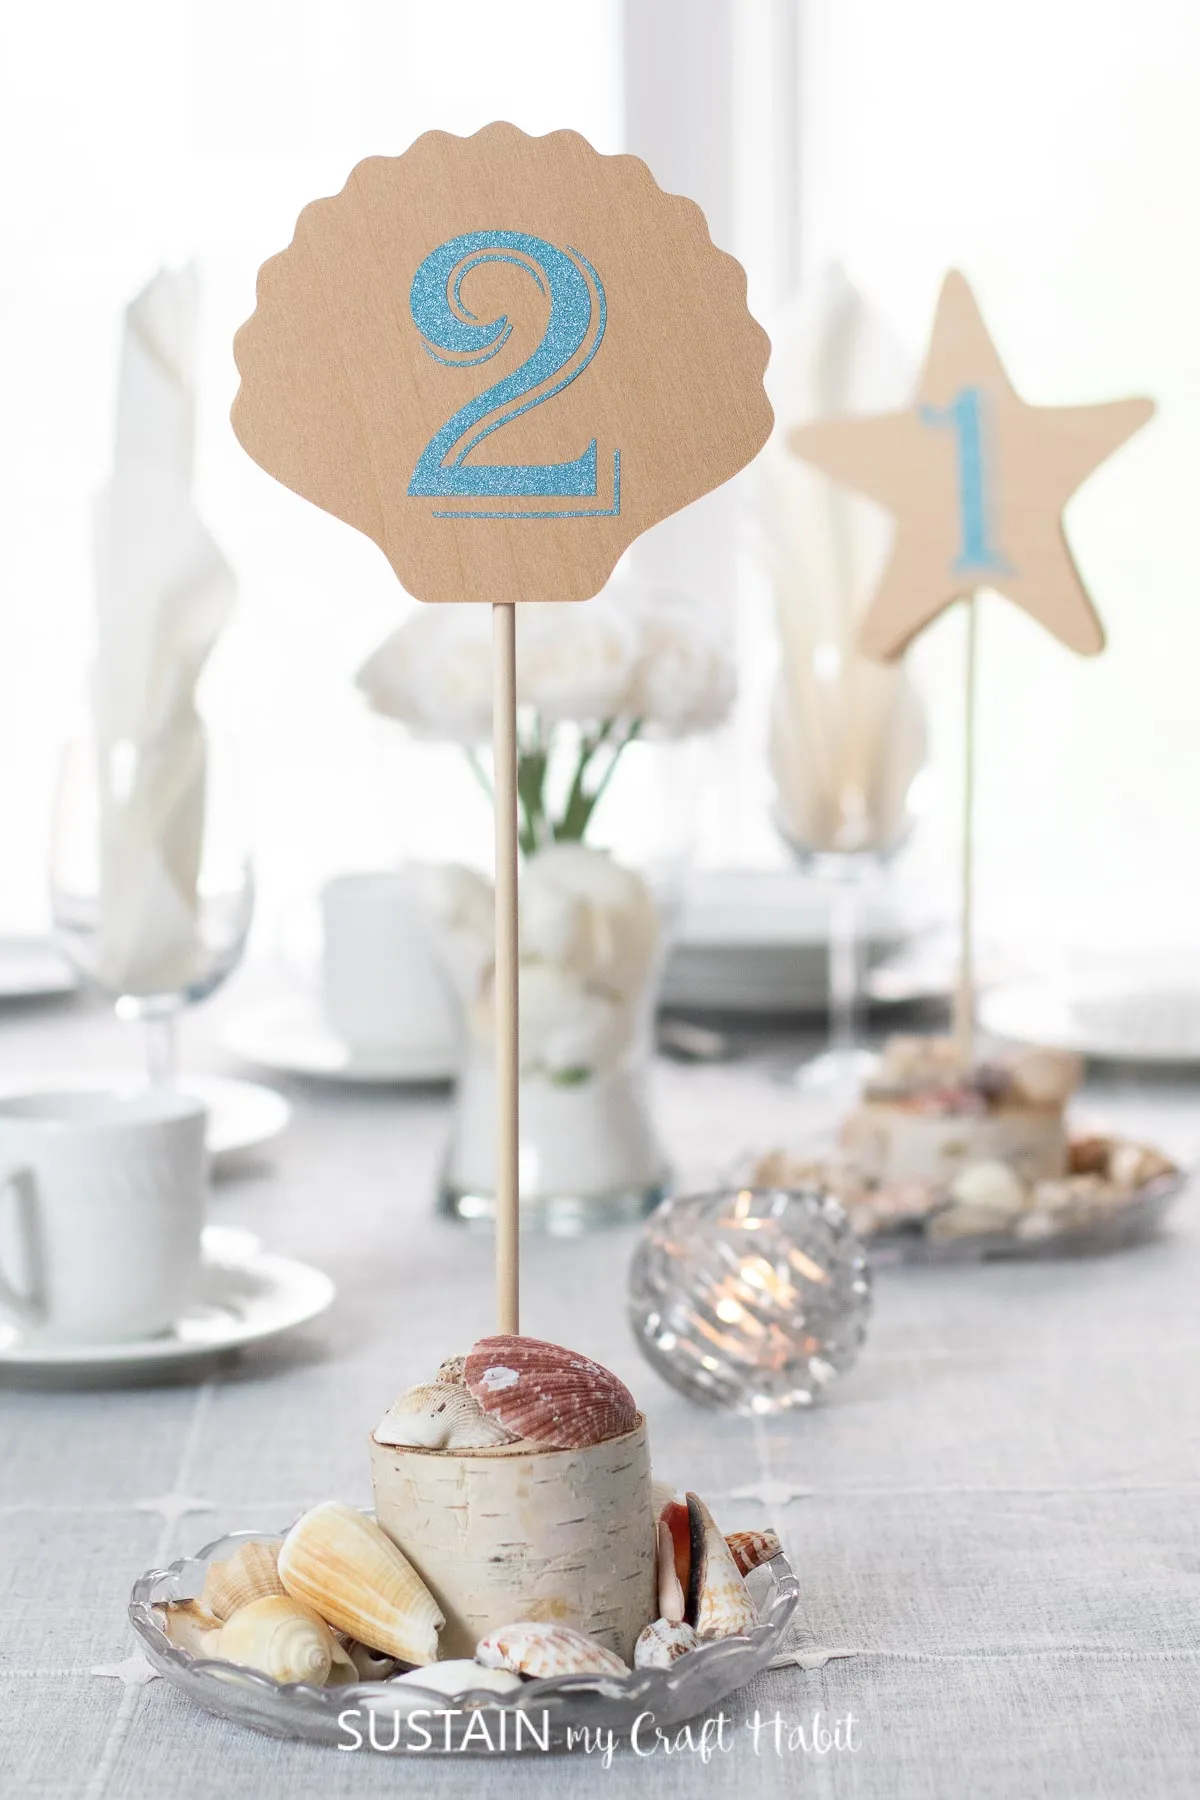
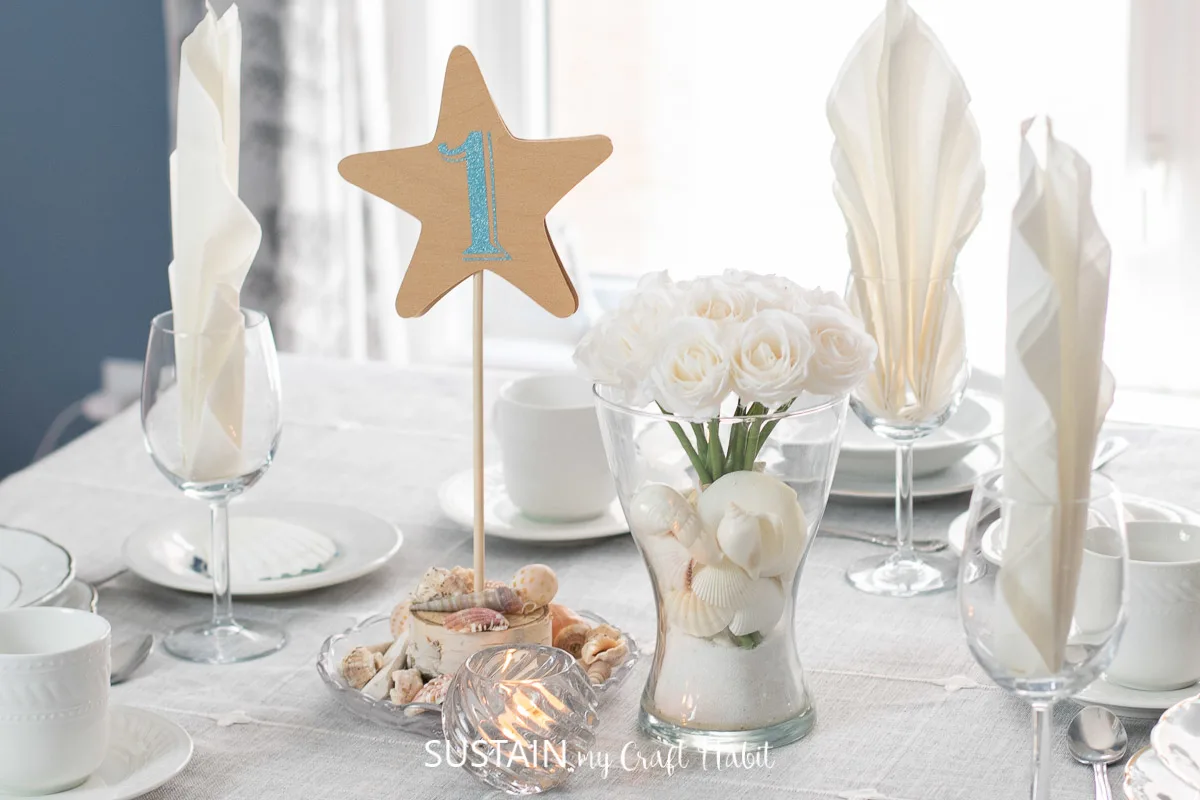
Create your own coastal-inspired wedding table numbers for a beach-themed wedding with this Cricut Maker craft using basswood and glitter vinyl. It’s the perfect way to add an elegant, personal touch to your wedding tablescape.
This is a sponsored conversation written by us on behalf of Cricut. The opinions and text are all our own.
Making Wooden Wedding Table Numbers with Cricut
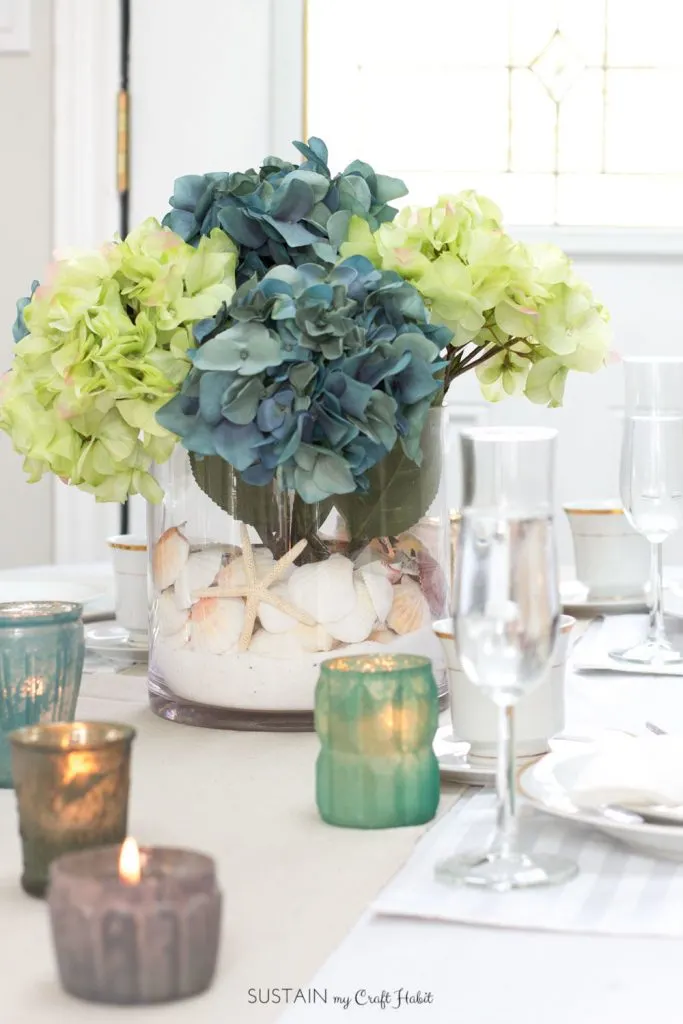
As I’ve talked about in our beachy wedding centerpiece post, if I could go back in time and re-do my wedding day, I would definitely choose a beach-themed wedding. With so many creative ways to incorporate all the natural elements of the beach, it seems the possibilities are endless!
The Cricut Maker makes it easy to create unique and elegant wedding decor: you can easily cutting out different shell shapes in wood as we’ve done with these elegant DIY table numbers.
We previously used basswood for making organization tags for Jane’s craft room and we loved how they turned out.
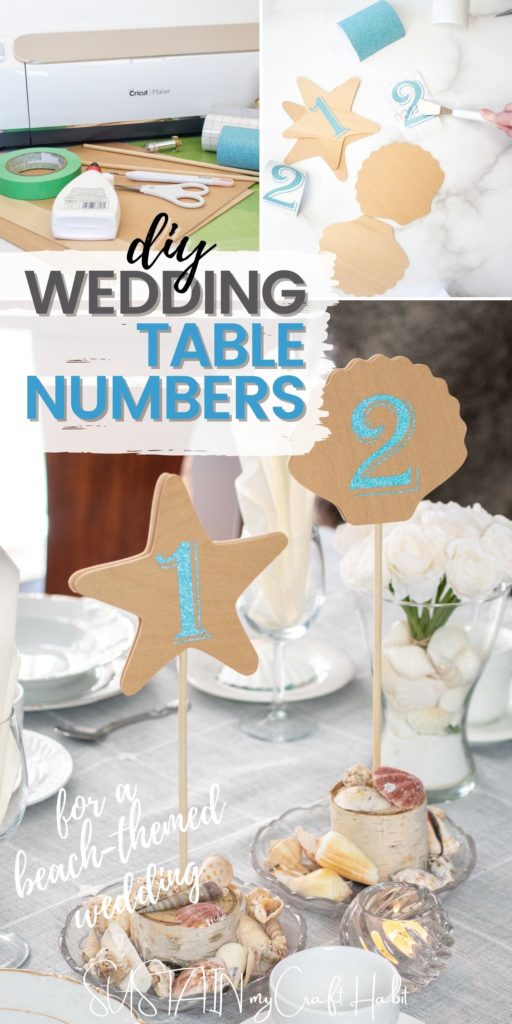
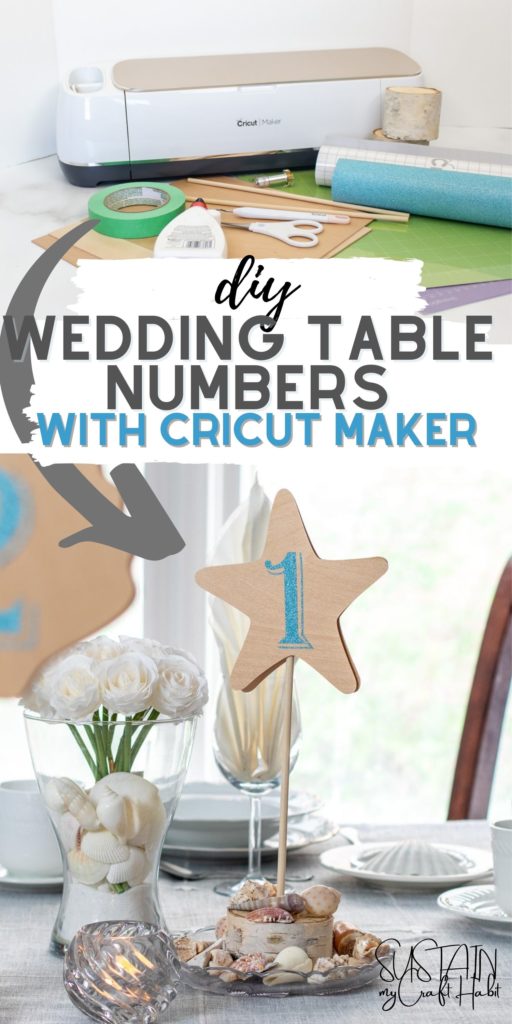
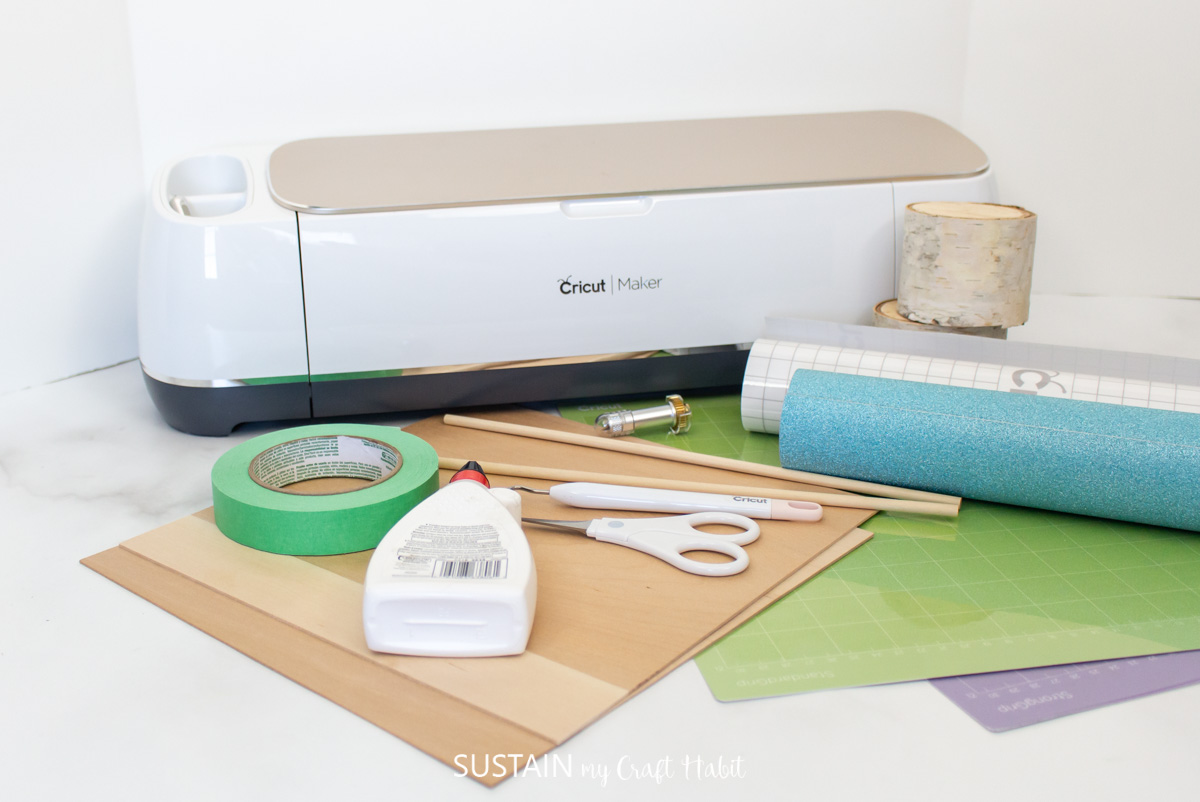
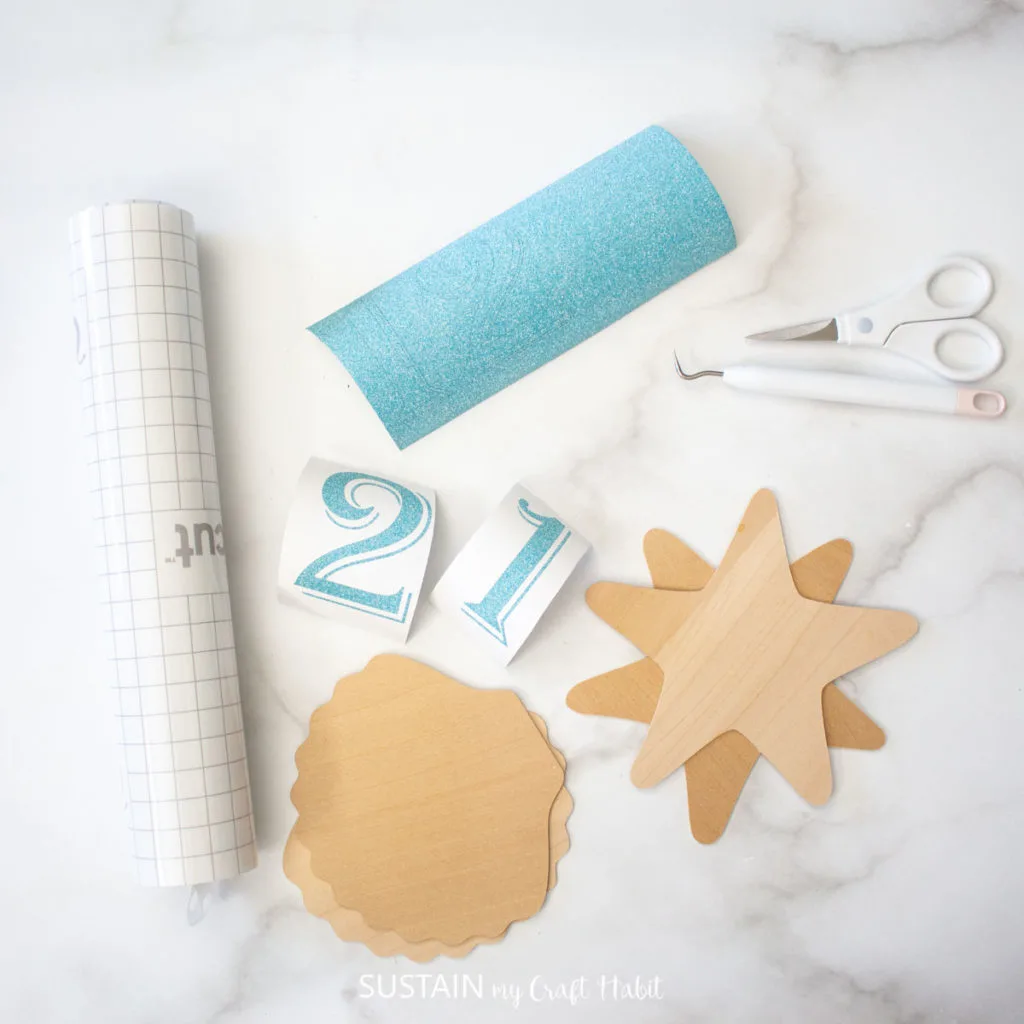
Materials Needed:
Disclosure: This post continues affiliate links for your shopping convenience. You can find our full disclosure policy here.
- Design Space Images #M39229 Starfish and #M144BD0B5 Calico Scallop
- Cricut Maker with standard Fine Point Blade Tool and Knife Blade
- Basswood, 1/16” thick or this natural Veneer
- Glitter Vinyl Sampler Bejeweled (we used the blue Glitter Vinyl)
- Strong Grip Mat and Standard Grip Mat
- Scissors
- Weeding tool
- Transfer Tape
- Masking tape
- Birch log cut to 3” high x 4” diameter, drilled in center
- Wooden dowel, 1/4″ thick x 8″ long
- Wood Glue
How to Make Beachy Table Numbers for Wedding Reception:
Preparing the Images in Design Space
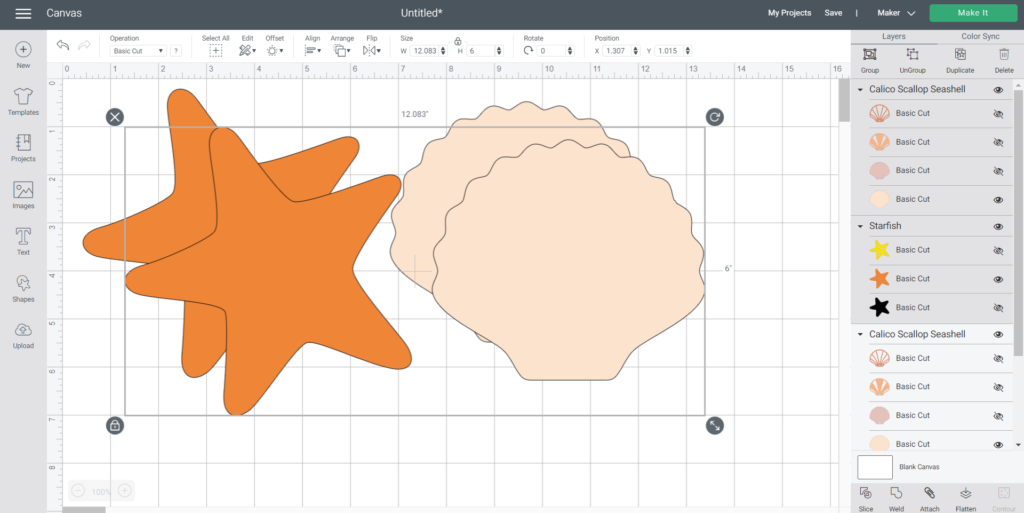
Open a blank canvas to create a new project in Design Space. Upload images #M39229 Starfish and #M144BD0B5 Calico Scallop and insert on to the canvas.
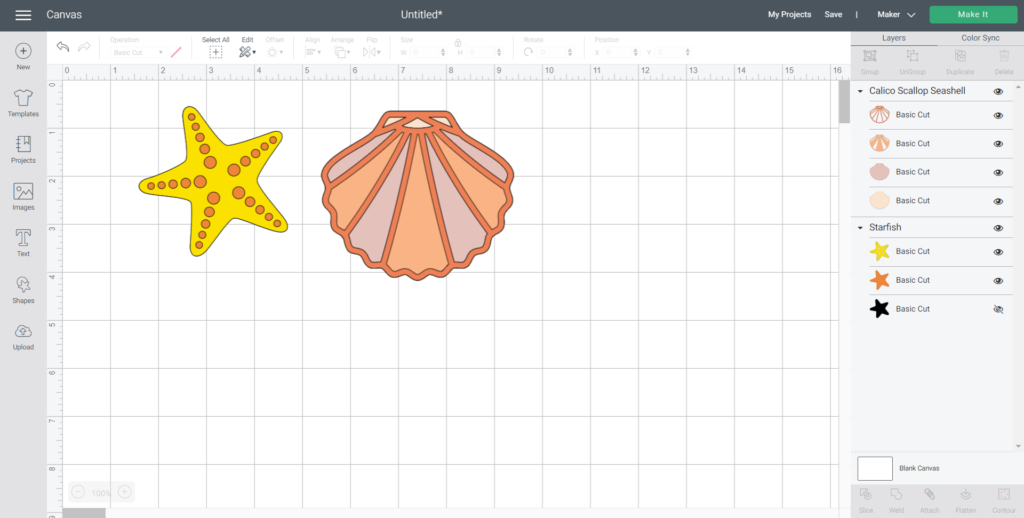

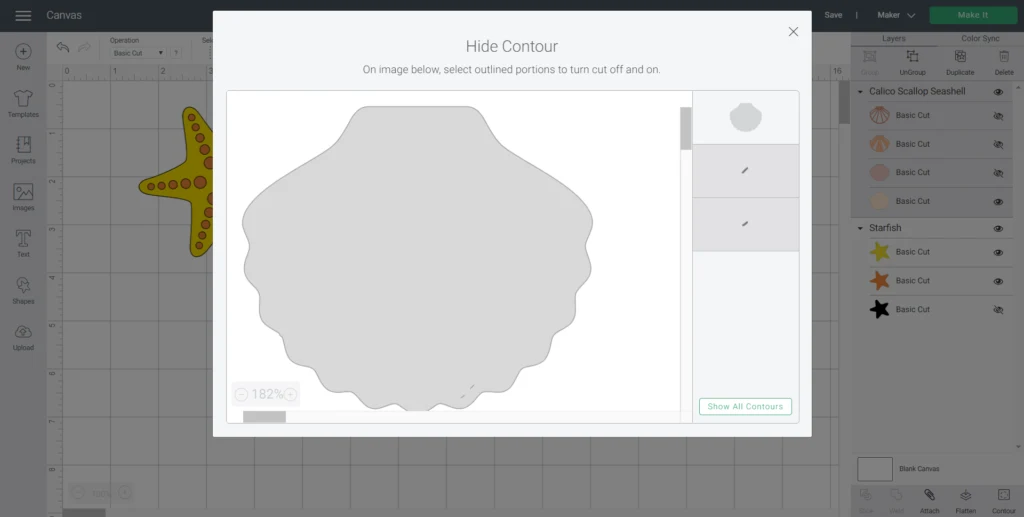
Hide additional layers leaving just the solid shapes of the scallop and starfish. The starfish shape has extra markings on it so to remove select the contour button and remove the extra pieces.

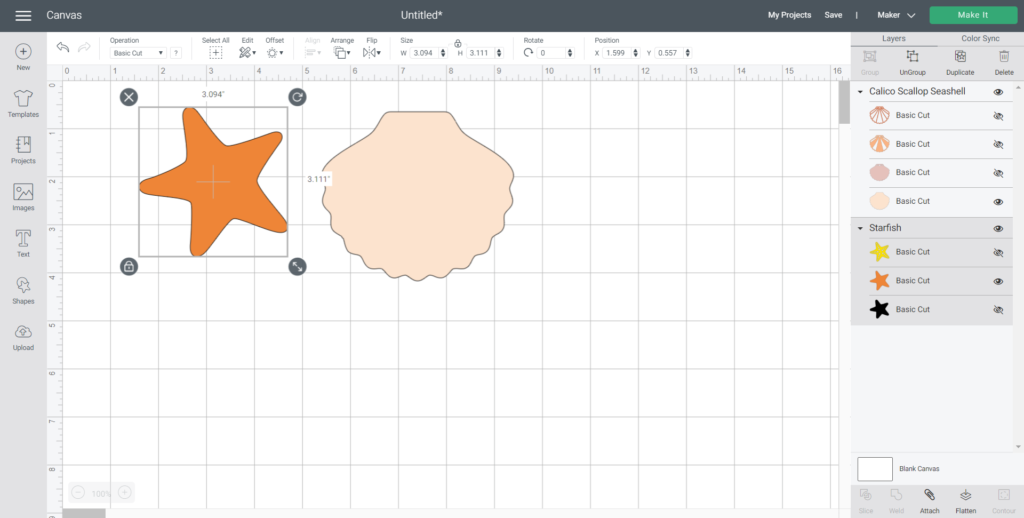

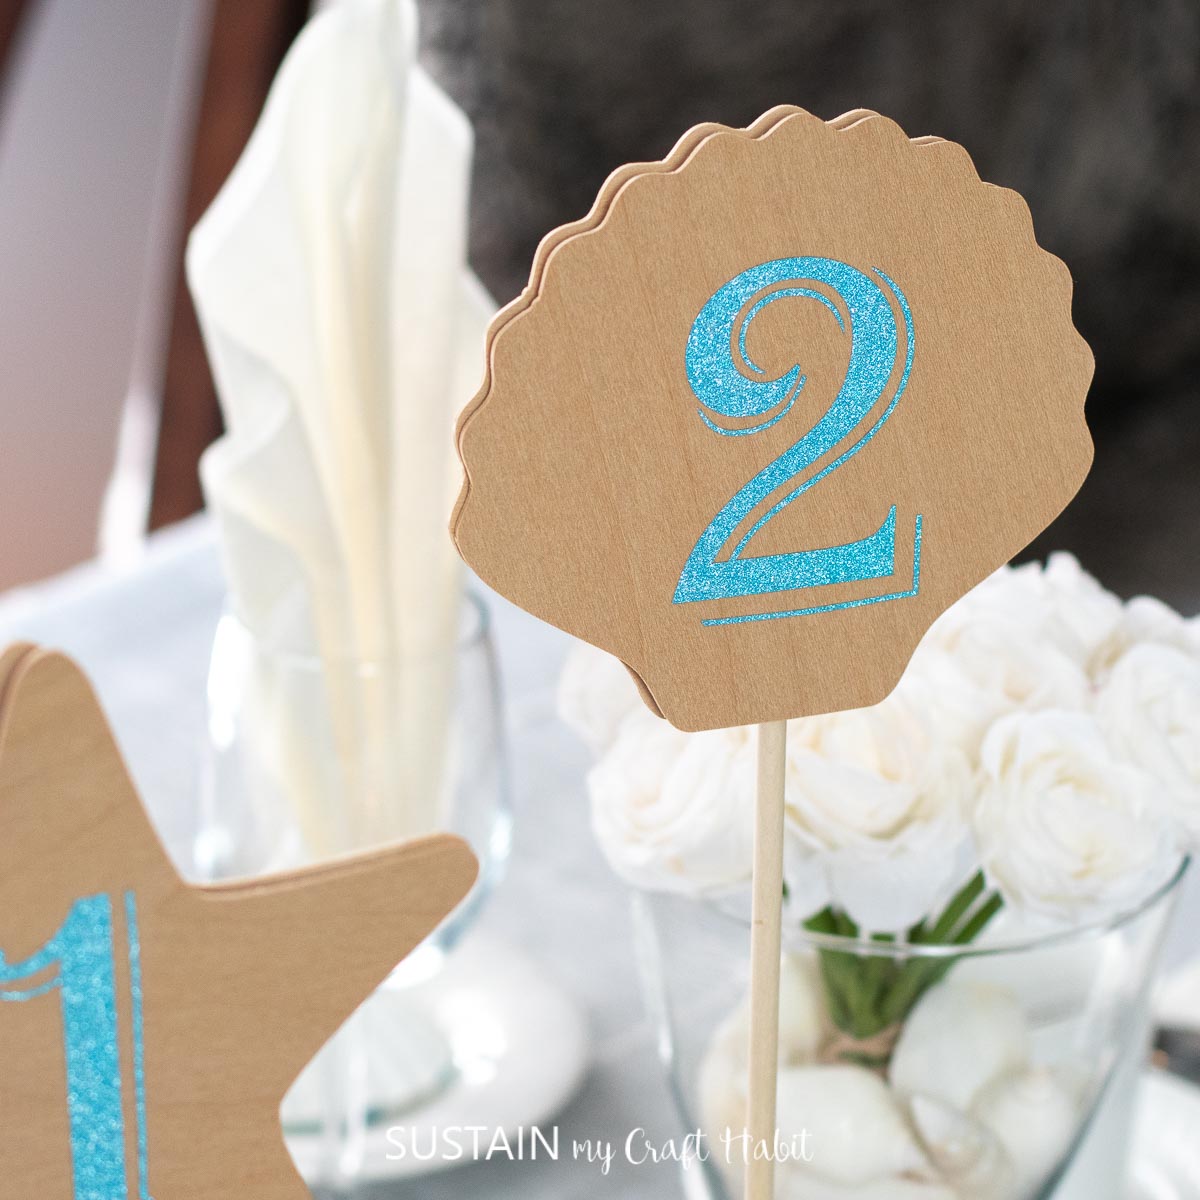
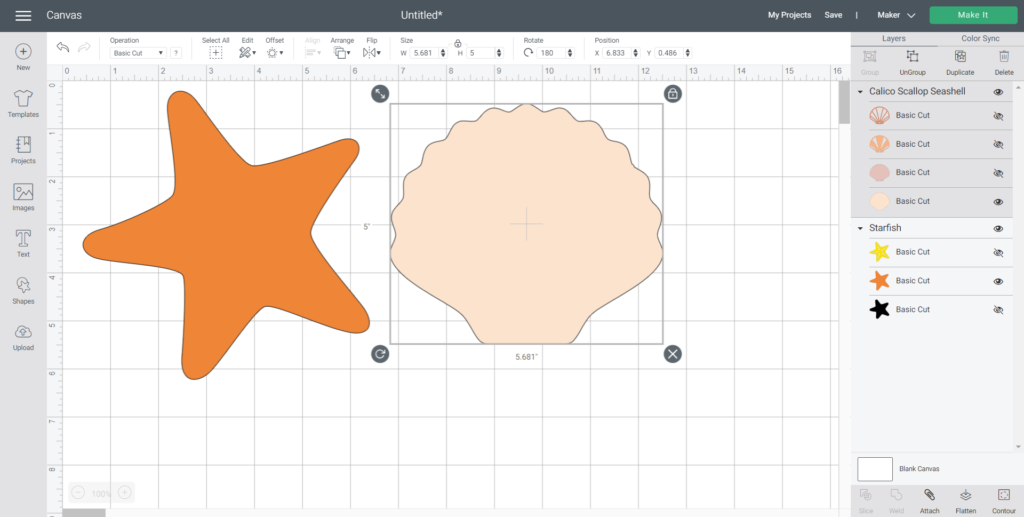
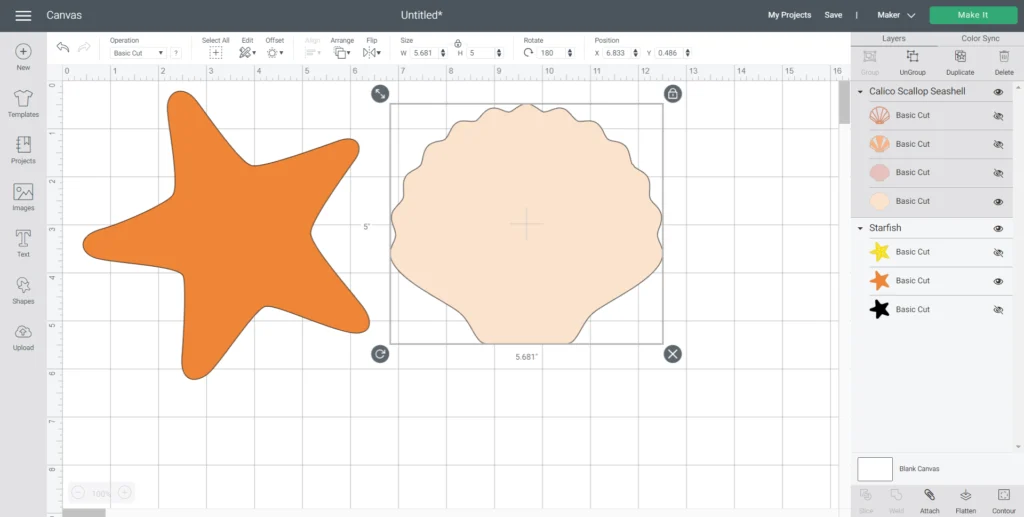
Adjust the size of the starfish to 6” high and 5.5” high for the scallop shape and duplicate the shape so that each table number will have two cut out shapes.

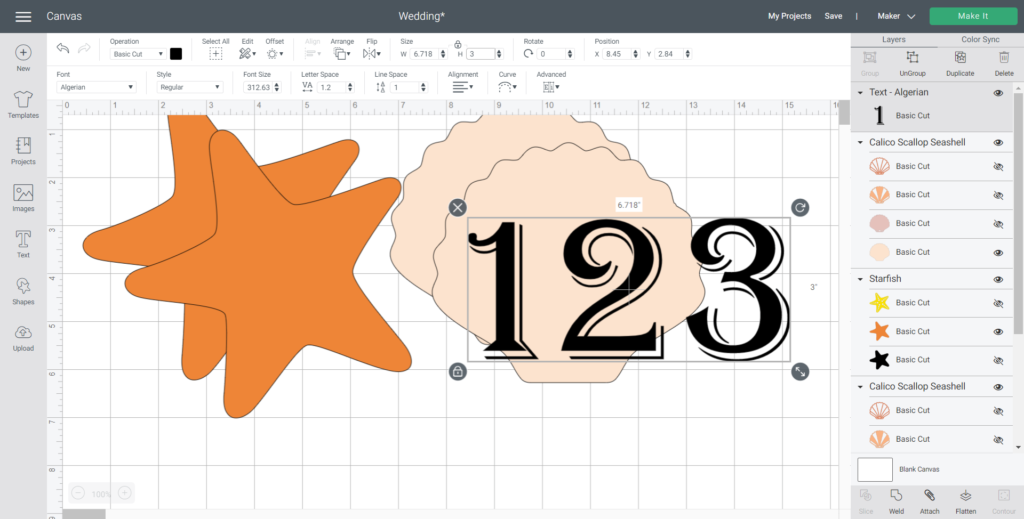
Add numbers on to the canvas with the text button. Change the font to Algerian and increase the size to 3” high. Be sure the numbers will fit on to the shapes.

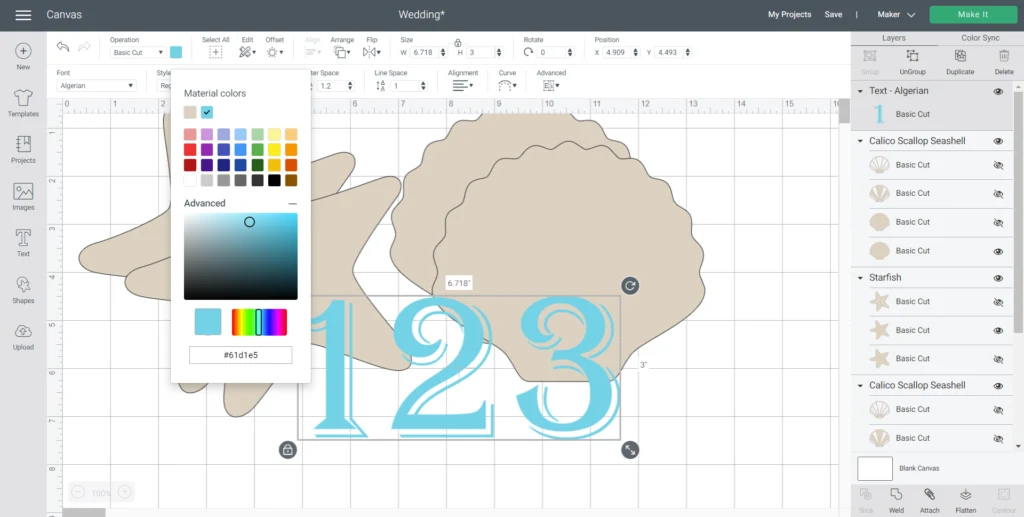
Change the colors to match the material color. We’re using natural basswood for the shapes and blue glitter vinyl for the numbers.

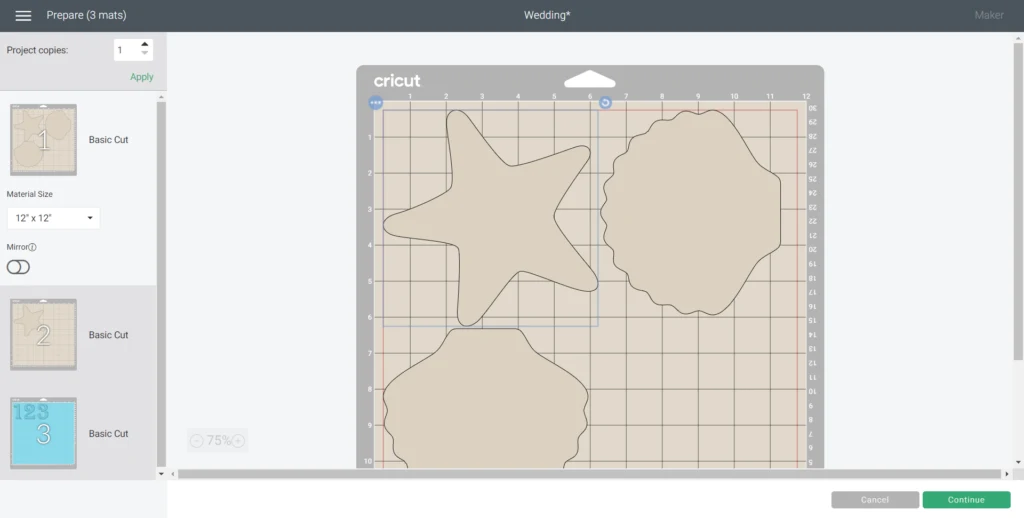
Add as many numbers and shapes needed for your project and then select “Make It” in the top right corner.
Move around the shapes between mats to cut out as many shapes as possible on each 11″x11″ piece of basswood.

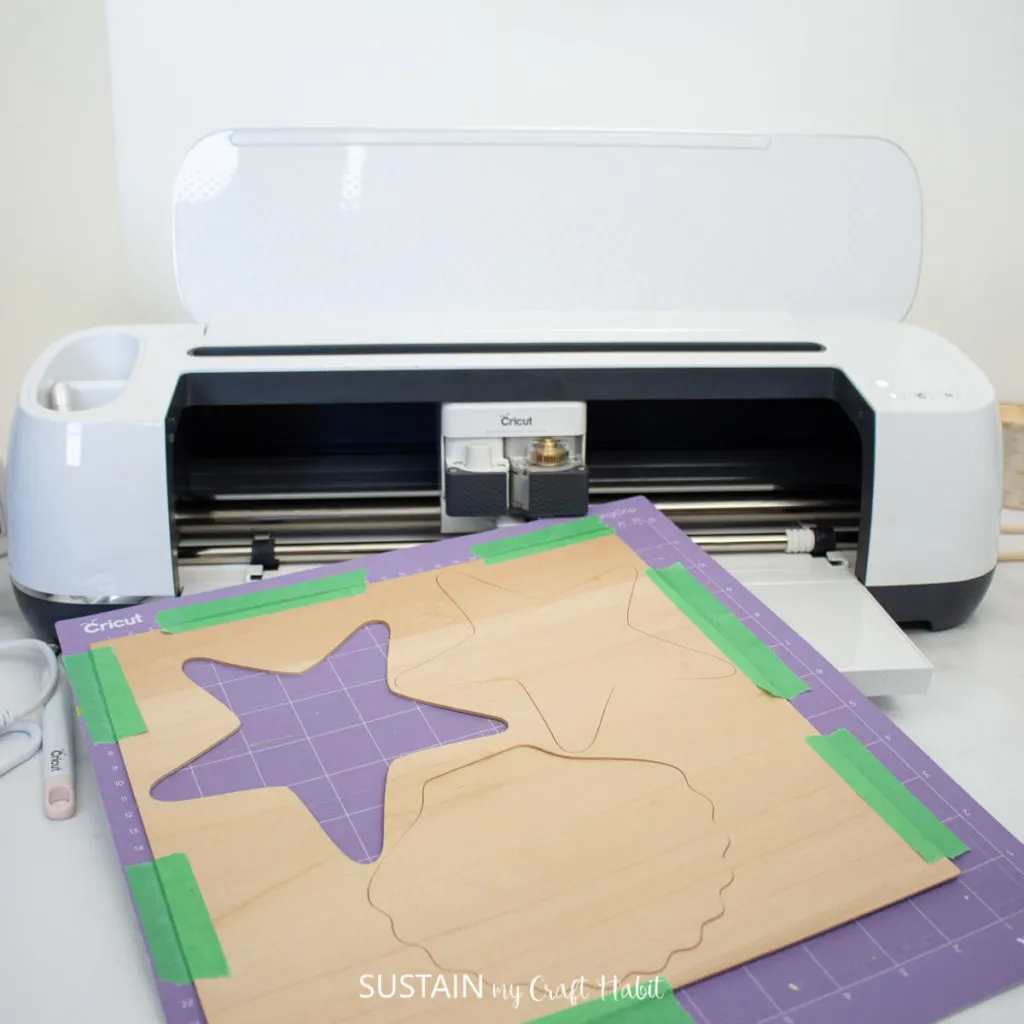
Cutting Basswood with the Cricut Maker
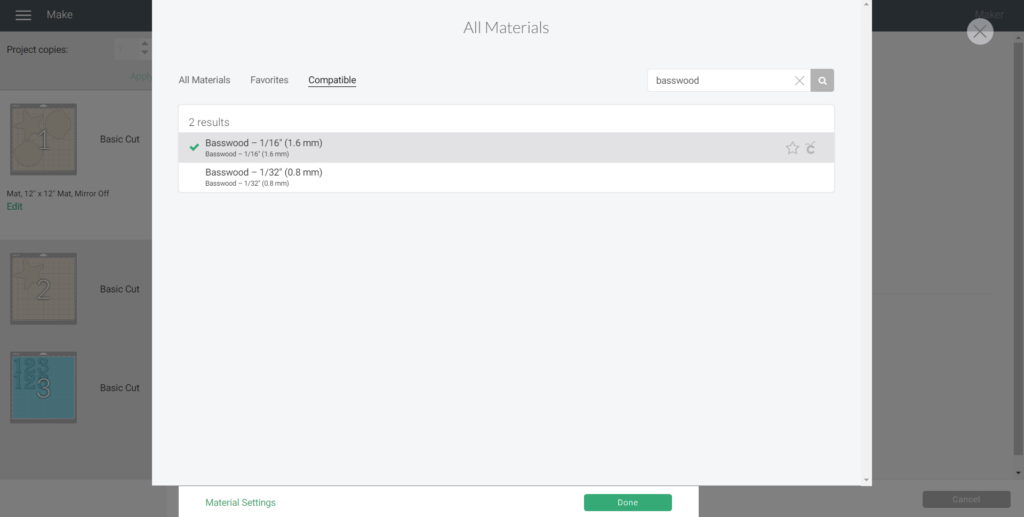
Choose basswood from the list of material options. It gives you an option for two different thicknesses (both in metric and imperial units). Since the basswood packaging doesn’t include the measurement, you’ll need to measure the thickness of the basswood yourself using a ruler.

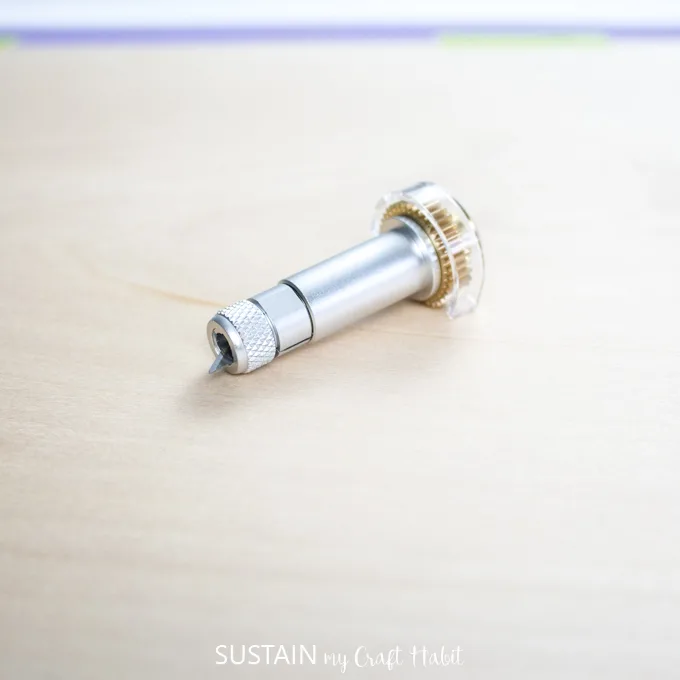
Insert the Knife Blade into the Maker. If it is the first time you’re using the Knife Blade, you will be prompted to calibrate the tool before you begin.

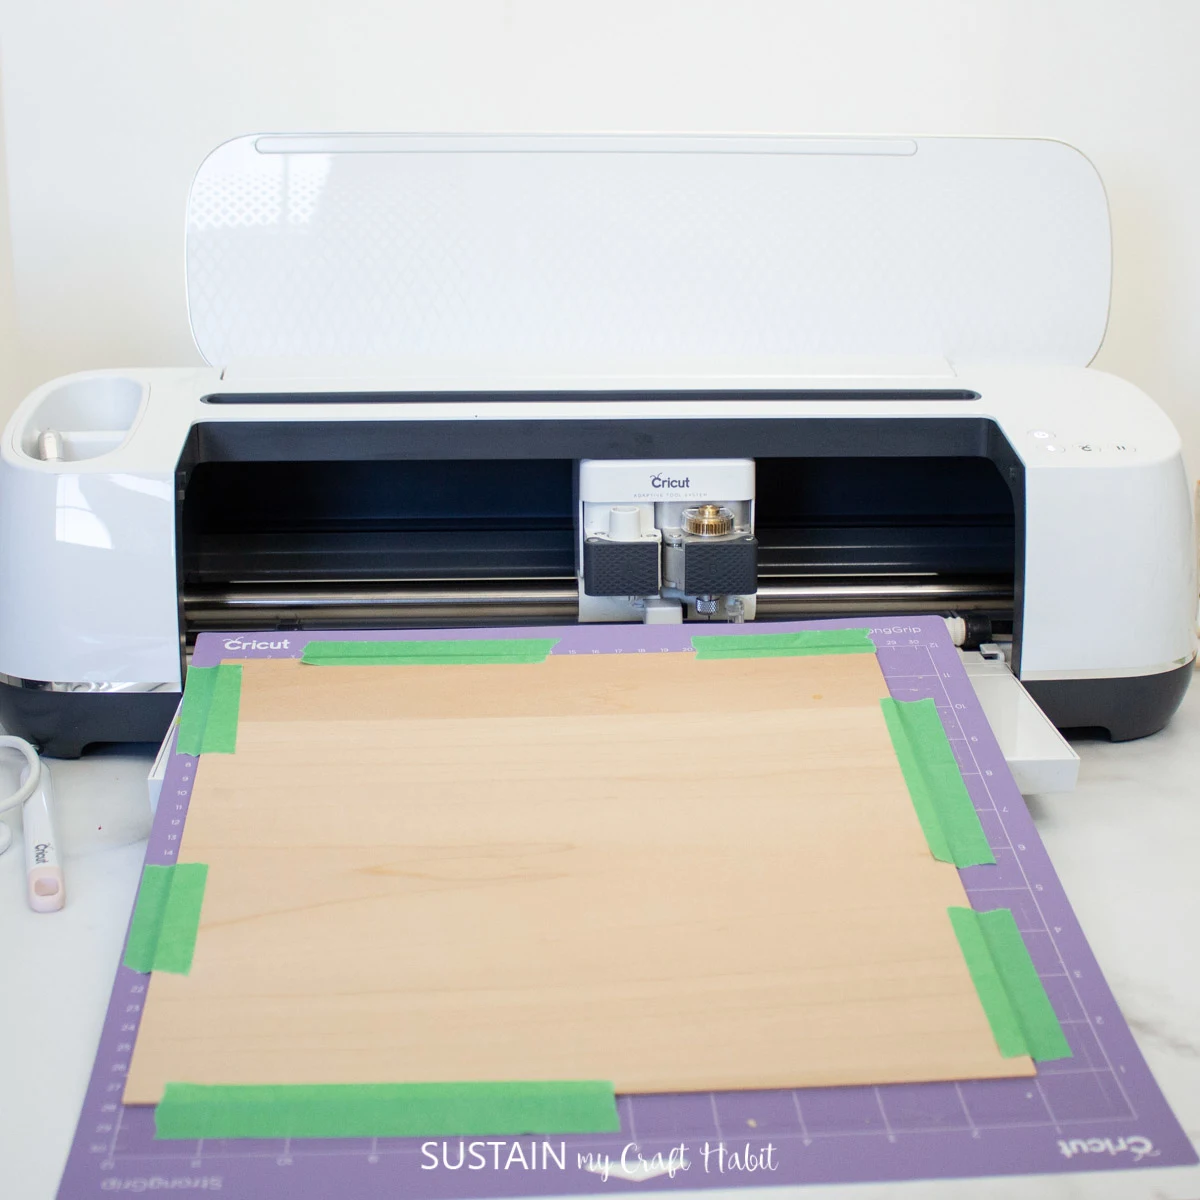
Move the star wheels all the way over to the far right side.
Place a sheet of basswood on the strong grip mat in the upper left corner and tape it down along all four sides with masking tape. Press the upload button.

Press continue to cut out the beachy shapes. The Design Space warns that the cut time will be long but as it’s cutting, it tracks the % of cut completed as well as counting down the time remaining in minutes.
Although I did calibrate the tool, I found the number of required cuts was more than necessary. When I sensed the wood was almost cut through, I paused the cut and carefully checked the basswood without unloading the mat. If you allow the Maker to continue cutting, there is a chance it will cut through the strong grip mat.

So at about 60%, I found that the basswood was fully cut so I canceled the cut and unloaded the mat. The beachy shapes popped out easily!

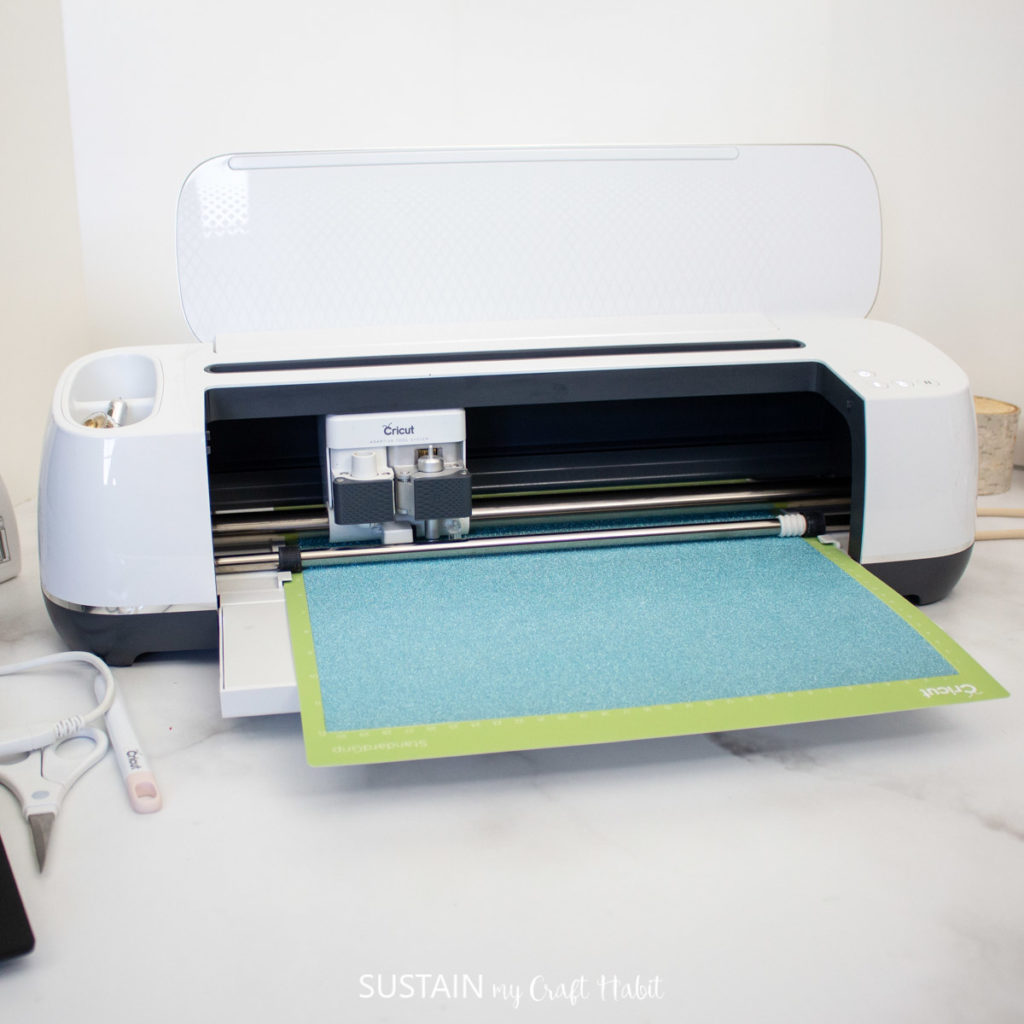
Cutting Glitter Vinyl with the Cricut Maker
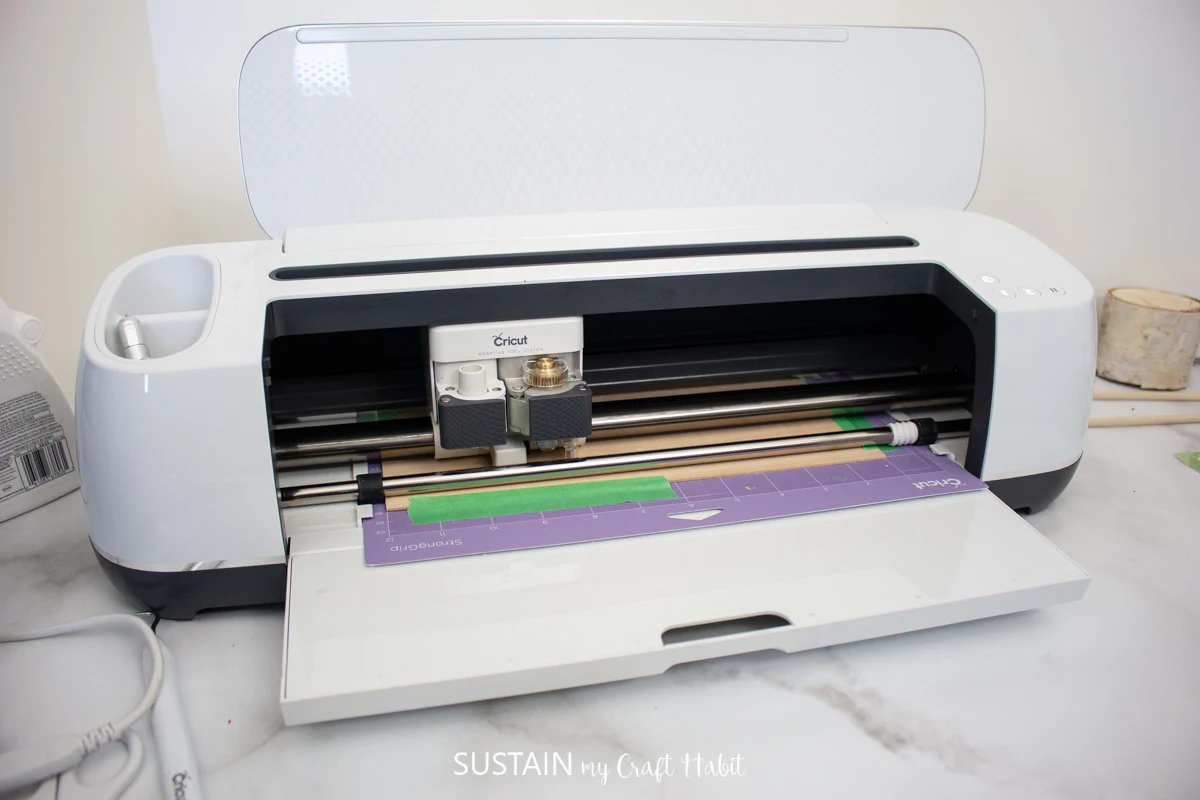
To cut out the numbers, choose removable glitter vinyl from the list of material options and insert the Fine Point Blade tool into the Maker. If the star wheels are all the way to the right side because of the previous basswood cut, make sure to move the star wheels back to their original position: evenly spaced along the rod (FYR I forgot to do this in the photo below).
Place a sheet of Glitter Vinyl on a standard grip mat with the right side facing up. Press the upload button.

Press continue to cut out the lettering. When finished, peel the vinyl off of the mat and cut around each of the words. Using a weeder, remove the excess vinyl leaving just the letters in place.

The first set of numbers I cut out in Glitter Vinyl was really hard to peel because the cut didn’t go through the vinyl completely. I suggest doing a test cut with your Glitter Vinyl before cutting out all the numbers to avoid any issues.
For my second cut, I manually adjusted the pressure under the “manage my materials” tab to 115psi instead of the standard 75psi. After I did this, the cut was perfect and the Glitter Vinyl peeled easily.
Assembling the Wedding Table Numbers
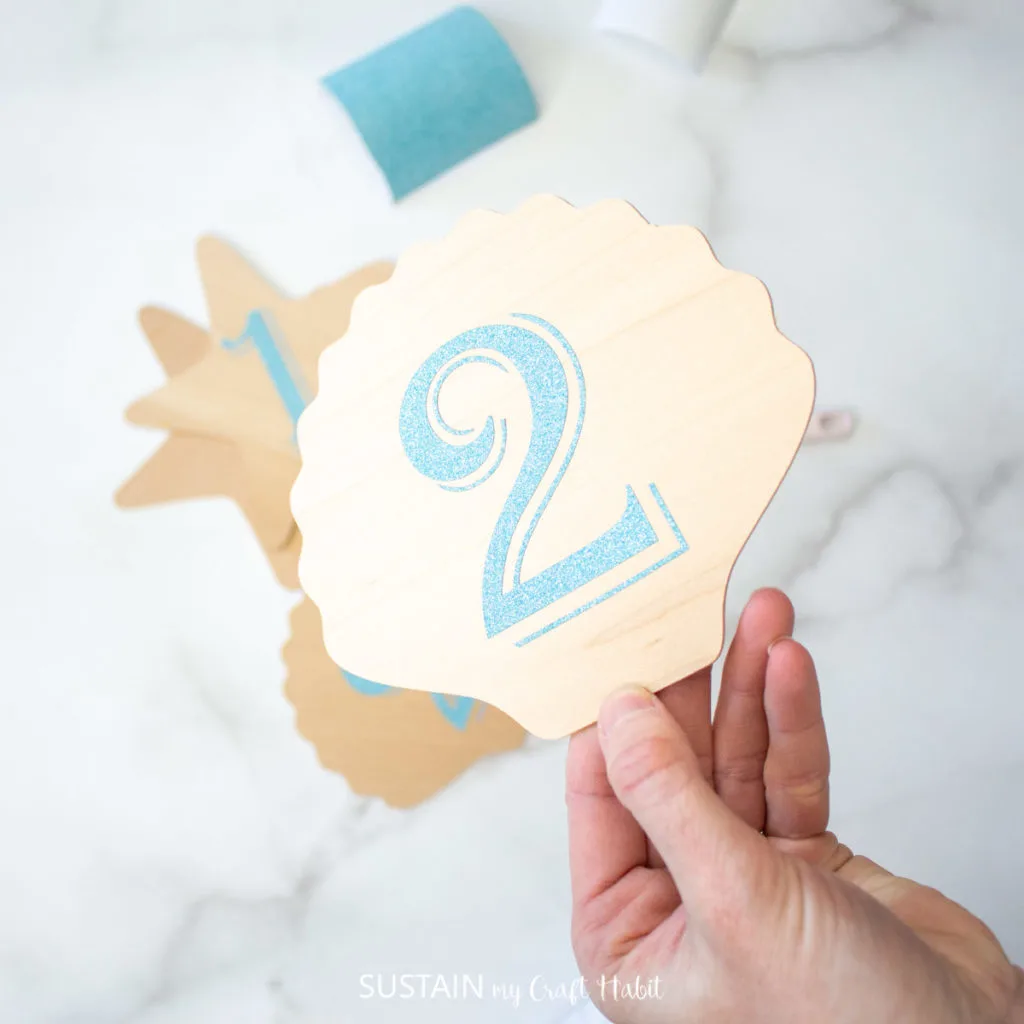
Place a piece of transfer sheet overtop of the numbers and press down firmly on the numbers, using your nail (or a scraper) to help force the vinyl to stick to the transfer sheet.
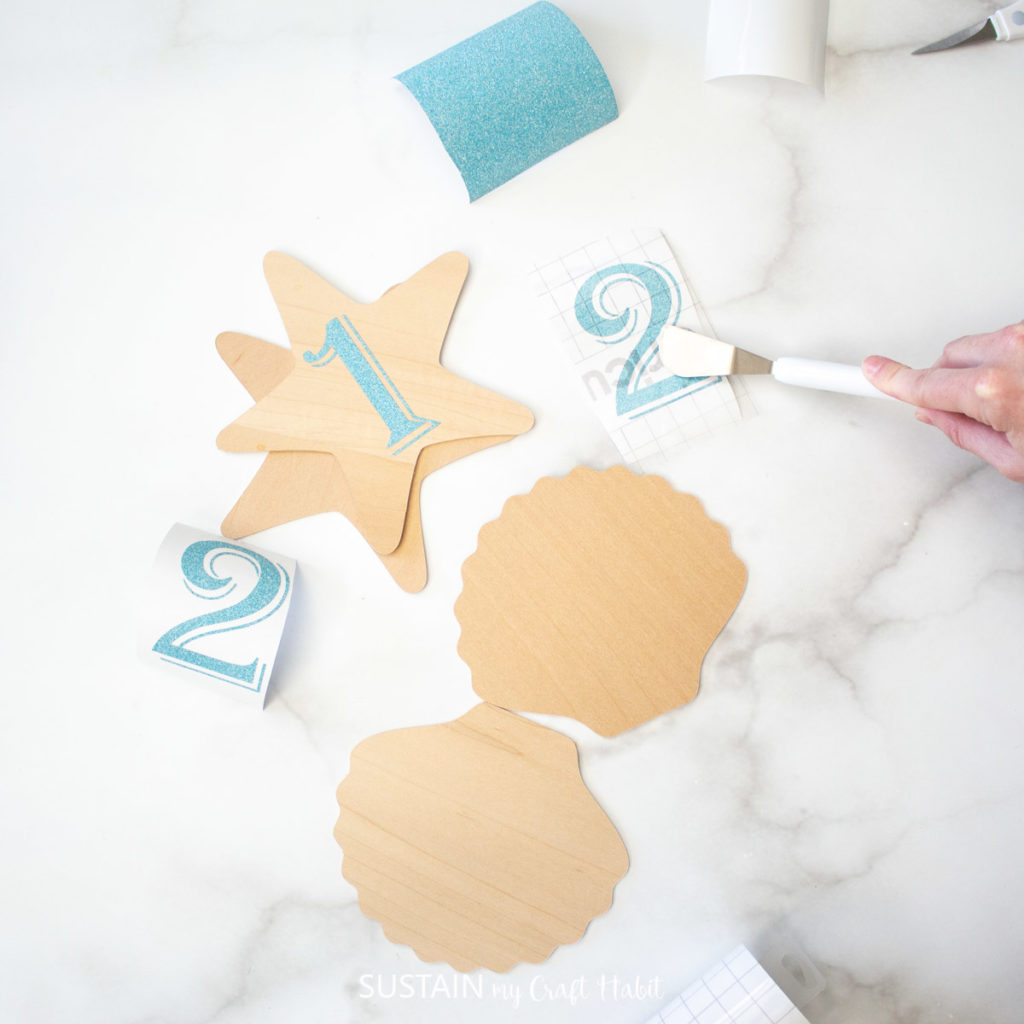
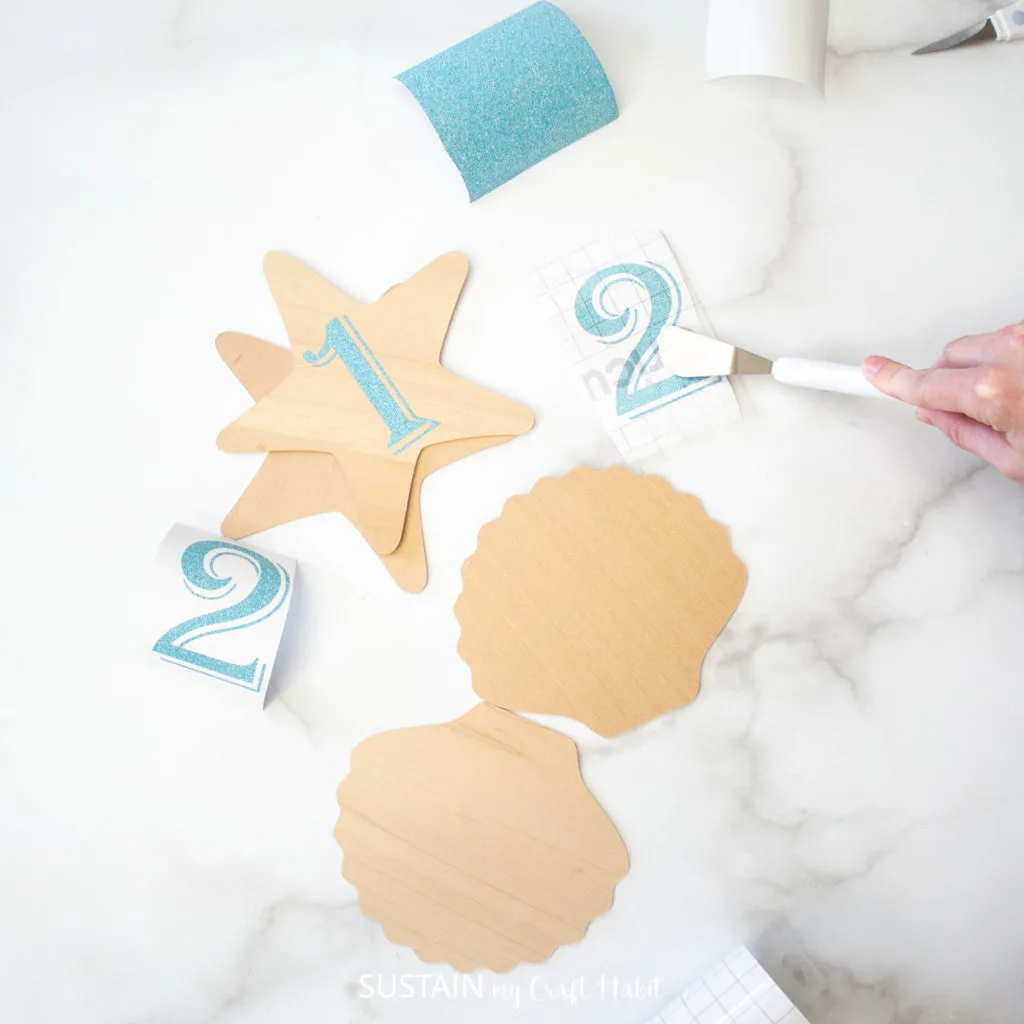
Peel away the white removable vinyl backing and place the numbers with the transfer sheet on to the basswood shape. Press it firmly down again.
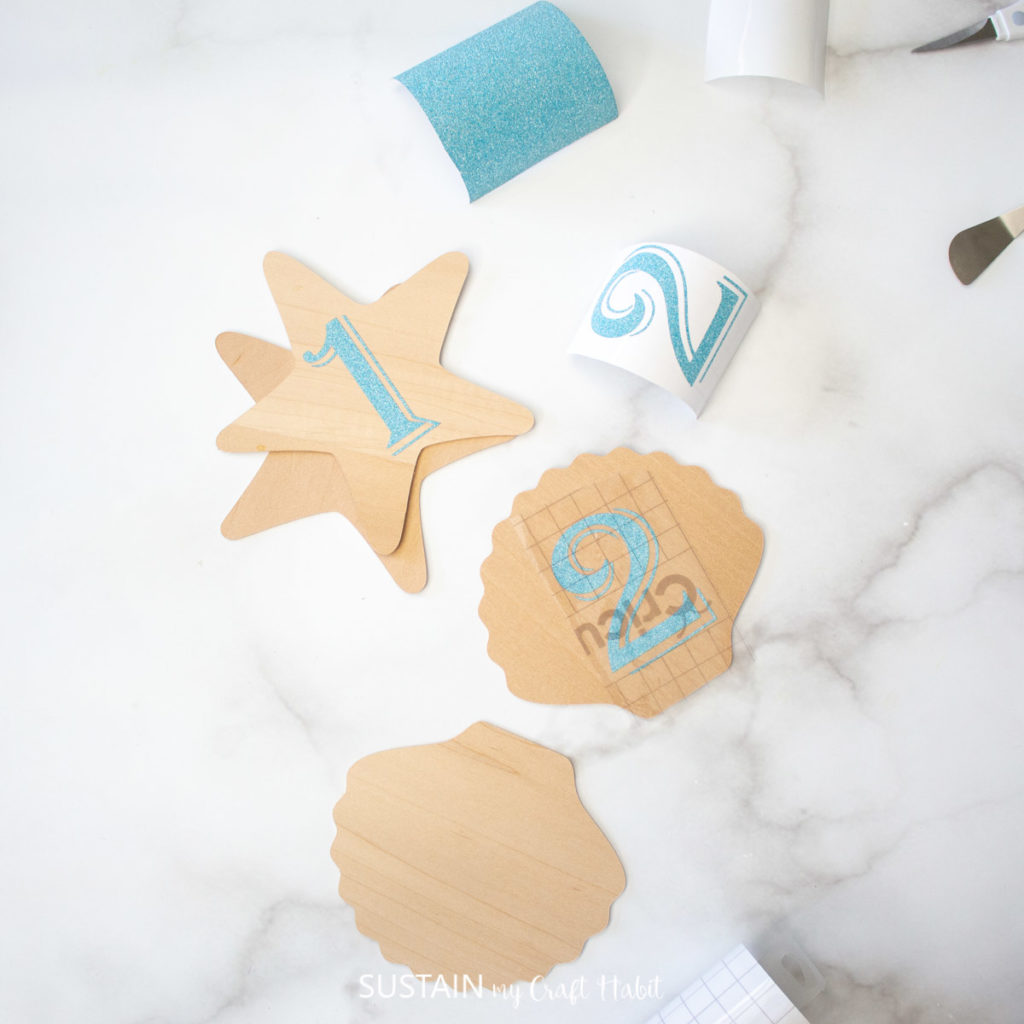
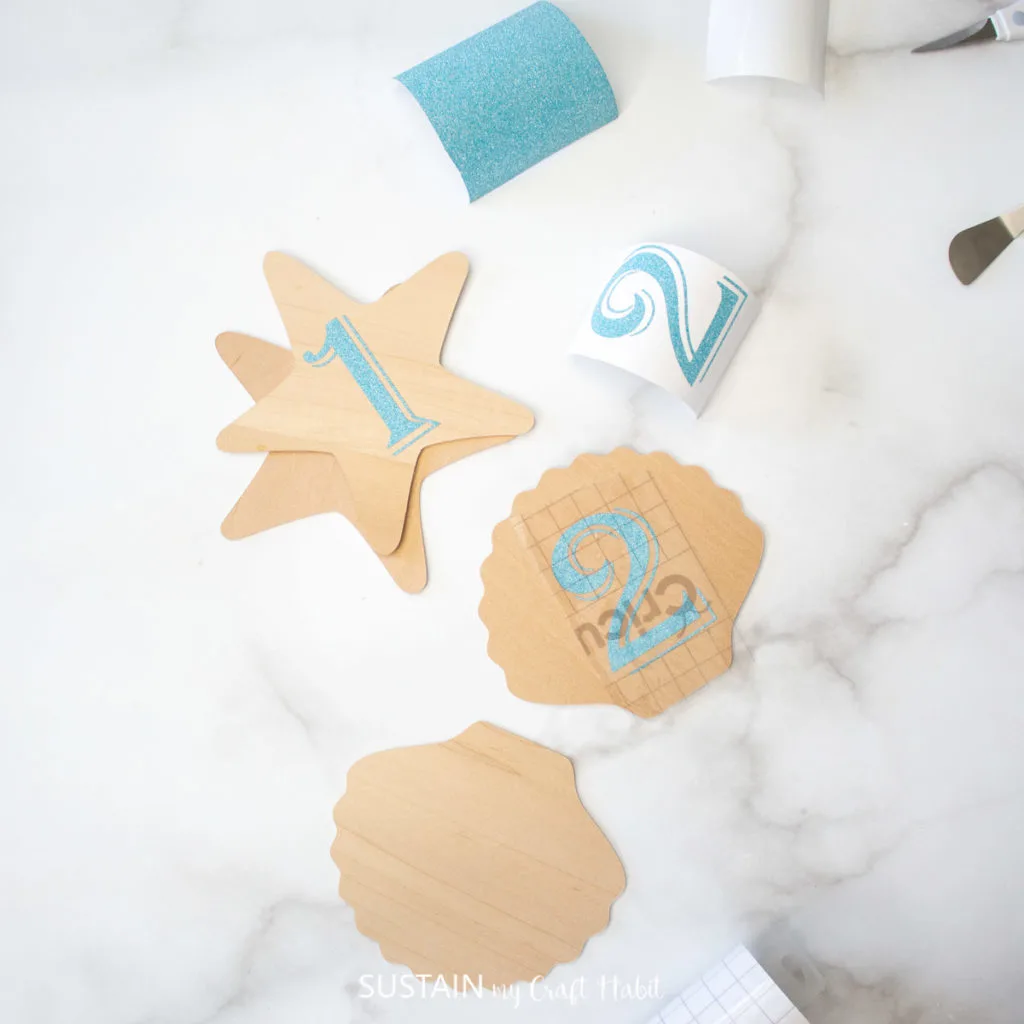
Carefully peel away the clear transfer sheet leaving behind only the vinyl numbers. It works best when reusing the same transfer sheet since the stickiness weakens making it easier to peel away from the letters.
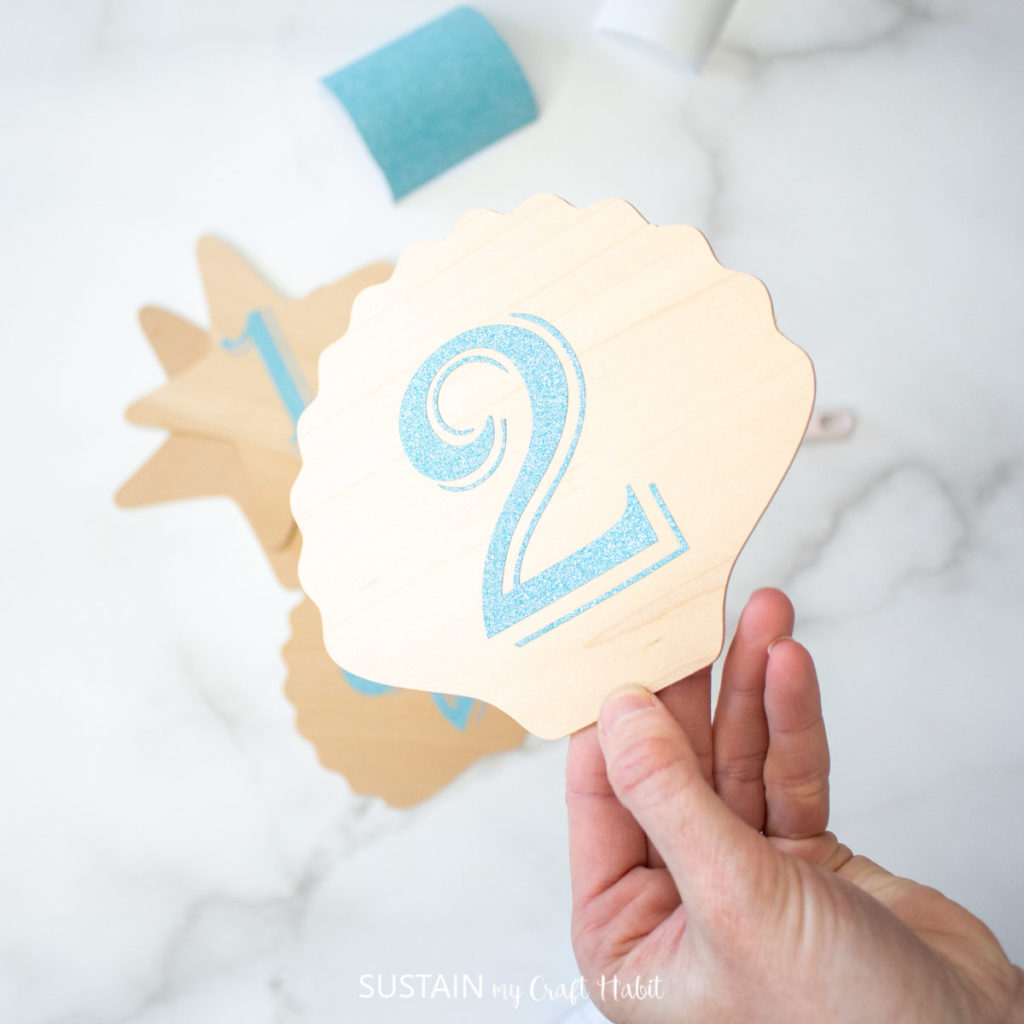
Continue for the remaining shapes.
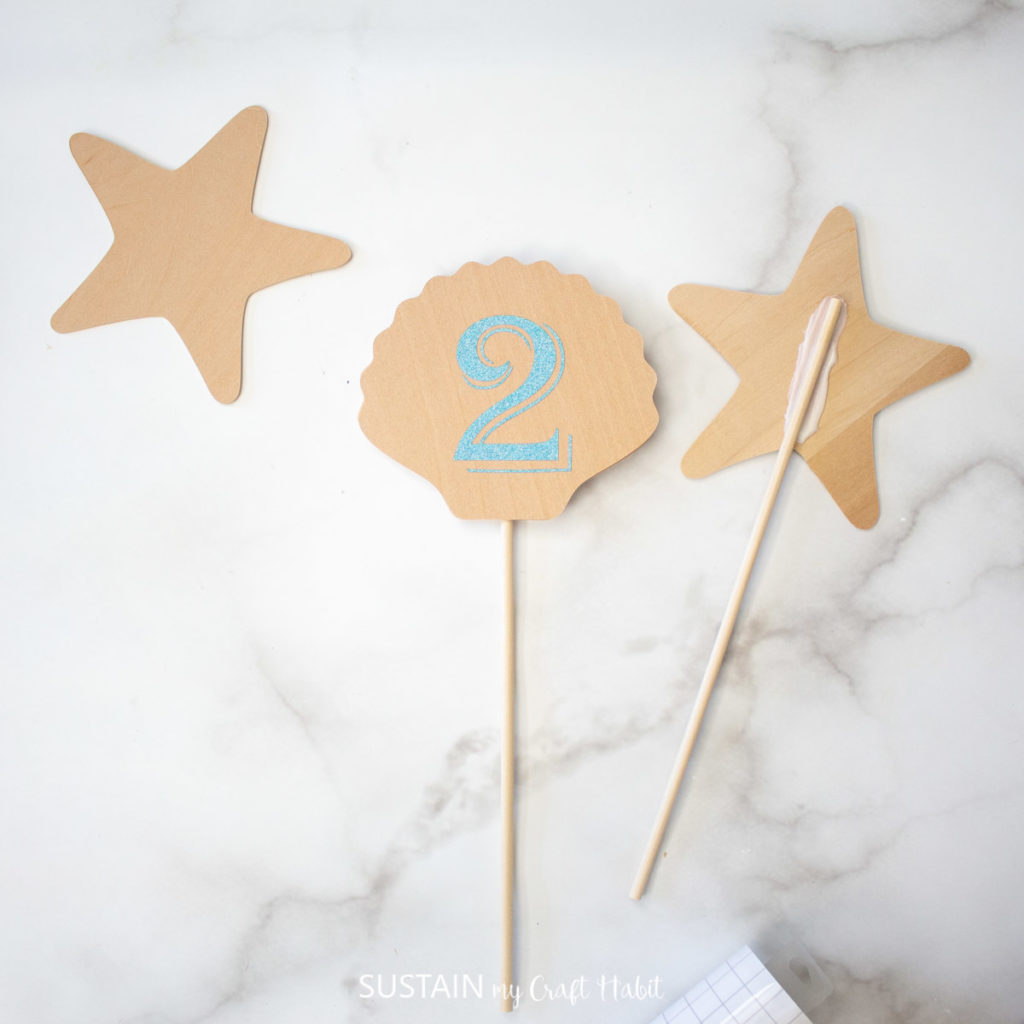
Turn the shapes with the number side down and glue a wooden dowel to the back side. Leave the glue to dry fully before moving on.

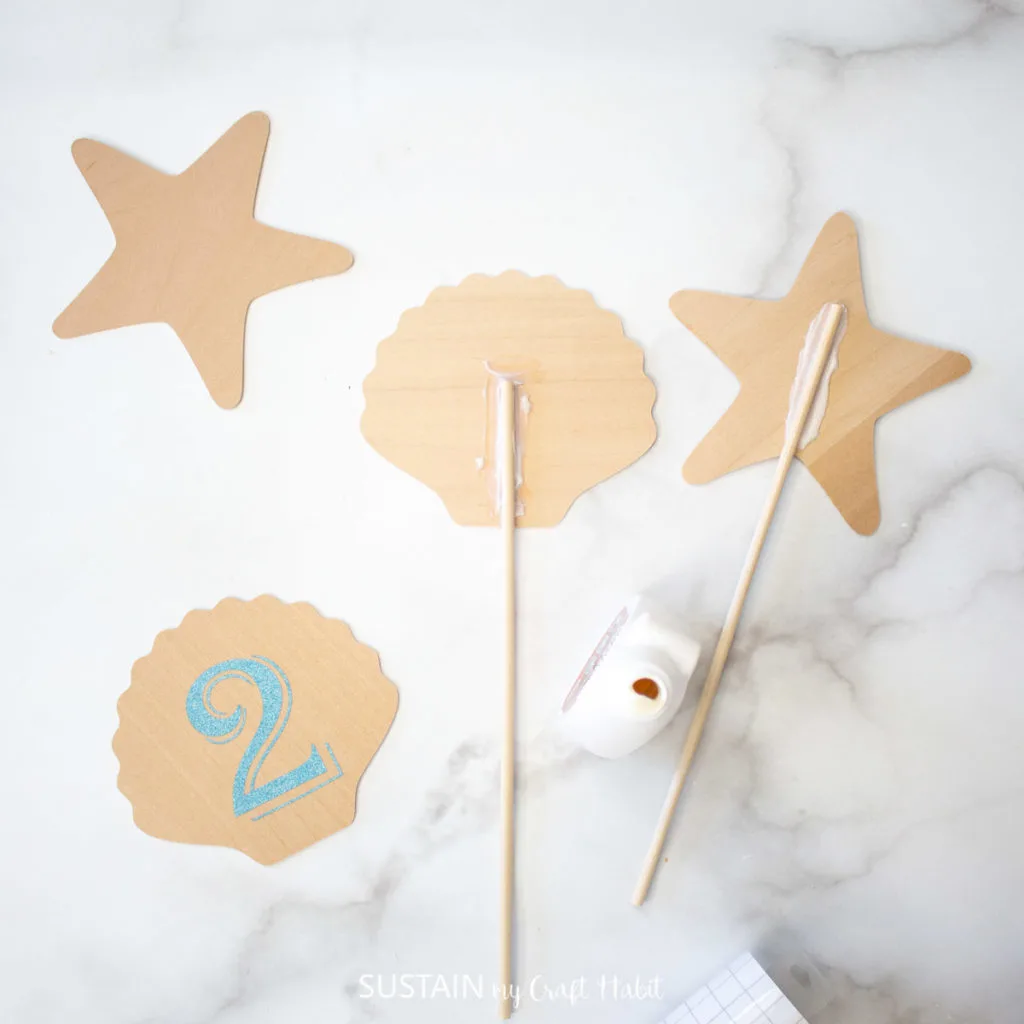
Once dry, glue the other matching shape to the reverse side of the dowel and again let the glue dry fully.

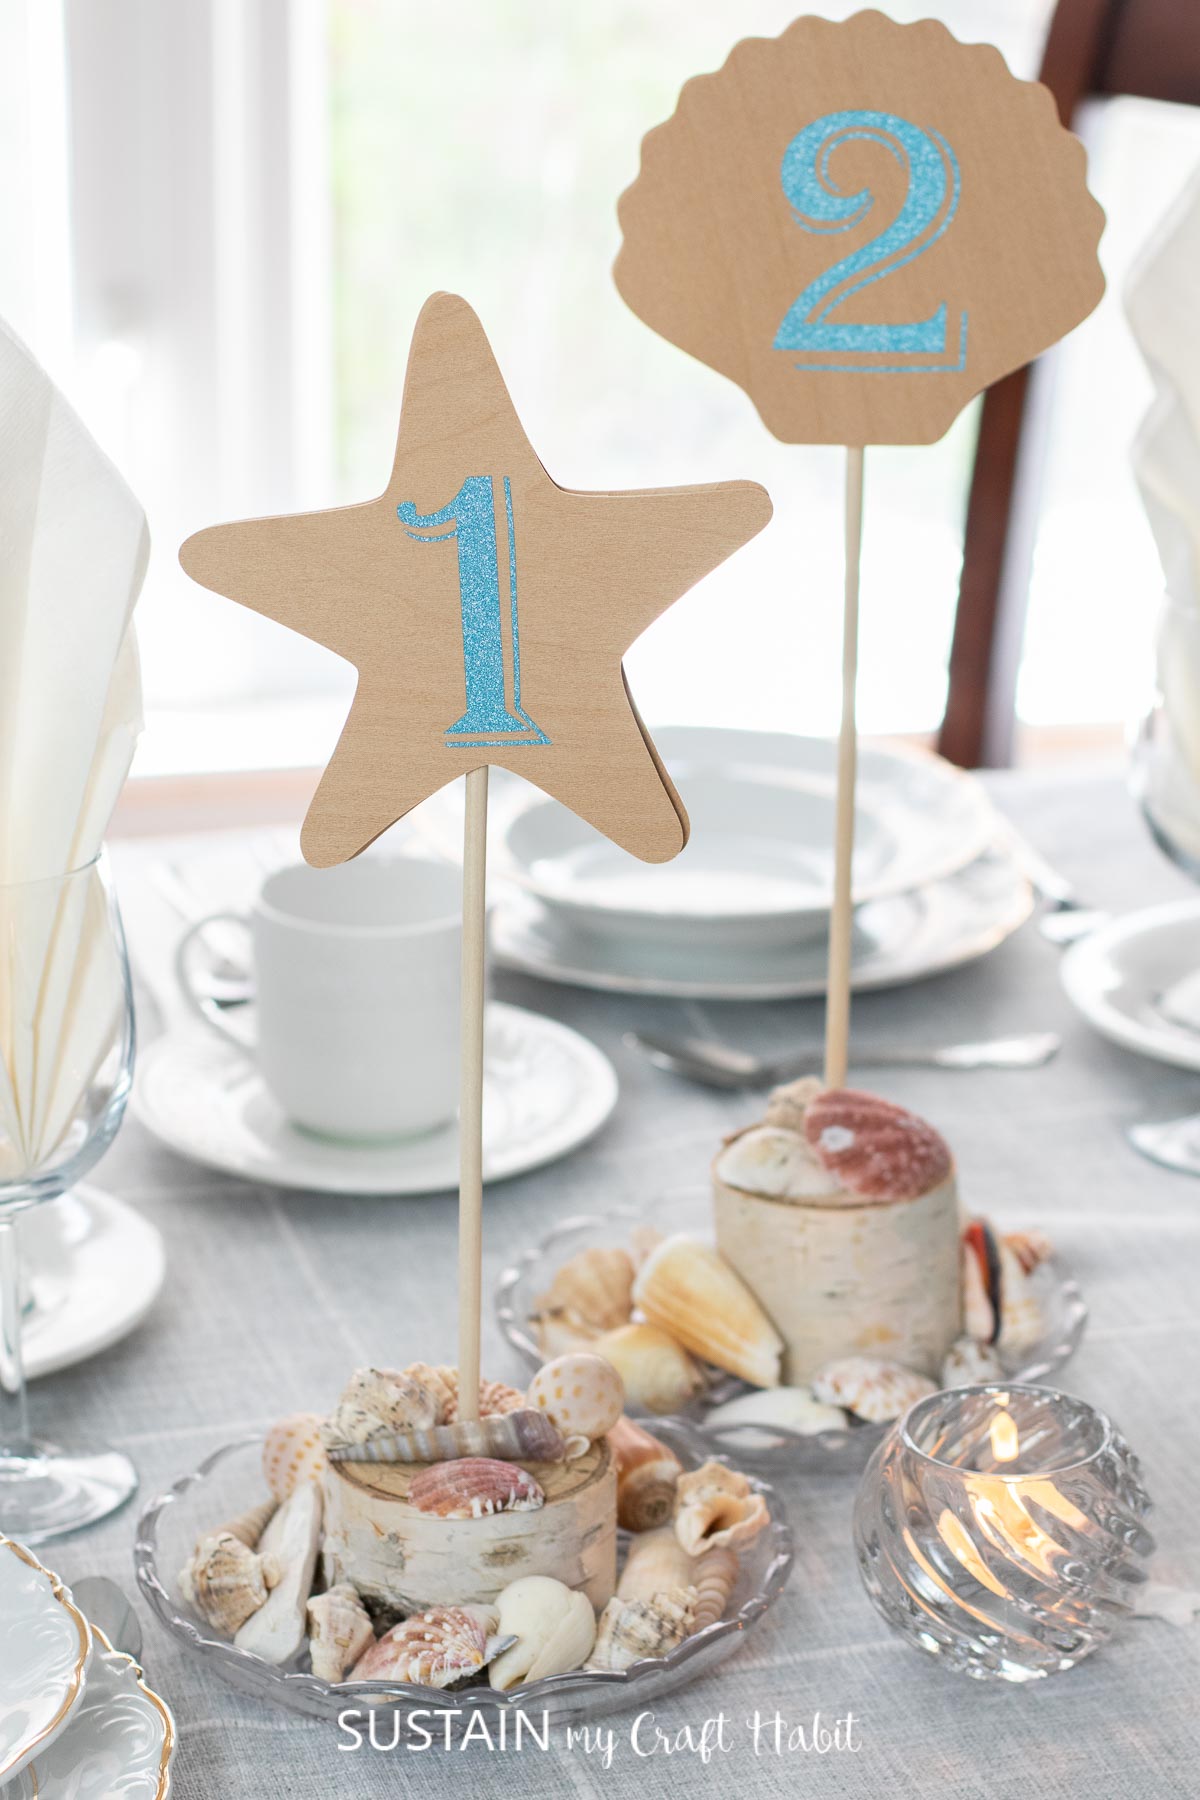
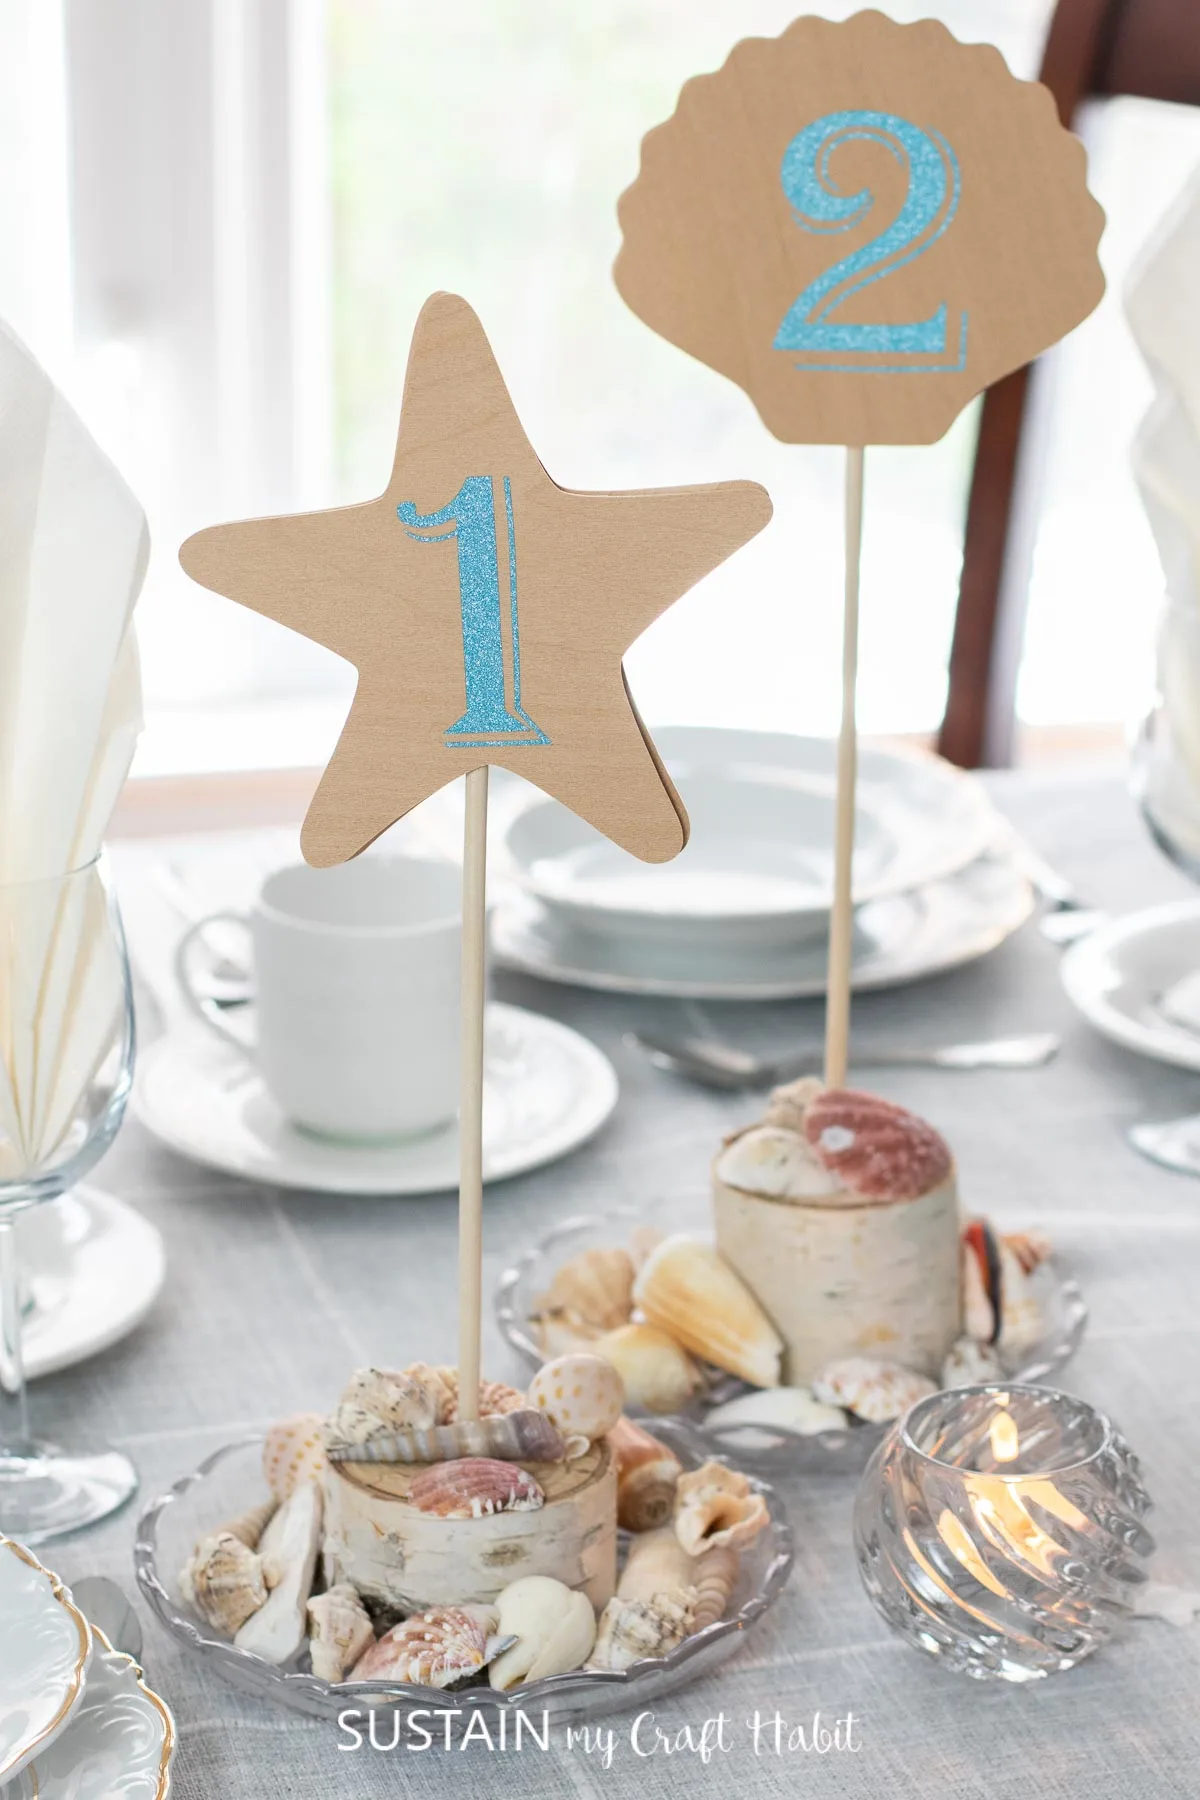
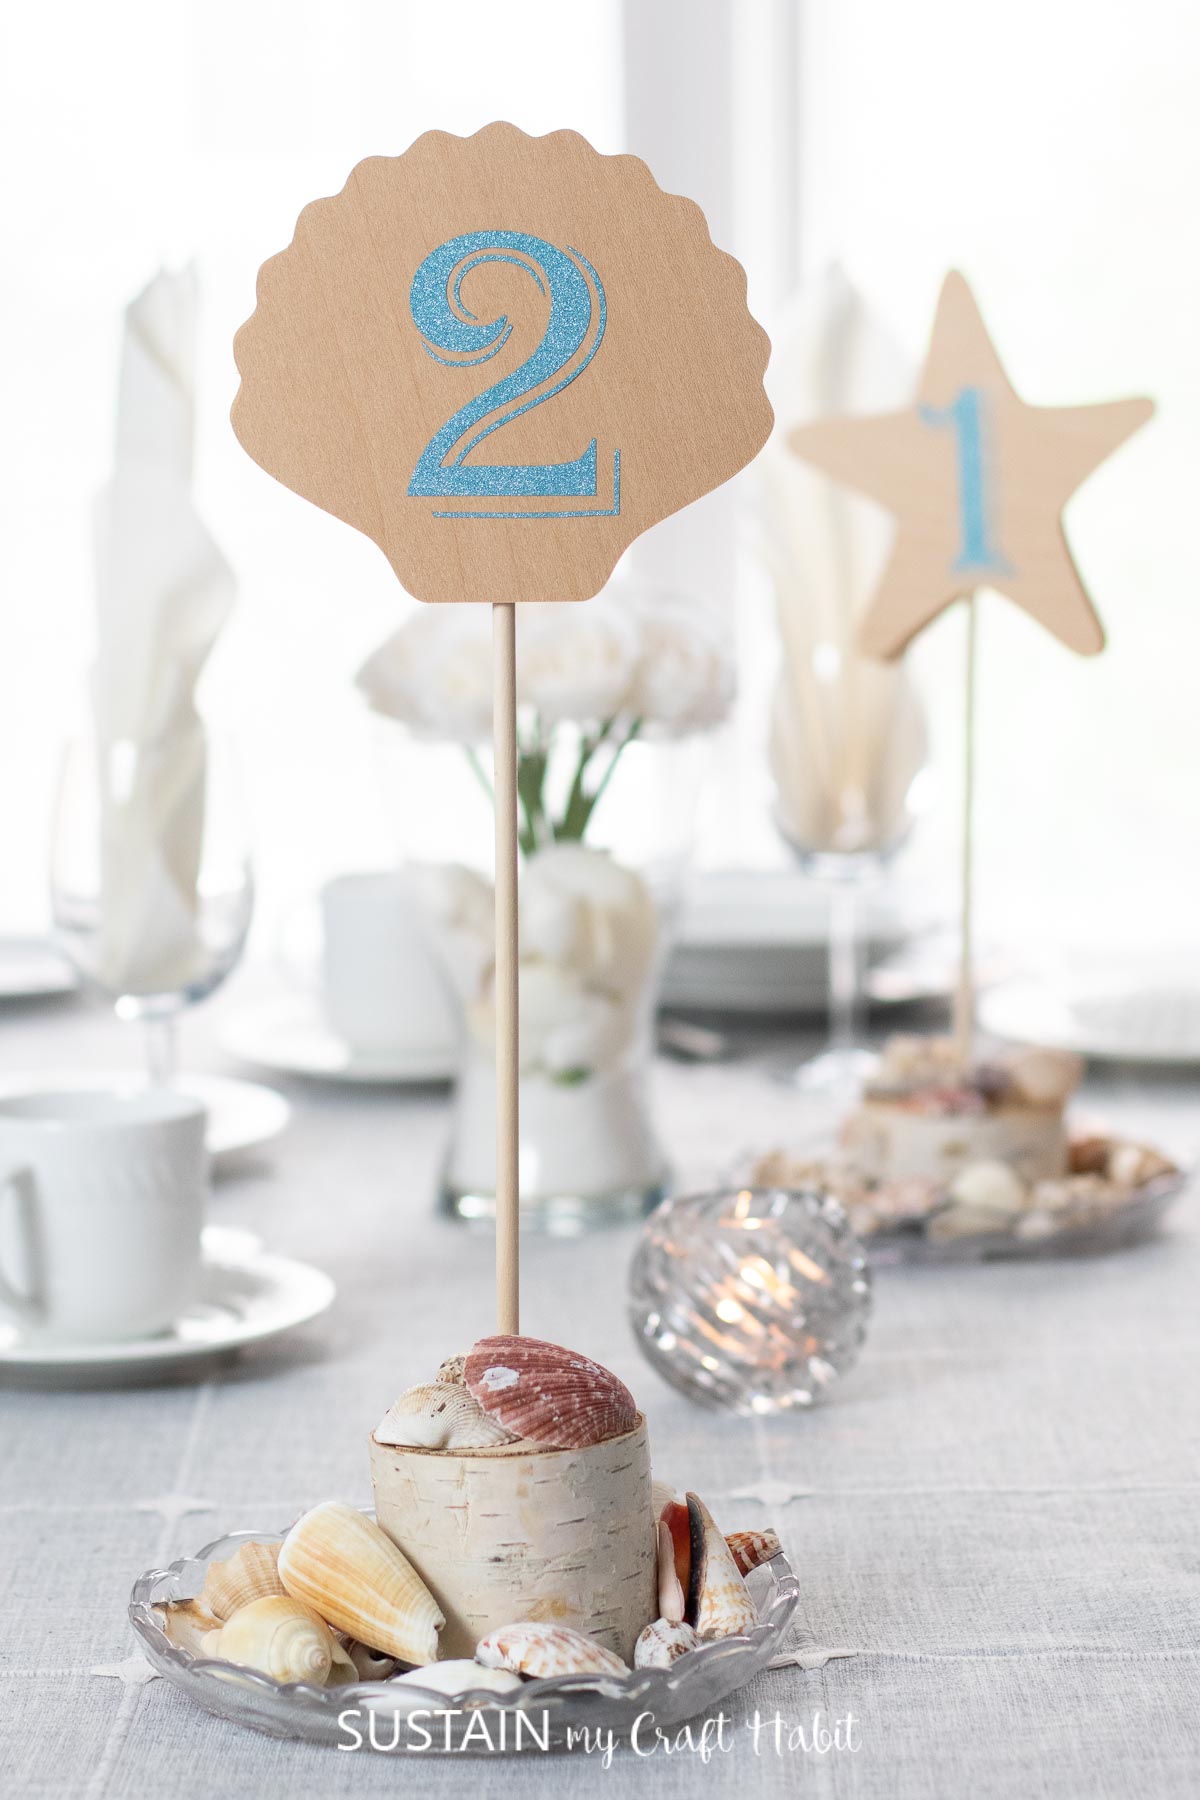
Insert the bottom of the wooden dowel into the pre-drilled birch branch to complete!
Looking for More DIY Wedding Decor Ideas?
If you’re looking for more DIY wedding decor ideas than you’ve come to the right place! Check out these elegant wedding crafts for your special day.
- Upcycled large pickle jar center piece
- Inscribed beach rocks for a wedding table centerpiece
- Glittering table number frames and votive candles
- Simple DIY Beach Theme Centerpiece
- DIY wedding favors with mason jars
- Stacked Birch Slice Candle Display
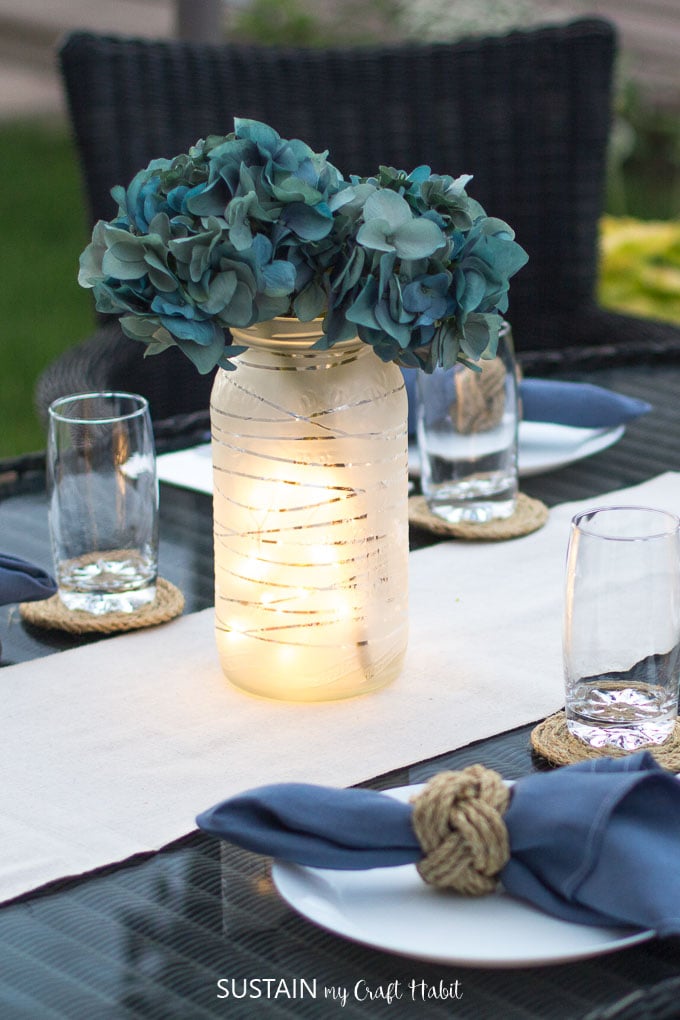

Upcycled Jar Centerpiece 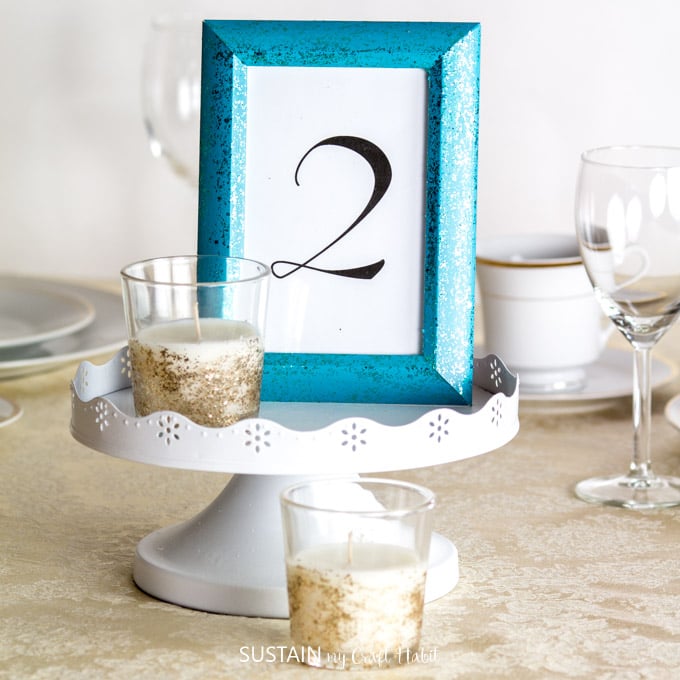

Wedding Table Number Frame 

Seashell and Sand Centerpiece 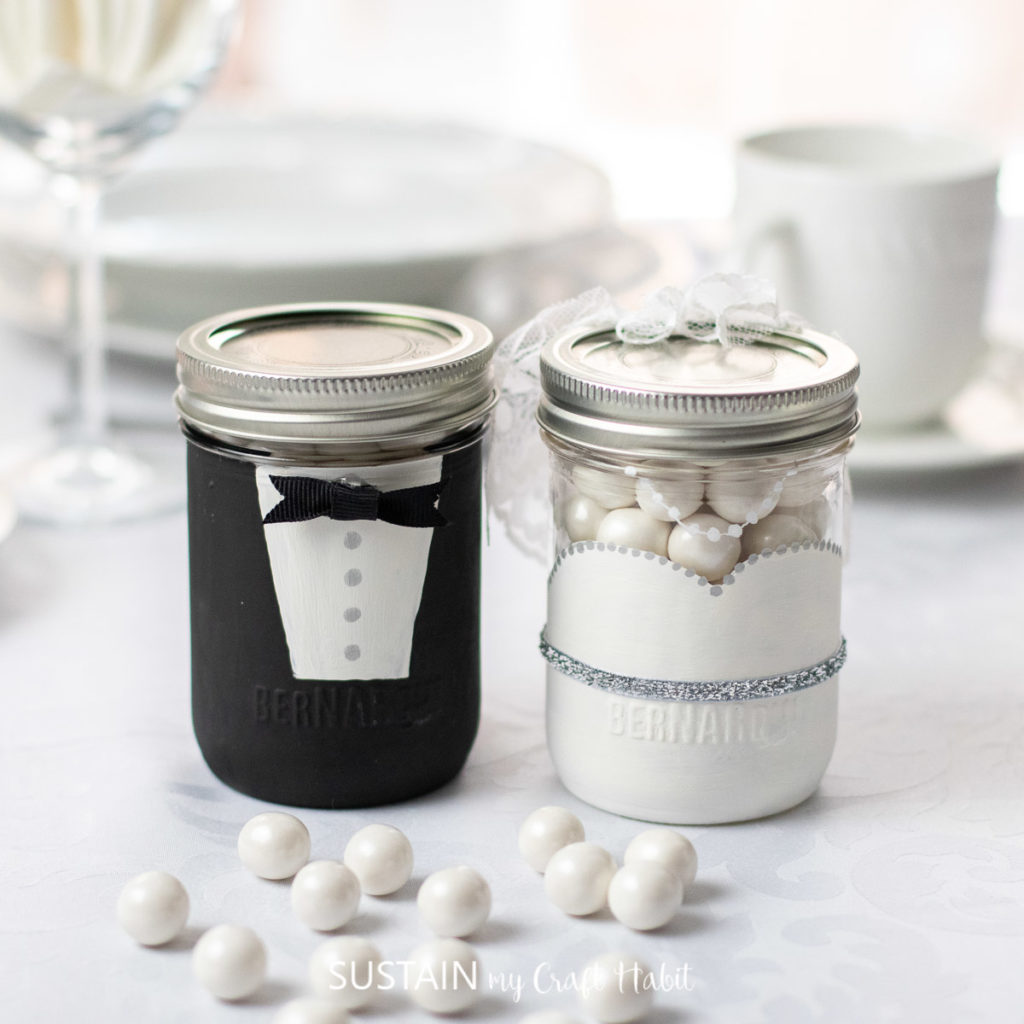

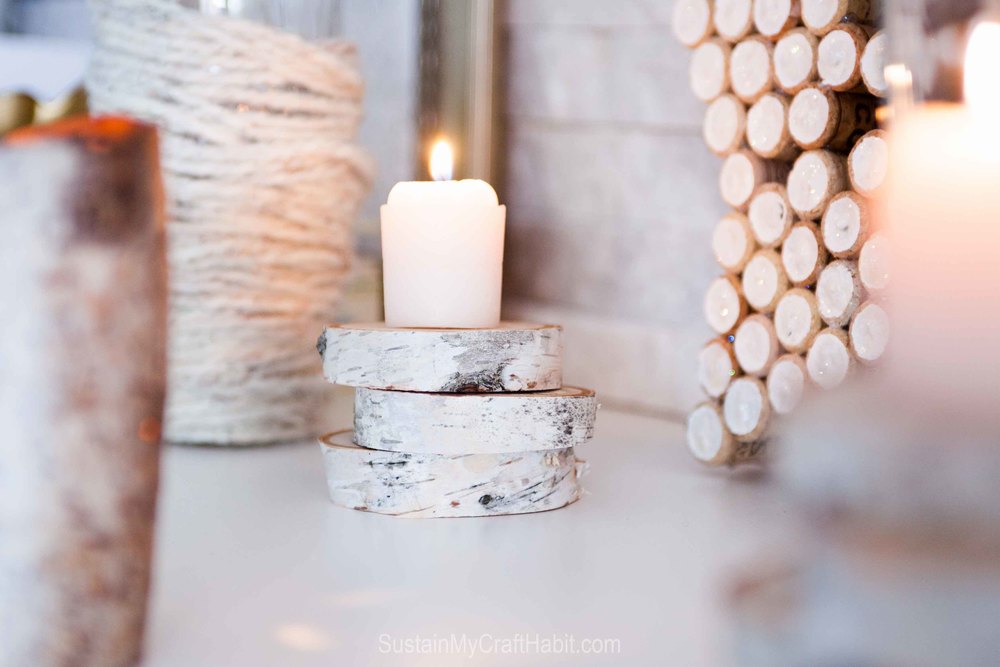

Stacked Birch Slice Cande Display


Like it? Pin it for later!