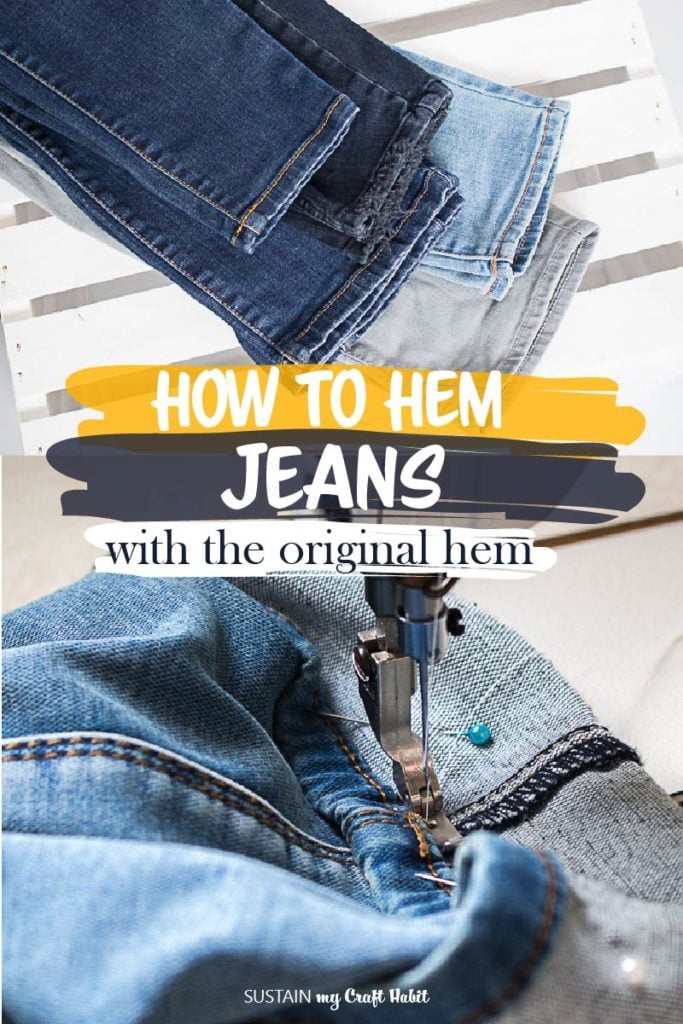
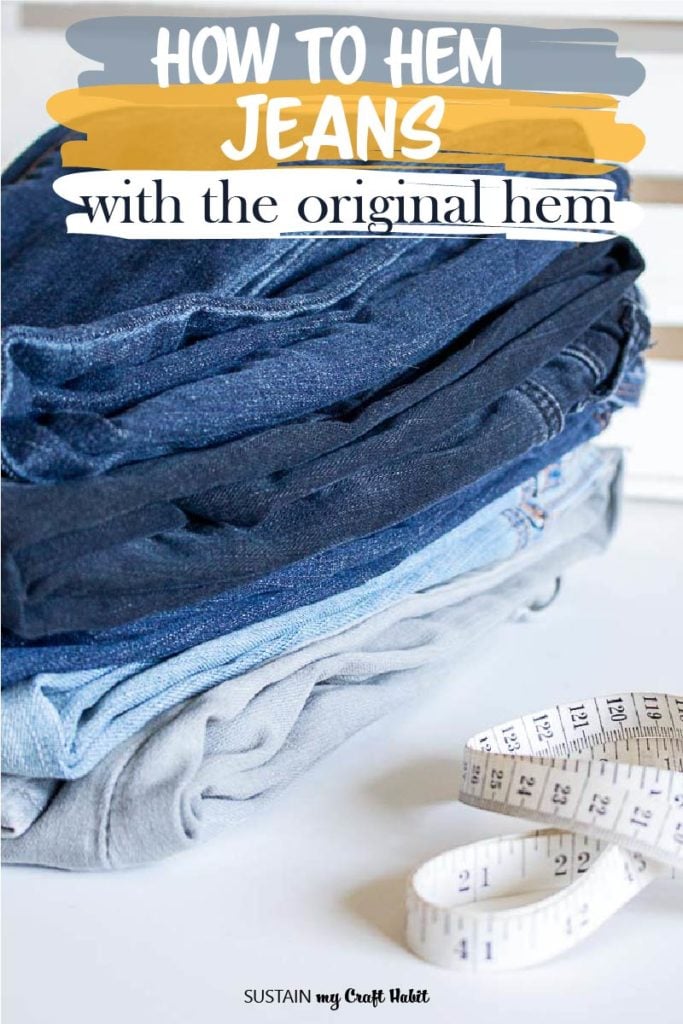
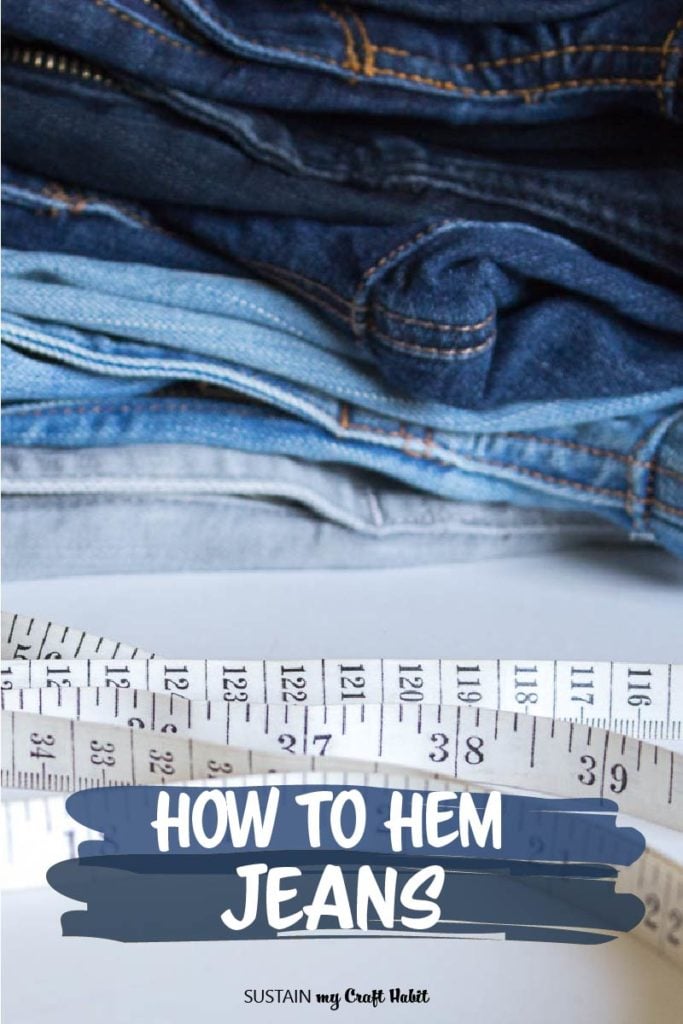
How to Hem Jeans with the Original Hem (Ultimate Guide!)
Ever since I started sewing as a teenager, I quickly became the designated seamstress in our family. My parents and sister would regularly give me their pants, skirts and dresses to hem or alter. Over the years, I learned how to hem jeans by keeping the original hem and why this was one of the best ways to shorten jeans.

By keeping the original hem, you preserve the look of the denim with all it’s unique distressed and washed out features. Furthermore, you keep the contrasting thread color from the original hem. If you have jeans that are a dark indigo or black wash, than this method is not necessary although it still makes a great option.
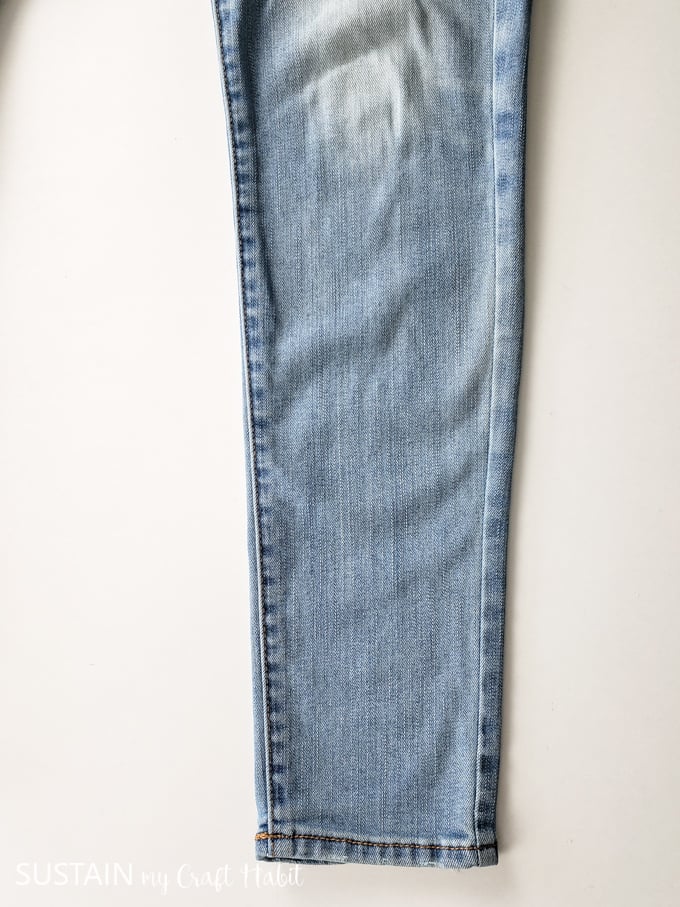
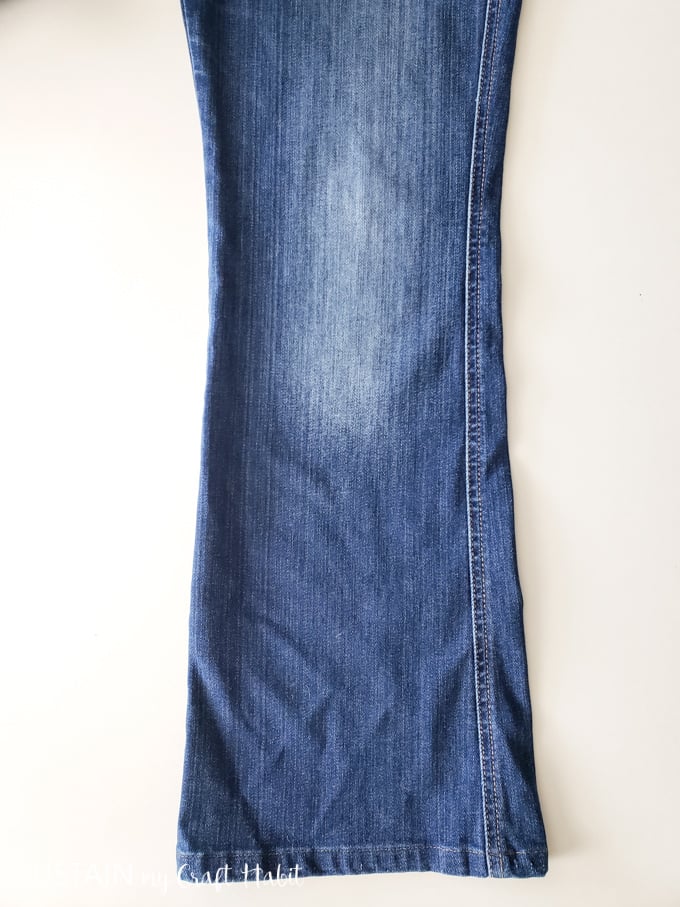
As I will also mention below, this method of hemming pants works best for jeans that have a straight leg, meaning that the leg opening is the same (or close to the same) width as the knee. The method also works for jeans with a tapered leg, in other words, the leg gets skinnier towards the leg opening. Whereas for jeans that have a flared leg (the leg shape widens towards the hem), keeping the original hem is not possible. If your flared jeans need to be hemmed, you can refer to my other post on How to Hem Pants: the Ultimate Guide!
SEWING PROJECTS: Let’s stay in touch! Subscribe for our latest sewing patterns, tutorials and tips.
To this day, I have a pile of my family’s clothes on auto-replenish that needs altering in some shape or form. I promise to get to them eventually, I really do. And if you’re like me, and you’re holding on to jeans that no longer fit or are out of style, consider making a DIY repurposed denim checkered picnic blanket or a quick DIY Easter bunny wreath like I did here.

Supplies Needed to hem jeans with the original hem:
- Jeans (works best with straight leg or skinny leg jeans; CANNOT do this type of hem for flared leg jeans)
- Sewing Machine (for lock stitching (also known as straight stitching) and for zig zag stitching)
- Fabric scissors (these are my absolute favorite fabric scissors)
- Thread (in a matching color)
- Measuring Tape
- Pins
Determing which hemming method to follow:
Before you begin, ask yourself: “what type of leg shape do my jeans have?”
The simplest way of checking which hemming method to use is by following these few steps:
- Try on the pant with a pair of shoes and mark the position for your new hem with pins or washable chalk / wax.
- Remove pant and lay the pair down on a flat surface.
- Using a ruler or measuring tape, measure the width of the leg opening – let’s call that position “A”. Record that measurement.
- Next, measure the width of the pant leg just above the new marked hem position – let’s call that position “B”. Record that measurement.
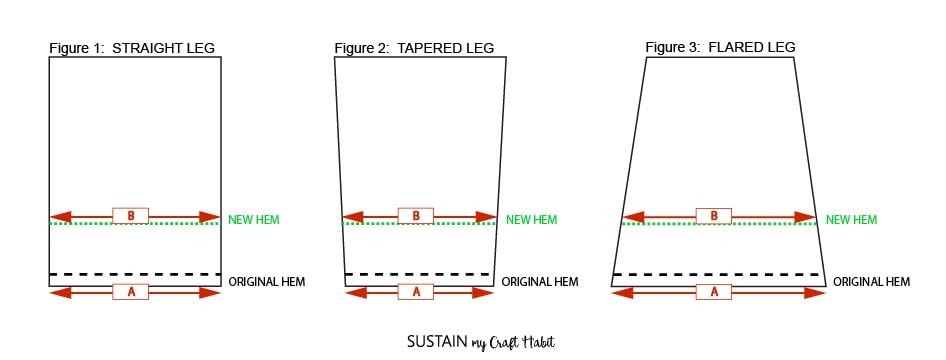
- If A=B, refer to the instructions for hemming jeans with the original hem for a straight leg pant.
- If A<B , refer to the instructions for hemming jeans with the original hem for a tapered leg pant.
- If A>B, refer to the instructions in the separate post for making a stitched hem on a flared leg pant.
How to hem jeans with the original hem:
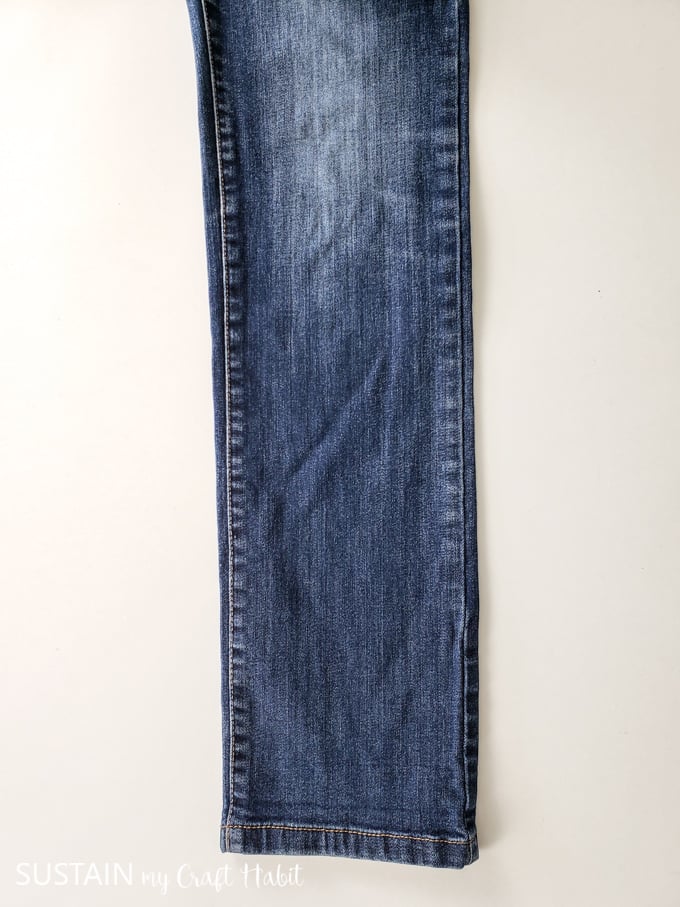
For Straight Leg Jeans
Lay the jeans on a flat surface with the position for the new hem marked with pins or washable chalk / wax.
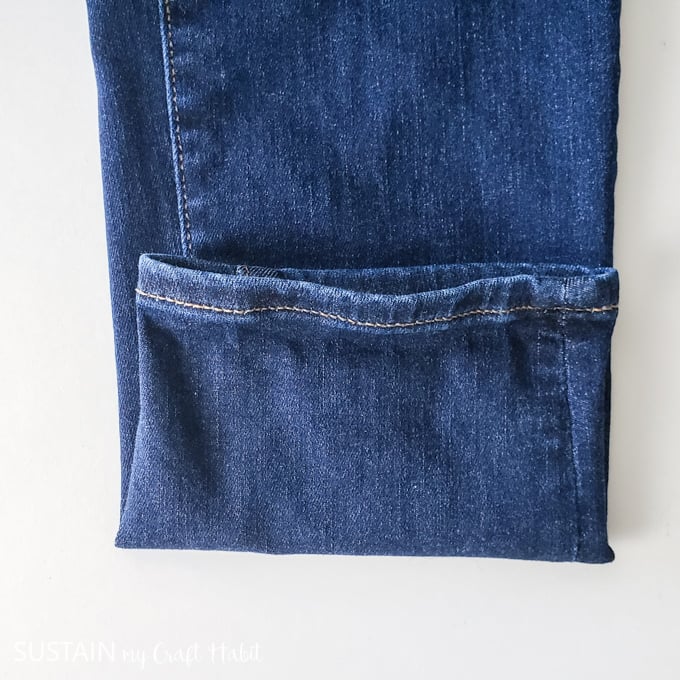
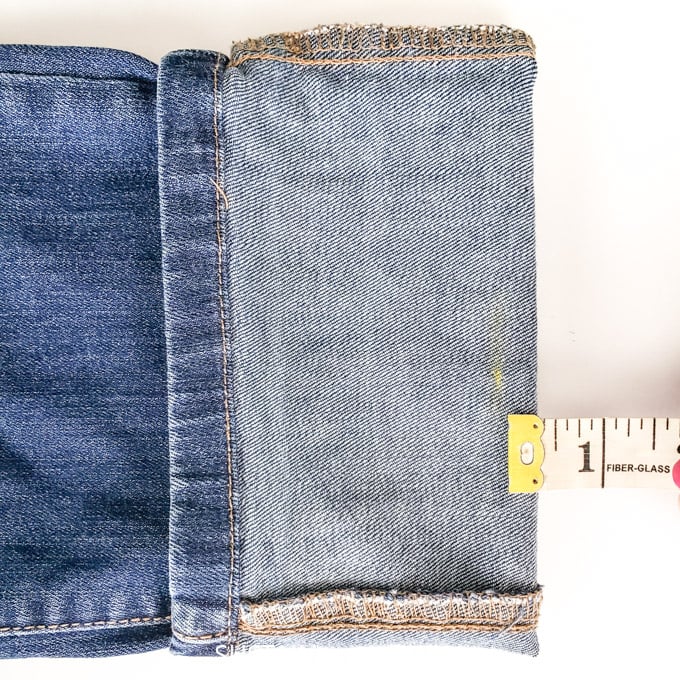
Fold the hem up to the marked position. Then mark a NEW position ABOVE that fold line that is the amount equal to the current hem height.
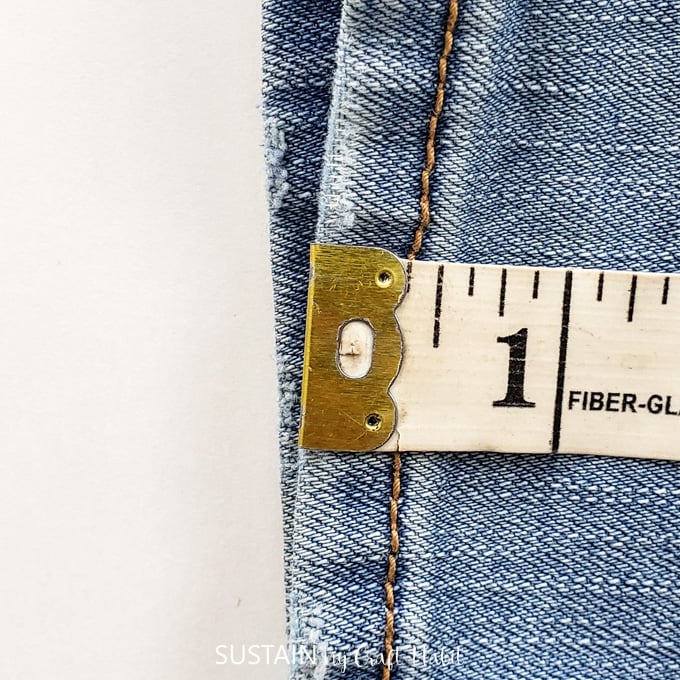
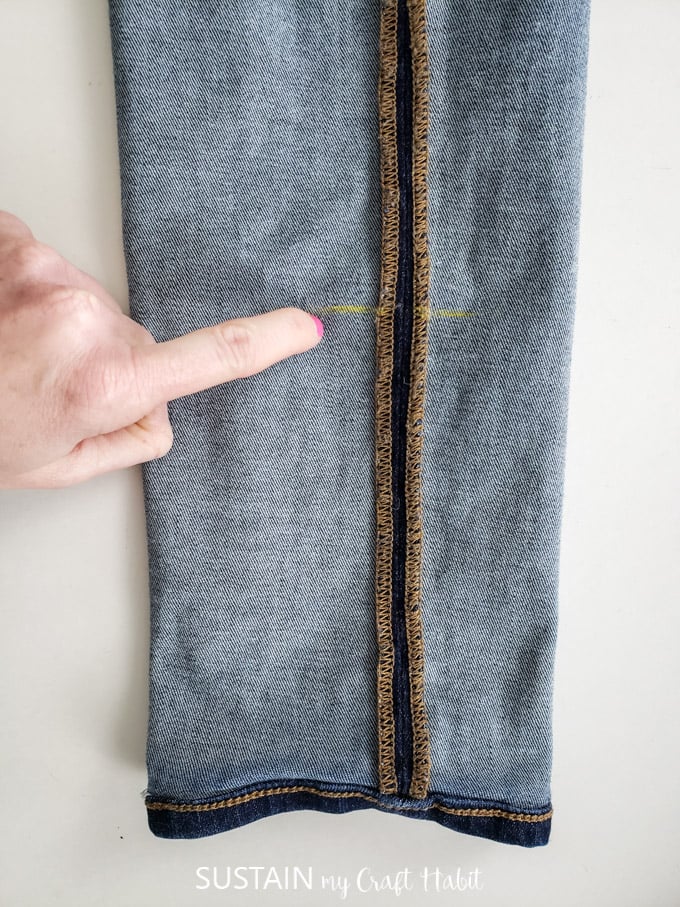
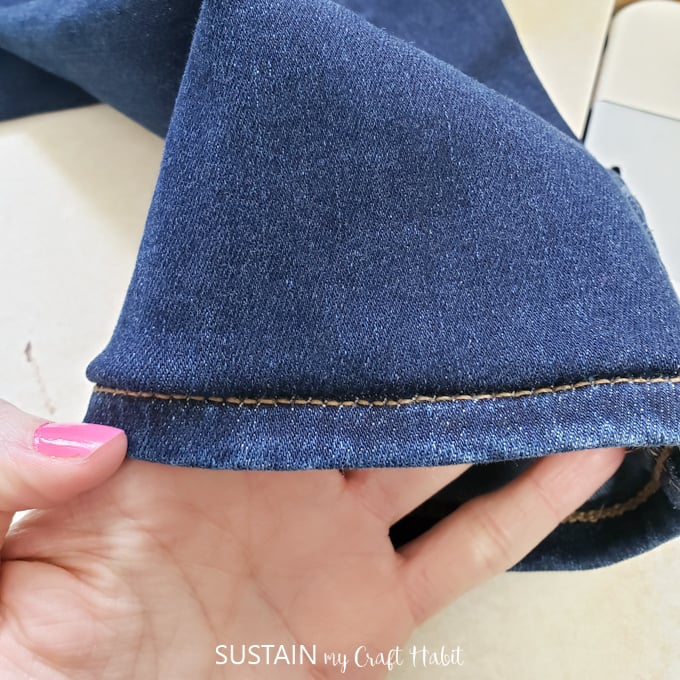
In my case, the hem height is 3/8″ (the measurement from the bottom of the hem edge to the stitch line) – see photo for how to mesure hem height.
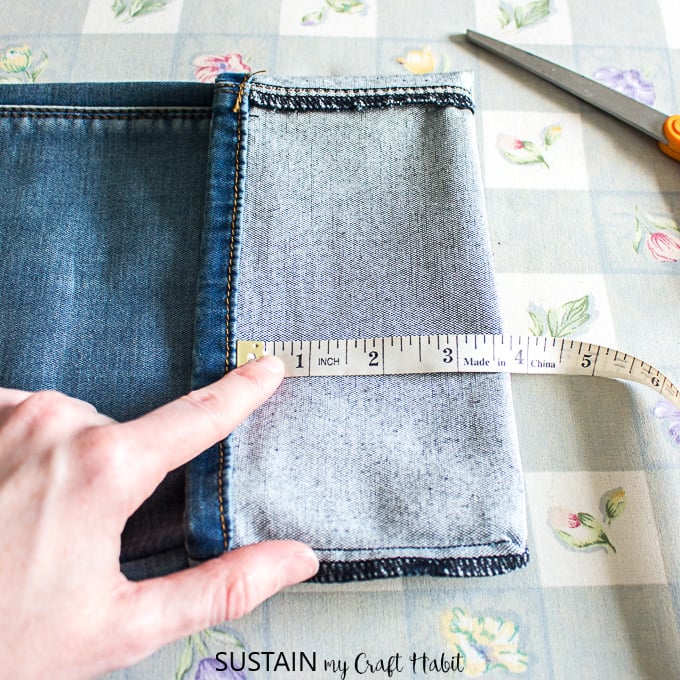
And then adjust the fold to that new marked position.
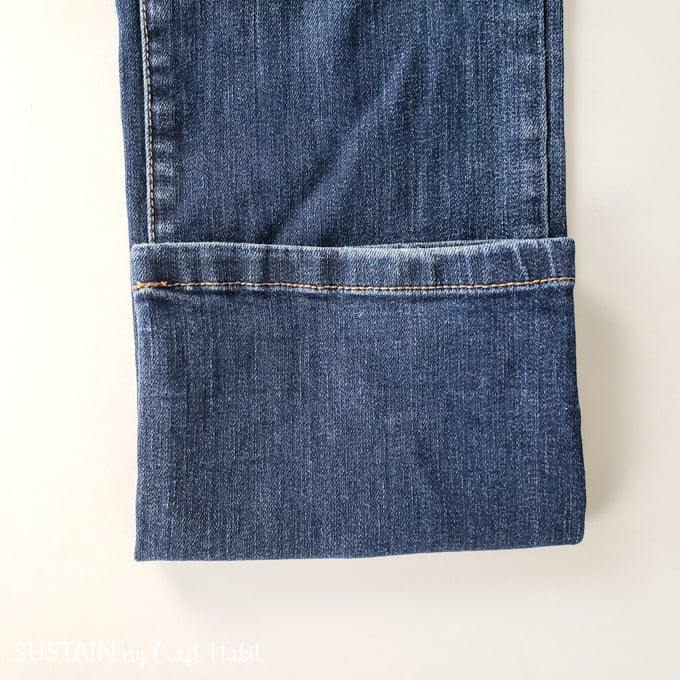
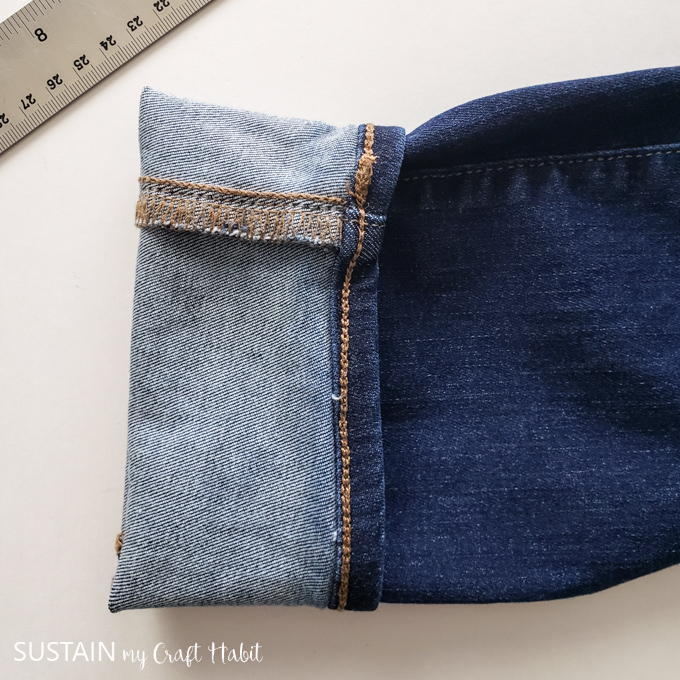
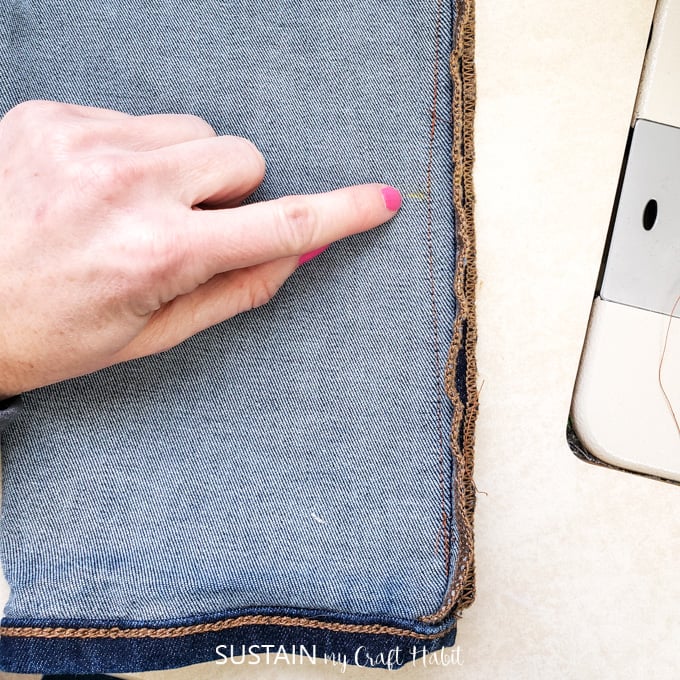
Next, measure the amount from the folded edge to the stitched hem as shown. In my example, the amount is 3 ¾”.
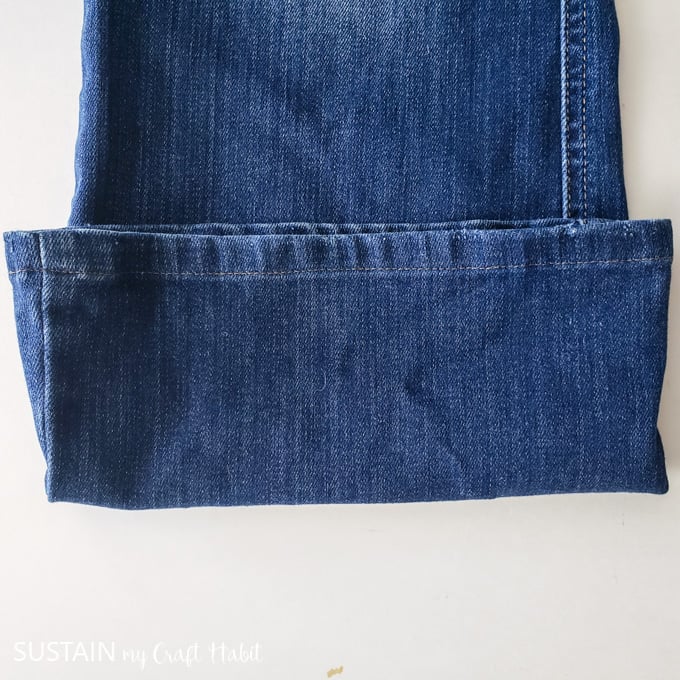
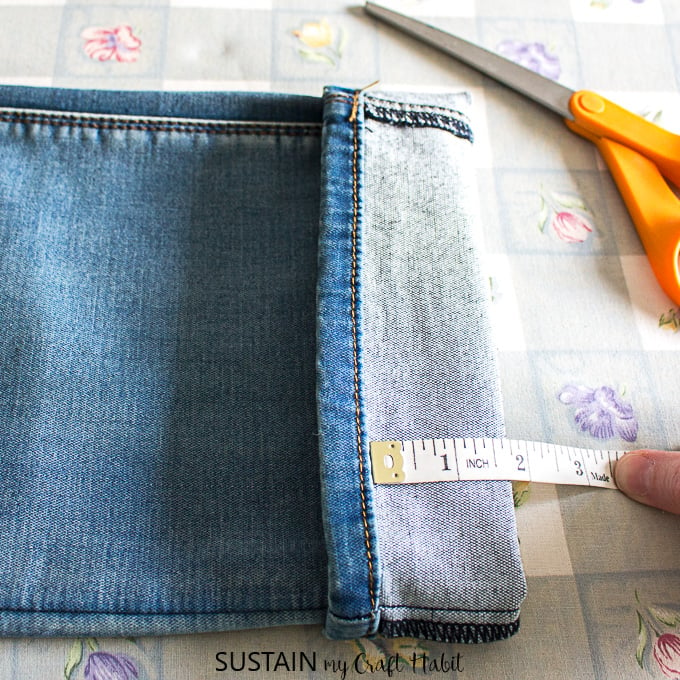
Refold the hem by half the amount you measured previously. So in my example, I folded the hem at 1 ⅞” (this is half of 3 ¾”).
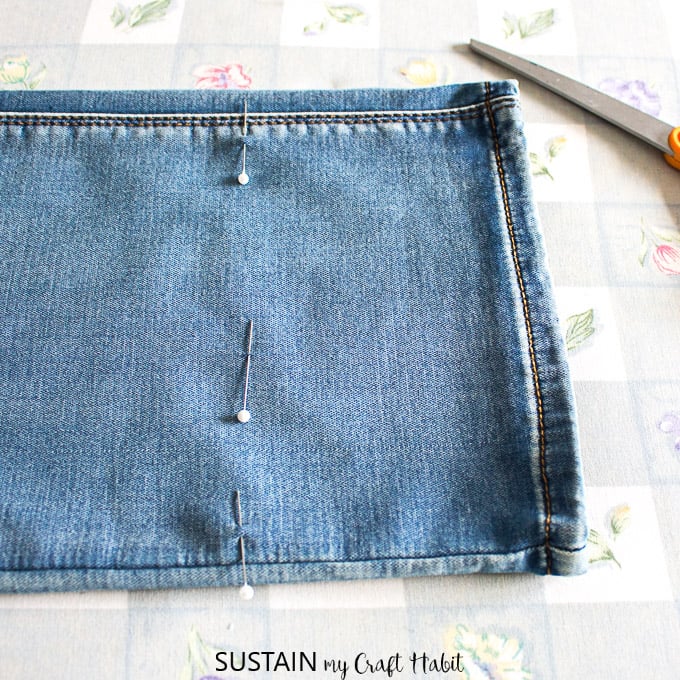
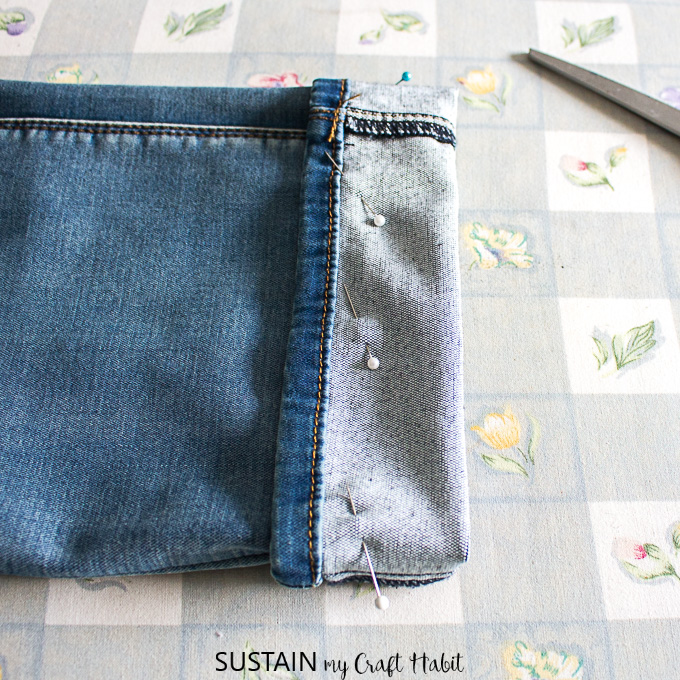
Pin hem in place around the entire leg opening.
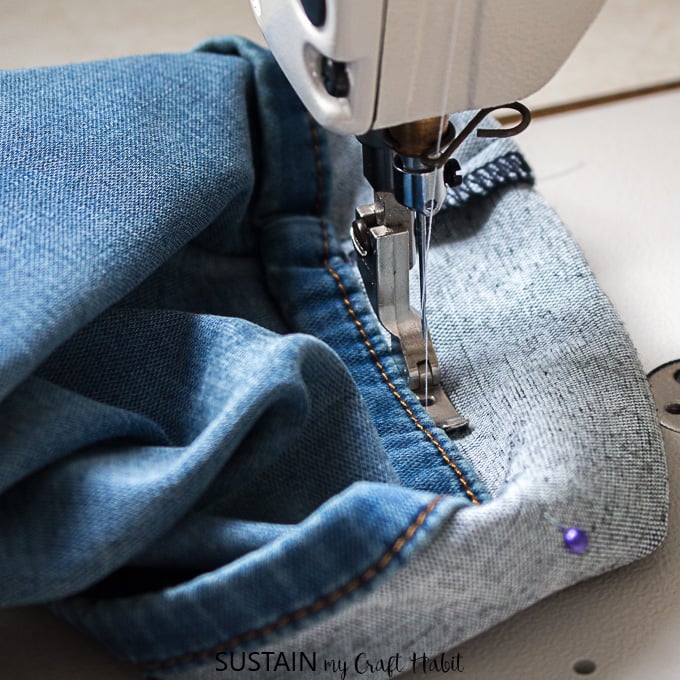
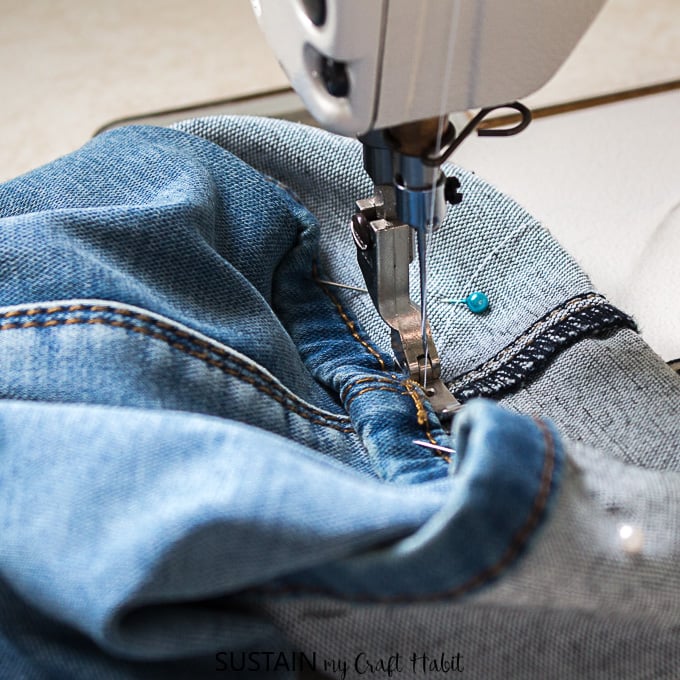
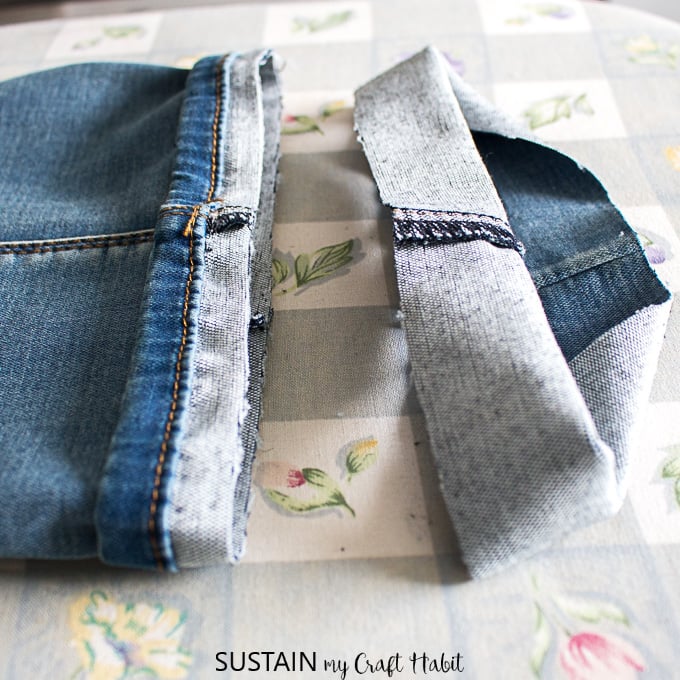
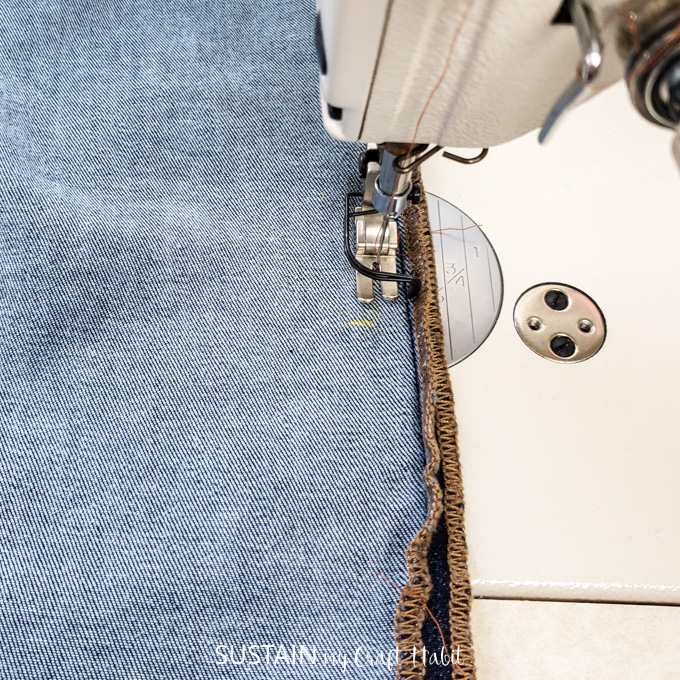
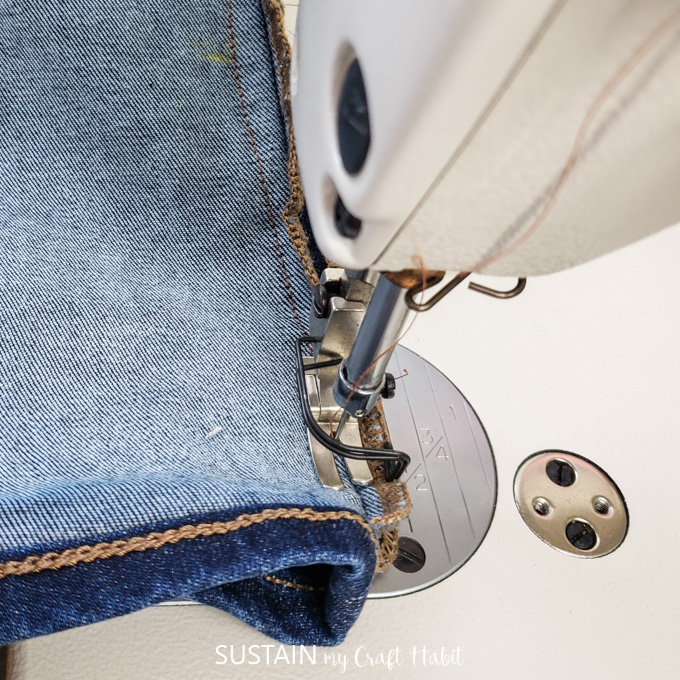
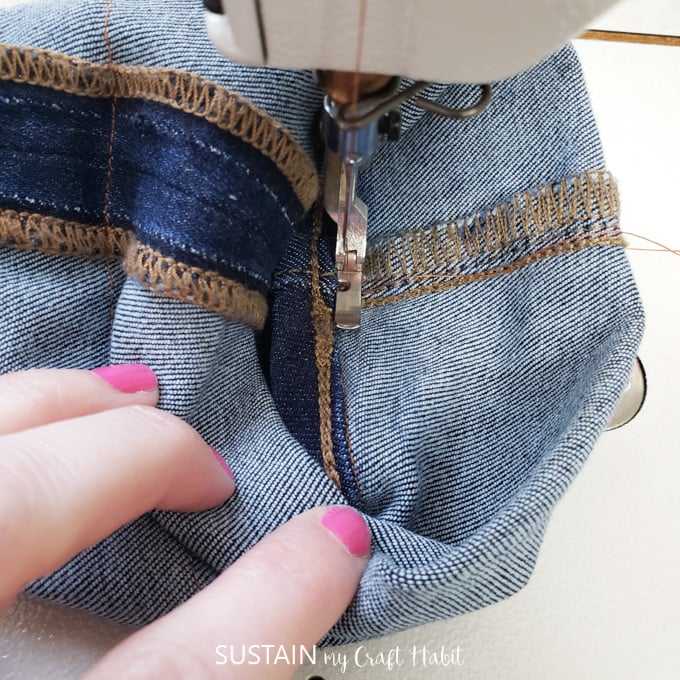
Using a right sided presser foot, insert the folded leg opening under the sewing machine.
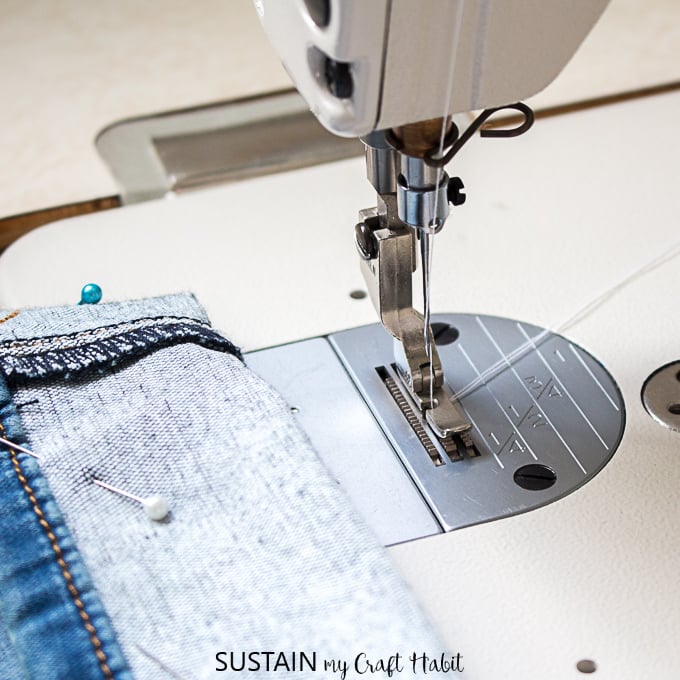
Stitch all the way around as close to the original hem as possible. Reinforce the stitches at the start and end of the stitch line. Take care to not catch the other side of the leg opening as you sew.
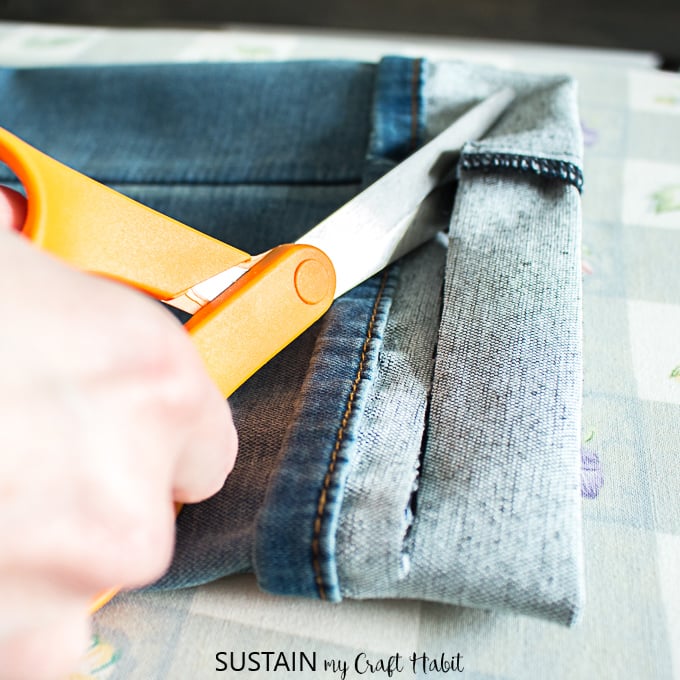
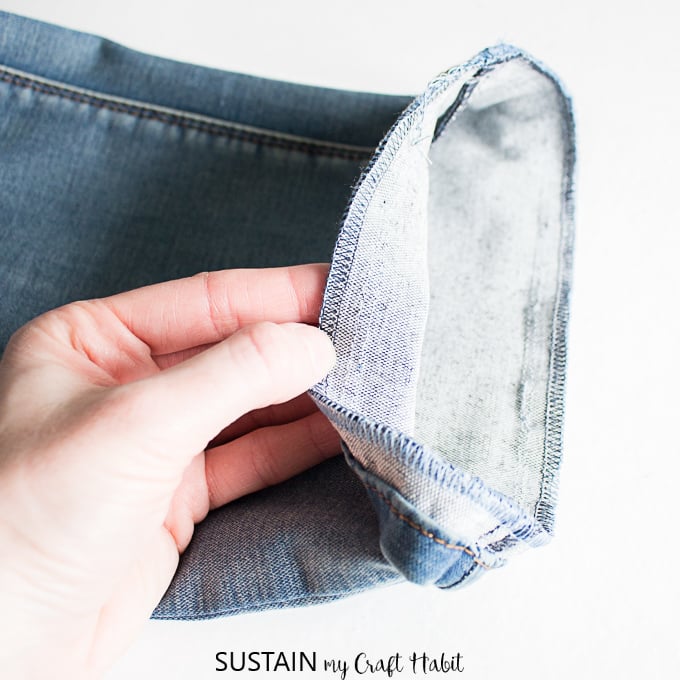
Cut the excess folded length leaving no more than ½” seam allowance from the new stitch line.
You can use a zig zag stitch or a serger to finish the raw edge. Since my industrial sewing machine doesn’t have a zig zag stitch setting, I’m using my serger to clean finish the cut edge. This is an important step to prevent the fabric from fraying. Stitch all the way around using a matching thread color to clean finish the raw edges.

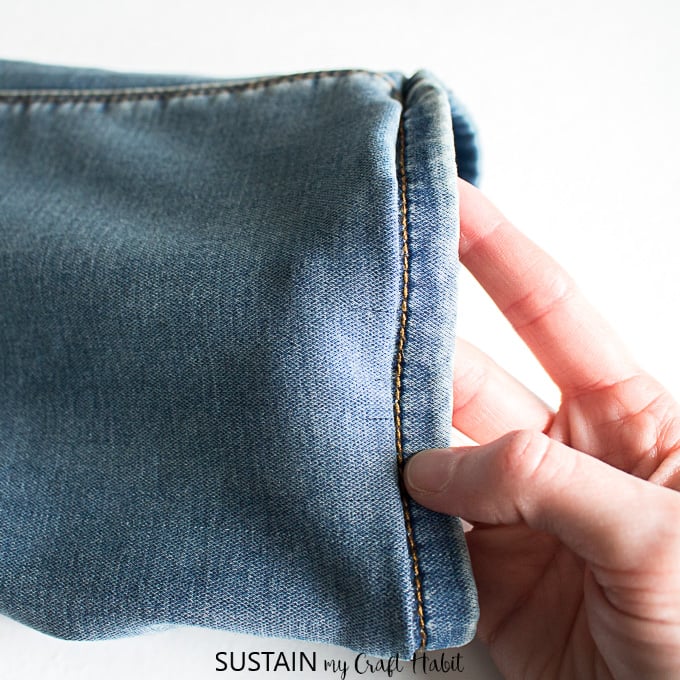
Fold the new hem down and press into place.

For Tapered Leg Jeans:
Have you ever found your hem puckers after sewing? If you have a pair of tapered leg jeans, there is one extra step required for hemming that is different from a jean with a straight leg. The reason for this extra step is to make it easier for hemming and to prevent the hem from puckering. If you fold the bottom hem up to align with the new hem position and find the fabric bunching, continue with the instructions below for hemming a tapered leg.
Lay the jeans on a flat surface with the position for the new hem marked with pins or washable chalk / wax.

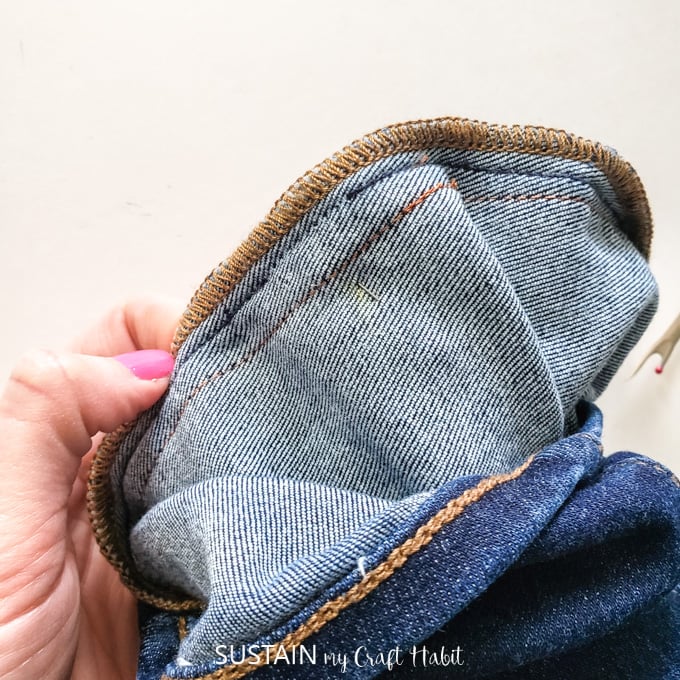
Turn the jeans inside out and lay them down on a flat surface. Make sure the position for your new hem is marked on the inside too. I drew a line on my pair with yellow wax.
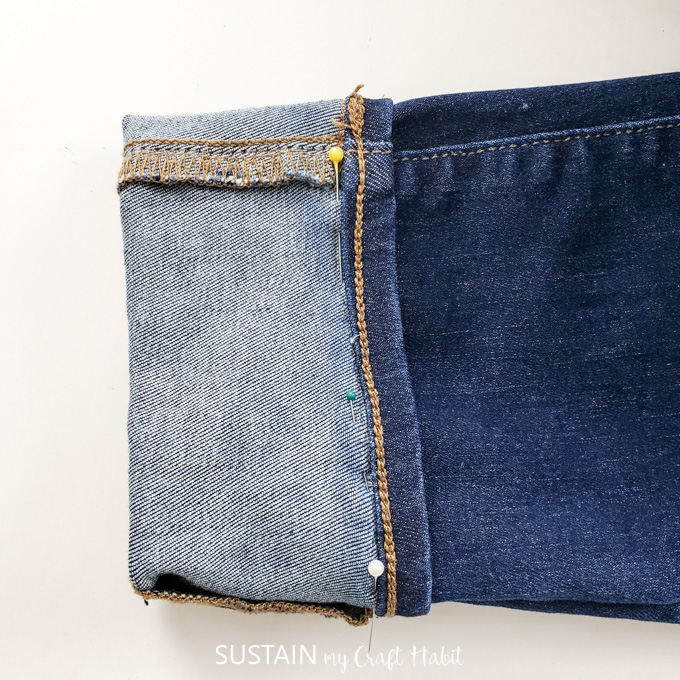
Next, take the jeans to the sewing machine to reduce the width of the leg at the new hem position. To make it a gradual transition, begin the stitch along the inner leg several inches above the new hem as shown.

Reduce the leg width at the marked position by the same amount you got when you calculated the difference between “A” and “B”. Continue sewing the inner leg, merging back to the original inner leg seam at the bottom opening.
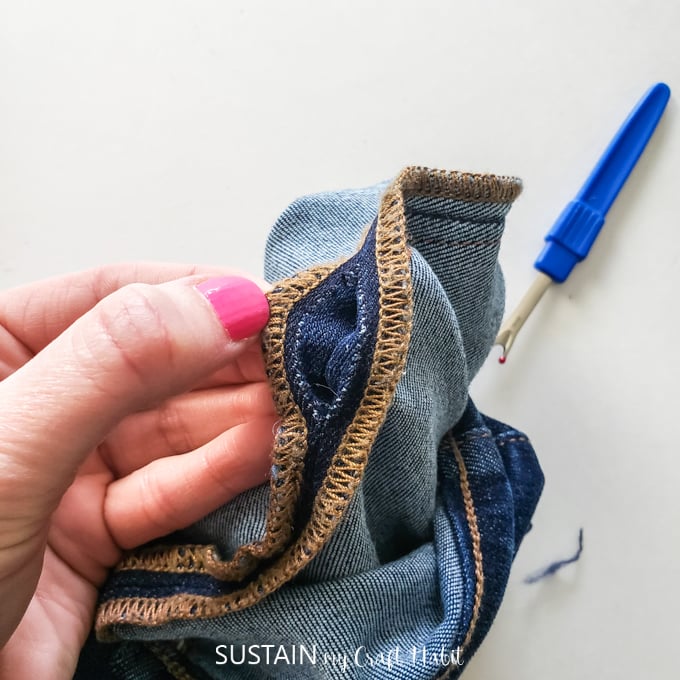
Remove the previous inner leg stitching to reduce bulk.
And then fold the hem back up to see the difference: no more bunching when folded!

Having reduced the leg width along the inner leg, you can proceed with hemming the jeans with the original hem (same as the instructions for the straight leg jean). FOLD, PIN, SEW and CUT same as above.
Frayed jeans are all the rage these days! In the next few weeks, I’ll show you how to hem jeans to achieve a professional frayed edge.
Do you have any tips and tricks for hemming jeans?
Get updates on the latest posts and more from Sustain My Craft Habit straight to your inbox by joining our weekly newsletter. We promise to send you only the good stuff.
Like it? Pin it for later!


How do you hem= jeans that are wider at the bottom? I have to much material and I don’t get a smooth hem. How do you hem the jeans without having the puckering? Pls help
Hi Gaylene, Thanks for your question! To avoid the puckering and eliminate the excess fabric you need to adjust the inner and outer leg shape (seam allowance) below your new hem line to mirror the leg shape above them hemline. I’ll send you a diagram!
Hi! I seem to be having this same problem. Can you send me a diagram?
Can you send me the diagram as well? All of mine that I need to do are not straight leg and really wide bottomed. Thank you so much!!!
Hi Virginia, Absolutely! I’ll add it to the post as well for other readers to reference.
Excellent instructions! Thanks!
The math is throwing me. There’s 1 image that says it’s unavailable. Can you fix that?
Hi Laura, Thanks for letting us know! I’ve reloaded the photo so it should now be available. I hope it helps!
Great tutorial! I found this right in the nick of time! You saved our Thanksgiving!! Happy Turkey Day! (Even though, I do realize, you probably don’t celebrate Thanksgiving as it is an American holiday… but Happy Turkey Day all the same!)
Thanks for the great instructions. Trying it and realized I also have a tapered leg jean and would love for you to send me the diagram/instructions on how to avoid the puckered look at the hem. Thanks again!!
Please send me the diagram. Than you for the instructions.
Where is this diagram posted? I would like to try it.
I’m a little confused and frustrated by the step where you redid the hem to half the length after all the initial calculations and folds. I thought maybe it had to do with how the hem would lie once finally stitched. Whatever the logic, it resulted in my pants being too long even with shoes, so I have to redo them. I think they would have been perfect if I had skipped that one step. Thanks for the detailed instructions though, that was there only problem I had.
Hi Ginger, thanks for your comment and sorry you had troubles with the instructions! I did recheck and found the result to be ok for me so I’m not sure where the problem is. But I’m glad you were able to resolve it. Many thanks, Sonja
Thanks for this tutorial! My only question is – what if I don’t have a right-sided presser foot? I just have the standard one (not sure what my mom did with the other accessories). Can I still do this?
Hi there, it can be done with a standard presser foot although you won’t be able to get the stitch line as close to the original stitches as you would with a right sided presser foot. This technique definitely works best with the other foot but you could try on one pair and see if you like the look of it? Many thanks, Sonja
I haven’t tried the tutorial yet but I am also very confused as to why you would unfold it and then re-fold at the half the distance. As per your example, wouldn’t the leg then be 1 7/8″ longer than where you wanted it? I’m wondering if you didn’t mean to unfold it and re-fold it at the half point and you actually meant to say to fold it one more time up inside at the halfway point.
Thank you for this tutorial – I shortened my jeans easily!
Will this work on tee shirts ?
I need to hem some Gloria Vanderbilt Jeans, with the trademark gold thread at the hem. How do I replicate the gold colored stitching when I shorten the jeans?
Hi there, that’s a perfect example for why you would want to keep the original hem on a pair of jeans! If you follow along with the instructions in the post, it’ll explain how to shorten the jeans while still maintaining the gold colored stitching at the bottom. Thank you, Sonja
I was pinning up old him and now I need to remove new stitch. Any easy to see it to remove it.
Don’t have a sewing machine,
How can I hand sewing?
I love this, really need a printable copy to keep by my machine to refer to later on.
thanks
Any tips on how to hem straight legged jeans if I just only need to raise them up one hem length? TIA
Brilliant. Worked like a charm for my straight leg jeans.