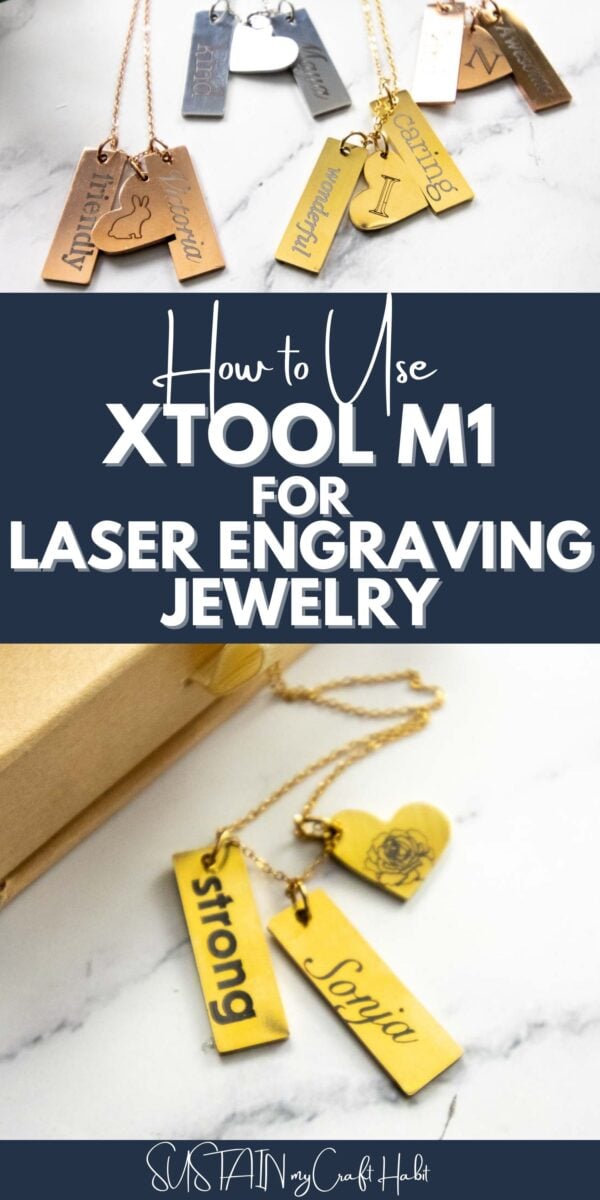
How to Use XTool M1 for Laser Engraving Jewelry
If you’re a jewelry maker or enthusiast, you know that customization is key. Whether it’s for your personal collection or for your business, adding a personal touch to every piece is what sets them apart from the rest. And what better way to do that than with laser engraving?
Disclosure: This post is sponsored by xTool. All opinions are our own.
The
Why You Will Love Using the XTool M1 as a Laser Engraving Machine for Jewelry
When it comes to jewelry making, the possibilities are endless. But with the XTool M1, you can take that creativity even further. This powerful laser engraving tool allows you to add intricate details and designs onto a variety of materials such as metals, wood, acrylic, and more.
Whether you want to personalize a piece for your customers or create one-of-a-kind designs for yourself, the XTool M1 makes it easy and efficient. No more tedious hand engraving or limited design options. With this tool in your hands, you have full control over the final product.
What Surfaces Can I Engrave On?
The XTool M1 is compatible with a wide range of materials, making it suitable for all your jewelry engraving needs. It’s not limited to metal, the XTool M1 can also engrave on non-metallic materials such as wood, acrylic, leather, and more. This opens up a whole new world of possibilities for your jewelry designs.
Get access to our resource library filled with cut files and other xTool craft ideas!
Materials Needed
Disclosure: This post contains affiliate links for your shopping convenience. Should you choose to purchase through them, we will make a small commission at no extra cost to you. You can read our full disclosure policy here.
xTool M1 10W with Riser Base, Honeycomb Panel and Air Assist- Stainless Steel Heart and Bar Necklace (pk of 6)
- Jewelry pliers
How to Engrave Stainless Steel Jewelry with the xTool M1
Preparing the Jewelry for Engraving
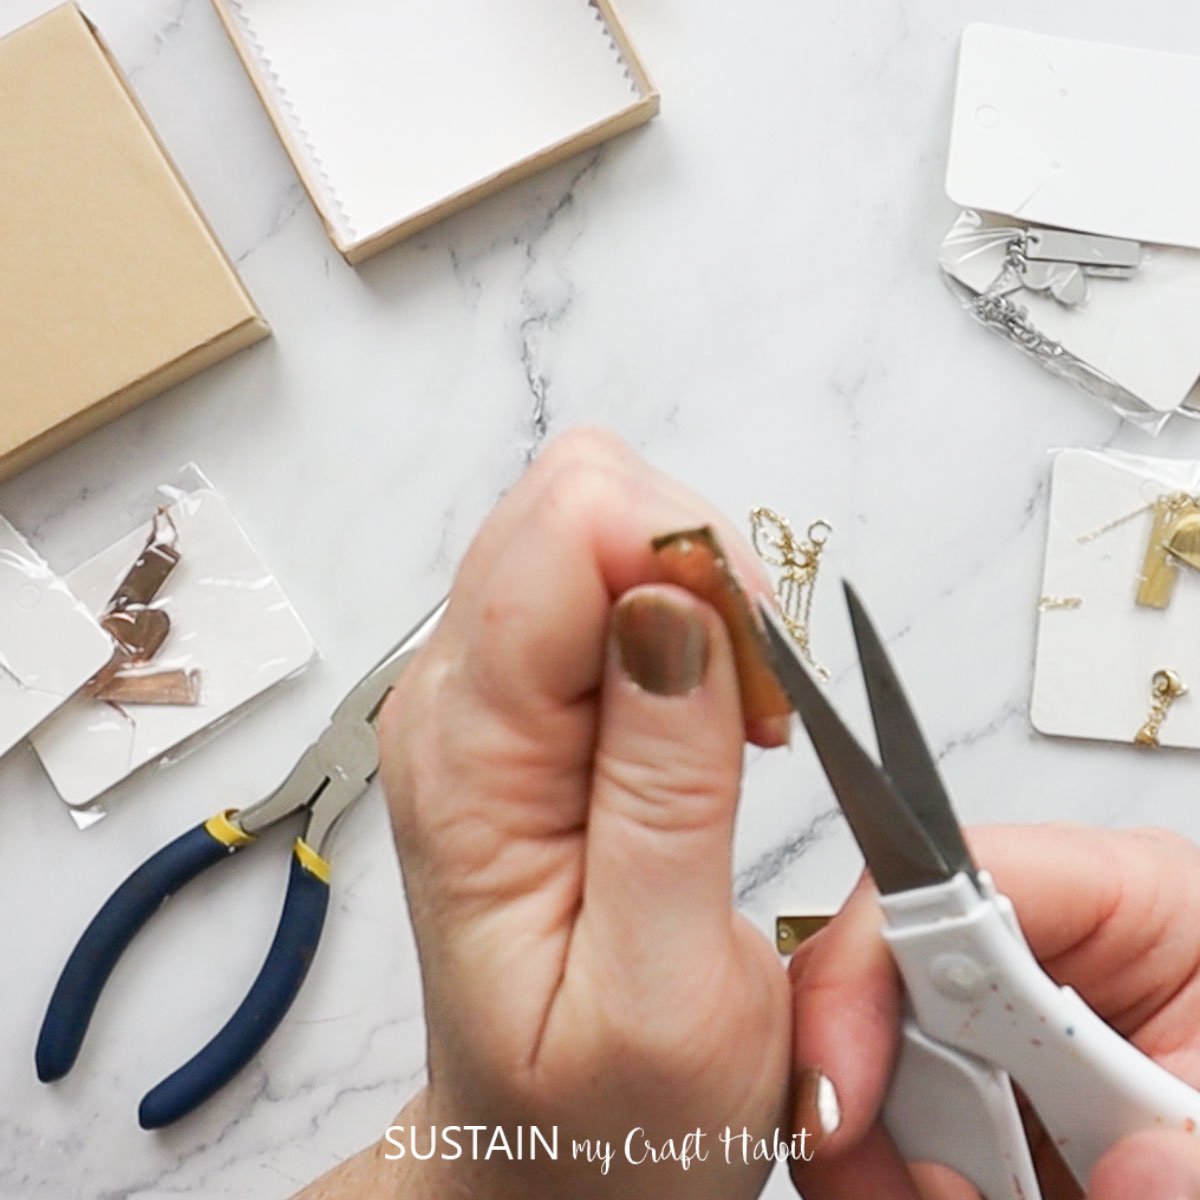
Start by disassembling the pendants from the necklaces. This will ensure that the pendant lies level on your engraving surface.
Remove any protective wrapping from the jewelry. These pendants were tightly wrapped in a plastic film that needed to be peeled off.
Preparing the Designs in xTool Creative Space
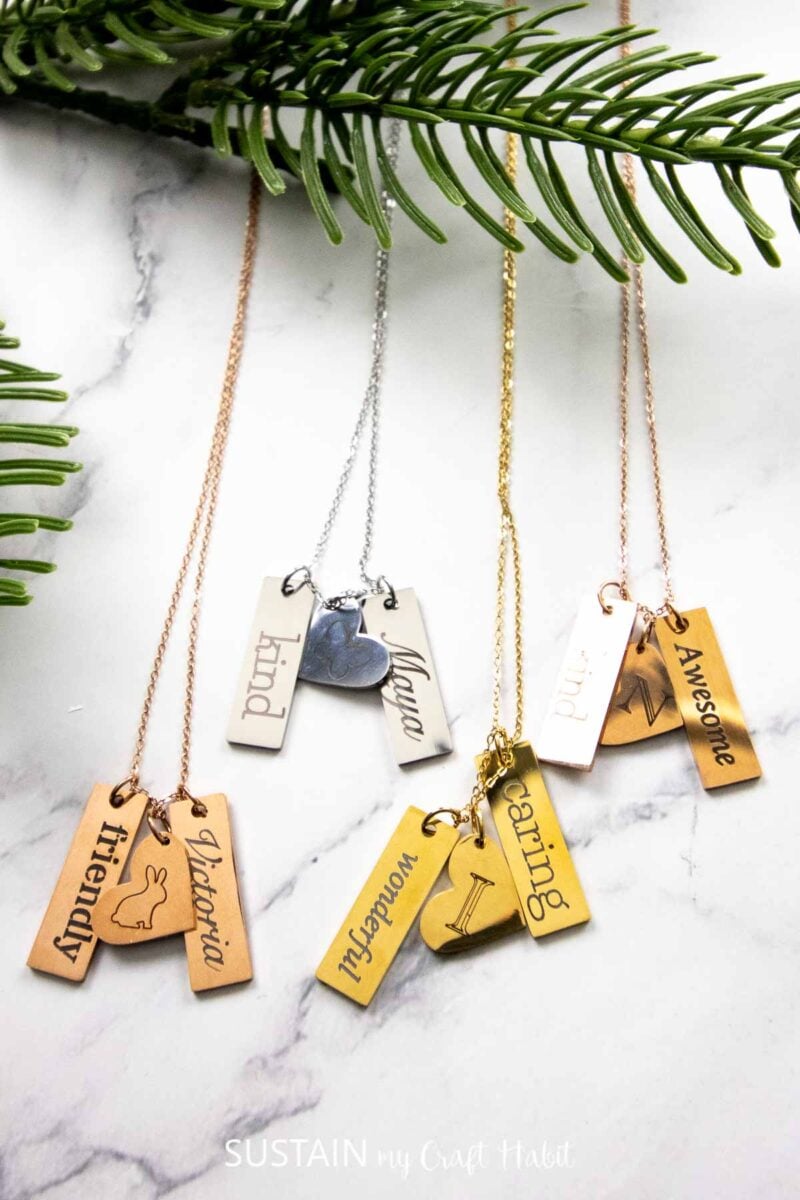
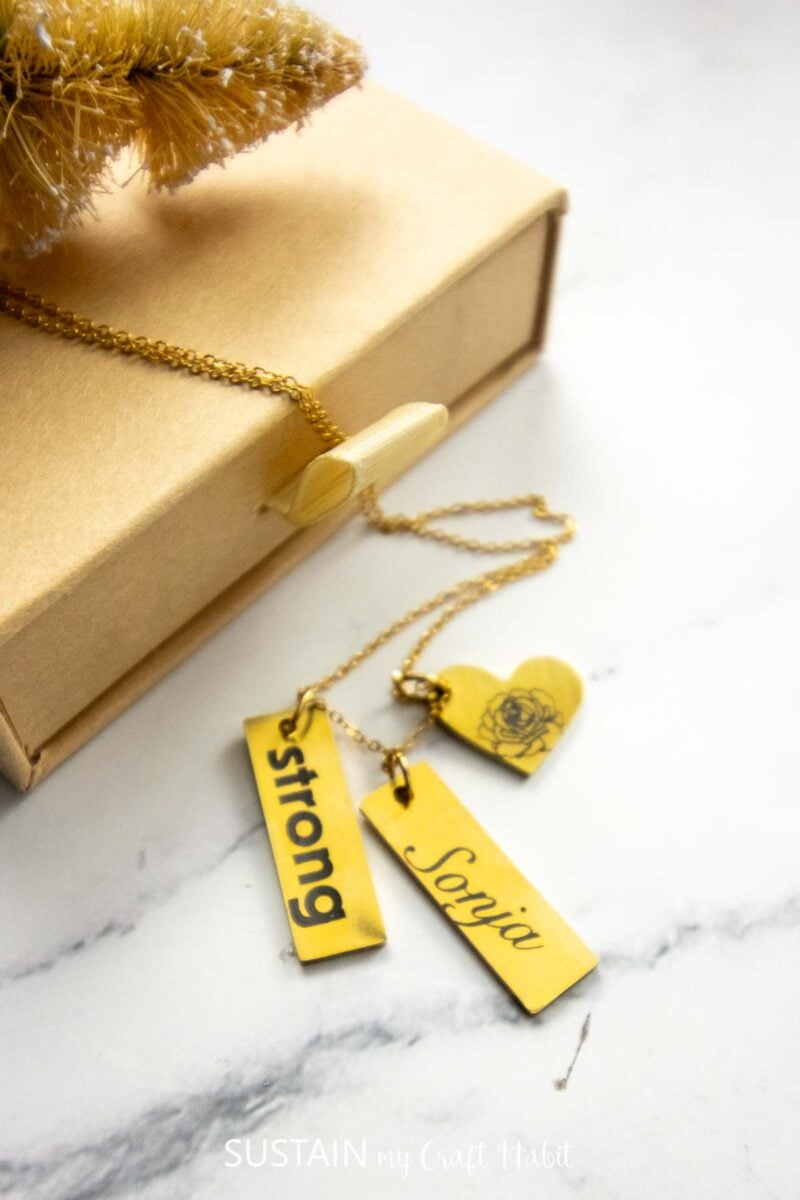
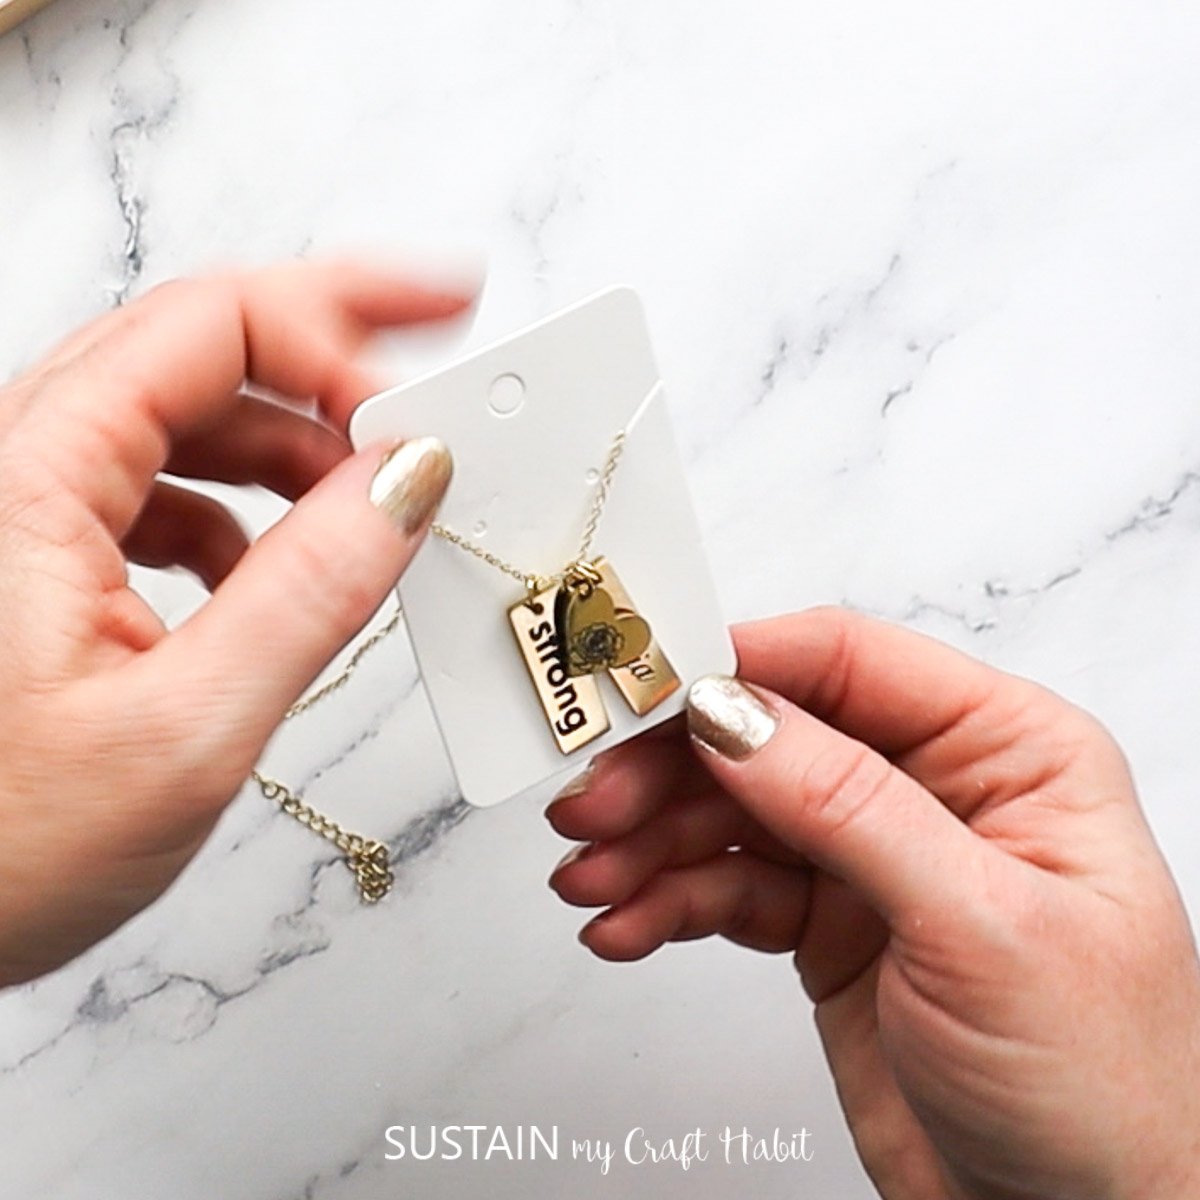
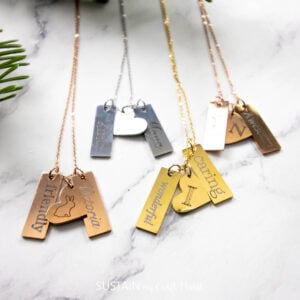
Each of these necklaces has 6 pendants (two bars and a heart). I decided to engrave both sides of each piece (six surfaces). So for each person I was making a necklace for, I used their first name, monogram (initial), one shape and three words to describe them. Here are some of the descriptors I used:
The key to the designs was also to use different fonts and shapes as follows (all are within xTool Creative Space):
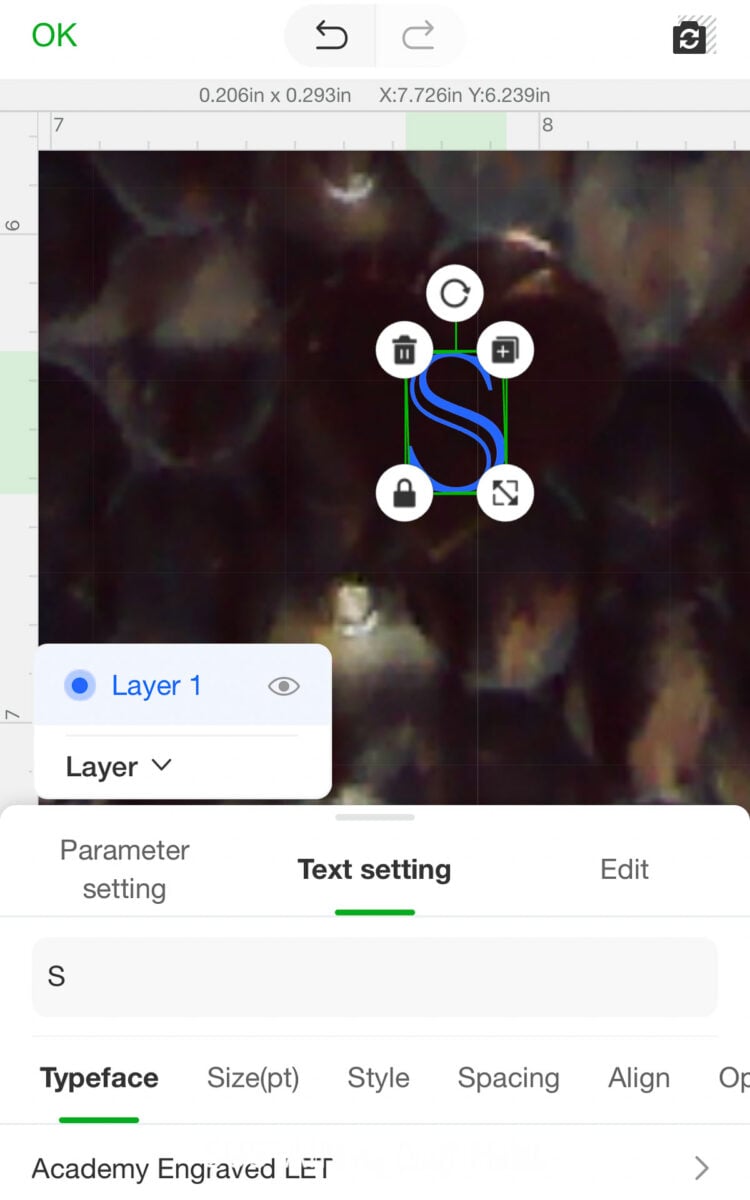
- Monogram Font: Academy Engraved LET
- Name Font: Snell Roundhand
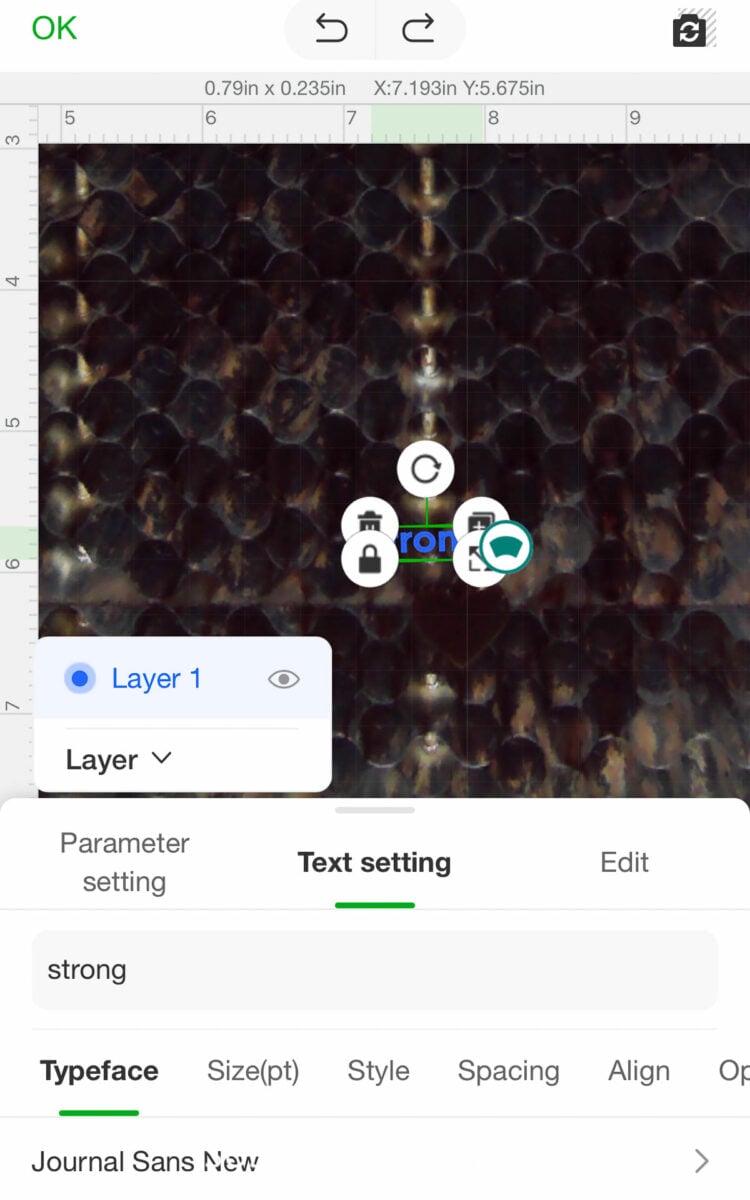
- Descriptors Fonts: Journal Sans New, Life Savers, Stardos Stencil, Iowan Old Style
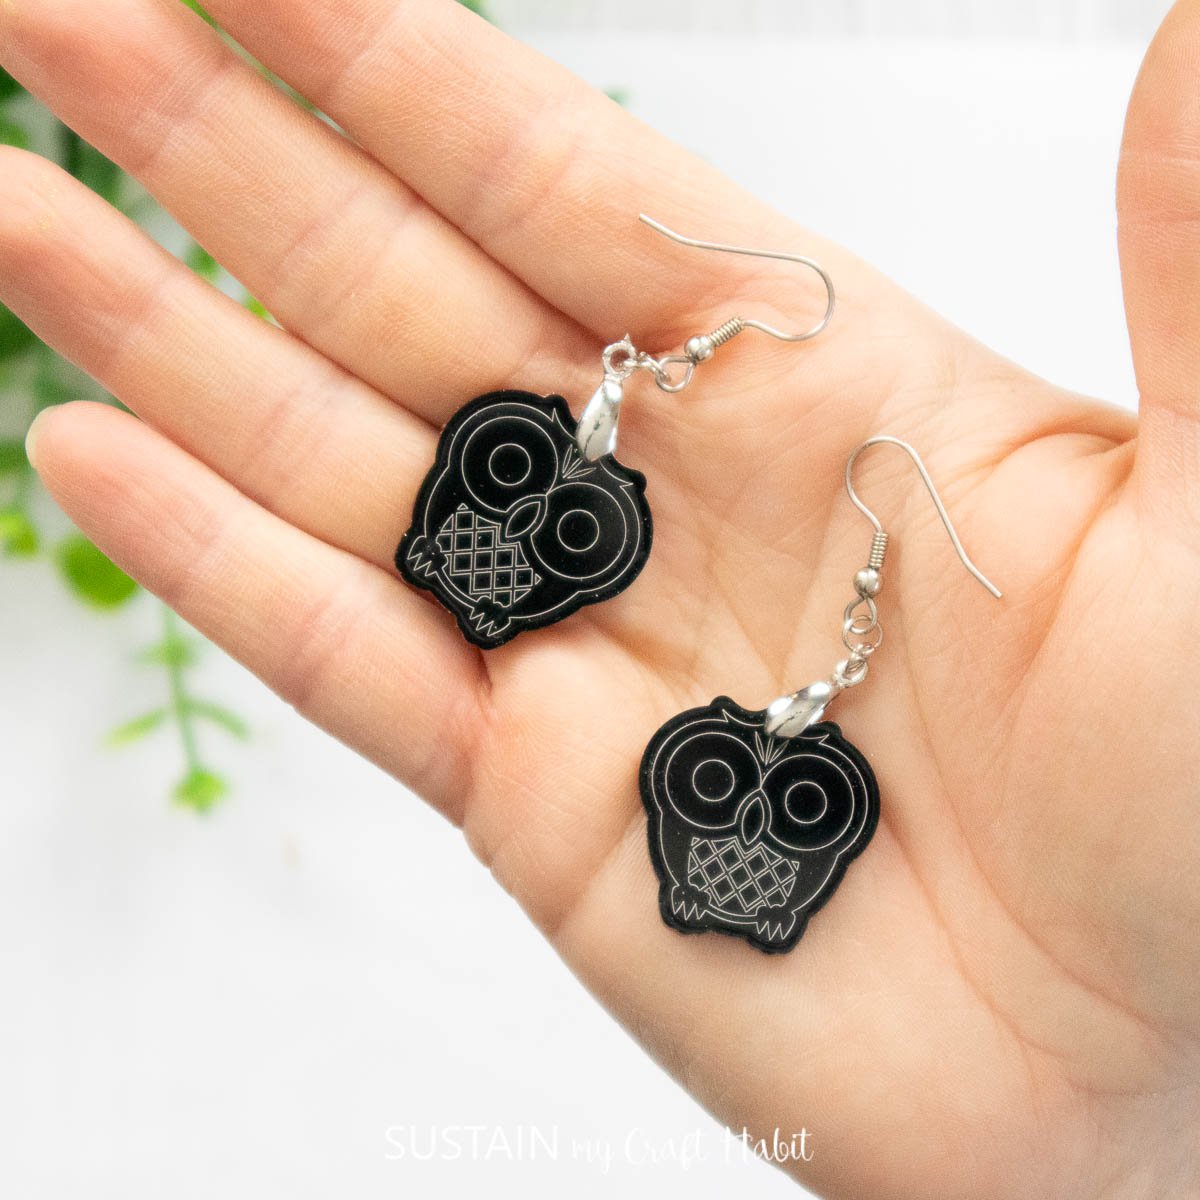
- Shapes: basketball, cat, flower, butterfly, rabbit, owl, turtle, music note
- Sample Descriptors: strong, kind, beautiful, smart, best sis, friendly, creative, wonderful, caring, awesome, talented
Engraving the Pendants
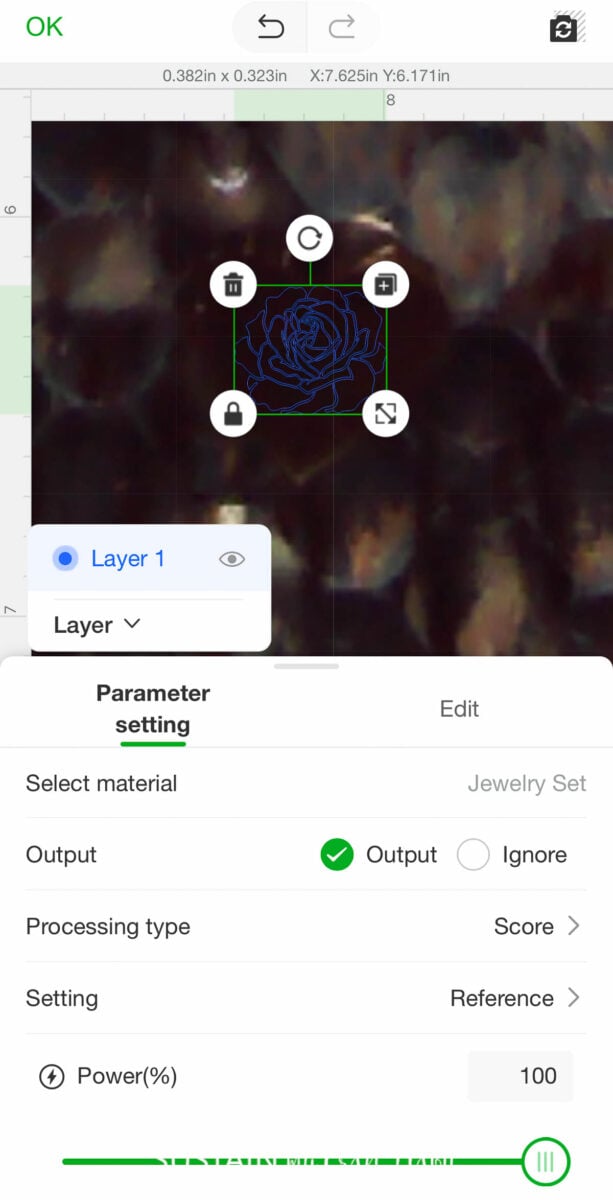
On the home screen for a new project I selected “Jewelry Set” from the Materials drop down list.
I engraved three pieces at one time: I placed them onto the honeycomb panel and closed the lid.
A preview image loaded onto my device (I used my iPhone and the xTool Creative Space App). It was a bit difficult to see the pendants because they’re relatively small. However, once I found them in the image I dragged one word onto each surface and then resized it to fit on the surface.
In the Parameter Setting tab I made sure to select “Score”. Next I clicked process to start the engraving.
When done I flipped each piece over and repeated the steps to engrave other words/designs on the opposite side.
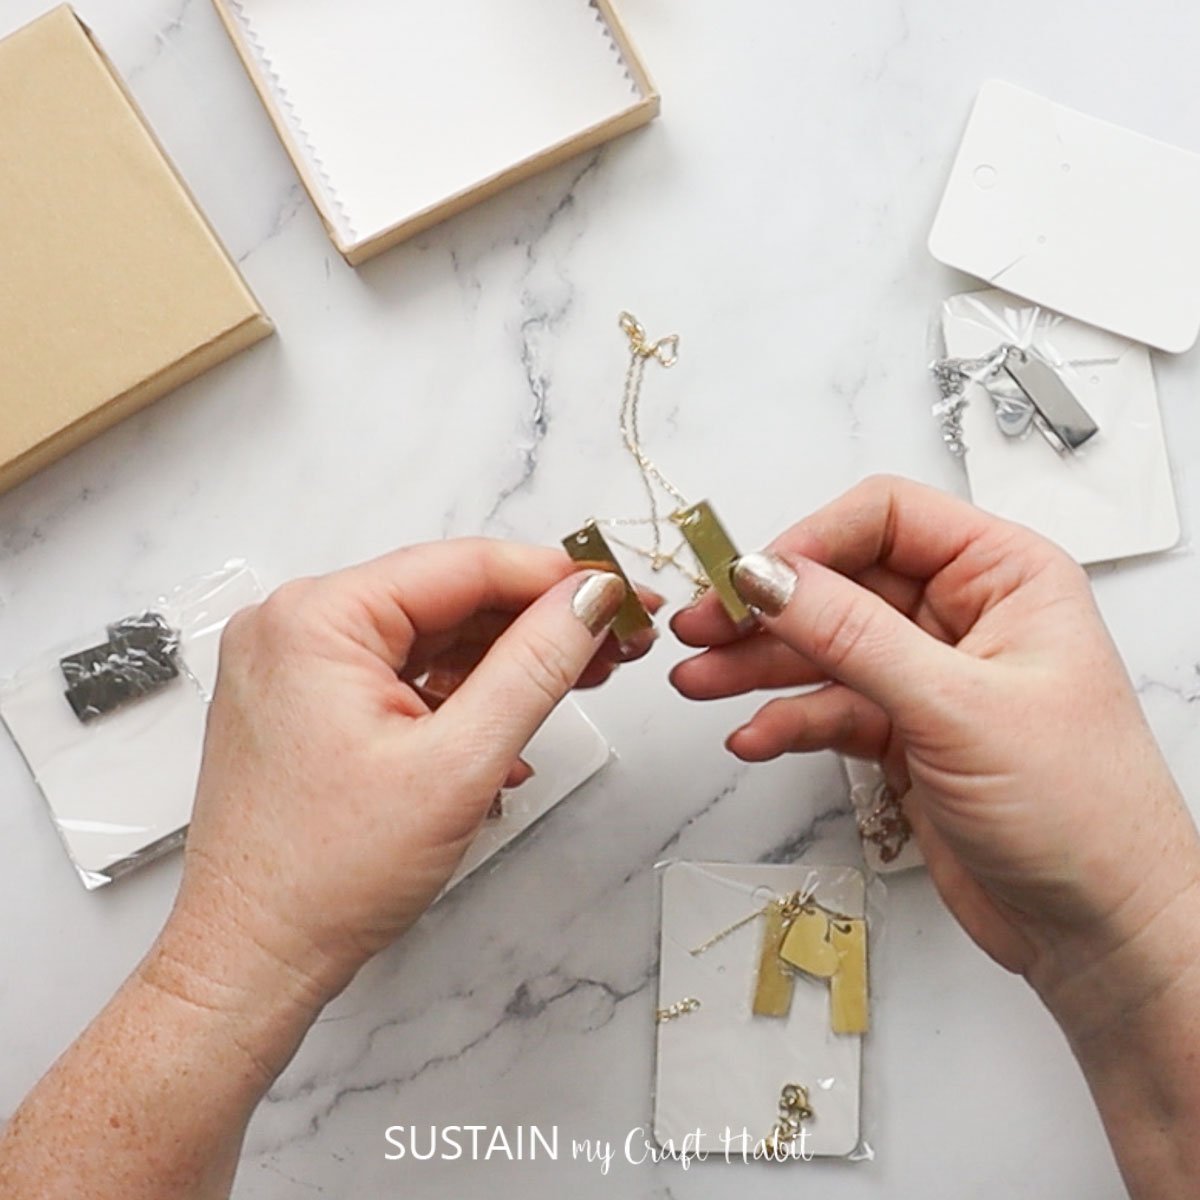
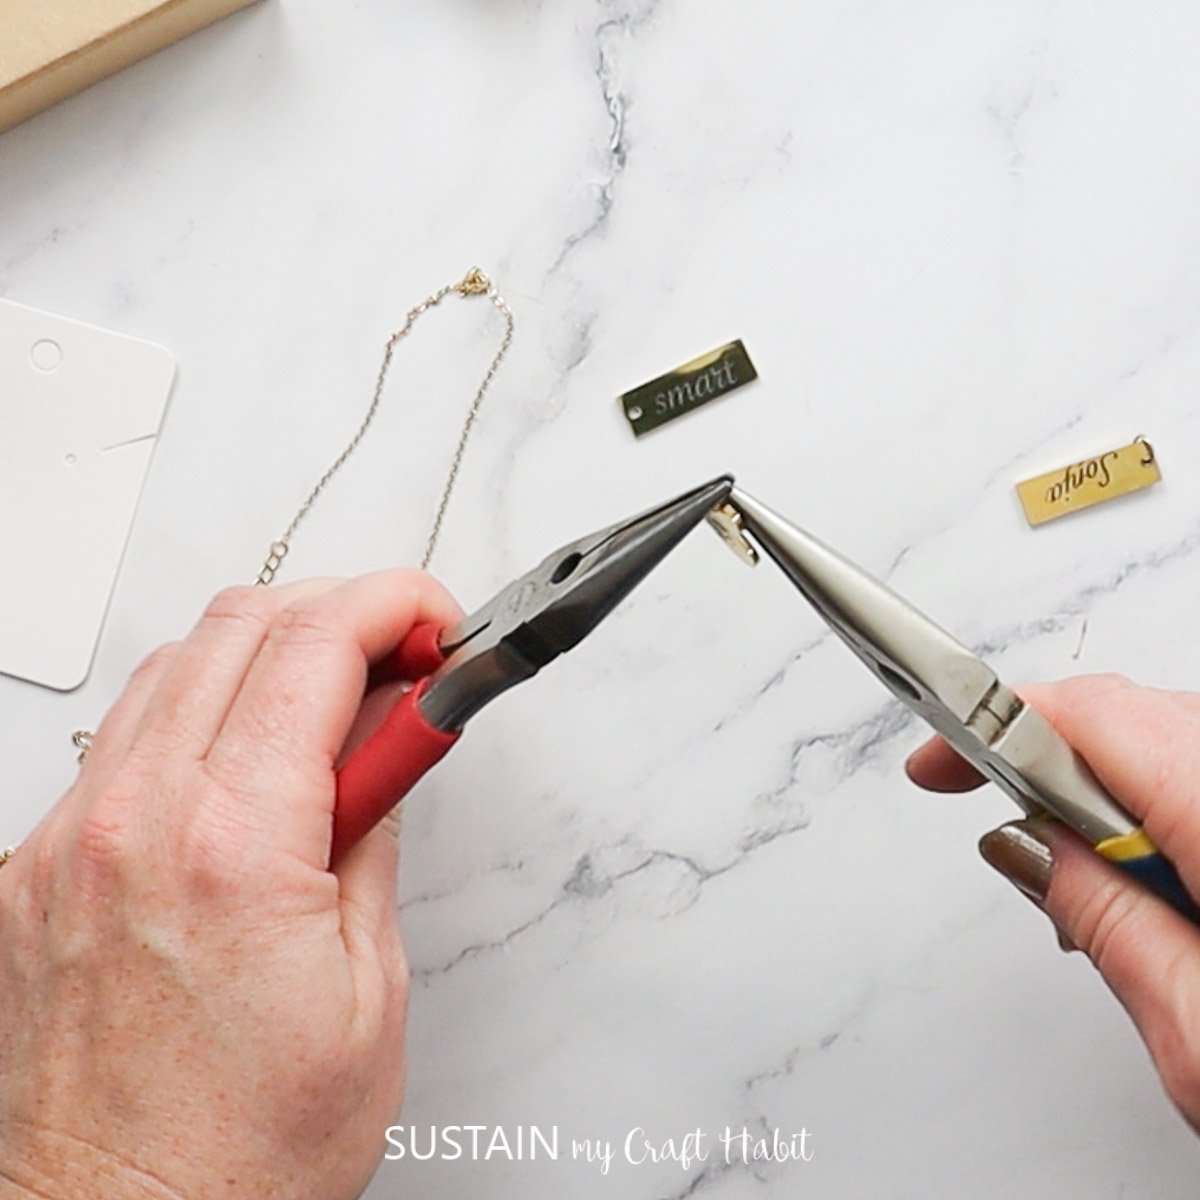
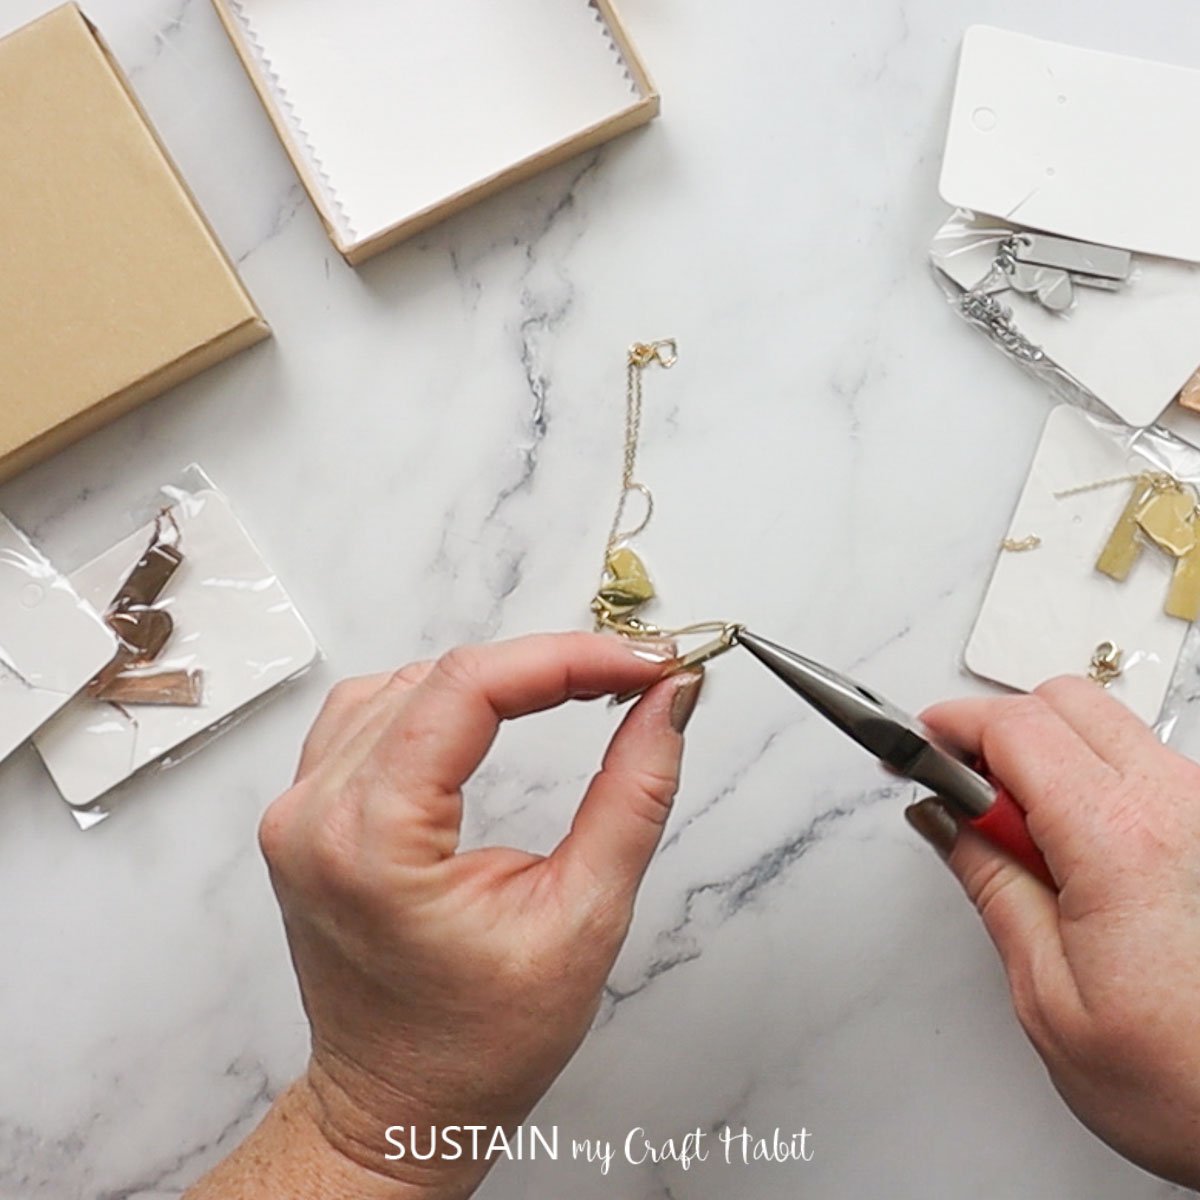
Assembling the Necklaces
Using the pliers, I opened the connecting link (6mm jump ring) and threaded it through the hole of one pendant and around the chain of the necklace. I closed the link to complete it and then added the other pendants.
Once reassembled, I placed the engraved necklaces back into a jewelry box for gifting.
The XTool M1 – A Laser Engraving Machine for Jewelry
The XTool M1 is a game-changer for jewelry makers and enthusiasts. With its versatility and precision, it allows you to add a personal touch to your designs like never before. Don’t limit yourself to traditional methods of engraving, upgrade to the XTool M1 and see the difference in your final products. So why wait? Start exploring the world of laser engraving with the XTool M1 and take your jewelry designs to the next level.
More xTool Engraving Crafts

Stay in the know on our latest crafts, special offers and freebies by joining our mailing list.
Like it? Pin it for later!
How to Use XTool M1 for Laser Engraving Jewelry
Materials
- xTool M1 10W with Riser Base Honeycomb Panel and Air Assist
- Stainless Steel Heart and Bar Necklace pk of 6
- Jewelry pliers
Instructions
Preparing the Jewelry for Engraving
- Start by disassembling the pendants from the necklaces. This will ensure that the pendant lies level on your engraving surface.
- Remove any protective wrapping from the jewelry. These pendants were tightly wrapped in a plastic film that needed to be peeled off.
Preparing the Designs in xTool Creative Space
- Each of these necklaces has 6 pendants (two bars and a heart). I decided to engrave both sides of each piece (six surfaces). So for each person I was making a necklace for, I used their first name, monogram (initial), one shape and three words to describe them.
Engraving the Pendants
- On the home screen for a new project I selected “Jewelry Set” from the Materials drop down list.
- I engraved three pieces at one time: I placed them onto the honeycomb panel and closed the lid.
- A preview image loaded onto my device (I used my iPhone and the xTool Creative Space App). It was a bit difficult to see the pendants because they’re relatively small. However, once I found them in the image I dragged one word onto each surface and then resized it to fit on the surface.
- In the Parameter Setting tab I made sure to select “Score”. Next I clicked process to start the engraving.
- When done I flipped each piece over and repeated the steps to engrave other words/designs on the opposite side.
Assembling the Necklaces
- Using the pliers, I opened the connecting link (6mm jump ring) and threaded it through the hole of one pendant and around the chain of the necklace. I closed the link to complete it and then added the other pendants.