
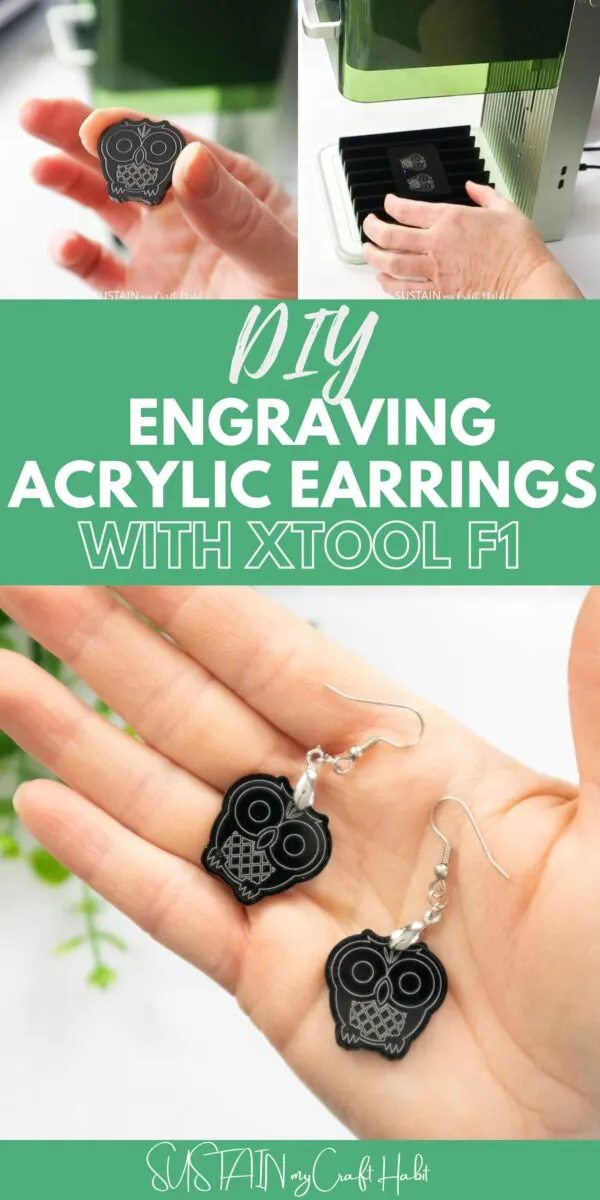
DIY engraving at home is easier than you may think! Learn how to make your own engraved acrylic earrings using the XTool F1 portable engraver with this step-by-step tutorial.
DIY Jewelry: Engraved Acrylic Earrings
We have been having so much fun creating with our xTool laser engraver! Making DIY jewelry with this nifty machine was something we couldn’t wait to try. Whether you want to make earrings for a gift, or you want to create a favorite pair for yourself, this DIY tutorial will show you the simple steps to crafting beautiful and unique jewelry.
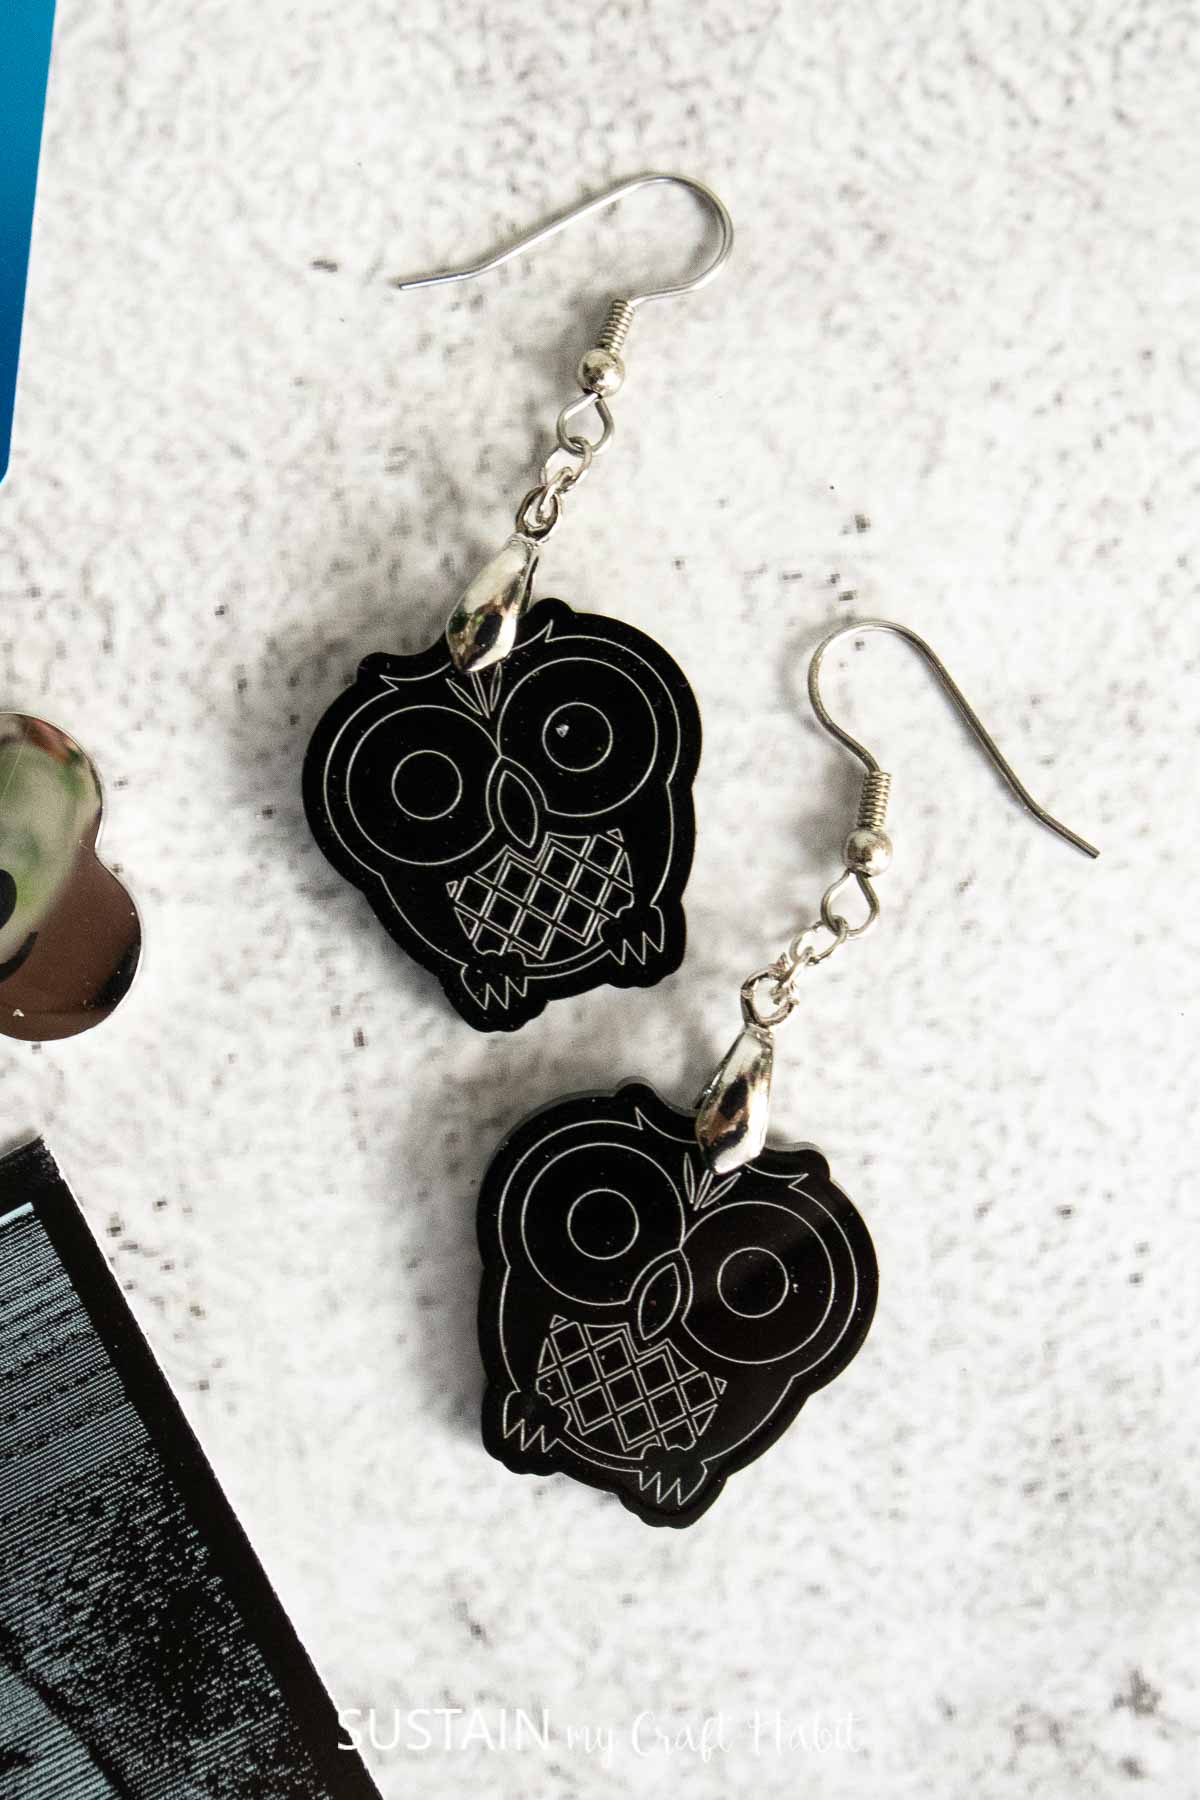
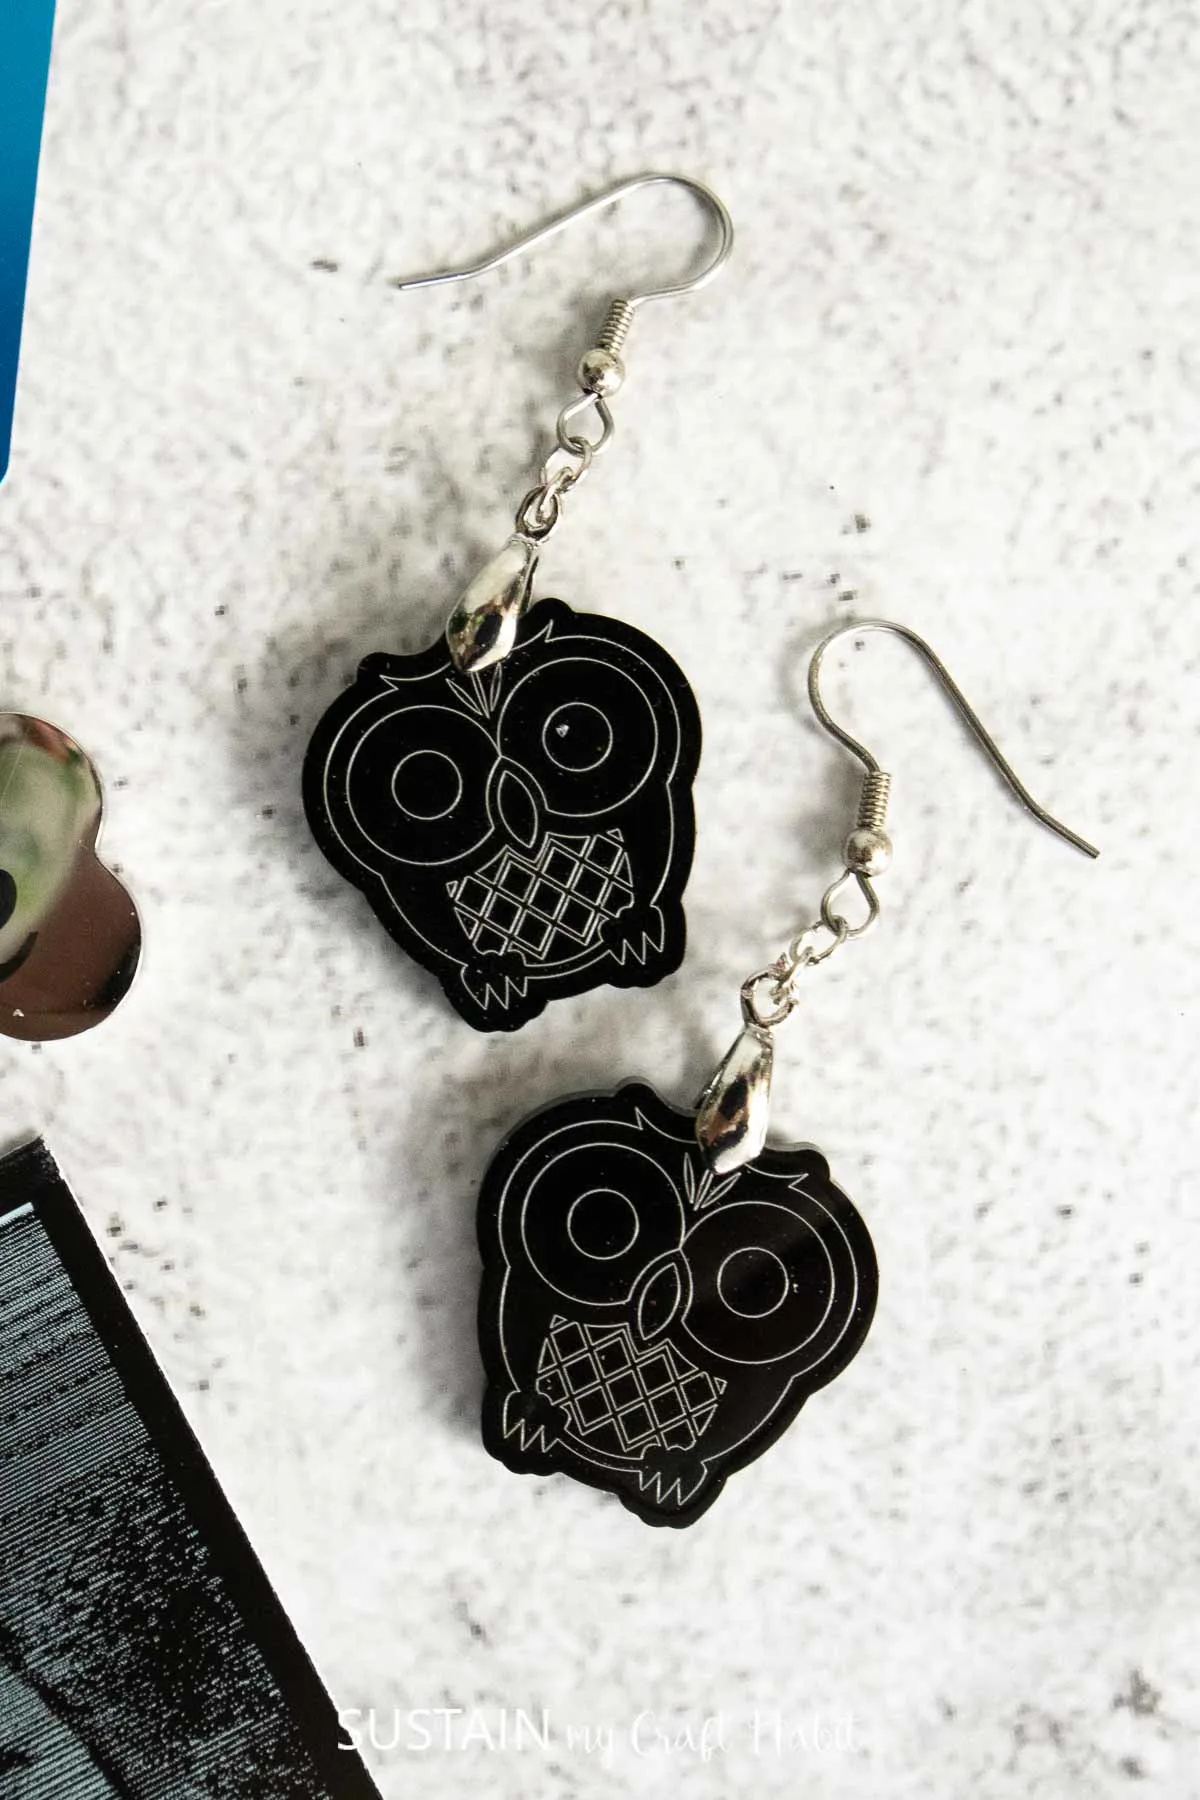
For our design we went with an adorable owl, because who can resist a sweet little owl? They make a thoughtful gift for kids and adults alike. The design is also easy enough for a beginner xTool user.


So, let’s get to this fun craft project so you can make your own earrings. And if you’re looking for more tutorials, get access to our resource library filled with cut files and other xTool craft ideas!
Materials Needed
Disclosure: This post contains affiliate links for your shopping convenience. Should you choose to purchase through them, we will make a small commission at no extra cost to you. You can read our full disclosure policy here.
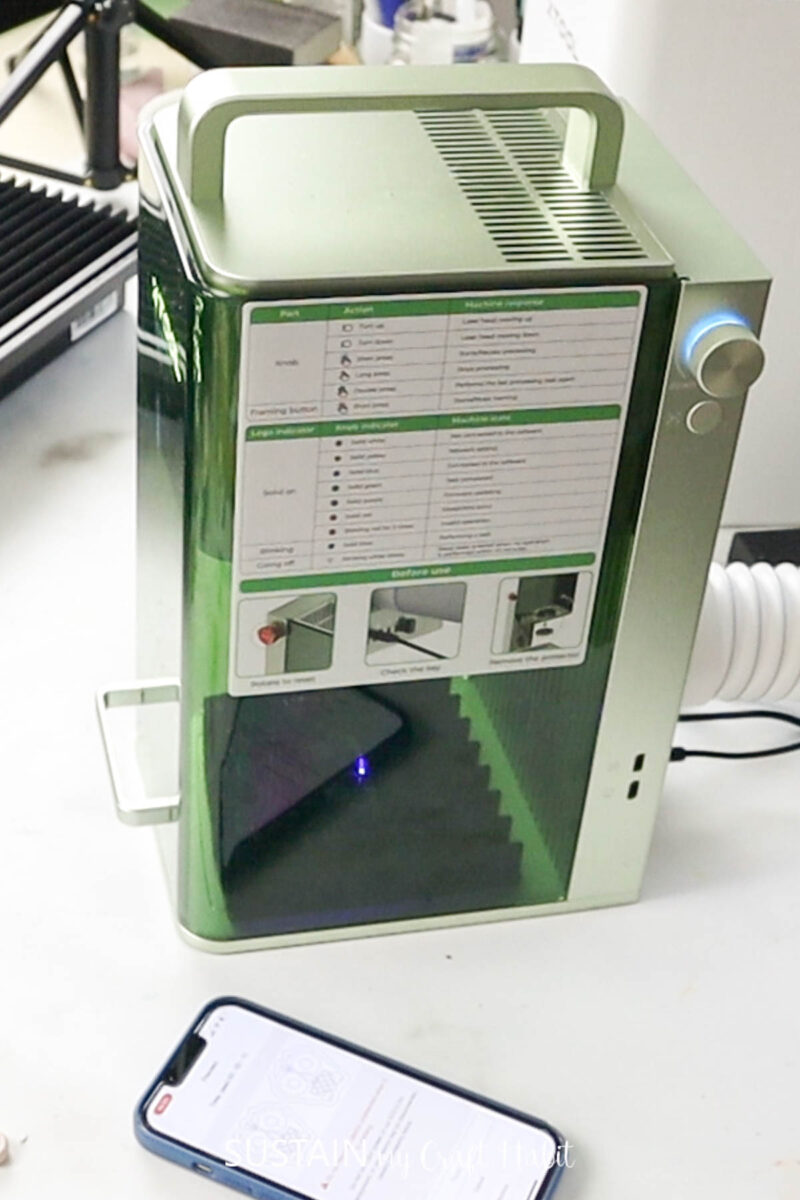
- xTool F1 Laser Engraver
- Black acrylic blanks
- Earring hooks
- Pliers

How to Engrave Acrylic Earrings with XTool F1
Preparing the Image for Cutting and Engraving
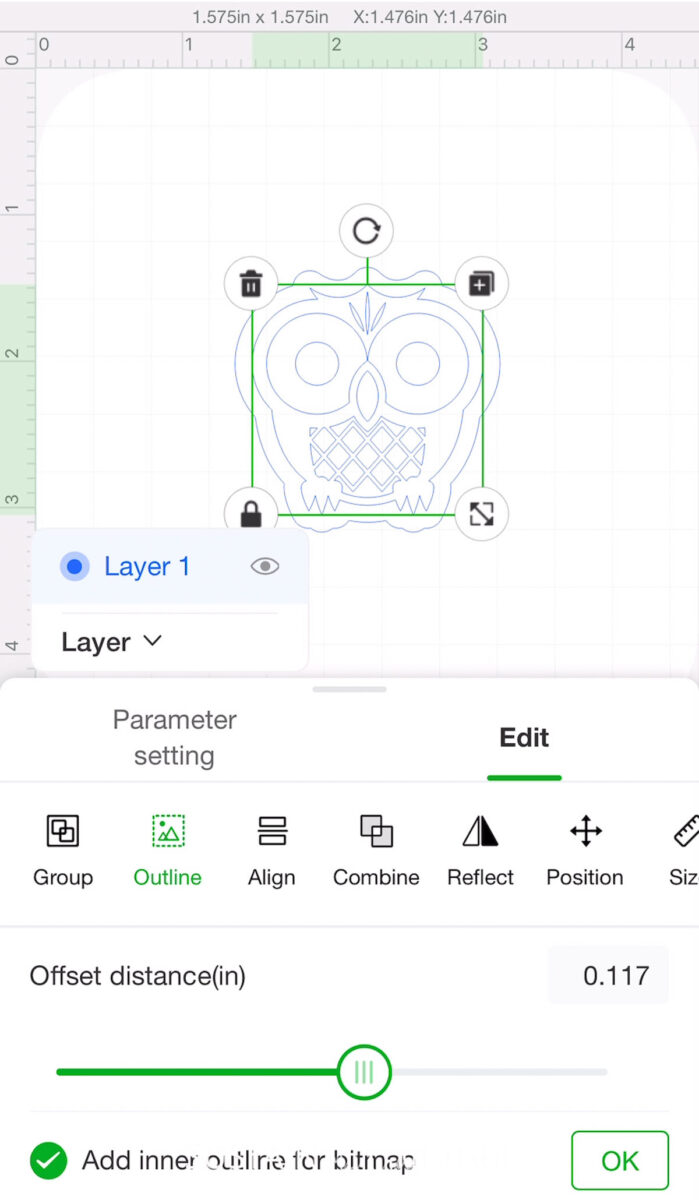
I opened a new canvas and uploaded this owl svg and resized it to 1.5” wide. I set the parameters to output with blue light laser type.


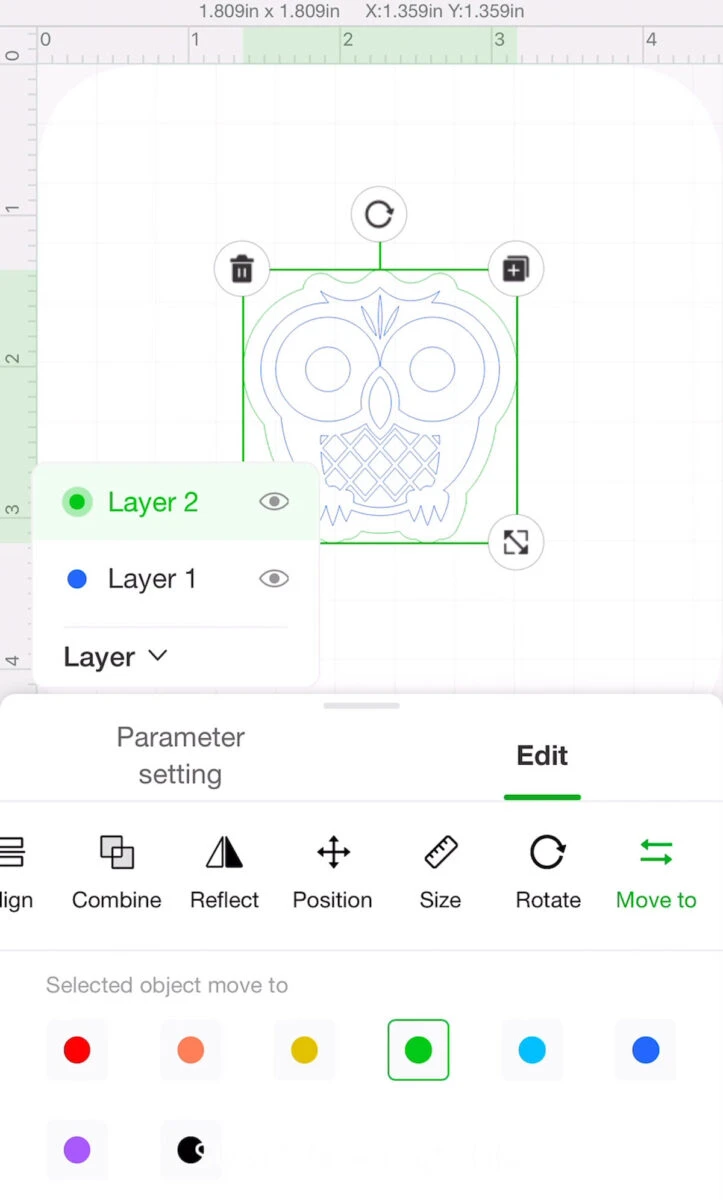
With the this layer selected I chose the Engrave processing type and with the wreath layer selected I chose the Score processing type.

Add an offset that measures 1.8” wide. Since I was planning to use the Engrave function for the other portion of the owl I moved the offset portion to a new layer by right clicking and then clicking on the green color under “Move”.

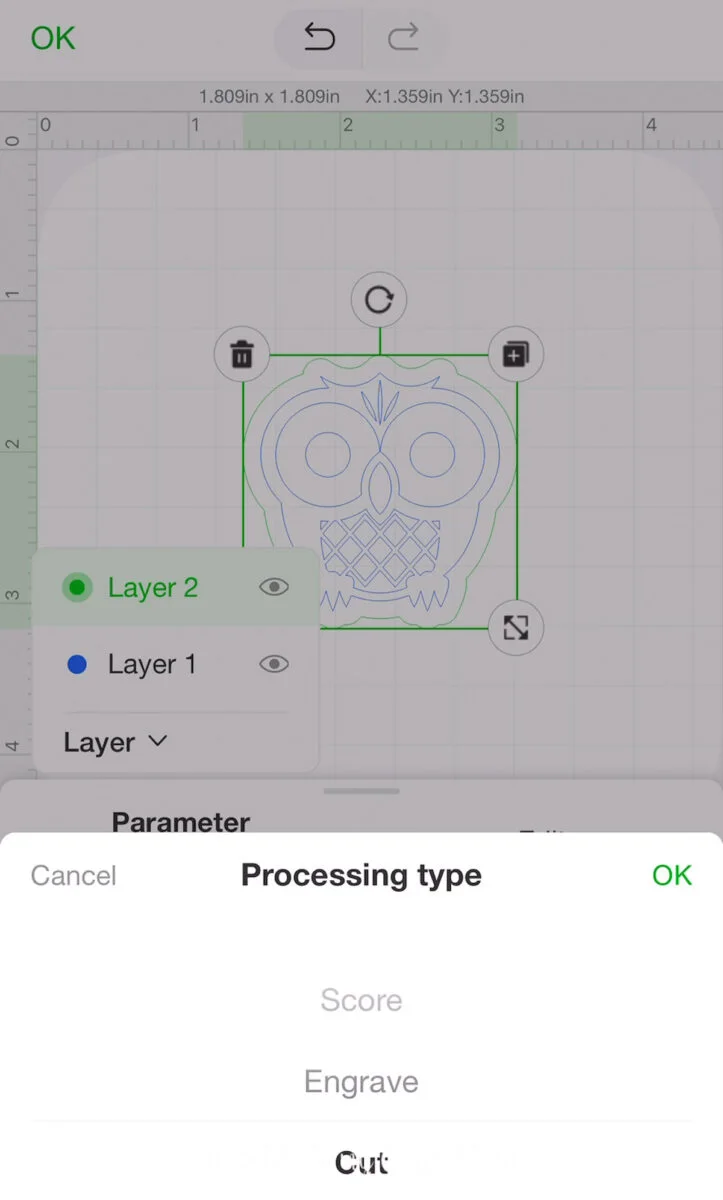
Change the processing type to cut for the outer offset line.

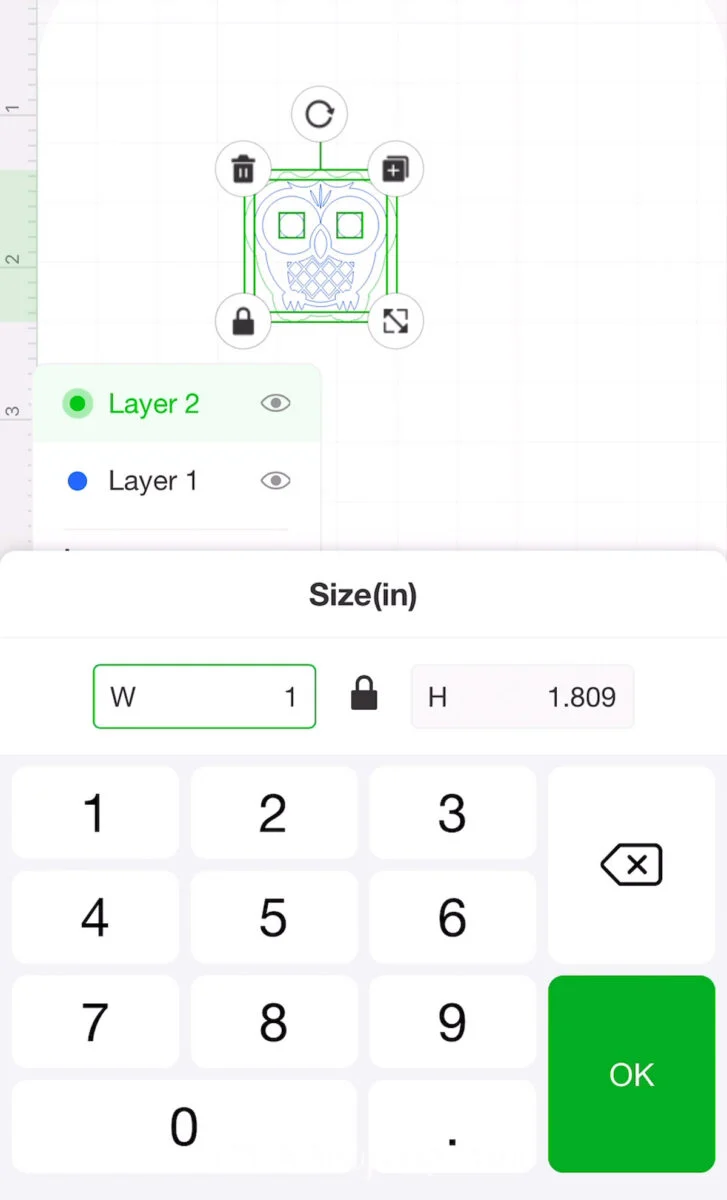
Highlight all layers and resize the owl to 1” wide x 1” high.

Duplicate the layers to show a second owl.


Select the material as 3mm black acrylic from the drop down menu.


Next, move on to preview to display the prepared owl images on the screen.


Place the black acrylic in to the XTool F1 cutting and engraving surface.
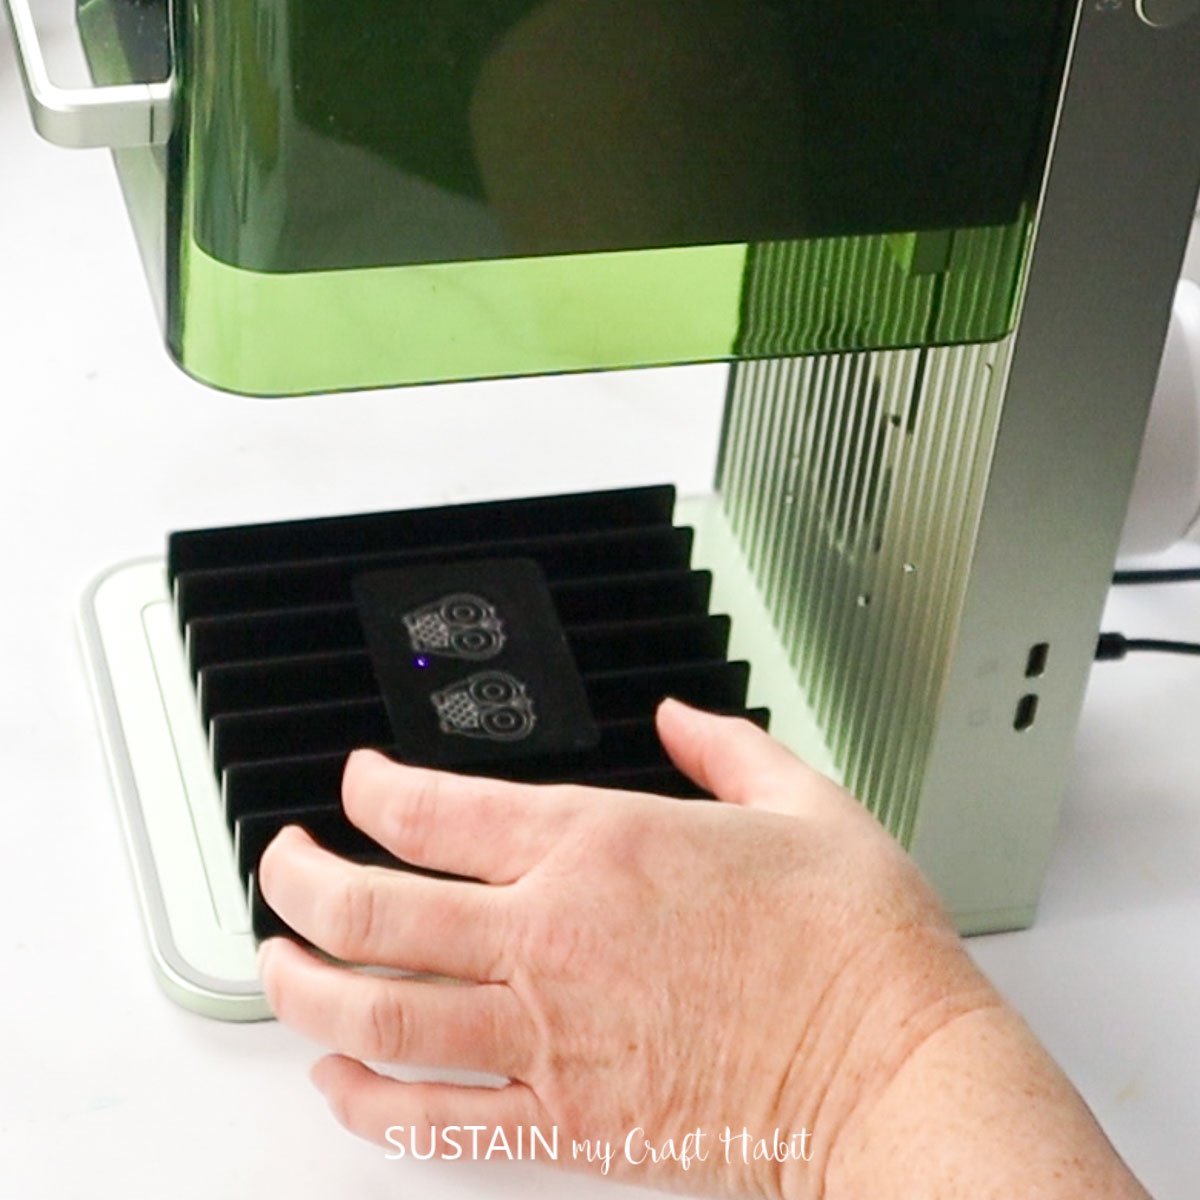

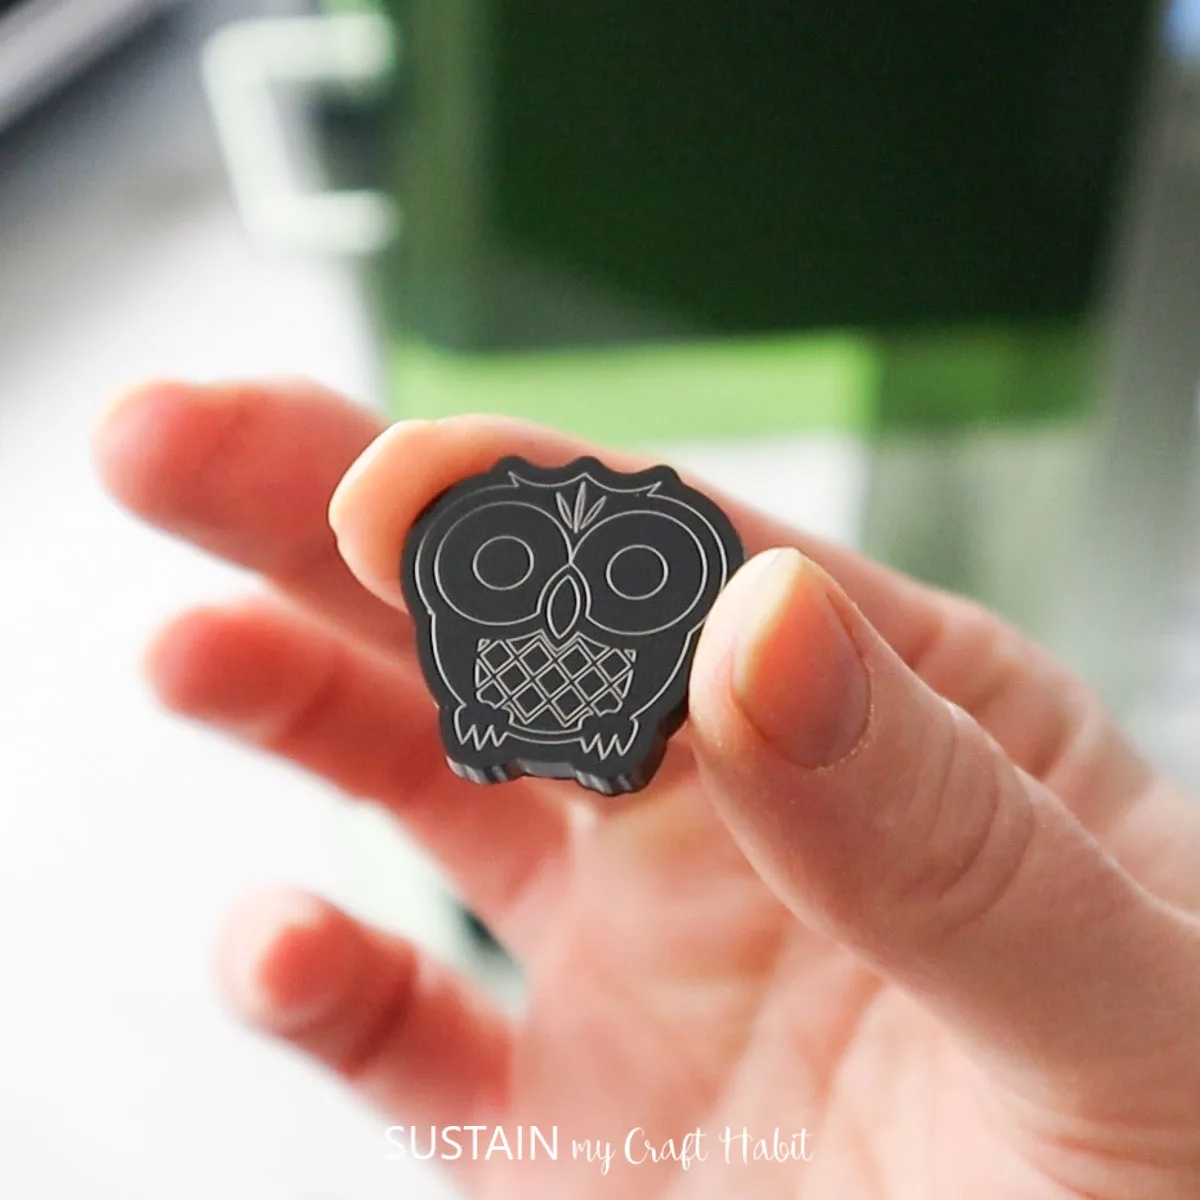
After pressing Process and Start, the machine did the work. After less than two minutes, I had adorable acrylic owl cutouts.

Assembling the Earrings
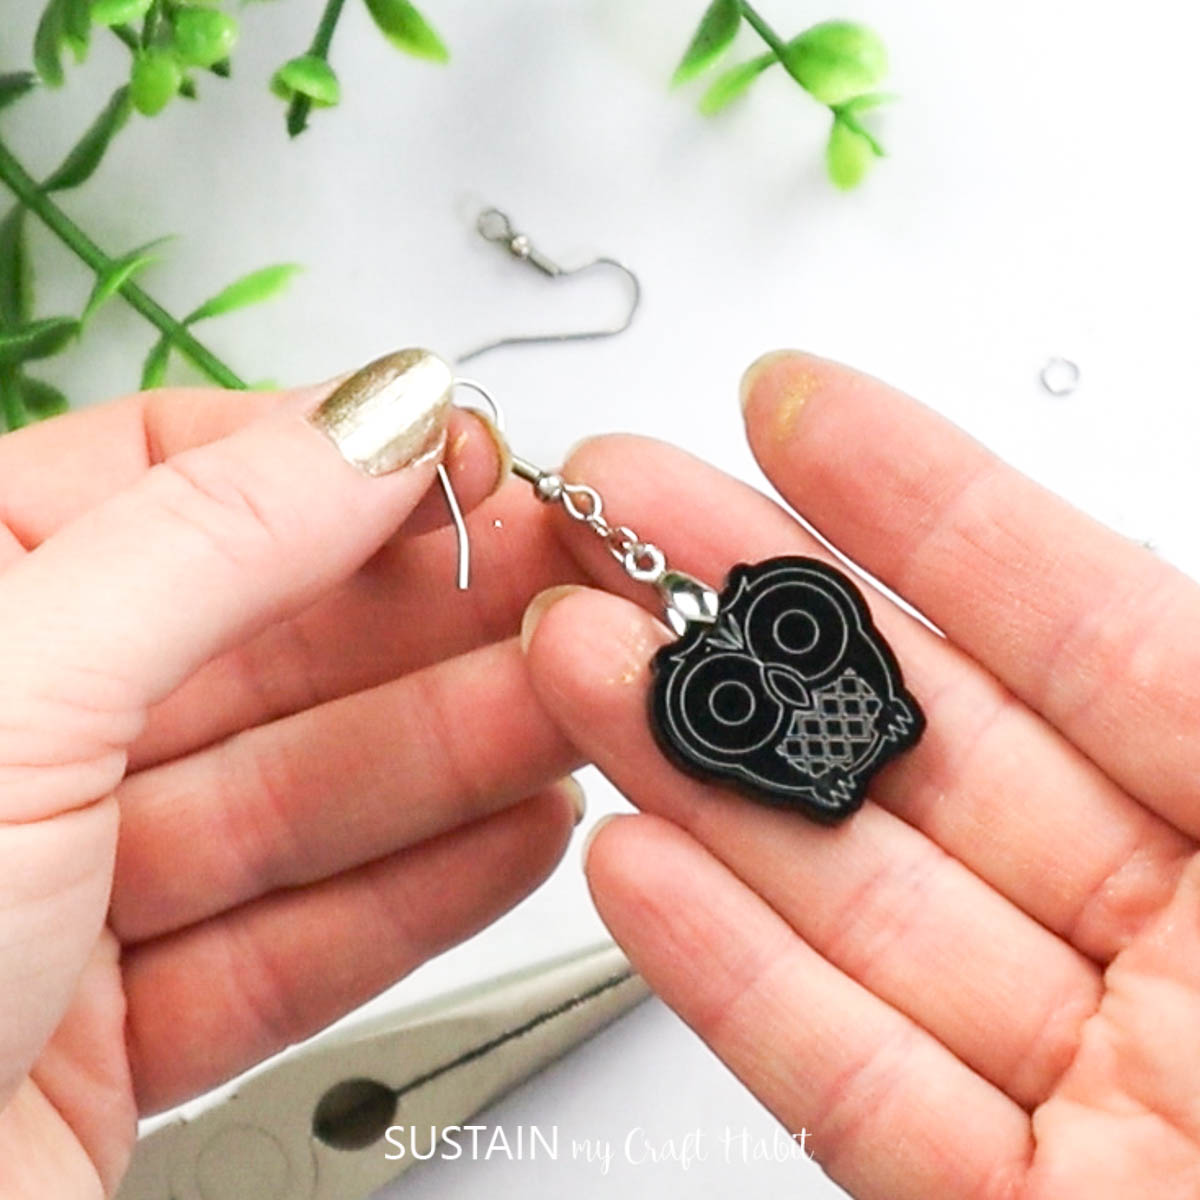
Using the pliers, cut a link of chain and ‘open’ a link of chain and connect it to the jewelry eyelet and close the link.

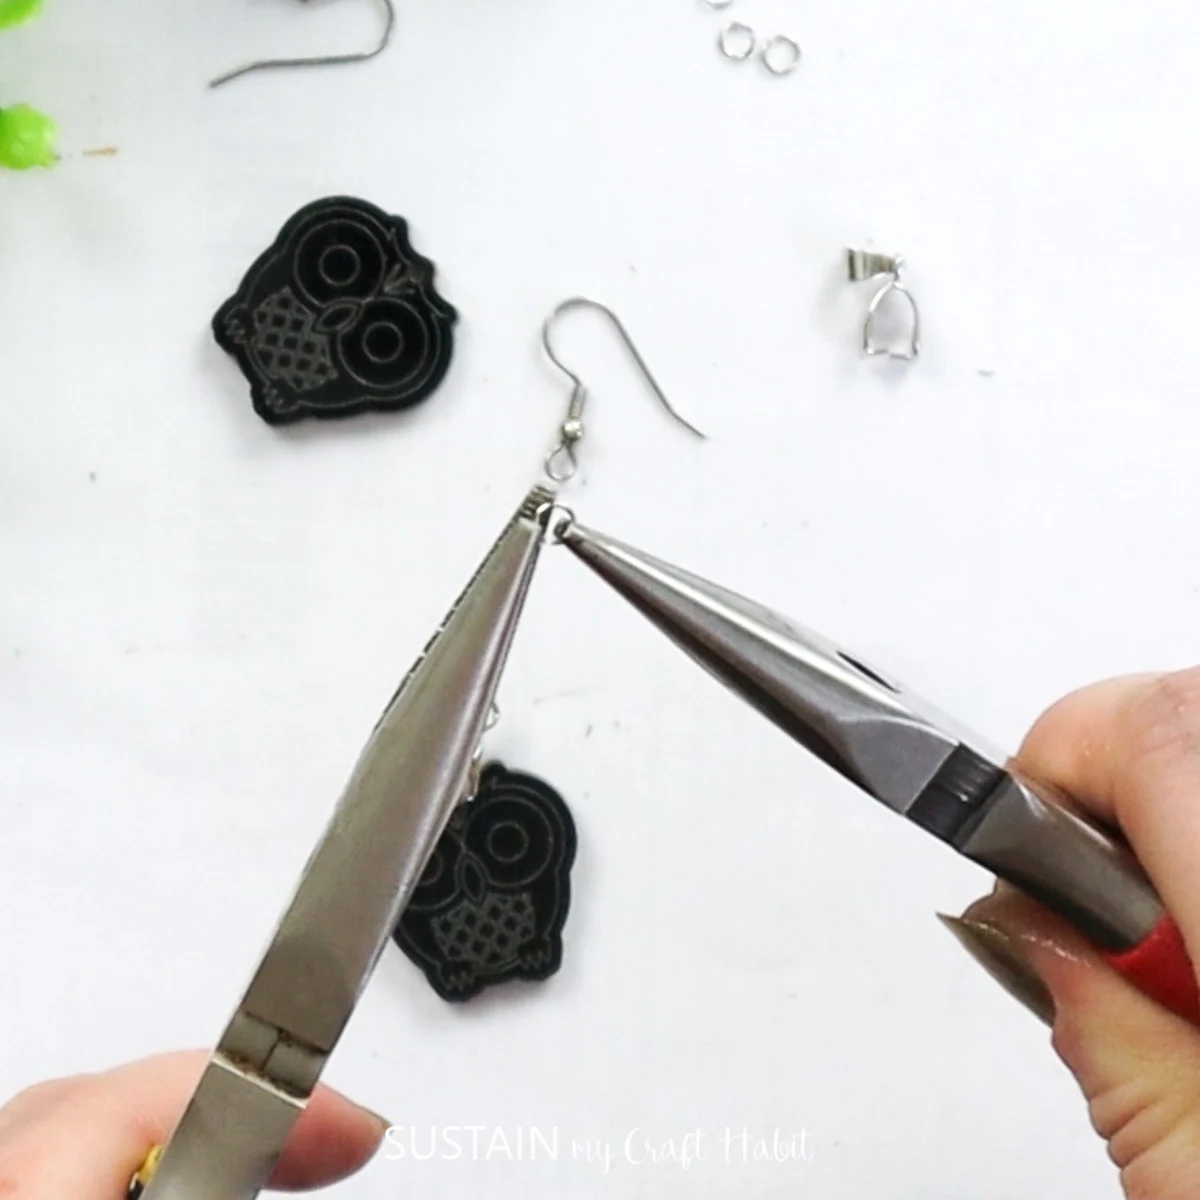
Then, with the pliers, open the other end of the chain link and attach the dangle hook loop and close the loop.


Can you believe how easy that was? What design would you make with your xTool? The possibilities are truly endless and we can’t wait to explore more. We hope you found this tutorial helpful!
Let us know in the comments below if you give these a try. Please share it with us by tagging us on Facebook or Instagram. It makes our day!
More xTool Crafts To Make
- xtool M1 Engraved Slate Coaster
- xTool M1- DIY Fall Sign
- Kraft Paper Night Light with xTool M1
- Floral Pumpkin Laser Wood Cutout
- Upcycled Home Sign
- Laser Cut Wood Pumpkin Ornament


Thank you so much for stopping by to visit. Happy crafting, friends!
Stay in the know on our latest crafts, special offers and freebies by joining our mailing list.
Like it? Pin it for later!


DIY Engraving Acrylic Earrings with XTool F1
Materials
- xTool F1
- Acrylic blanks
- Earring hooks
- Pliers
Instructions
Preparing the Image for Cutting and Engraving
- Open new canvas and uploaded this owl svg and resize it to 1.5” wide. Set the parameters to output with blue light laser type.
- With the this layer selected , choose the Engrave processing type and with the wreath layer selected choose the Score processing type.
- Change the processing type to cut for the outer offset line.
- Highlight all layers and resize the owl to 1” wide x 1” high.
- Duplicate the layers to show a second owl.
- Select the material as 3mm black acrylic from the drop down menu.
- Next, move on to preview to display the prepared owl images on the screen.
- Place the black acrylic in to the XTool F1 cutting and engraving surface.
- After pressing Process and Start, the machine will do the work.
Assembling the Earrings
- Using the pliers, cut a link of chain and ‘open’ a link of chain and connect it to the jewelry eyelet and close the link.
- Then, with the pliers, open the other end of the chain link and attach the dangle hook loop and close the loop.