Learn the art of Mod Podge image transfer with these easy steps and you’ll creating stunning decor for your home in no time at all! Mod Podge is a favorite craft medium to use for so many because of how versatile it is. From decoupage crafts to wall hangings and everything in between, Mod Podge is a game changer.
But, have you ever transferred an image using Mod Podge? Today we are showing you how!
Mod Podge Image Transfer Tips
If you are a regular visitor here, you know we absolutely love mod podge crafts (and especially decoupaging printed paper napkins). Decoupage may just be a favorite but, there is so much more it can do. We are excited to share this image transfer tutorial with you. Get ready to be amazed by how simple and fun this craft is. You will want to transfer “all the images”!
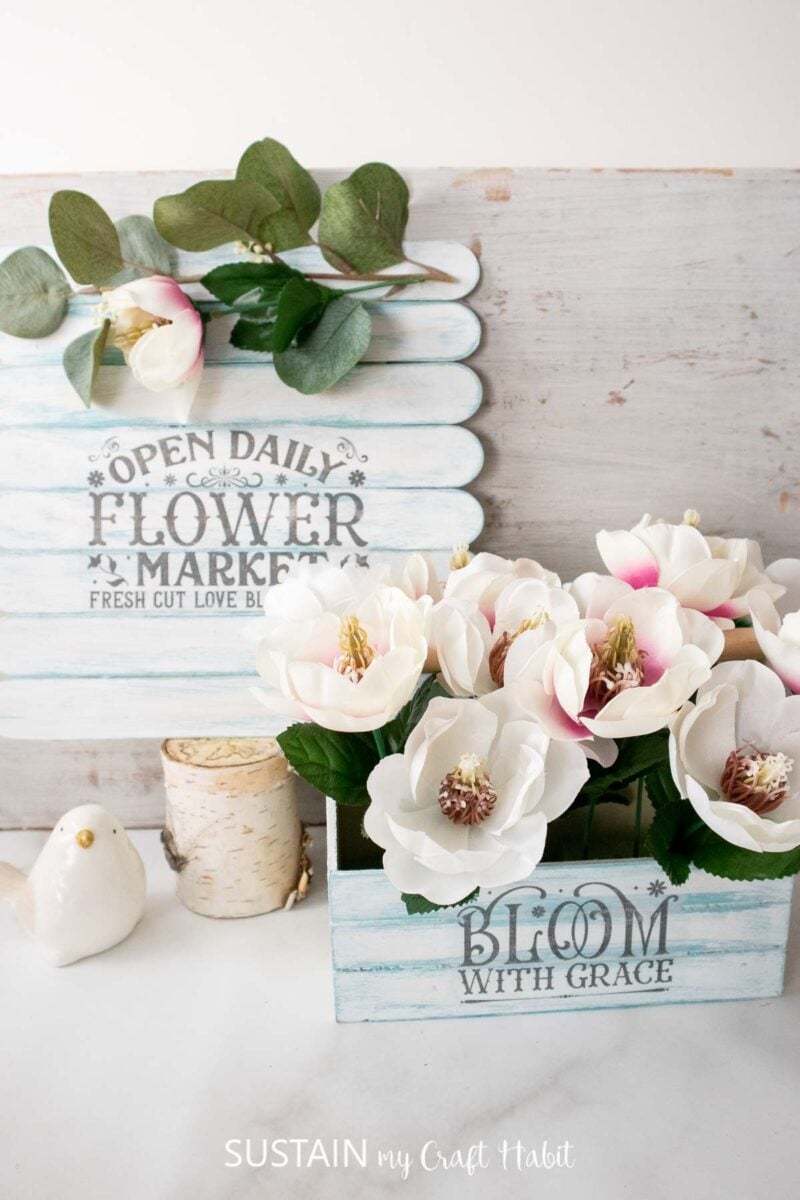
In this craft, we using a wooden caddy but you can use any surface you have at home already. In an upcoming post, we’ll show you how to make this coordinating image transfer sign using jumbo popsicle sticks!


Want to receive a ton of inspiration and money saving ideas for decorating, gift-giving and crafting? Join HERE!
Materials Needed
Disclosure: This post contains affiliate links for your shopping convenience. Should you choose to purchase through them, we will make a small commission at no extra cost to you. You can read our full disclosure policy here.
- Wooden caddy/toolbox
- Faux magnolia flowers and floral foam
- White and teal acrylic paints
- Paint brushes
- Image prints for transfer (download and print on an Inkjet home printer)
- Mod Podge
- Spring napkins
- Sandpaper and cloth
- Scissors
How to Transfer an Image with Mod Podge
Paint the long sides of the caddy teal and let dry. Paint remaining sides and over top of the teal with white.


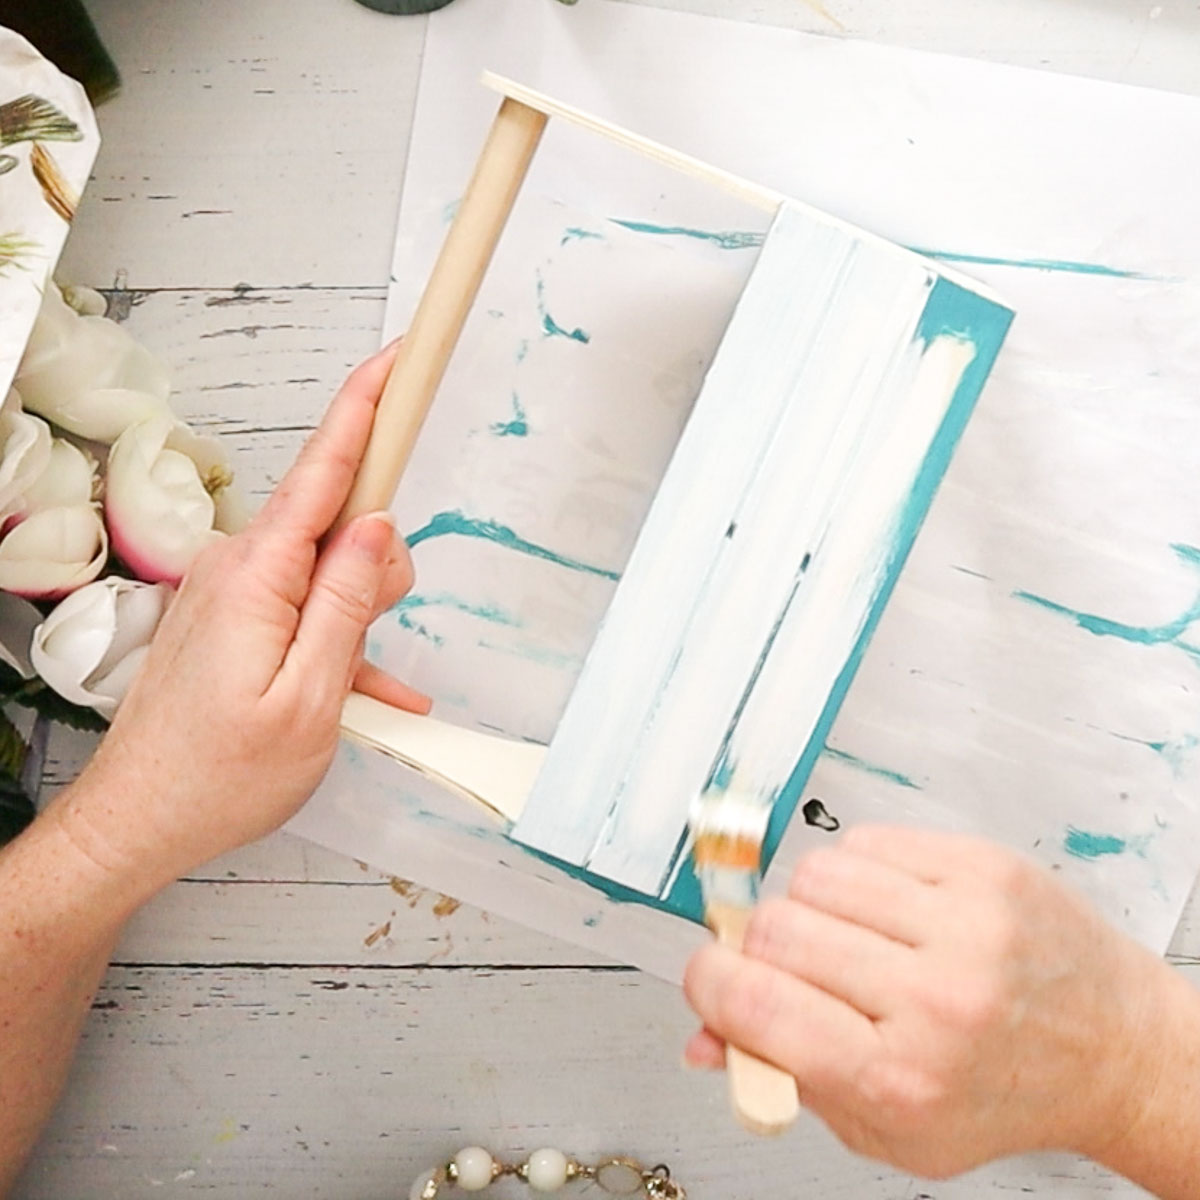

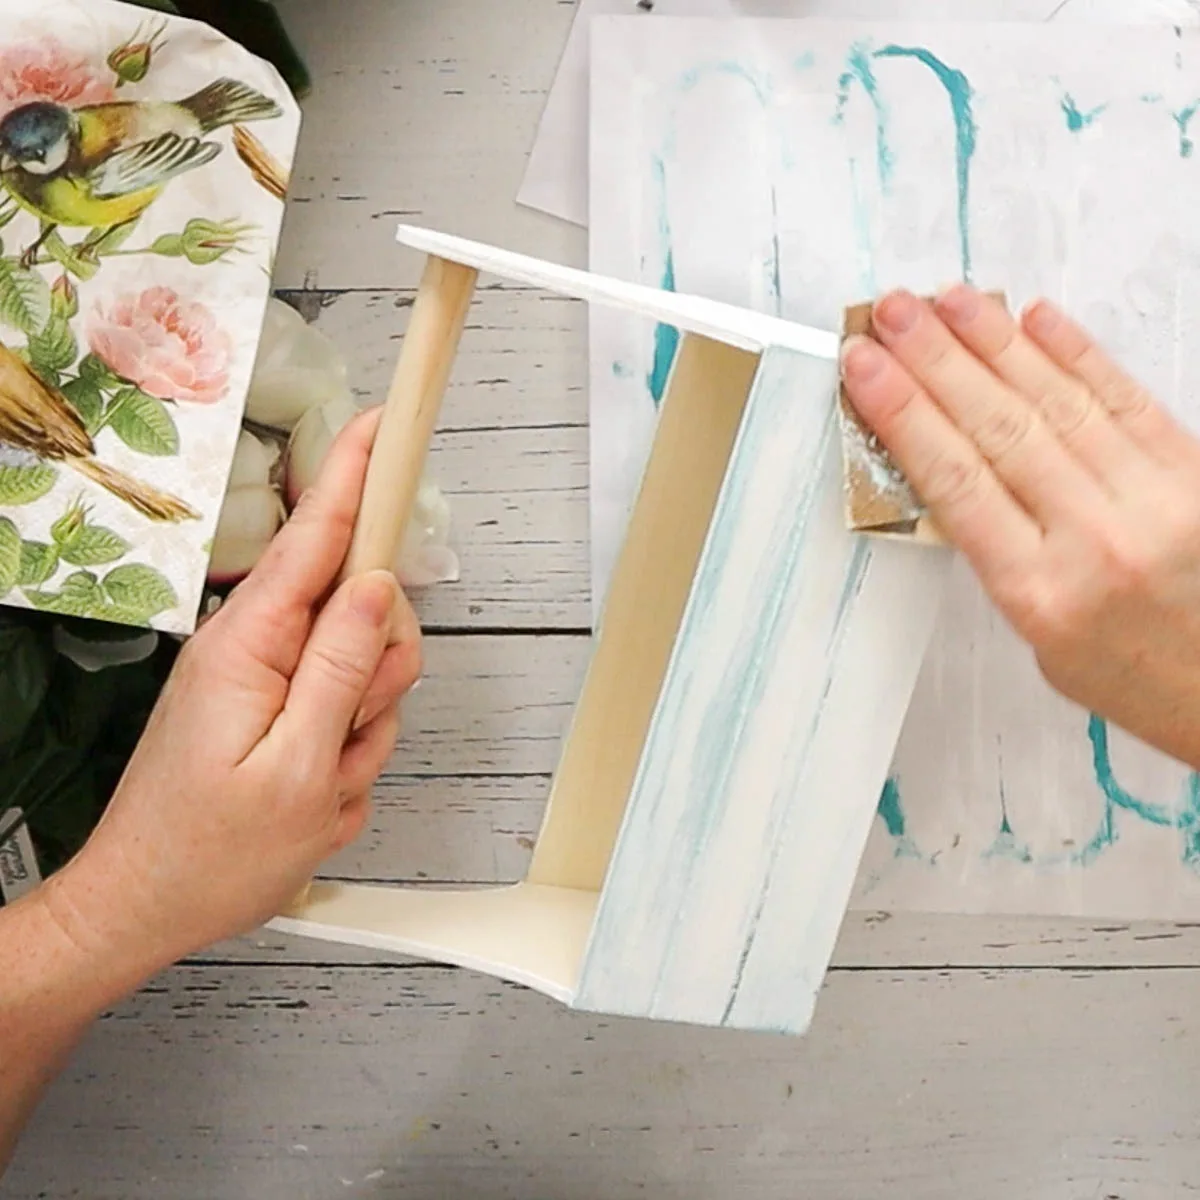
After drying, sandpaper the long sides of the caddy to reveal the teal and to achieve a weathered look.

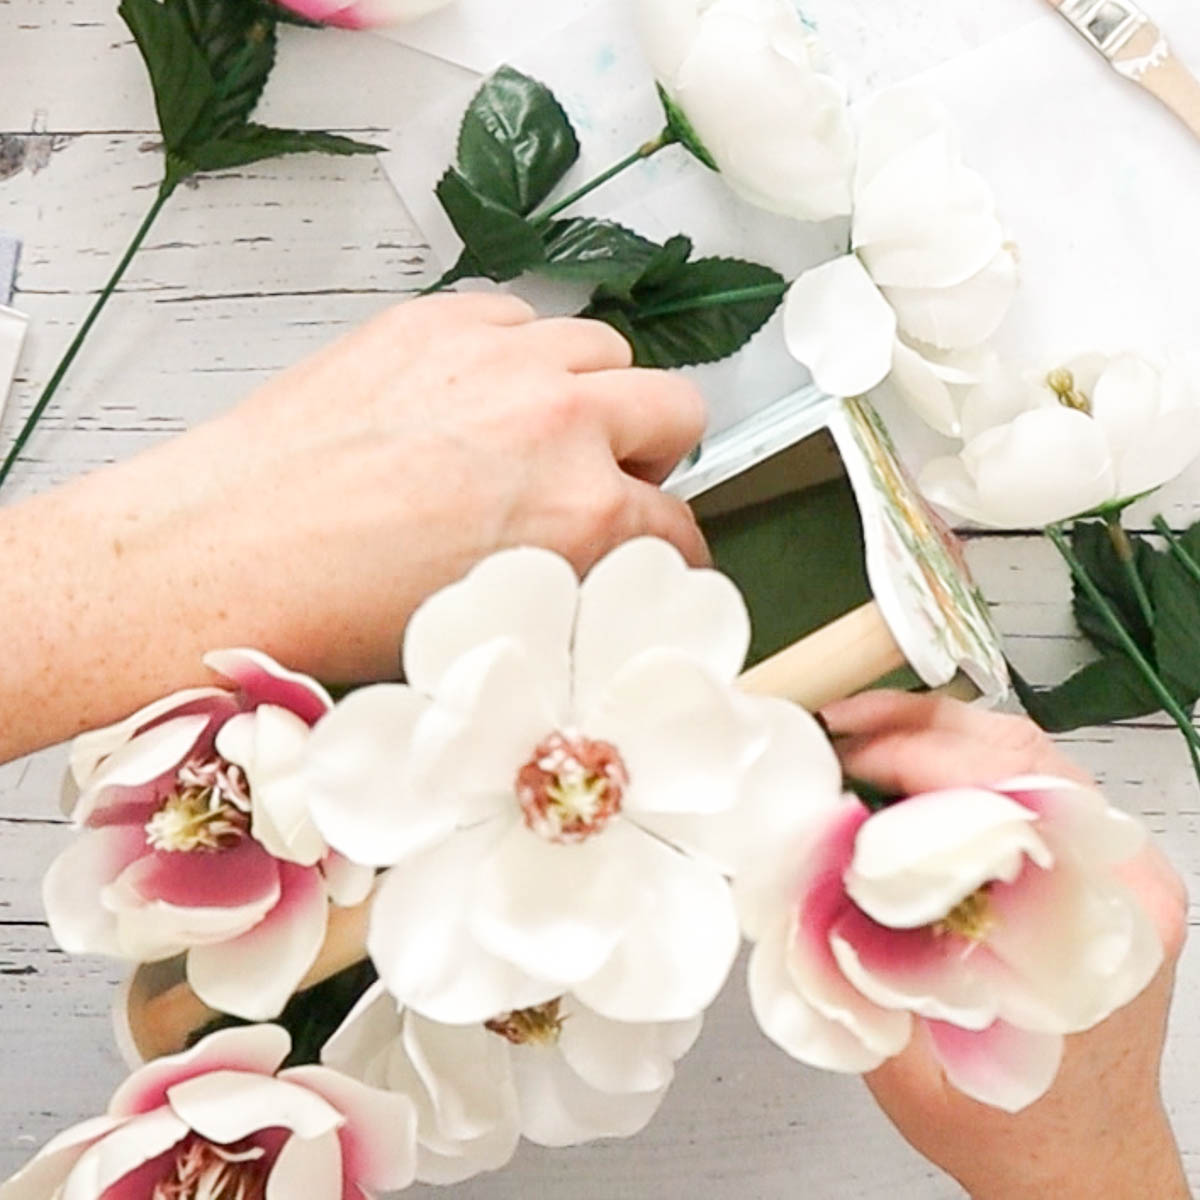
Brush a thin layer of Mod Podge onto the tall sides of caddy. Press the napkin gently onto the slice. Trim excess napkins.

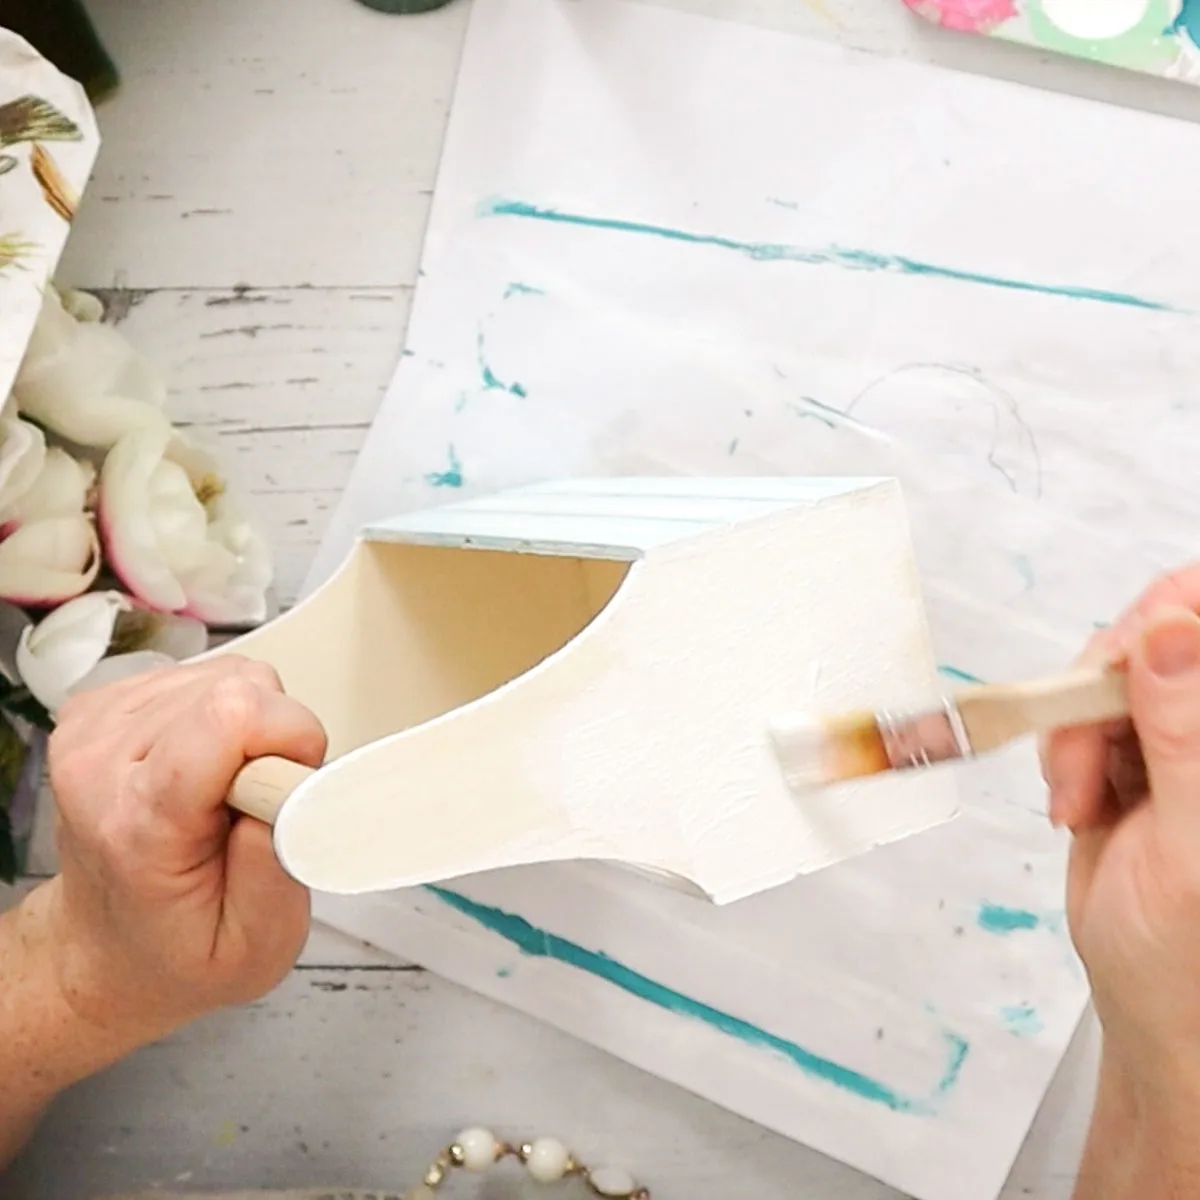


Cut around image print of choice. Apply layer of Mod Podge over the image. Press (face down) on to surface and let dry completely (overnight).

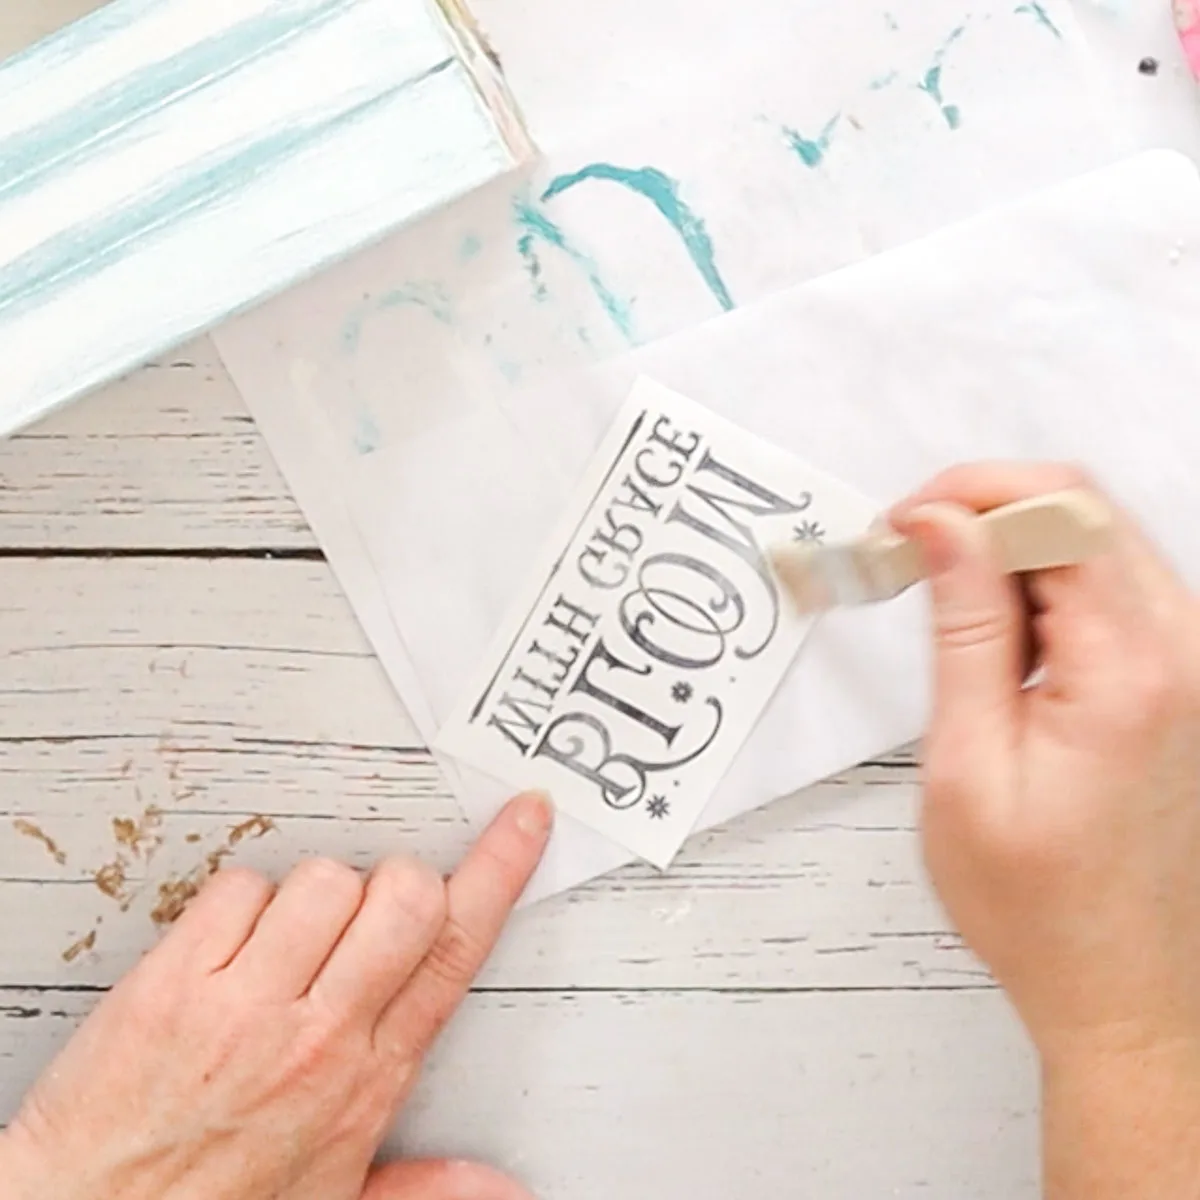

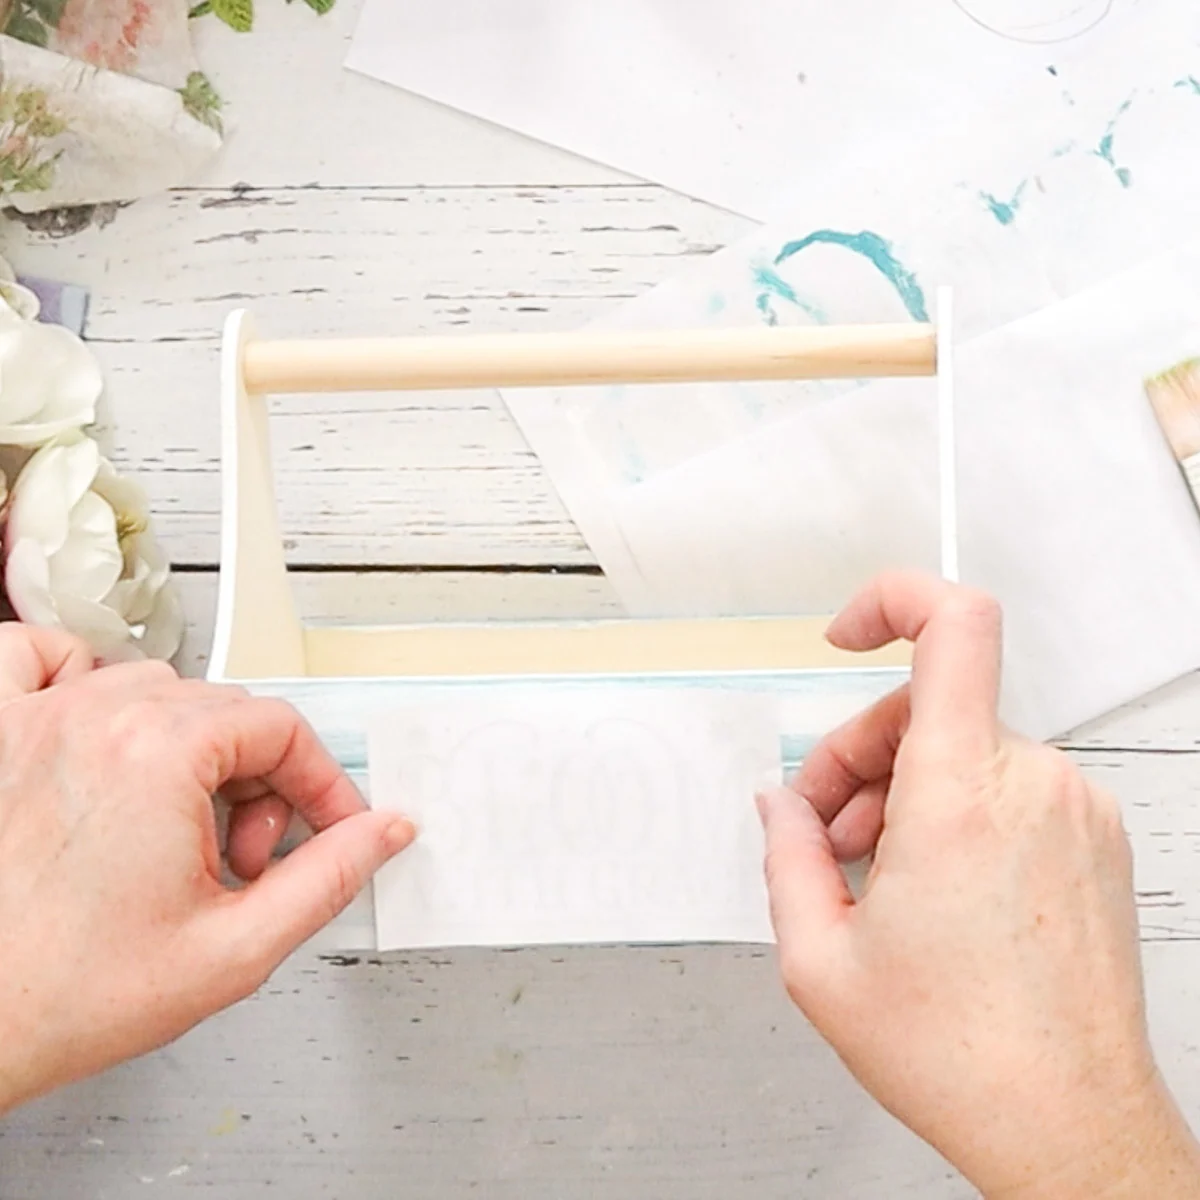
Fully dampen the paper with a cloth and gently rub it off leaving behind only the image on the caddy.
Image Transfer Tips:
- Don’t over wet your cloth, needs to be only damp to the touch
- Work gently to remove the paper layer over top of the printout
- Practice makes perfect! It is a technique so we remember to keep at it until you master the art!

Completing the Caddy Floral Centerpiece
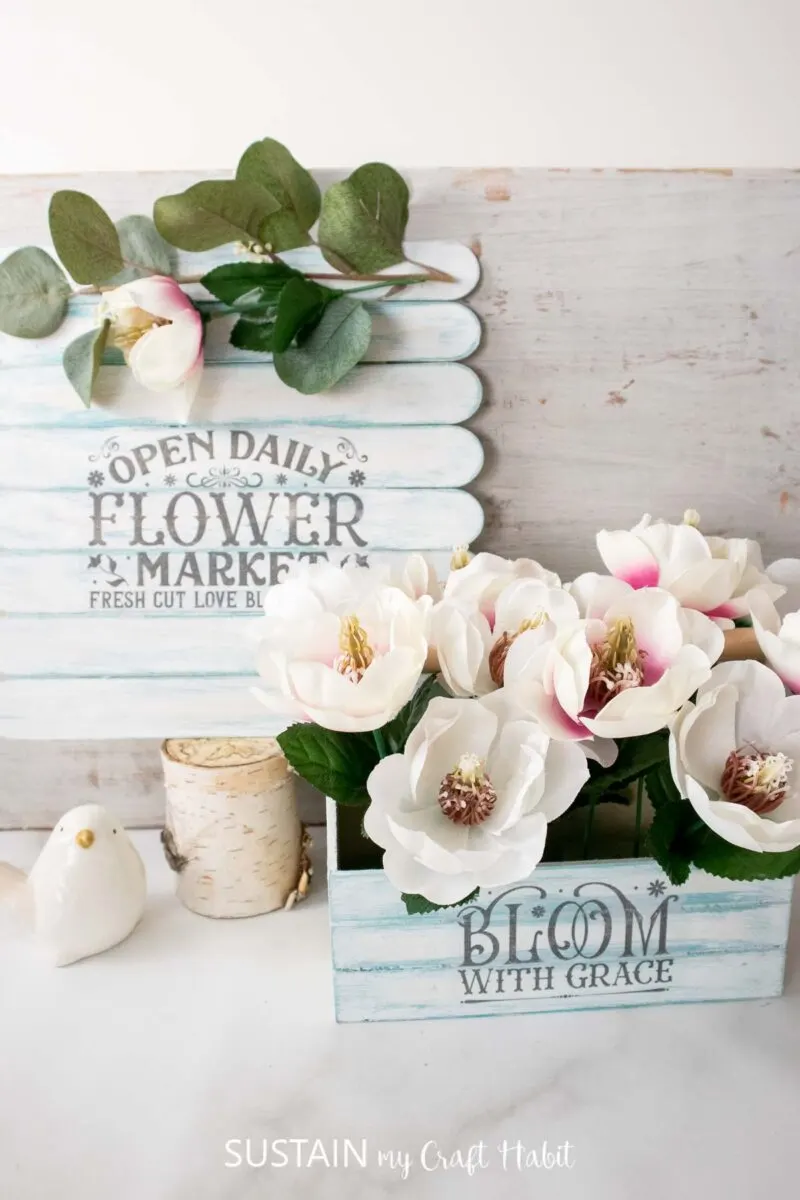
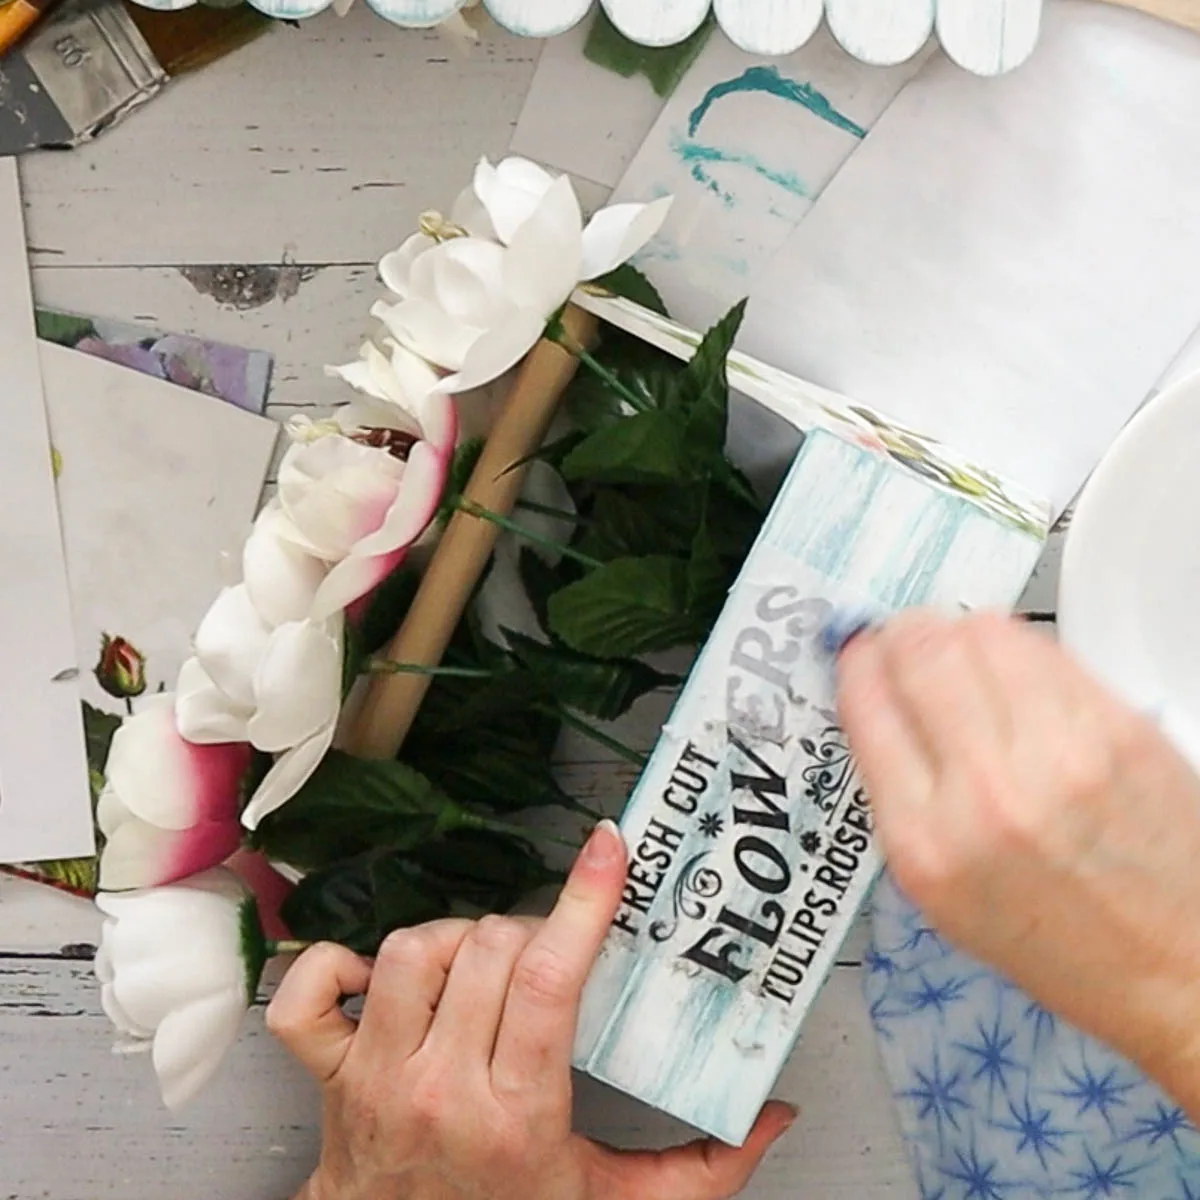
Insert floral foam into caddy and add magnolia flowers to complete the centerpiece.


Isn’t this a game changer? We love how affordable it is too. Just print out the images you want to transfer on you inkjet printer at home, find a piece of wood or canvas and get crafting! Upcycle dollar store pieces, thrift store finds, even furniture.
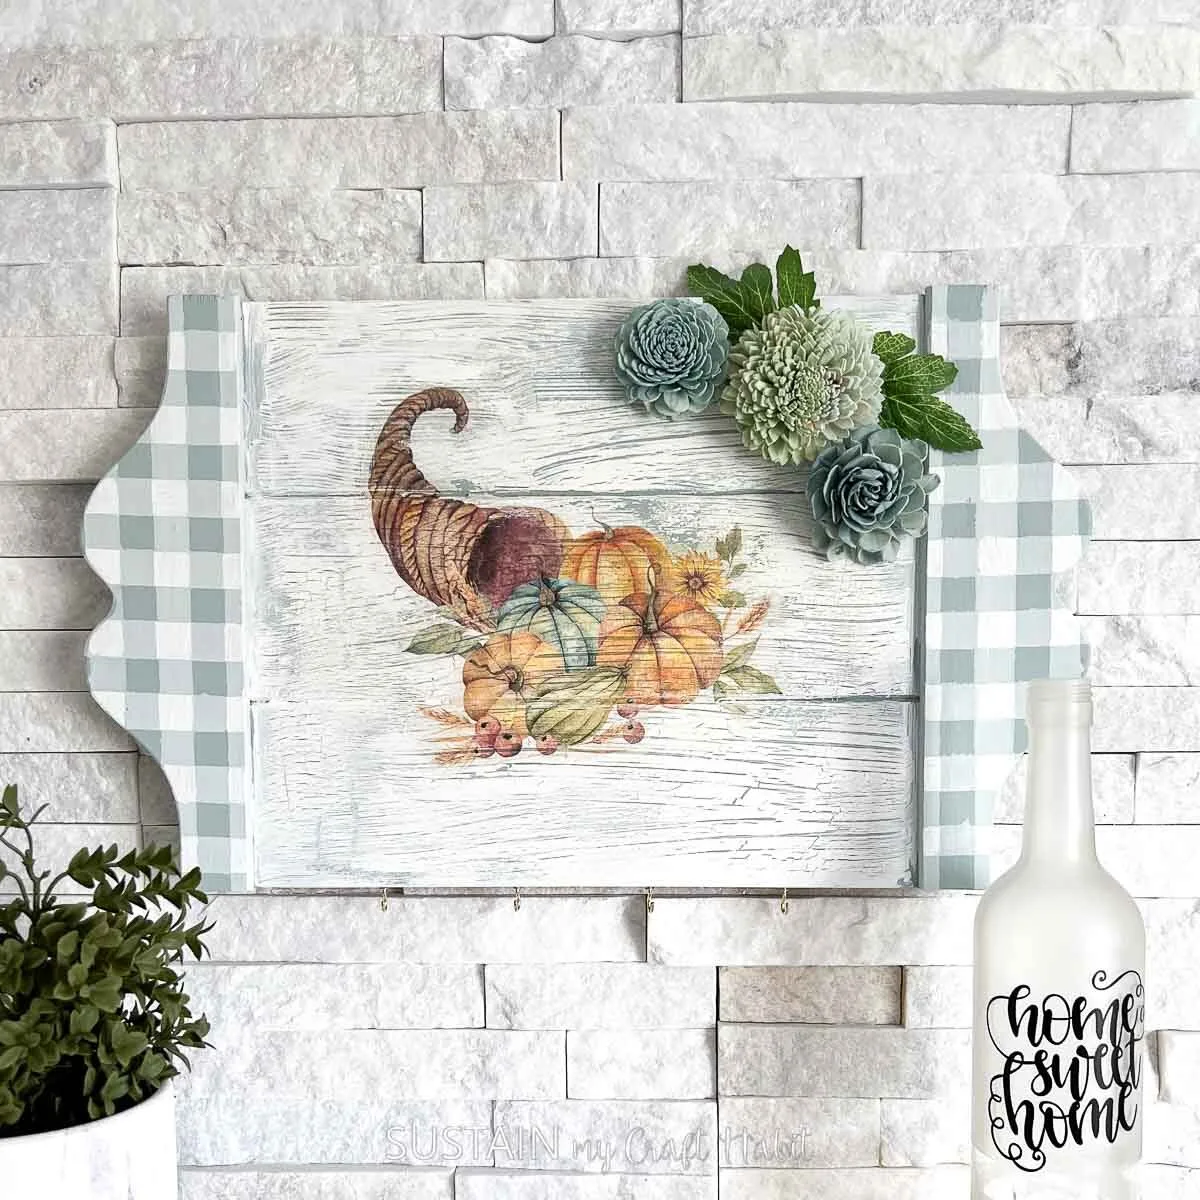
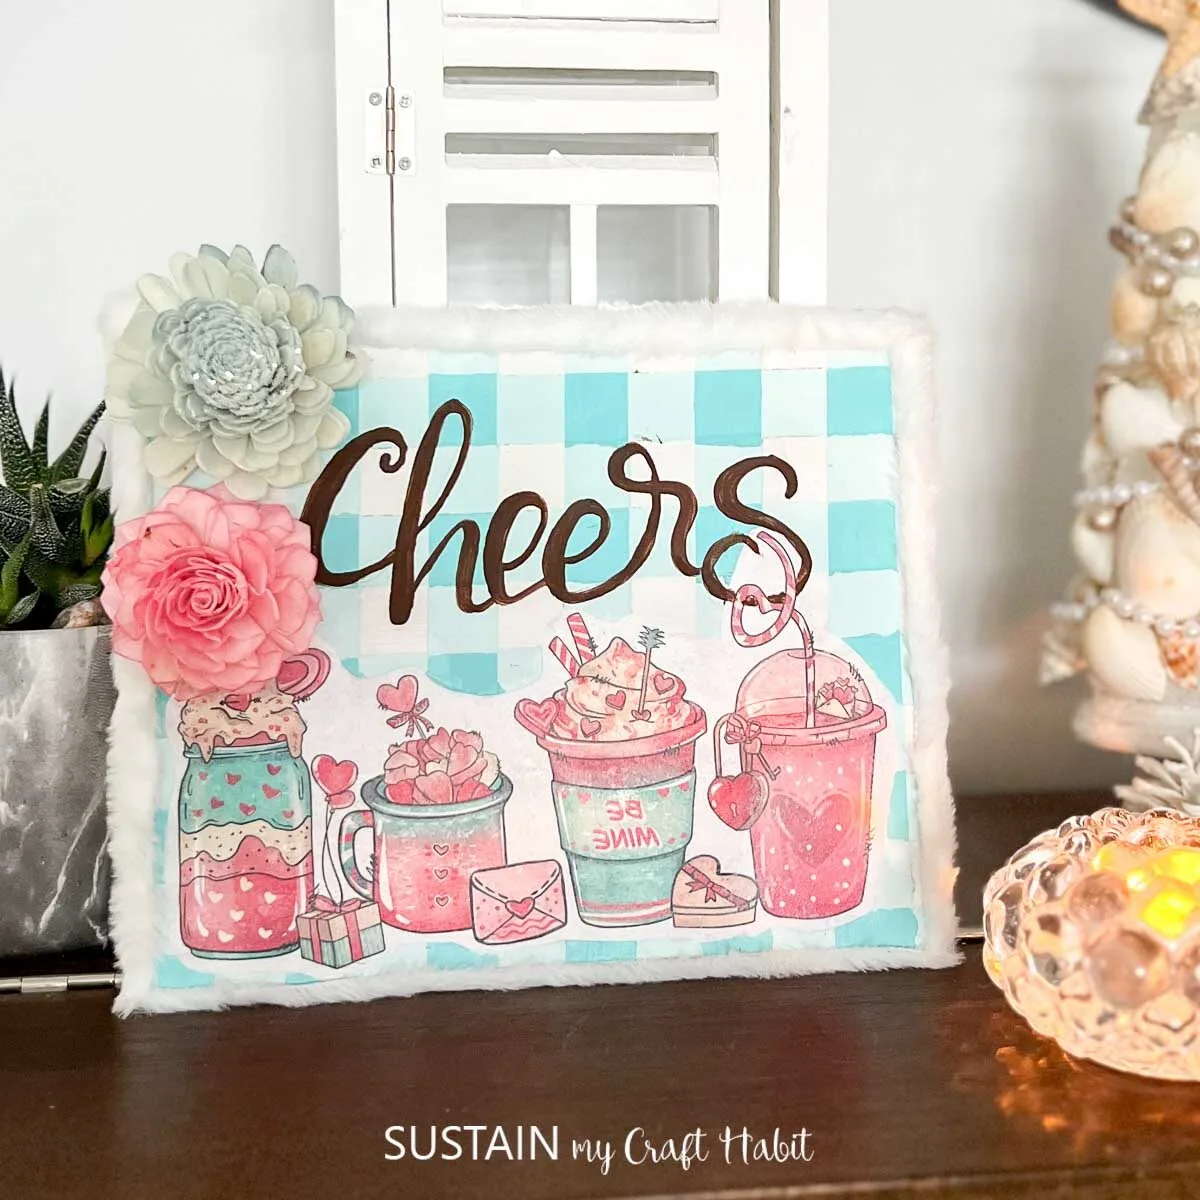
More Image Transfer Crafts
Check out theses other projects we’ve used this Mod Podge image transfer technique on.


No matter if it is your first time trying or you have tried multiple times, we would love to see your progress or your finished product. The best way to do this is to tag us on Tag us on Facebook or Instagram. We cannot wait to see it!
Stay in the know on our latest crafts, special offers and freebies by joining our mailing list.
Like it? Pin it for later!
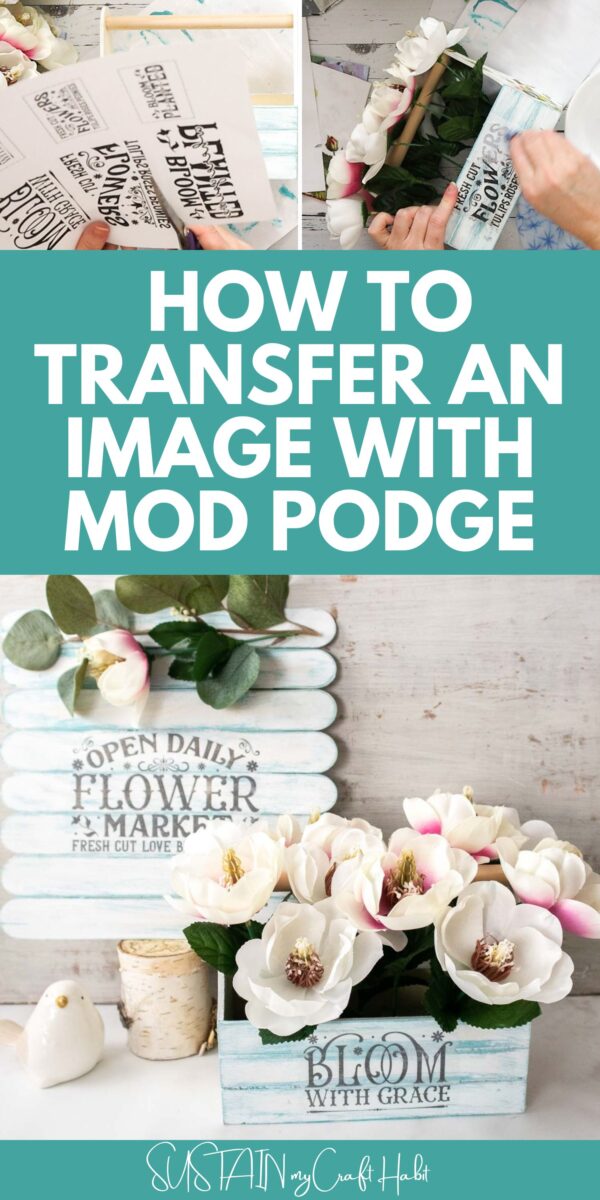


How to Transfer an Image with Mod Podge
Materials
- Wooden caddy/toolbox
- Faux magnolia flowers and floral foam
- Acrylic paints in white and teal
- Paint brushes
- Image prints for transfer
- Mod Podge
- Spring napkins mini-bundle
- Sandpaper and cloth
- Scissors
Instructions
- Paint the long sides of the caddy teal and let dry. Paint remaining sides and over top of the teal with white.
- After drying, sandpaper the long sides of the caddy to reveal the teal and to achieve a weathered look.
- Brush a thin layer of Mod Podge onto the tall sides of caddy. Press the napkin gently onto the slice. Trim excess napkins.
- Cut around image print of choice. Apply layer of Mod Podge over the image. Press (face down) on to surface and let dry completely (overnight).
- Fully dampen the paper with a cloth and gently rub it off leaving behind only the image on the caddy.
- Insert floral foam into caddy and add magnolia flowers to complete the centerpiece.