How to Transfer Images to Wood: A Fall Sign
Ever want to learn how to transfer images to wood? Don’t avoid it for years because you think it’s too hard. With our tutorial, you will realize it is a lot easier than anyone could imagine. Once you start, you won’t stop thinking of fun ways to create projects from this new trick!
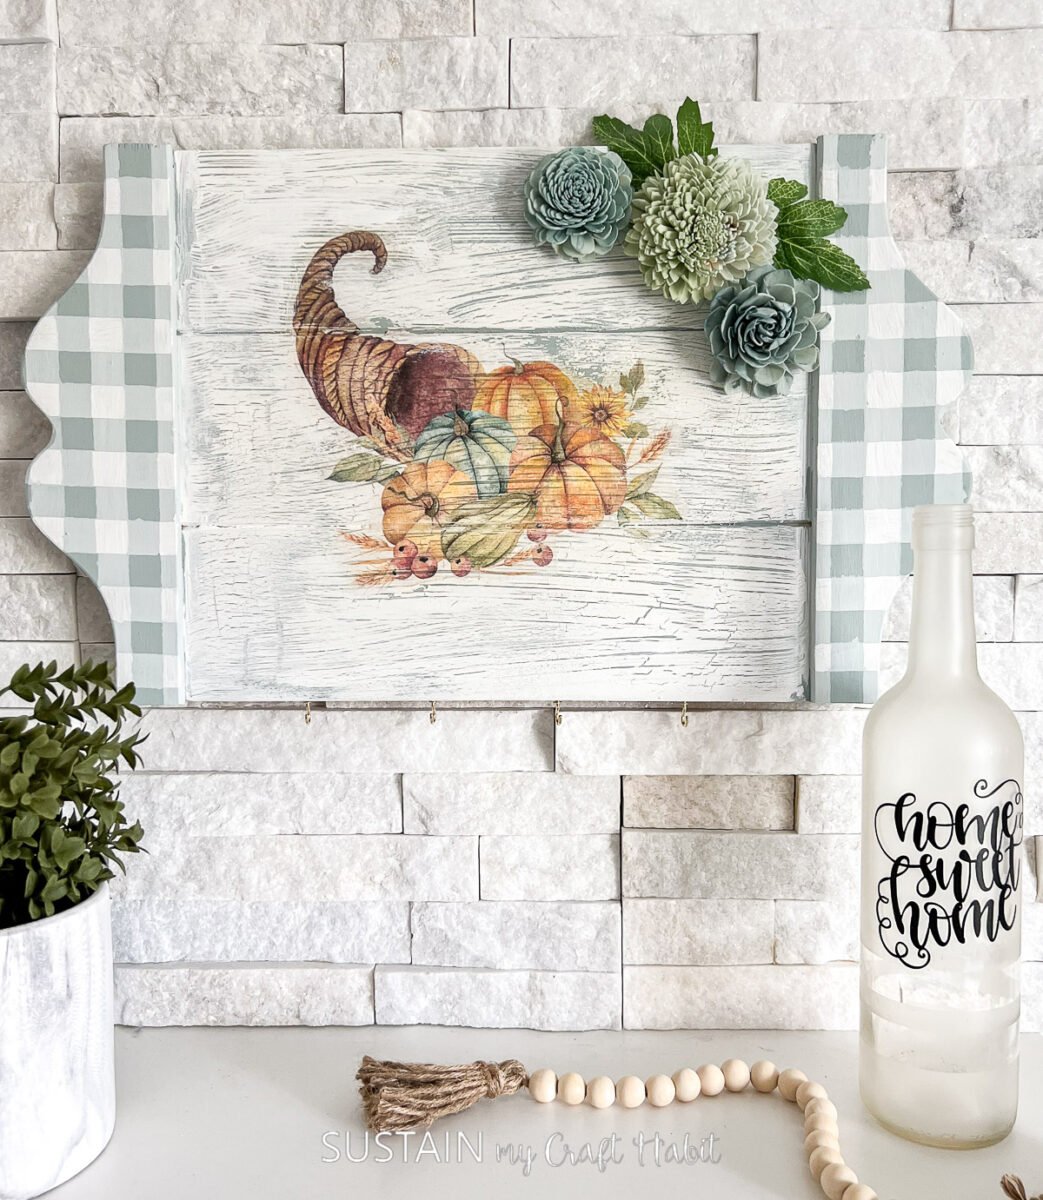
Transferring Images to Wood Will Create a Plethora of Ideas!
My mother-in-law brought me a simple wood tray from our local thrift store. It was a simple wood tray that she got for less than $6.99. I couldn’t wait to think of all of the different things we could create with this tray- I actually changed my mind last minute I was so full of ideas!
On the Facebook Live, where we did the tutorial, everyone voted for the cornucopia image as our image that we would transfer onto wood. I think they made a good choice! Cornucopias are perfect for some fall decoration- and they make the house seem very warm and inviting whenever we make cornucopia crafts.
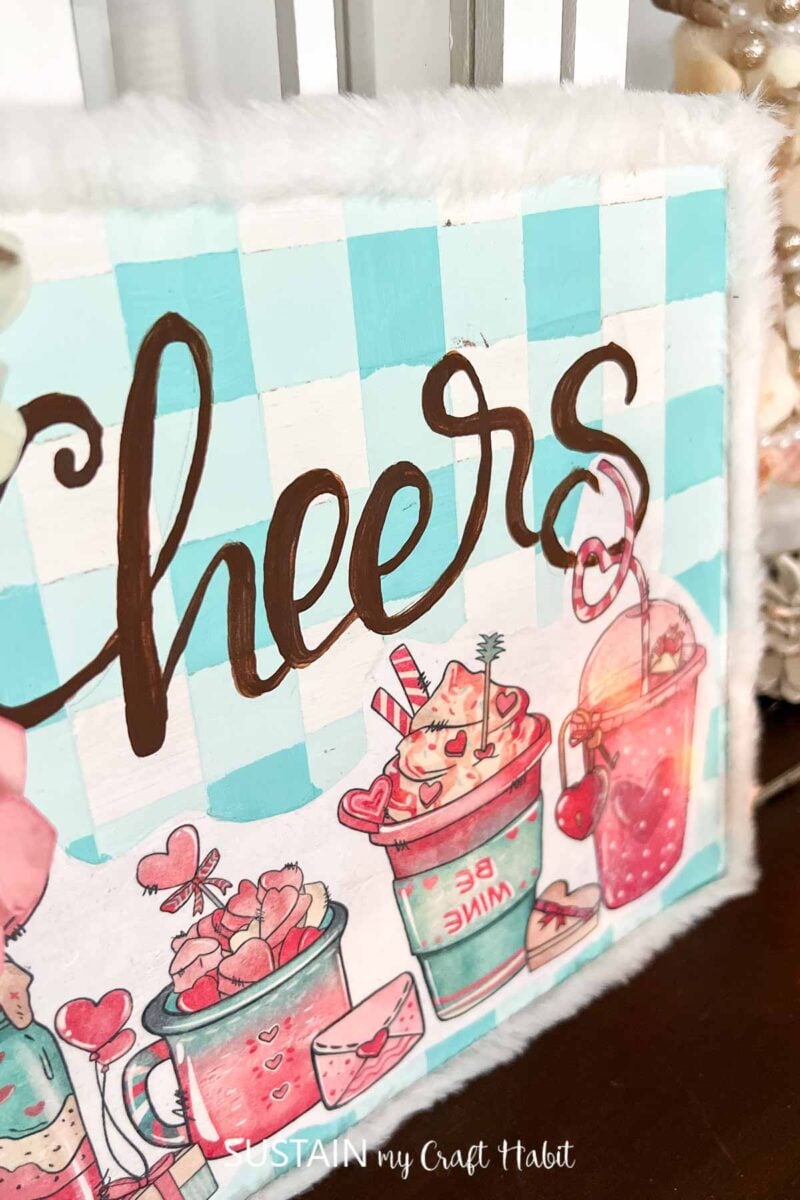
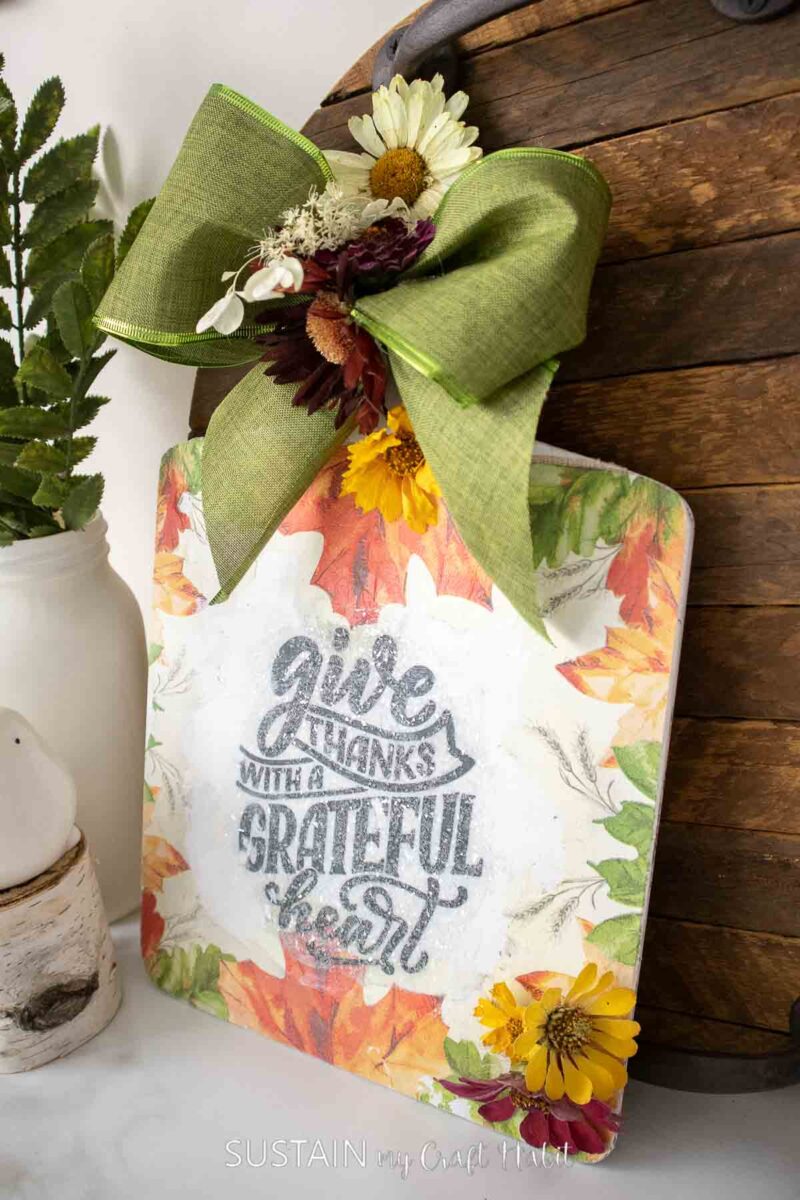
We’ve used this Mod Podge image transfer technique on several projects including this cute fall sign and colorful hot cocoa sign.
Materials Needed
Disclosure: This post contains affiliate links for your shopping convenience. Should you choose to purchase through them, we will make a small commission at no extra cost to you. You can read our full disclosure here.
- Printed image of your choice
- Scissors
- Wood surface (new or a thrift store find)
Chalky Finish paint in any color of your choosing (we used a soft blue-green)- Paintbrushes
- Contrasting Chalky Finish paint color for a crackle effect on the wood (we used white)
- School glue (for the crackle paint finish)
- Image of choice, printed with a color ink-jet or laser-jet printer
- Scissors
- Decoupage glue such as Mod Podge
- damp cloth or paper towel
How to Transfer Images to Wood
I shared the tutorial for how to transfer images to wood here. There is a part two here as well. All of the step-by-step instructions can be found in the video. If you have any questions at all, please send us a message!
Here is a before image of the wood sign:

Choose the image you want to transfer and print it out in full color on your Inkjet printer (or laser). Keep in mind that it will be flipped, so be sure you reverse the image before printing if direction is important (ie. a word or phrase).

Prepare the surface of the wood by painting it or alternatively, you can also leave it aux-naturel.

For my sign, I painted the base in a lovely soft blue-green paint color. Once that dried, I applied a layer of school glue to the surface.
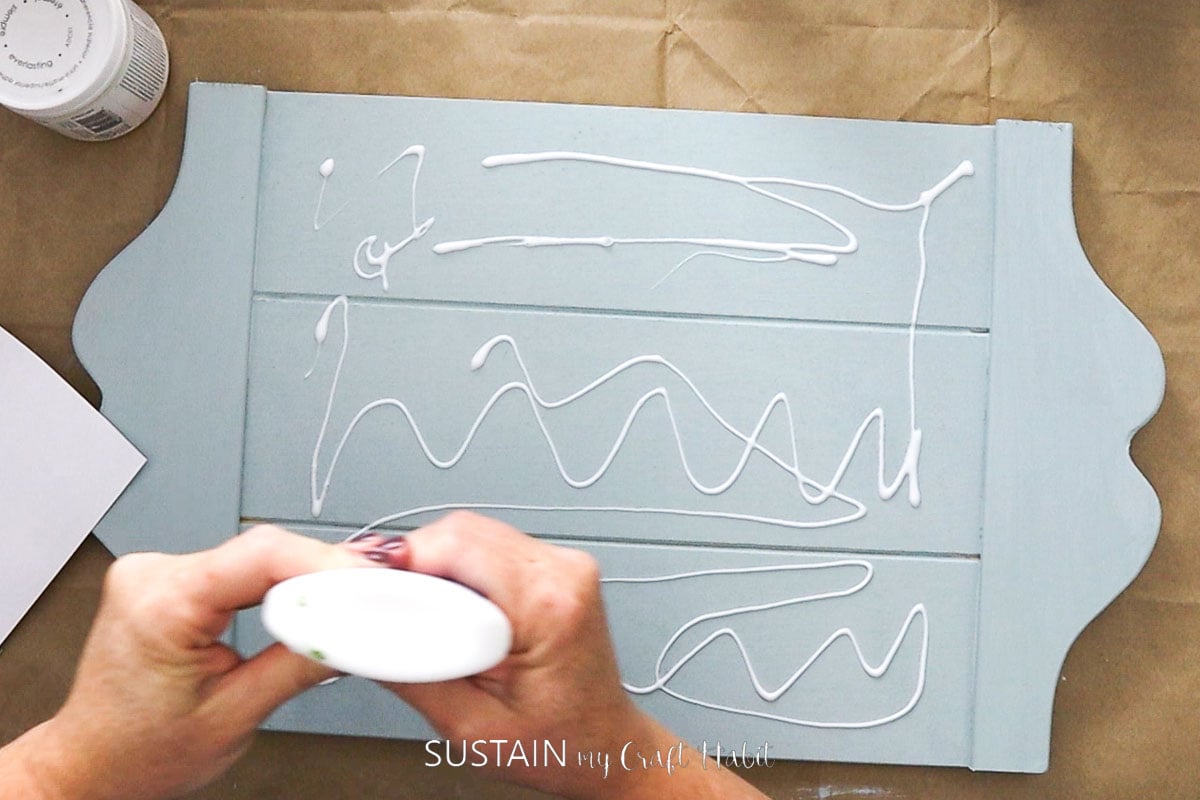
Before the glue dried completely, I painted a layer of white paint over top. As the last layer of paint and glue dries, the crackle effect appears!


Just look at that crackle! You’ll want to ensure that the surface is completely dry before moving on (I think I left mine overnight).
Next, cut out the image as close to the design as possible and apply a generous amount of glue to the top side as shown.

Press the image FACE DOWN on to the wood surface an leave it to dry.

Leave the glue to dry fully and then using a damp cloth or paper towel, begin to rub the back side of the image until the transferred design is visible. Take your time and be gentle while removing the layers of paper.
Once done, you’ll have this beautiful, semi-transparent design transferred on to your wood surface. I love how you can still see the paint crackle peaking through.

We finished the fall sign by painting a buffalo plaid pattern on the side panels and adding a few dyed Sola wood flowers to the top right corner.
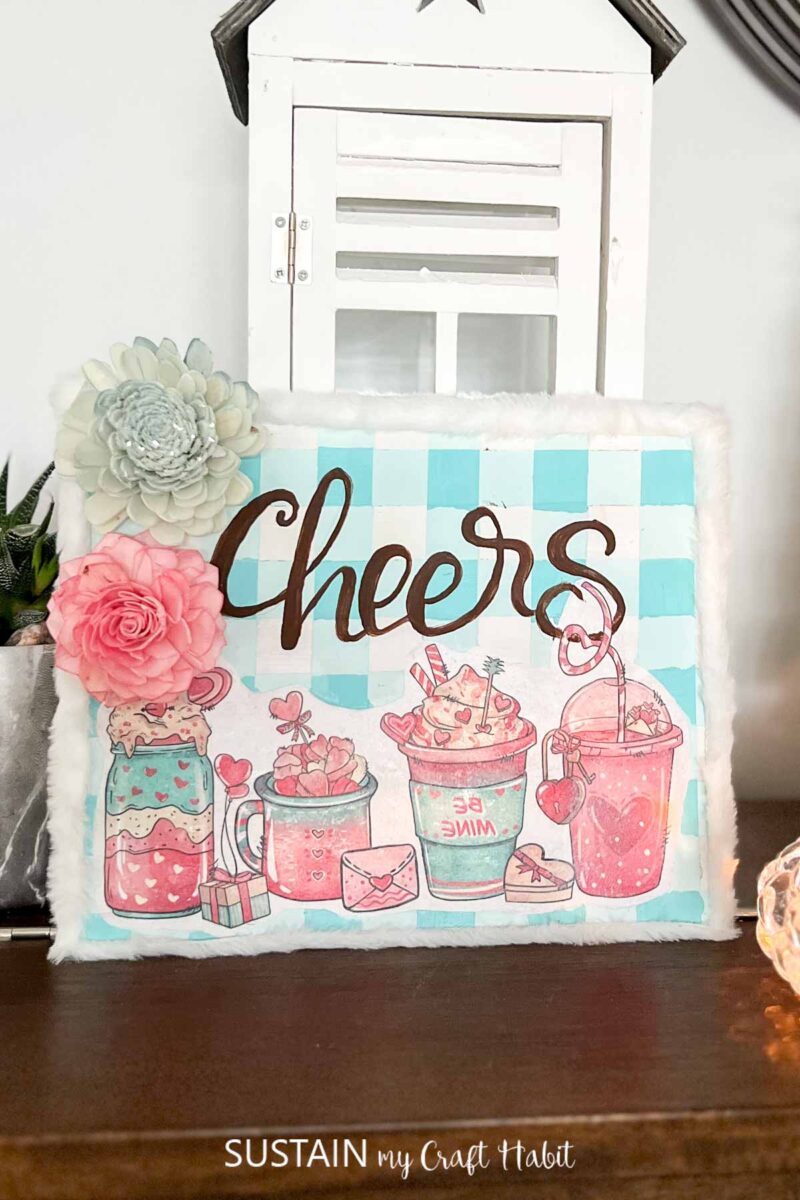
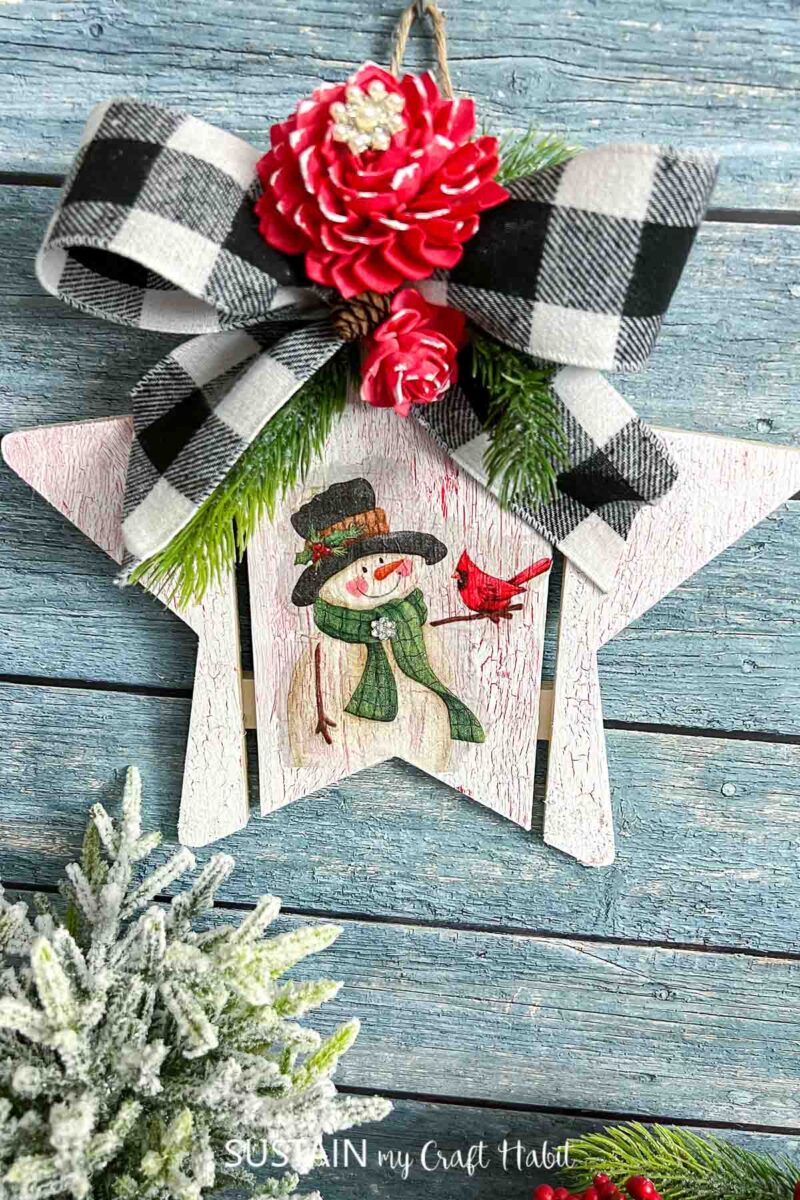
This is another craft we made with this similar method:

If you liked learning how to transfer images to wood, you may also enjoy these!
- DIY Hot Cocoa Bar Sign using Scrap Wood
- Winter Craft Idea Using a Wooden Star Surface
- Adorable Upcycled Wood Shelf Idea for Valentines
- Simple Scrap Wood Gnome Craft

How did transferring the images to wood turn out? We would love to see how you got creative and used this technique in your crafting. Make sure to show it off to us! Tag us on Facebook or Instagram– we can’t wait to see it!
Get updates on the latest posts and more from Sustain My Craft Habit straight to your inbox by joining our weekly newsletter. We promise to send you only the good stuff!
Like it? Pin it for later!


