How to Crackle Paint with Glue! (with Video)
A crackle paint finish is a beautiful way to add texture and interest to your craft projects. And it’s easier to do than you’d think! See how to get a crackle paint with glue with just a few supplies including the school glue you likely already have at home.

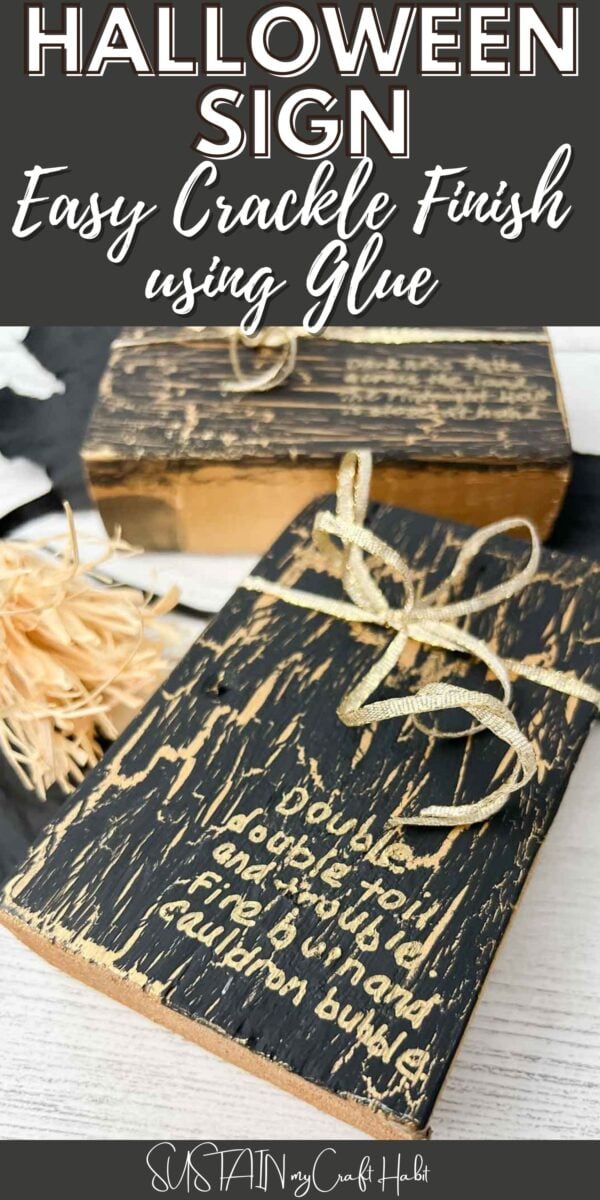
Halloween Cackle, or rather Crackle!
Crackling paint is just what the name implies – breaking, or cracking up, the surface of the paint to create a worn and weather effect.
I always thought that you need a special medium to create a crackle paint finish. But when I saw our friend Agnes’ tutorial on how to crackle paint with glue, I was intrigued. Agnes used white glue in her tutorial. I only had clear Elmer’s glue on hand (thank you to the kids’ slime-making phase) – would it still work?
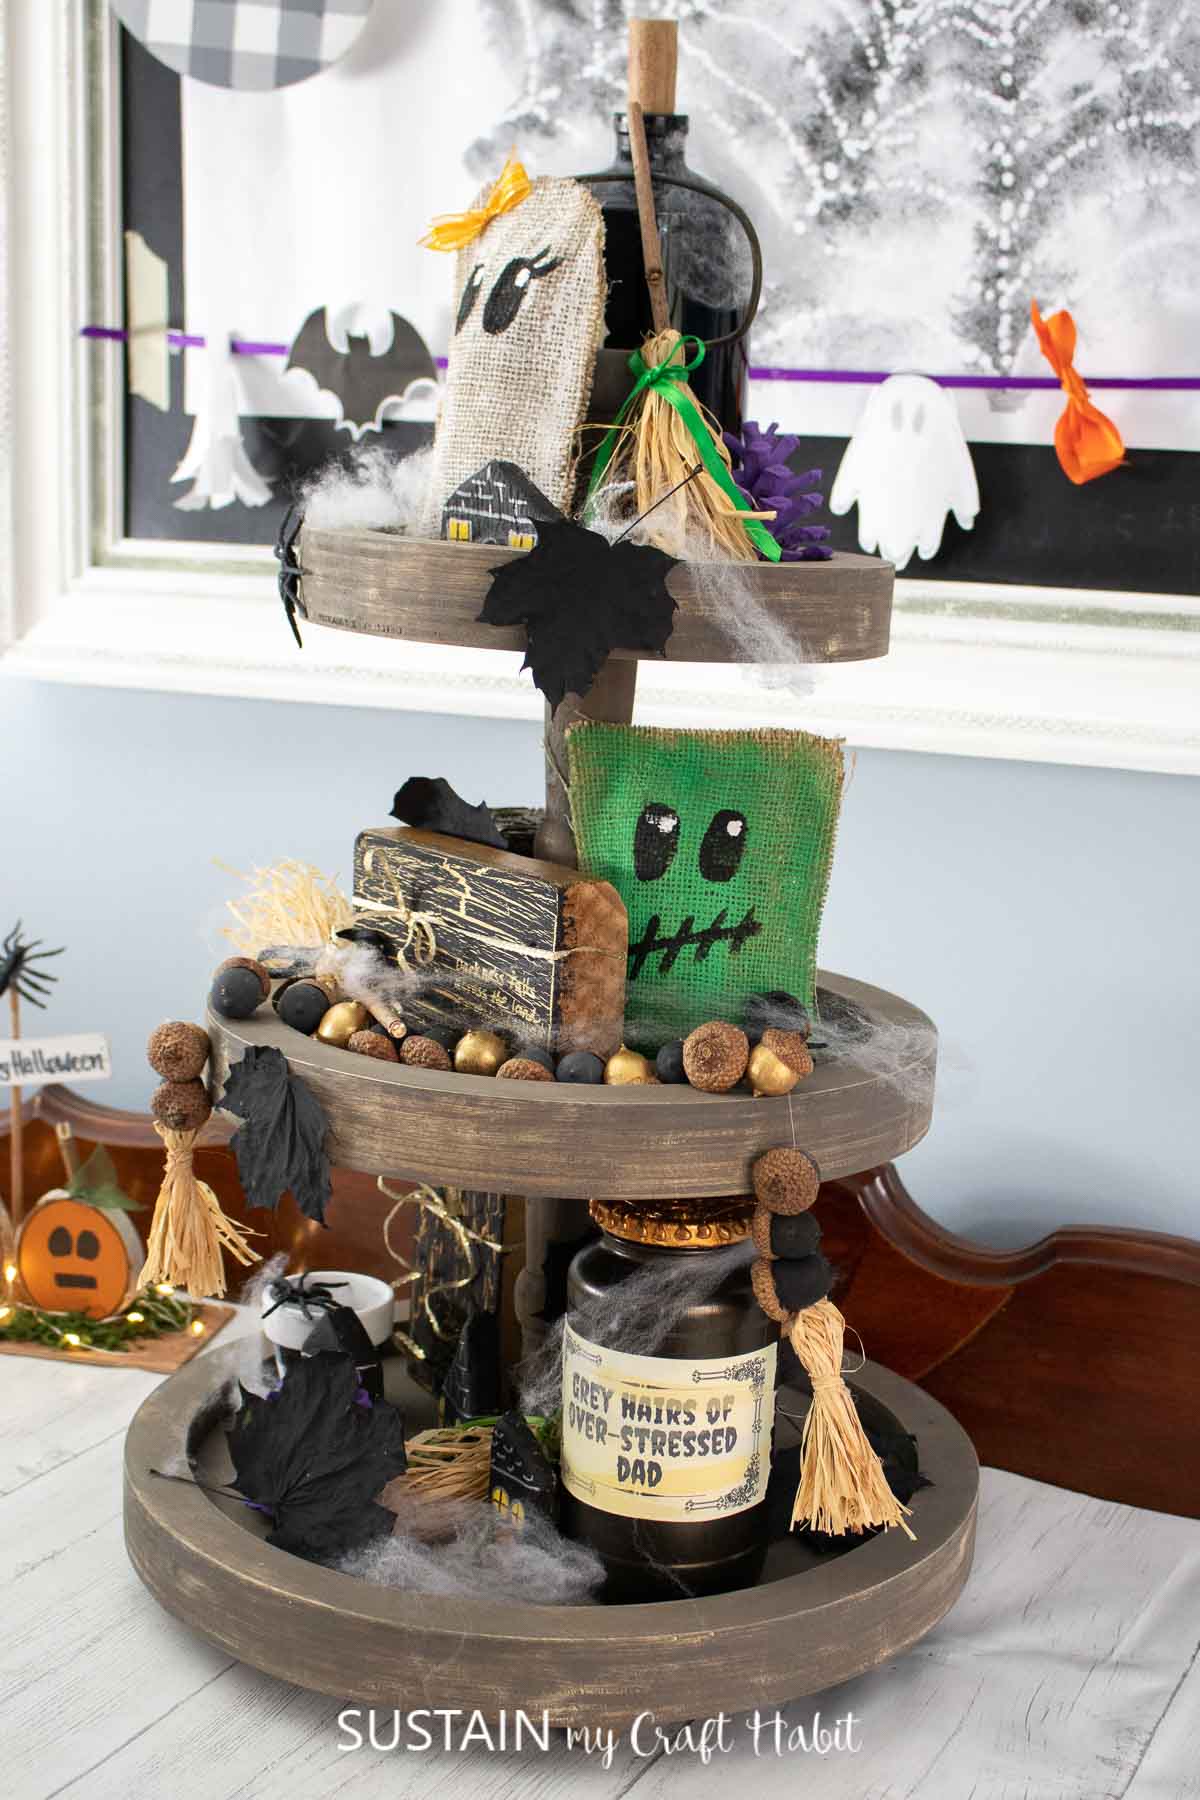
I decided to test in out to make some simple decorative wood blocks for my Halloween tiered tray. I’ve been crafting up a storm of simple projects including miniature broomsticks with raffia, faux stacked spell books, burlap Ghostie and Frankie, and more.
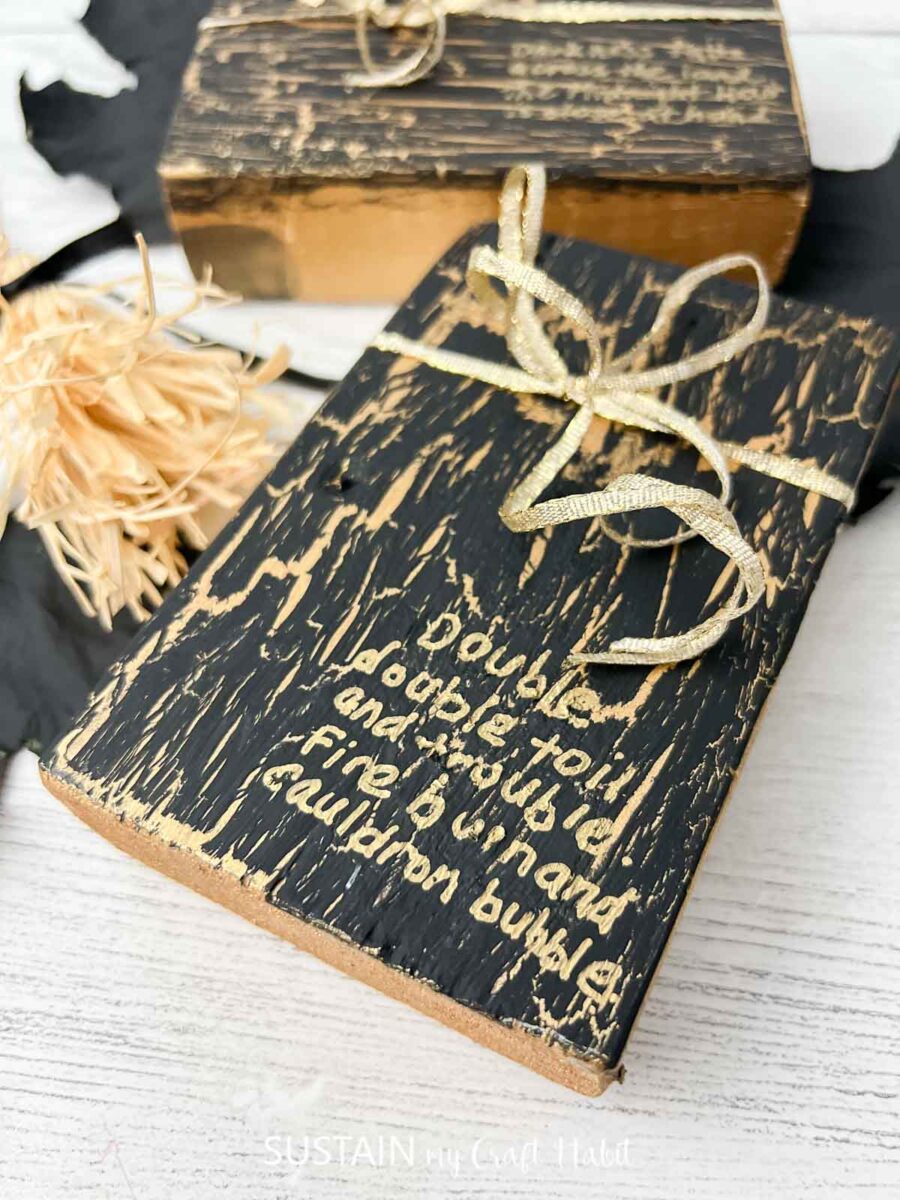
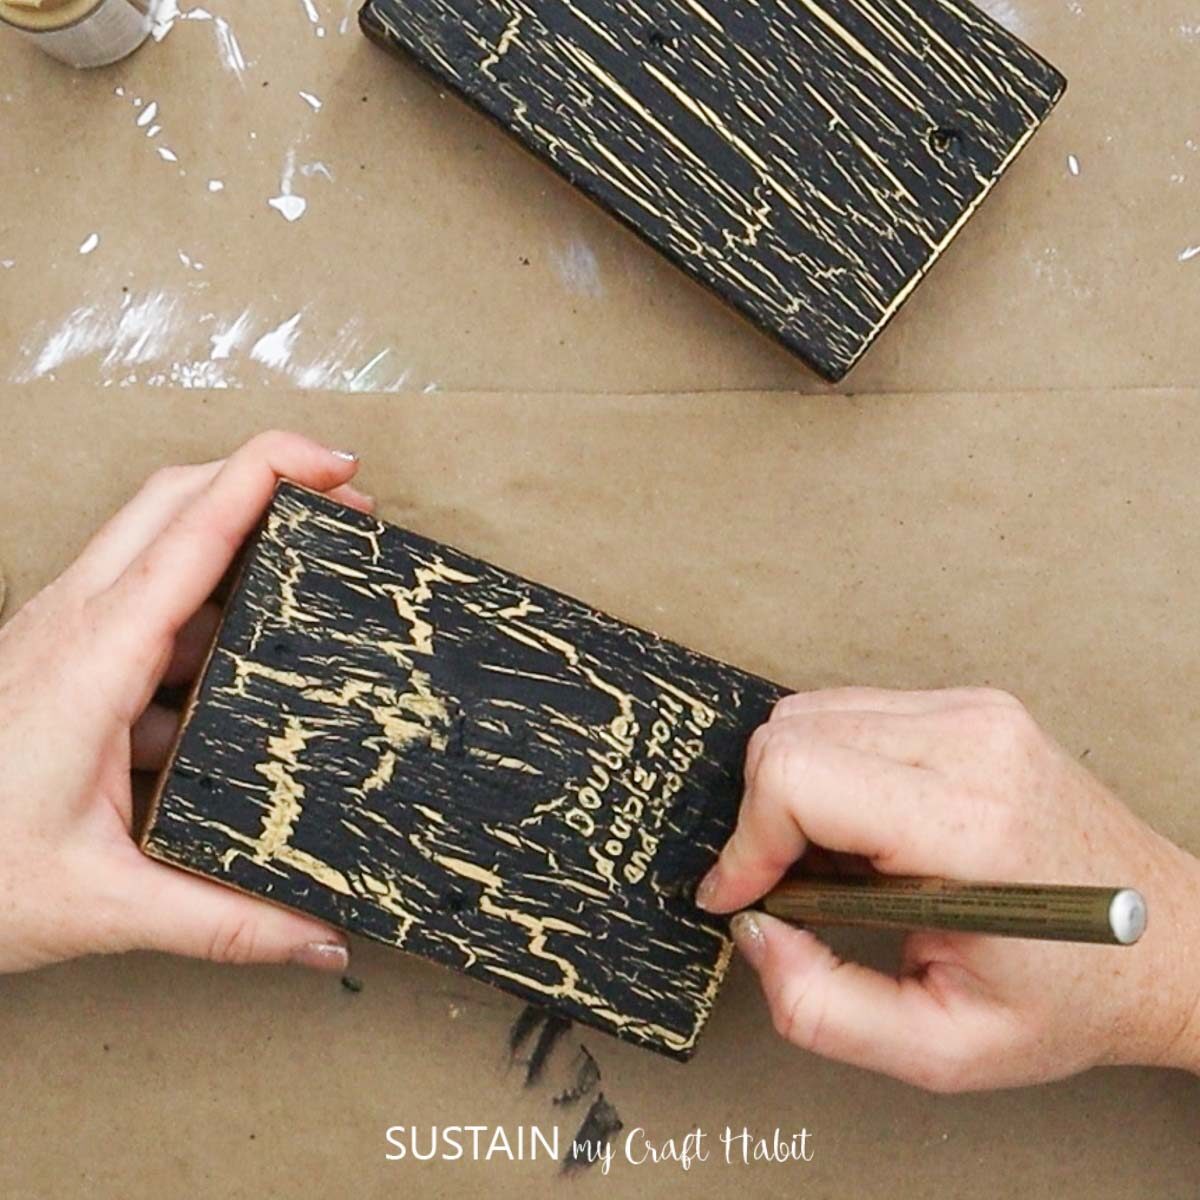
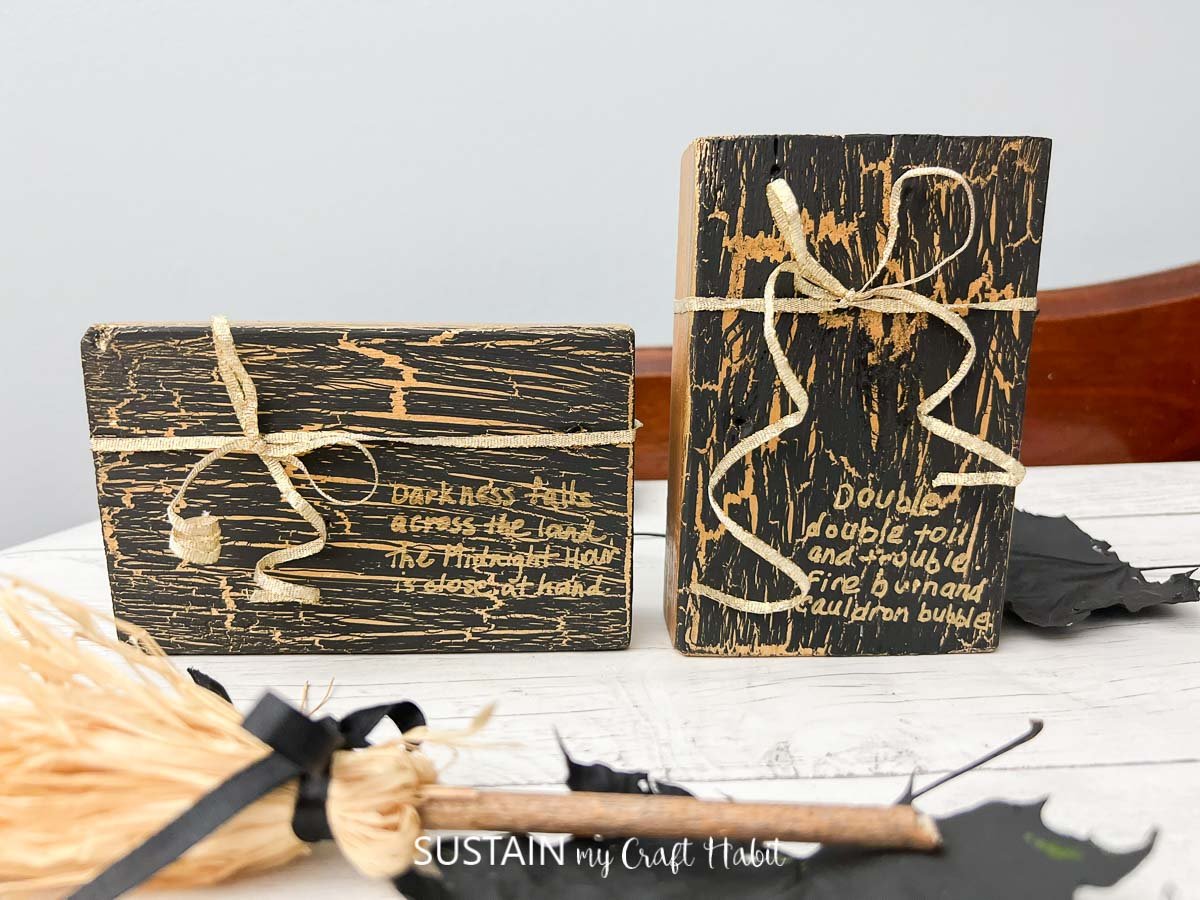
I knew I wanted to put a lttle phrase on my decorative signs and out of the blue popped up some Macbeth:
Double double toil and trouble;
Fire burn and cauldron bubble.
William Shakespeare
For the second one I found this list of Halloween quotes and this particular one seemed eerily perfect:
Darkness falls across the land,
the Midnight Hour is close at hand.
Rodney Lynn Temperton
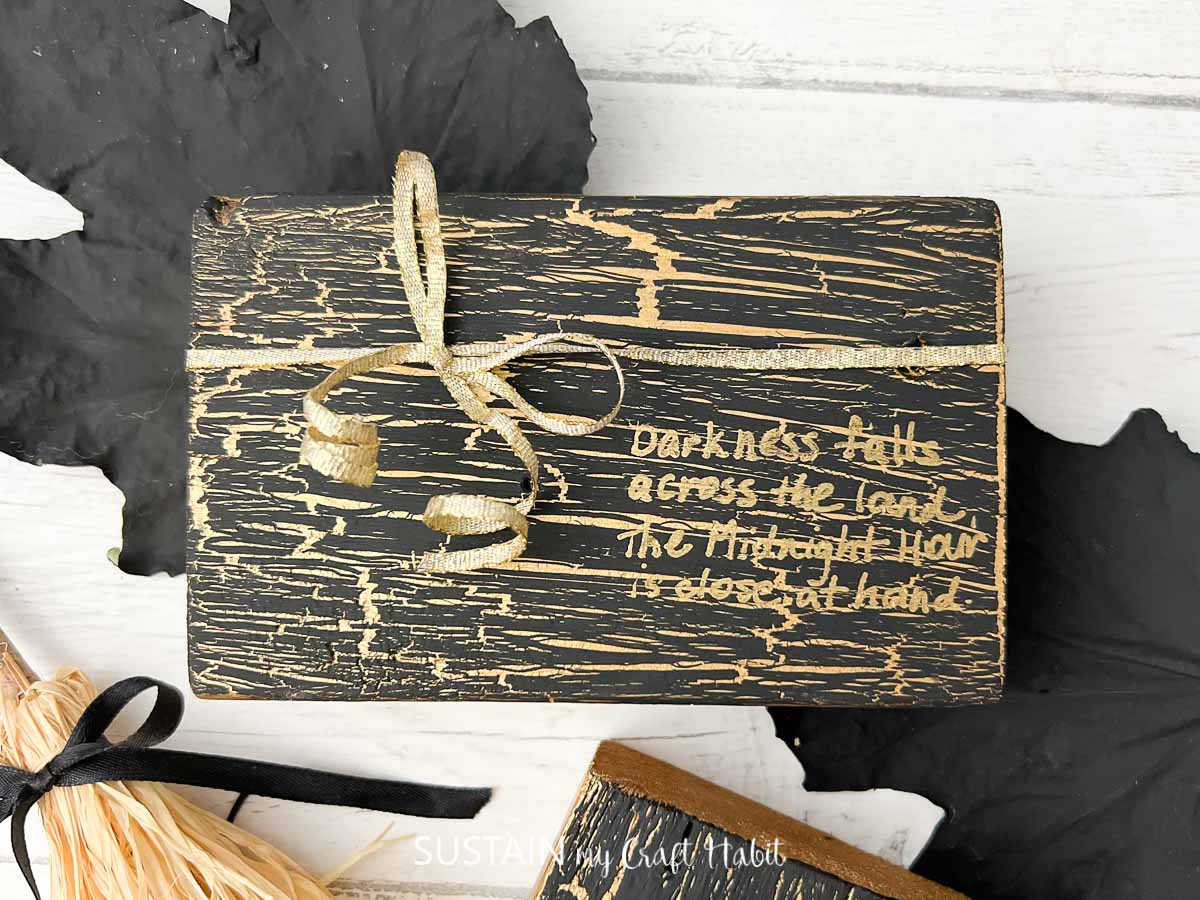
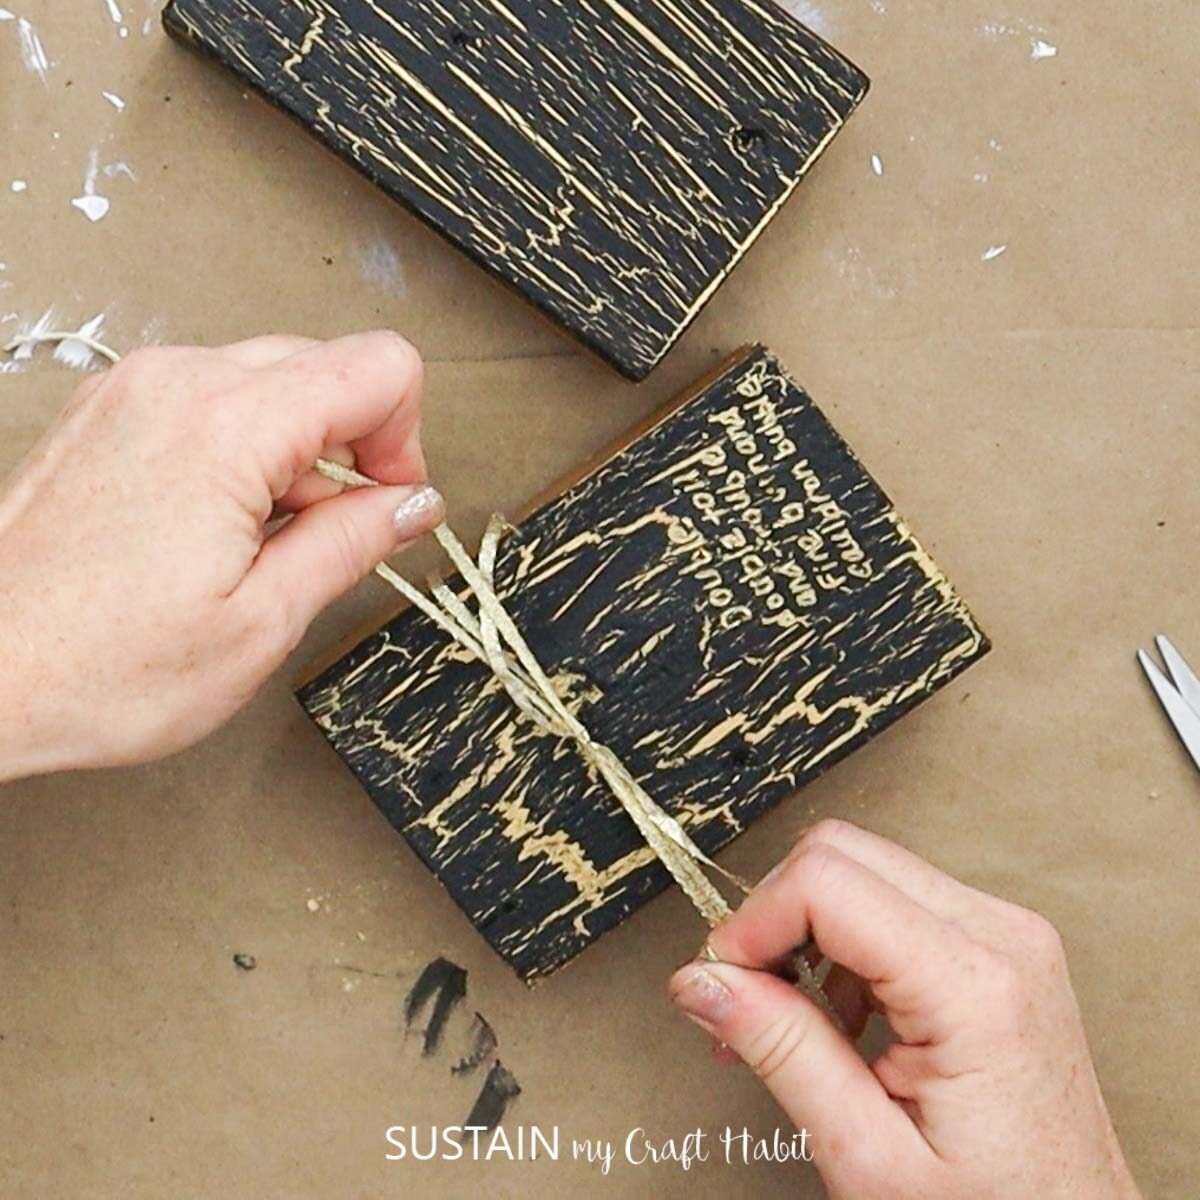
I like that that gold lettering almost blends in with the crackle finish of the piece: they’re almost like little secret messages you have to discover!
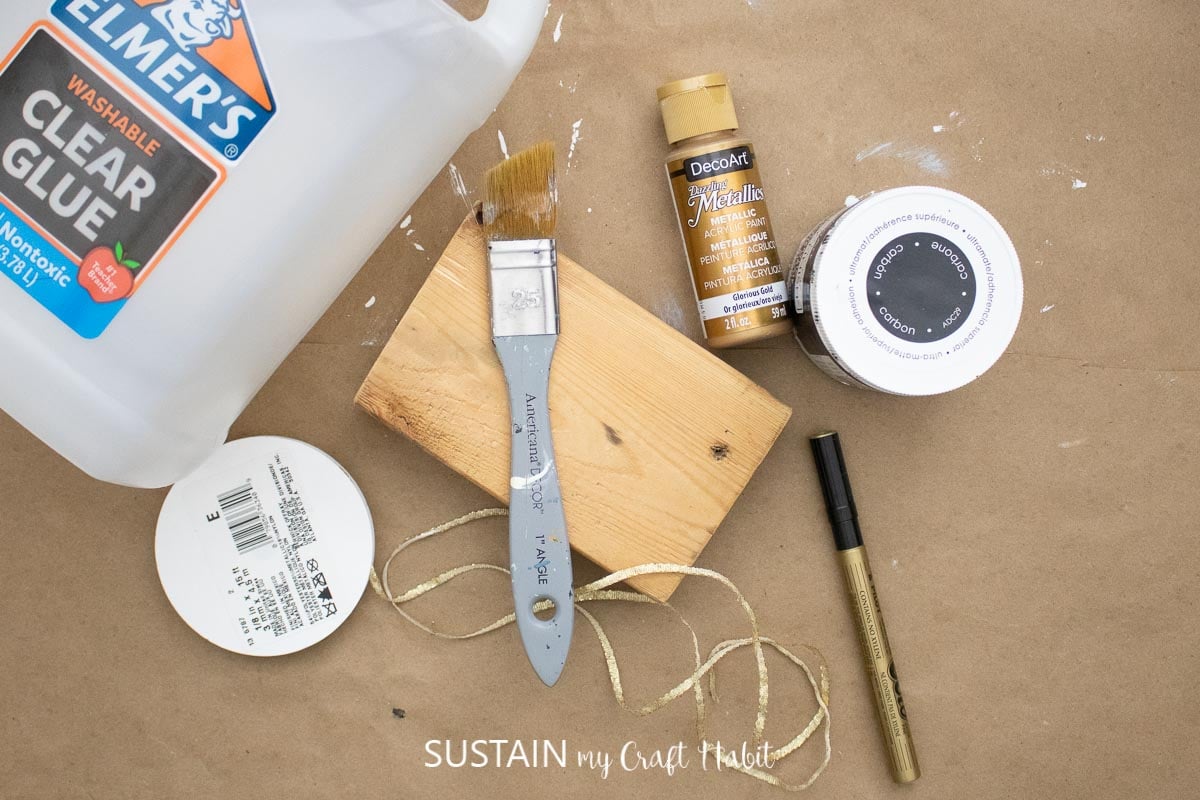
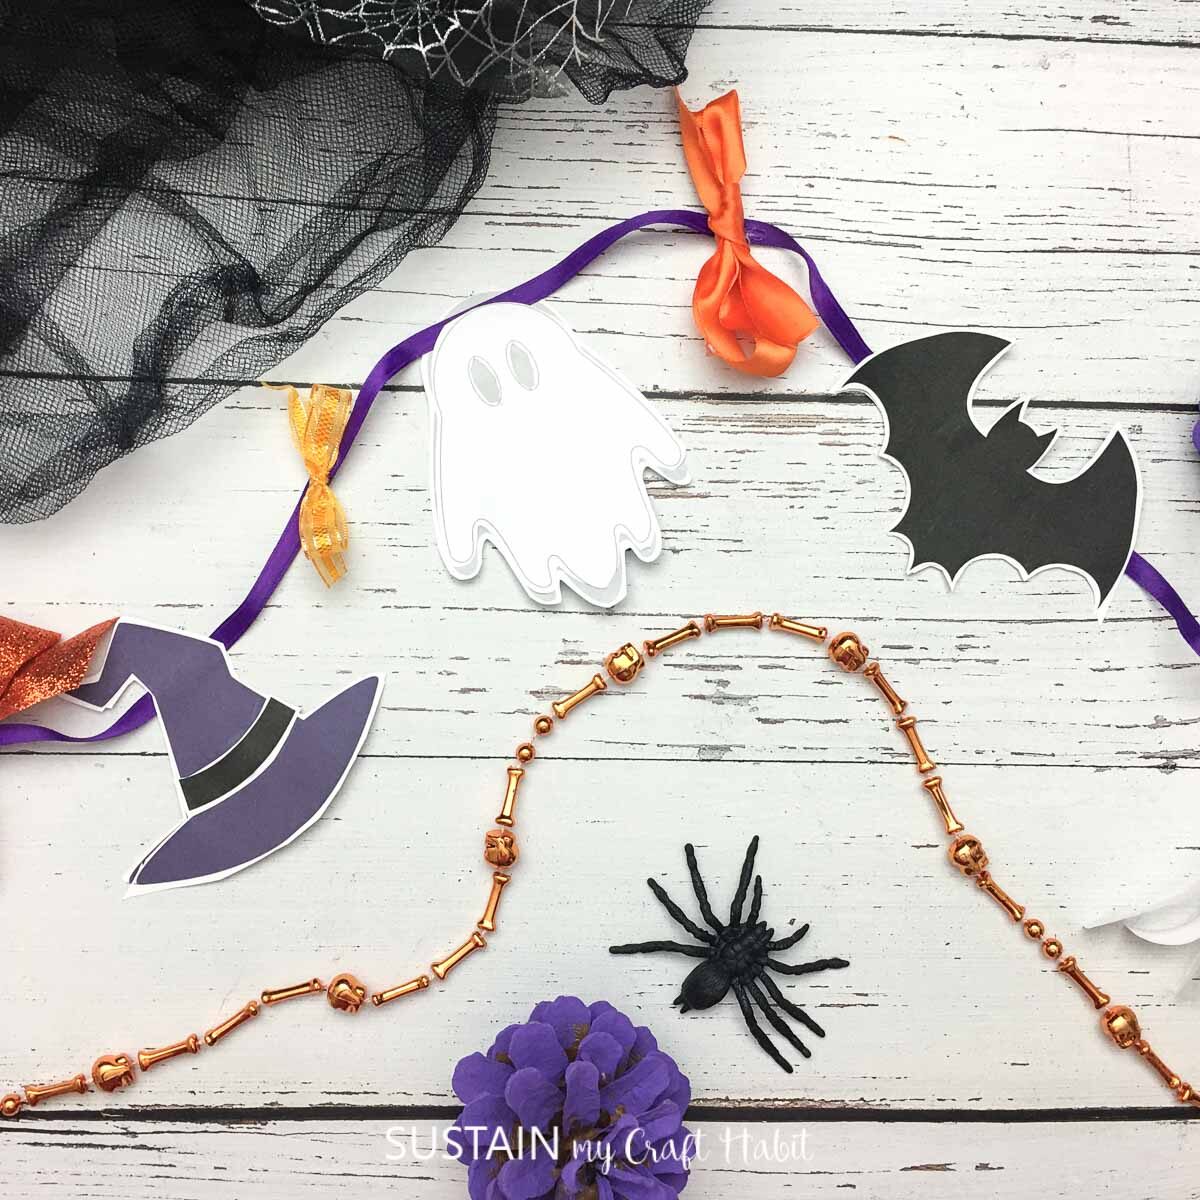
Materials Needed for this Halloween Craft Idea
Disclosure: This post contains affiliate links for your shopping convenience. Should you choose to purchase through them, we will make a small commission at no extra cost to you. You can read our full disclosure policy here.
- scrap wood block
- Decoart Dazzling Metallics Paint, Splendid Gold
- Decoart Chalky Finish Paint, Carbon black
- White or clear school glue such as Elmer’s
- Gold metallic paint pen
- 1/8″ gold ribbon
How to Crackle Paint with Glue
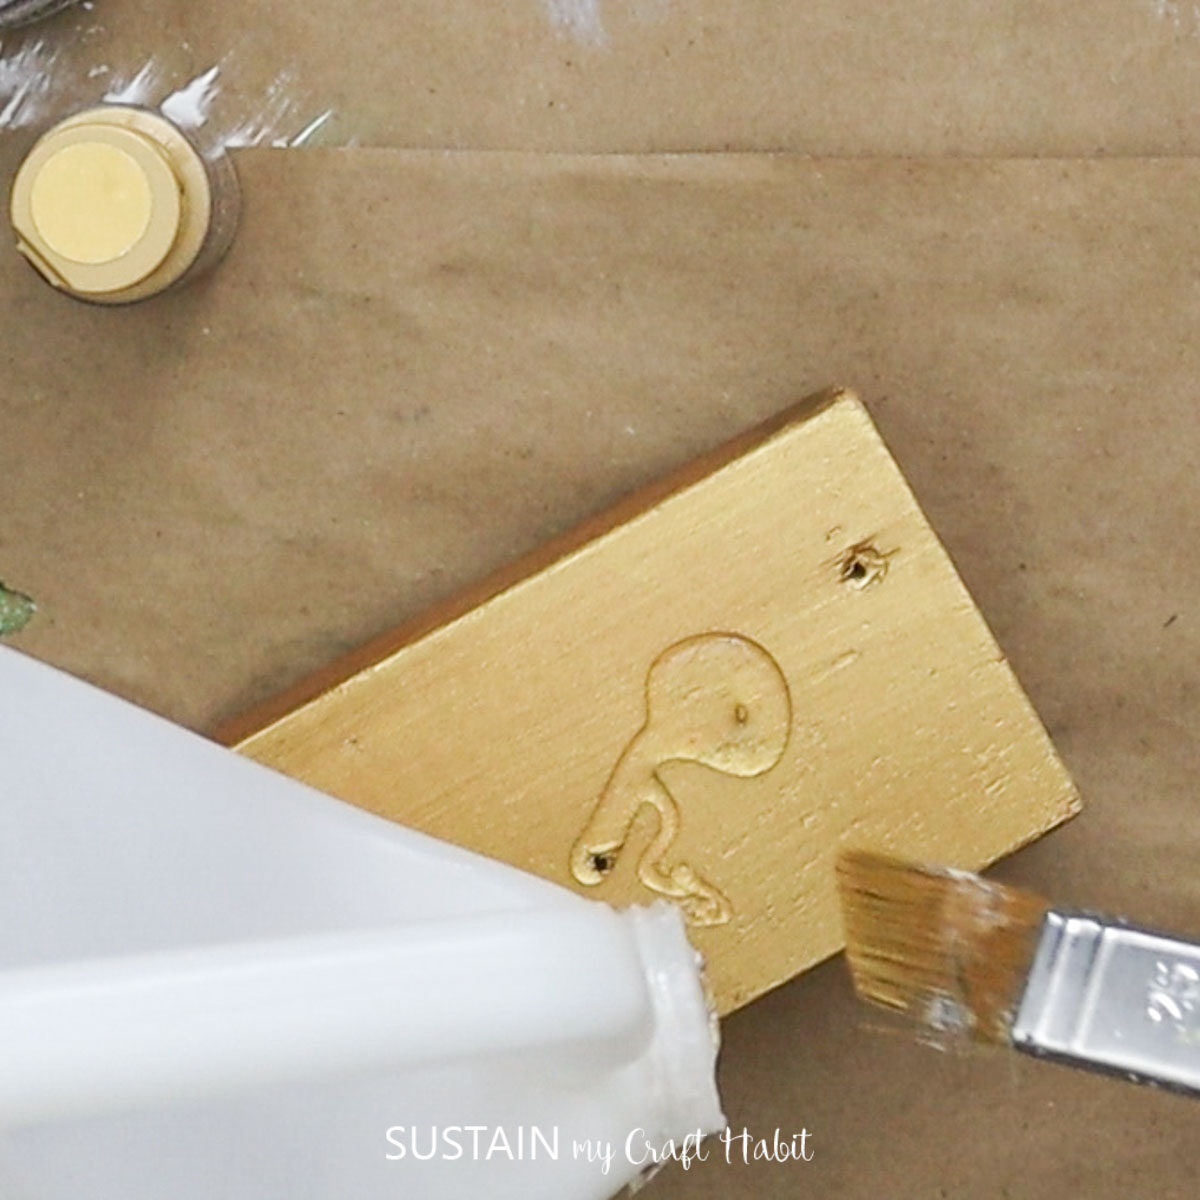
Paint your surface with the base color that will be showing through the crackle (gold metallic in this case). Let dry completely.
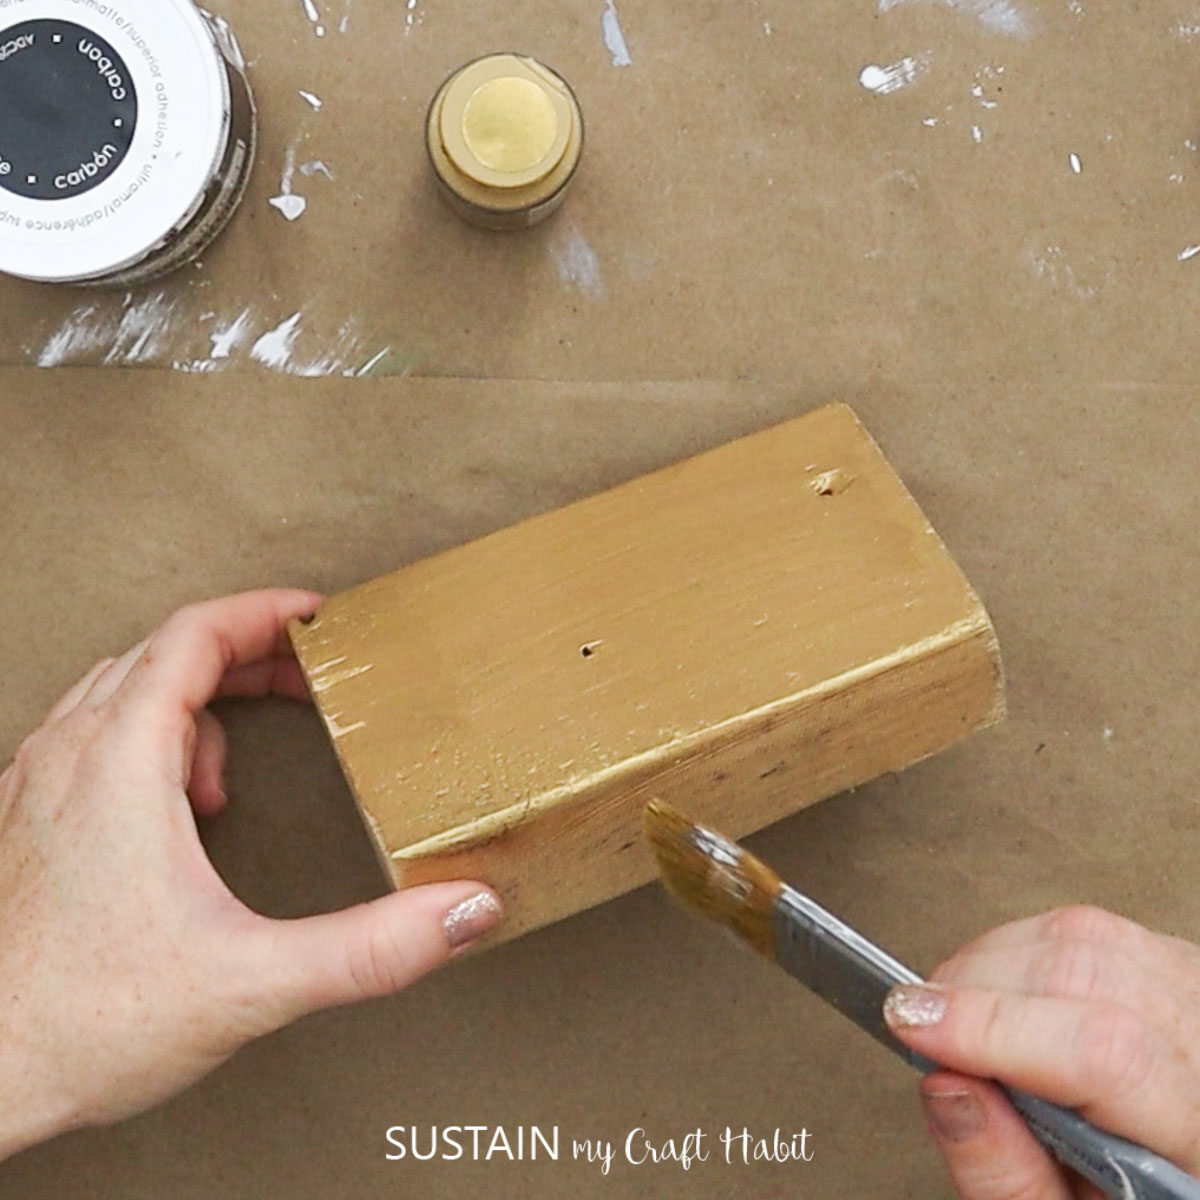
Paint a generous coat of school glue onto the surface. Brush it in one direction for best results. Let dry until TACKY (the glue needs to still be wet for the paint crackle finish to form).
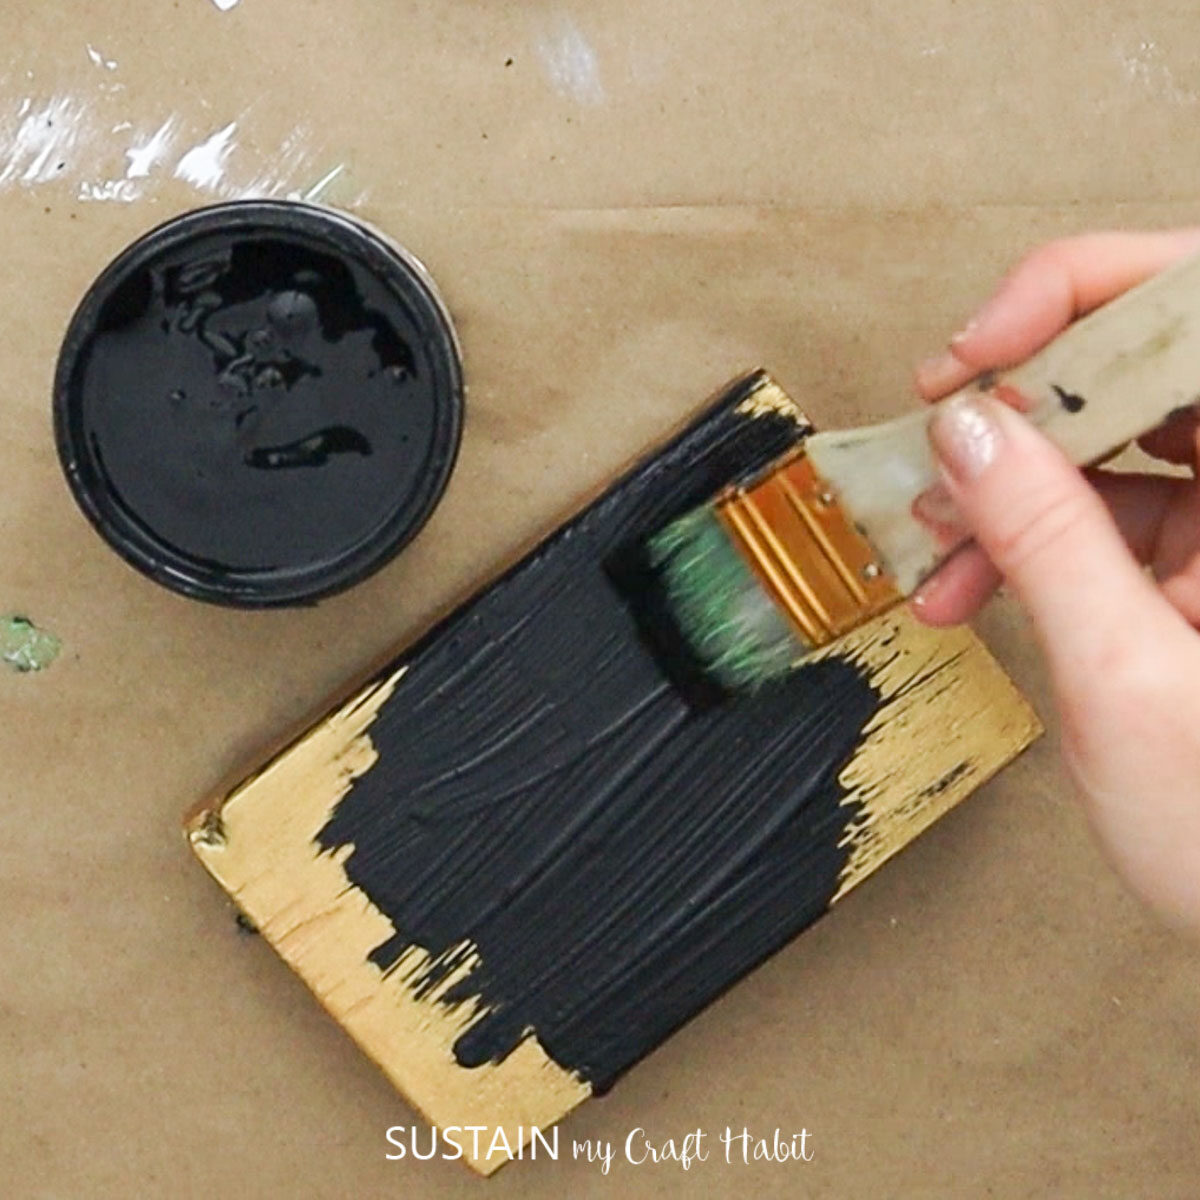
While the glue is still tacky, brush the surface paint color over it.
Allow the paint to air dry, or use an air gun to speed up the drying.
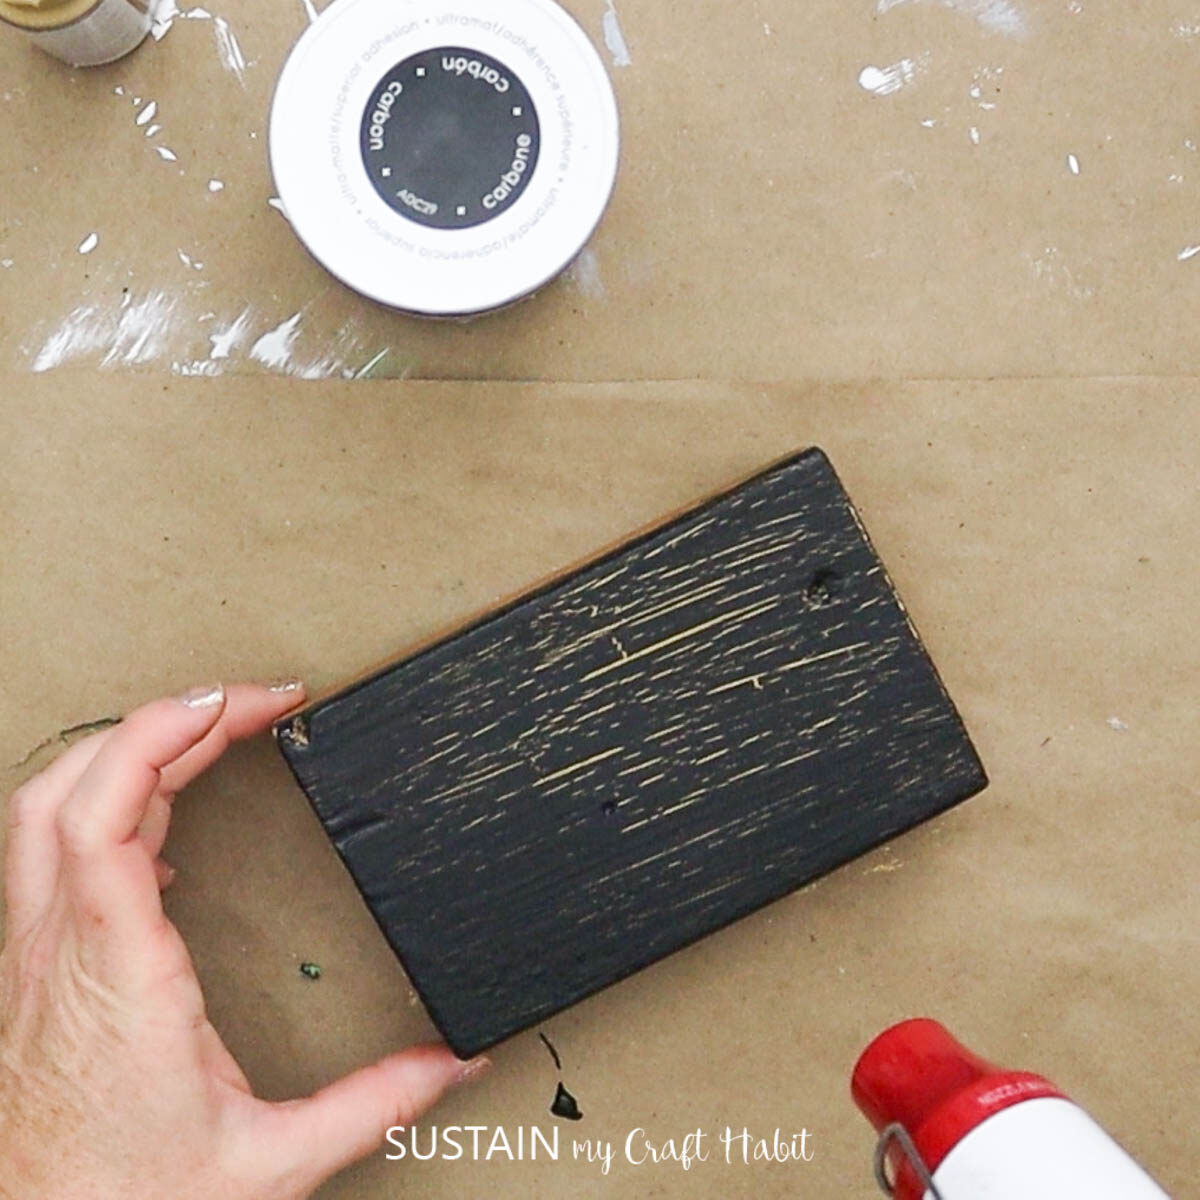
As the paint dries, the crackle finish will form like magic!
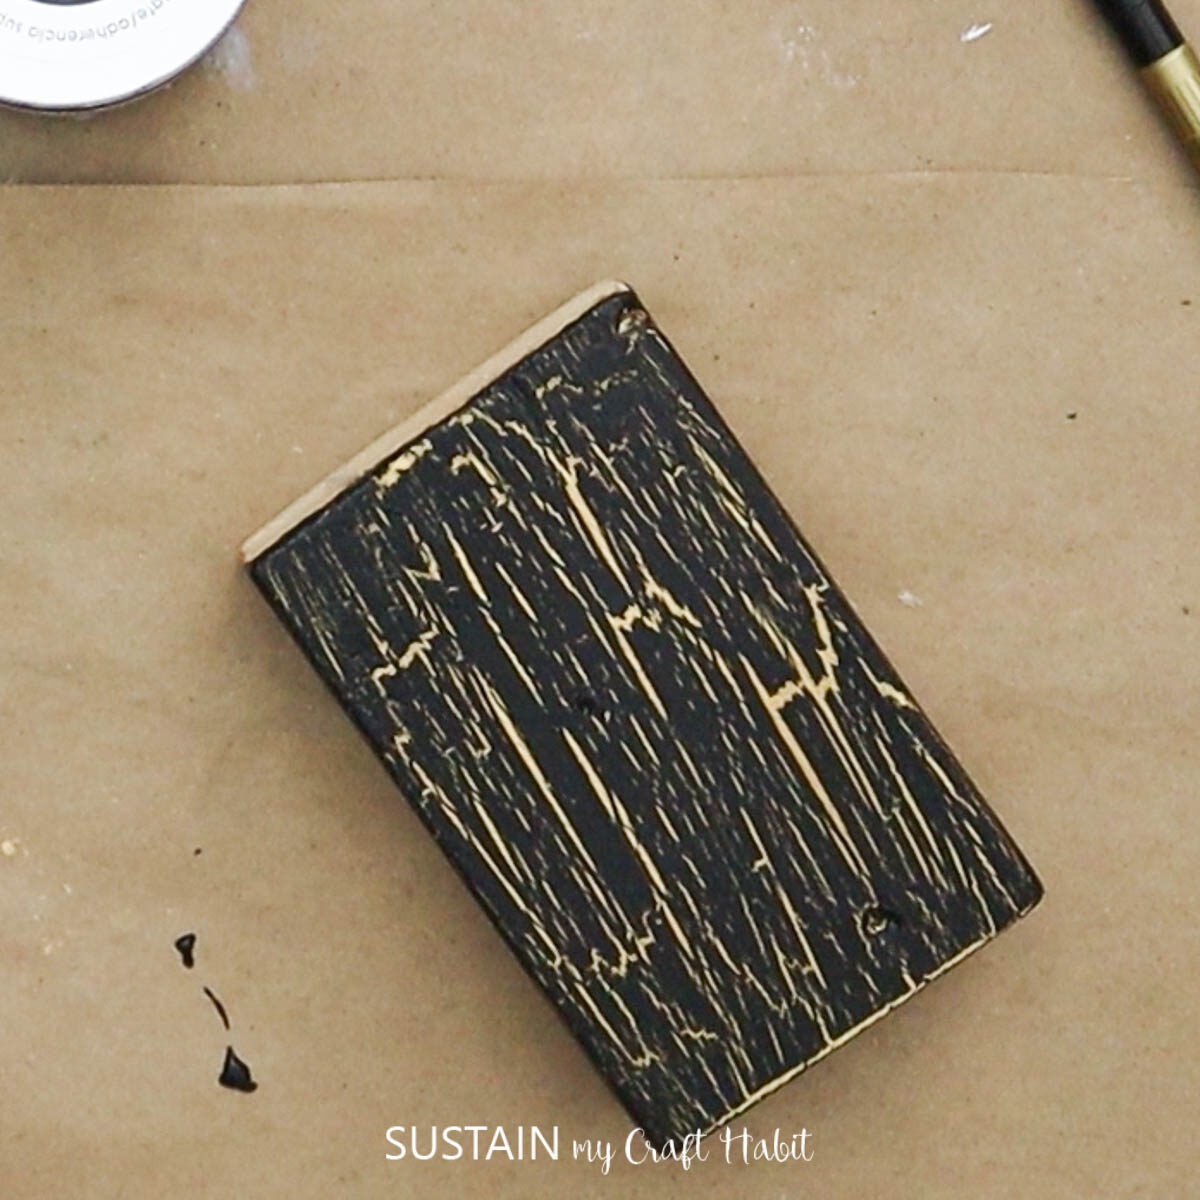
And that’s all there is to making paint crackle with glue! Let the paint and glue dry completely. This may take several hours depending on the thickness of the glue.
You now have a beautiful textured surface to use for your crafting project!
Once dry, use the gold paint pen to add the Halloween quote or phrase.
Tie a gold ribbon about a third of the way down from the top edge.
So I’m pretty in love with how these spooky blocks turned out but am moreso obsessed with this crackle paint finish! Check below for some of the other projects we’ve recently made using this DIY crackle paint technique.
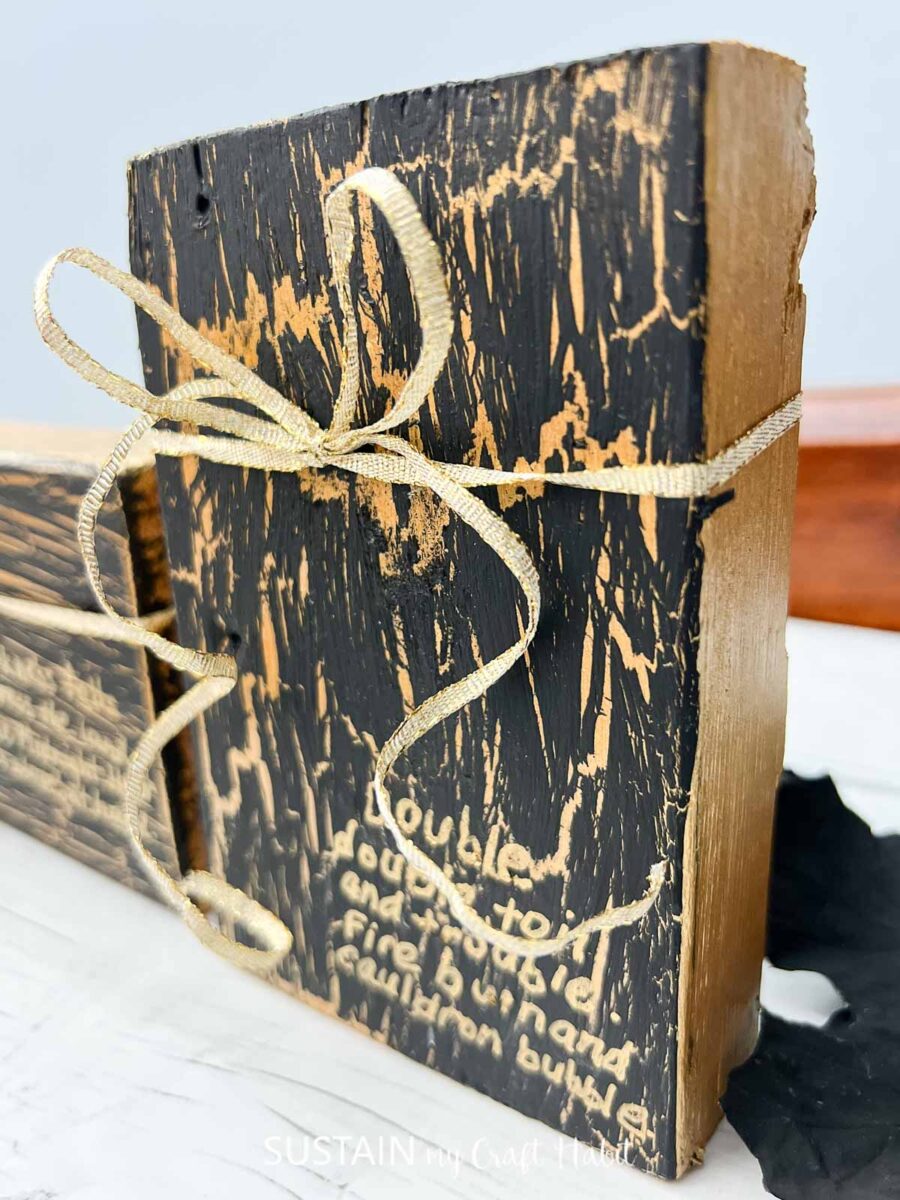
It’s interesting that the Macbeth quote came to mind before I started the project and in the end the crackle effect created a charred wood kind of result (fire burn!). So neat.
Additional Crackle Paint Finish Crafts
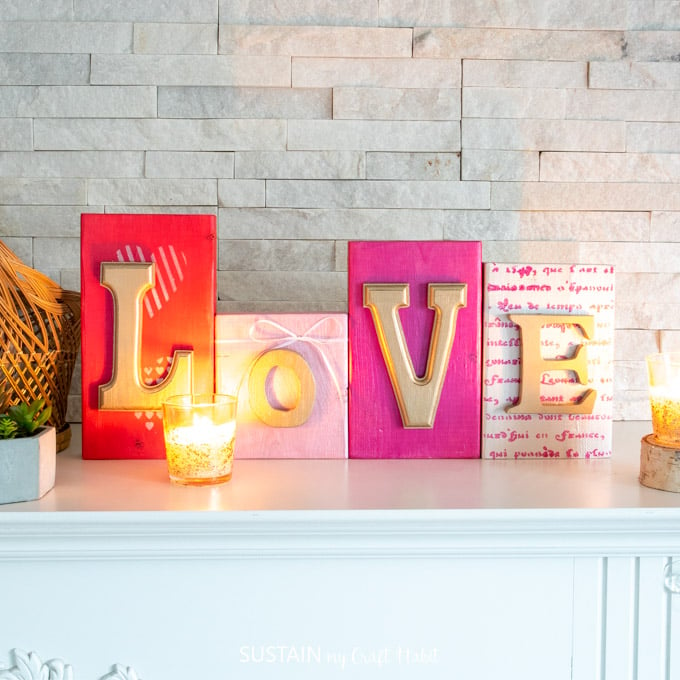
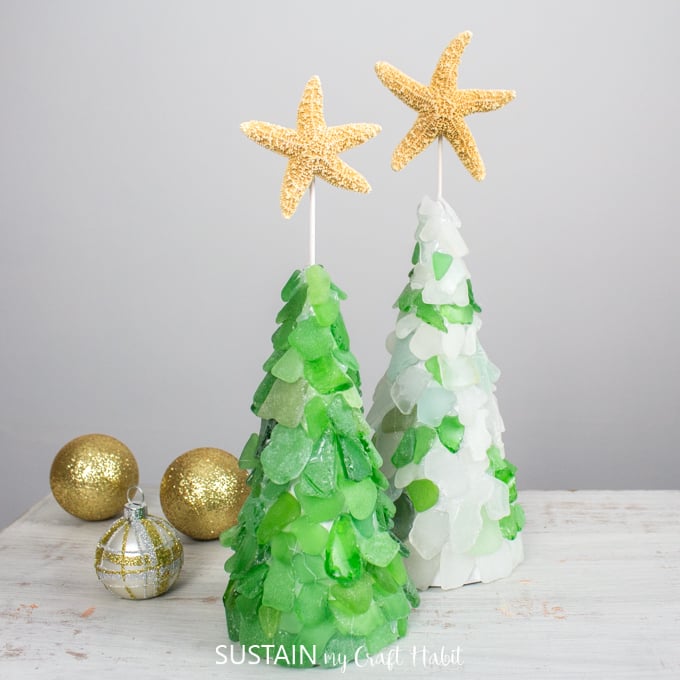
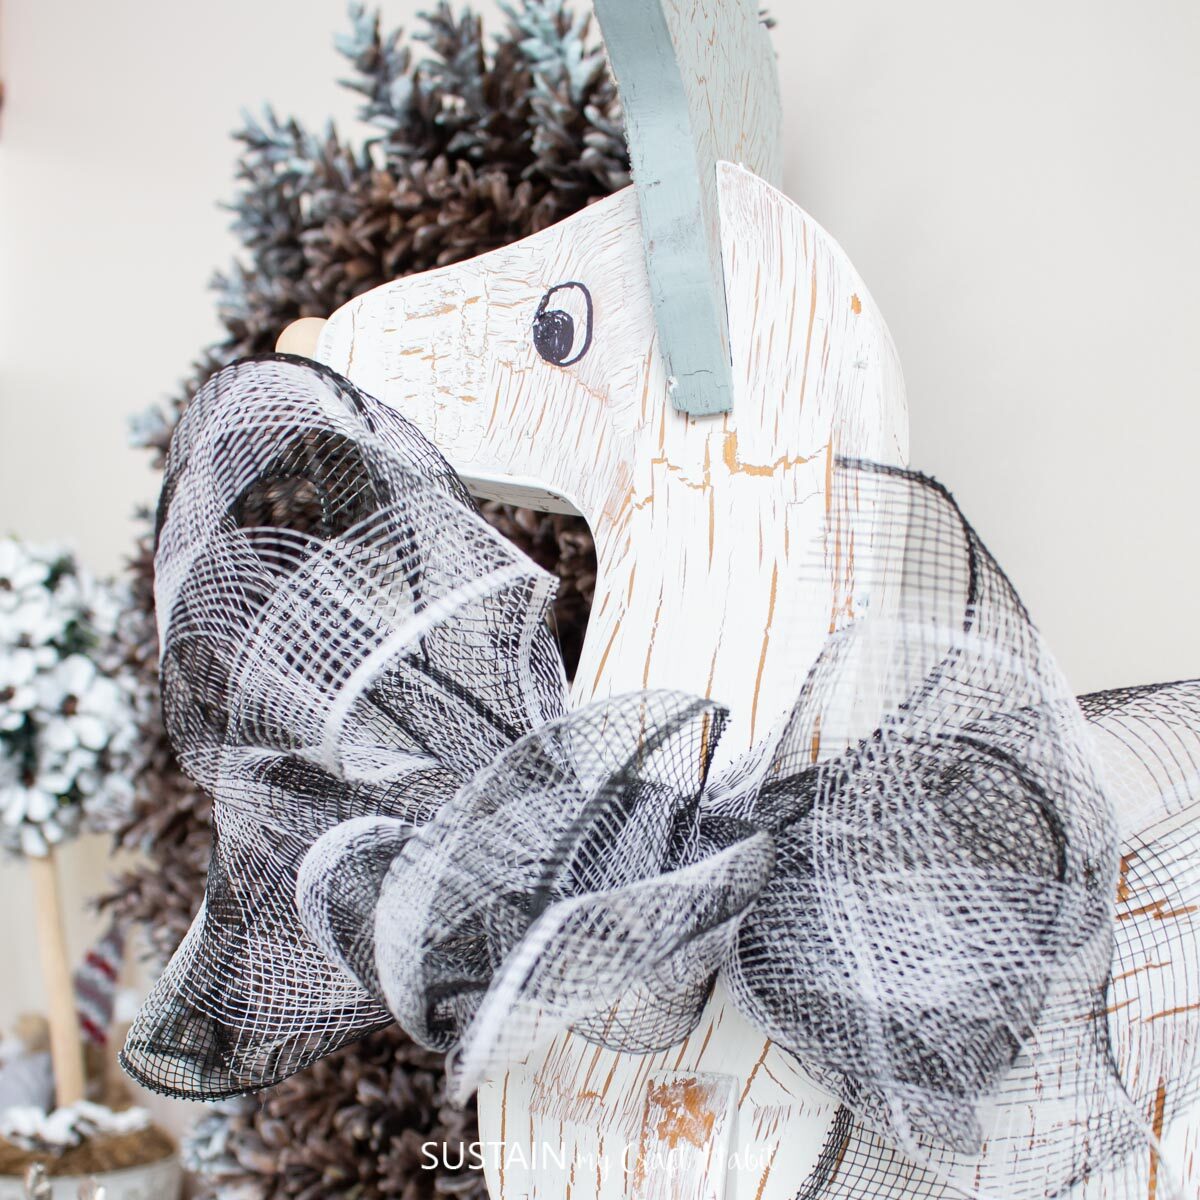
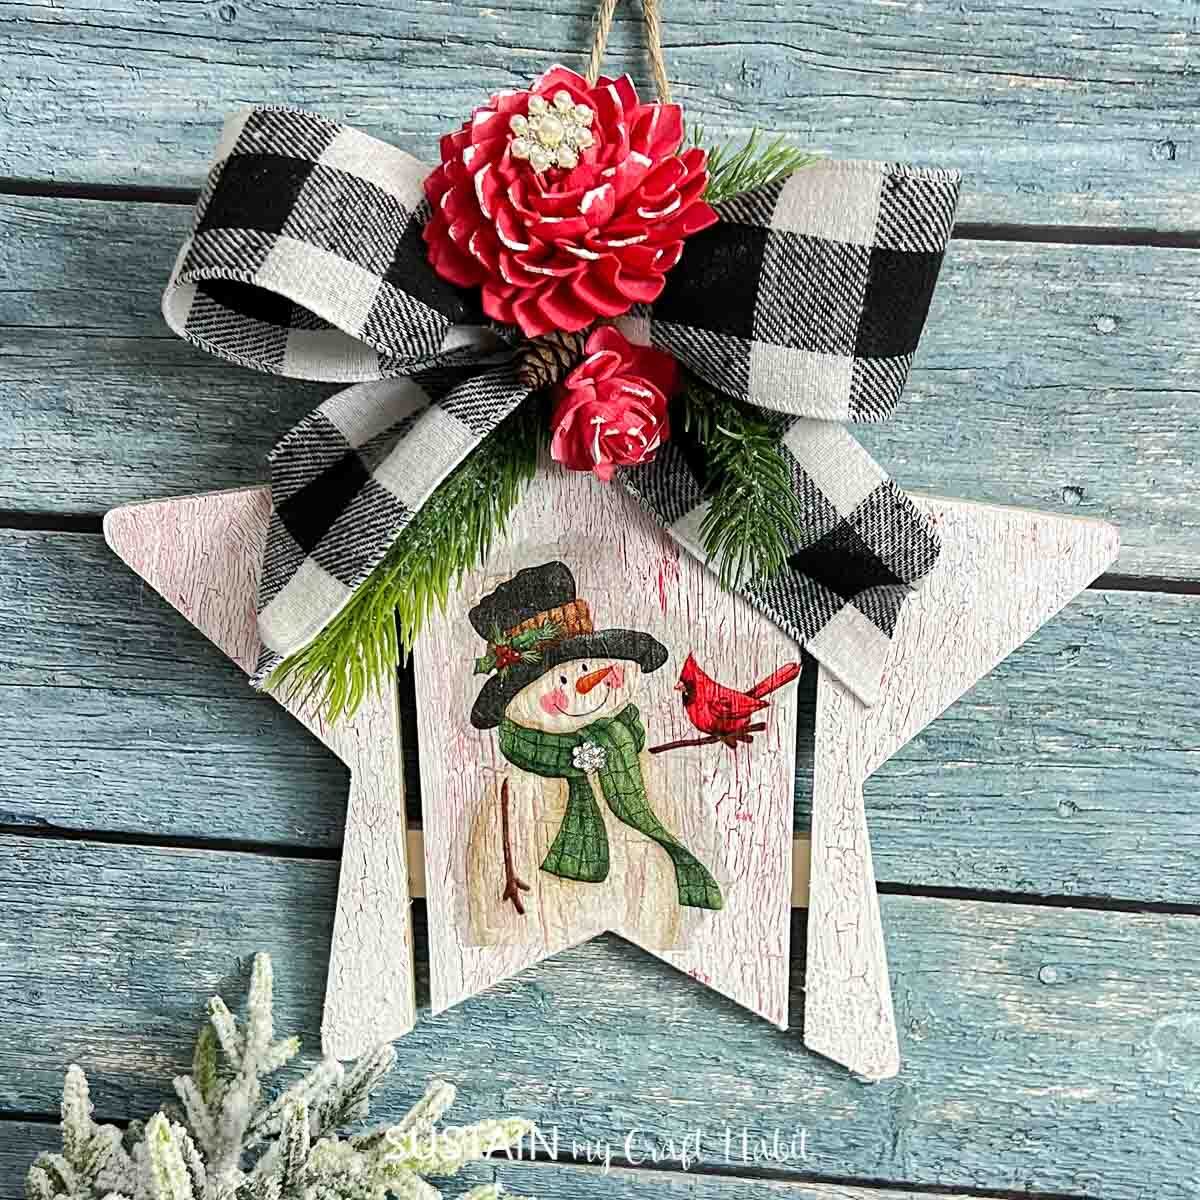
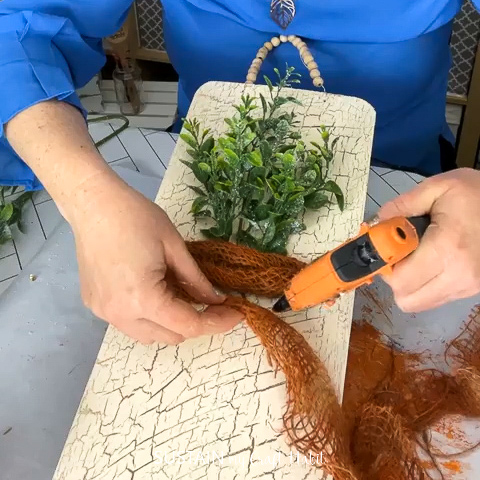
Now that you’ve learning the basics of how to crackle paint with glue, you’ll be able to add beautiful texture to all sorts of projects. Here are just a few we’ve done recently (click the image to take you to the tutorial):
Additional Halloween Craft Ideas to Explore
We’ve been crafting up a storm for Halloween this year! Be sure to check out some of thes additional ideas to make:
- Halloween paper garland
- Halloween clothespin craft
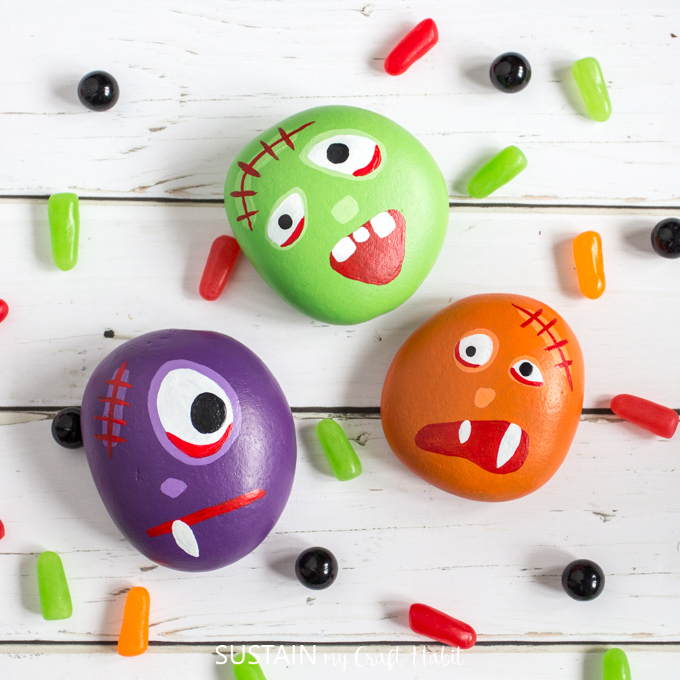
- Monster painted rocks
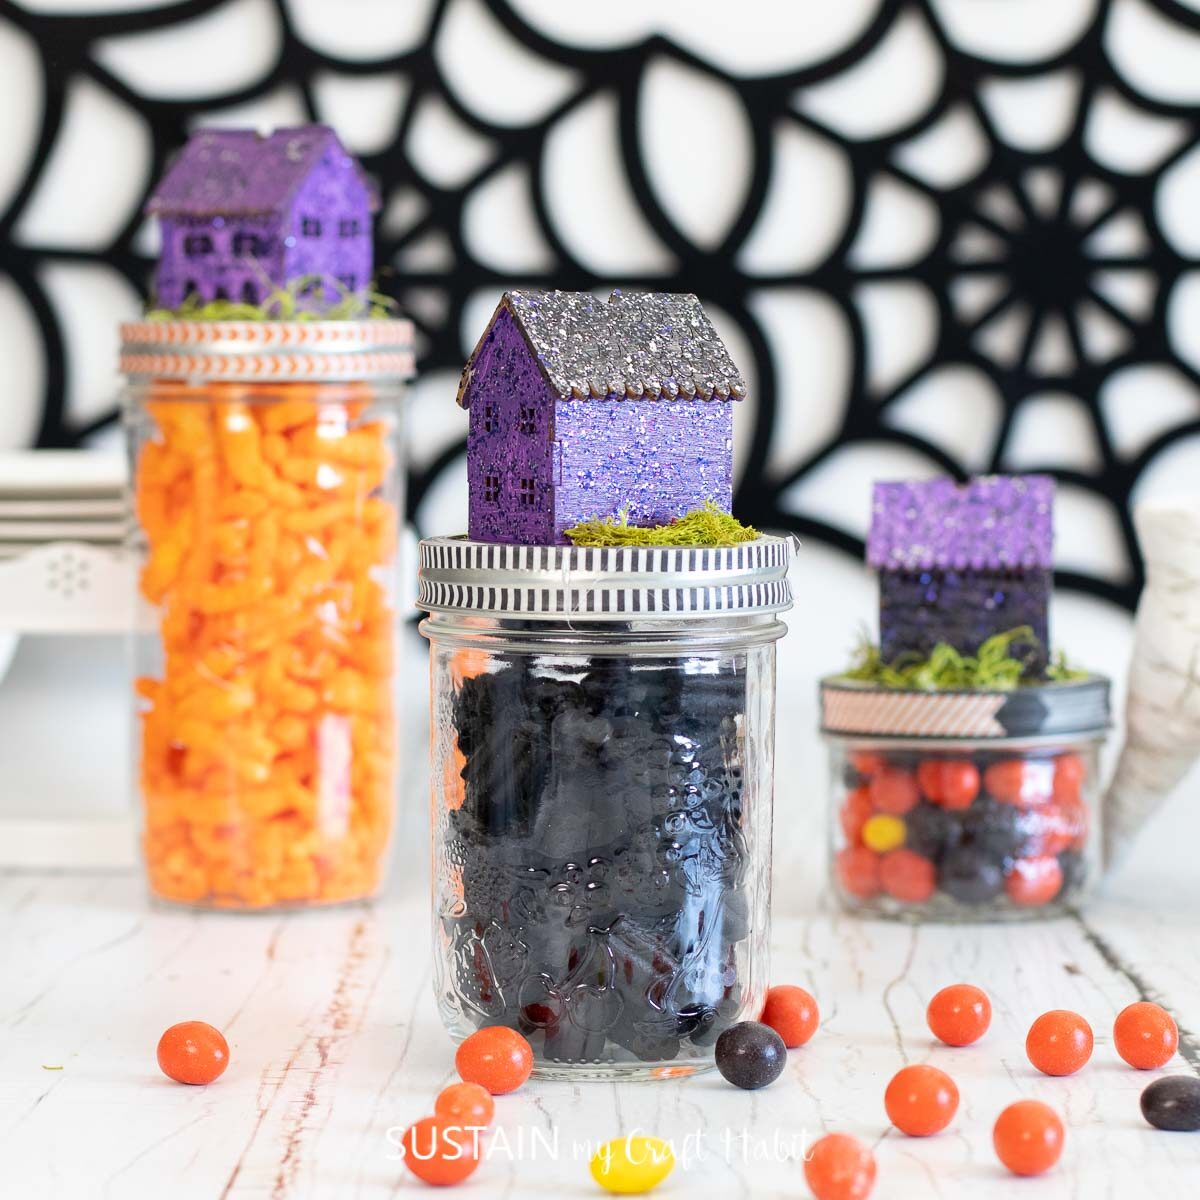
- Halloween jar toppers
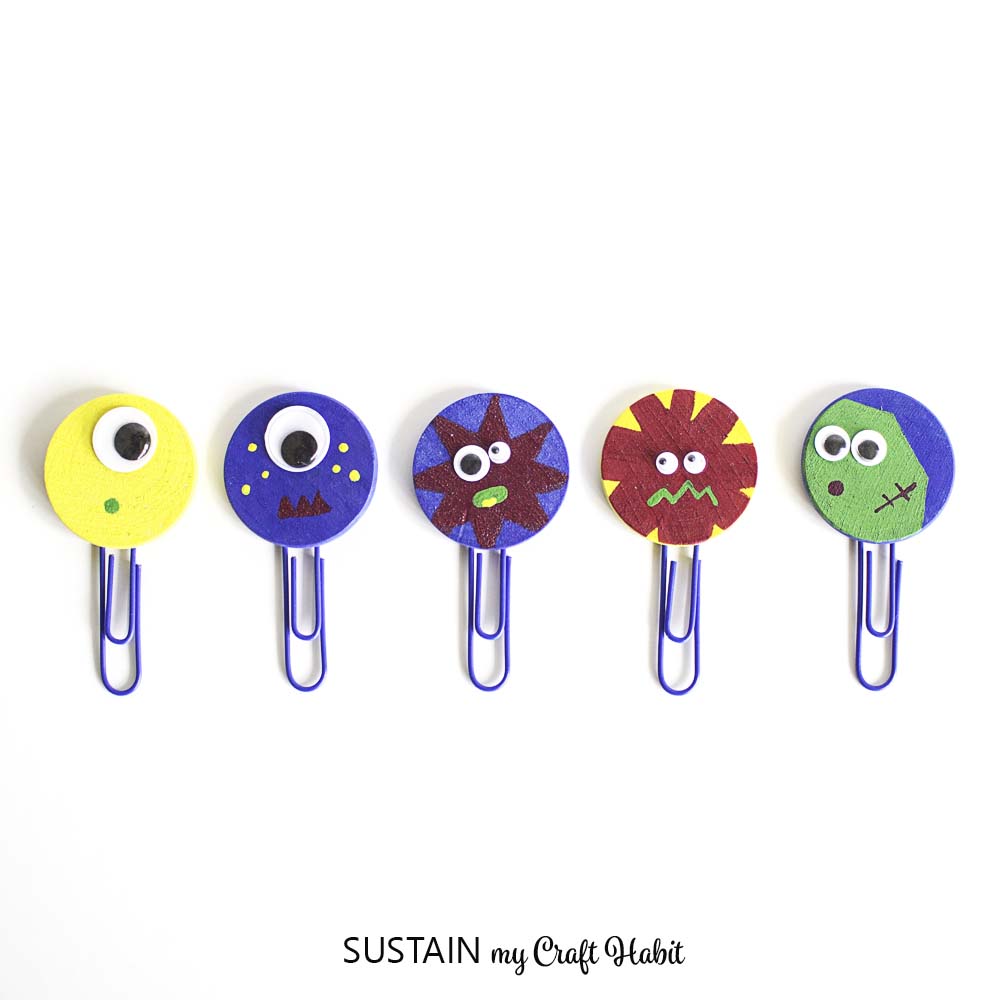
- Monster paperclip bookmarks
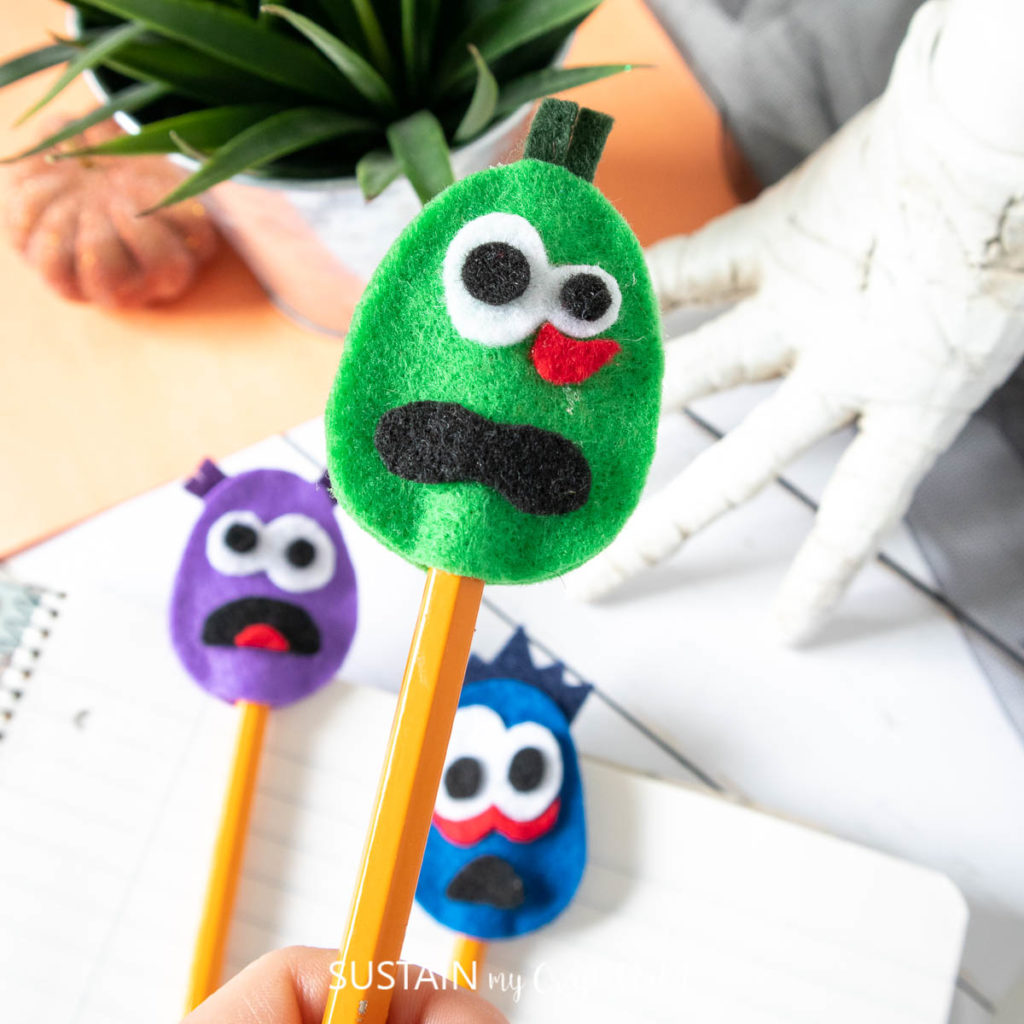
- Halloween pencil toppers

Like it? Pin it for later!


Getting a Crackle Paint Finish with School Glue!
Materials
- Scrap wood block
- Decoart Dazzling Metallics Paint Splendid Gold
- Decoart Chalky Finish Paint Carbon black
- White or clear school glue such as Elmer’s
- Gold metallic paint pen
- 1/8" Gold ribbon
Instructions
- Paint your surface with the base color that will be showing through the crackle. Let dry completely.
- Paint a generous coat of school glue onto the surface. Brush it in one direction for best results. Let dry until TACKY
- While the glue is still tacky, brush the surface paint color over it.
- Allow the paint to air dry, or use an air gun to speed up the drying.
- As the paint dries, the crackle finish will form like magic!
- Let the paint and glue dry completely. This may take several hours depending on the thickness of the glue.
- Once dry, use the gold paint pen to add the Halloween quote or phrase.
- Tie a gold ribbon about a third of the way down from the top edge.