Outdated to Modern Picture Frame Makeover
Are you tired of looking at the same old outdated picture frames cluttering up your walls and shelves? Do you have a collection of cherished photos that deserve a fresher, more modern display? If so, then you’re in the right place!

In this blog post, we’ll show you how easy it is to transform those tired frames into stylish, contemporary pieces that will complement any decor. Whether you’re a DIY novice or a seasoned crafter, our step-by-step guide will help you bring new life to your picture frames, making your memories shine in a whole new light.
Why You Will Love This Frame Makeover
There are numerous reasons why you will love this picture frame makeover. First and foremost, new pictures frames are expensive! This project is also a cost-effective alternative to purchasing new frames, as it enables you to recycle and revitalize what you already own.

Furthermore, updating your frames can breathe new life into your photos and artwork, making them stand out and become focal points in any room. Not to mention, the sense of accomplishment you’ll feel after completing a DIY project is incredibly rewarding. Lastly, this makeover is versatile and adaptable, meaning you can easily adjust the design to match any seasonal changes or decor updates in your home.
RELATED: 45 Craft to Make with Picture Frames
I found these frames at a local thrift store for CHEAP and I instantly saw the potential. The brass finish doesn’t work with my decor so a quick and simple solution was to refinish them in white.

Can I Add Embellishments?
Absolutely! You can personalize your frame makeover by adding embellishments such as rhinestones, beads, or buttons. These small details will add a touch of elegance and uniqueness to your frames. Just be sure not to overdo it and keep the overall design cohesive.
Want to receive a ton of inspiration and money saving ideas for decorating, gift-giving and crafting? Join HERE!
Materials Needed
Disclosure: This post contains affiliate links for your shopping convenience. Should you choose to purchase through them, we will make a small commission at no extra cost to you. You can read our full disclosure policy here.
- Brass picture frames with picture mat (or any outdated picture frames)
- Krylon spray paint, white matte finish
Outdated to Modern Picture Frame Makeover
Be sure to remove all hardware backing carefully.
Remove the framed picture and discard (or keep) if desired. Remove the picture mat and place it face up on a protected surface.

And lastly, remove the glass very carefully as well to avoid injury and breaking the glass. Put the glass aside in a safe spot for the time being.
In our case, the frame separated into 4 pieces once the backing pieces were removed so more assembly (and a screwdriver) were required.

Place the frame pieces face up on a protected surface.
Following the instructions on the spray paint, apply a coat of paint to the frame and mat.
Leave it to dry and repeat until desired coverage is achieved.

Reassemble the picture frames and insert new photos or art. Hang to enjoy!
The instructions are quite simple but the transformation is impressive. For a very low cost, you can have good quality picture frames for your home. As well as the satisfaction of upcycling something from the second hand store.
Revitalize Your Home Decor
Incorporating a modern touch into your existing picture frames is a fantastic way to revitalize your home decor, personalize your living space, and celebrate your cherished memories. With minimal cost and effort, you can makeover picture frames into stylish accents that reflect your unique taste.
More Picture Frame Crafts
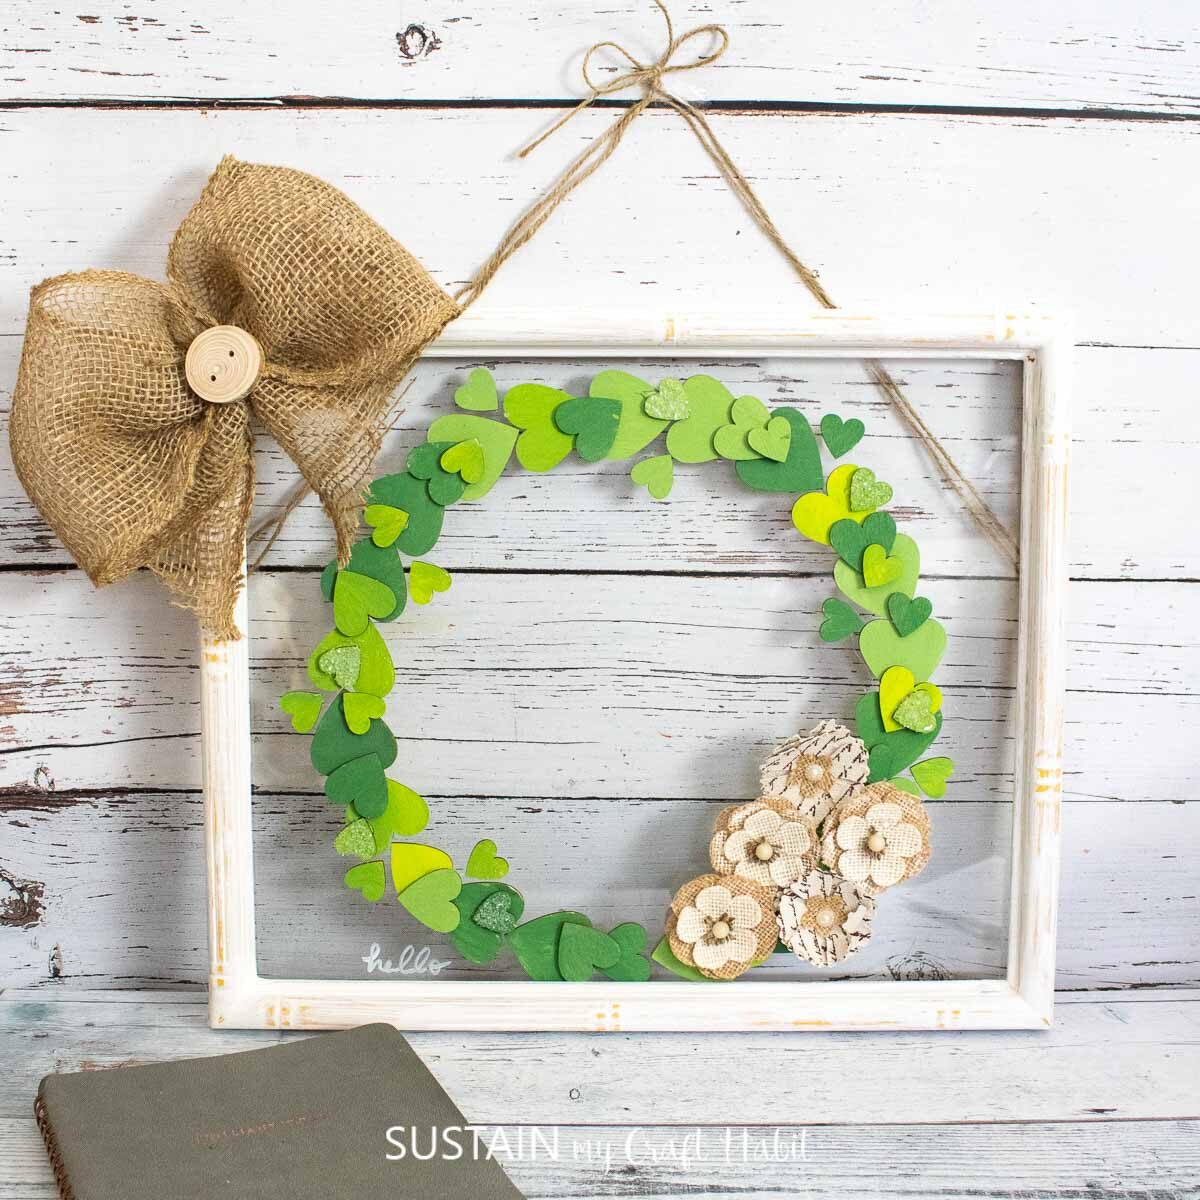
- Wood Heart Cutout Wreath with an Upcycled Picture Frame
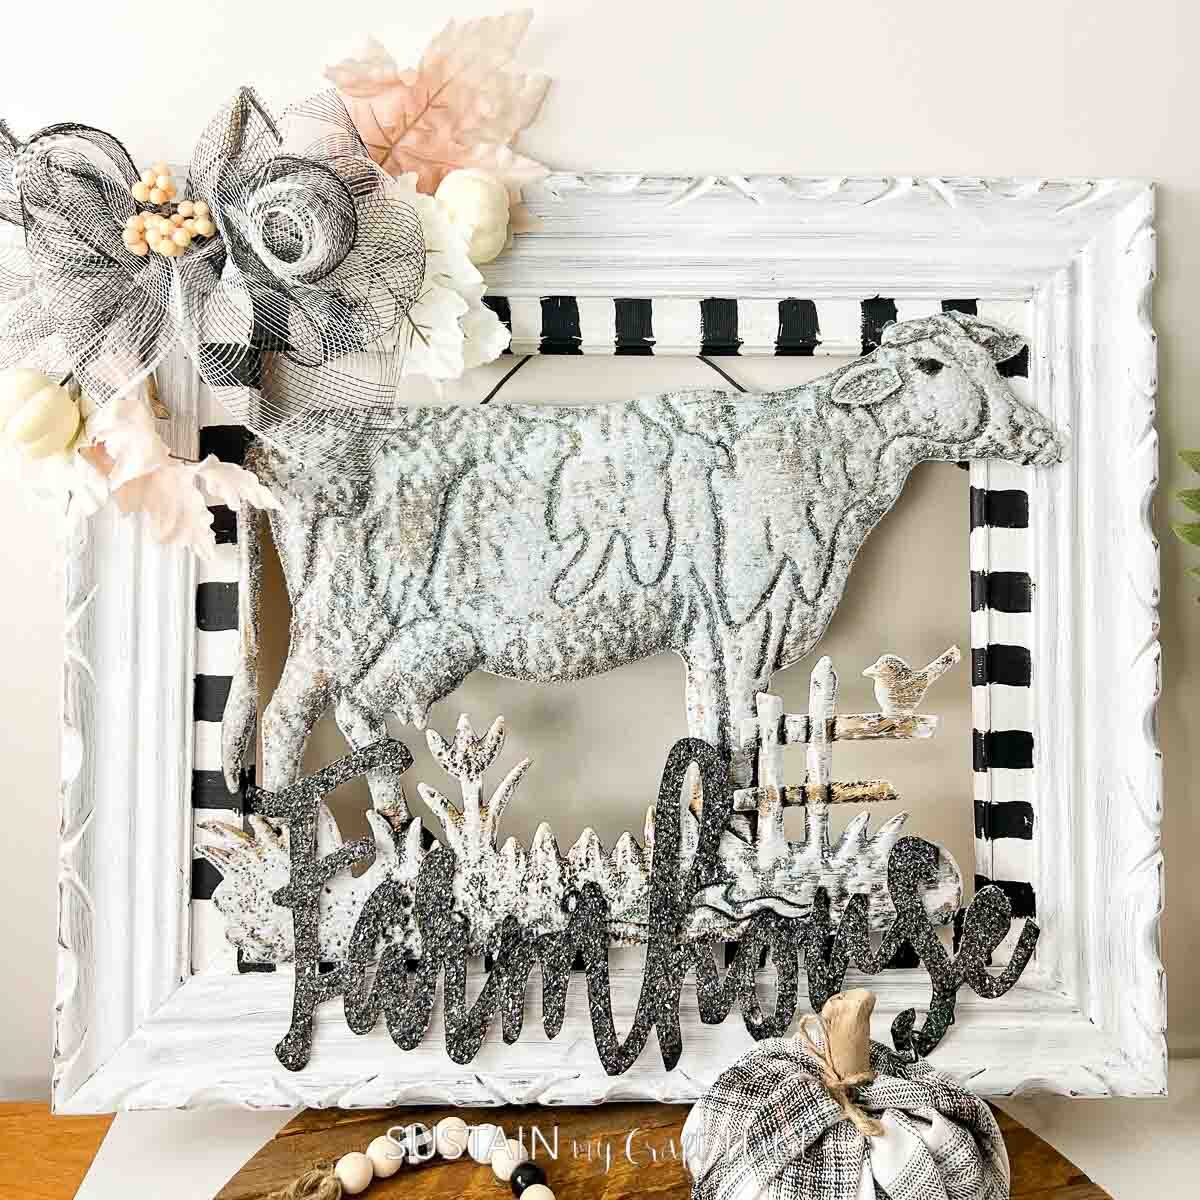
- Farmhouse Craft with Dollar Store Cow
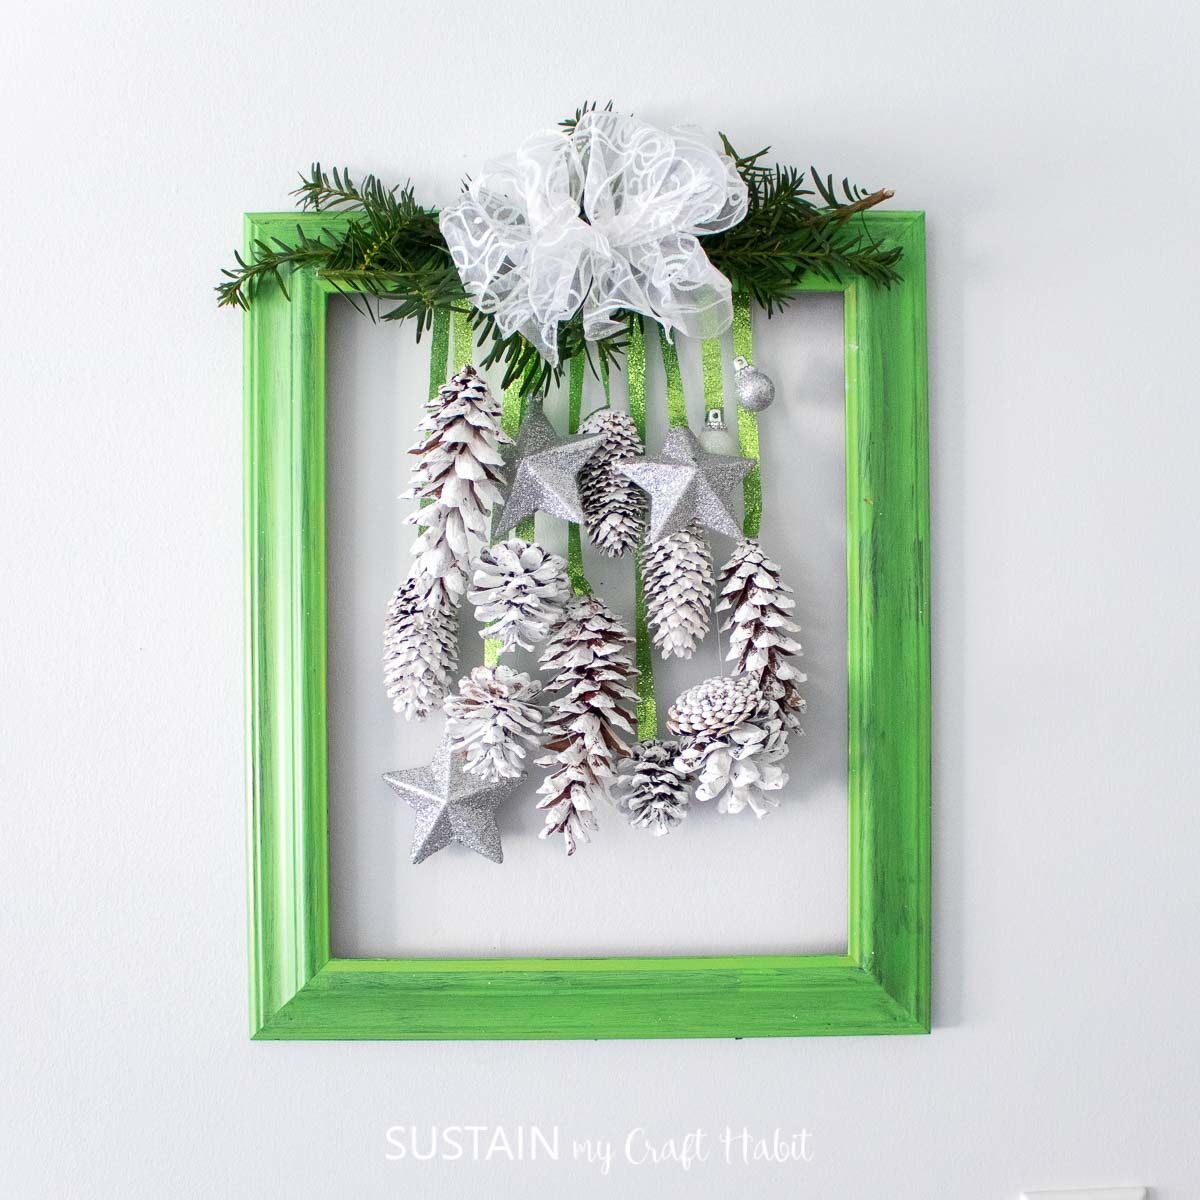
- Upcycled Picture Frame Door Decor
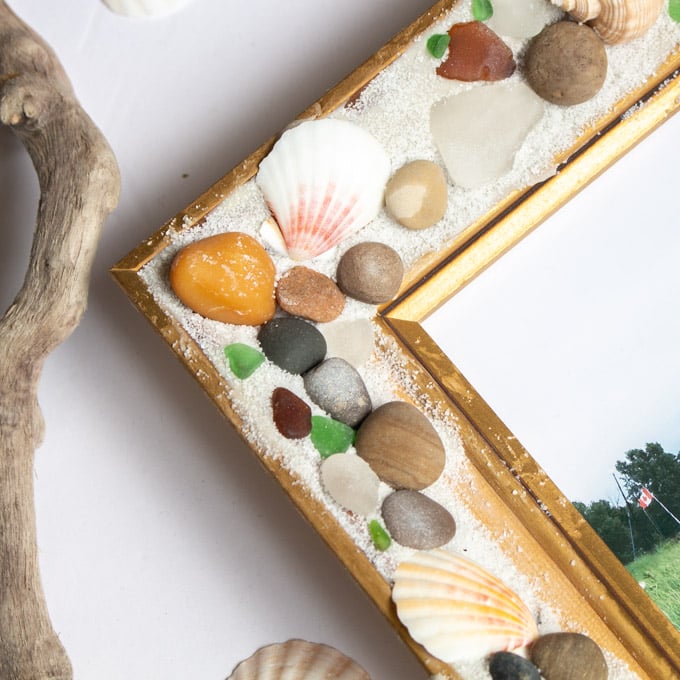
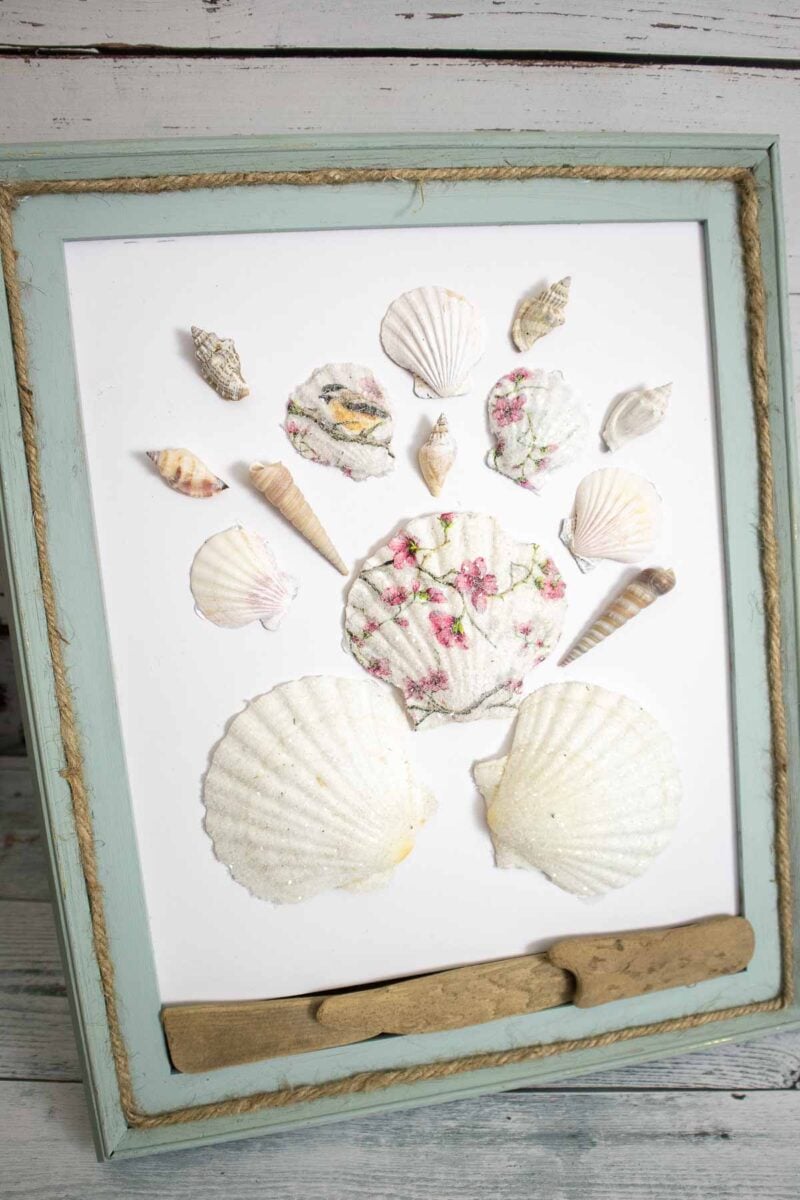
- Beachcomber’s Picture Frame
- Decoupage Seashells
Get updates on the latest posts and more from Sustain My Craft Habit straight to your inbox by joining our weekly newsletter. We promise to send you only the good stuff.
Like it? Pin it for later!


Outdated to Modern Picture Frame Makeover
Materials
- Brass picture frames with picture mat
- Krylon spray paint white matte finish
Instructions
- Remove all hardware backing carefully.
- Remove the framed picture. Remove the picture mat and place it face up on a protected surface.
- Remove the glass very carefully as well to avoid injury and breaking the glass. Put the glass aside in a safe spot for the time being.
- Place the frame pieces face up on a protected surface.
- Following the instructions on the spray paint, apply a coat of paint to the frame and mat.
- Leave it to dry and repeat until desired coverage is achieved.
- Reassemble the picture frames and insert new photos or art. Hang to enjoy!


