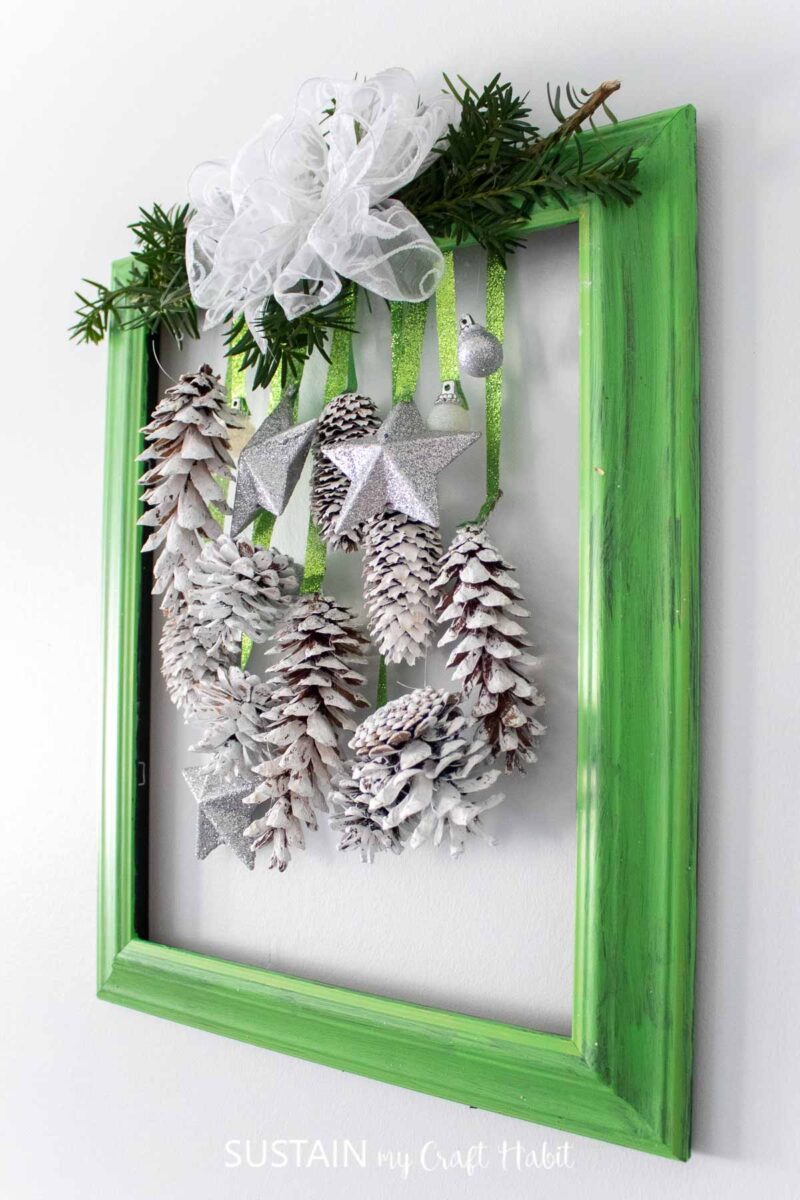
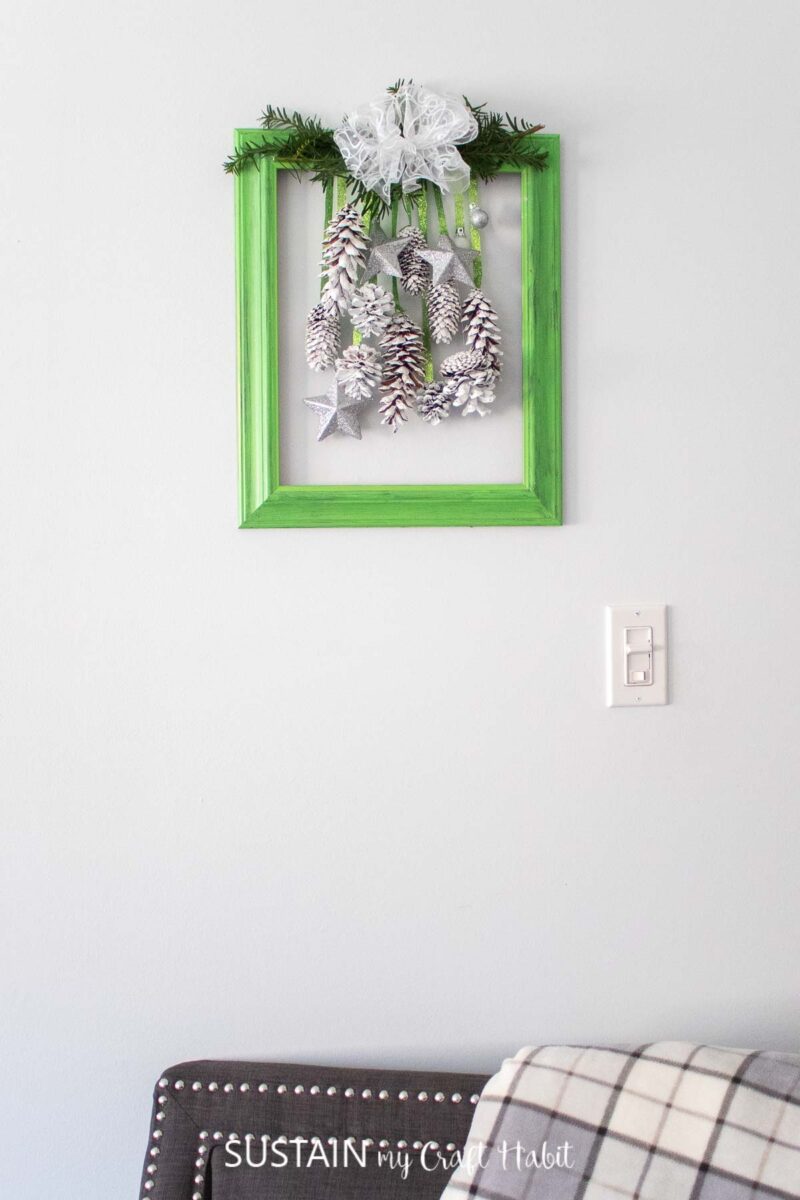
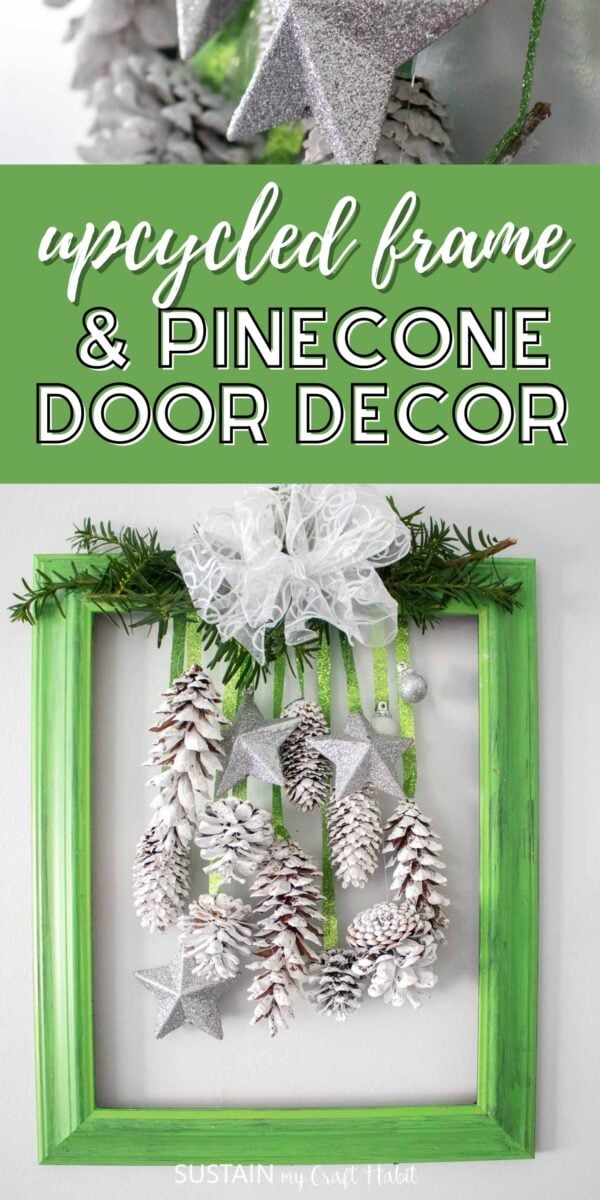
Upcycled Picture Frame Door Decor for the Holidays
Hello creative friends! As I begin my holiday decorating, I’m transforming an old outdated picture frame into a beautiful piece of door decor using some paint, ribbon, pinecones and of course, some fresh greenery. If you’d like to make your own festive ribbon and pine cone door decoration, keep reading below for the full how-to.
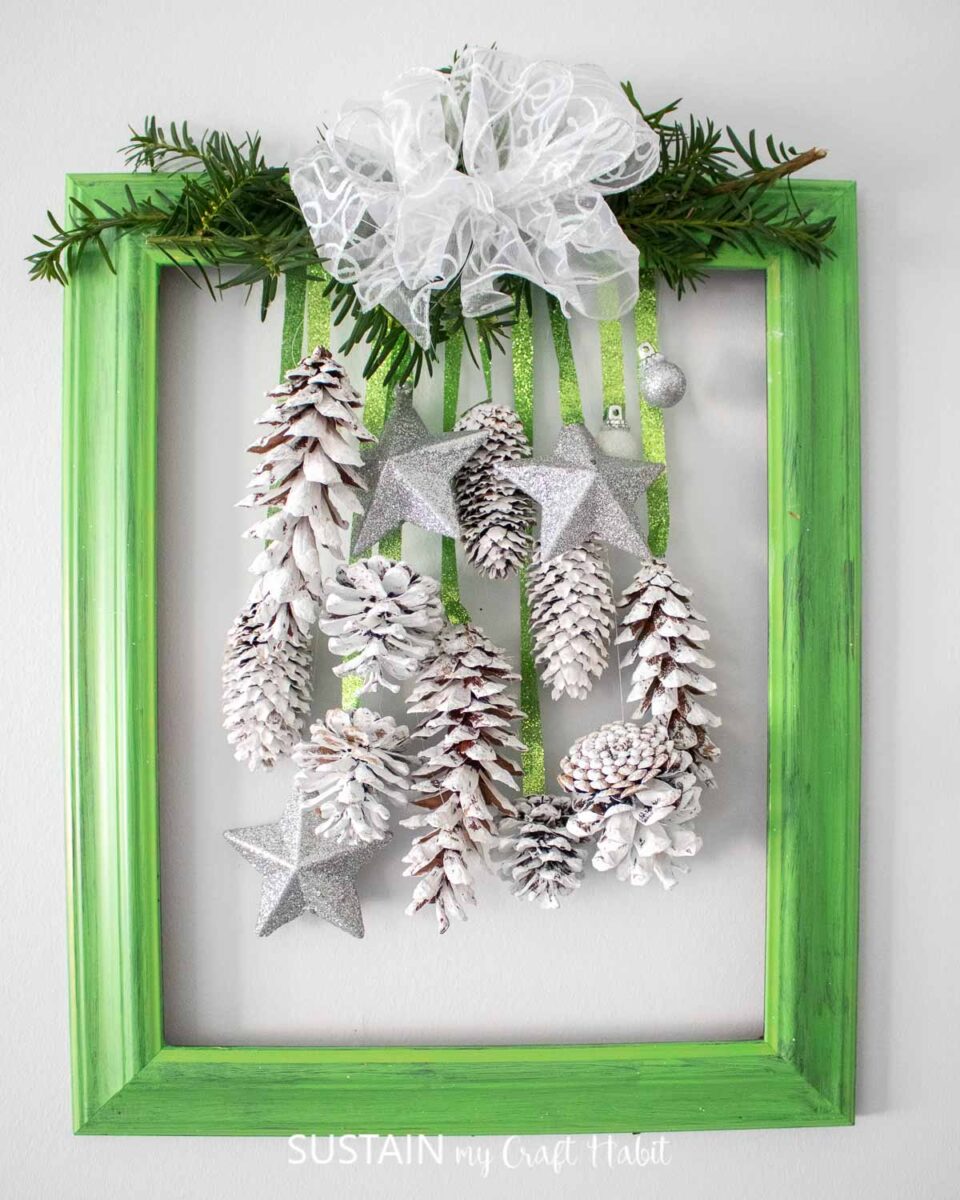
Lovely DIY Ribbon and Pine Cone Door Decoration
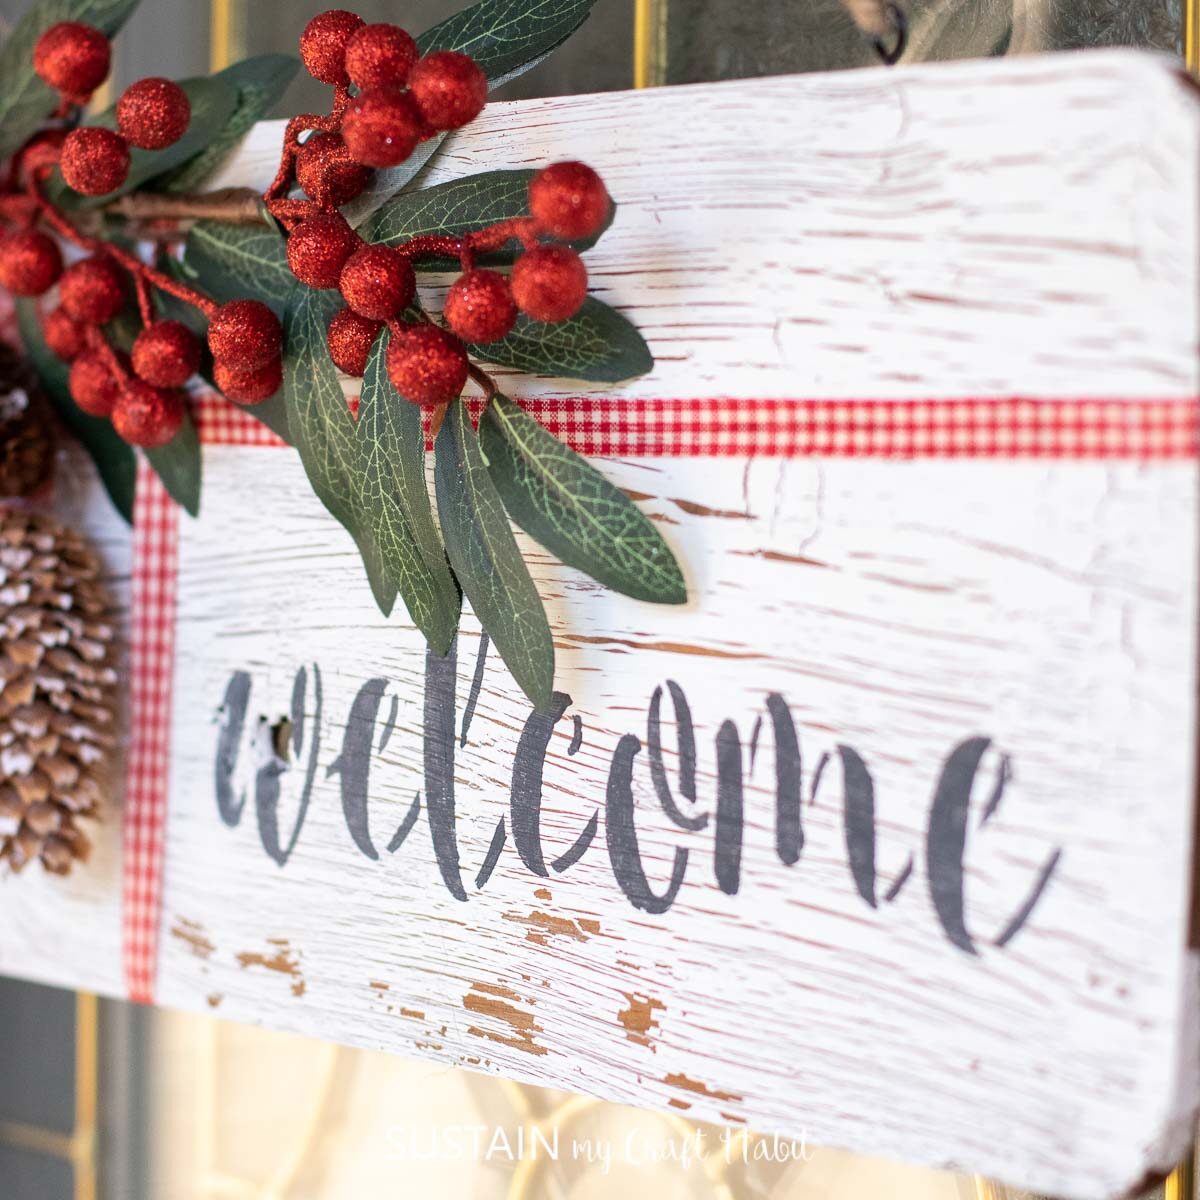
Certain crafts turn out better than imagined which is exactly the case with this festive upcycled frame DIY. As I was brainstorming the idea with my sister and mom before making it on this FB live video, I was torn on which color to go with. Lately, I’ve been crafting up a Christmas storm in a red and white color theme like these scandinavian inspired terra cotta Christmas tree pots and this Christmas welcome sign.

But I was feeling the green, a bright cheery green for this framed ribbon and pinecone door decoration and I’m sure glad I went for it. And I’m loving how it turned out!
RELATED: 45 Craft to Make with Picture Frames
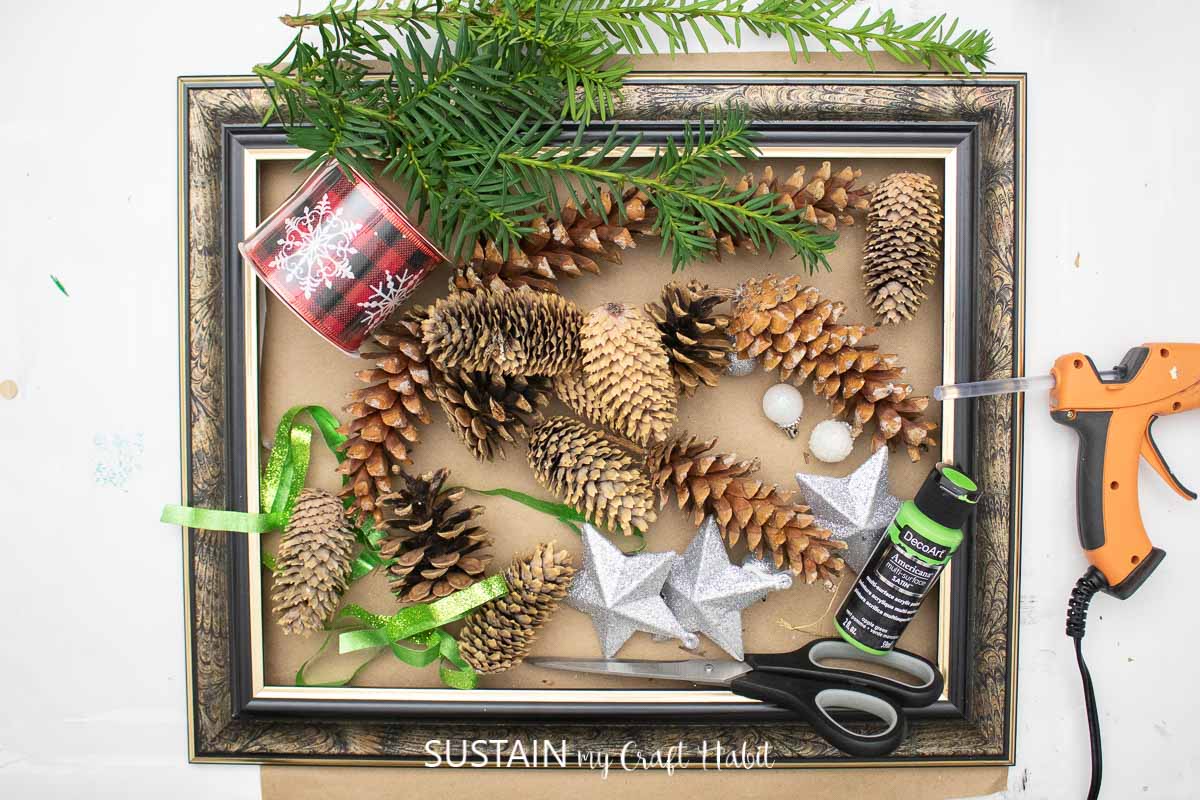
Materials Needed
Disclosure: This post contains affiliate links for your shopping convenience. Should you choose to purchase through them, we will make a small commission at no extra cost to you. You can read our full disclosure here.
- Multi-surface paint in Green Apple
- White Chalky Paint
- Paint Brushes
- Upcycled picture frame, about 10×13 or larger
- Ribbon (we used 1/2″ wide glitter ribbon in green for the inside of the frame and a wide 2″ ribbon in white for the top of the picture frame)
- Pine cones (assorted types and sizes)
- Ornaments (in white and silver colors)
- Fresh Greenery (we used juniper), can also use faux greenery
- Hot Glue Gun
How to Make a Ribbon and Pine Cone Door Decoration:
If you want to catch the video of making this craft in action, watch the Facebook Live video here or keep reading to get the step-by-step instructions below.
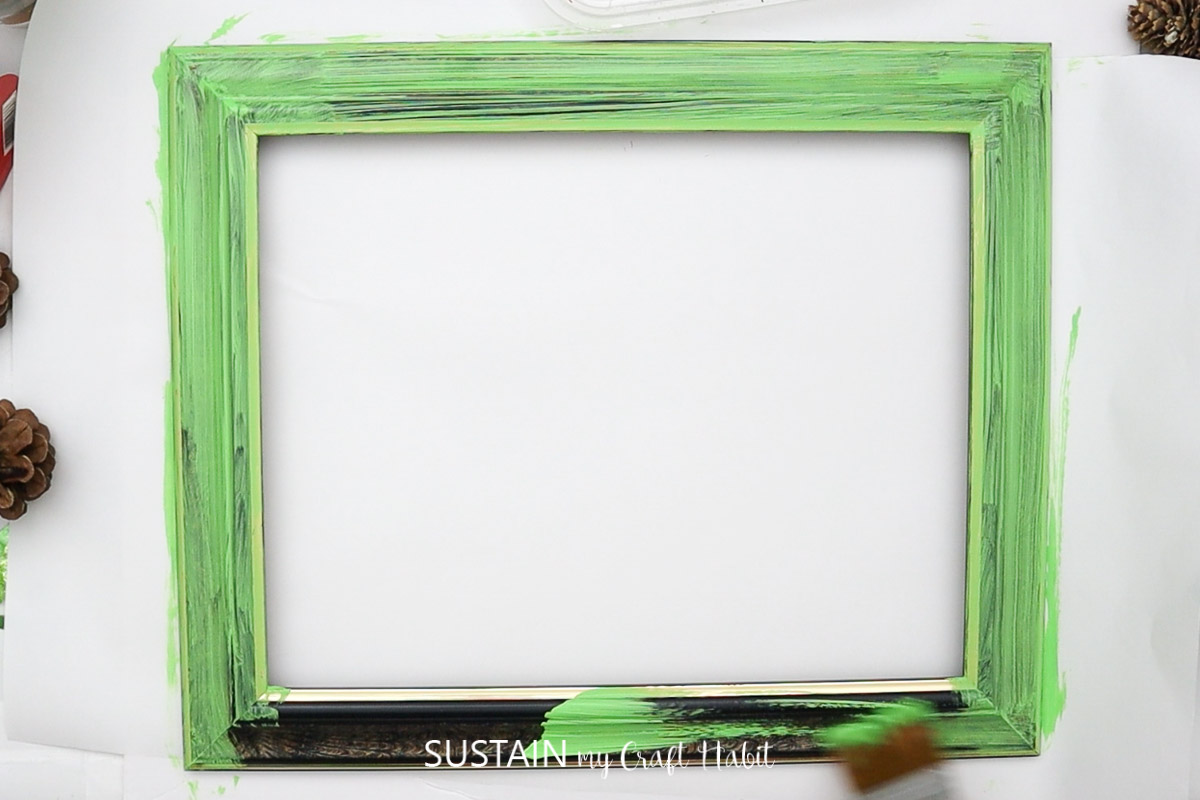
Paint the picture frame with the multi-surface paint in any color of your choosing. We picked a bright Apple Green color but wouldn’t this also look really great in red? Painting the frame may need to be repeated multiple times to get the right coverage. Let the frame dry before proceeding.
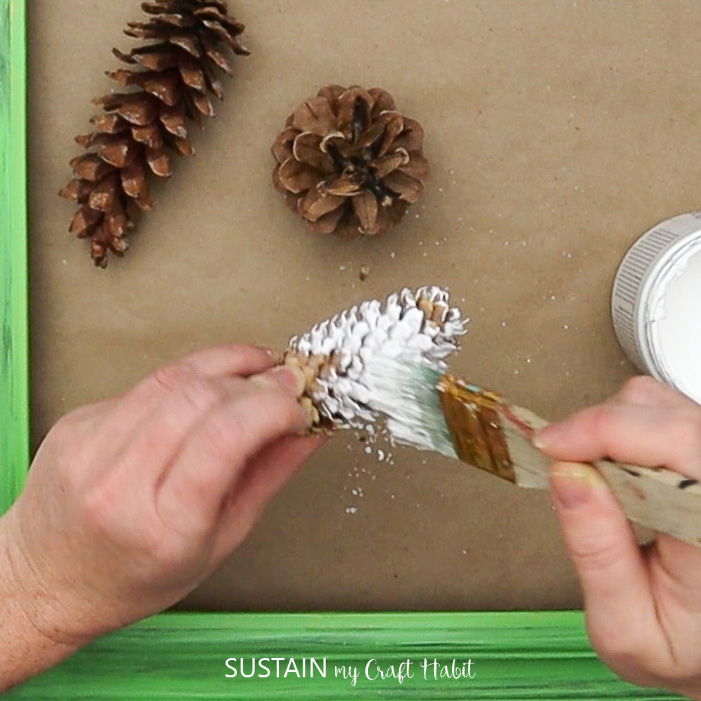
Next, paint the pinecones using a chalky white paint and let them dry. To get a similar look, choose a variety of different pinecones in varying sizes and lengths.
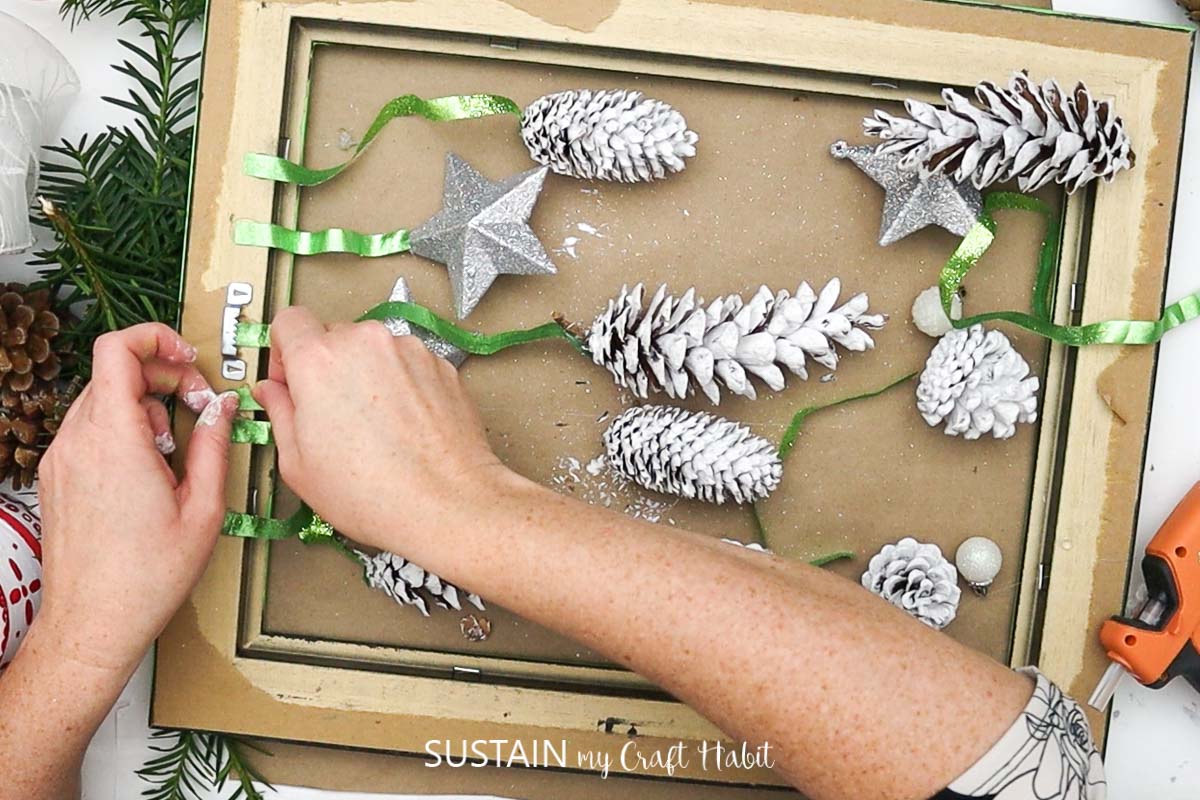
Cut the ribbon into strips measuring between 4″ to 8″ long to fit inside the frame.
Using the hot glue gun, glue one ribbon to the top of each pinecone as shown below.
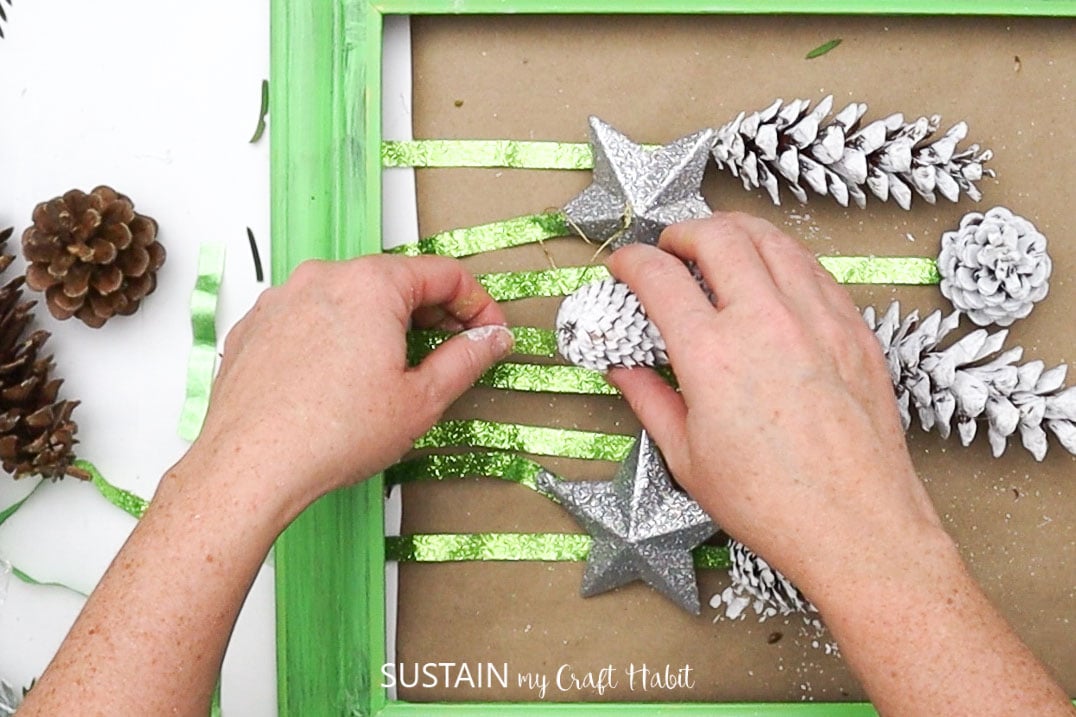
Then with the picture frame turned on its front, glue the ribbon to the top back of the frame.
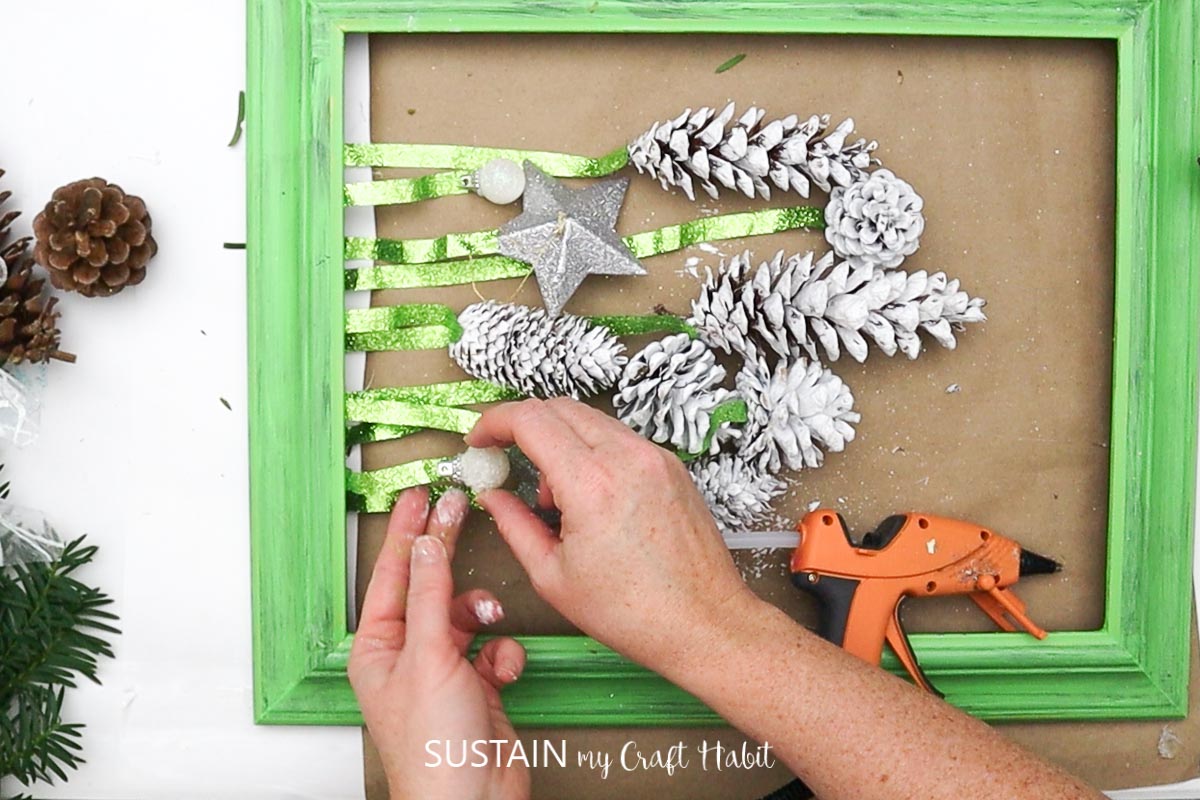
Repeat these steps with the ornaments.
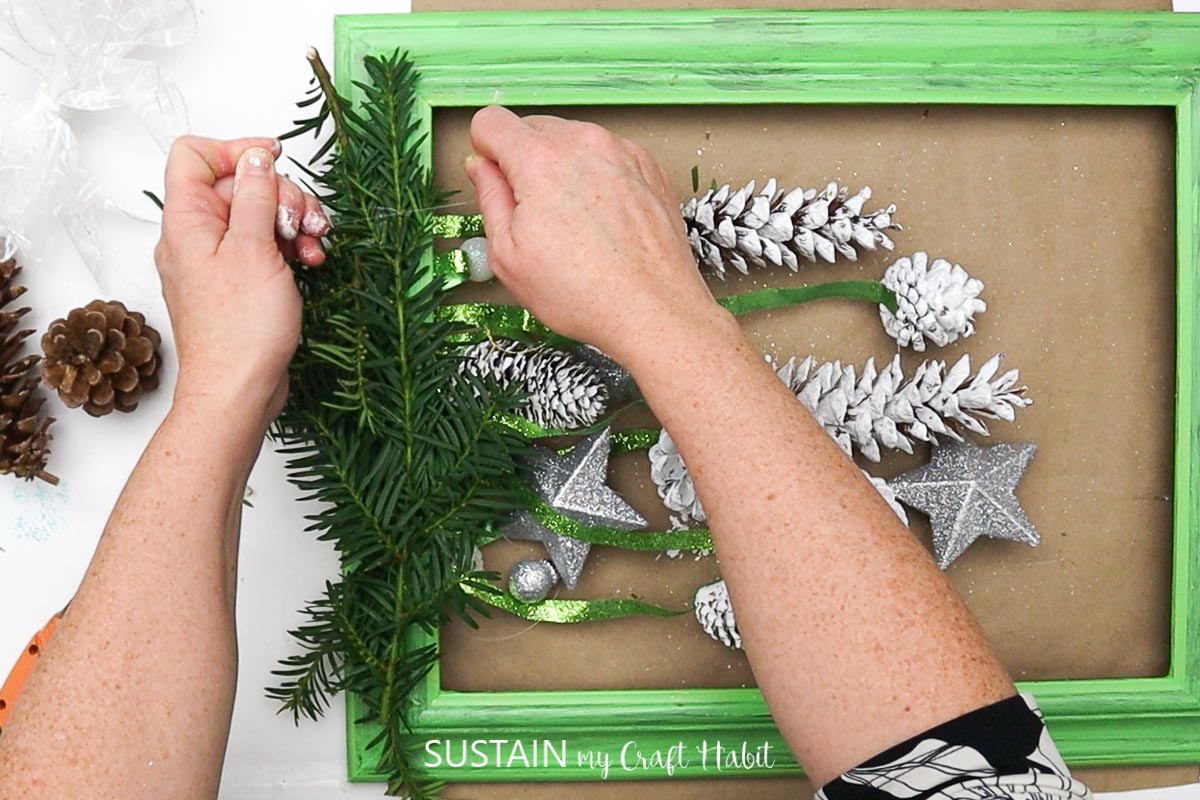
Next, with the good side of the frame facing up, take some fresh (or faux) greenery and glue them on the frame.
Using the hot glue gun, glue a bow to the center over top of the greenery.
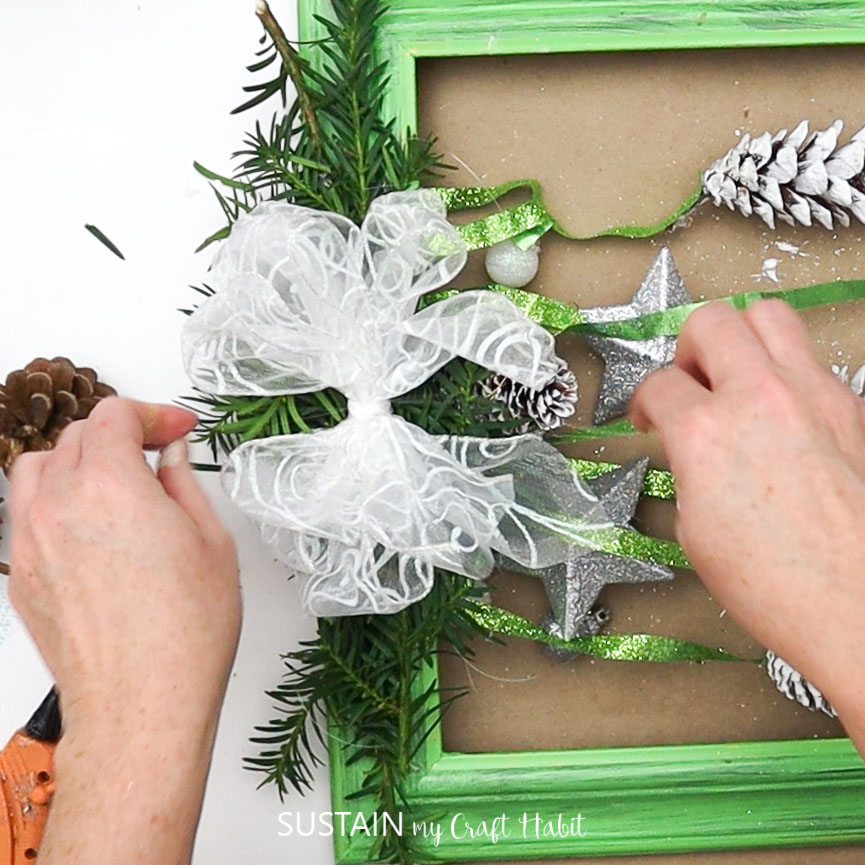
And with that, the ribbon and pinecone door decoration is complete. Once you hang the frame on the wall, you can add or tweak any apots that need more clusters.
More DIY Upcycled Holiday Decor
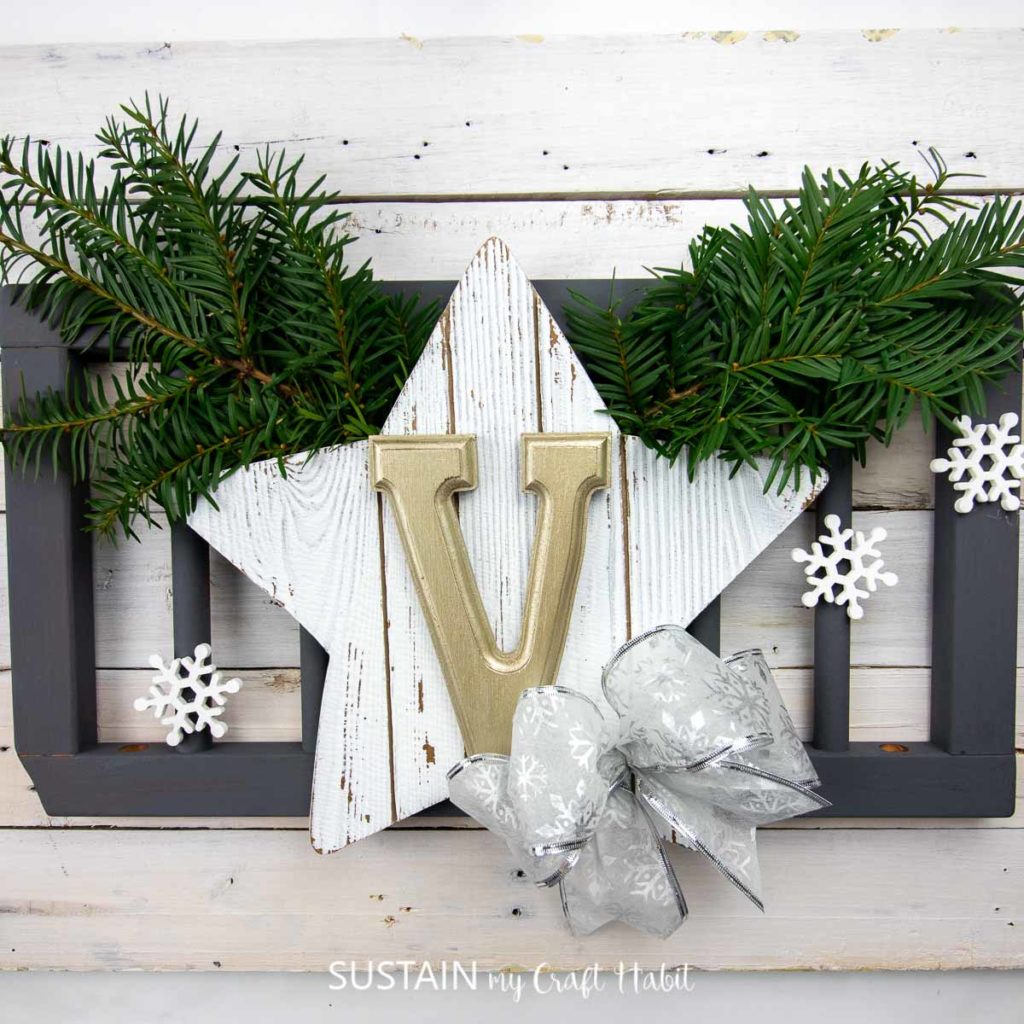
- Children’s Bed Rail Monogram Decor
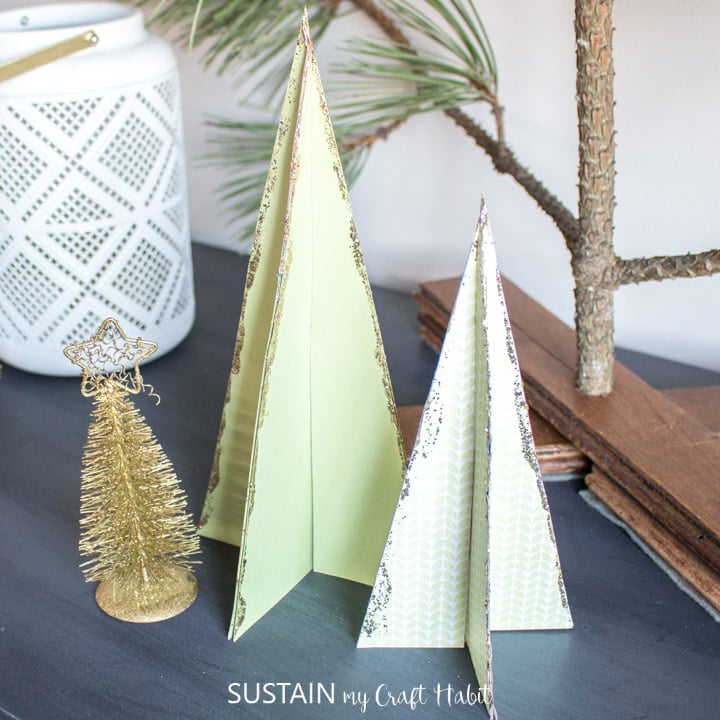
- Christmas Tree Cereal Box Craft
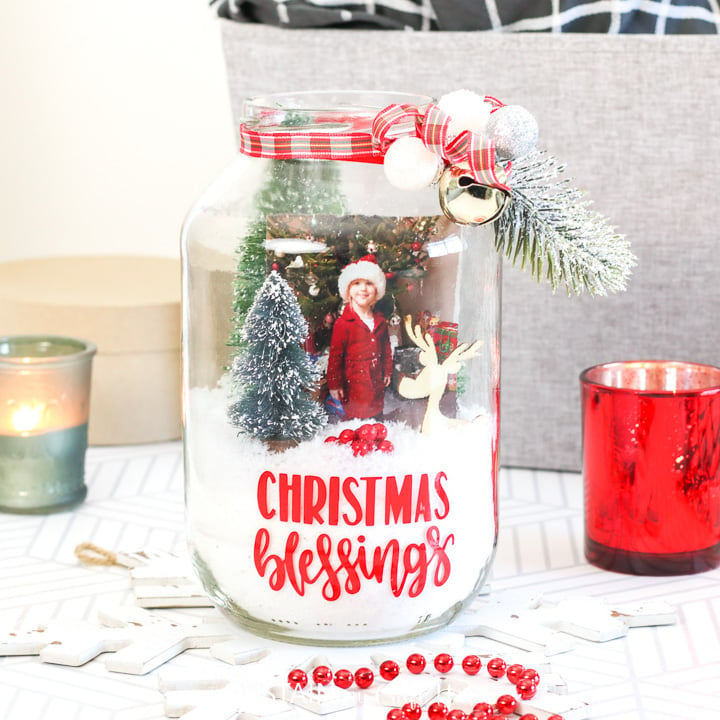
- Pickle Jar Christmas Terrarium
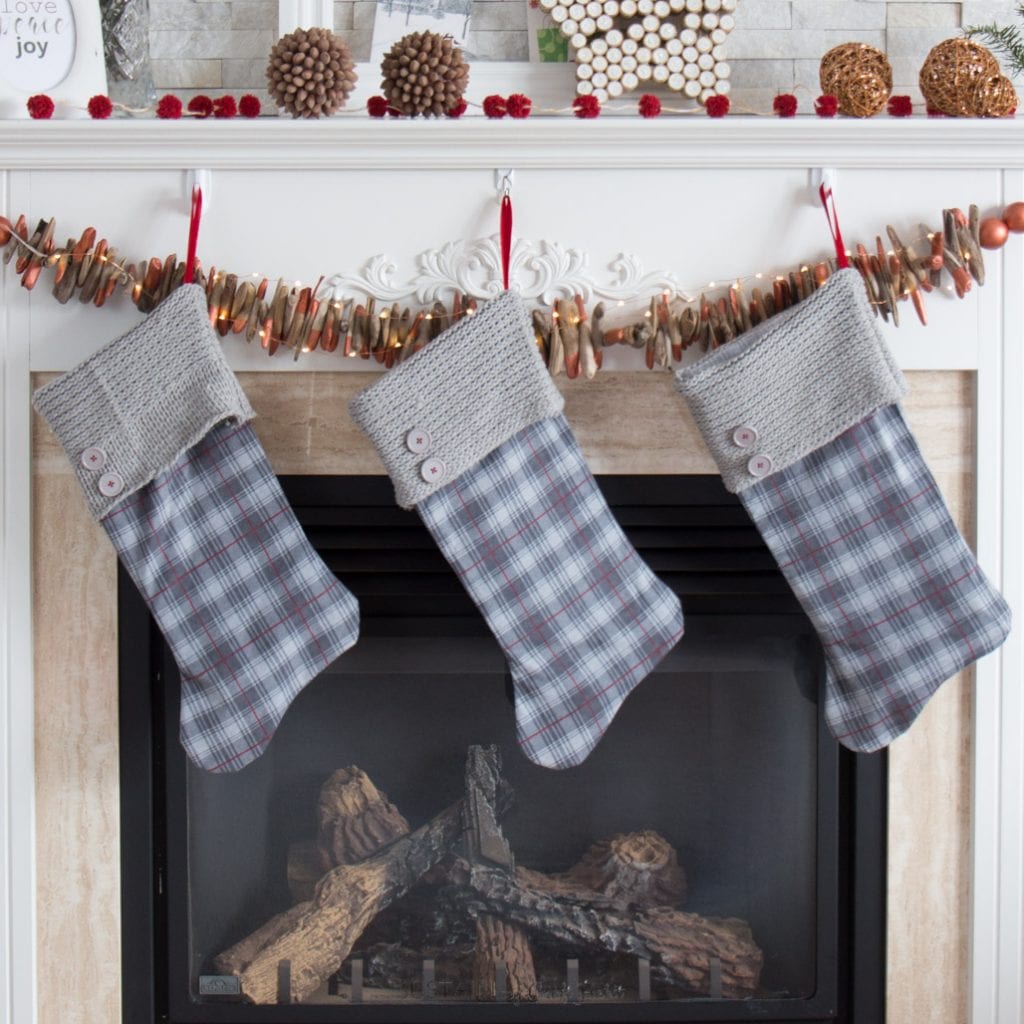
- Upcycled Sweater Stockings
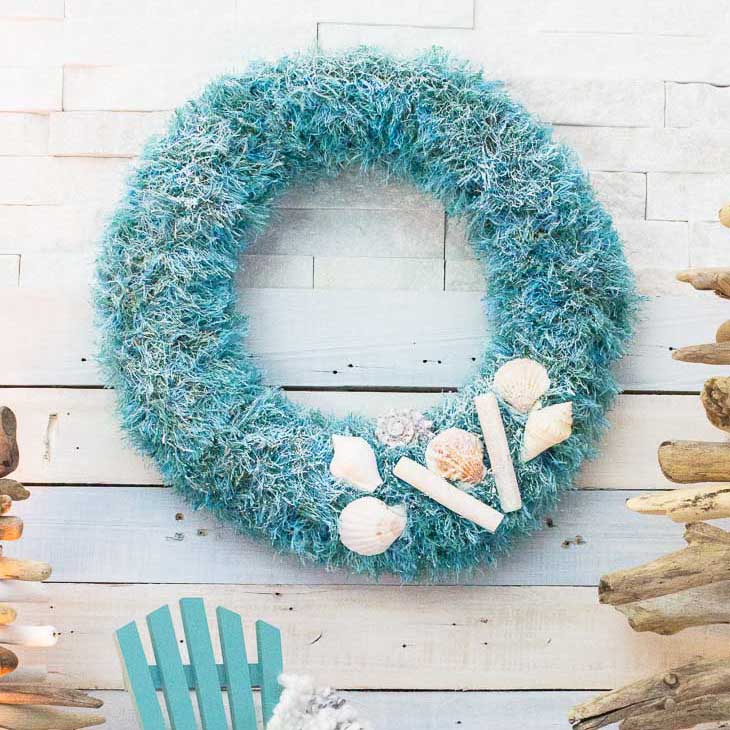
- Upcycled Coastal Christmas Wreath
- Painted Pine Cone Christmas Ornaments

Upcycled Bed Rail Winter Decor 
Cereal Box Christmas Trees Upcycled Jar Photo Display Christmas Stockings 
Coastal Christmas Wreath Pine Cone Ornament

How is your holiday crafting going these days?
Like it? Pin it for later!

Upcycled Picture Frame Door Decor for the Holidays
Materials
- DecoArt Americana Multi-Surface paint in Green Apple
- DecoArt Chalky Finish in Everlasting (white)
- Paint Brushes
- Upcycled picture frame 10×13 size
- Ribbon 2" wide in white or coordinating color/pattern
- Assorted pinecones
- Ornaments in silver and white
- Fresh Greenery we used juniper sprigs
- Hot Glue Gun
Instructions
- Paint the picture frame with the multi-surface paint.
- Next, paint the pinecones using the chalky white paint and let dry.
- Cut the ribbon to various lengths.
- Using the hot glue gun, glue the ribbon to the top of the pinecone.
- Then with the picture frame turned on its front, glue the ribbon to the top back of the frame.
- Repeat steps 4 and 5 with the ornaments.
- Next, with the frame good side up, take some fresh greenery and glue on the frame.
- Using the hot glue gun, glue a bow on the frame.