How to Make a DIY Blanket Ladder with Driftwood
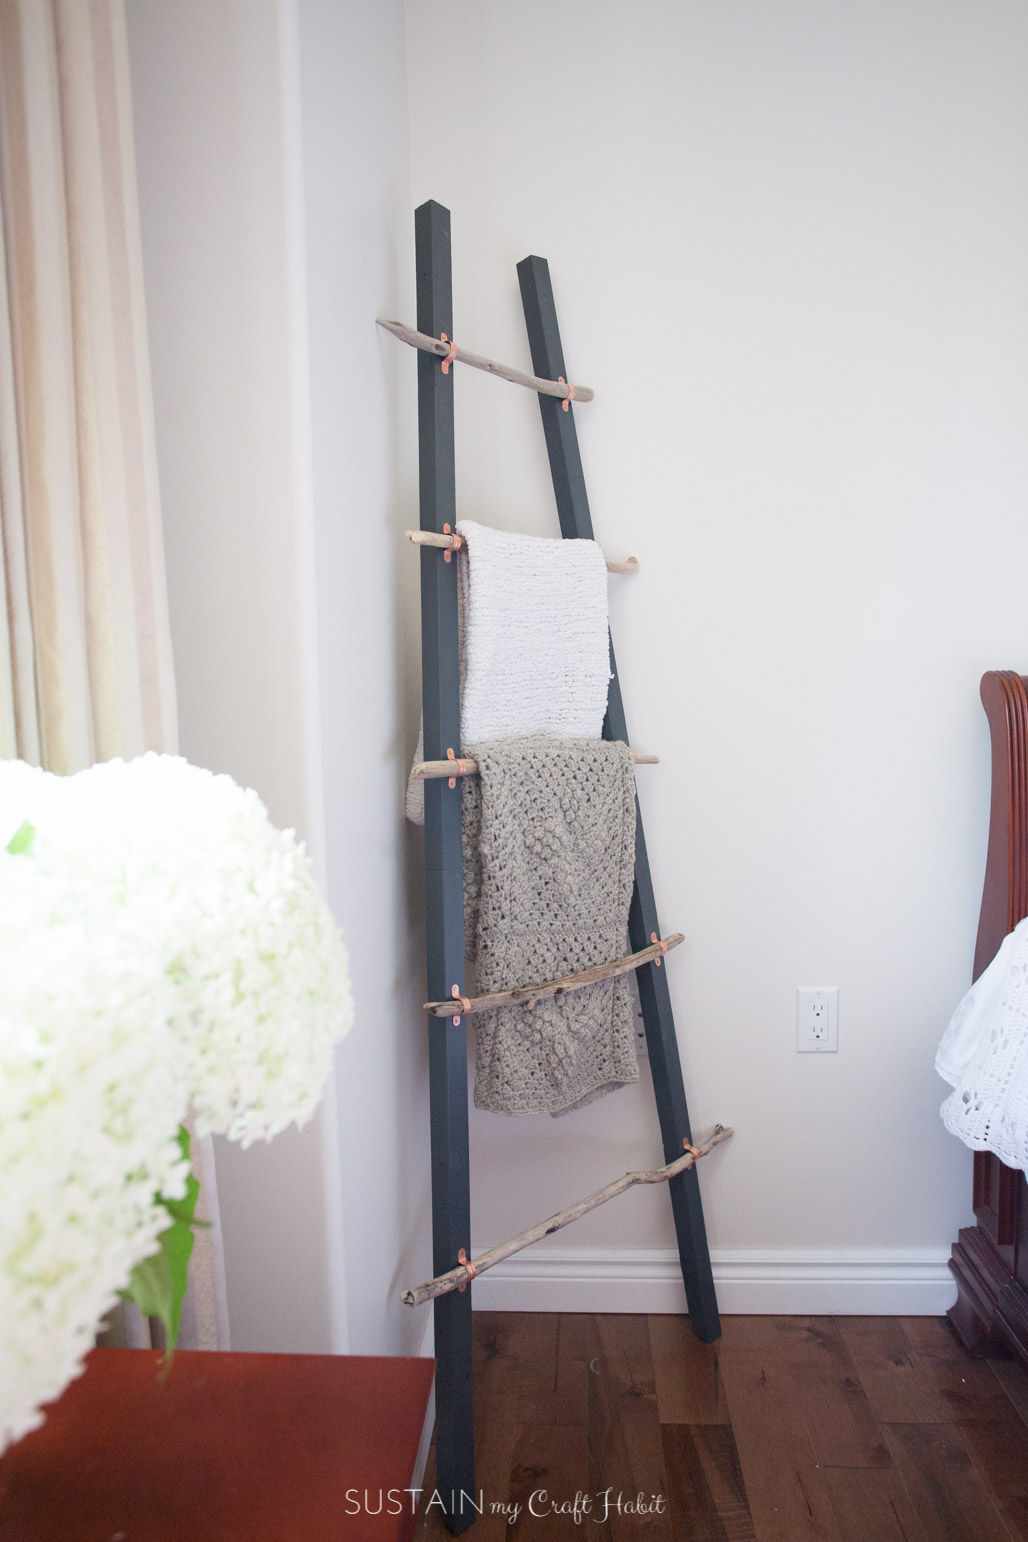
Coastal-Inspired DIY Blanket Ladder
We can barely wait for the summer to begin so that we can pack up our things and head to the cottage. Whether it’s on the weekends as a break from work or as a longer stay, summer means long days exploring outdoors, splashing in the lake and collecting driftwood along the beautiful sandy beaches with the family. These nature-made supplies get used in all of the driftwood crafts we love to make!
Last summer, we collected some wonderfully large driftwood pieces that we’ve held onto knowing that we would use them in a future DIY. Since we’ve always loved the look of rustic ladders for the home as a way to display blankets, we thought that would be the best project to make with the driftwood. It would be the perfect piece to keep in the house year round as a reminder of the time spent together over the summer.
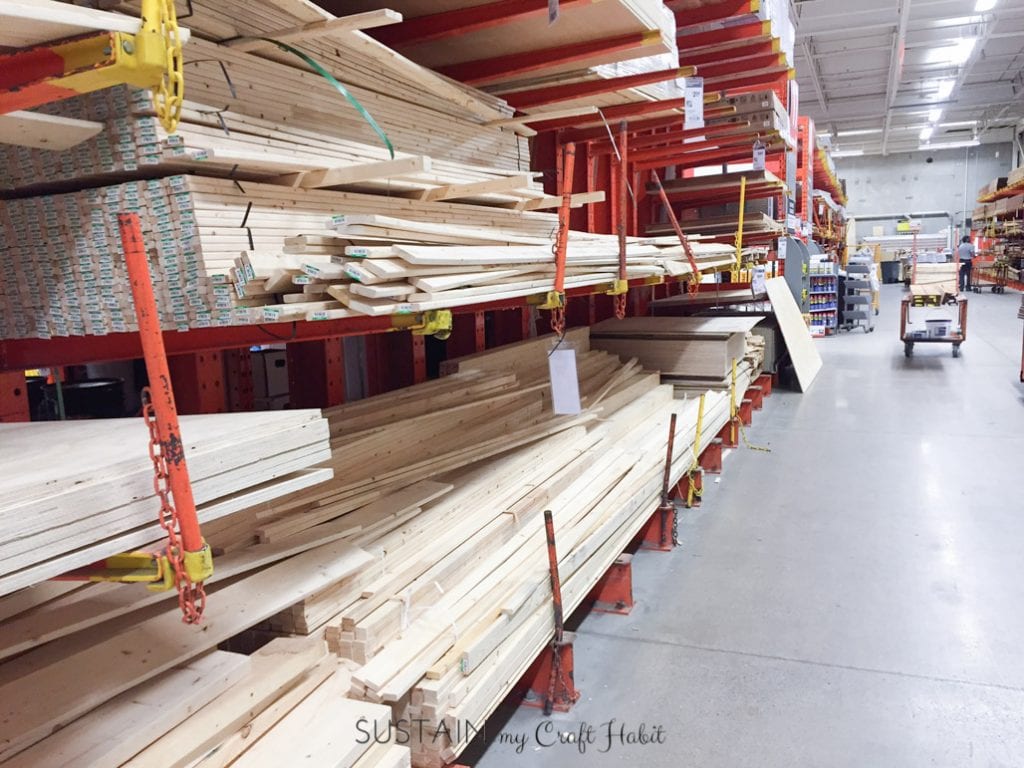
So with a simple plan in mind on how to make our DIY blanket ladder, I headed to the nearest Home Depot to purchase wood for the ladder rails. We wanted to keep this project simple and affordable so I opted for the long 2″x2″ wood pieces which cost under $5 for both! This wood can be found in the lumber section and is typically sold in 8’ lengths.
While there I also picked up some copper tube clamps for the project.
Below you’ll find detailed written instructions for how to make this coastal blanket ladder, but we’ve also prepared a video overview here:

Materials Needed to make your own DIY Blanket Ladder:

- X2 6-8’ long 2″x2″ wood, unfinished, finger jointed
- Mitre saw
- Orbital Sander with medium grit sandpaper
- Wood Paint (we used a dark charcoal trim and door paint) and paint roller
- X5 long pieces of driftwood sprayed with a clear coat of Urethane
- Drill and thin drill bit
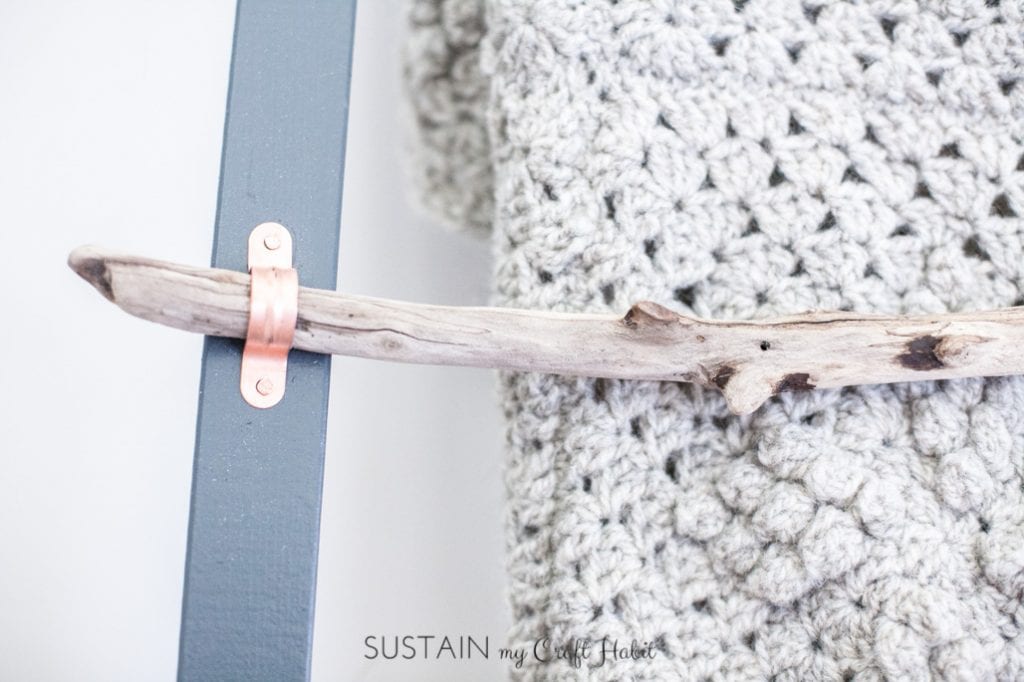
- Copper ¾” tube clamps with 1.75″ nails (package of x10)
Selecting the right driftwood pieces:
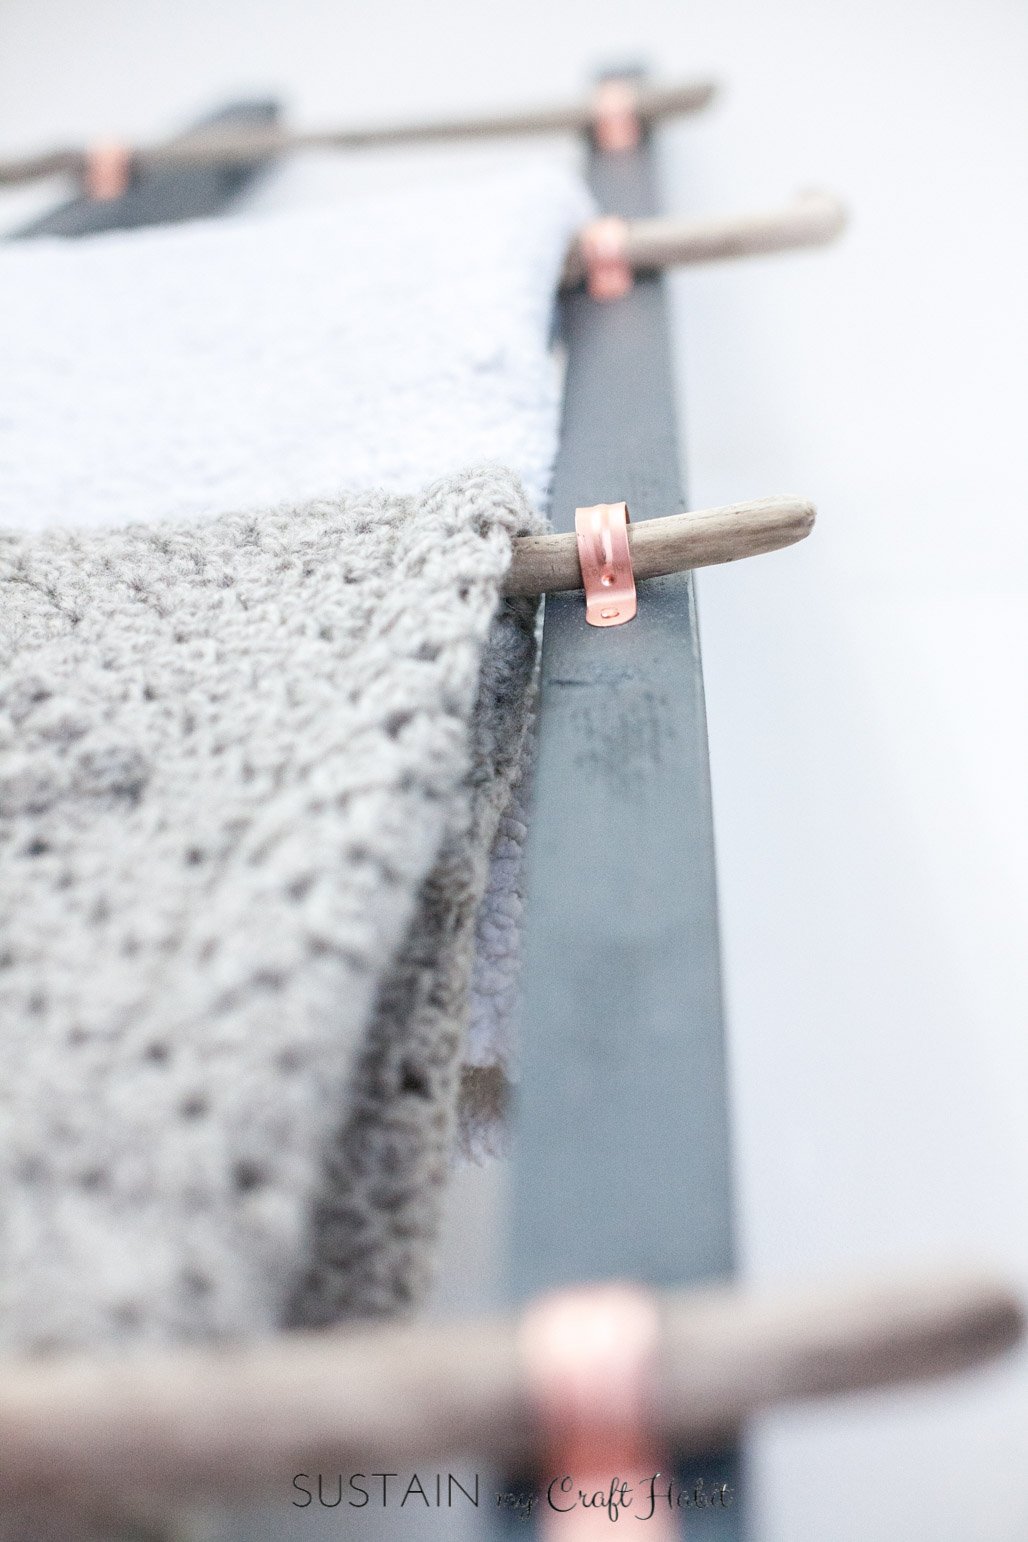
If you plan to make an A-frame blanket ladder (like ours) you’ll need varying lengths of driftwood, from about 14″ for the top rung to 28″ for the bottom rung. For a ladder with parallel rails, you’ll want to select driftwood pieces that are all about the same length, ideally 20″-24″. Each piece should be about ¾” diameter to fit snuggly under the copper clamps. Make sure to select solid hardwood driftwood pieces which are completely intact (no cracks, thin spots, or holes) for the sturdiest blanket ladder. Finally, try and collect pieces of driftwood with nicely rounded ends rather than sharp, broken ones.
Prepare the rails of your driftwood blanket ladder:
Cut the 2″x2″ pieces of wood (will be the ladder rails) to 6’ lengths using a Mitre saw. Cut the ends (one or both) on a 15 degree angle with a Mitre saw. These ends will rest against the floor.
Since the 2″x2″ wood lengths are finger jointed, you’ll want to sand down the rough and uneven edges using an orbital sander. You can also sand the surfaces by hand, it’ll just take you a bit of extra time.
Wipe off any dust from the wood with a damp cloth before moving on to painting. With a small roller, apply the paint evenly to all sides of the wood. Let dry.
Positioning the driftwood rungs on your blanket ladder:
Once dry, lay the rails on the ground and space them 6” apart at the top and 20” apart at the bottom to create a sort of A-frame. Alternatively, you could have the rails lay parallel to each other with an equal distance at the top and bottom.
Make sure to lay the sides of the rails with the longest length facing up. The ends with the angled cut will be at the bottom of your ladder.
Mark the placement of the driftwood rungs. The driftwood pieces will lay over top of the rails. Starting from the top, place the first and shortest piece of driftwood about 9″ from the top edge of your blanket ladder.
Position each other rung (from shortest to longest if making an A-frame ladder) about 12” apart. If you’re happy with the spacing of your driftwood ladder rungs move on to attaching them to your ladder rails.
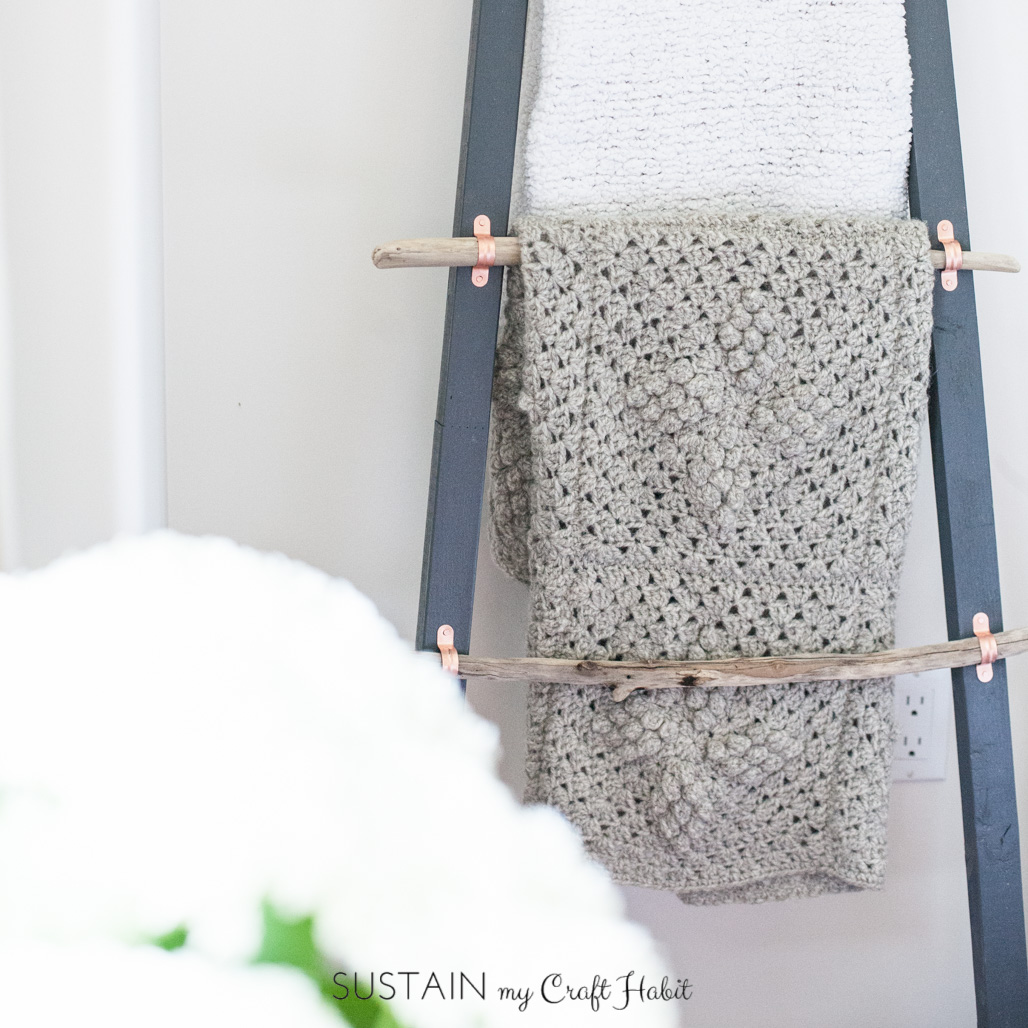
Attaching the blanket ladder rungs with copper tube clamps:
Start with top rung. Holding it down, place a copper tube clamp over the driftwood piece and drill a small pilot hole. This is not completely necessary but will make nailing the clamp in place much, much easier!
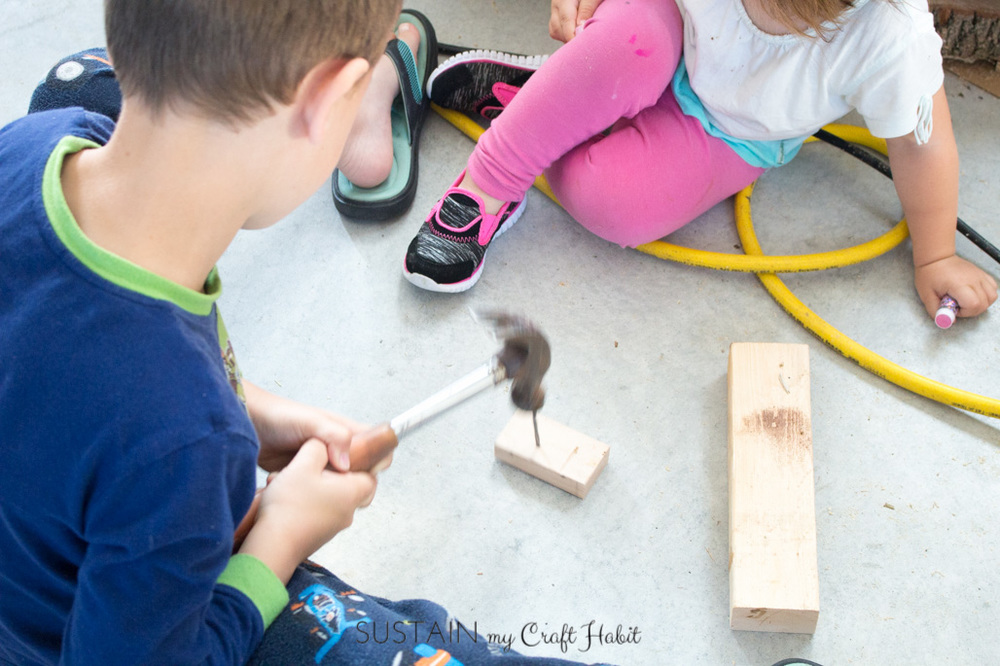
Continue this process until all four holes of the two clamps for your first rung are drilled. Hammer the nails through the clamp holes and into the pilot holes with the driftwood rungs in place.
Repeat this process next with the bottom blanket ladder rung and then continue until all the rungs are added. Be sure to re-measure as you go along as the pieces will have moved with the drilling and hammering. Once all your rungs are in place, your DIY blanket ladder is done!
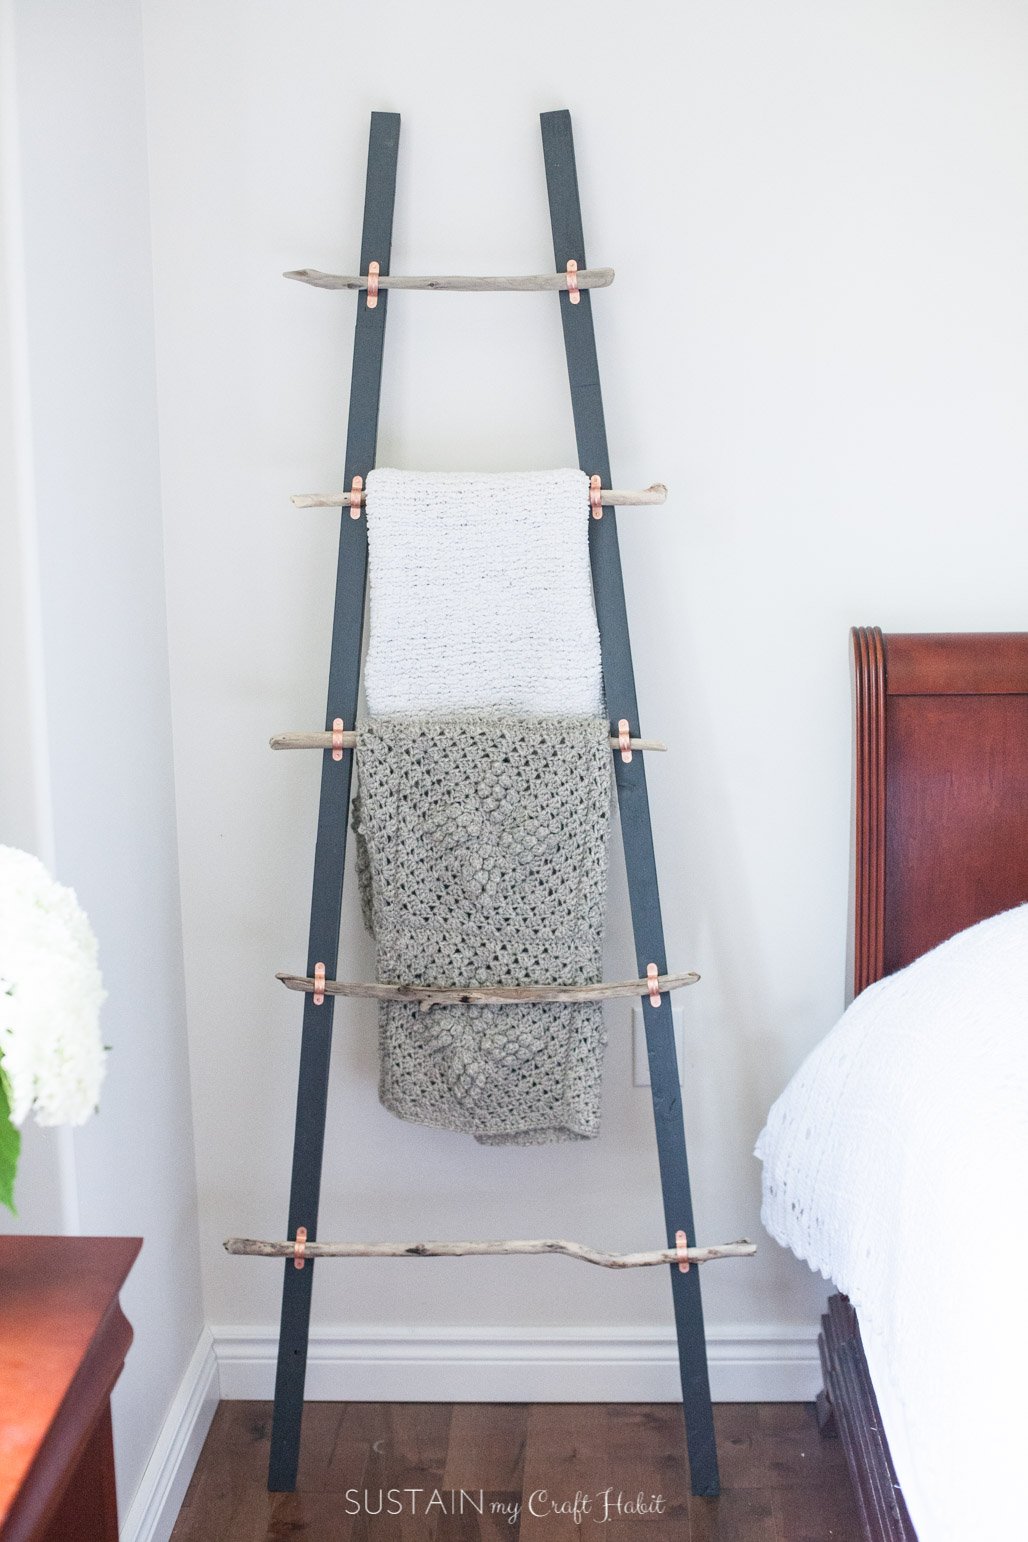
Lean your new handmade blanket ladder against the wall and add towels, blankets or leave empty to admire your work (it’s beautiful on its own)! We love how our wool sand pebbled crochet afghan looks on the new blanket ladder! Or crochet a new blanket to add to your ladder.
Not only will we have this simple coastal decor idea for the cottage as a reminder of our beautiful summer, I’ll have the memories of this time with the kids and them helping us to make this lovely piece of furniture. My son was quite proud of his hammering abilities!
Like it? Pin it for later!

What do you love about summer? Do you have any favourite family traditions? Let us know in the comments below.


This is a great tutorial! I would like to make one of these!
Thank you so much Melanie! We’re also thinking to make more, this one to stay at the cottage and one for each of our homes. Think it would also look great with white, rather than gray rails. Do send us a photo if you make one!
This is lovely and looks a lot easier to make than some I’ve seen so I think I’ll finally give it a try. I’d love one for our main bathroom. I’d love one in every room!!
Truthfully, we were perplexed at how to make this until we started brainstorming. We definitely wanted to make it EASY so anyone could do it and the clamps really do the trick.
I absolutely love your blanket ladder project! How creative to use driftwood for the rungs! I’ll now have to add longer driftwood pieces to my beach combing walks! Pinned 🙂
This is one of my fav coastal project. Will pin
Maria
I just love this project!! The mixture of driftwood and the copper is so pretty!
Thank-you so much for this article! I just finished making one of these driftwood ladders myself for moving into my apartment in the fall. I love all the little details you included like the copper tube clamps and the little dash of paint. Brilliant and thank-you for sharing it with us all!