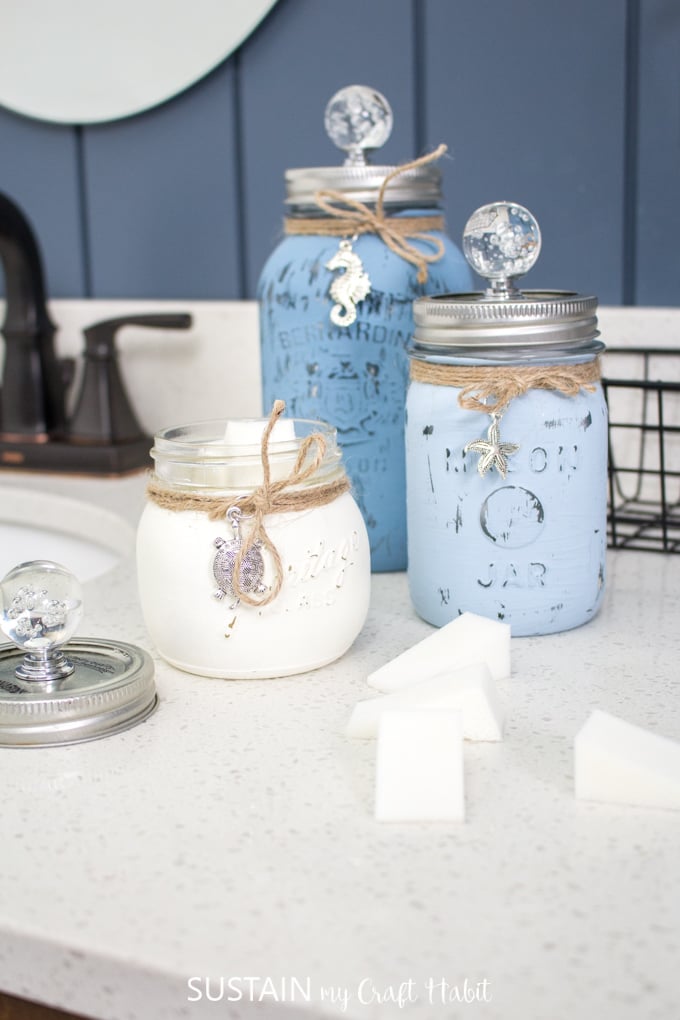
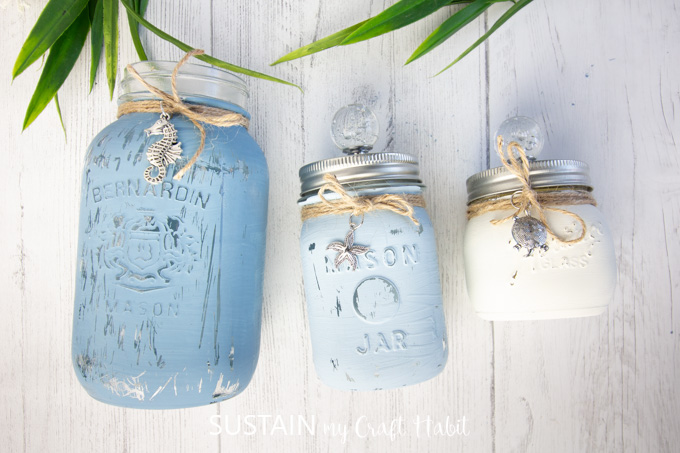
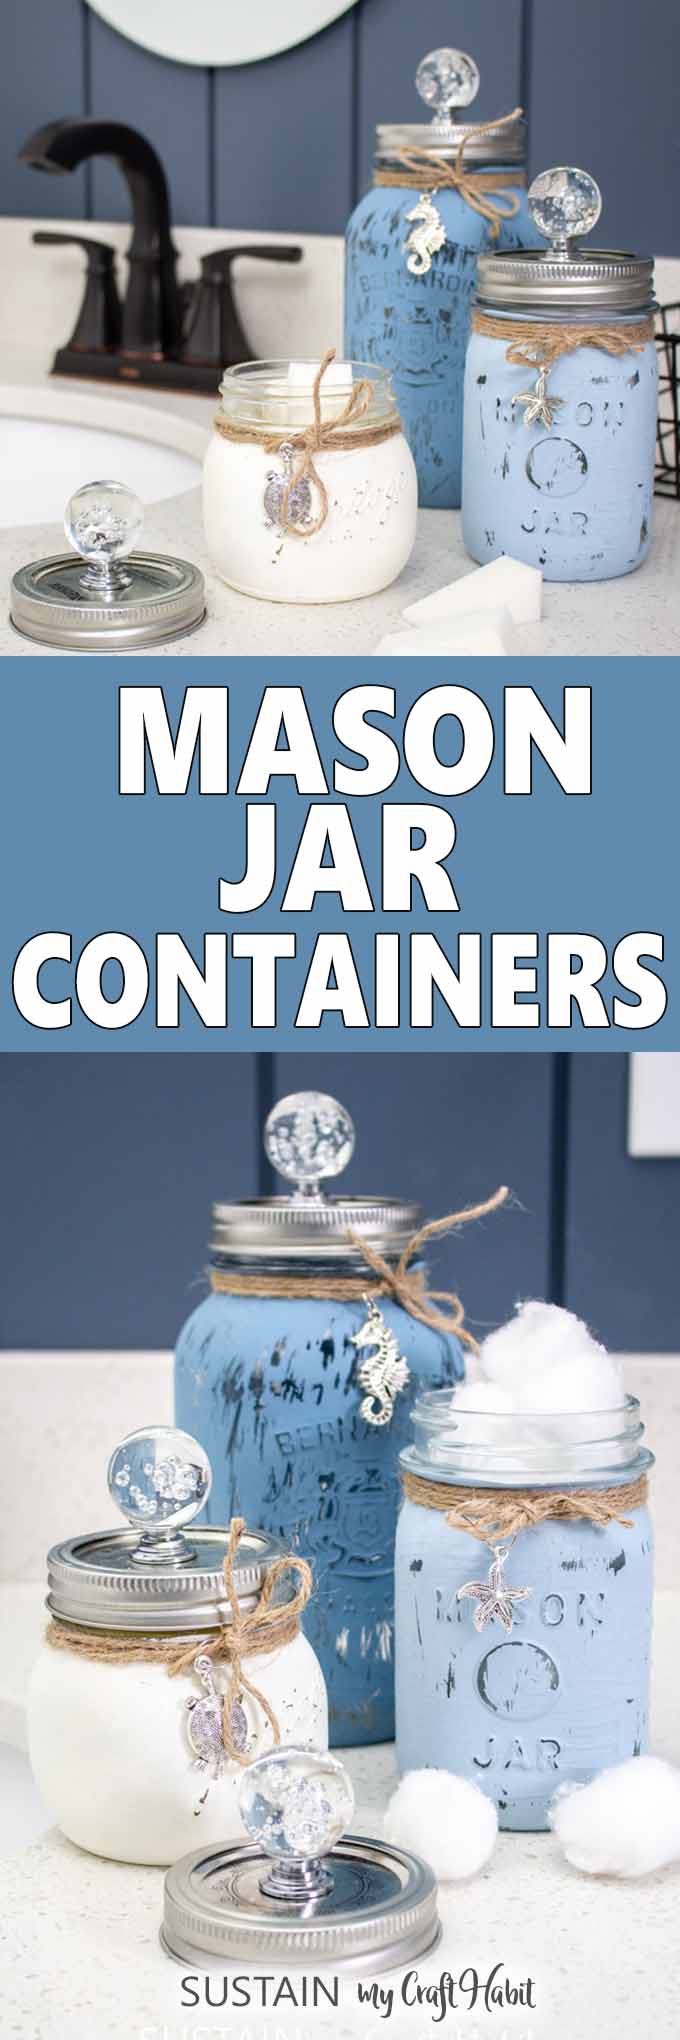
DIY Painted Mason Jars Bathroom Containers
Add some organization and a touch of coastal style to the bathroom with these DIY painted mason jars. Includes video tutorial!
I don’t know about you, but my bathroom counter is in a constant state of mess. With my stuff, my husband’s stuff plus all the random things the kids bring in, the counters always feel cluttered.
Painted Mason Jars to the Rescue!
I’m determined to create a calmer, prettier space to enjoy each morning. A set of pretty storage containers seemed like the right motivation to get items in order. I fell in love with these painted canisters on Etsy, but wanted to add a more beachy touch to mine.
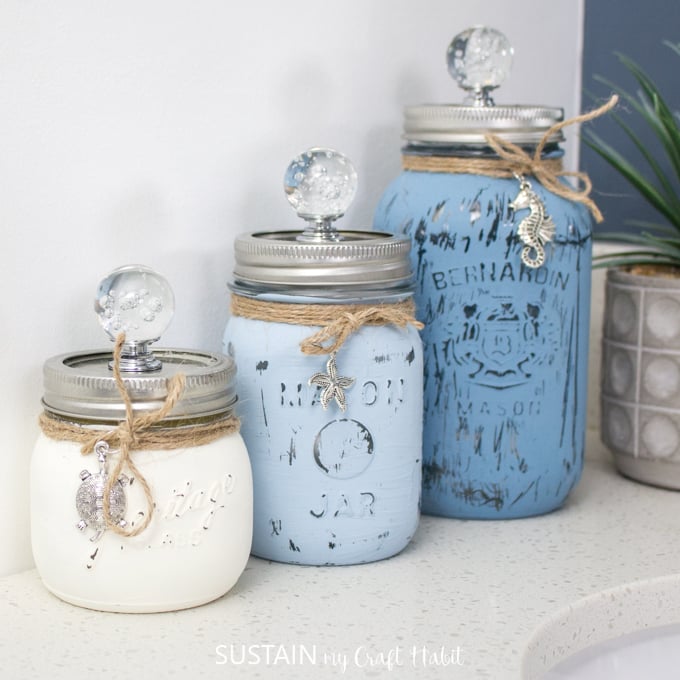
These painted mason jars turned out so great that Sonja ended up taking them for her new bathroom! Now I get to make another set for me, and maybe a third for the beach-themed bathroom at the cottage.
Materials Needed for this Mason Jar Craft Idea
Disclosure: This post contains affiliate links for your shopping convenience. Should you choose to purchase through them, we will make a small commission at no extra cost to you. You can read our full disclosure policy here.
- Three different size mason jars with silver lids
- Decoart Chalky Finish paint in Everlasting, Serene and Colonial
- Soft, flat paint brush
- Fine sandpaper (i.e. 220 grit)
- Glass cabinet knobs
- E6000 adhesive glue
- Jute twine
- 10 mm jump rings (for jewelry making)
- Ocean themed metal charms
DIY Painted Mason Jars Video

How to Make Glass Jar Bathroom Containers
Start by thoroughly cleaning the inside and outside of your mason jars if they’ve been previously used.
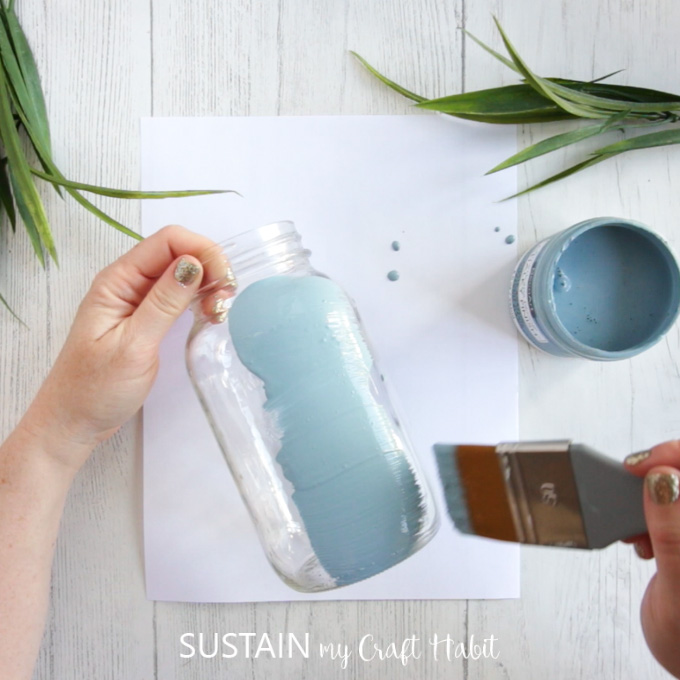
With a soft paint brush paint one coat of chalky finish paint in three different colors on each jar respectively. Let dry completely.
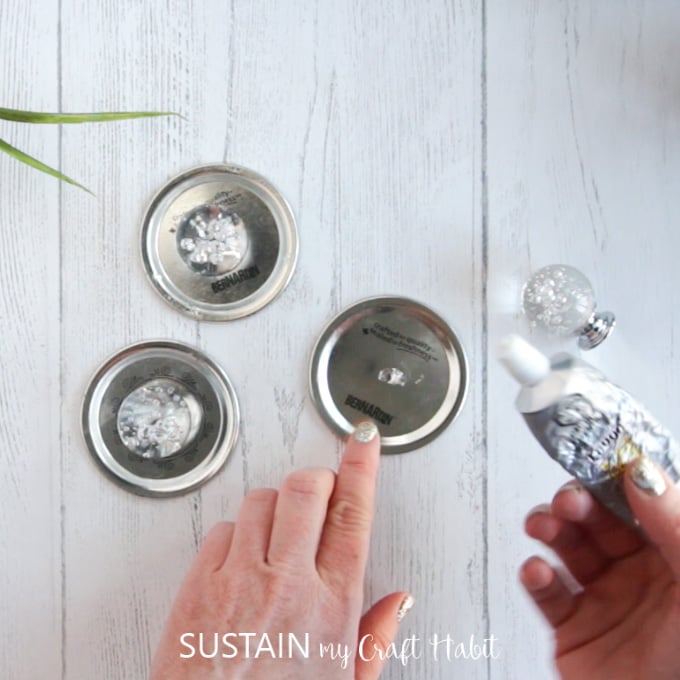
In the meantime, glue the glass cabinet knob onto the top of the mason jar lid. If needed glue the disc to the rim of the lid ring. Let dry completely.
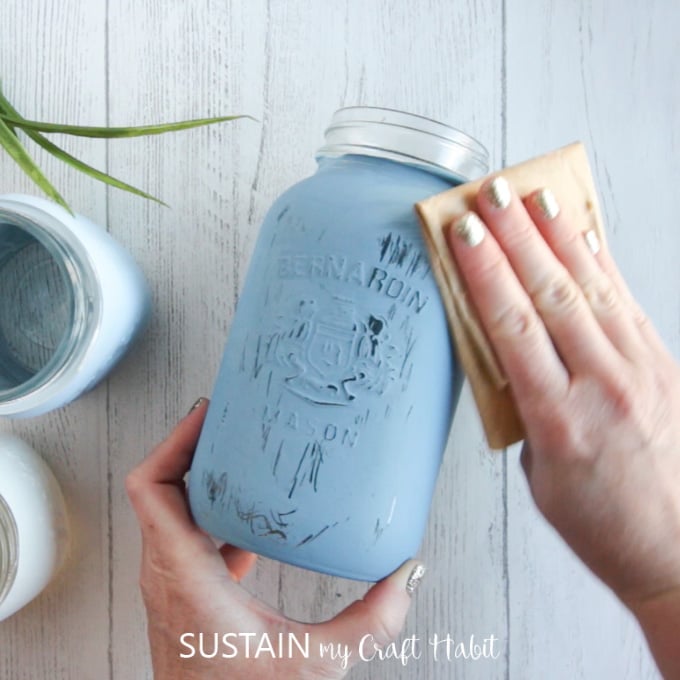
Lightly sand the painted mason jars to distress of them at any raised points or edges.
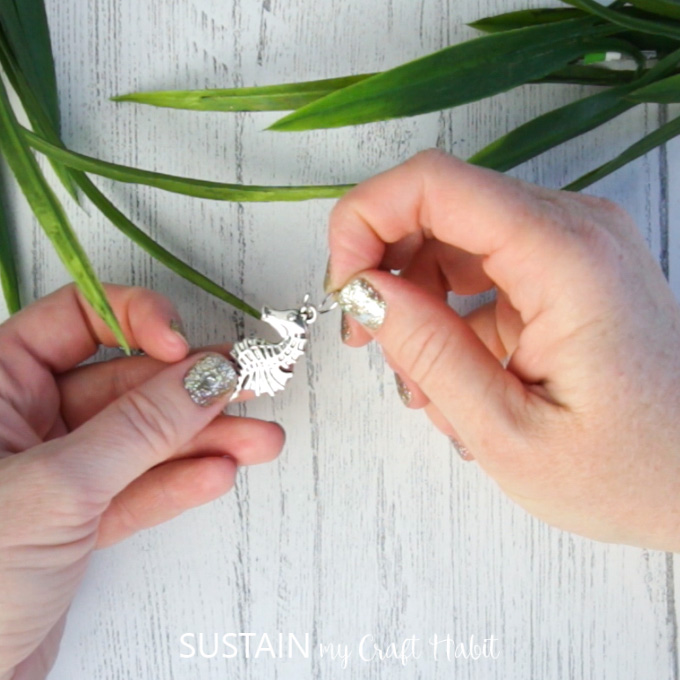
Add a 10mm jump ring to one ocean-themed charm.
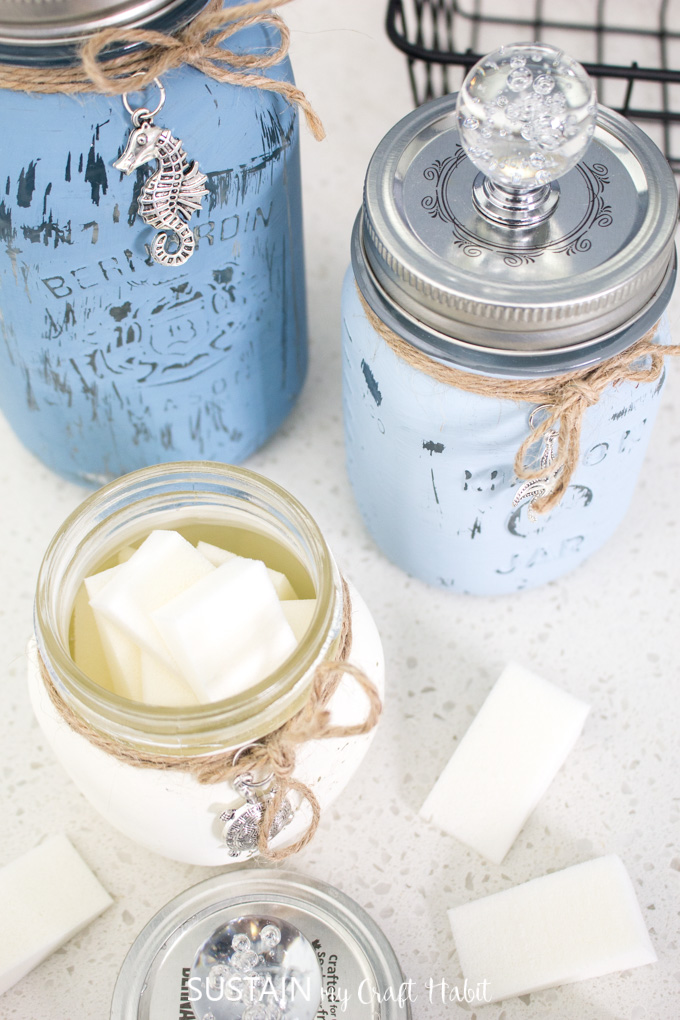
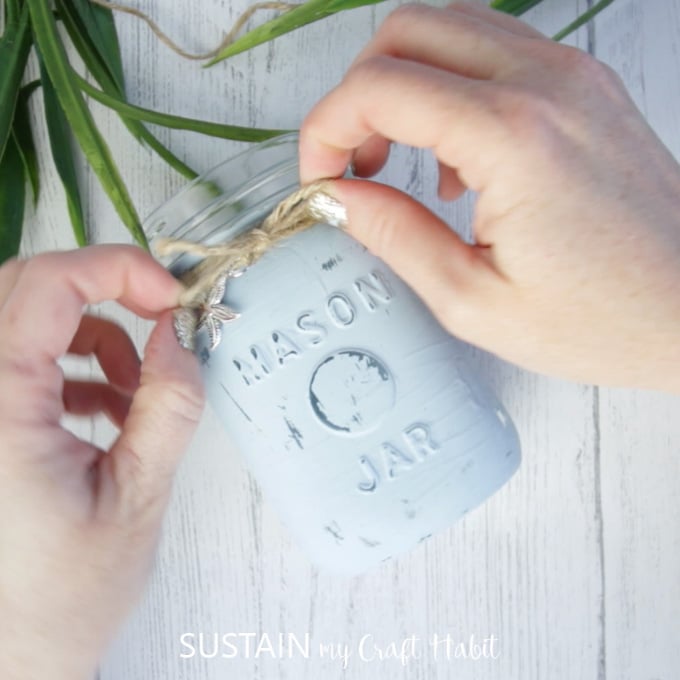
Wrap a piece of twine around the neck of the painted mason jar three times and tie a knot. Add a charm and then tie a bow.
Place the lid on the jar and you’re done!
I just love how these painted mason jars turned out. I may just have to make another set for our beach-themed bathroom at the cottage.
Do you have any tips for keeping the bathroom counter tidy?
This project originally appeared on Crafts By Amanda.
Like it? Pin it for later!

Beachy DIY Painted Mason Jars Containers (with Video)
Materials
- 3 Mason jars with silver lids Different sizes
- Decoart Chalky Finish paint Everlasting, Serene and Colonial
- Soft, flat paint brush
- Fine sandpaper 220 grit
- 3 Glass cabinet knobs
- E6000 adhesive glue
- Jute twine
- 3 10 mm jump rings (i.e. for jewelry making)
- 3 Ocean themed metal charms
Instructions
- Thoroughly clean the inside and outside of your mason jars if they’ve been previously used.
- With a soft paint brush paint one coat of chalky finish paint in three different colors on each jar respectively. Let dry completely.
- In the meantime, glue the glass knob onto the top of the mason jar lid. Let dry completely.
- Lightly sand the mason jars to distress of them at any raised points or edges.
- Wrap a piece of twine around the neck of the Mason jar three times and tie a knot.
- Add a charm and then tie a bow.
Do u seal jars after painting
Hi Lisa! We didn’t seal these jars and they’re holding up just fine. If you are worried that it’s not durable enough, be sure to buy Chalky Finish paint for glass which you can then bake in the oven to help the paint set. Hope that helps!
Jane
@Jane and Sonja,
I use a clear wax and brush it on, let set until it’s slightly tacky and then buff it with a clean, dry cloth or a paper towel. Chalk paint is easily reconstituted if it gets wet. Cute idea with these.