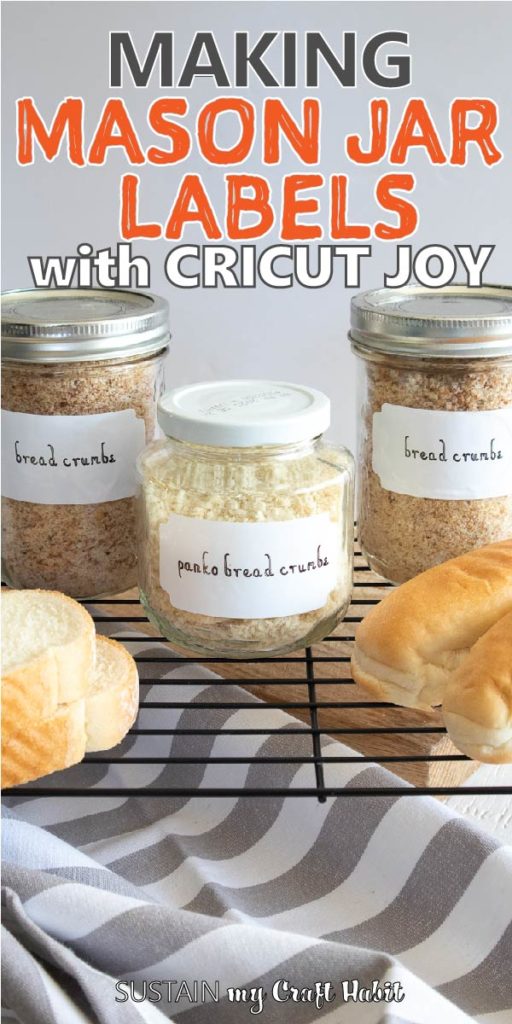
DIY Mason Jar Labels with Cricut Joy Smart Label
Get ready for canning season with Cricut Joy Smart Label. These DIY completely customizable mason jar labels are so easy and quick to make, your jars will never again go unlabelled.
Want to receive a ton of inspiration and money saving ideas for decorating, gift-giving and crafting? Join HERE!
Stay Organized with DIY Mason Jar Labels
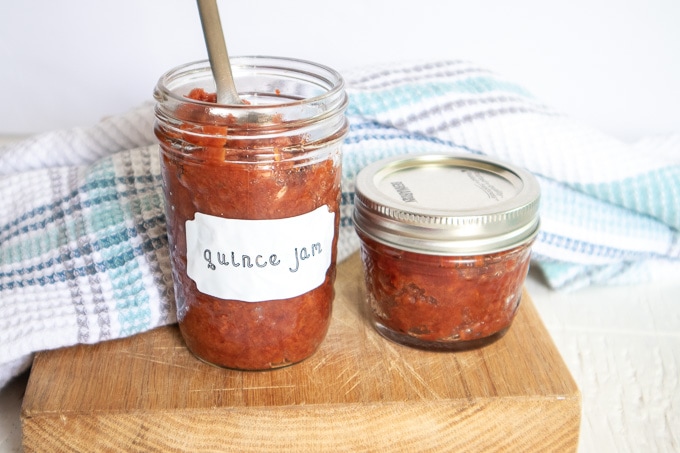
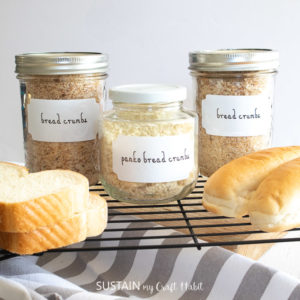
Throughout the year we find ourselves making all types of canned goods; from quince jam and mulberry jam to apple cider vinegar and these homemade bread crumbs and panko bread crumbs. But with so many DIYs on the go, we often don’t get around to labelling the jars properly and the jars we do label, peel away over time leaving it a mystery as to what is ctualy in the jar or when it was sealed!
So to help combat these challenges, Cricut Joy Smart Label is a good option for making jar labels for a few reasons:
- pairs with a Cricut Joy cutting machine; which is small, compact and portable making it easy to plug in and use just about anywhere;
- customize the text and write it directly on to the label using Cricut pens and markers or even by hand;
- labels are peel and stick so no need for transfer tape; and
- labels are permanent so won’t fall off or peel away over time.
Looking for more organization ideas?
Refer to this helpful post on 5 simple ways to organize your home with Cricut Joy so you can get the most out of your cutting machine!
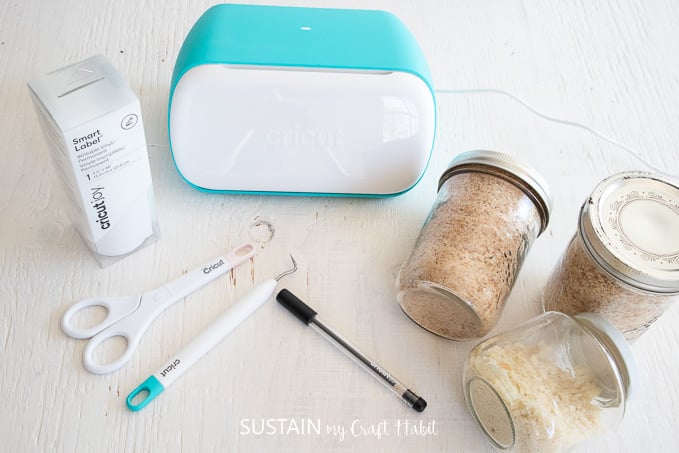
Materials Needed:
Disclosure: This post contains affiliate links for your shopping convenience. Should you choose to purchase through them, we will make a small commission at no extra cost to you. You can read our full disclosure policy here.
- Cricut Joy with Fine Point Blade and X-Fine Point Pen, 0.3mm
- Smart Label Writable Vinyl/Permanent, white
- Cricut Design Space Mason Jar Rectangular Label Base Silhouette #M12A80BA4
- Mason Jars
- Scissors
How To Make Mason Jar Labels using Crict Joy Smart Label
Creating the Custom Mason Jar Labels
Open Cricut Design Space. Click on the “+” sign to start a new project, opening up a blank canvas.
Click on the “Upload” button from the toolbar and search for Mason Jar Rectangular Label Base Silhouette #M12A80BA4. There are plenty of other label design options to choose from too so pick any one that you like. The instructions are the same for each.
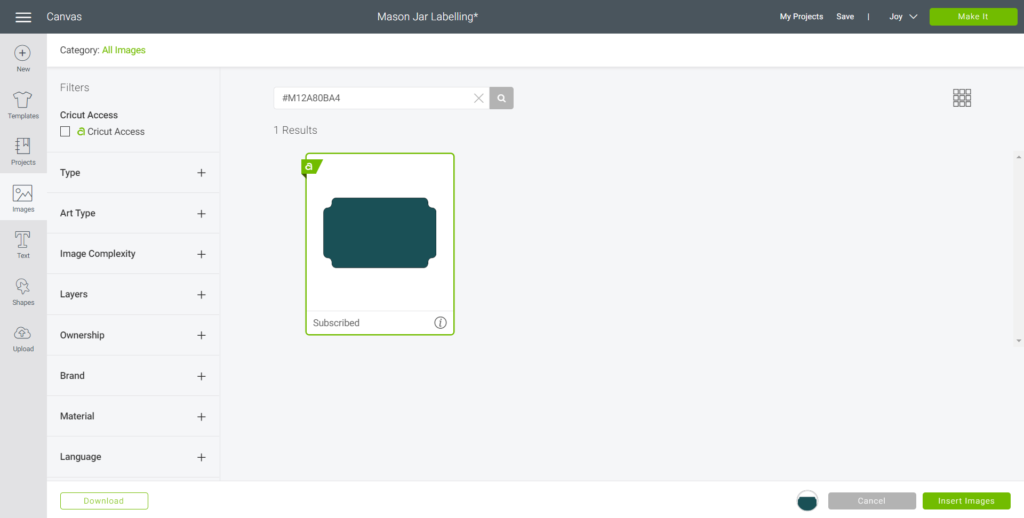
Click on the image and upload it onto the canvas.
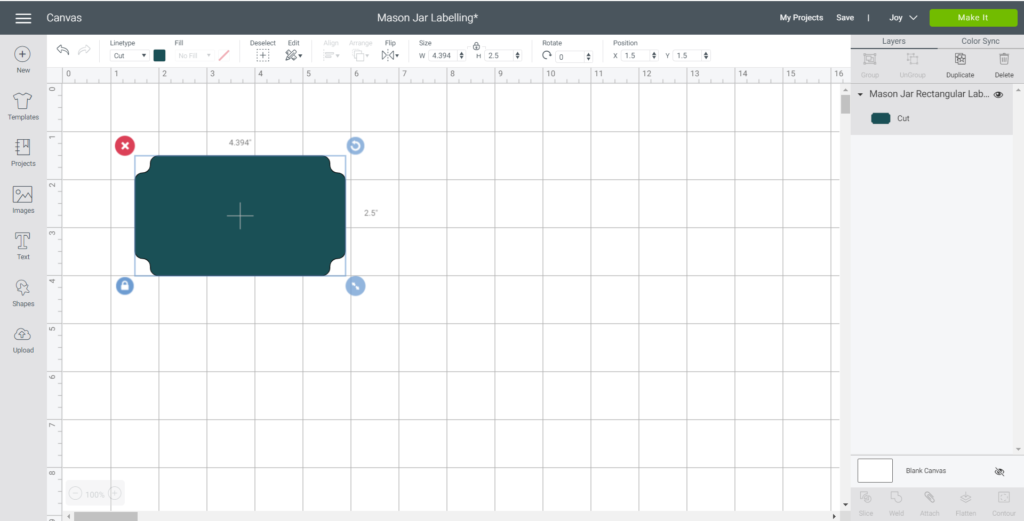
Adjust the label size to fit your mason jars accordingly. In my case, I reduced the height to 1.5” and reduced width accordingly.

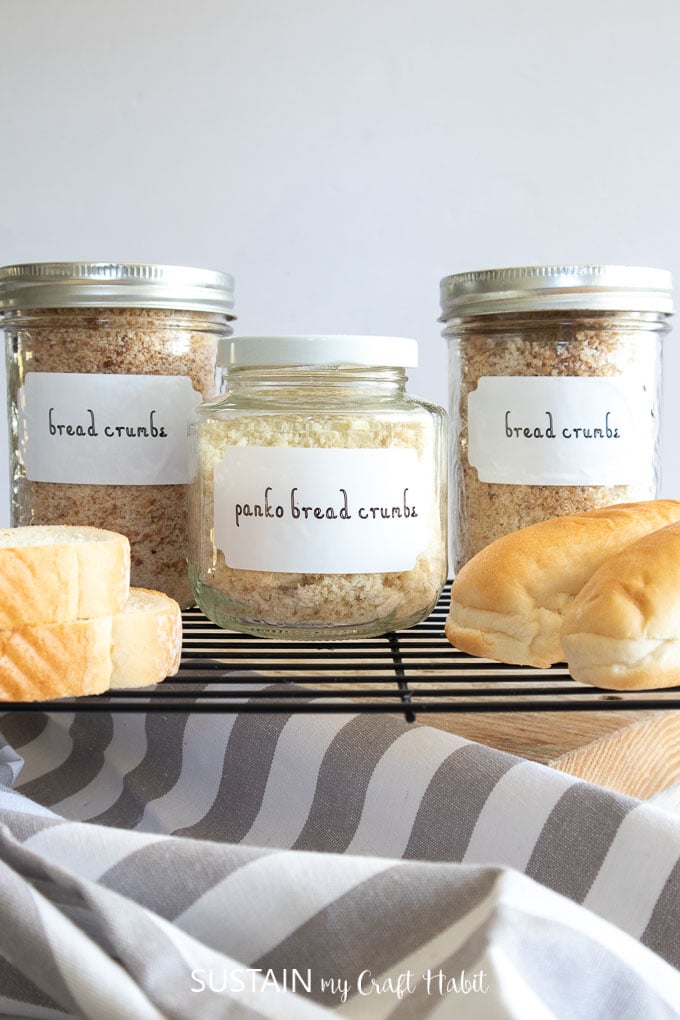
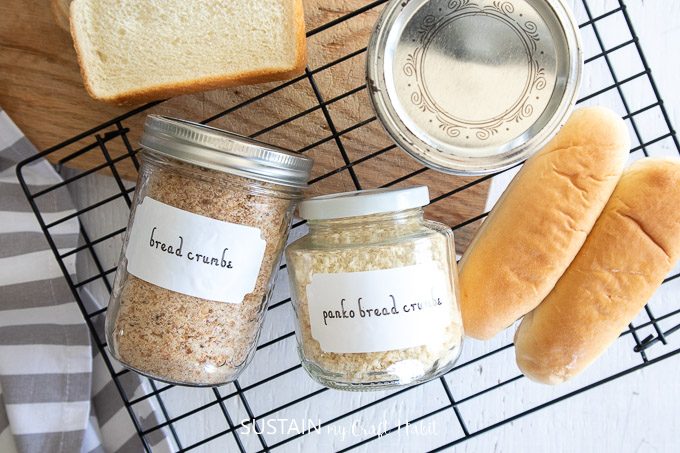
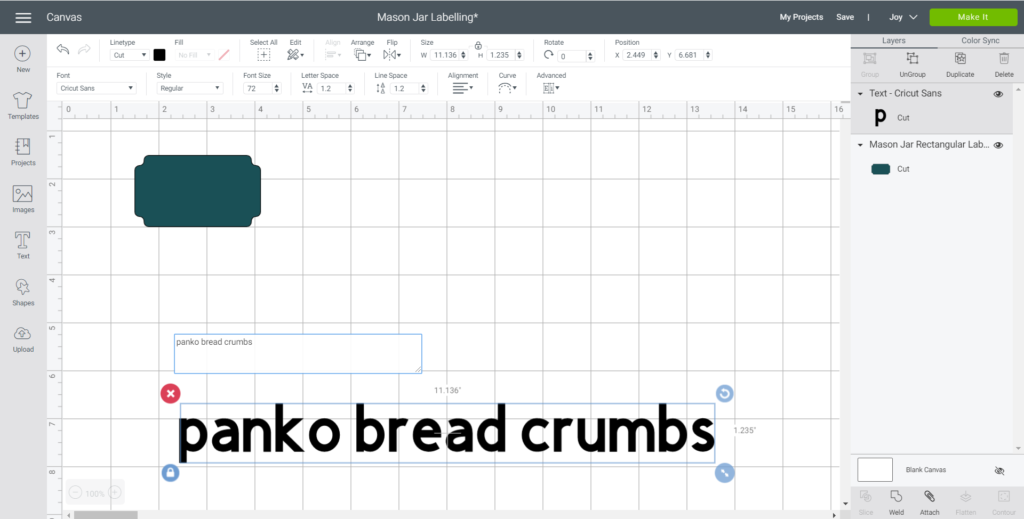
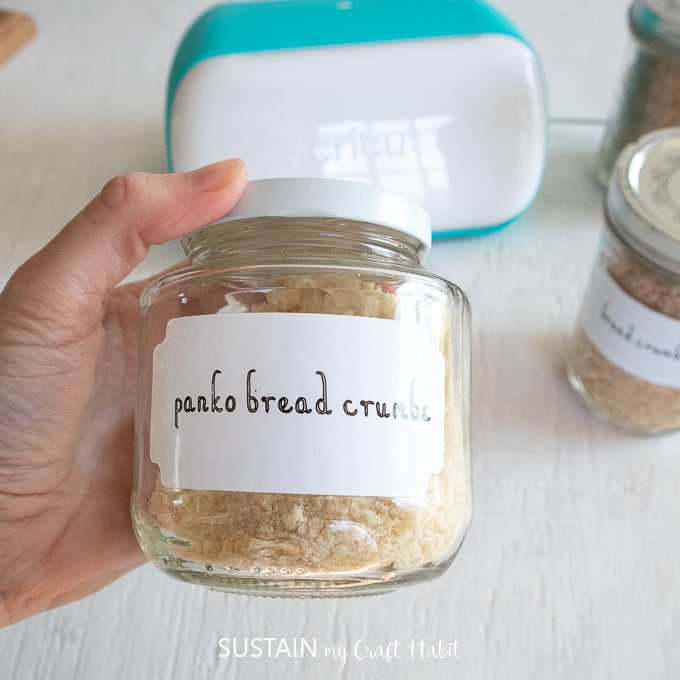
Next, select text from the toolbar and type out the word you want written on the label. Since we were making labels for our homemade bread crumbs, we wrote “panko bread crumbs”.
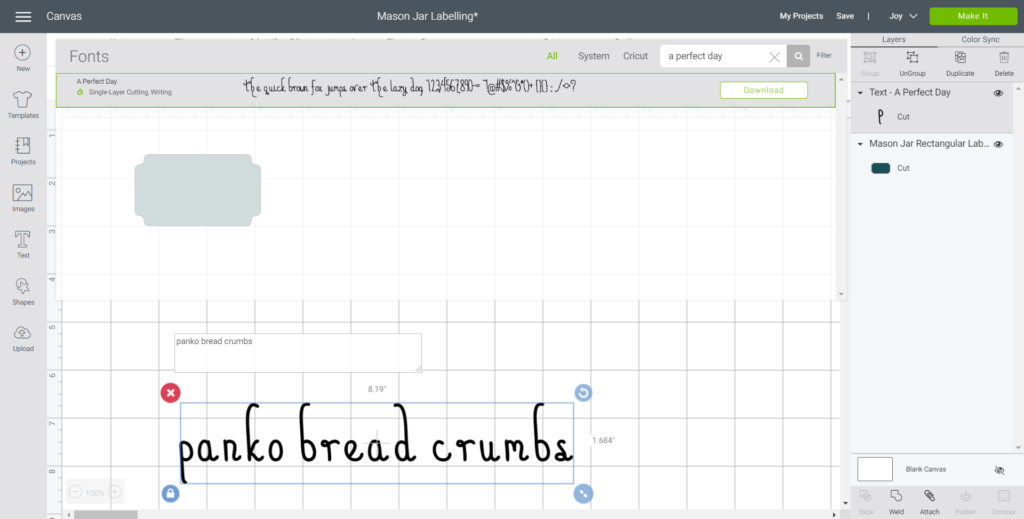
Change the font to A Perfect Day or use any font you prefer in the drop down list.
Change the Cut Type to Draw and adjust the pen tool to Extra Fine Tip Pen, 0.3mm.
Adjust text size to less than 0.5” high to fit inside the label.
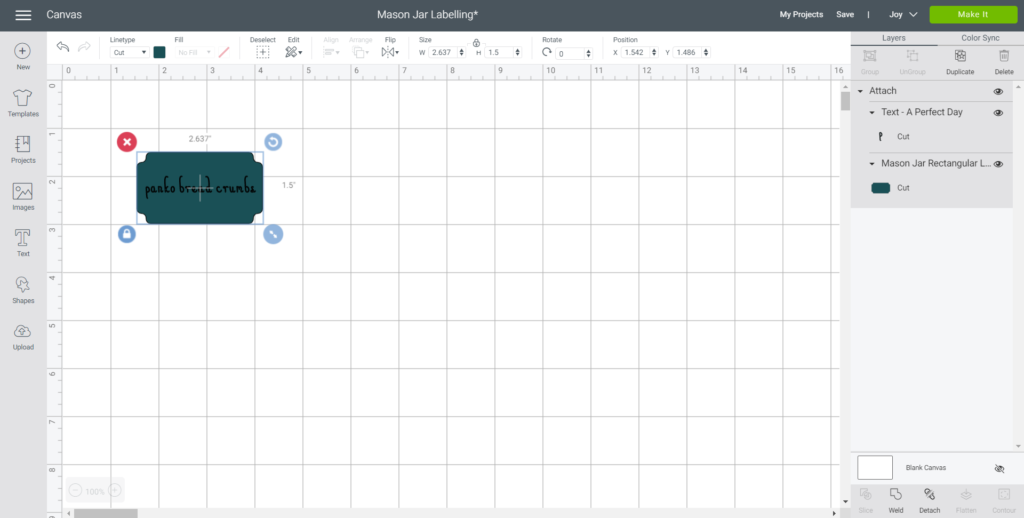
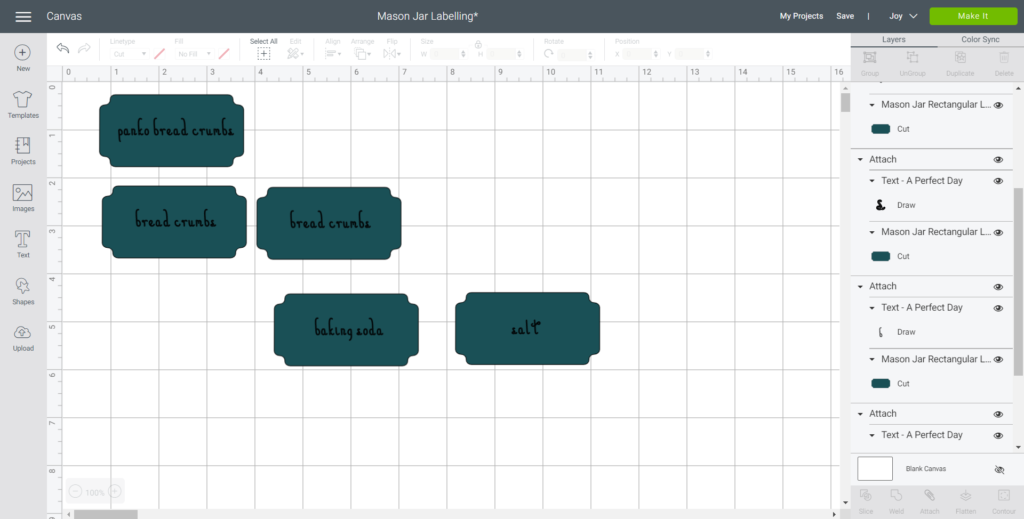
Center the text on to the label and attach the two together. Duplicate to create more labels or to cut extra of the same label.
Cutting the Labels
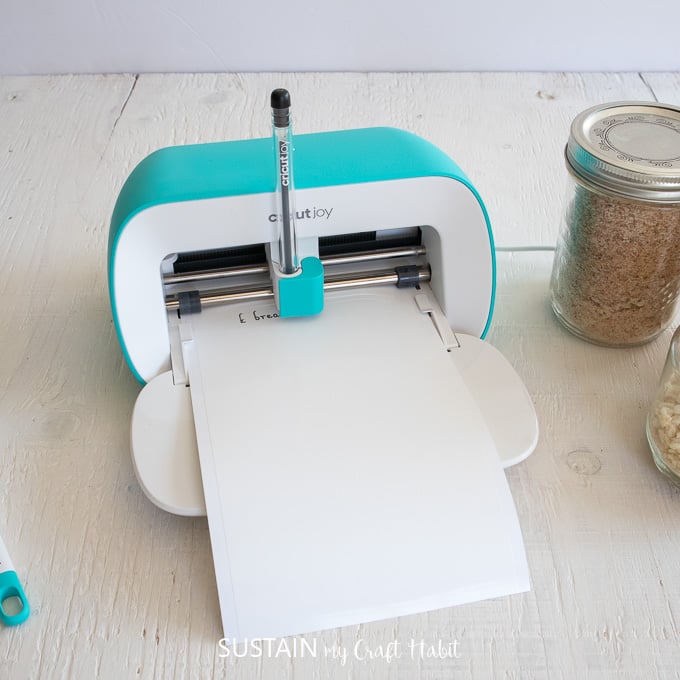
Select “Make It” in Design Space and set material type to Smart Label.
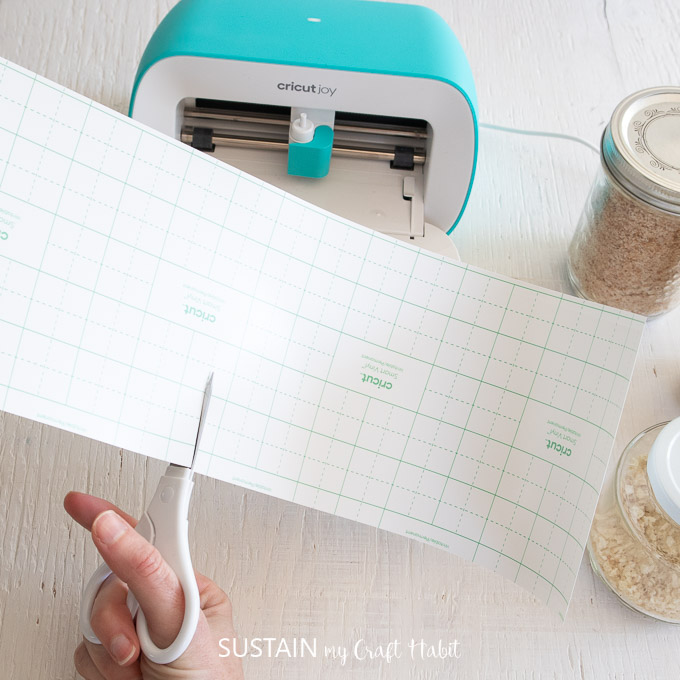
Follow prompts for loading the Smart Vinyl into the Cricut Joy.
When finished, unload the Vinyl from the cutting machine.
How to Label the Jars
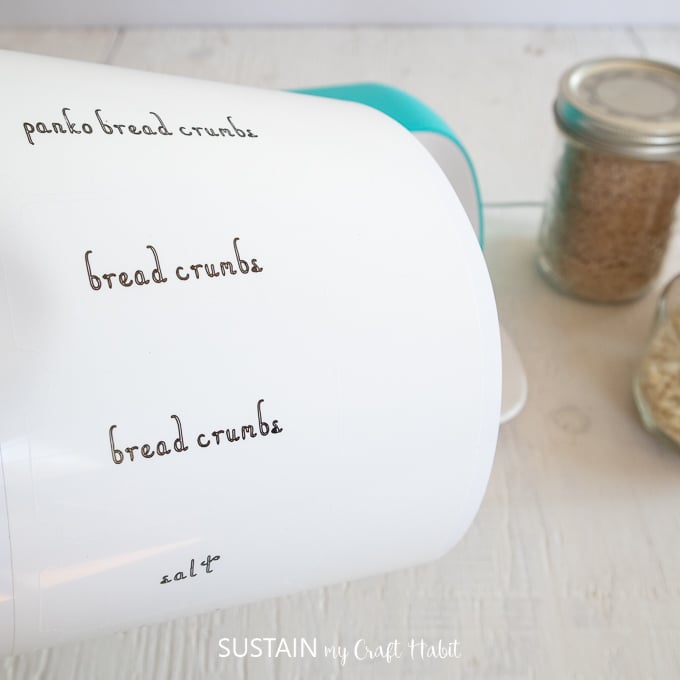
Peel off the label and stick it on to the mason jar of your choosing. No cutting needed!
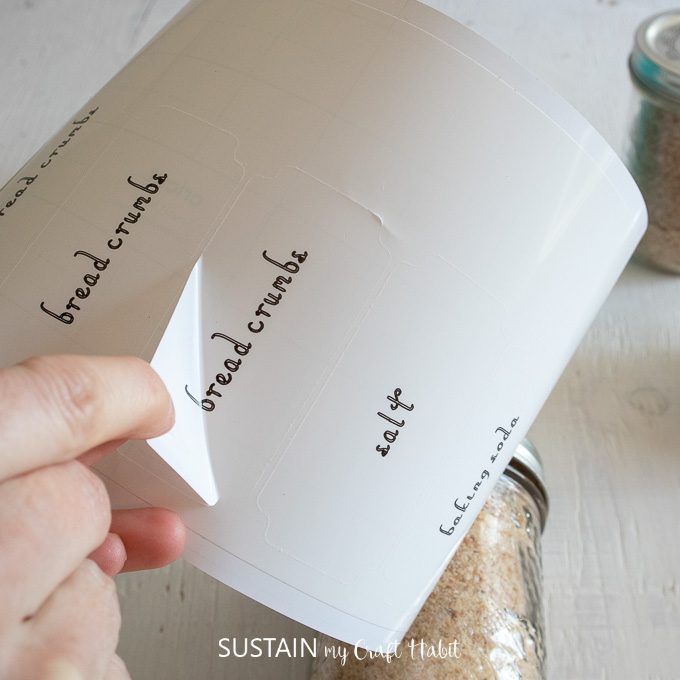
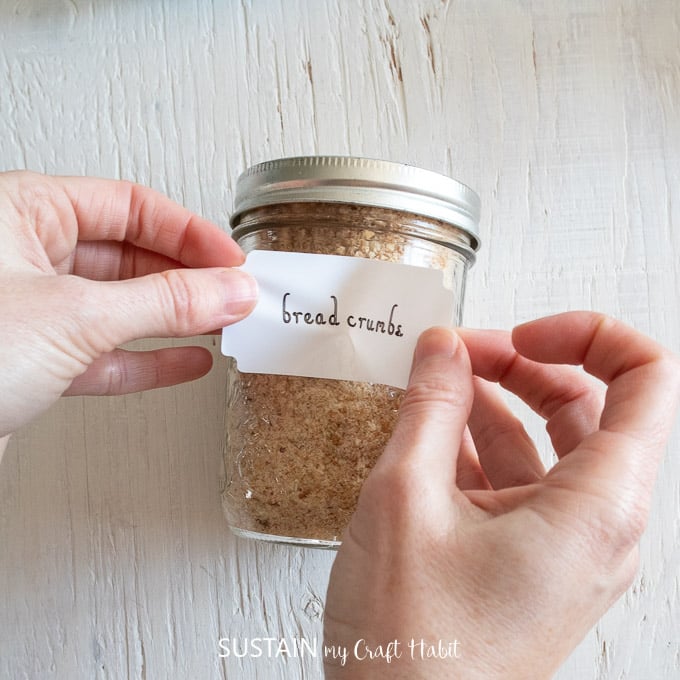
Repeat for the other mason jar labels.
You can also add the date to the labels to keep track of expiry either as your making the labels with the Cricut Joy or add it with a pen or marker afterwards.

ORGANIZING PROJECTS: Get 7 days of free tips and resources for organizing any room in your home. Join HERE!
Like it? Pin it for later!
DIY Mason Jar Labels with Cricut Joy Smart Label
Materials
- Cricut Joy with Fine Point Blade and X-Fine Point Pen 0.3mm
- Smart Label Writable Vinyl/Permanent white
- Mason Jars
- Scissors
Instructions
- To create the custom mason jar labels, click on the “Upload” button from the toolbar and search for Mason Jar Rectangular Label Base Silhouette #M12A80BA4.
- Click on the image and upload it onto the canvas.
- Adjust the label size to fit your mason jars accordingly.
- Next, select text from the toolbar and type out the word you want written on the label.
- Adjust text size to less than 0.5” high to fit inside the label.
- Center the text on to the label and attach the two together.
- Select “Make It” in Design Space and set material type to Smart Label.
- To label the jars, peel off the label and stick it on to the mason jar of your choosing.