
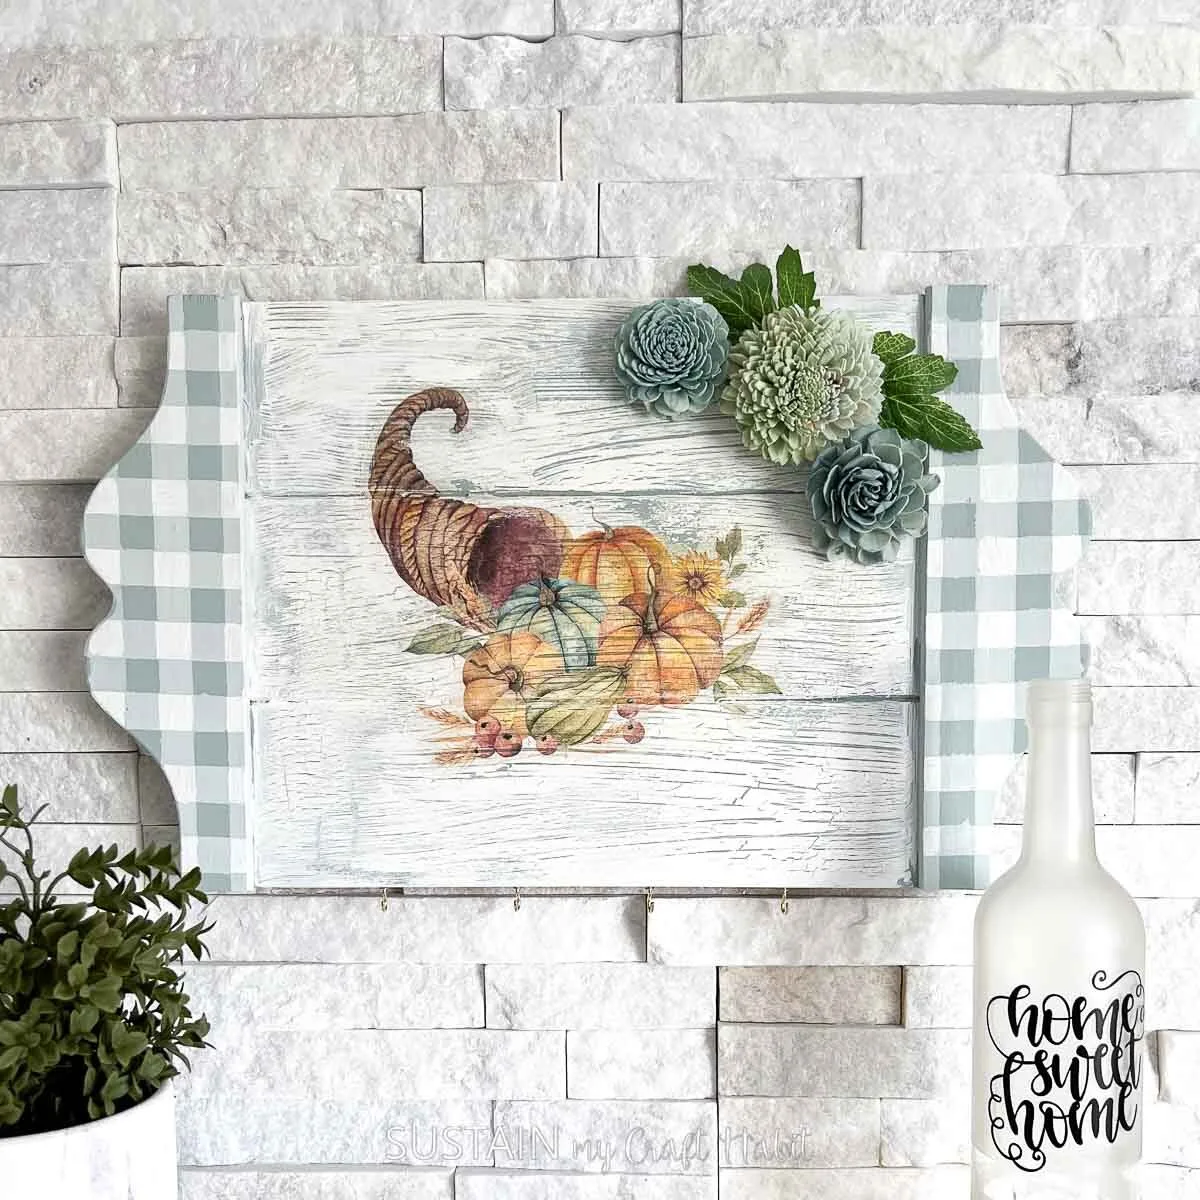
Explore this budget-friendly fall door hanger idea using dollar tree supplies and get creative by adding seasonal charm to your home this autumn.

Get Crafty with Dollar Tree Supplies
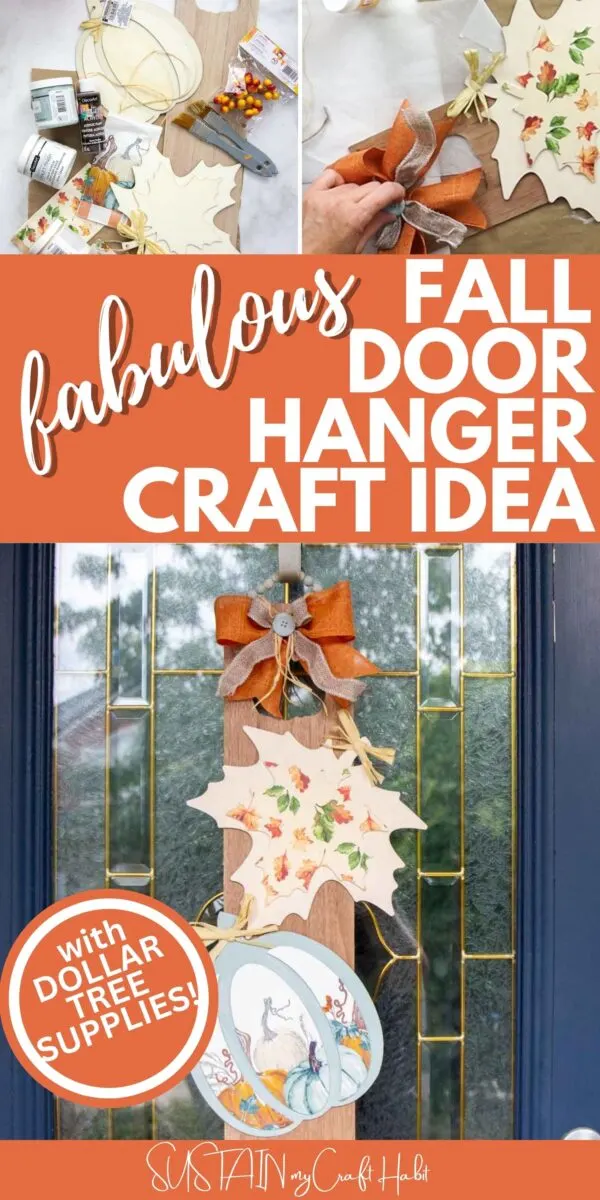
Instead of a classic wreath on your front door, why not switch it up this season with a beautiful fall door hanger? It’s a bit unexpected and whimsical, plus it’s made with Dollar Tree supplies so it’s budget-friendly too! This fall craft checks all the boxes.
The best part is this door hanger can stay up straight through Thanksgiving. If you don’t want to hang it on your front door, it would look just as lovely on an interior door, or as a wall accent piece. So let’s get to the super simple tutorial so you can make your own pretty fall door hanger.

Want to receive a ton of inspiration and money saving ideas for decorating, gift-giving and crafting? Join HERE!
Materials Needed
Disclosure: This post contains affiliate links for your shopping convenience. Should you choose to purchase through them, we will make a small commission at no extra cost to you. You can read our full disclosure policy here.
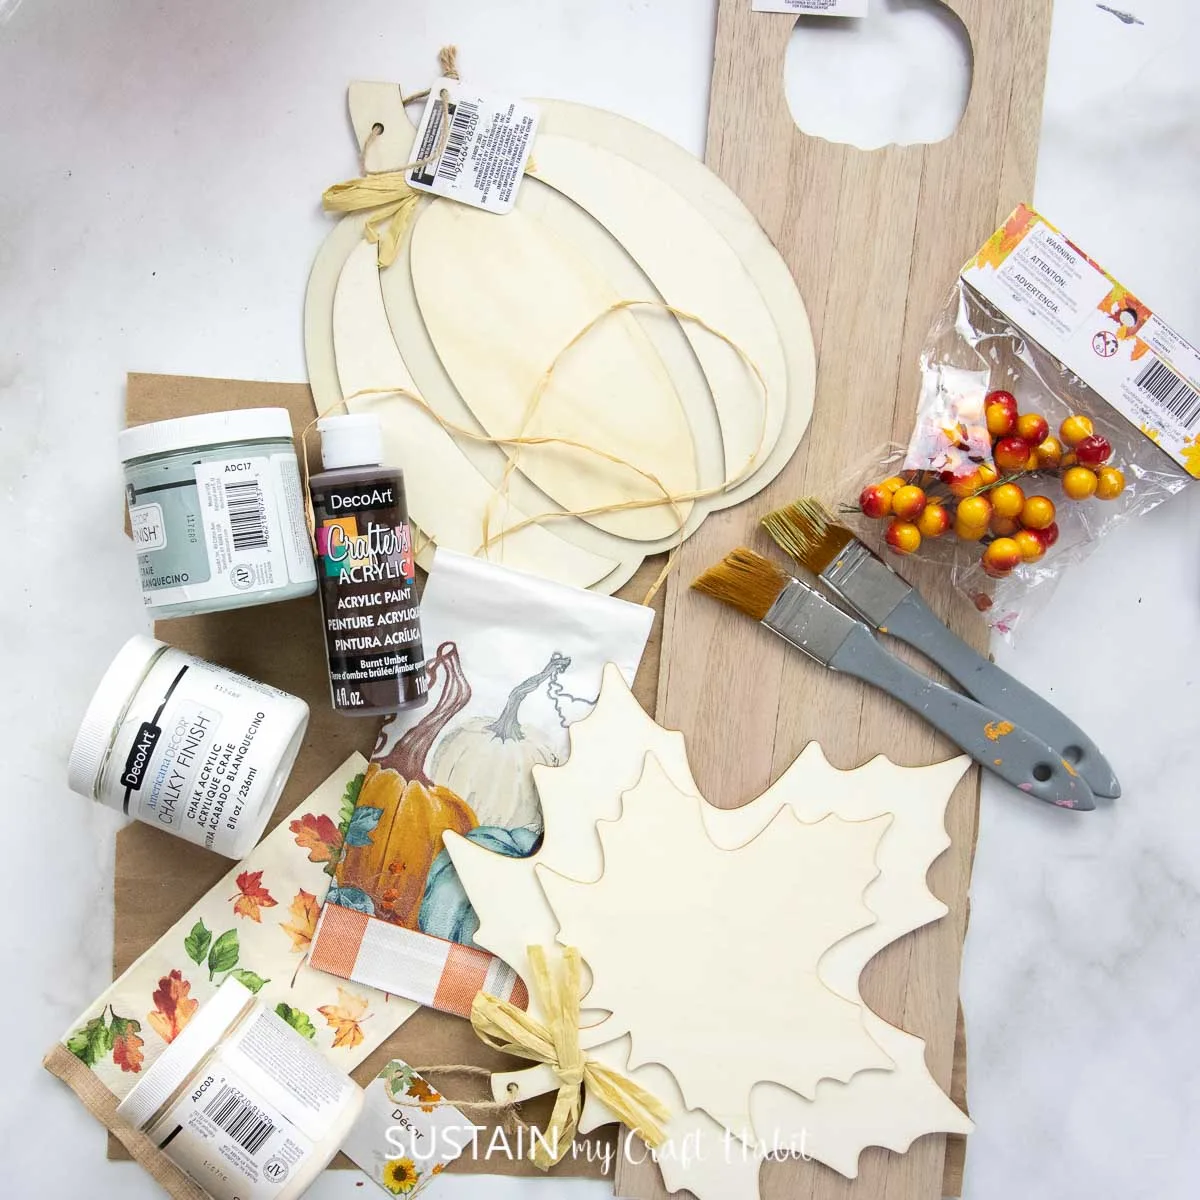
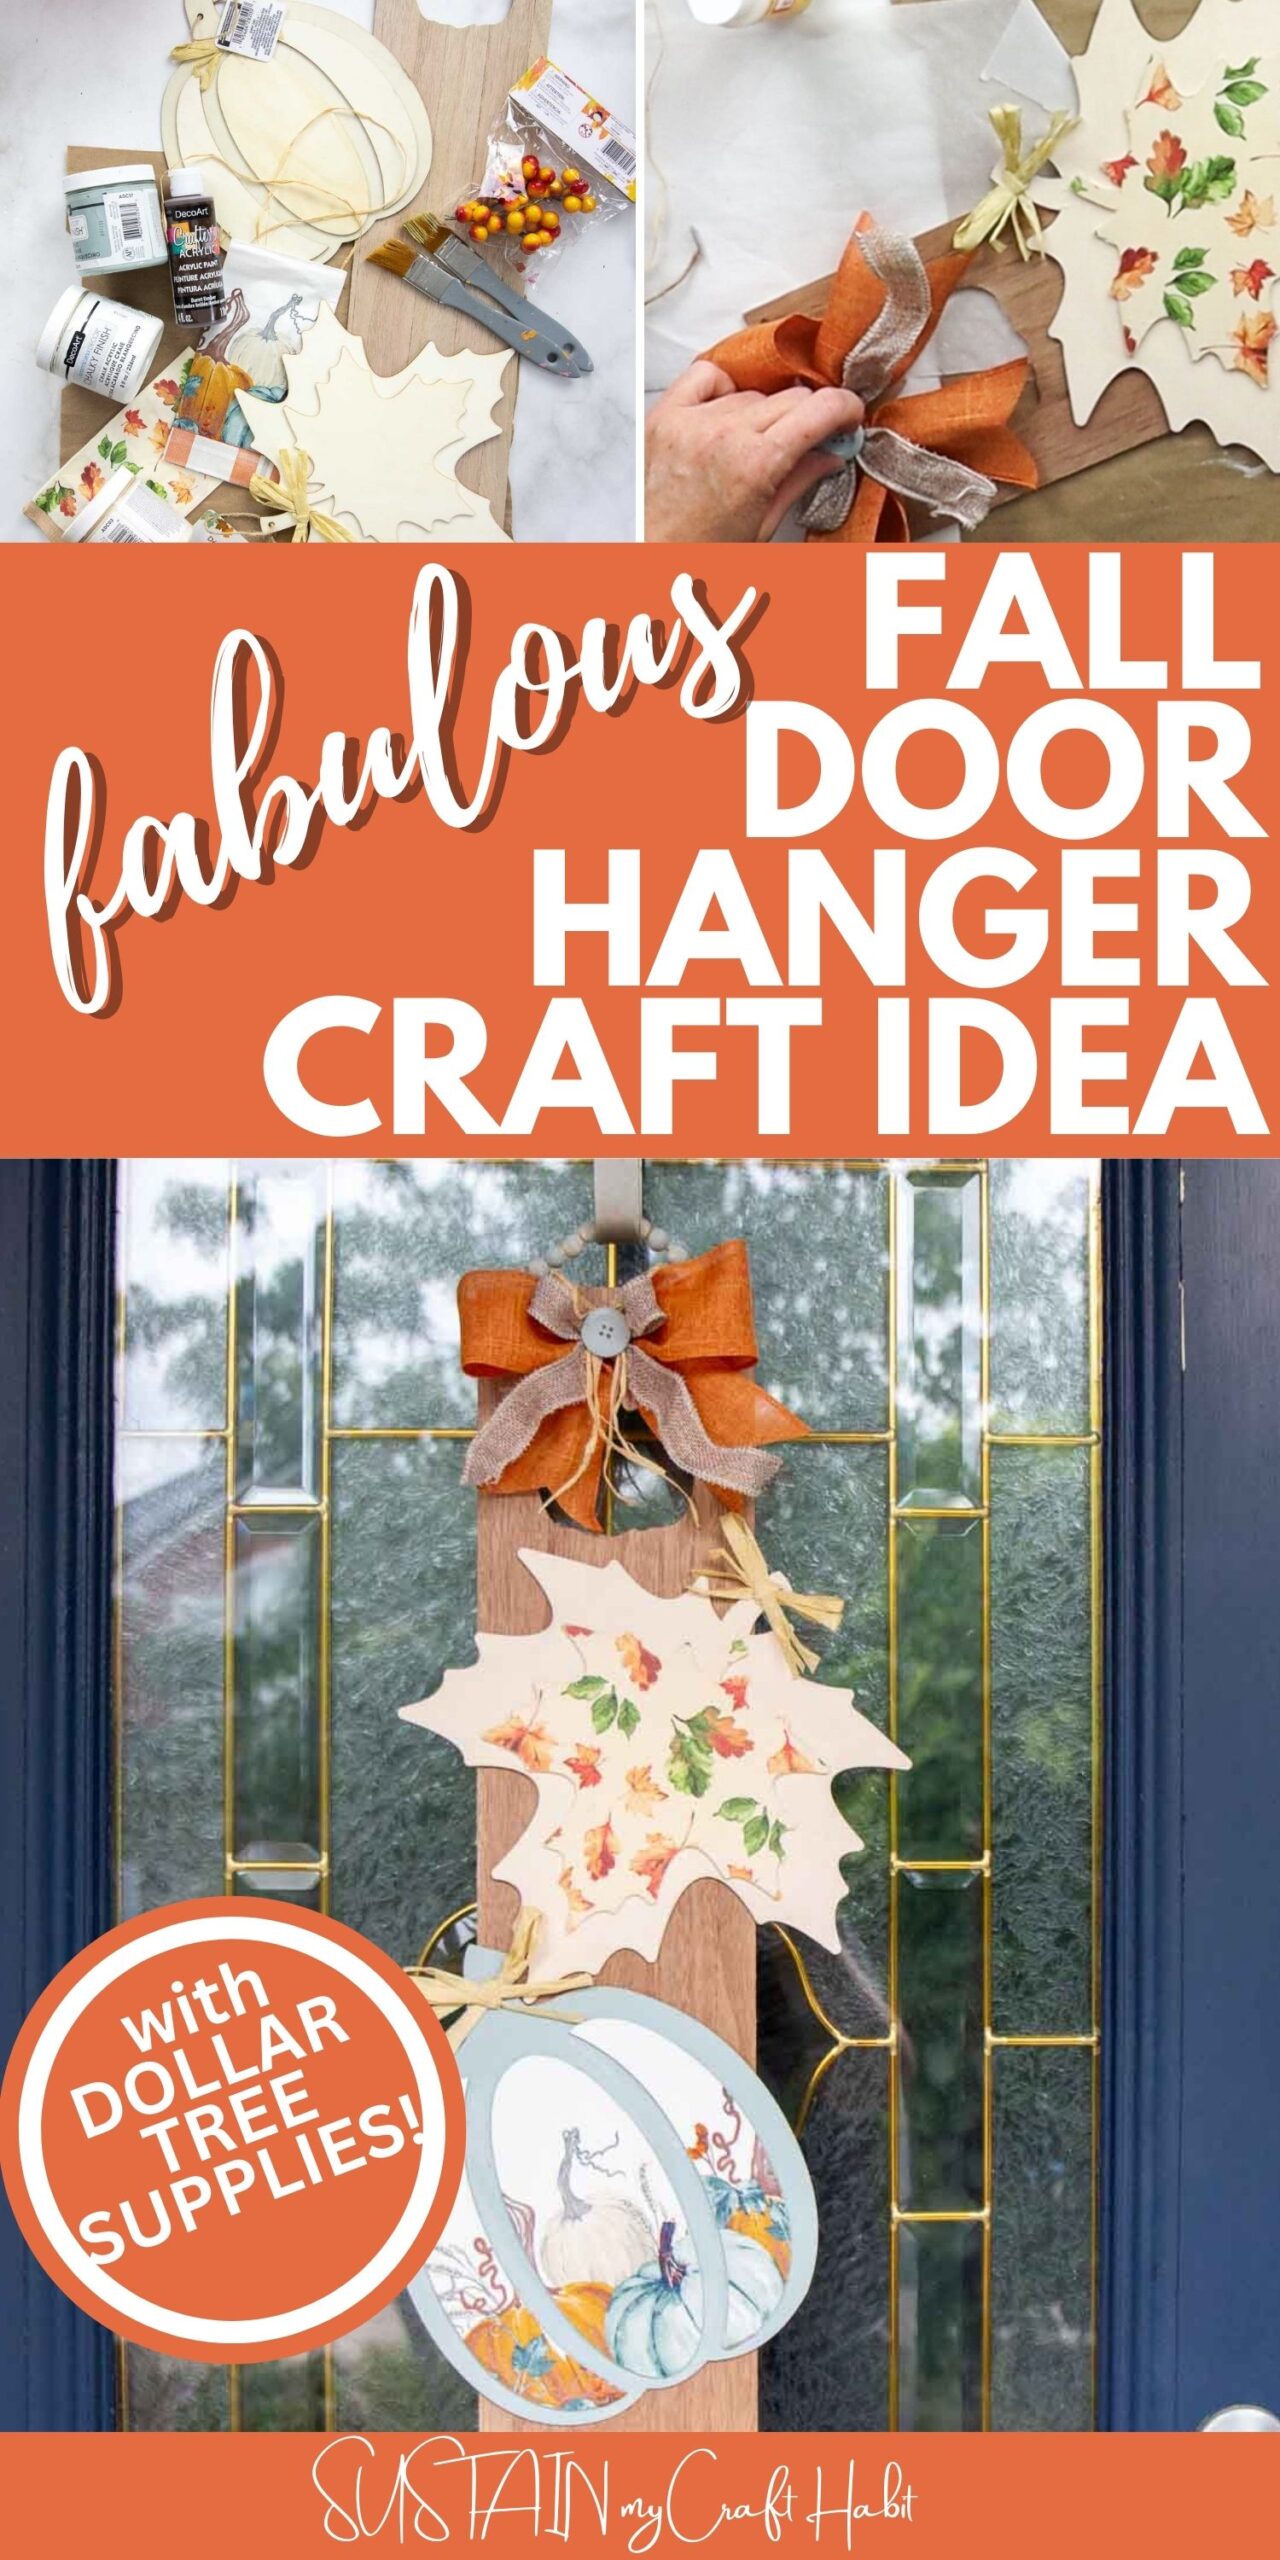
- Wood Panel, wood pumpkin and wood leaf (we got ours from Dollar Tree)
- Decorative napkins
- Chalky paint in white, light blue
- Brown paint
- Paintbrushes
- Mini heat press
- Ribbon
- Decoupage or Mod Podge
- Hot glue gun

How to Make a Fab Fall Door Hanger with Dollar Tree Supplies
I shared the tutorial for this door hanger on a Facebook Live which you can catch here or if you prefer the photo tutorial, continue reading below.
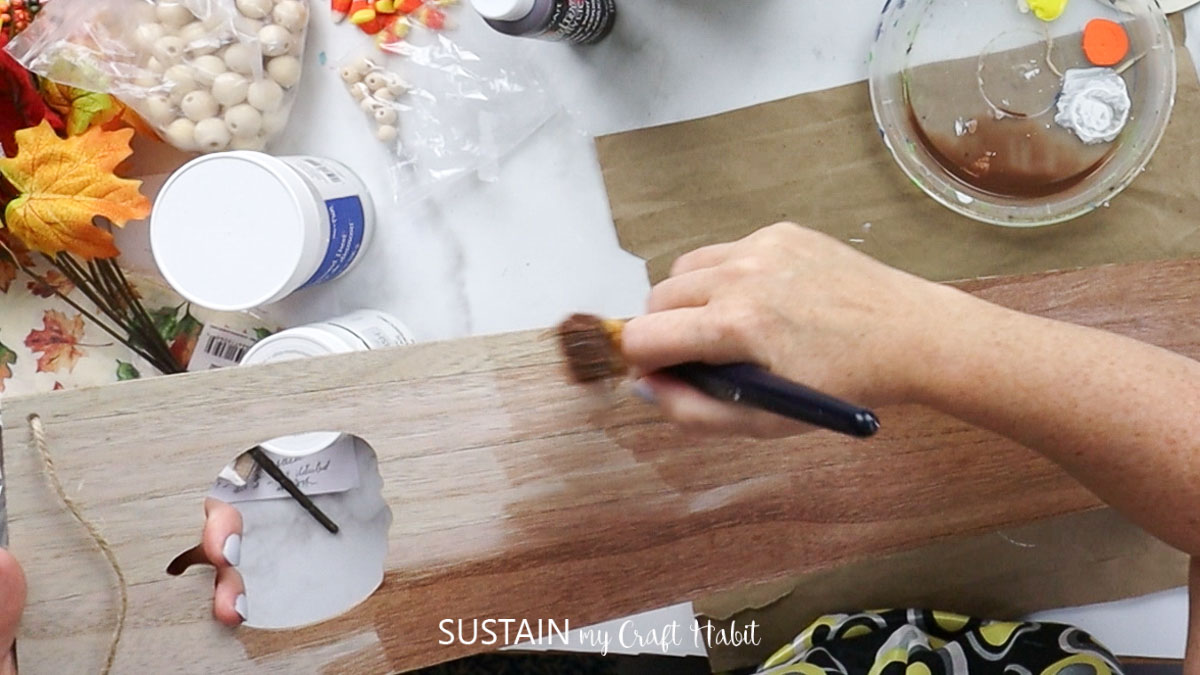
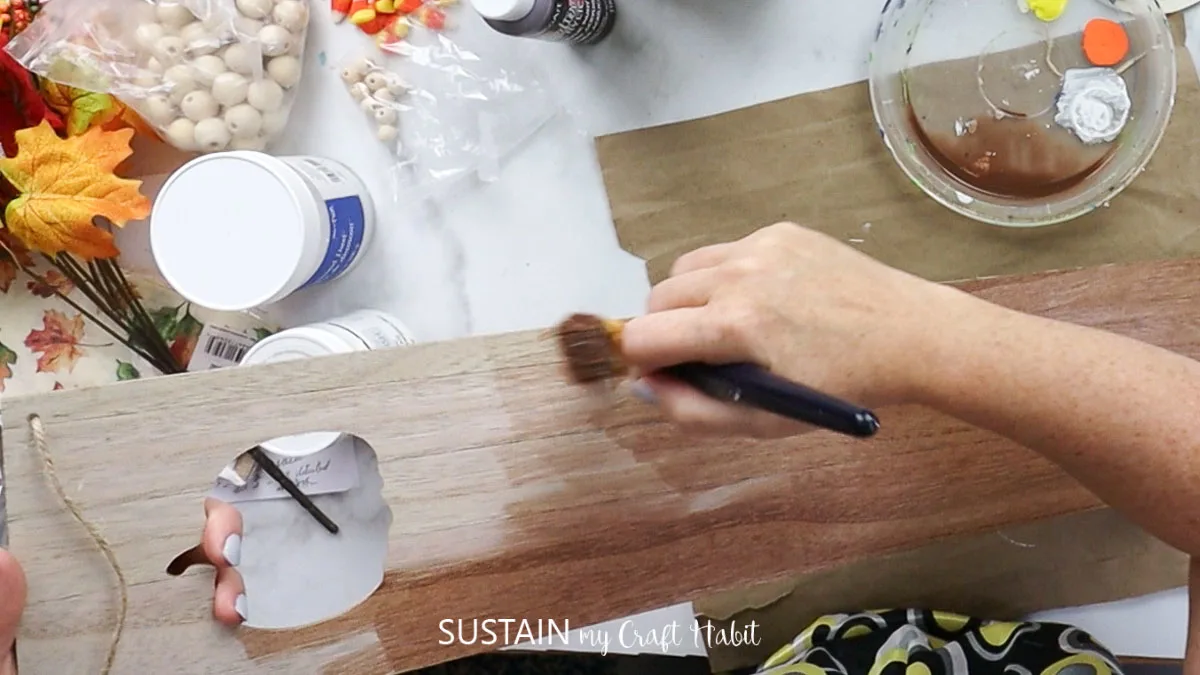
Mix equal parts water and brown paint to create a “stain”. Paint the wood panel.
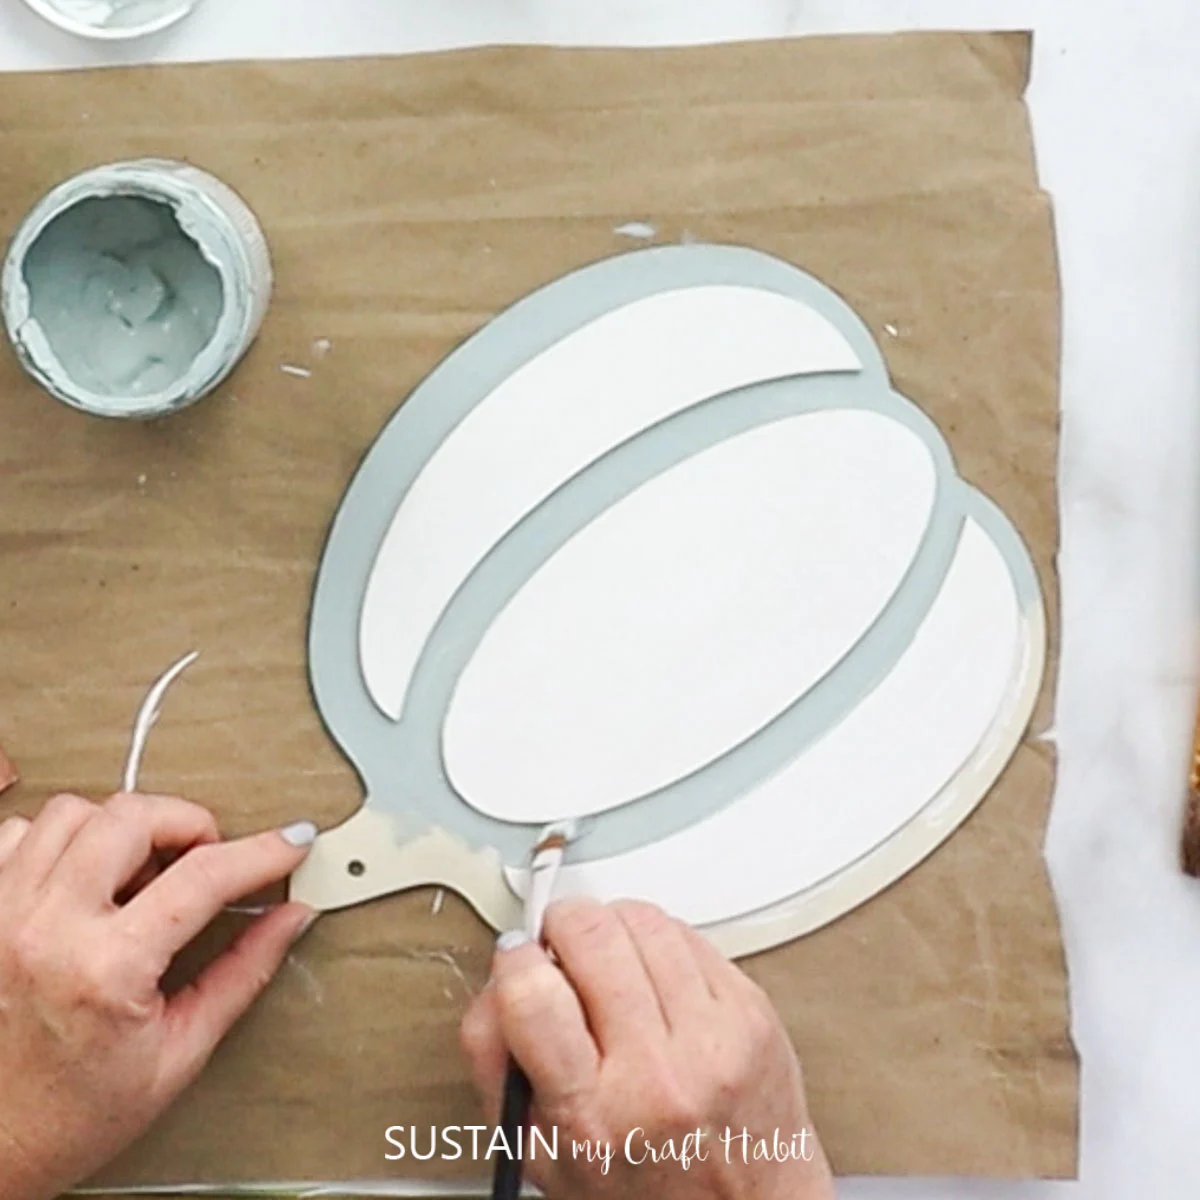
Next, paint the pumpkin with white chalky paint and the edges with light blue.


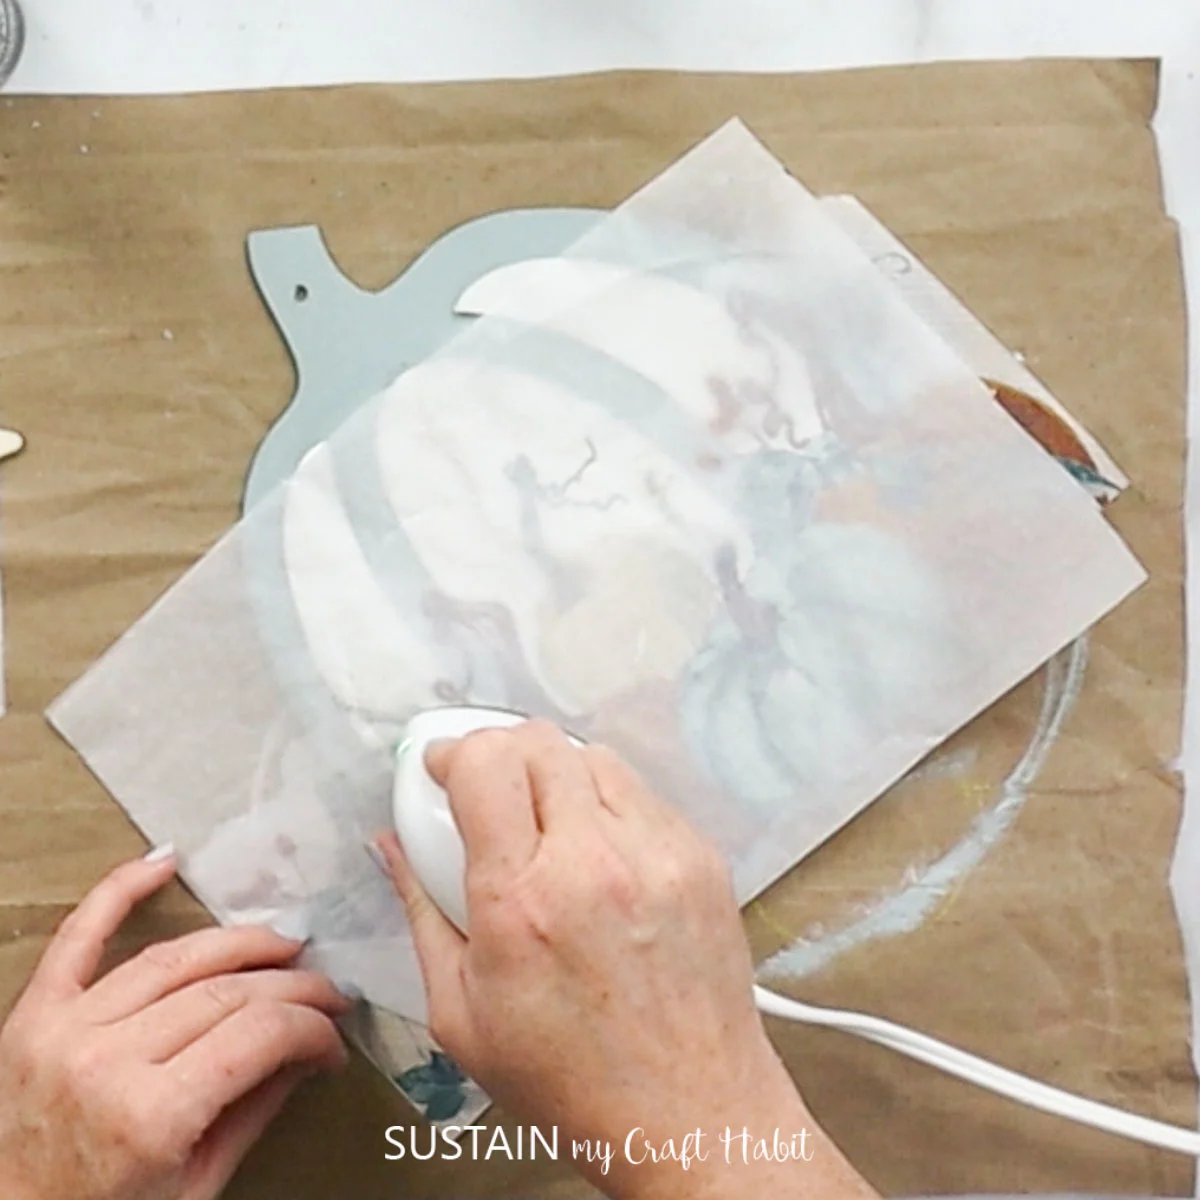
Prepare the printed paper napkins by removing additional ply layers leaving just the one printed layer and cutting out the image.


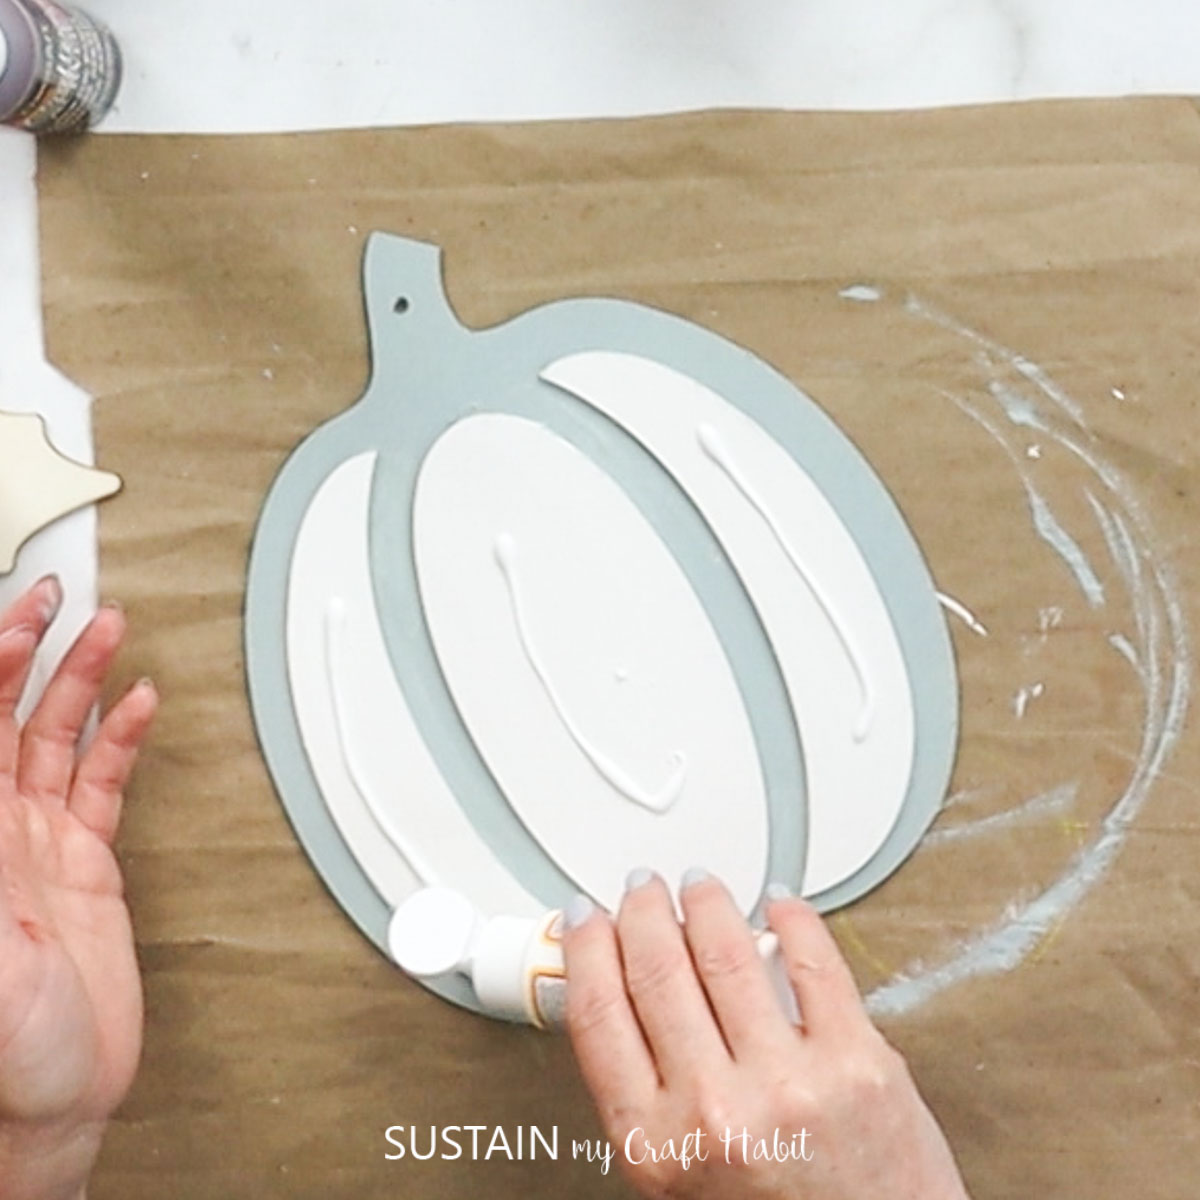
Apply a thin layer of decoupage or mod podge onto the white parts of the pumpkin.

Place the napkin on top of the glued area and gently press down with your fingers. You can also place a piece of parchment paper over the glued napkin and take your heated iron and gently rub back and forth.

Remove any excess napkin by gently rubbing with sandpaper.
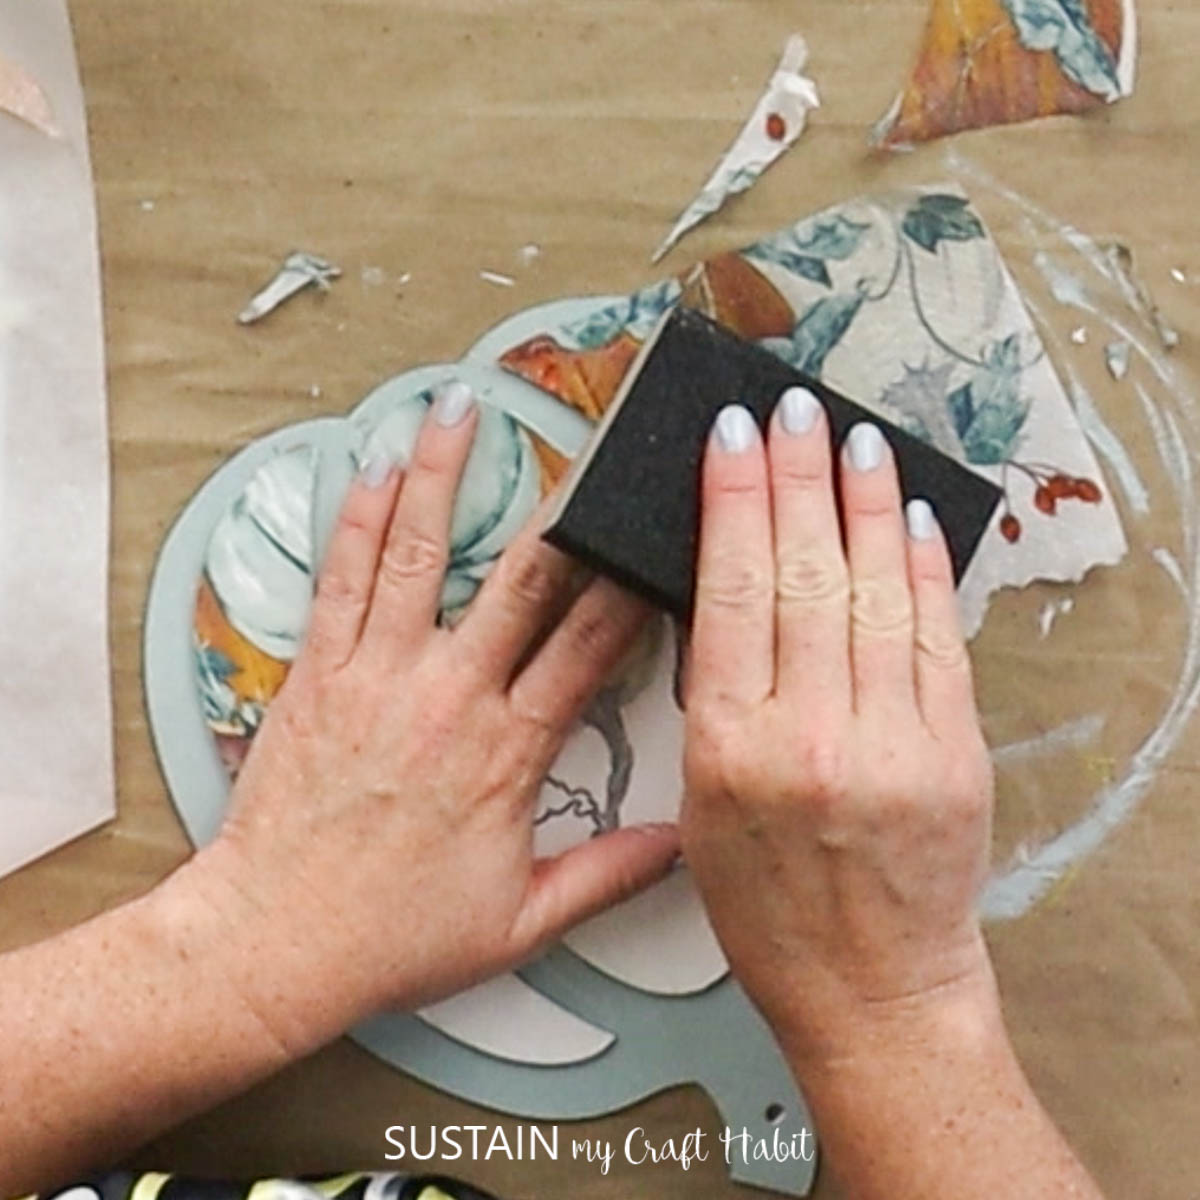

Complete the same steps with the wooden leaf.


Once dry, add hot glue onto the wooden panel and glue your pumpkin and leaf onto it.


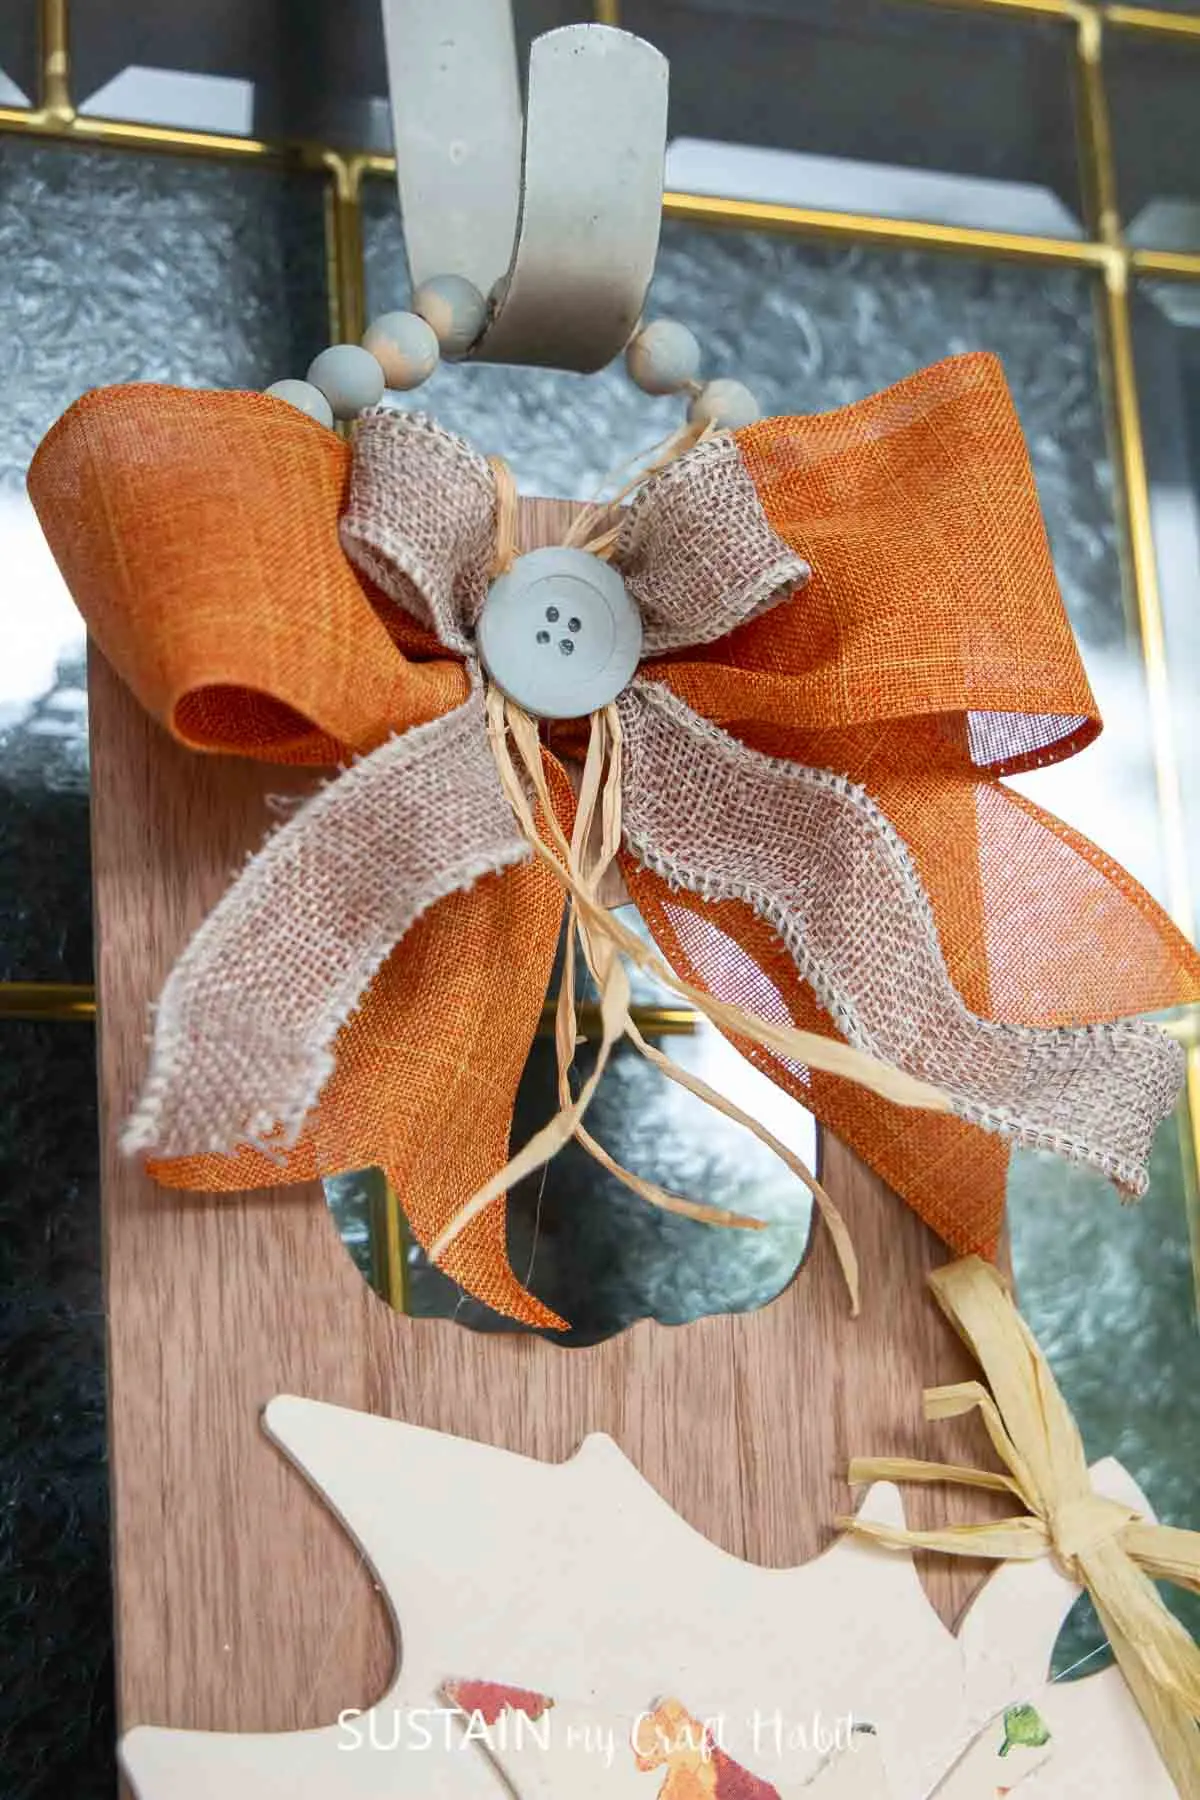
Add A Pretty Bow to the Fall Door Hanger
Make a double bow (you can learn how to make one here) and glue to the top of the wood panel.
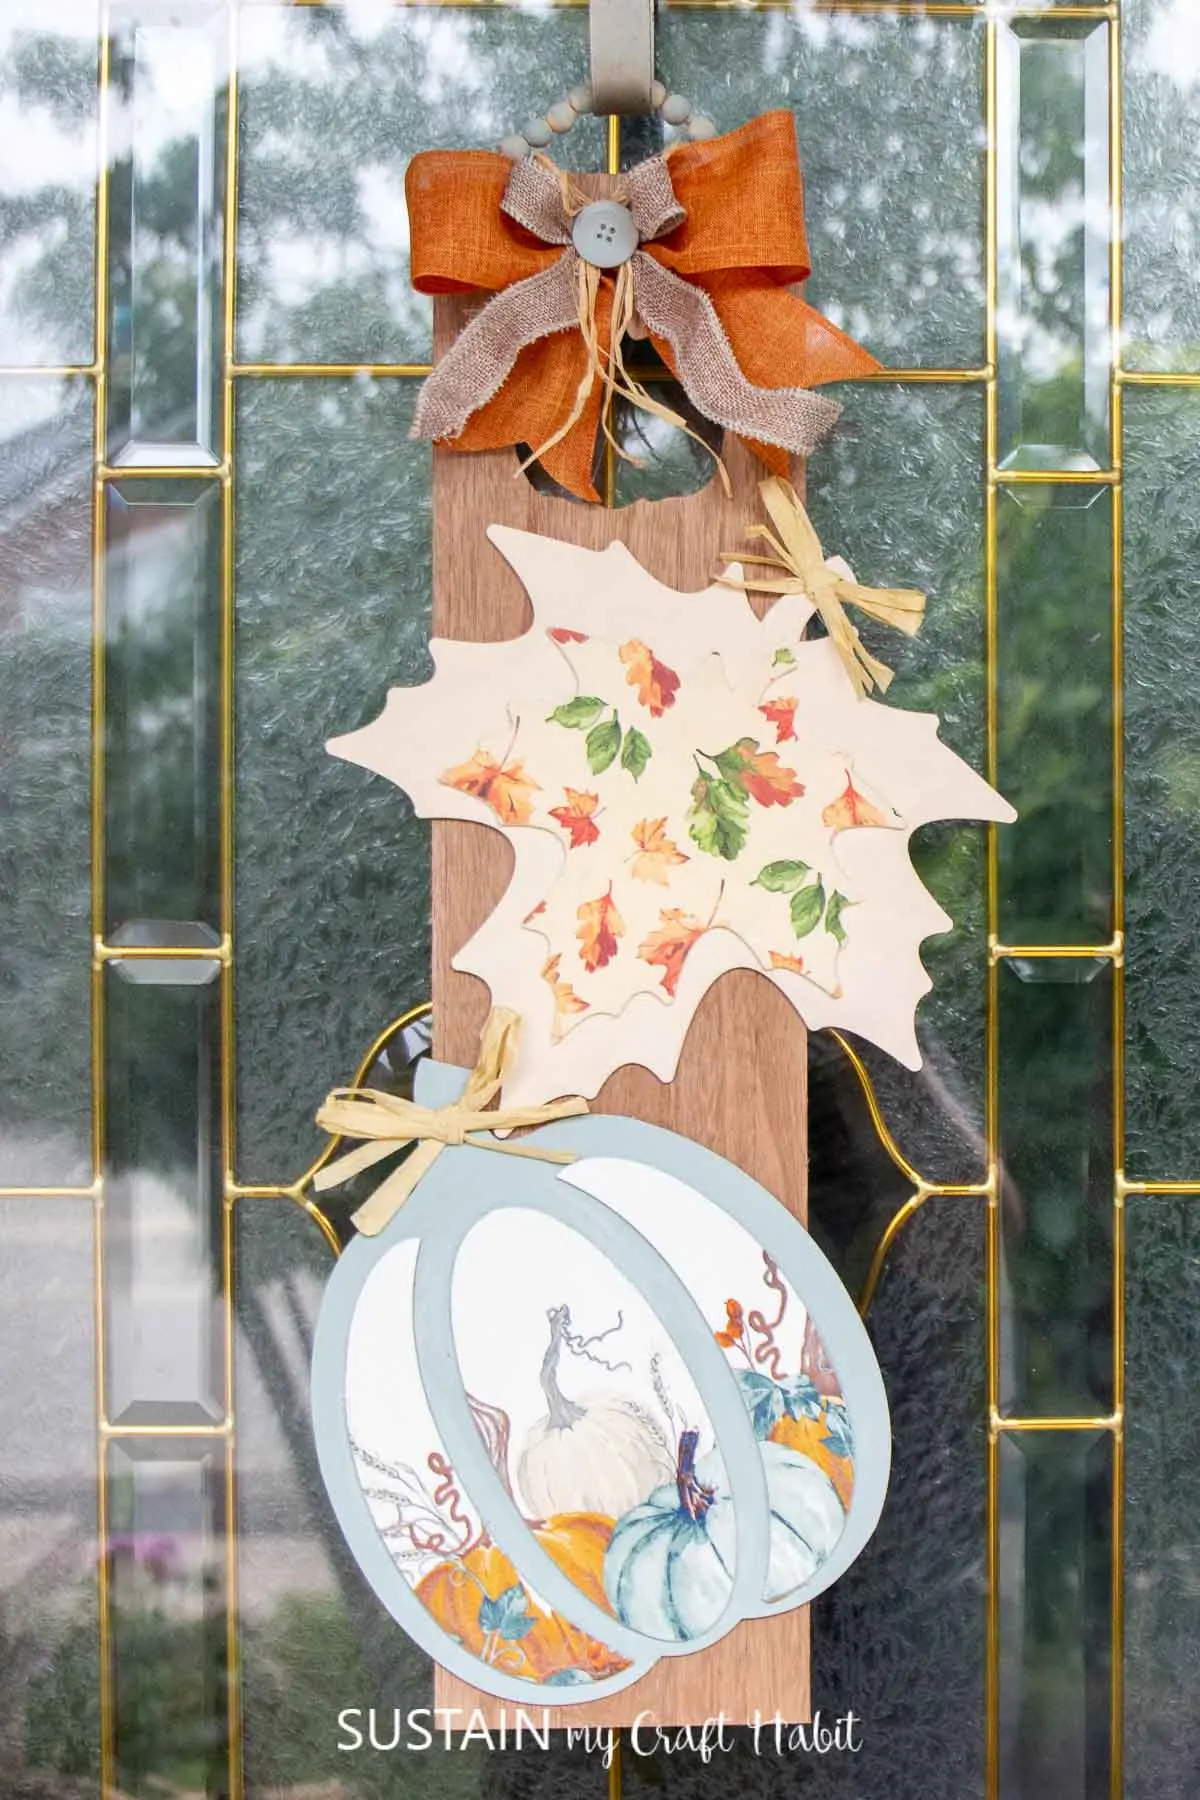
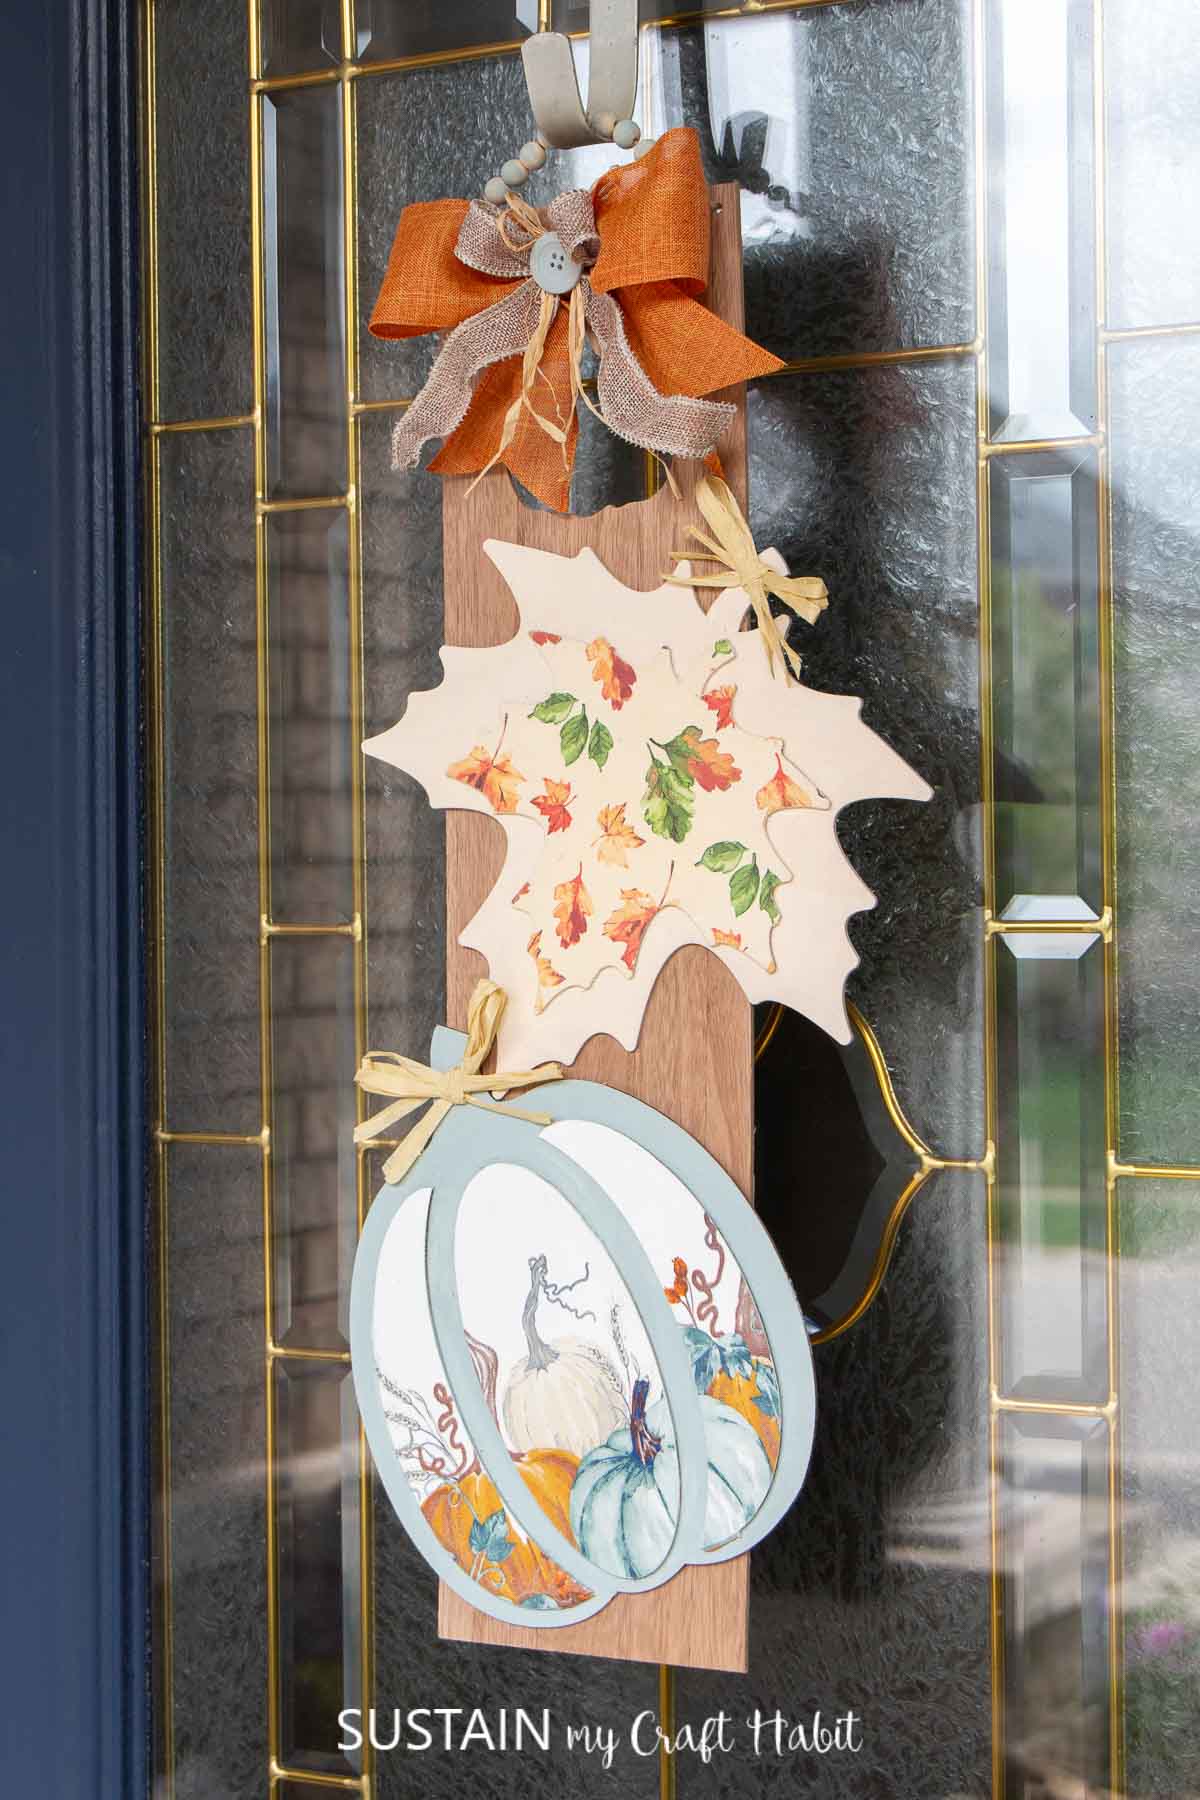
Look at how lovely this beautiful fall decoration looks on our front door. The rich autumn colors pop against the warm wood base. The pumpkin colors have a coastal vibe that is a bit unexpected.

What do you think about these fall door hanger ideas? Is this something you could see yourself making for your front door? If you do, make sure to show it off to us! Tag us on Facebook or Instagram– we can’t wait to see it!
Happy Fall, crafty friends!
More DIY Fall Signs
- DIY Fall Gnome Decor
- Gather Sign for Fall
- Reversible Driftwood Wall Decor
- Fall Sign with Sola Flowers
- Transfer Images to Wood: A Fall Sign


Get updates on the latest posts and more from Sustain My Craft Habit straight to your inbox by joining our weekly newsletter. We promise to send you only the good stuff!
Like it? Pin it for later!


Fab Fall Door Hanger with Dollar Tree Supplies
Materials
- Wood Panel wood pumpkin and wood leaf
- Decorative napkins
- Chalky paint in white, light blue
- Brown paint
- Paintbrushes
- Mini heat press
- Ribbon
- Decoupage or Mod Podge
- Hot glue
Instructions
- Mix equal parts water and brown paint to create a “stain”. Paint the wood panel.
- Next, paint the pumpkin with white chalky paint and the edges with light blue.
- Prepare the printed paper napkins by removing additional ply layers leaving just the one printed layer and cutting out the image.
- Apply a thin layer of decoupage or mod podge onto the white parts of the pumpkin.
- Place the napkin on top of the glued area and gently press down with your fingers.
- Complete the same steps with the wooden leaf.
- Once dry, add hot glue onto the wooden panel and glue your pumpkin and leaf onto it.
- Make a double bow and glue to the top of the wood panel.
- Hang on your door and enjoy!