How to Decoupage on Canvas: Reverse Canvas Sign

Whether you are a seasoned crafter or just starting your creative journey, this blog post provides all the tips, tricks, and techniques you need to transform an ordinary canvas into a beautiful piece of wall art. We’re sharing the step by step instructions for how to decoupage on canvas to achieve best results.
And furthermore, the reverse canvas method allows you to give your artwork a professional, framed look without the hefty price tag.

Before we dive into the nitty-gritty of the process, let’s take a moment to explore why the reverse canvas method is a game-changer. Traditional canvas art can be beautiful, but it often lacks the polished edges that a frame provides. By reversing the canvas, you get rid of the bulky wooden frame and make it an integral part of your design, giving it a rustic, cohesive feel.
Why You Will Love Making This Decoupage Canvas
First and foremost, it offers a great way to express your creativity and personalize your space with artwork that reflects your unique style and personality. Each piece is one-of-a-kind, allowing you to unleash your artistic flair without the confines of pre-made designs.
Additionally, this project is surprisingly cost-effective, making it accessible for everyone, regardless of budget. You can repurpose old canvases and use inexpensive materials to achieve stunning results, proving that beautiful art doesn’t have to break the bank.

Do I Need To Prepare the Canvas Before The Decoupage?
Not if you’re using a brand new white canvas. If you are using an already painted canvas be sure to cover over the painting with some white acrylic or craft paint to create a clean starting surface.
Want to receive a ton of inspiration and money saving ideas for decorating, gift-giving and crafting? Join HERE!
Materials Needed
Disclosure: This post contains affiliate links for your shopping convenience. Should you choose to purchase through them, we will make a small commission at no extra cost to you. You can read our full disclosure policy here.
- Canvas with wood frame
- Unfinished “welcome” cutout
- Decorative paper napkins
- Paint in brown & white
Paintbrushes - Decoupage glue or
Mod Podge - Mini iron (we always use our
EasyPress Mini for all decoupage projects) Hot glue gun

How to Decoupage on Canvas: Reverse Canvas Sign
We’re happy to share this video tutorial with you. Or if you prefer the photo tutorial, continue reading below.
To start, carefully remove the canvas from around the wood frame.


Mix equal parts brown acrylic paint with water in a small container and paint your wooden frame. Set aside to dry.

Next, apply a coat of decoupage glue over the canvas and let dry.

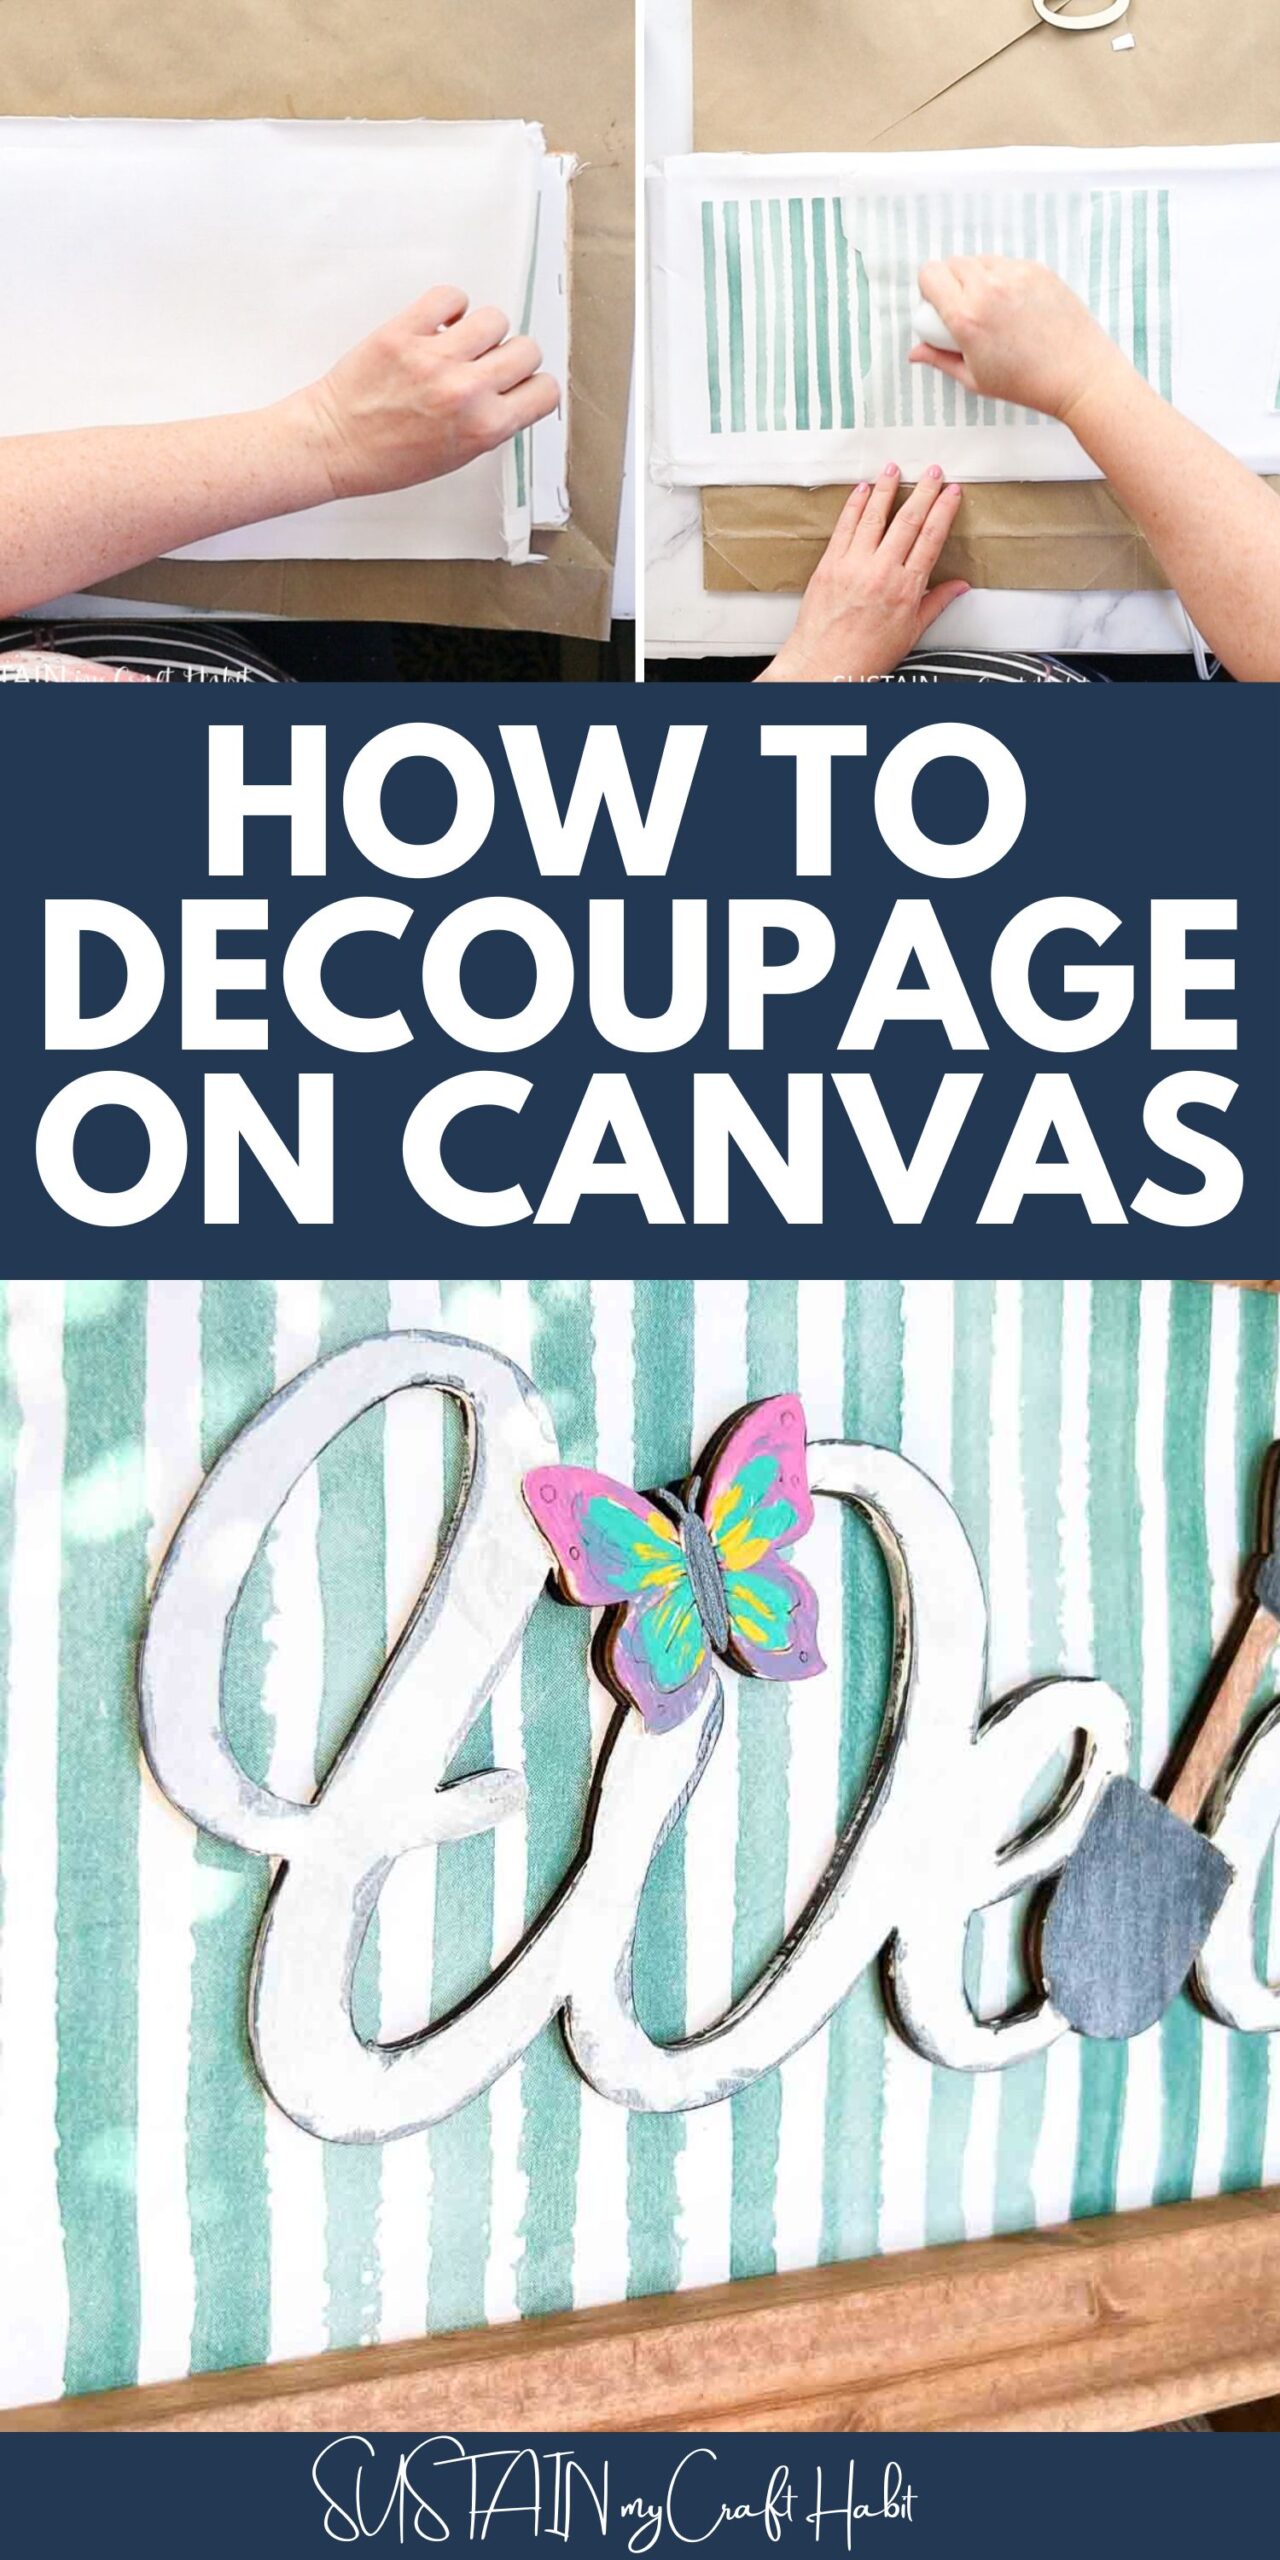
Separate the additional plies from paper napkins using just the printed layer for the craft. Place the napkin on top of the canvas and gently press down with your fingers.
Place a piece of parchment paper over top of the napkin and take your heated iron and gently rub back and forth. This will smooth out the napkin.

Now, hot glue the frame over top of the canvas and cut any excess canvas hanging from the sides.

Next, apply a layer of glue over the unfinished welcome sign and then add a coat of paint over top.

Attach the welcome sign to the canvas and add any extra embellishments.


Simple Materials Into Stunning Artwork
Decoupaging on canvas offers a delightful blend of creativity, personalization, and practicality. This project allows you to transform simple materials into stunning, customized artwork that enhances your home décor.
Now, it’s time to gather your supplies, unleash your creativity, and enjoy the rewarding process of making your very own reverse canvas sign.
More Decoupage Crafts
Did you know that you can decoupage on rocks, plastic and more? You’ll be hooked! Check out some more decoupage projects here:
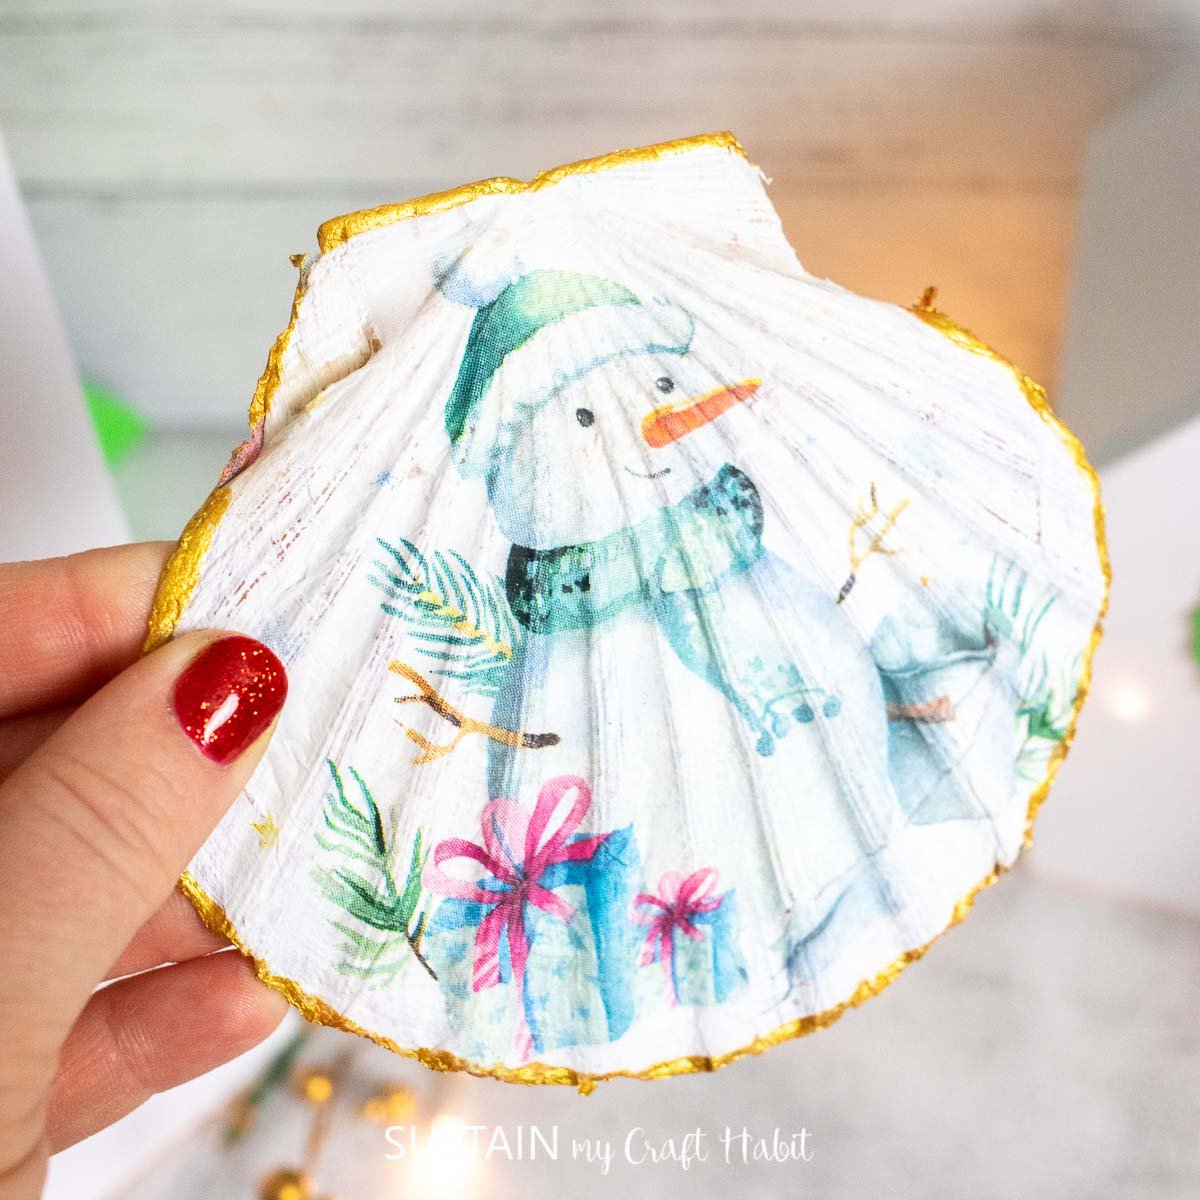
- How to Decoupage Shells
- How to Decoupage on Wood
- How to Decoupage a Rock
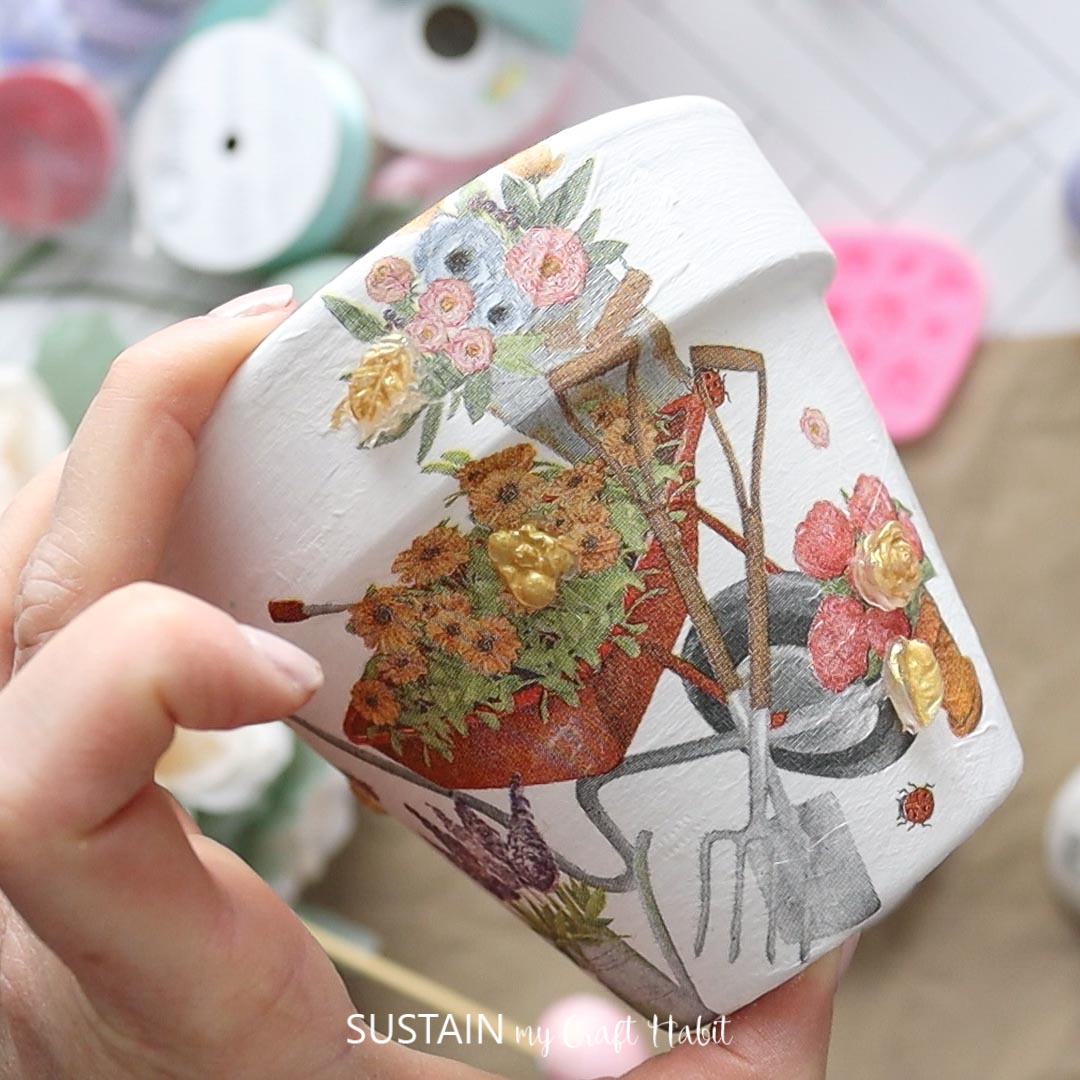
- How to Decoupage on Clay Pots
- How to Decoupage onto Glass Jars
- How to Decoupage on Plastic


Get updates on the latest posts and more from Sustain My Craft Habit straight to your inbox by joining our weekly newsletter. We promise to send you only the good stuff.
Like it? Pin it for later!

How to Decoupage on Canvas: Reverse Canvas Sign
Materials
- Canvas with wood frame
- Unfinished welcome sign
- Decorative paper napkins
- Paint in brown & white
- Paintbrushes
- Decoupage glue or Mod Podge
- Mini iron
- Hot glue
Instructions
- To start, carefully remove the canvas from around the wood frame.
- Mix equal parts brown acrylic paint with water in a small container and paint your wooden frame.
- Next, apply a coat of decoupage glue over the canvas and let dry.
- Place the napkin on top of the canvas and gently press down with your fingers.
- Now, hot glue the frame over top of the canvas and cut any excess canvas hanging from the sides.
- Next, apply a layer of glue over the unfinished welcome sign and then add a coat of paint over top.
- Attach the welcome sign to the canvas and your sign is done!