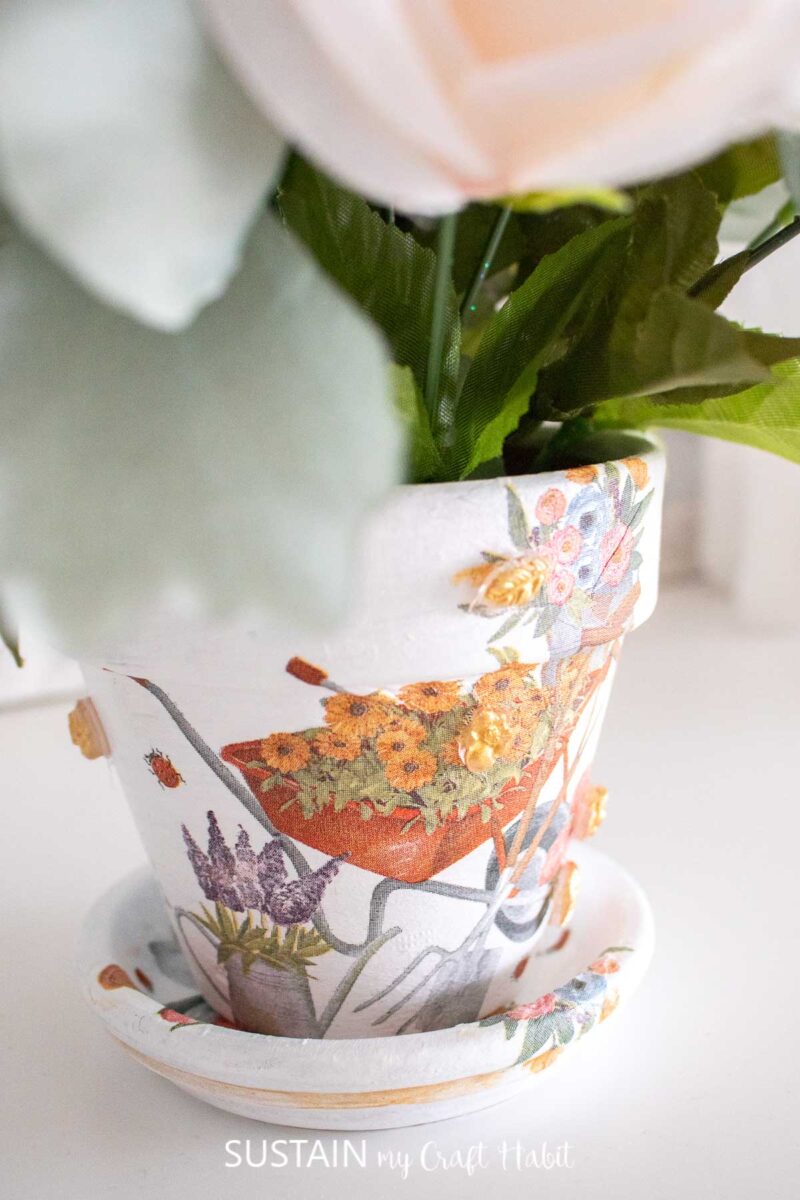
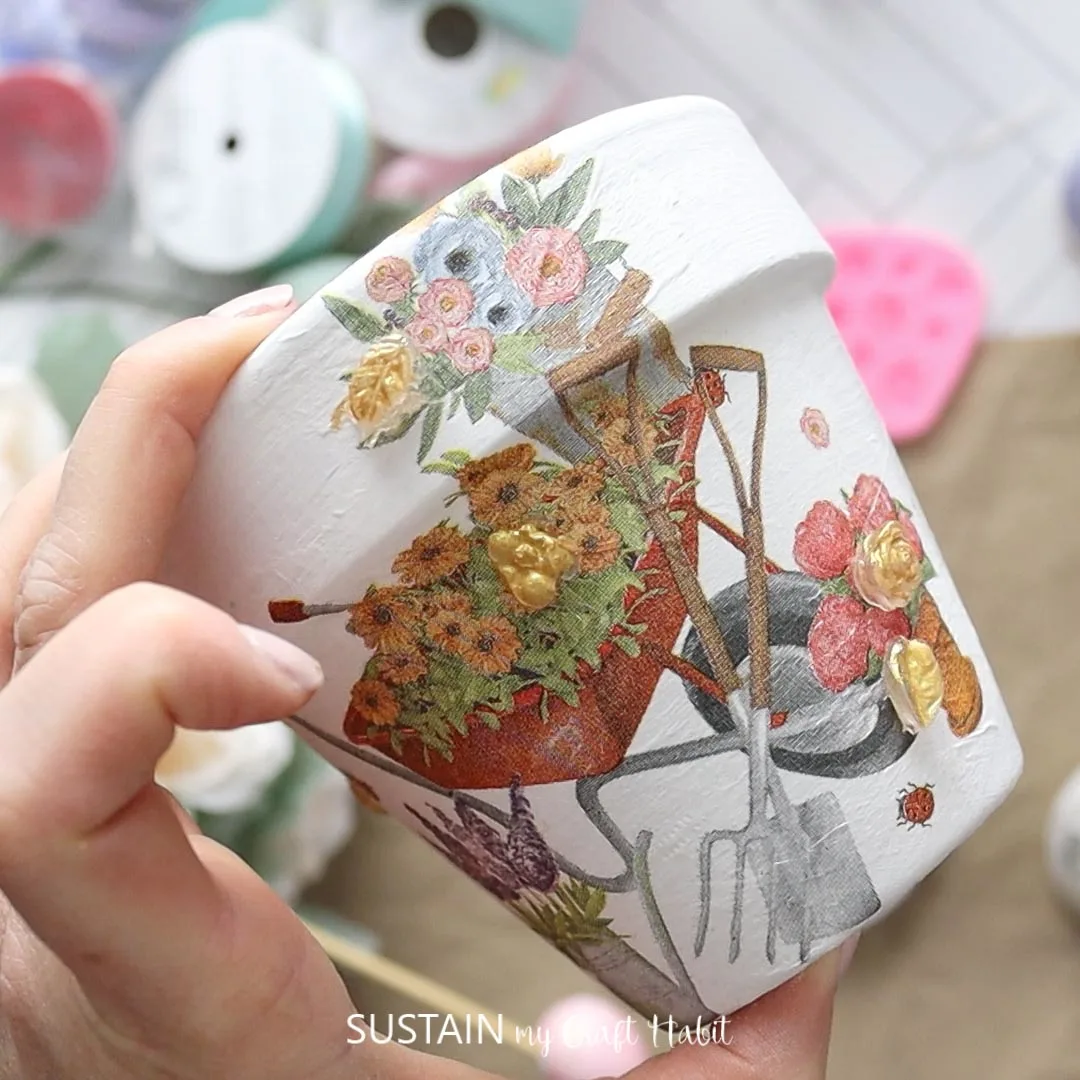
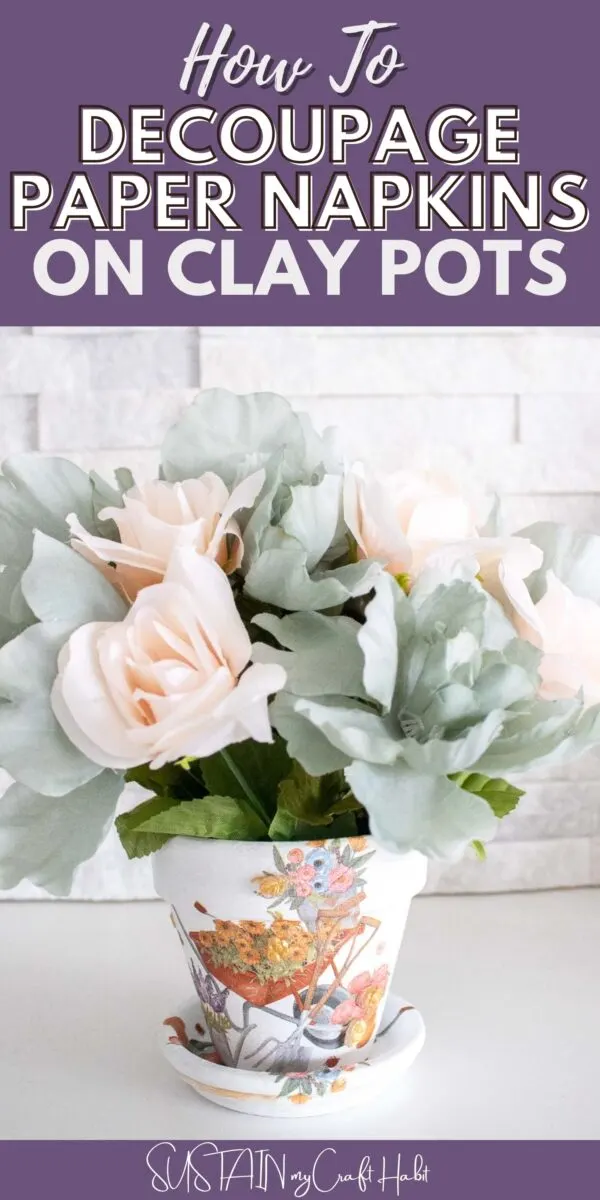
If you were to look at this finished clay pot, would you have guessed the pretty garden scene with it’s garening tools and wheelbarrow full of flowers was actually a decoupaged paper napkin? At first glance, it looks like a hand painted design which is why we love using this technique on all sorts of surfaces including clay pots.
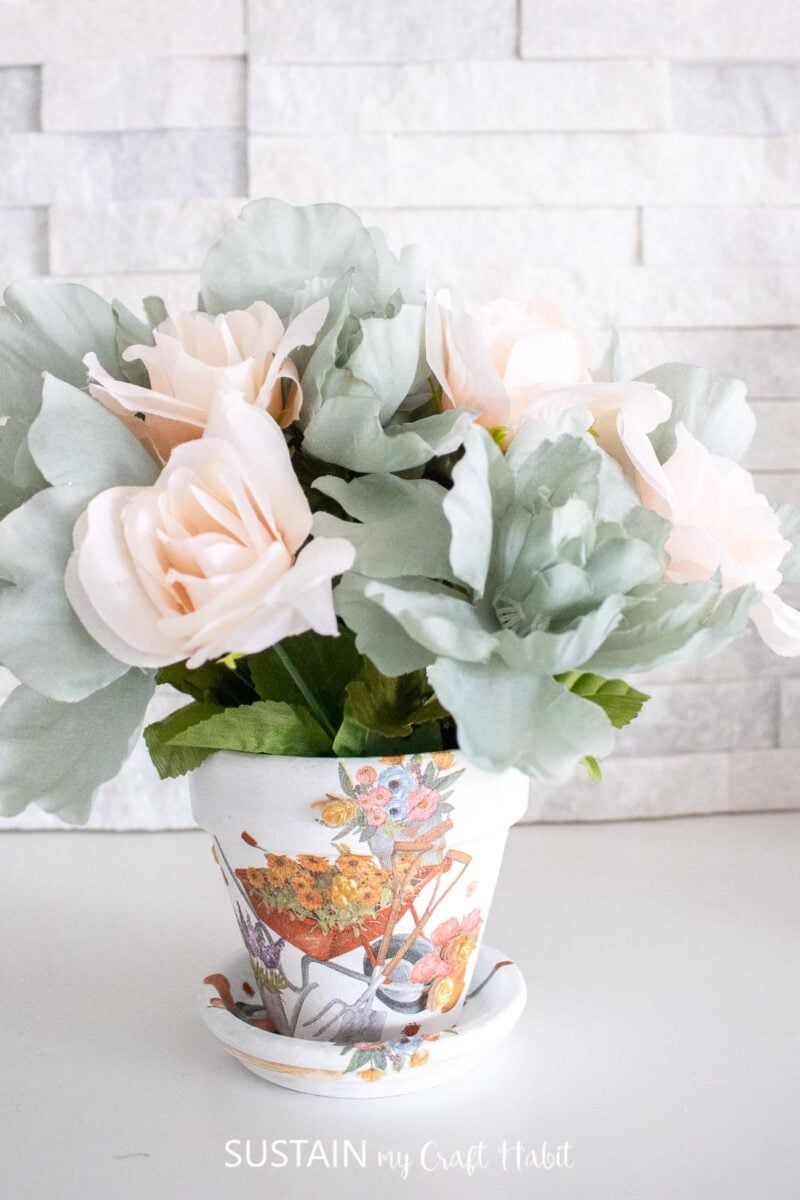

Decoupage on Clay Pots
Over the years we’ve shared plenty of craft tutorials on applying decoupage on a variety of surfaces from wood slices to mason jars, books and even rocks! You can take a look at any one of these DIYs for more information:
- An Upcycled Book Craft
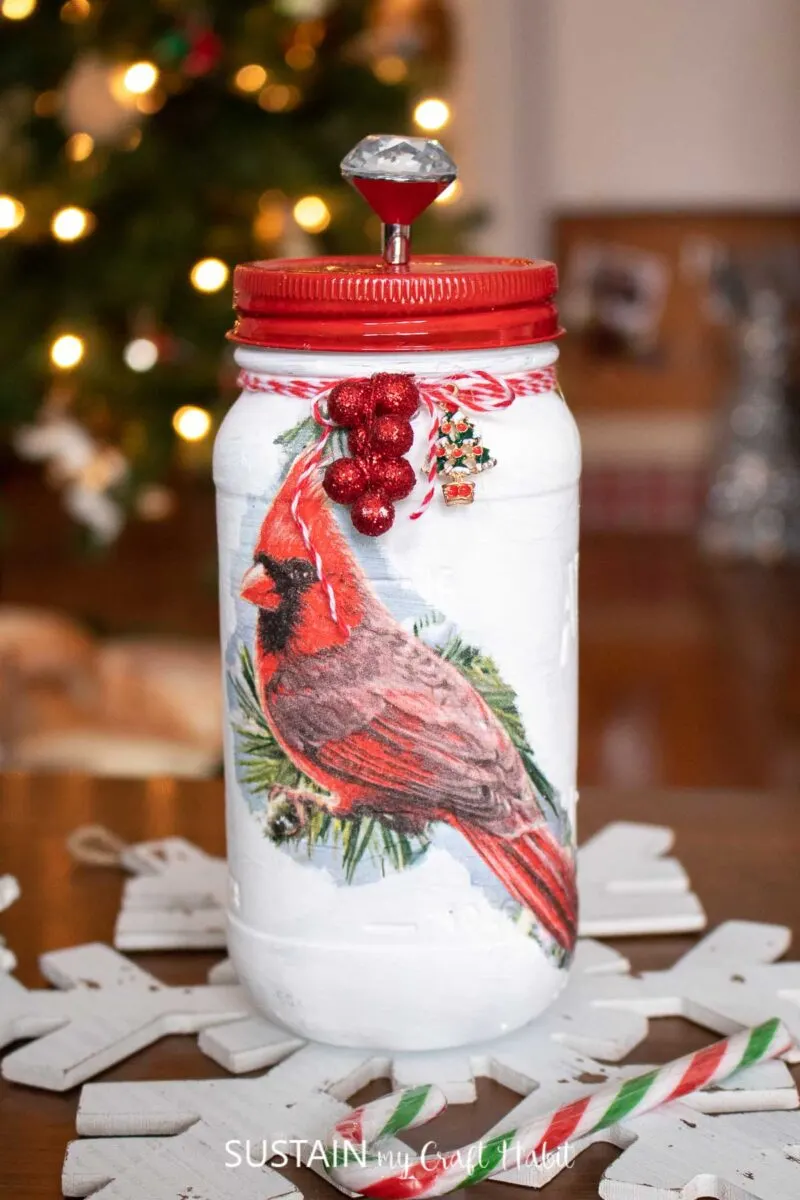
- How to Make Holiday Mason Jars with Decoupage
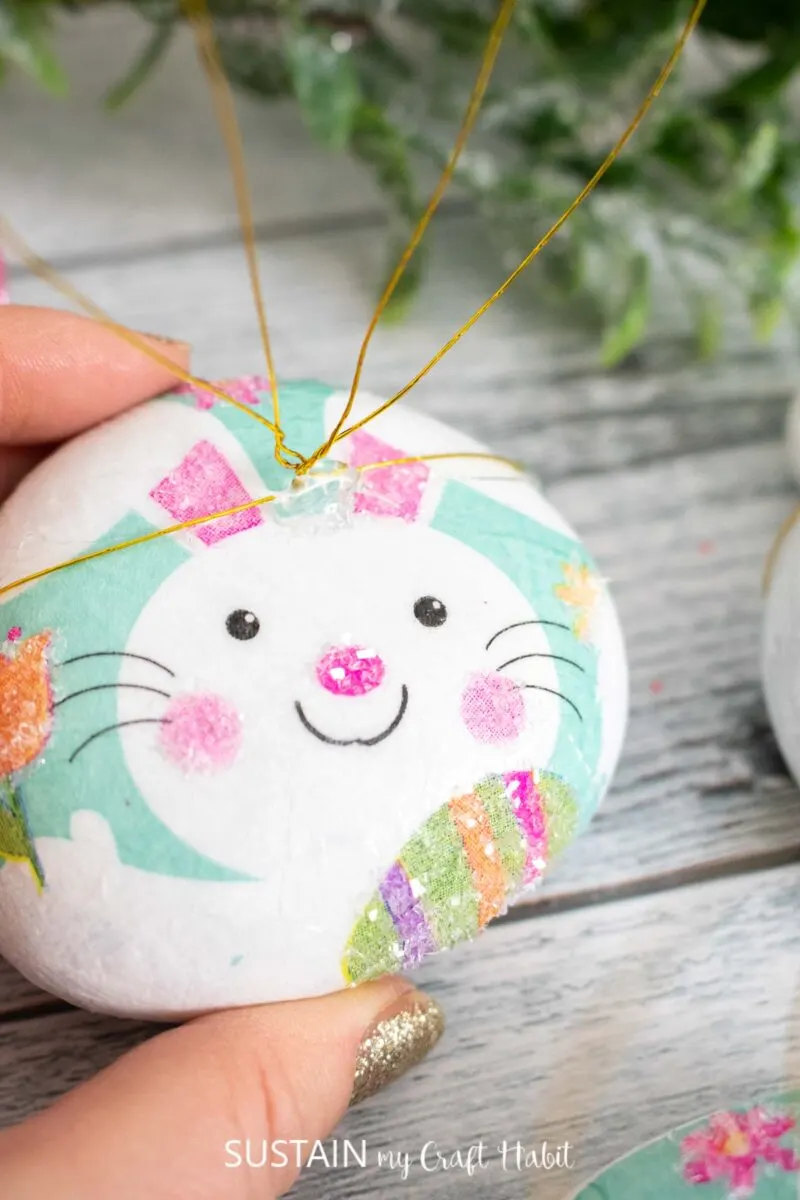
- How to Decoupage on Rocks with Dollar Store Paper Napkins
- Large Easter Egg Cutout Sign
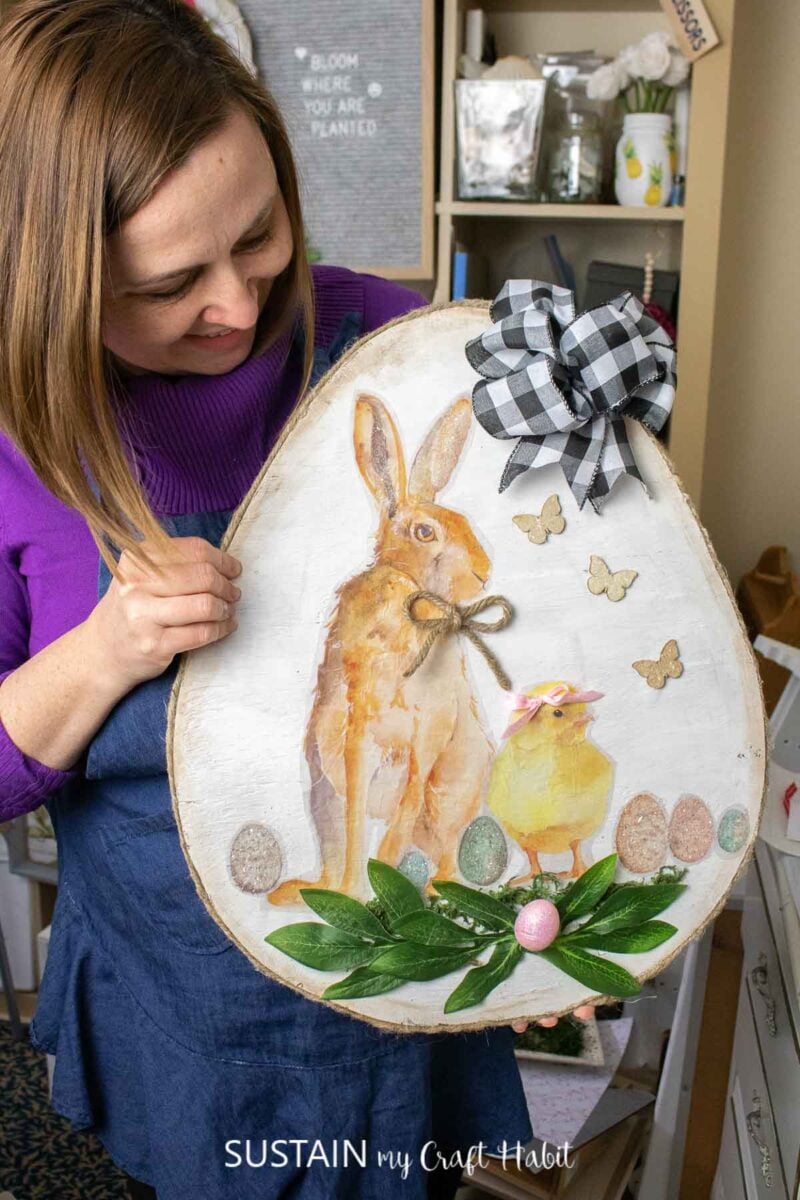

Decoupage on a Large Wood Slice 

Easter Paper Napkin Rocks 
Decoupage on Mason Jar 

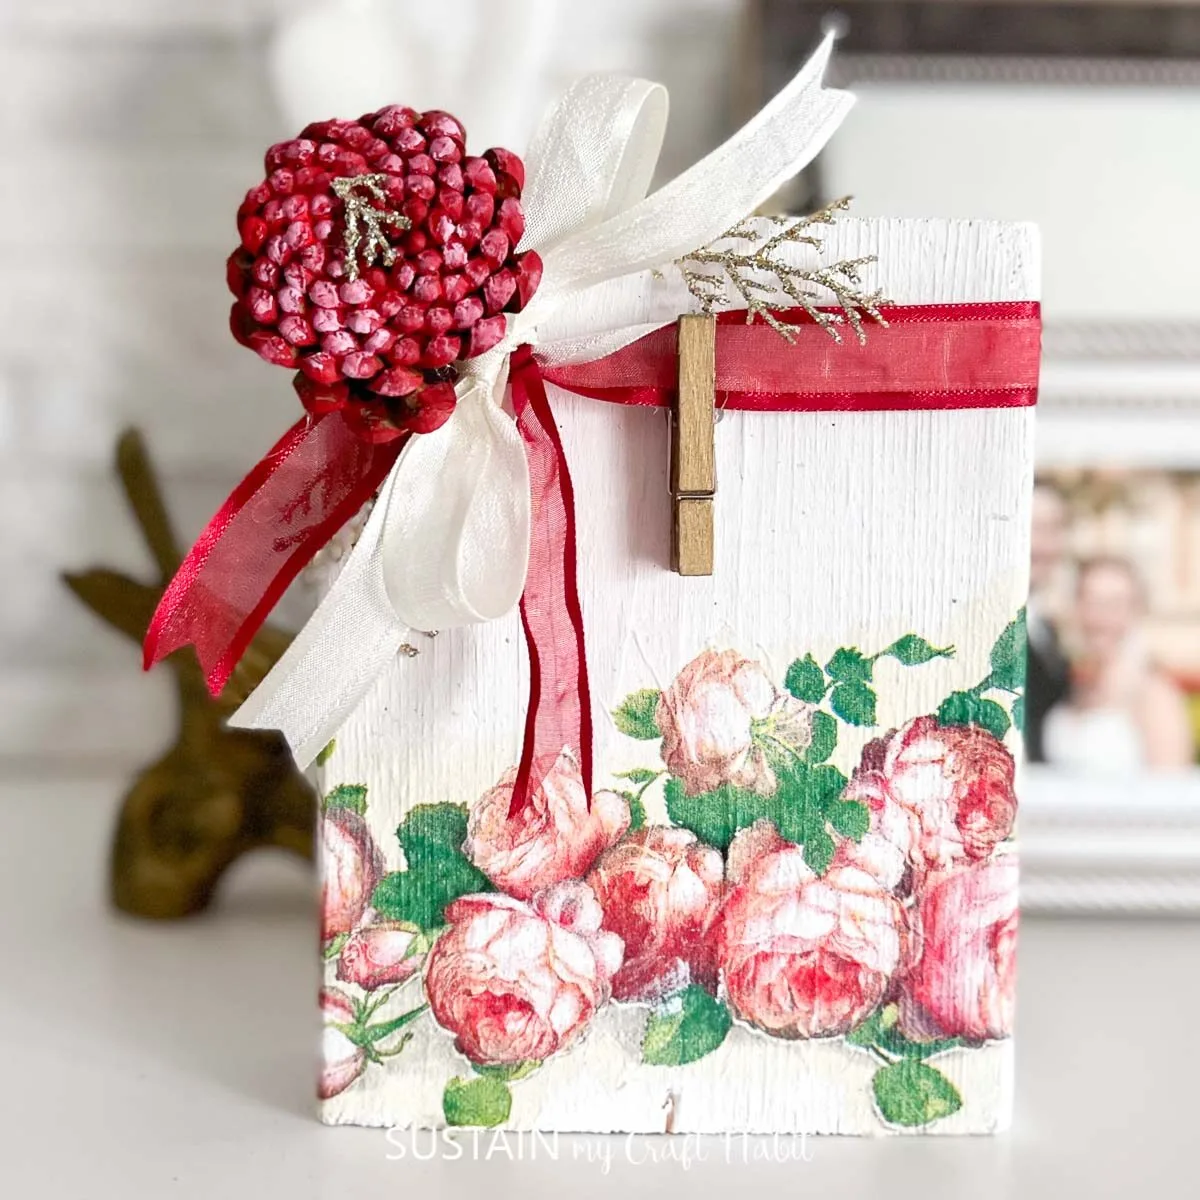
Decorative Decoupaged Book
Applying decoupage on to a clay pot is similar to many other porous surfaces such as wood and rocks, except that if you’re planning to use the clay pot as an actual planter, you need to also apply a coat of sealer (aka Mod Podge) to the inside of the pot. Otherwise, as you water the plants, the water will soak through the clay and damage the finish on the outside.

Wish to receive a ton of inspiration and money saving ideas for decorating, gift-giving and crafting? Join HERE!
Materials Needed:
Disclosure: This post contains affiliate links for your shopping convenience. Should you choose to purchase through them, we will make a small commission at no extra cost to you. You can read our full disclosure policy here.
- Clay Pot (any size)
- Decorative Paper Napkins (we get many of our paper napkins from the dollar store)
- Chalky paint in White
- Metallic paint in Gold
- Americana Decoupage for paper or Mod Podge
- Paint brushes in various sizes
- Ribbon or embellishments
- Hot Glue Gun
- Fine glitter (optional)
- Faux flowers (for a simple faux floral centerpiece)
How to Paper Napkin Decoupage on Clay Pots
I shared the tutorial for making these paper napkin decoupage clay pots on a recent Facebook Live which you can catch here. For the written instructions, you can continue reading below.
TIP: If you plan to use the clay pot as an actual planter with growing flowers or plants, you’ll need to apply a coat of Mod Podge to the inside and outside of the pot. Leave it to dry fully before moving on to the next step.
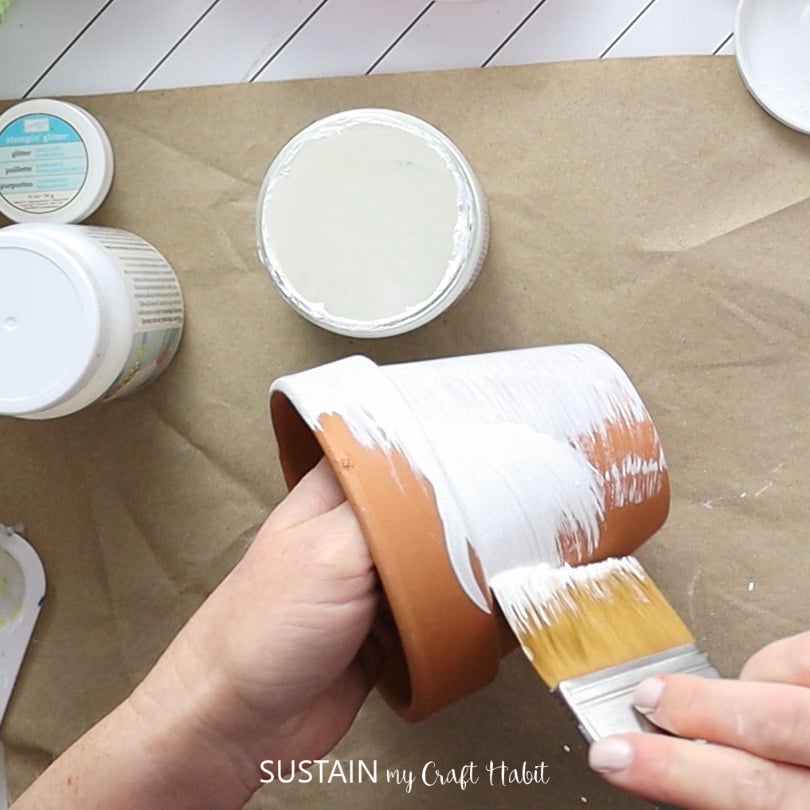
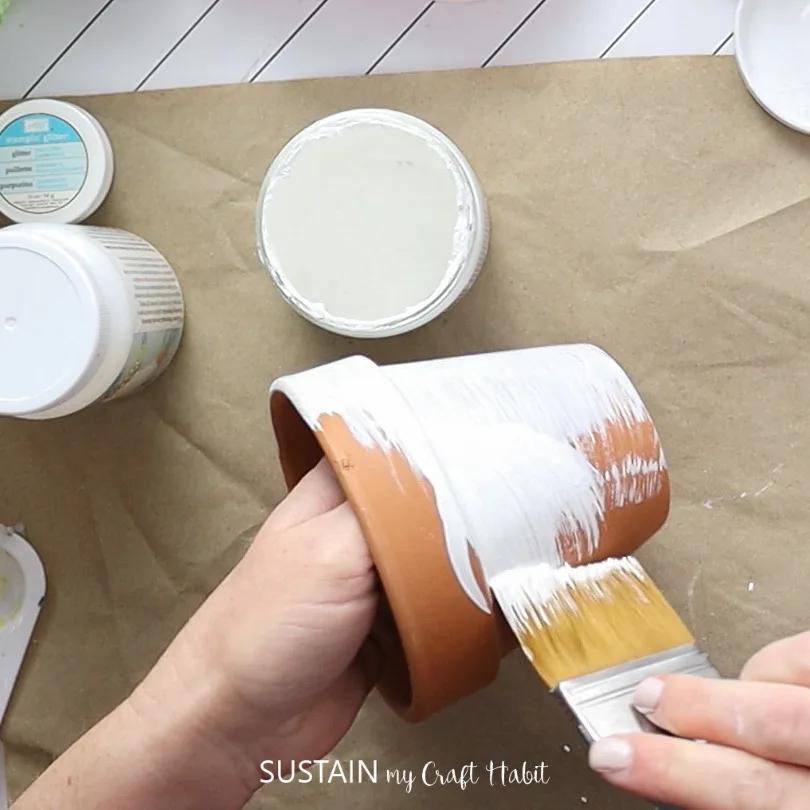
Next, paint the outside of the clay pot with the white chalky paint and let it dry.
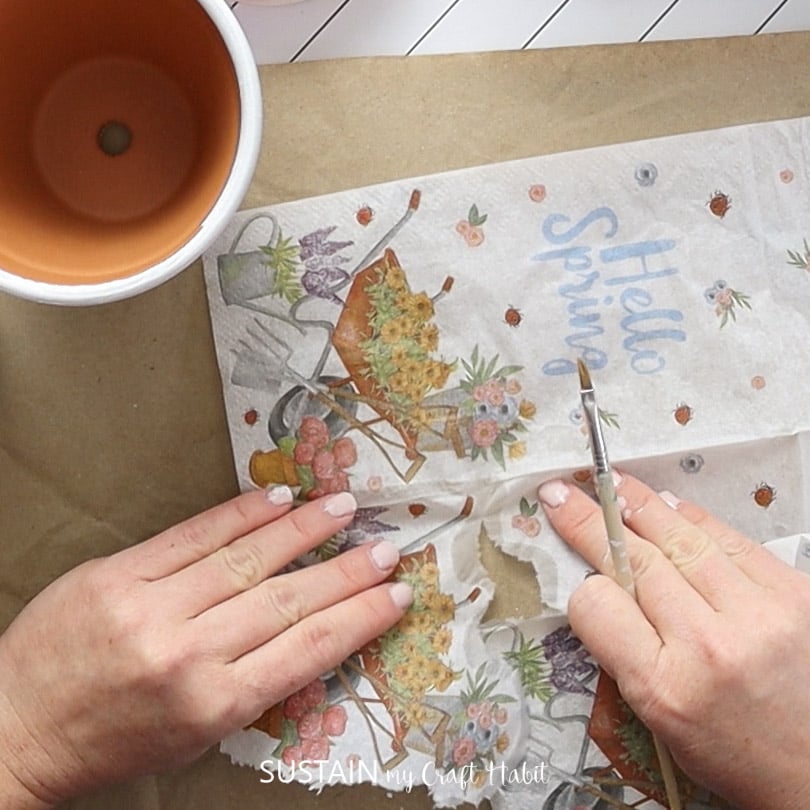
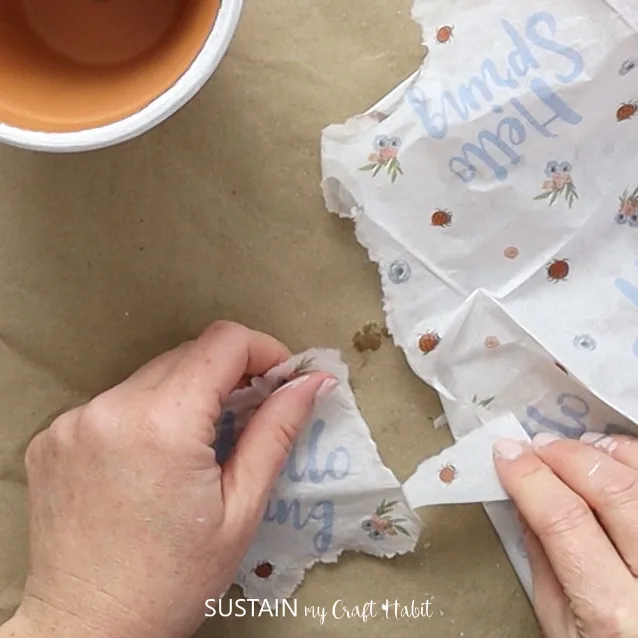
Peel the ply off the napkins. Then take a fine tip paint brush dipped in water and trace the outline of the design and gently tear the excess of the napkin off. You can also cut around the image but the tearing gives the design a gradual finished edge.


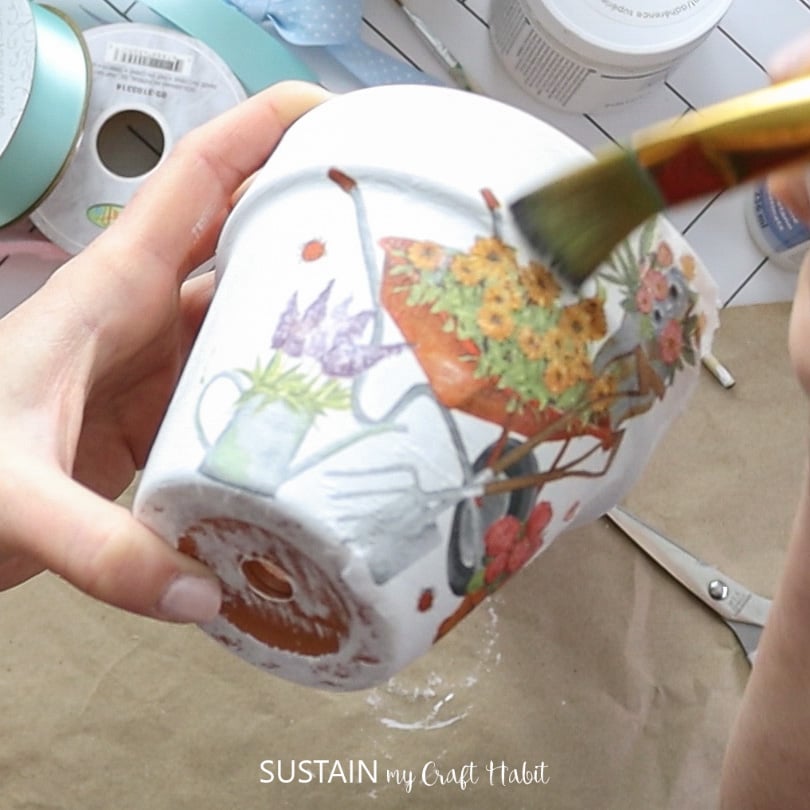
Brush on a layer of Mod Podge onto the painted clay pot and then press the paper on top. Gently press the paper continue until the surface is covered.

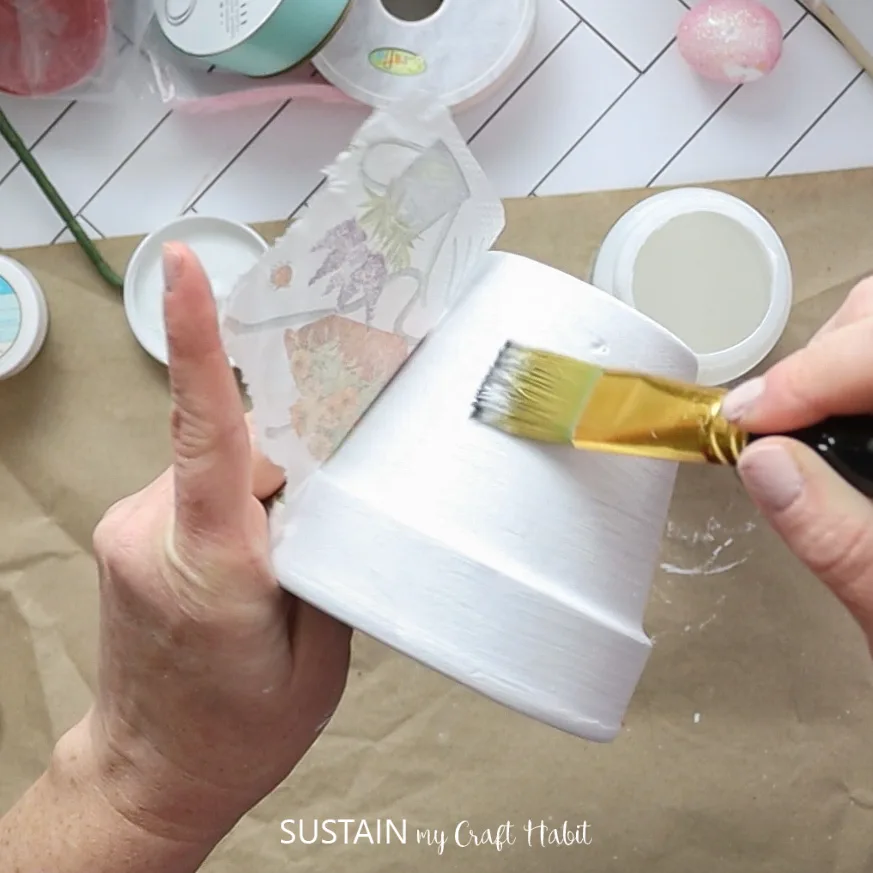
Brush on a top layer of Mod Podge over top of the napkin and entire clay pot and let dry.

Hot glue a bow or embellishments over top of the paper if desired. If you’d like you can add a bit of gold paint over top of the images to give it a bit of dimension.

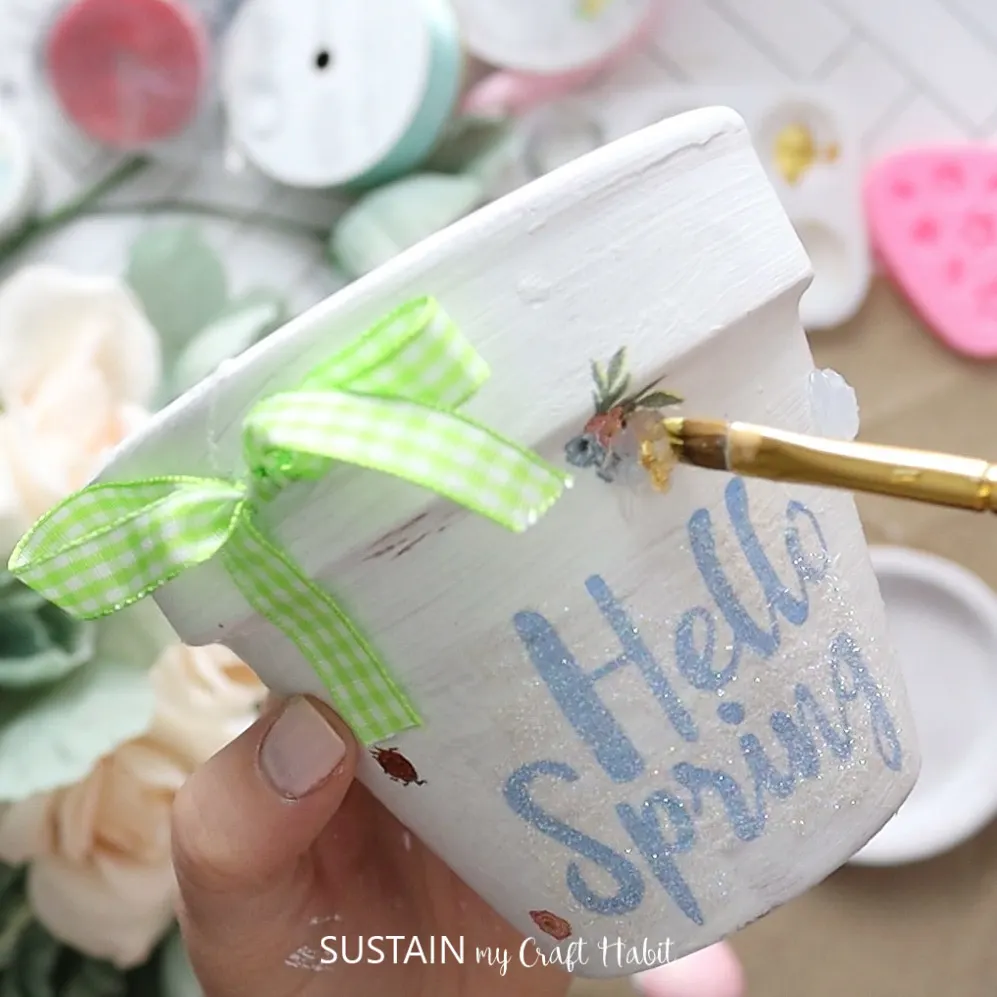
Add some sparkle by adding fine glitter.

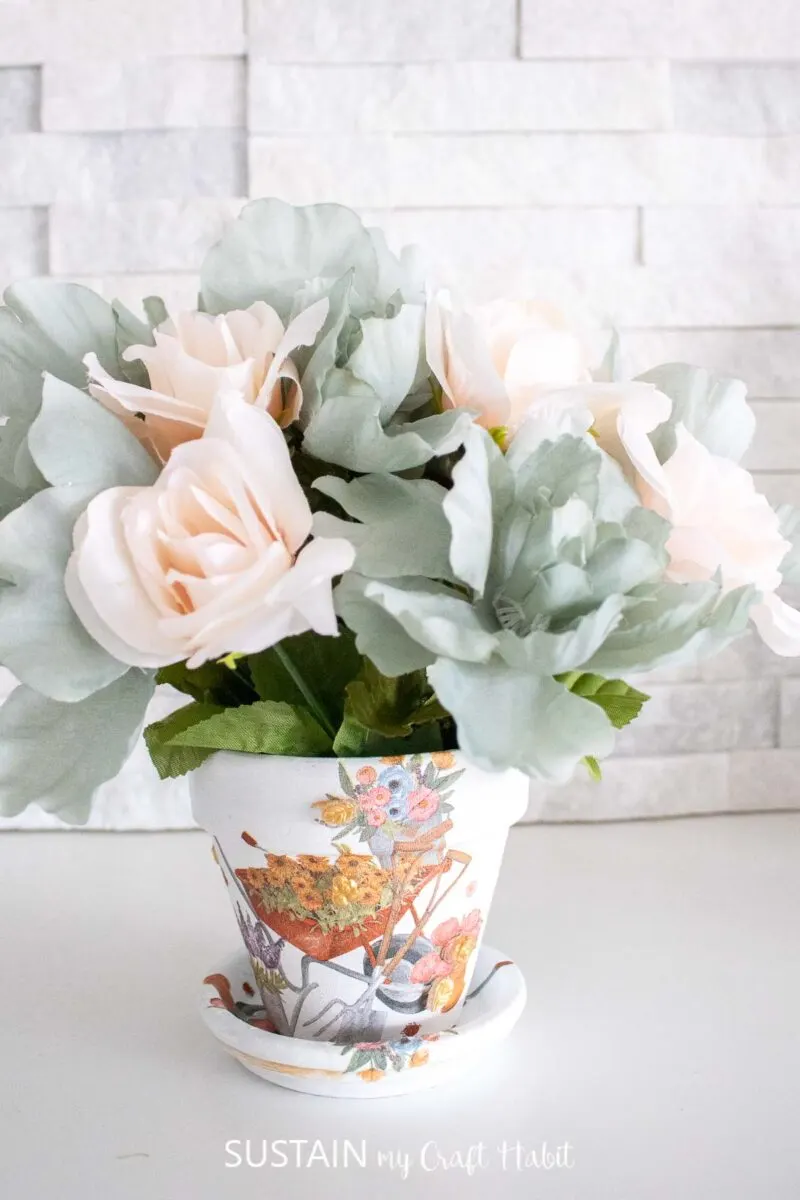
Once dry, add faux flowers or use the pot to plant flowers to your decoupaged clay pot. Display and enjoy!

More Decoupage Crafts to Try
I’ll be honest, decoupage is a bit addictive so take warning! Here are a few more decoupage crafts to check out for inspiration.
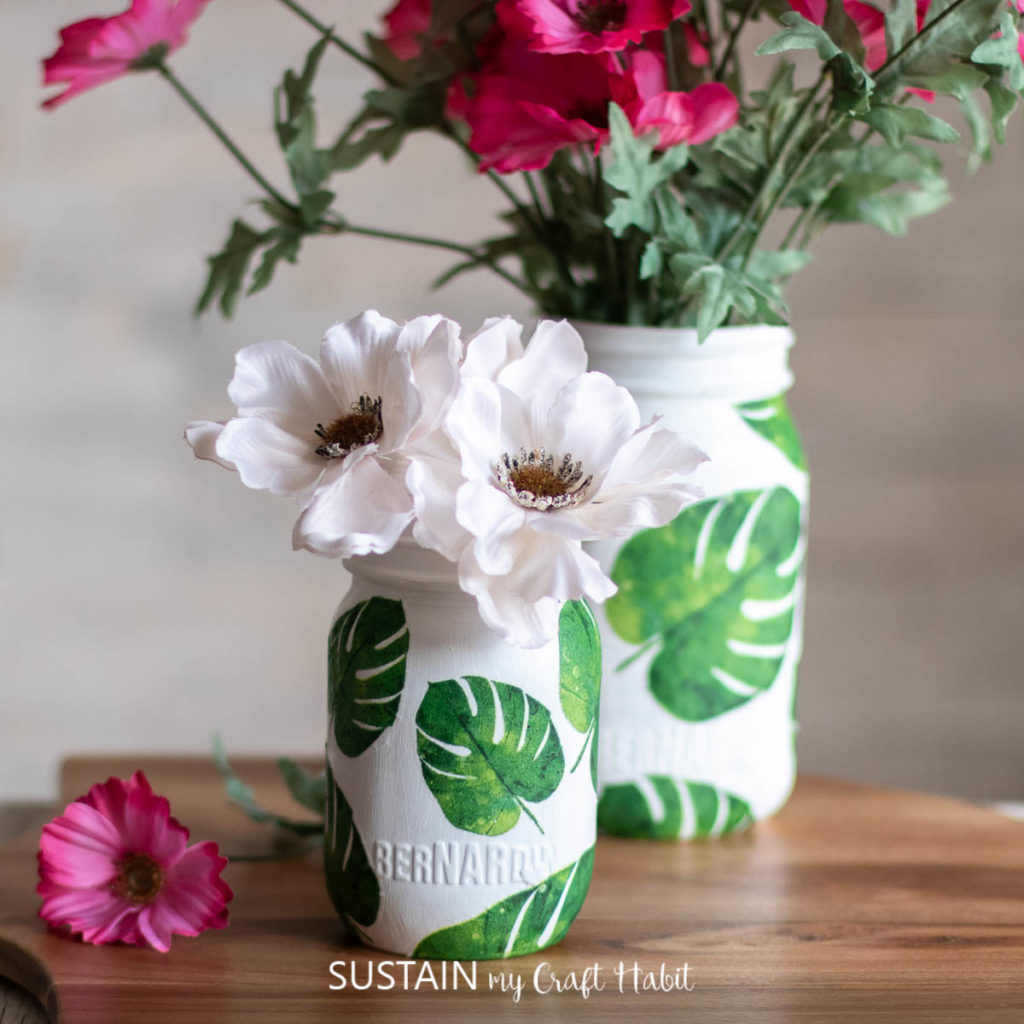

Napkin Decoupage Vases 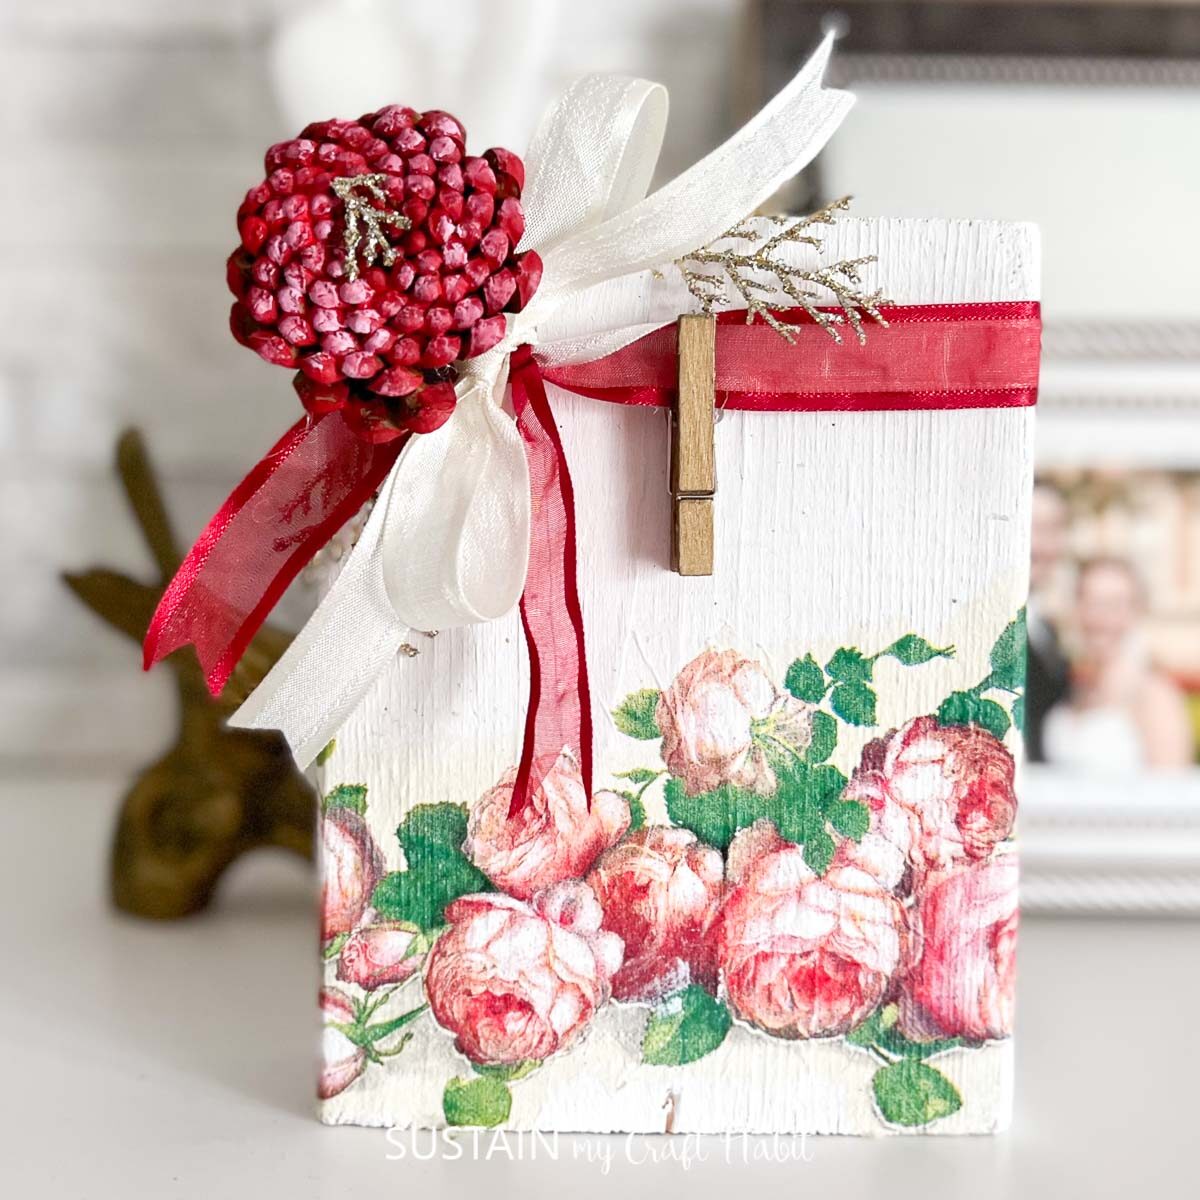

Photo Display 
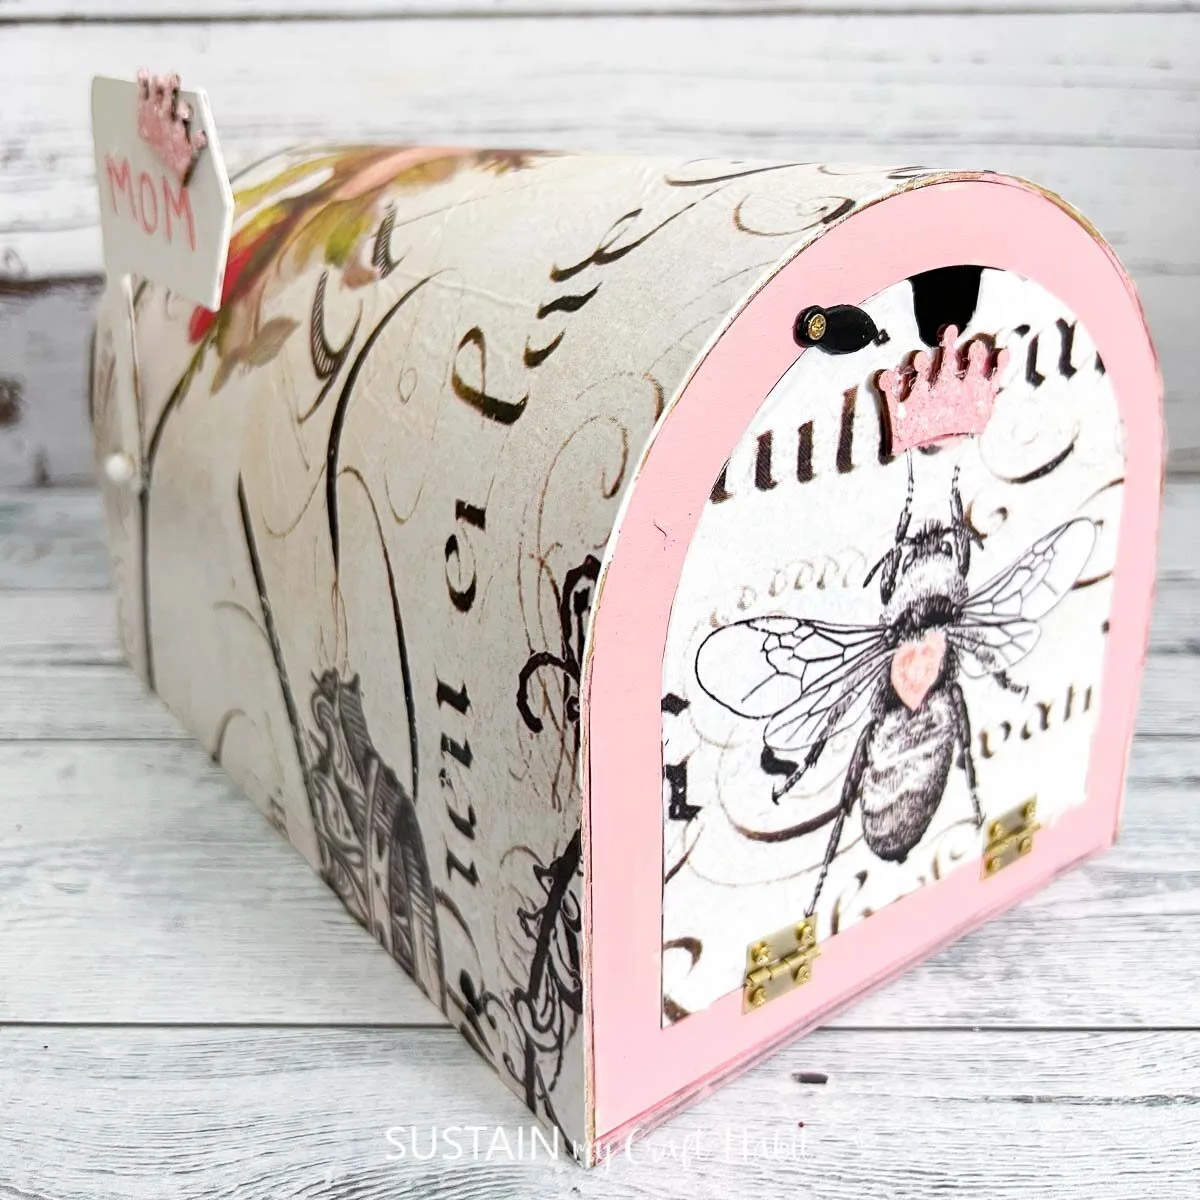
Memory Box

Thank you so much for visiting! We’d love for you to become a Sustain My Craft Habit insider to receive fun freebies.
Like it? Pin it for later!


How to Paper Napkin Decoupage on Clay Pots
Materials
- Clay Pots
- Decorative Napkins
- Chalky paint in White
- Americana decoupage for Paper or Mod Podge
- Paint brush
- Ribbon or embellishments
- Hot glue gun
- Fine glitter optional
- Faux flowers
Instructions
- Apply a coat of Mod Podge to the inside and outside of the clay pot. Let it dry fully.
- Paint the outside of the clay pot with the white chalky paint and let it dry.
- Peel the ply off the napkins. Then take a fine tip paint brush dipped in water and trace the outline of the design and gently tear the excess of the napkin off.
- Brush on a layer of Mod Podge onto the painted clay pot and then press the paper on top. Gently press the paper continue until the surface is covered.
- Brush on a top layer of glue and let dry.
- Hot glue a bow or embellishments over top of the paper. If you’d like you can add a bit of gold paint overtop of the images to give it a bit of dimension.
- Add some sparkle by adding fine glitter.
- One dry, add faux flowers to your decoupaged clay pot and display!