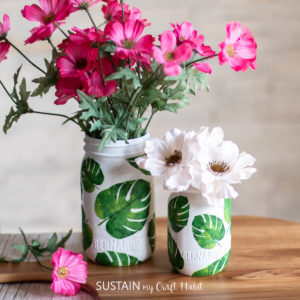
Upcycling some plain glass jars into beautiful, one-of-a-kind decorative jars for Summer with this simple decoupage napkins craft.

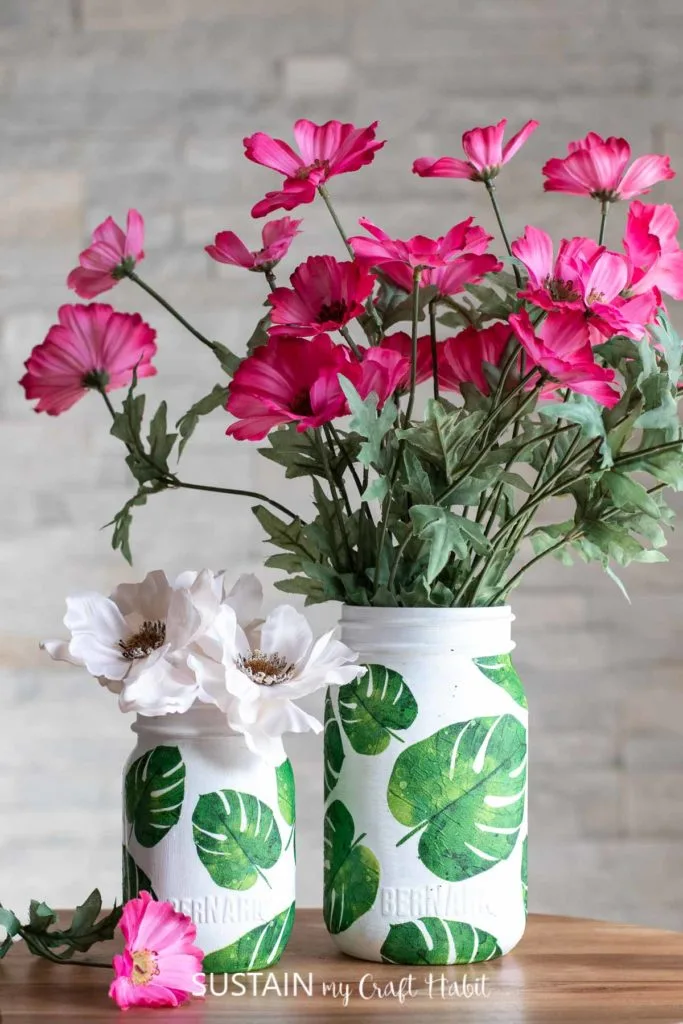
Making Pretty Flower Vases with Decoupage Paper Napkins
This past Christmas, I shared my love of looking for and buying (or rather, “treating myself to) pretty paper napkins. Using Christmas-themed napkins, we made these wood slice ornaments; one of my favorite projects from our 25 days of an Upcycled Christmas crafting. With so many wondeful designs and paper napkin patterns to choose from, like these vibrant green palm napkins, I couldn’t resist using them to make decorative and unique flower vases.


Glass jars aren’t just for canning!
With so many creative, non-canning ways to use glass jars in your home; the crafting possibilities are endless! Just take a look at some of the ways we’ve repurposed jars over the years with these DIYs:
- hanging glass jar lanterns
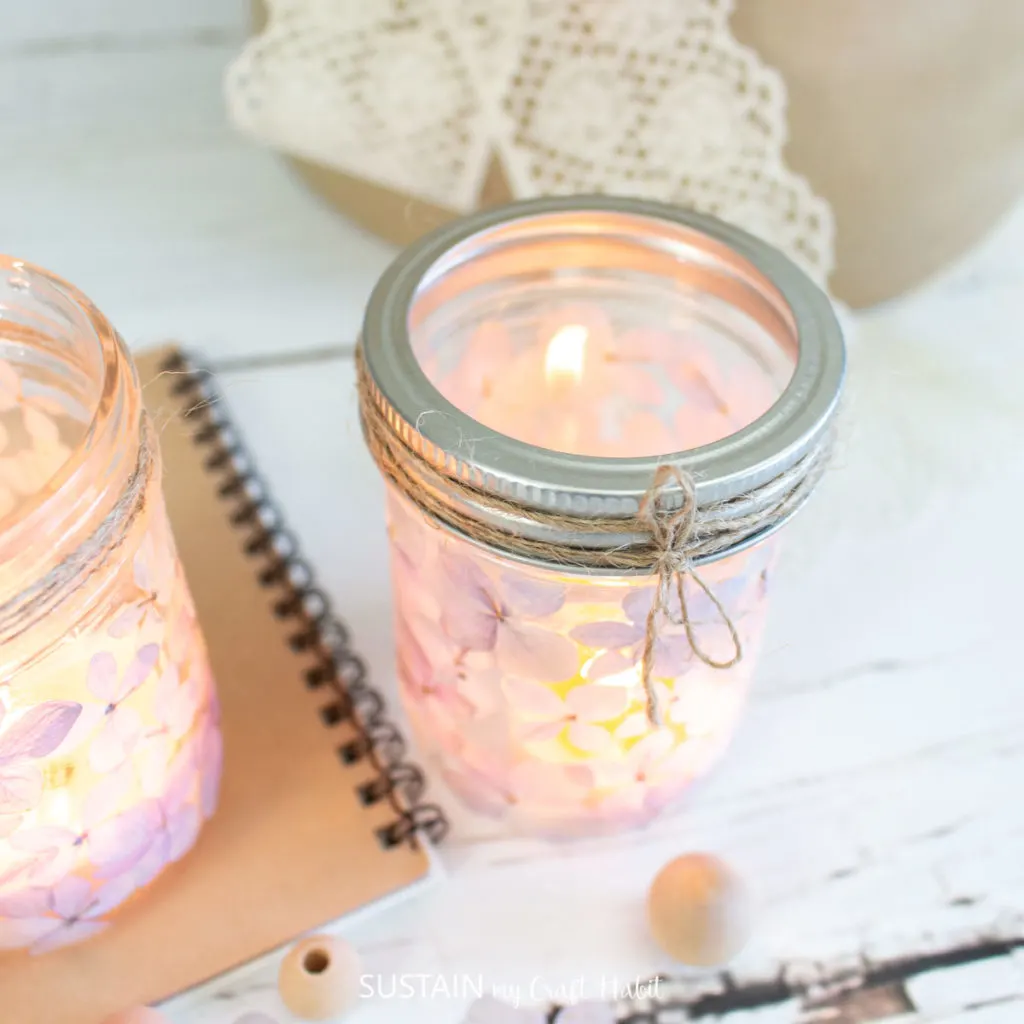
- pretty pressed flower luminaries
- lavender candles
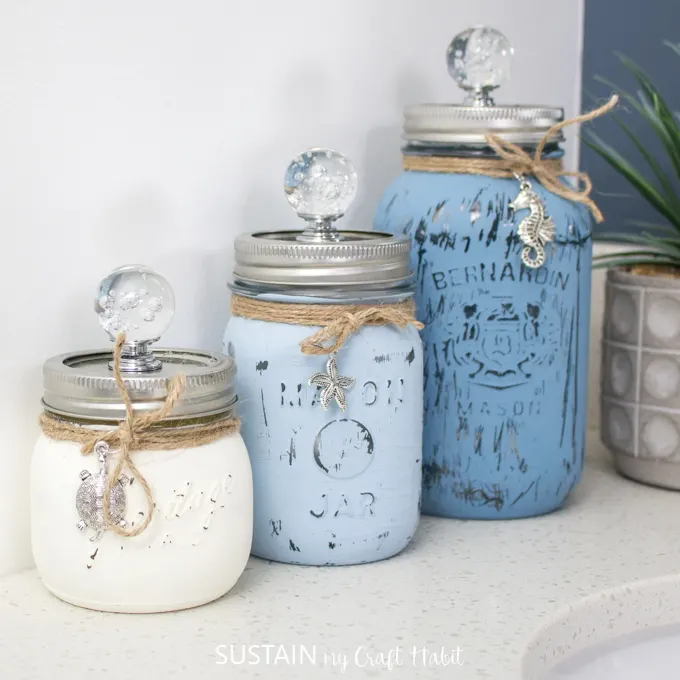
- beach-inspired containers for the bathroom
- festive jar painting for making Canada day decor and decorative Eid jars and chalky painted Easter egg jars
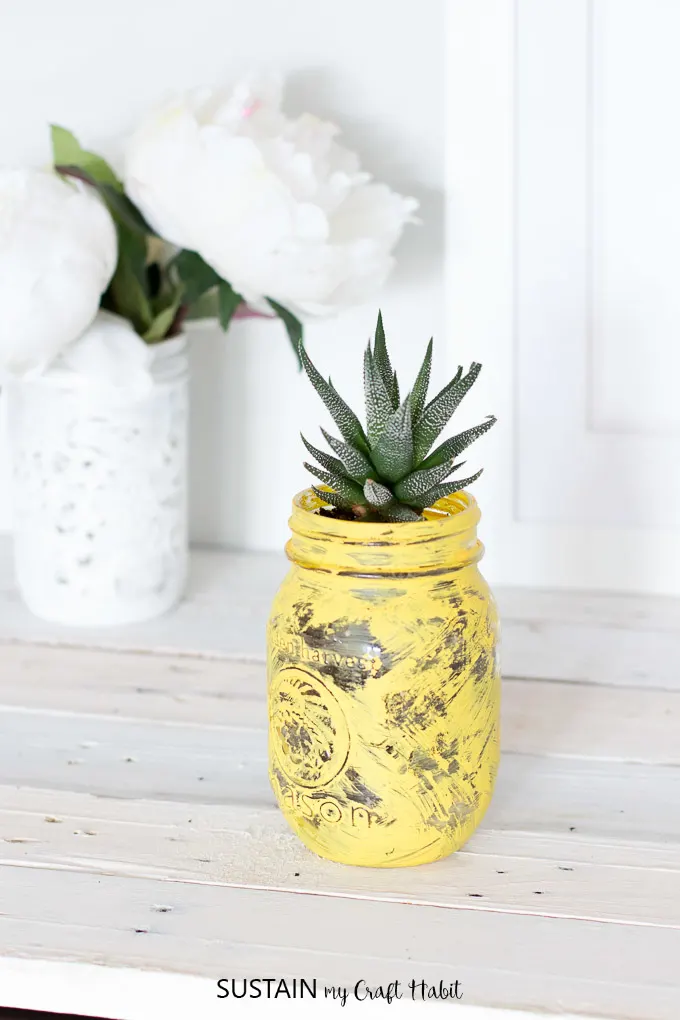
- or even a succulent planter.


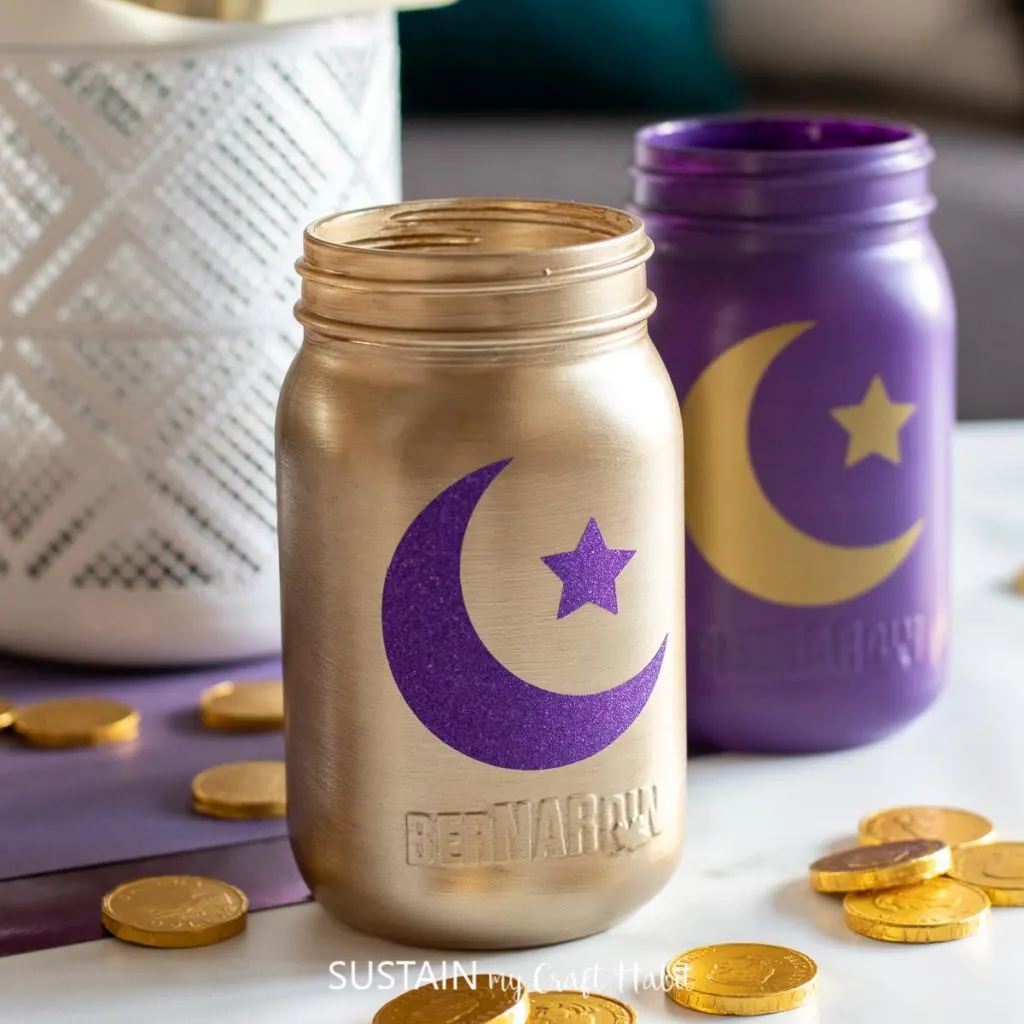
Decorative Eid Jars 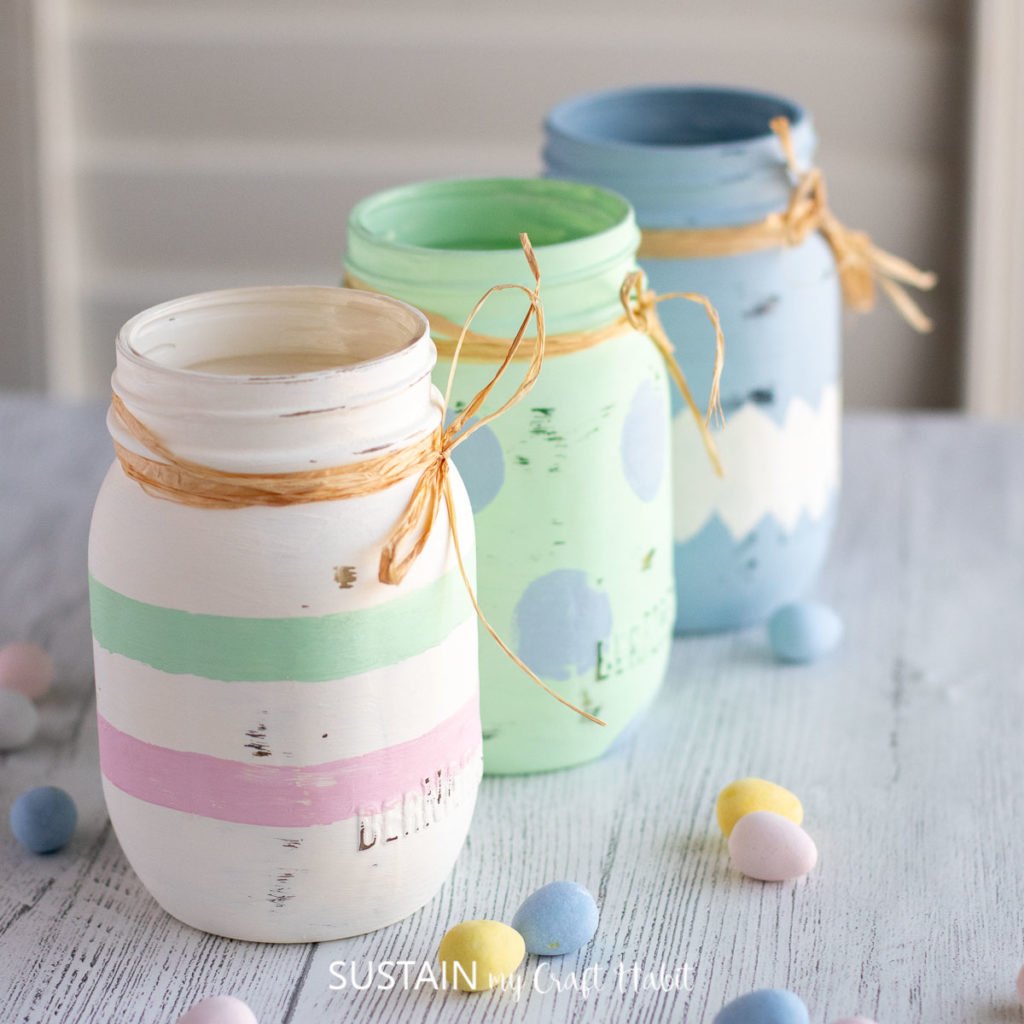
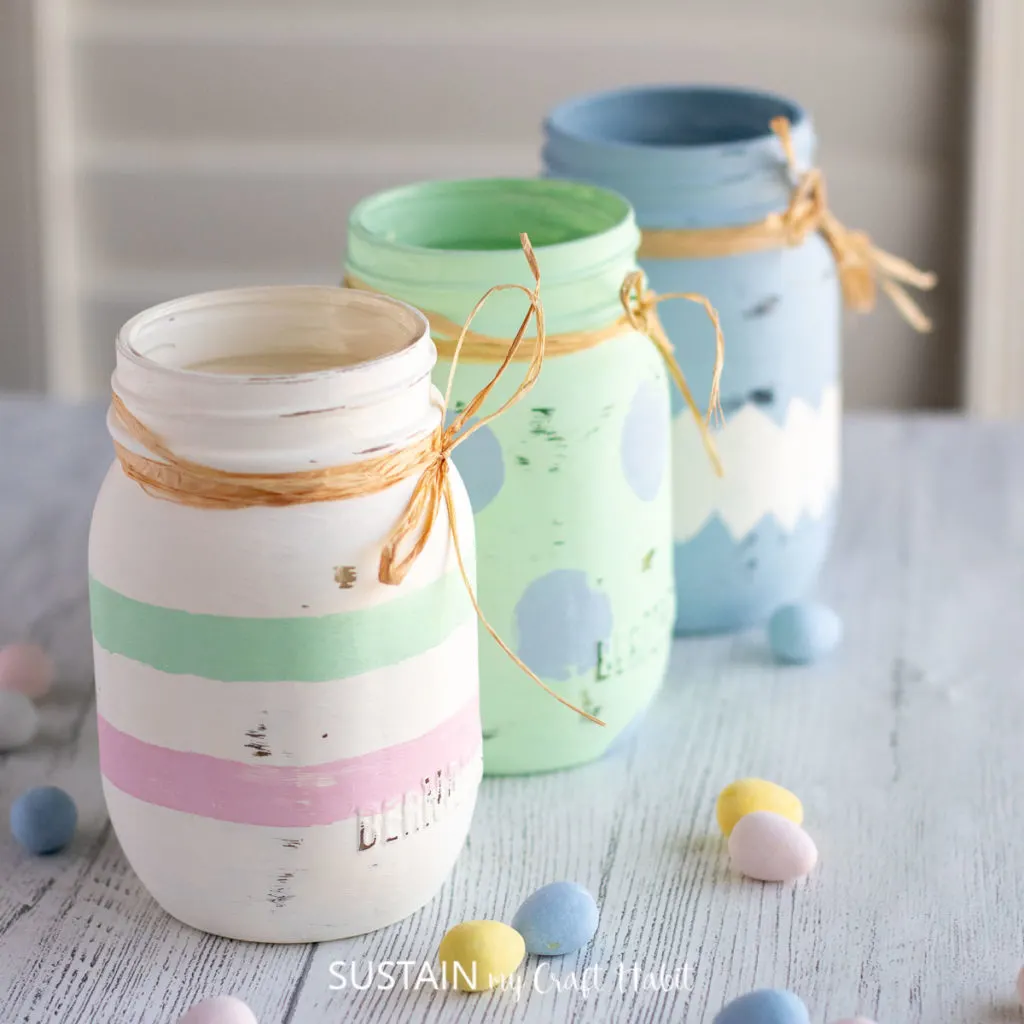
Chalky Painted Easter Egg Jars 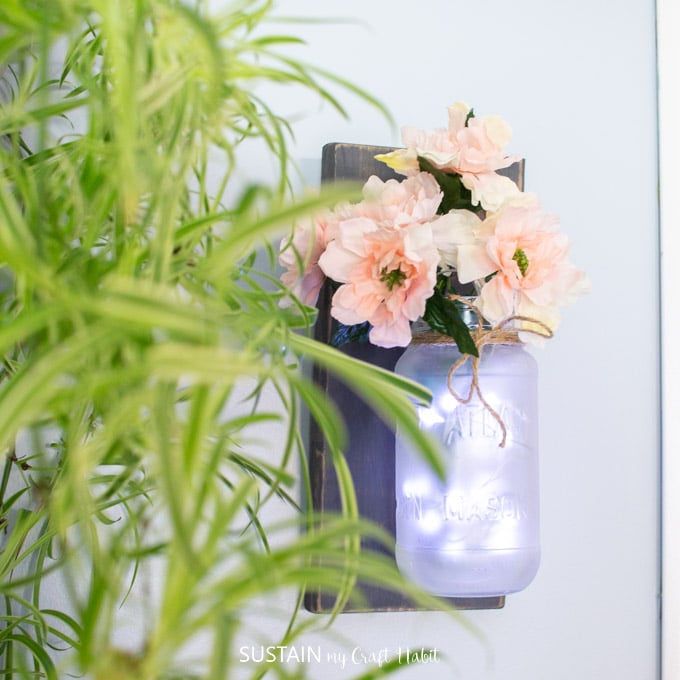

Mason Jar Lantern 
Luminaries 
Lavender Candles 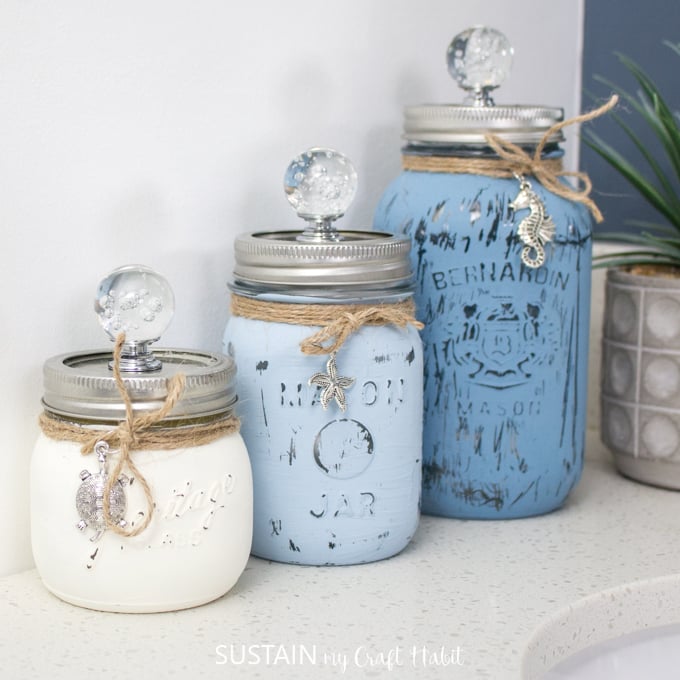
Beachy Bathroom Jars 
Canada Day Decor 

Succulent Planter


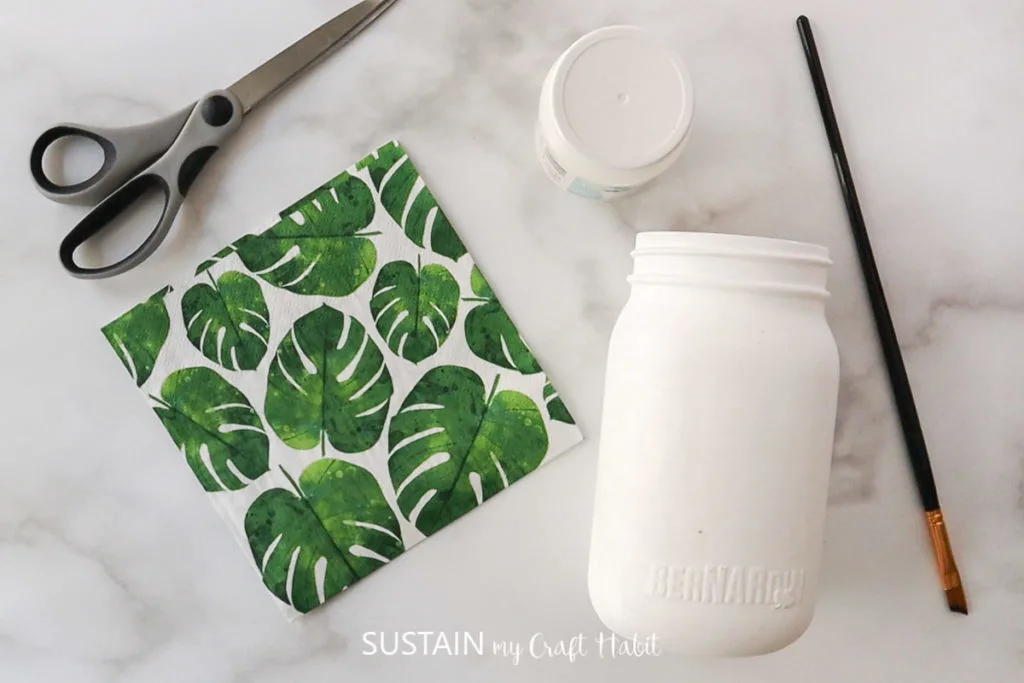
Materials Needed to Make Napkin Decoupage on Glass Jars
Disclosure: This post continues affiliate links for your shopping convenience. You can find our full disclosure policy here.
- Set of 2 Jars, 750ml and 500ml Smooth Rounded Jars with shoulders; lids removed
- Americana Decor Chalky Finish for Glass in Everlasting
- Mod Podge glue and sealer in matte finish
- Paintbrush
- Printed paper napkins
- Scissors

How to Decoupage with Napkins on Glass Jars
Using decorative napkins for decoupage, as with most decoupage projects, is really super easy and fun to do!

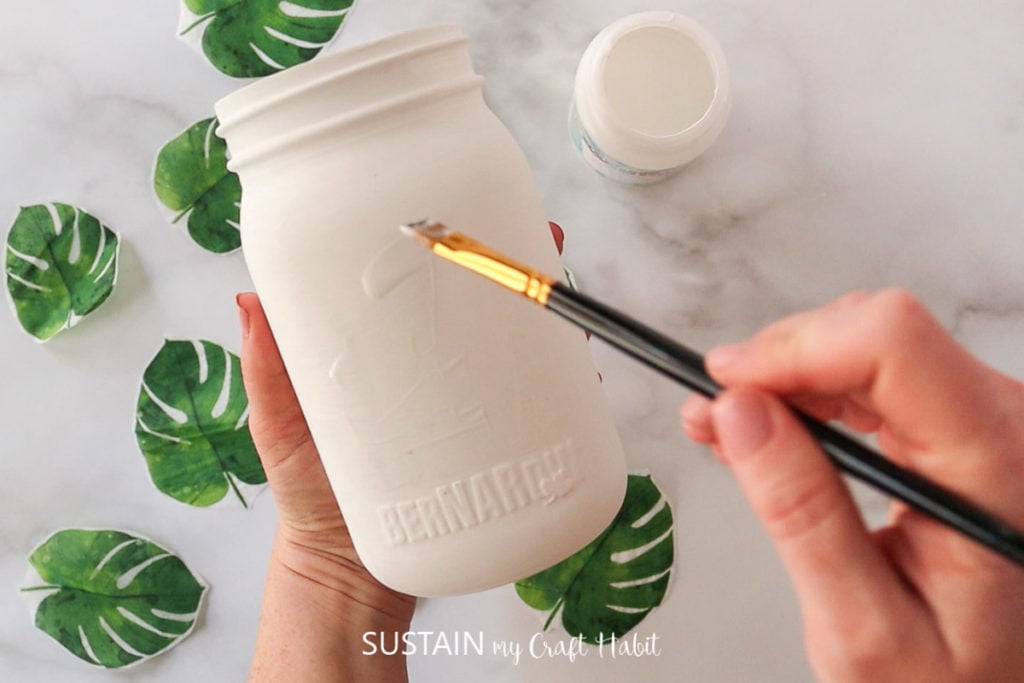
Thoroughly wash jars with soap and hot water and let them dry completely before using. Additionally, use rubbing alcohol and a clean paper towel to wipe away any prints or smudges.
Using a medium sized paint brush, brush on a coat of white glass paint on to the jars. Leave the paint to dry before applying additional coats for extra coverage.
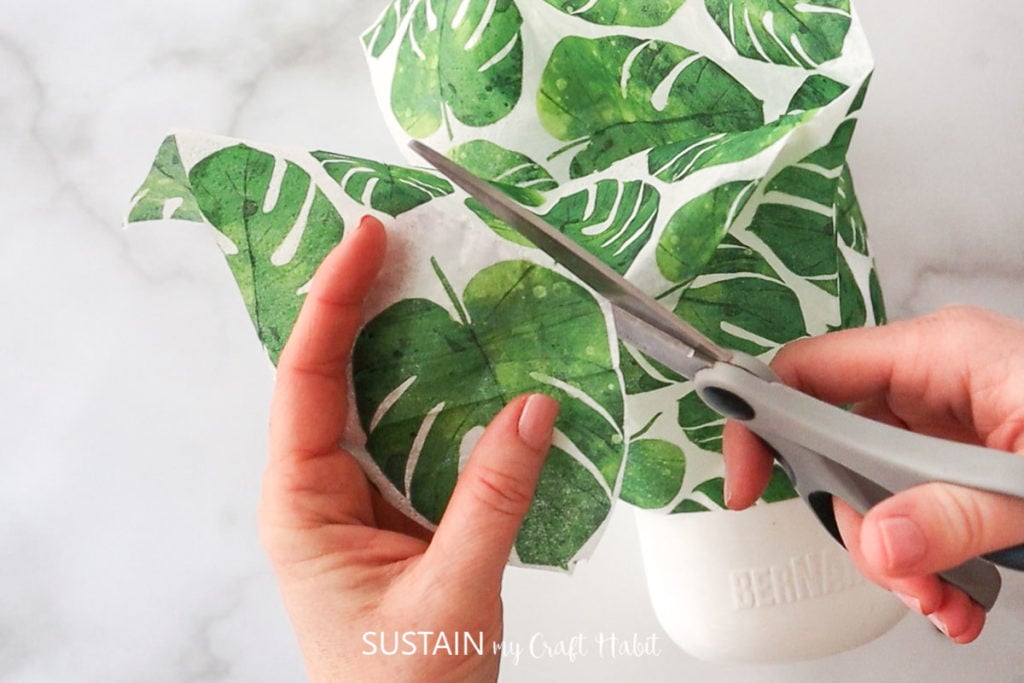
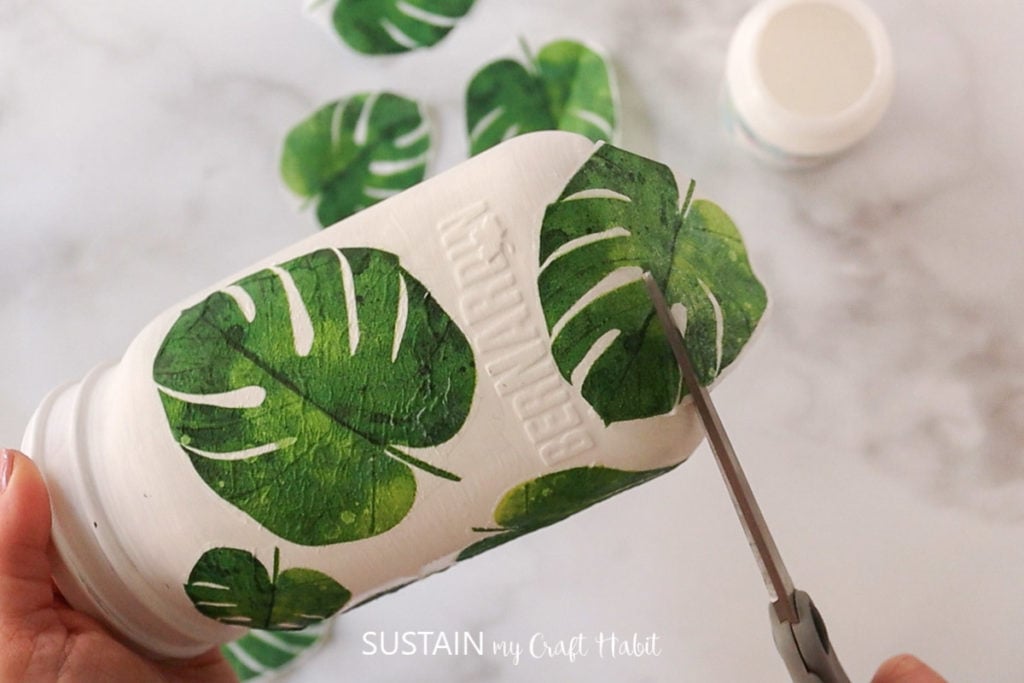
In the meantime, prepare the printed paper napkins by removing additional ply layers leaving just the one printed layer.


With a pair of scissors cut around the individual images, in our case we used a large leafy pattern.

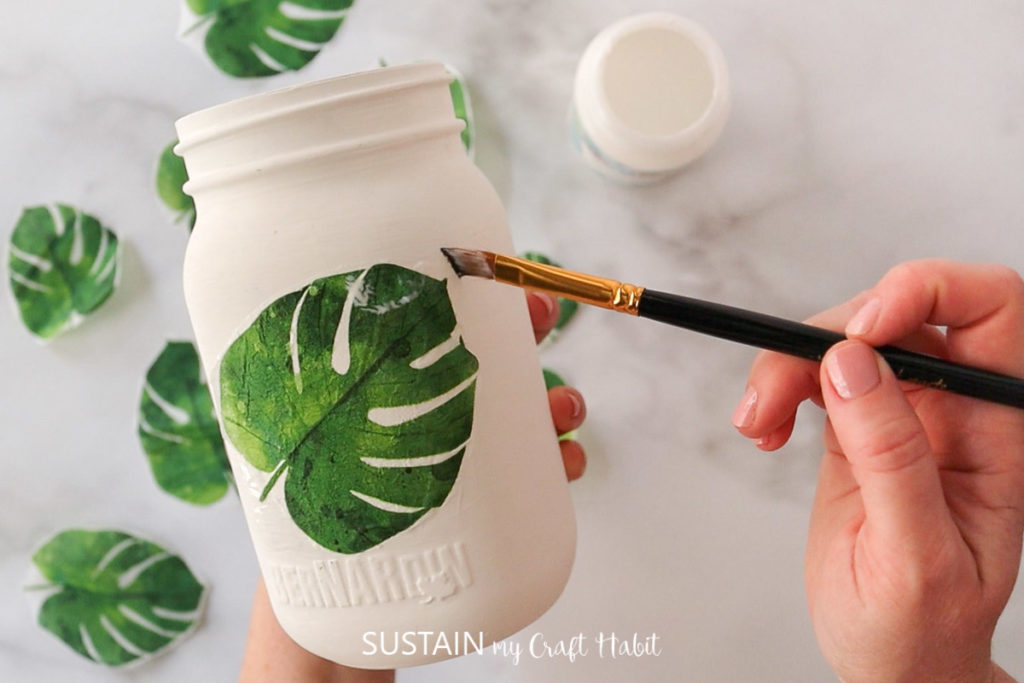
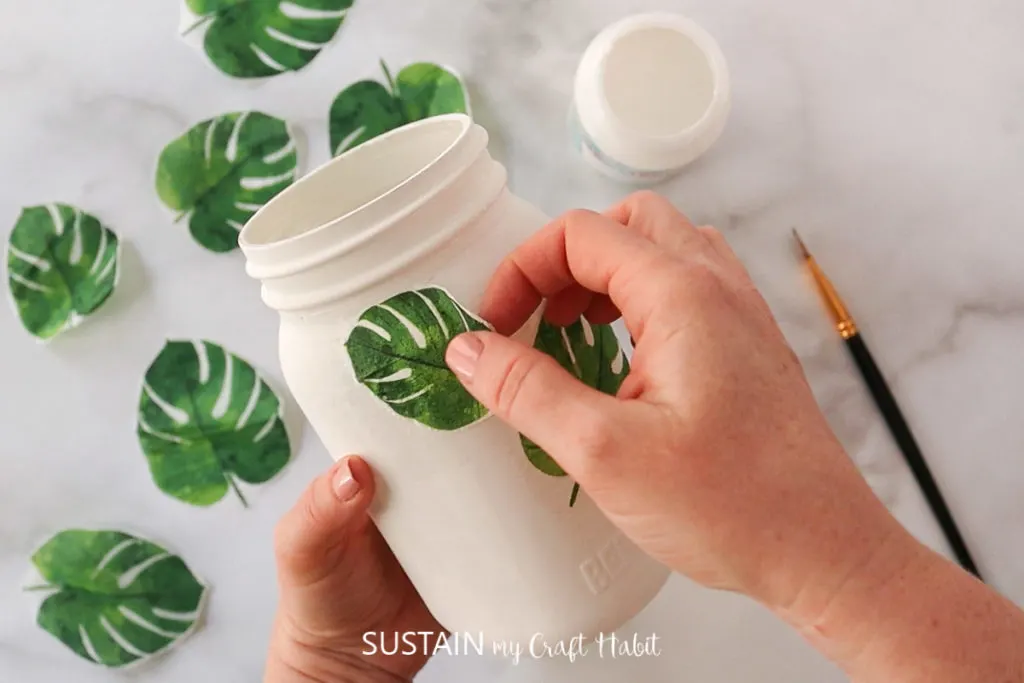
After the painted jars have dried, apply a thin layer of Mod Podge onto the jar on one side with a paintbrush.

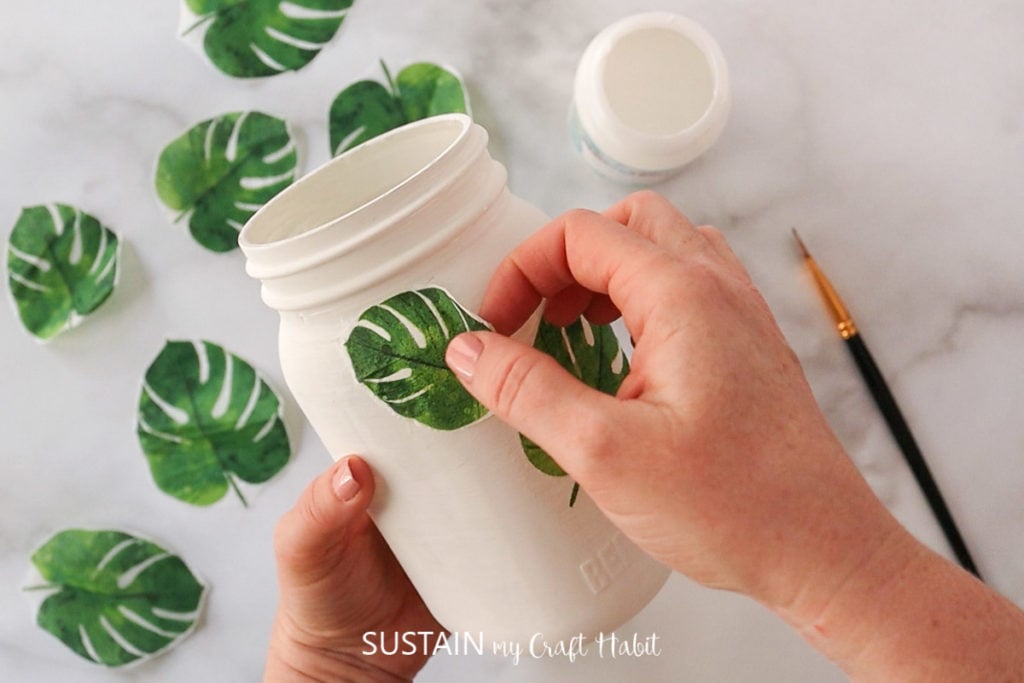
Place the cutout on top of the glued area and gently press down with your fingers.

Apply another coat of Mod Podge over top of the paper cutout to seal.

Continue these steps for applying the other paper napkin cutouts, randomly placing them around the jars.
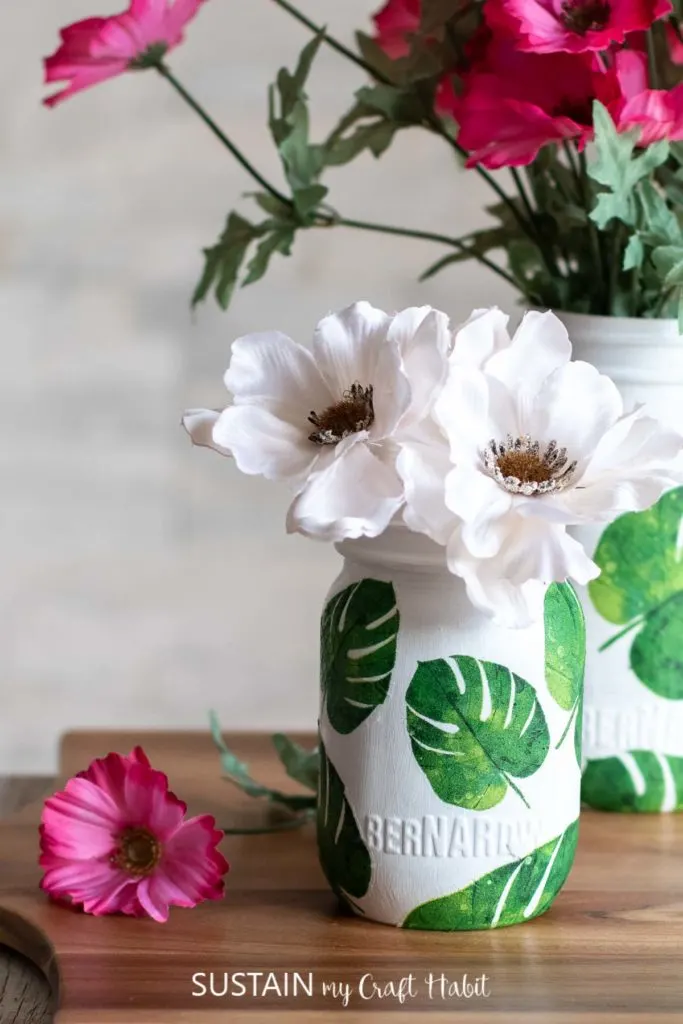
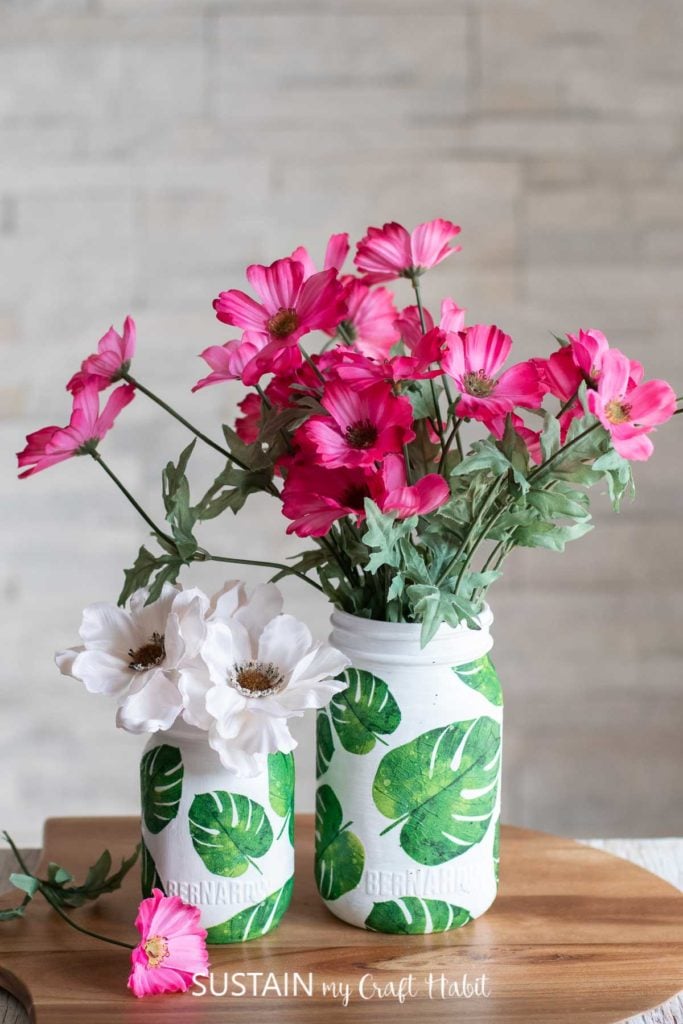
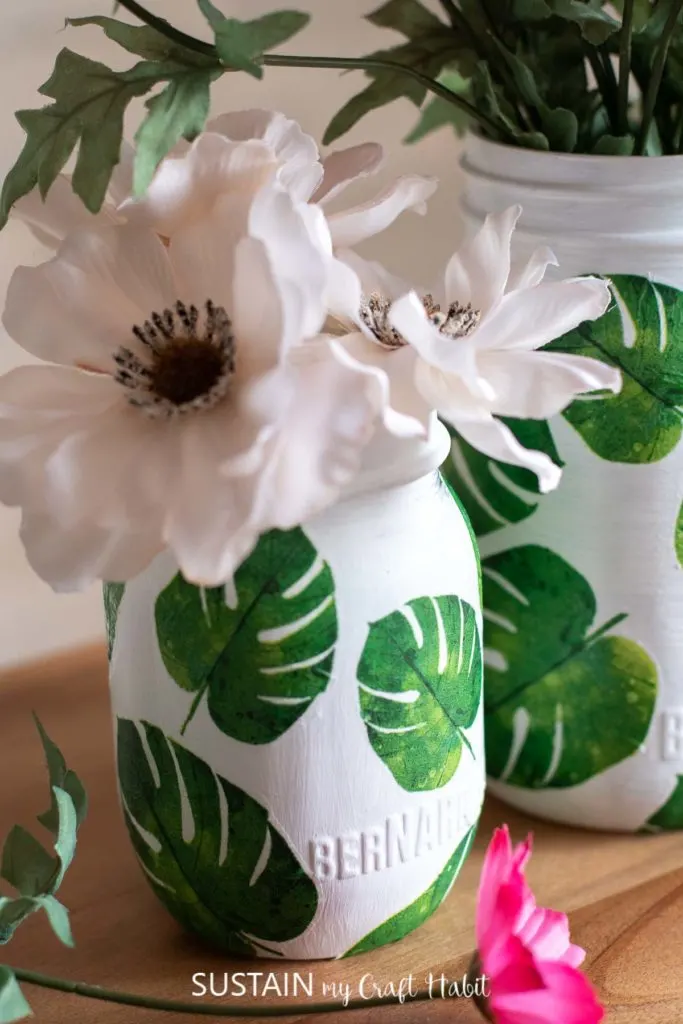
Leave the Mod Podge sealer to dry fully before using the jars as Summer vases. Place real or artificial flowers inside the jar.


Like it? Pin it for later!
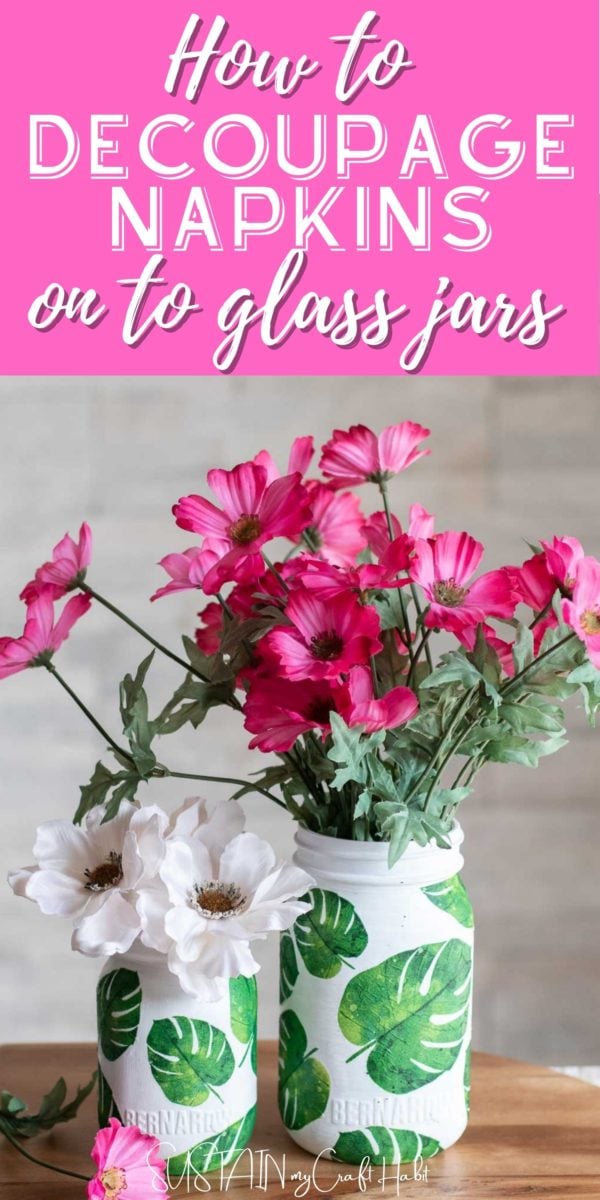


Napkin Decoupage on Glass Jars
Materials
- Set of 2 Jars 750ml and 500ml Smooth Rounded Jars with shoulders; lids removed
- Americana Decor Chalky Finish for Glass in Everlasting
- Mod Podge glue and sealer in matte finish
- Paintbrush
- Printed paper napkins
- Scissors
Instructions
- Thoroughly wash jars with soap and hot water and let them dry completely before using.
- Using a medium sized paint brush, brush on a coat of white glass paint on to the jars.
- Prepare the printed paper napkins by removing additional ply layers leaving just the one printed layer.
- With a pair of scissors cut around the individual images.
- After the painted jars have dried, apply a thin layer of Mod Podge onto the jar on one side with a paintbrush.
- Place the cutout on top of the glued area and gently press down with your fingers.
- Apply another coat of Mod Podge over top of the paper cutout to seal.
- Continue these steps for applying the other paper napkin cutouts, randomly placing them around the jars.
- Leave the Mod Podge sealer to dry fully before using the jars as Summer vases. Place real or artificial flowers inside the jar.