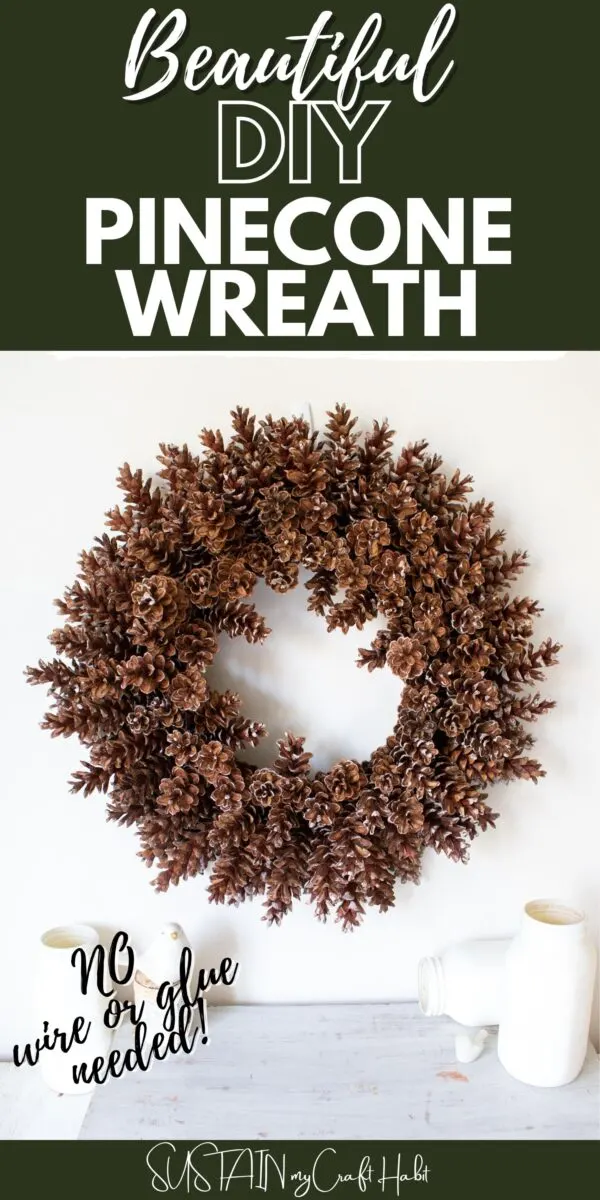
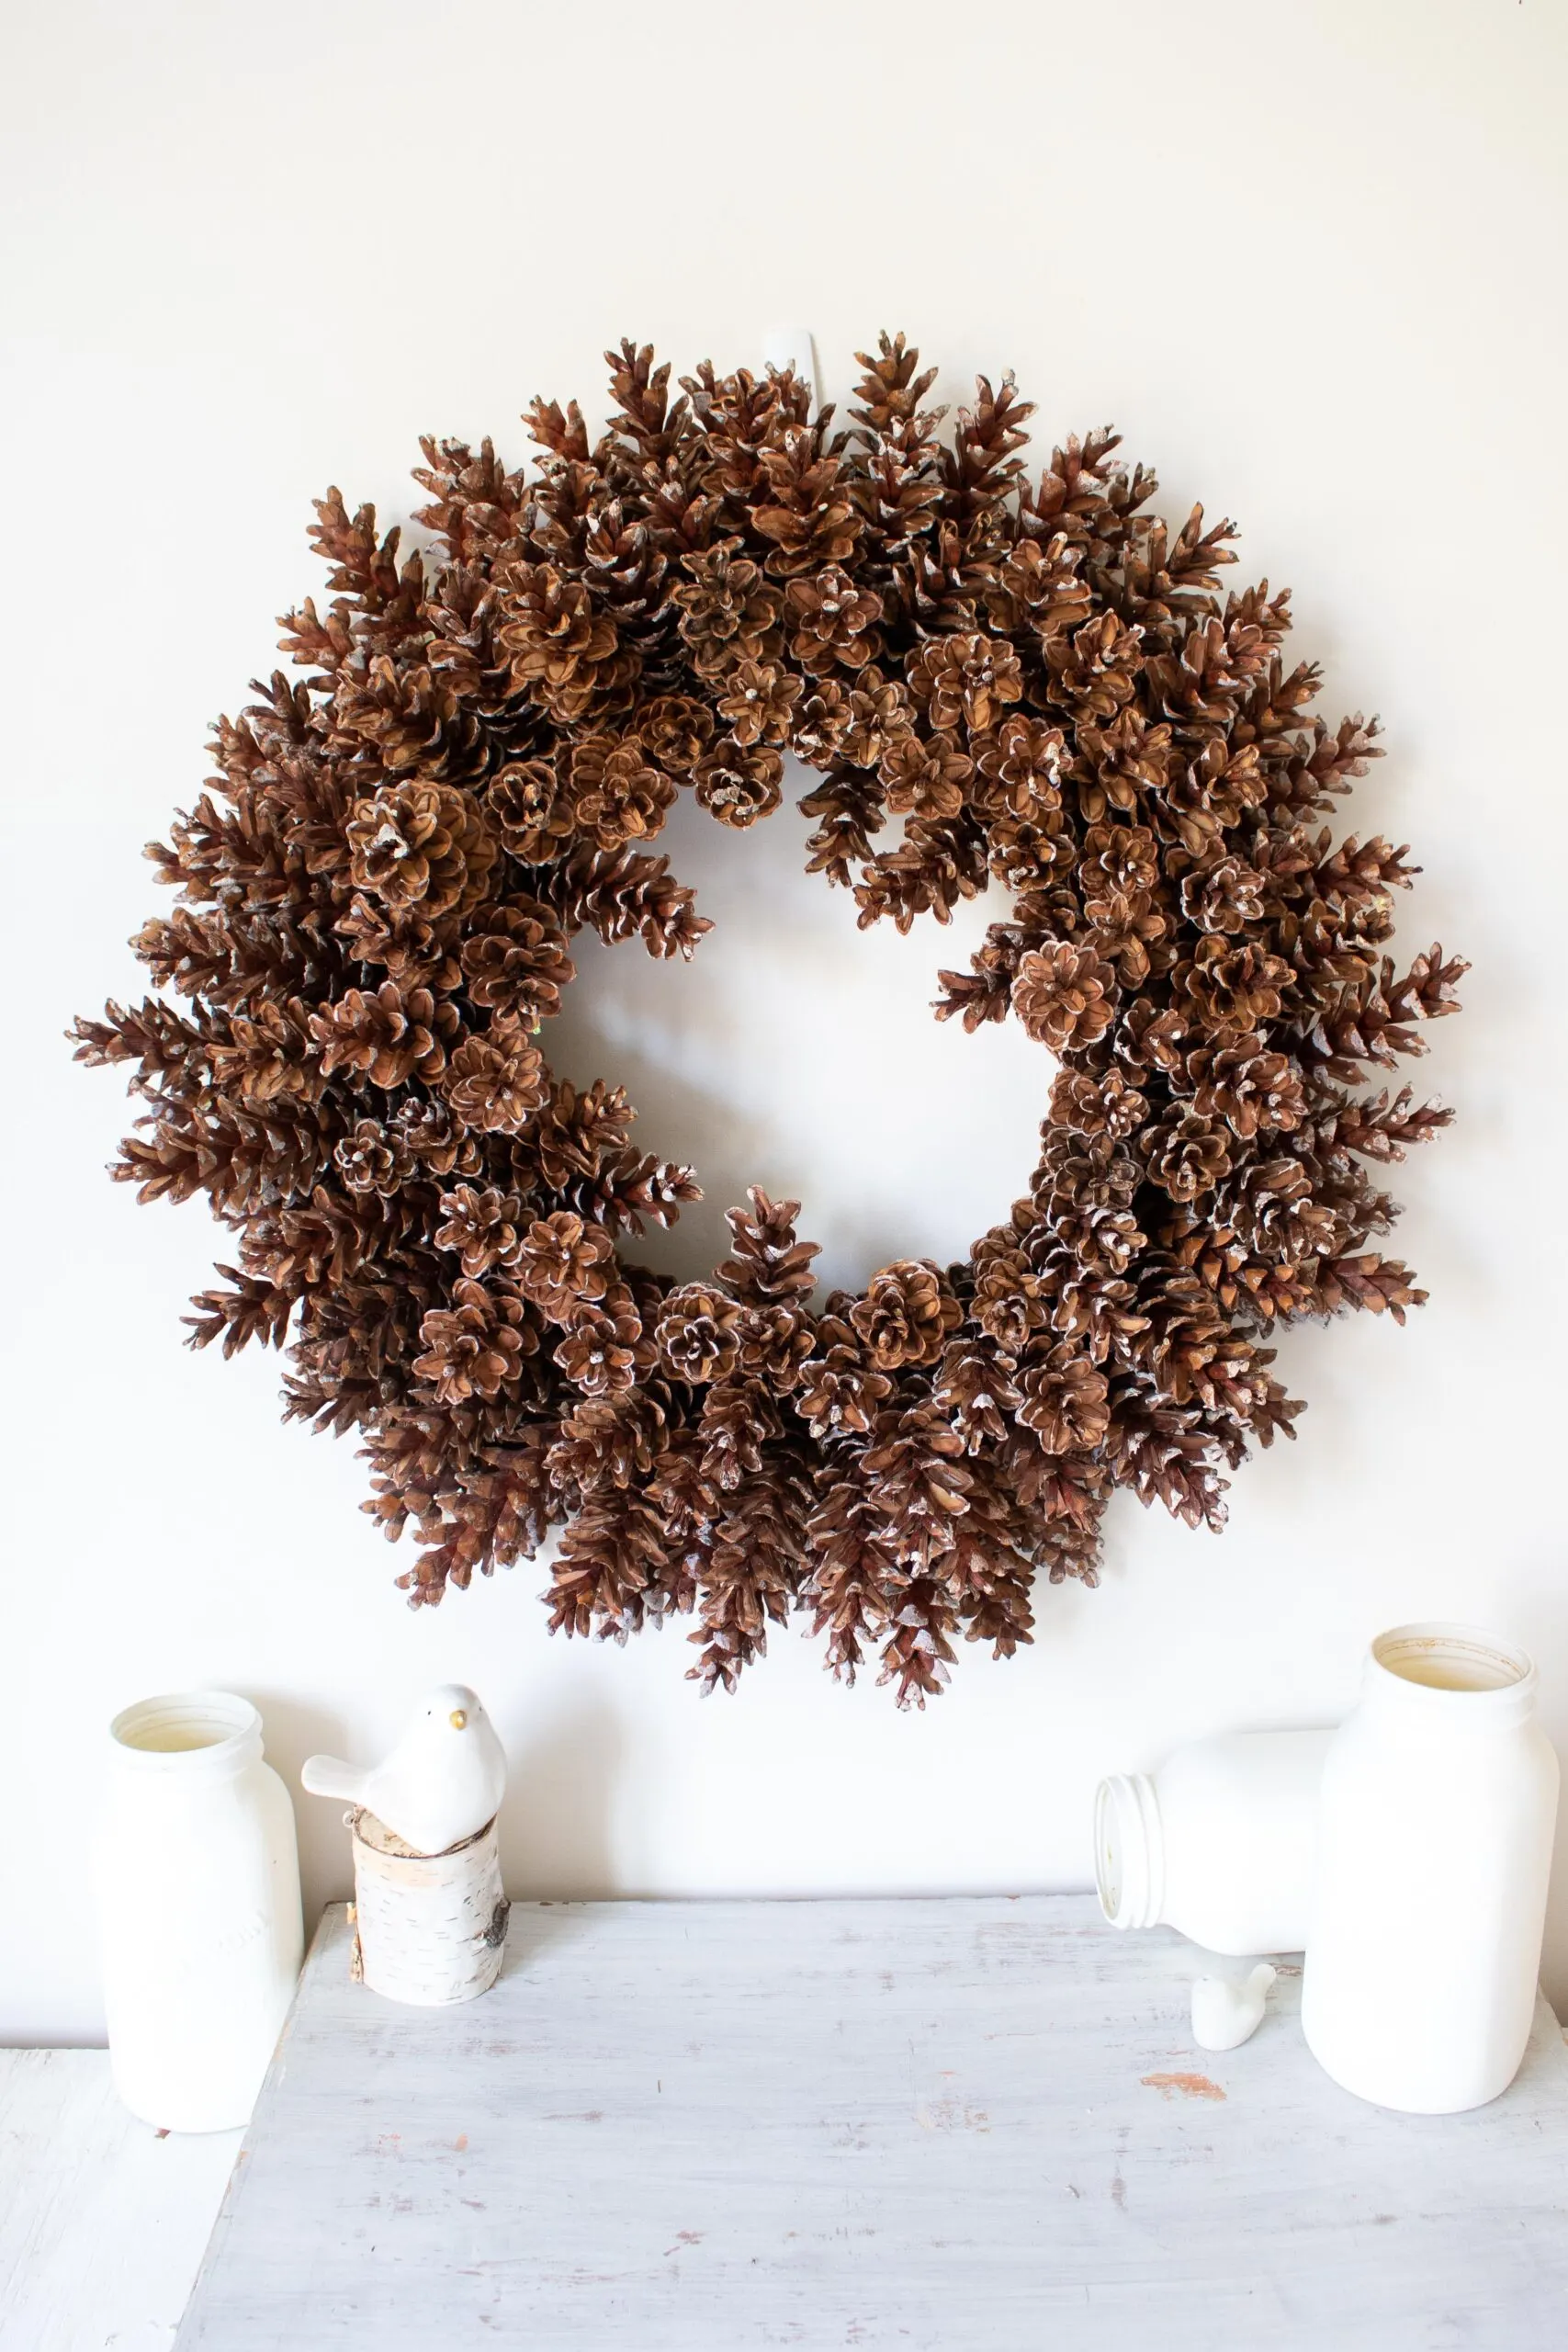
After taking a half day to make three of these beauties, we’ll be the first to admit it, we’re a little obsessed with making pine cone wreaths. And today we’ll show you how to make a pinecone wreath (just like this one) without the use of any glue or wire. If DIY is not your thing, we have a collection of beautiful pine cones wreaths to buy as well!
How to Make a Pinecone Wreath on a Wire Frame
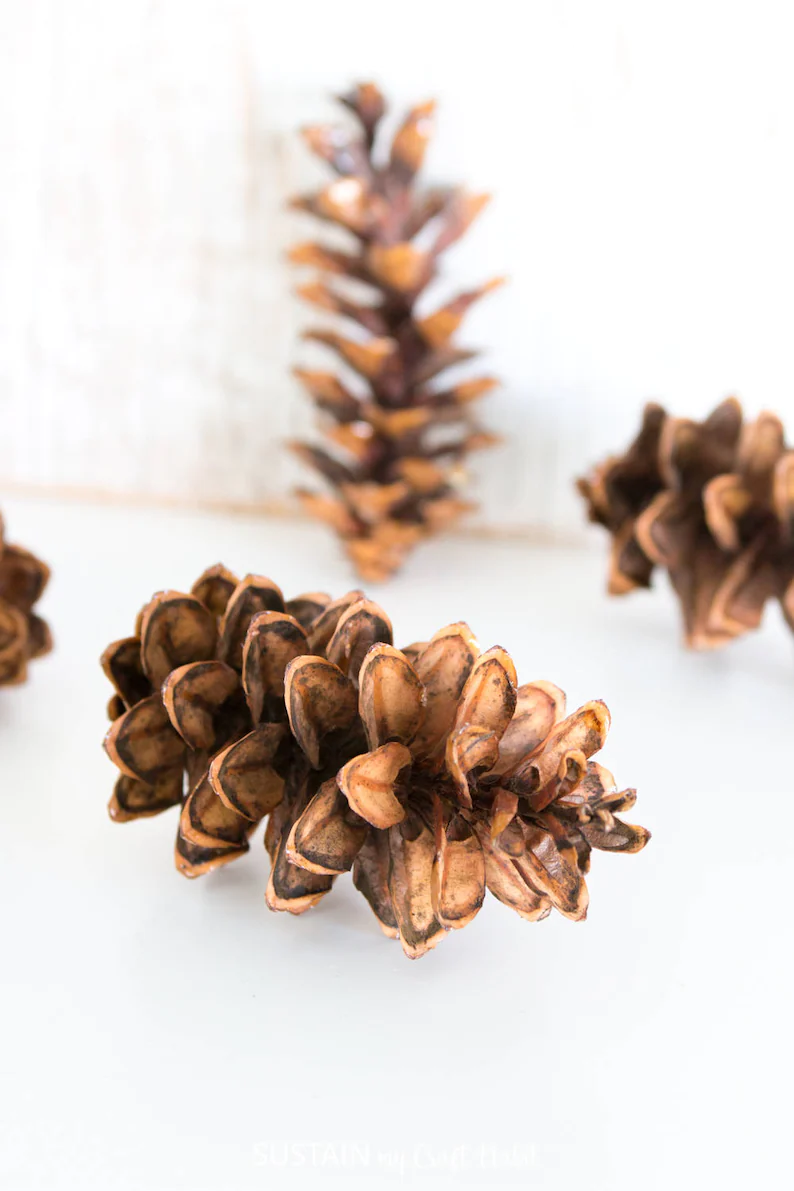
For this particular pinecone wreath, we used the pinecones fallen from Eastern white pine trees that grow all over North America as far north as Newfoundland and south as Georgia. Having used them to make these painted pinecone Christmas ornaments last year, they are our favorite type of pine cone to craft with.
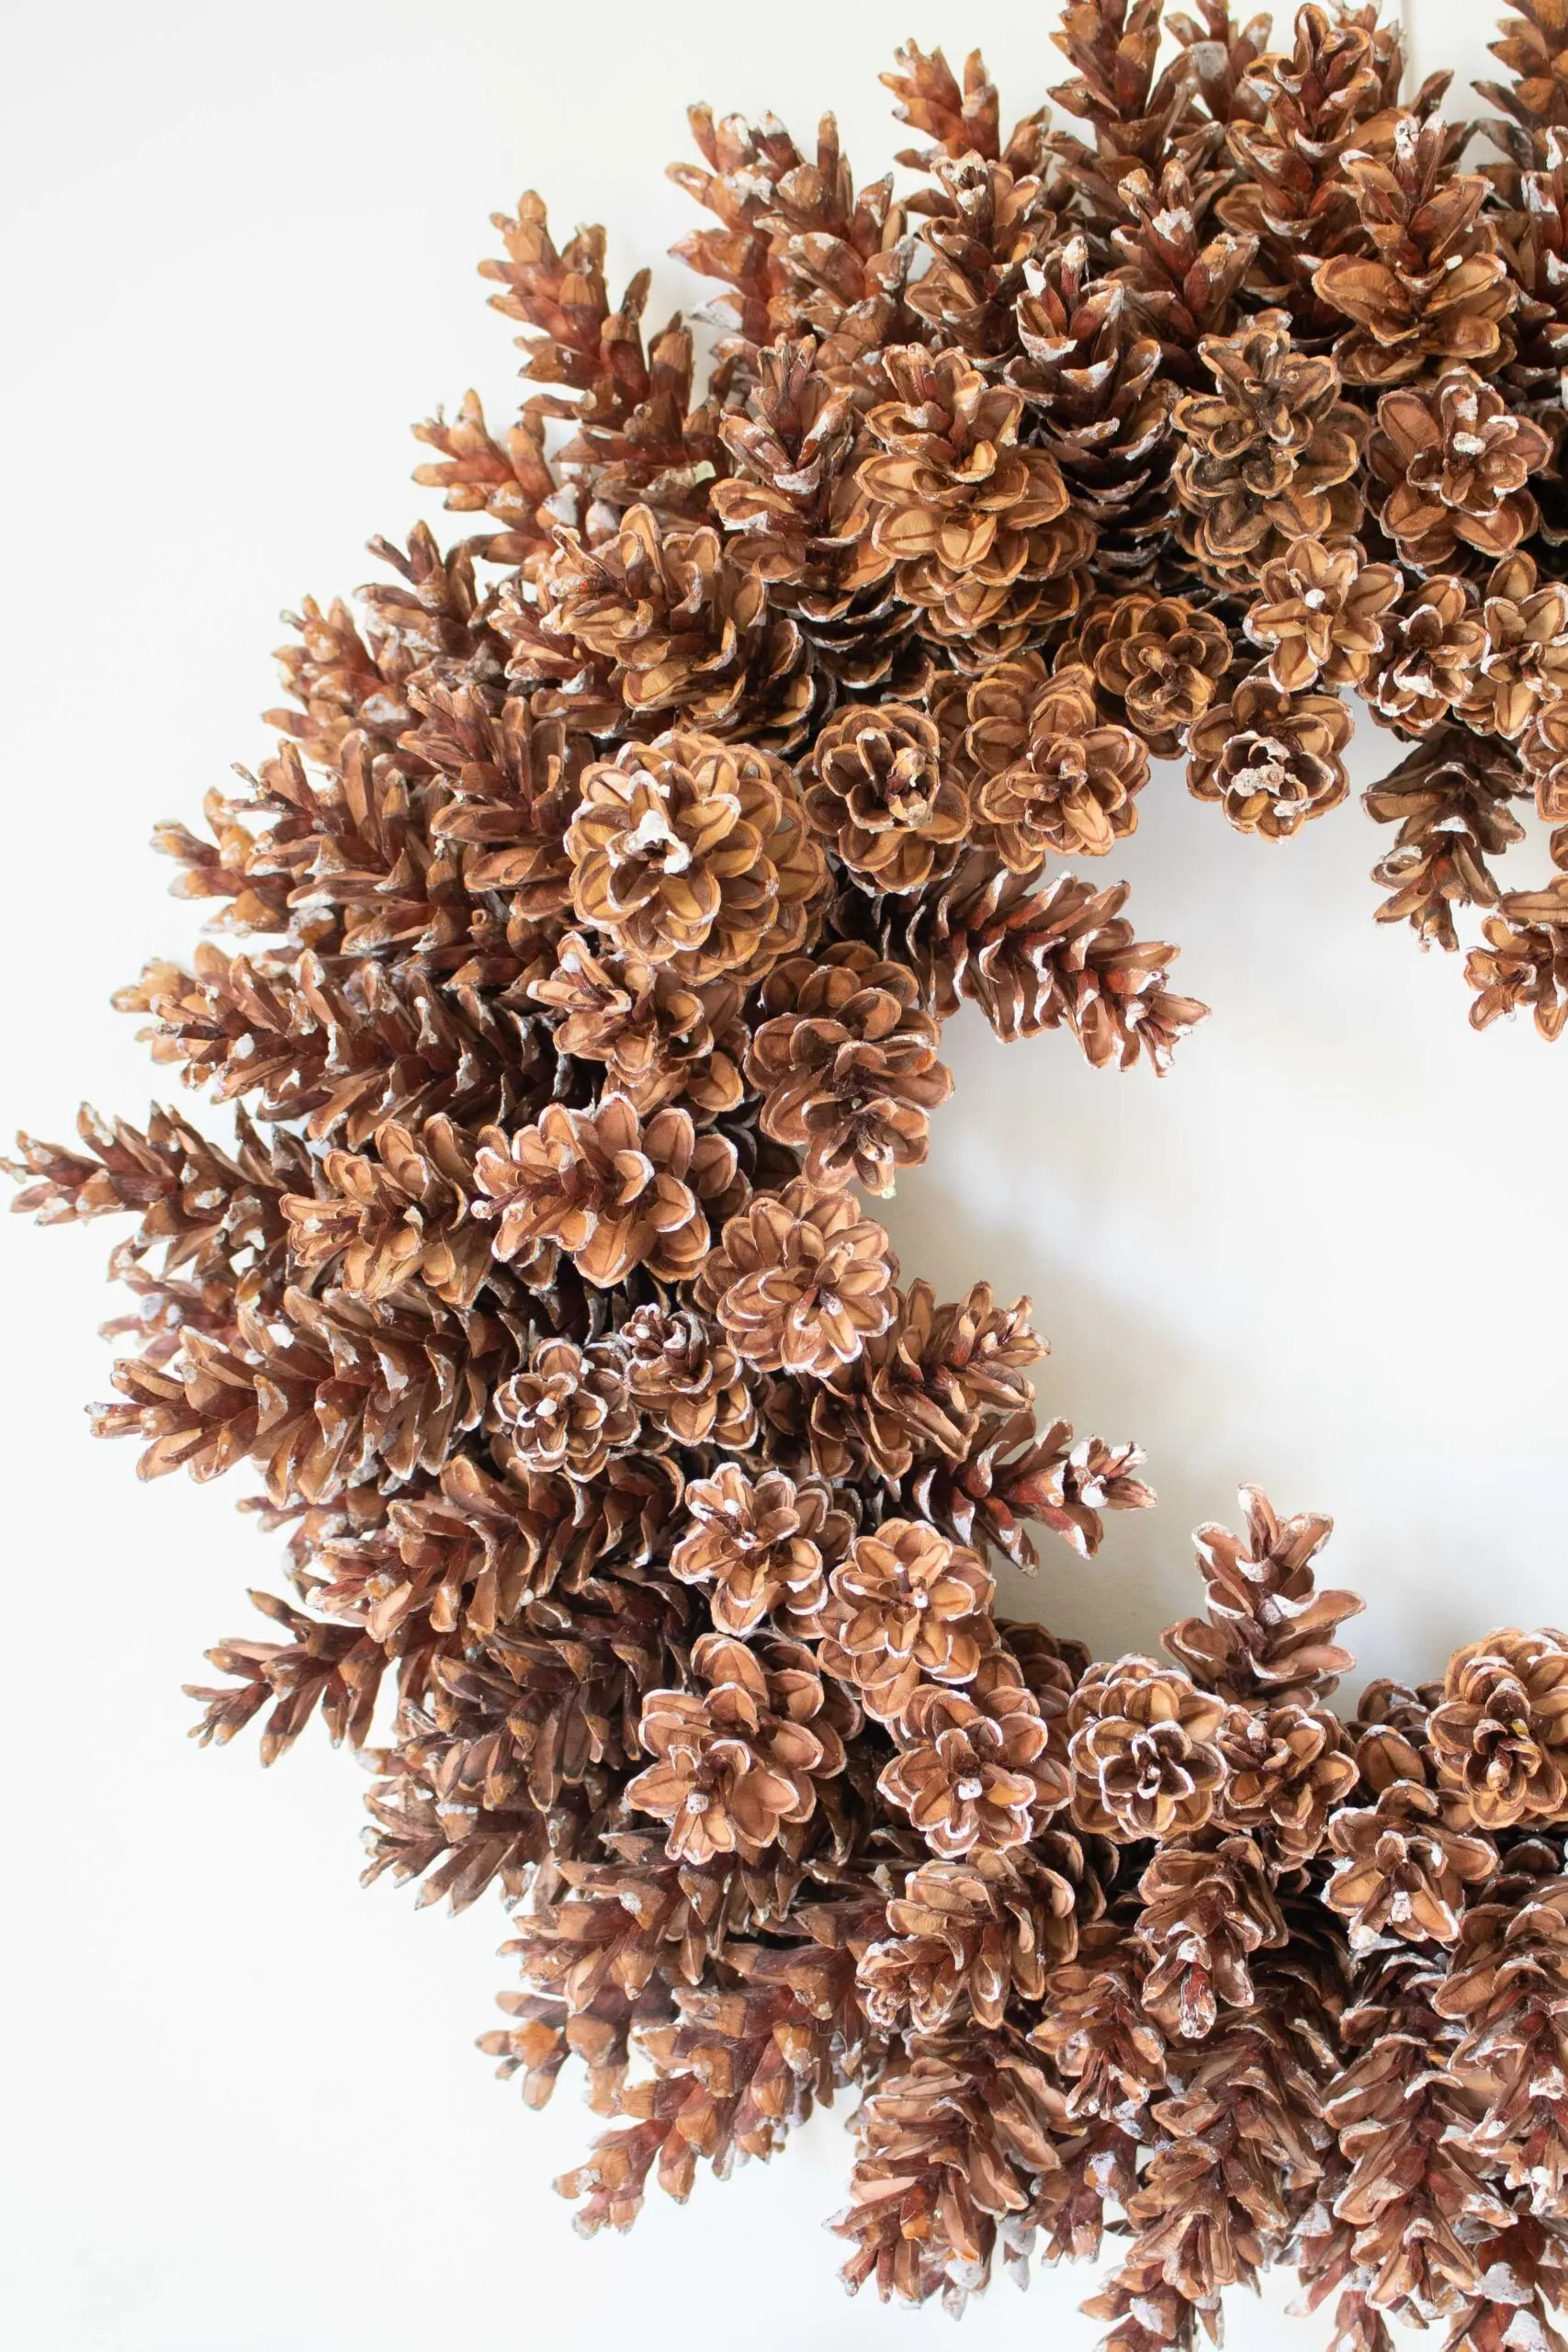
If you are wanting to make your own Eastern white pine cone wreath, you can check out our Etsy shop where we sell this variety of pinecones along with other varieties as well.
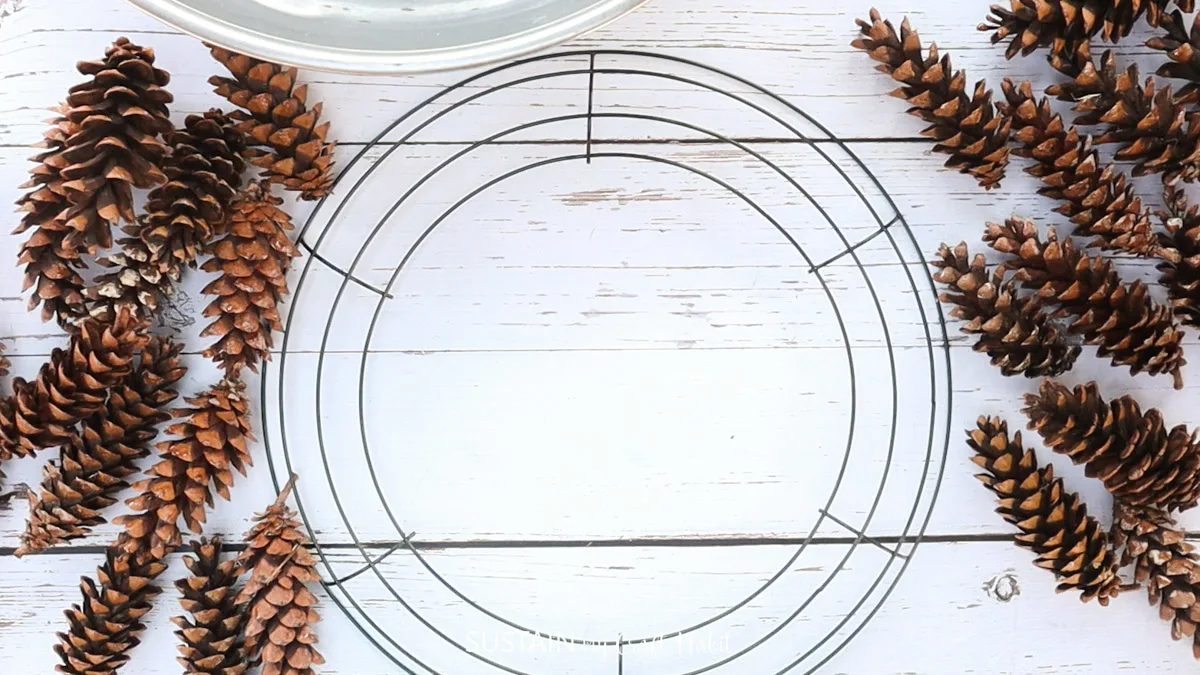
This wreath is so simple to make with just three supplies: a wire wreath form, a pail of water and the pinecones. That’s it! No need for messy hot glue gun or fumbling with floral wire.
We’ll be sharing the video tutorial soon but in the meantime, keep reading to find out how to make your own stunning front door wreath.
Materials Needed for this DIY Pinecone Wreath:
Disclosure: This post contains affiliate links for your shopping convenience. Should you choose to purchase through them, we will make a small commission at no extra cost to you. You can read our full disclosure here.
- 14” wire wreath form
- Eastern white pinecones, approx 150-175
- Pail or large bowl filled with water
How to Make a Pine Cone Wreath (without any wire or glue):
Preparing the Pinecones
The first thing is to make sure your pinecones are clean. If you are purchasing the pinecones from our Etsy shop, then the pinecones are ready and you can quickly get started on your wreath.
However, if you are foraging your own pine cones, then you’ll need to first clean them and bake them. Check out our simple and natural technique for cleaning pinecones here.
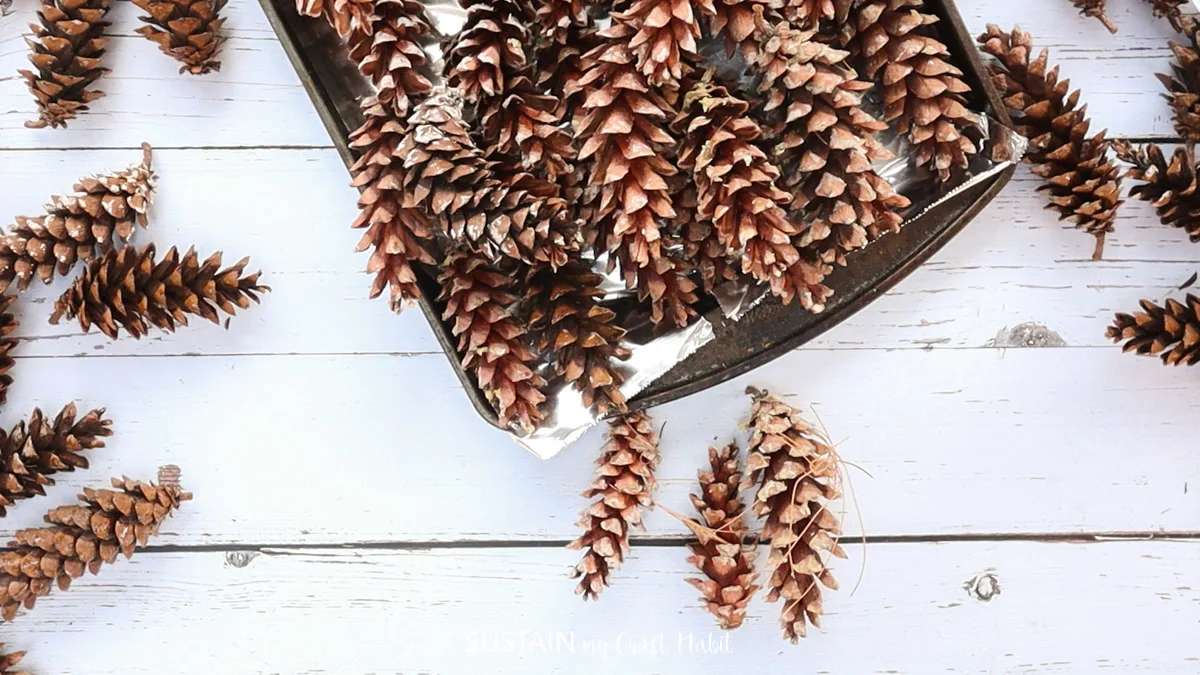
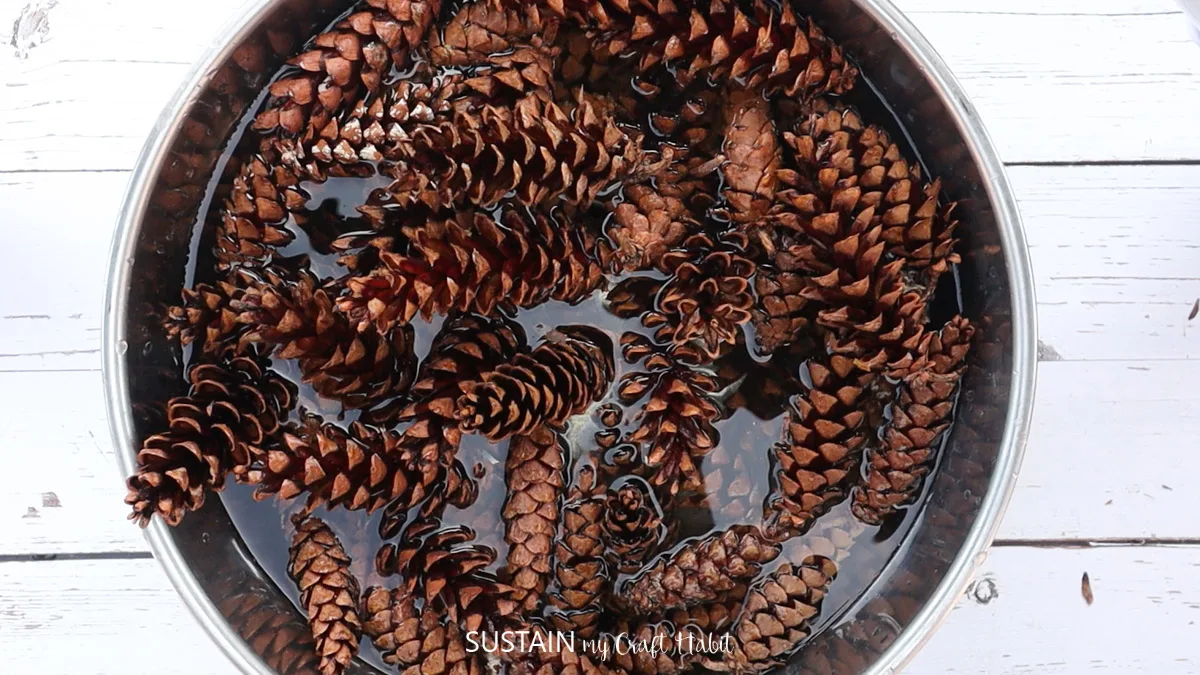
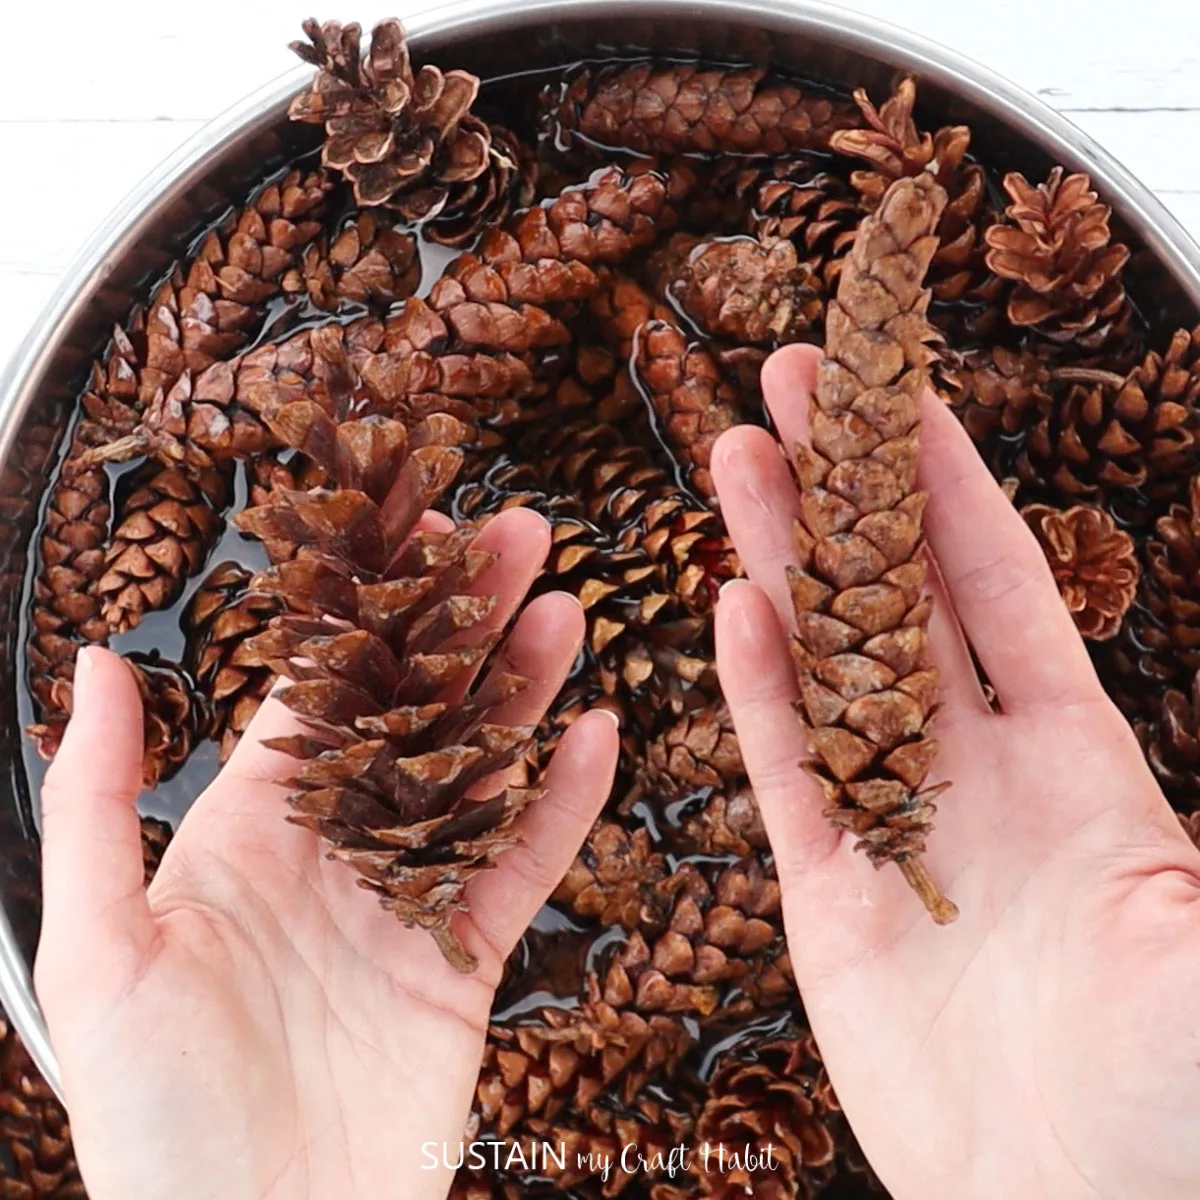
After the pinecones have been cleaned and baked, soak them in a pail of water for 30 minutes. Make sure they are fully submerged in the water. You’ll quickly notice the pinecones will begin to close up making them easy to work with.
Sort the pinecones by size:
- Largest pinecones for the outer ring
- Medium sized pinecones for the center ring
- Sallest sized pinecones for the inner ring
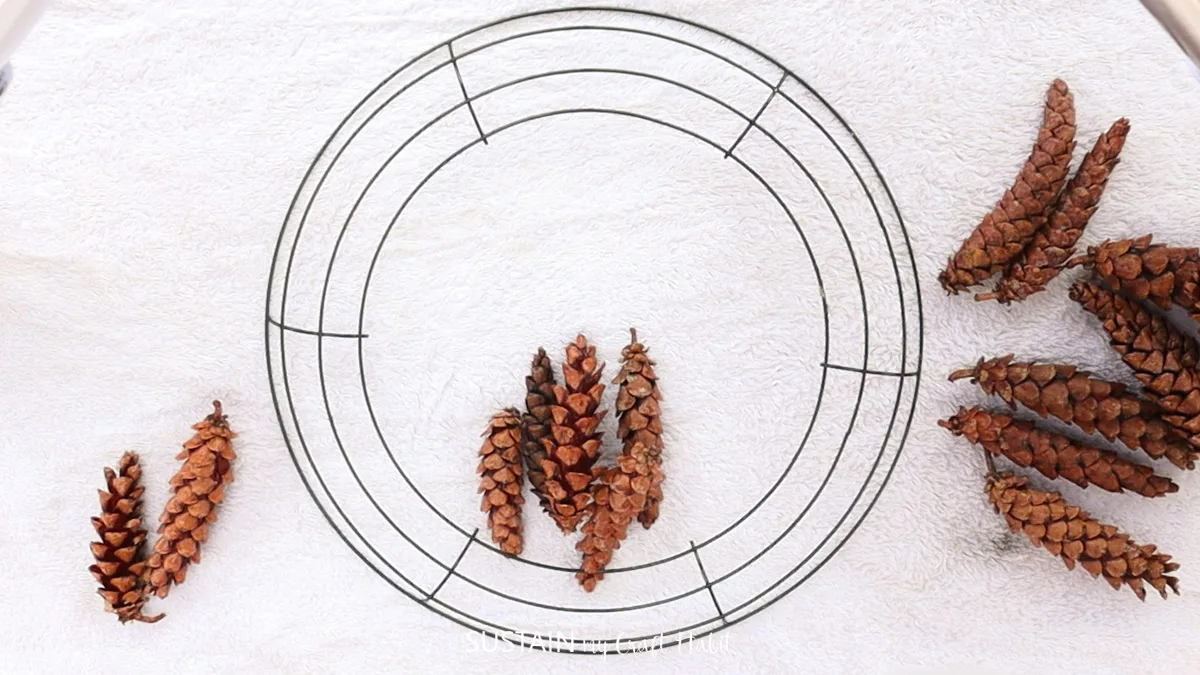
Making the Pine Cone Wreath
The next step is to arrange the closed pine cones onto your wire wreath form.
Starting with the outer ring and the largest pinecones, insert the bottom of the pinecone between the two outer wires. Push the pine cone to about the 3 or 4th scale on the pinecone and pull it back slightly to lock it in place. As the pinecone dries and opens the scales will wrap themselves around the wire to hold in place.
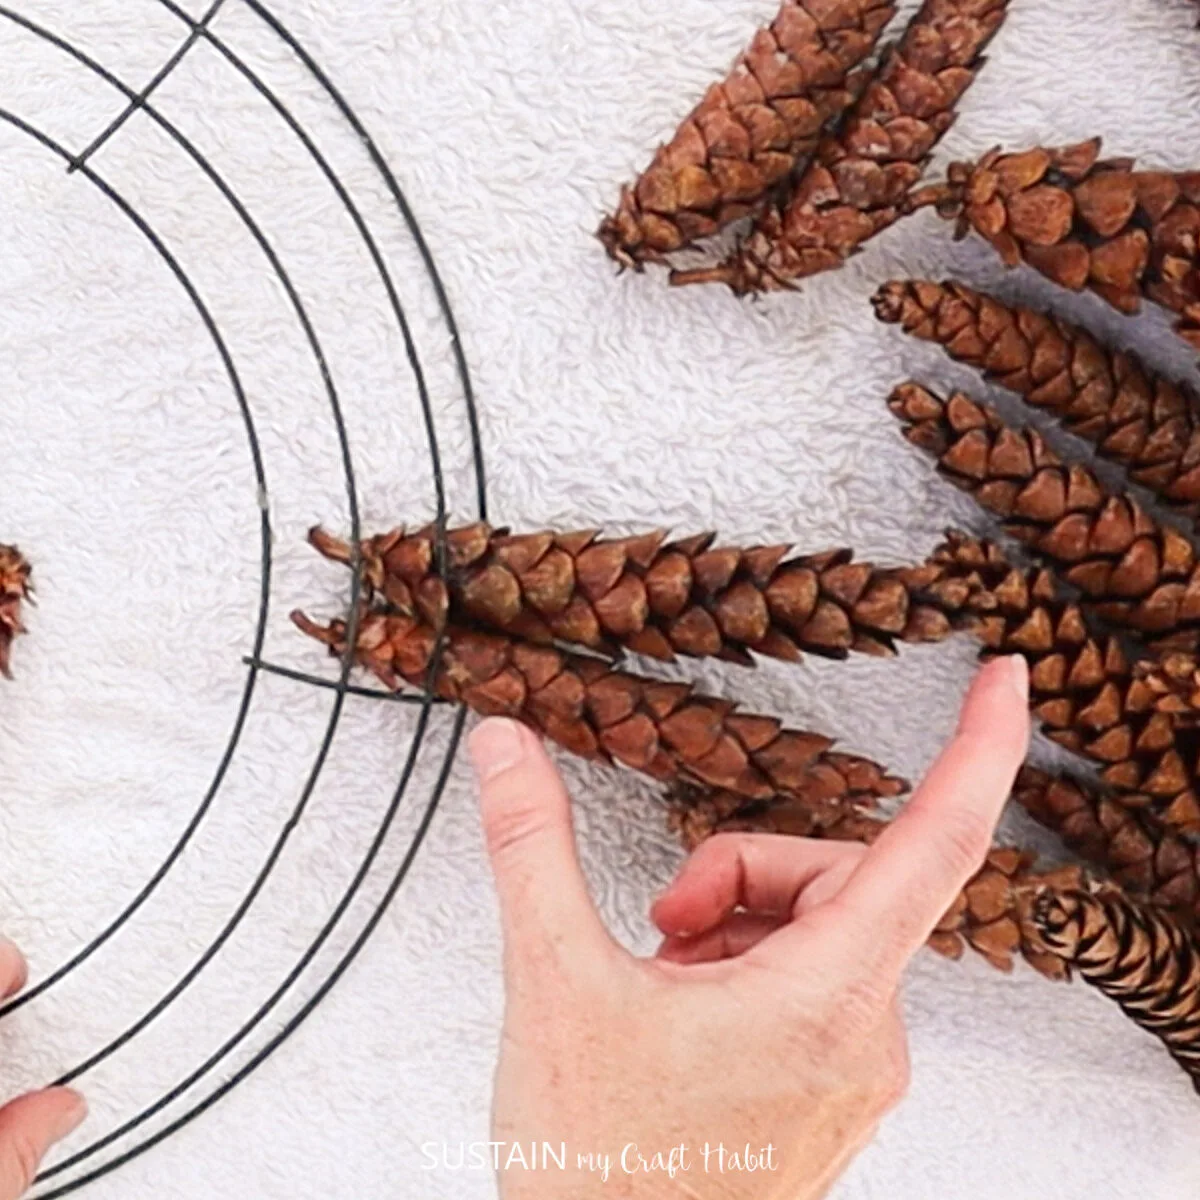
Continue adding more pinecones to the wire frame, working one section at a time.
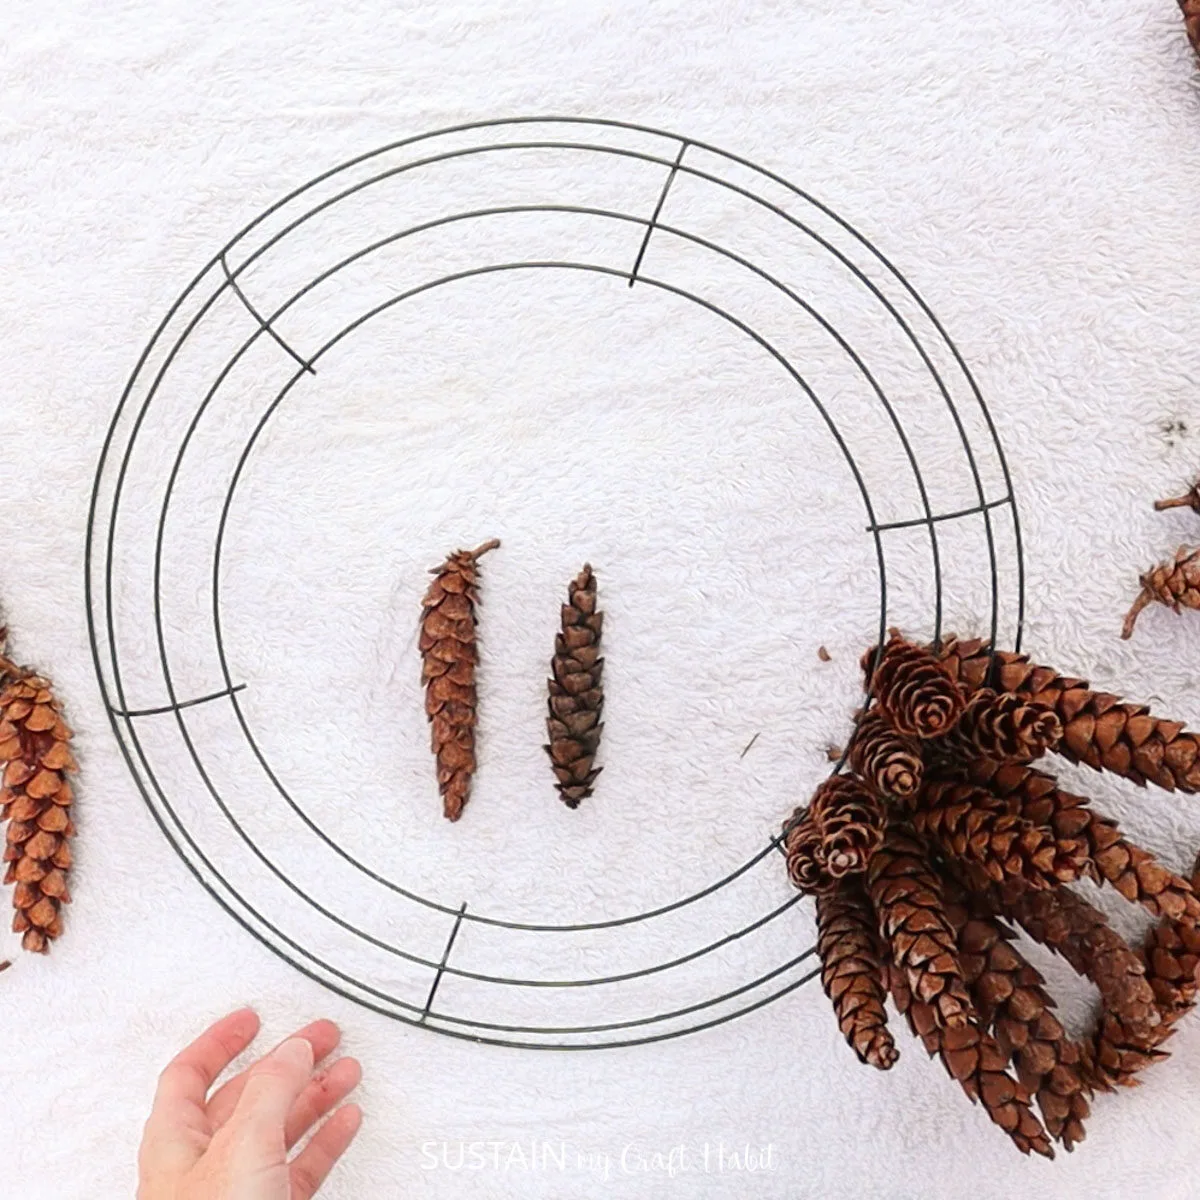
Position the outer and center pinecones so they face outward and then position the pinecones on the inner ring to face straight upward. Use the small and medium pinecones for the inner concentric circle.
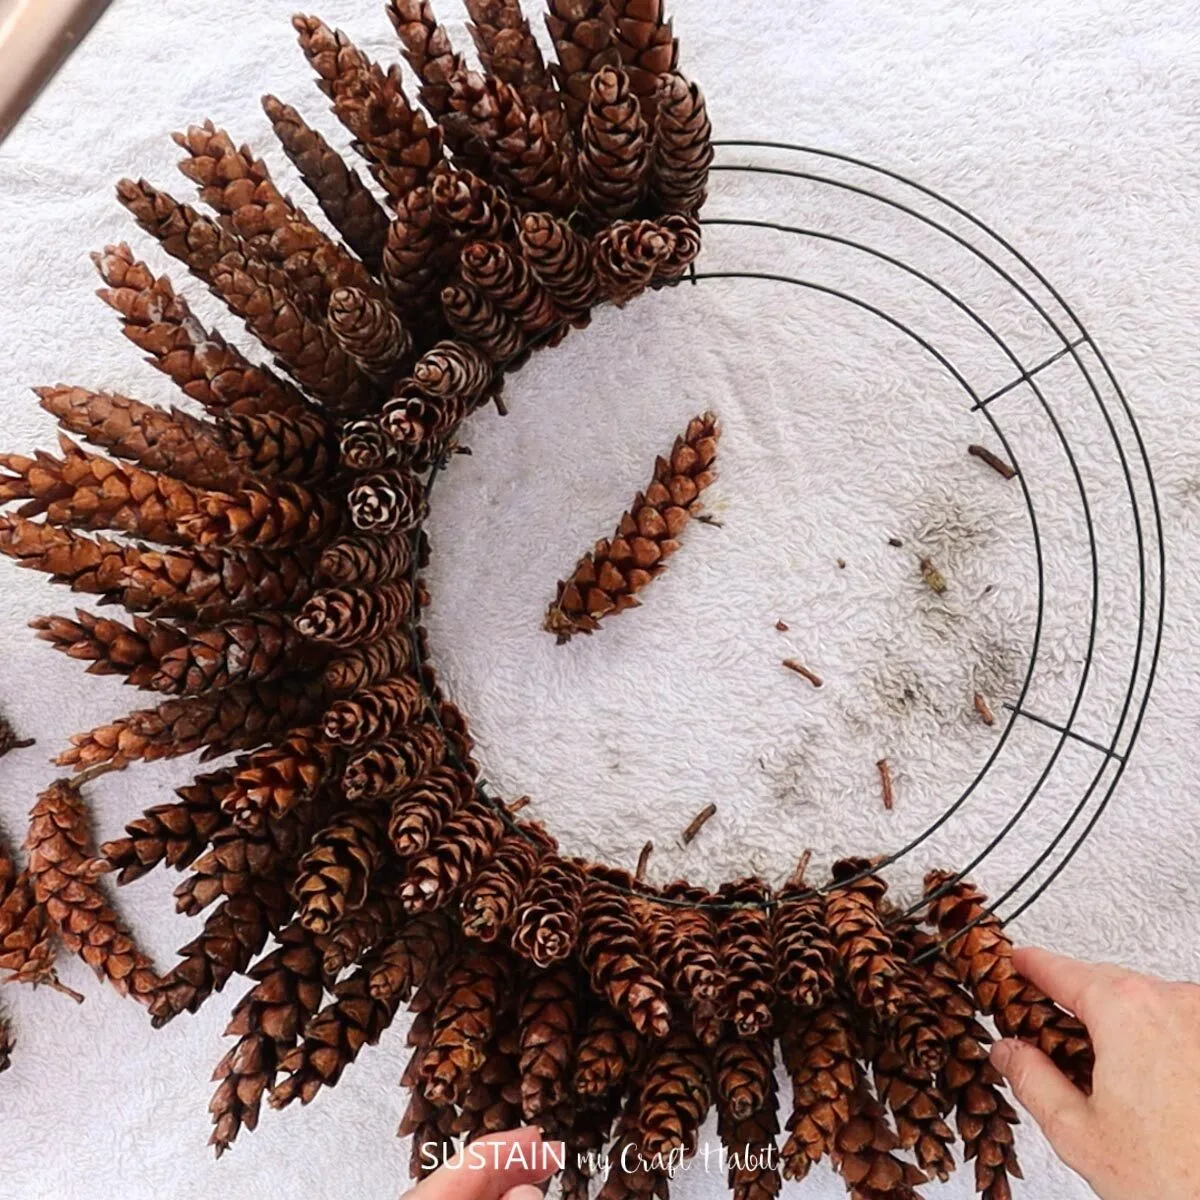
When you get close to the end of the section, squeeze the pinecones over as much as possible and wedge another pinecone inside.
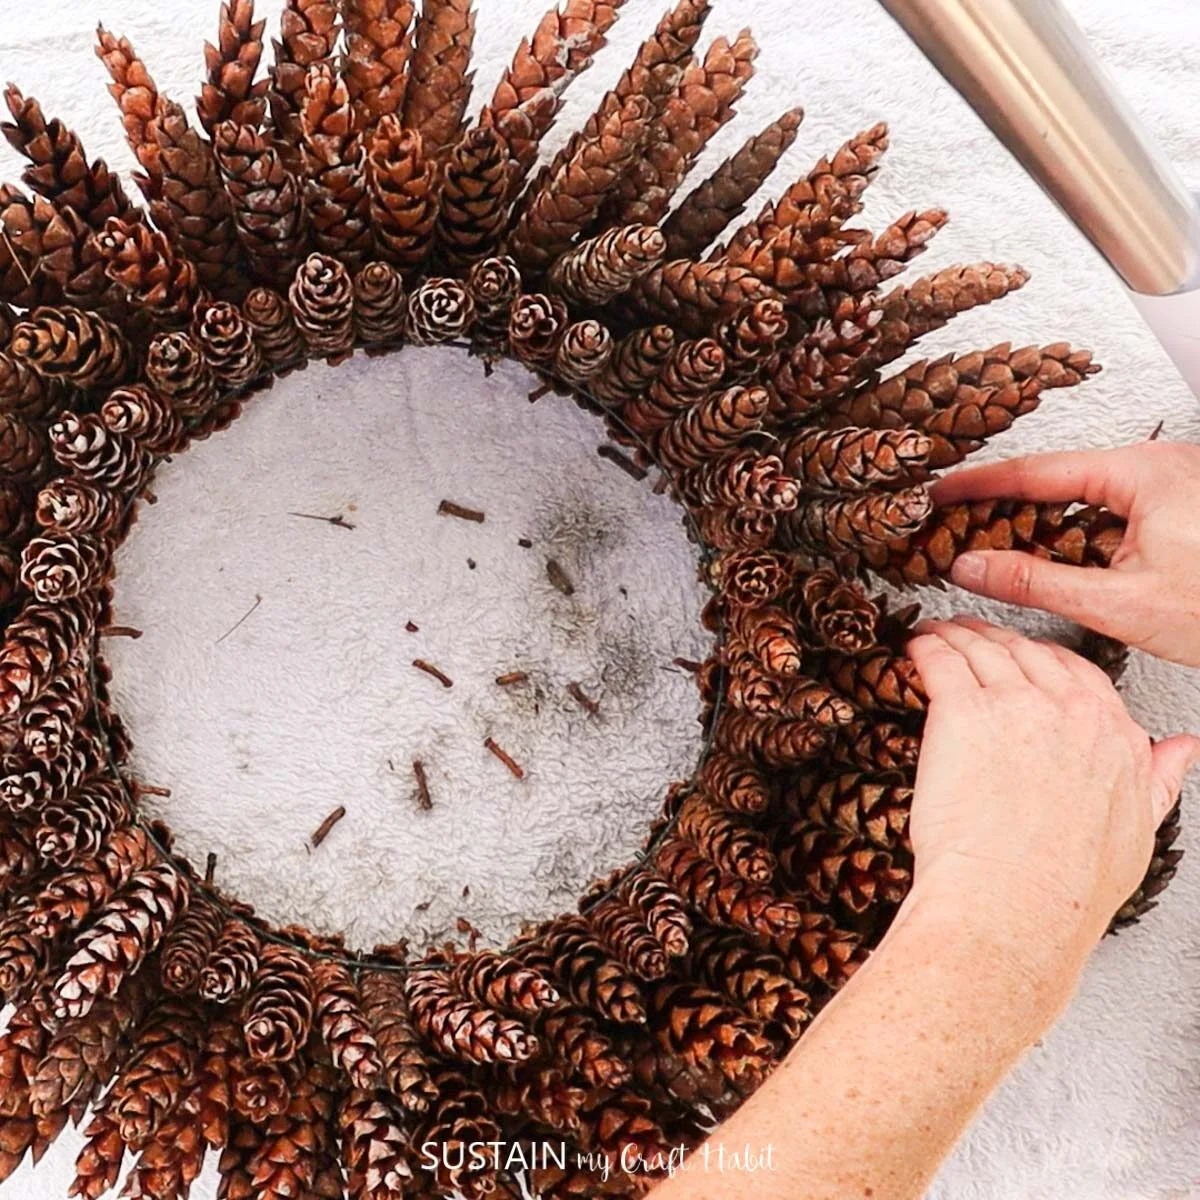
Continue all the way around the wire wreath form.
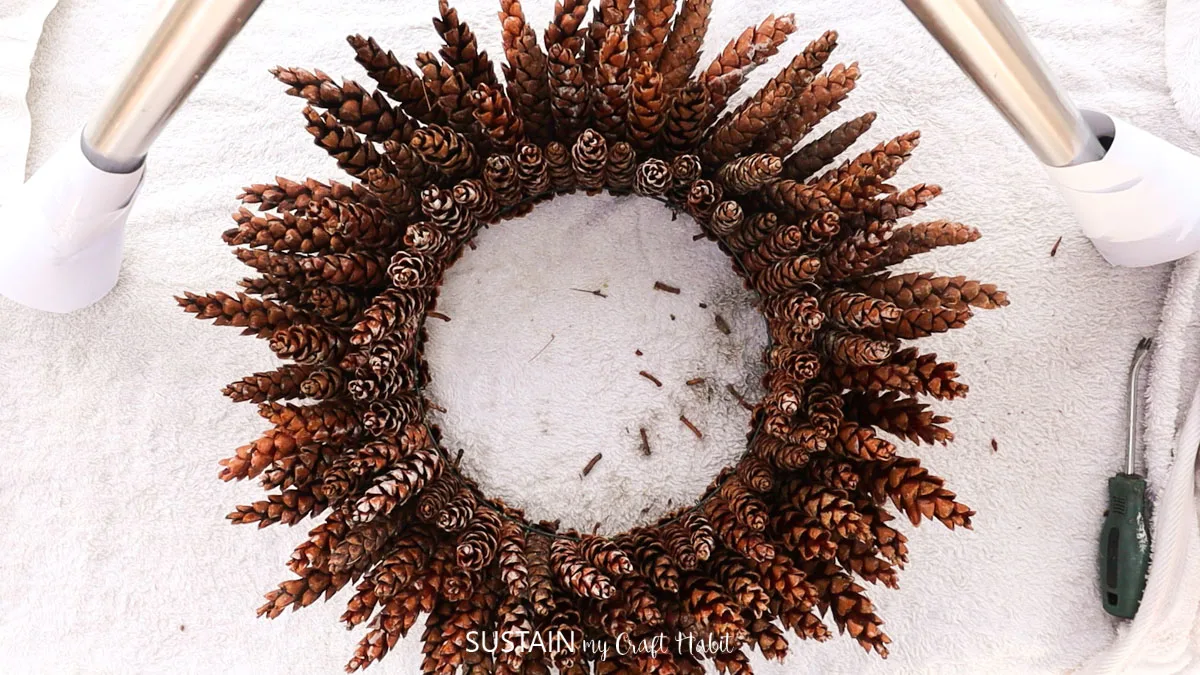
Drying the Beautiful Pine Cone Wreath
Put the wreath aside and leave it to dry fully for 2-3 days. As they dry, the pinecones will open naturally and wedge themselves to the wire form. If possible, place the wreath in a dry and sunny location to speed up the time it takes to dry fully.
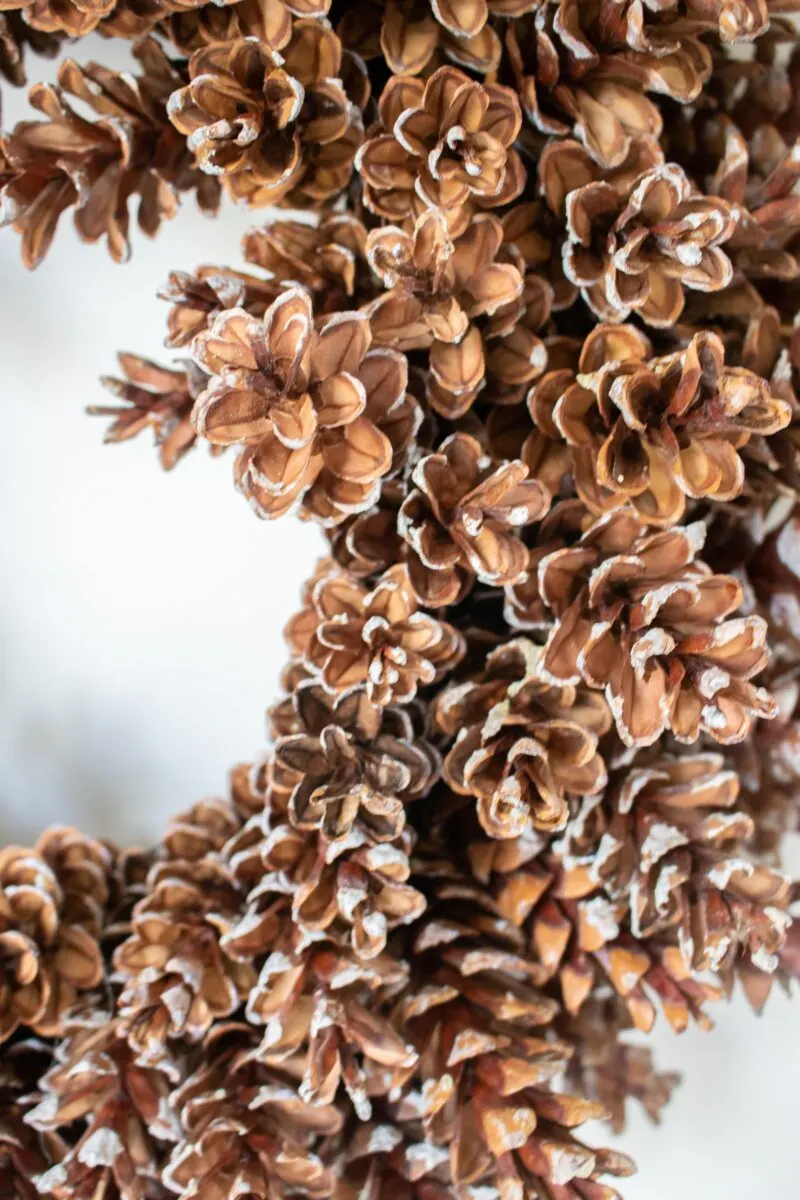
If you plan to hang the wreath outside where it will be exposed to rain and wet weather, we’d suggest spraying it with a water resistant sealer.
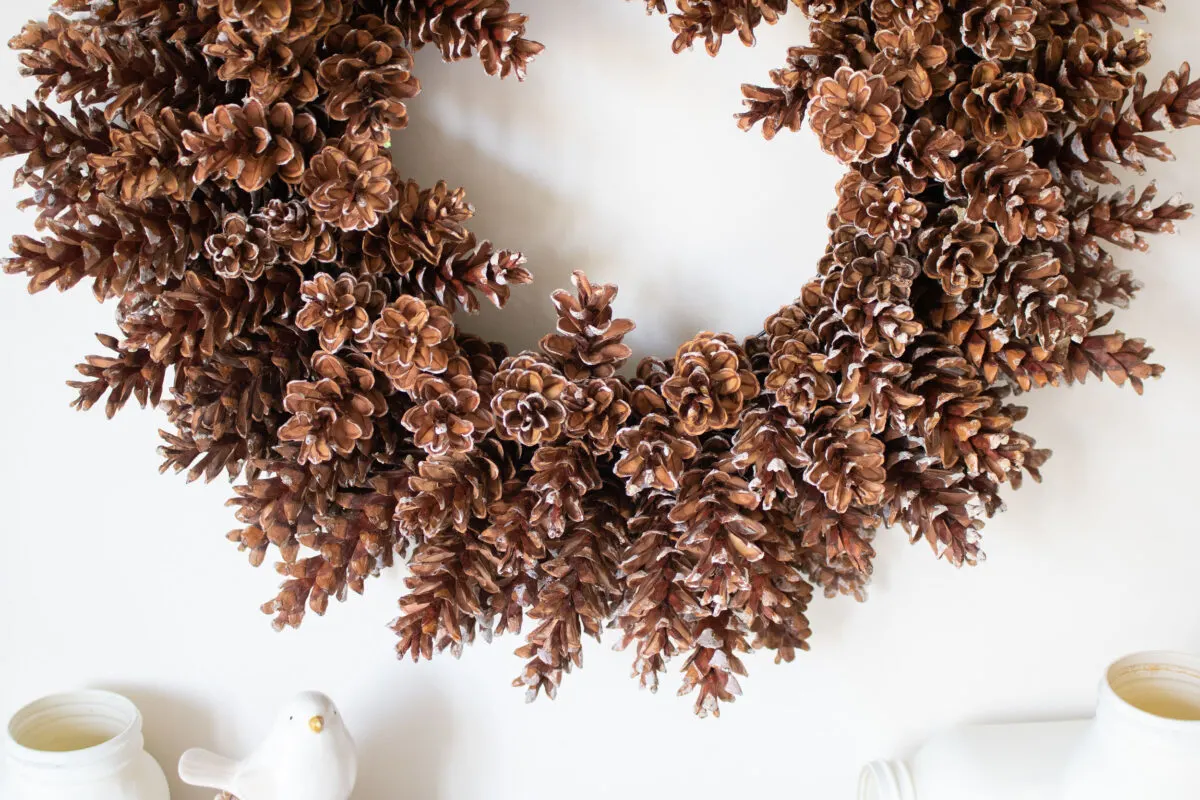
And there you go! We hope you’ve enjoyed this easy tutorial for making a beautiful wreath with pine cones in just a few simple steps.
The best part is that you can dress up your lovely wreath with simple embellishments. Use some twine or a red ribbon to give it a festive touch for the holidays. Or paint the tips of the pinecones with white paint, or the whole wreath with some white spray paint for a frosted look for your holiday decor. You could even simply lay your new wreath down as a table centerpiece.
More DIY Wreaths using Natural Materials
- Pumpkin wreath using mulberry branches
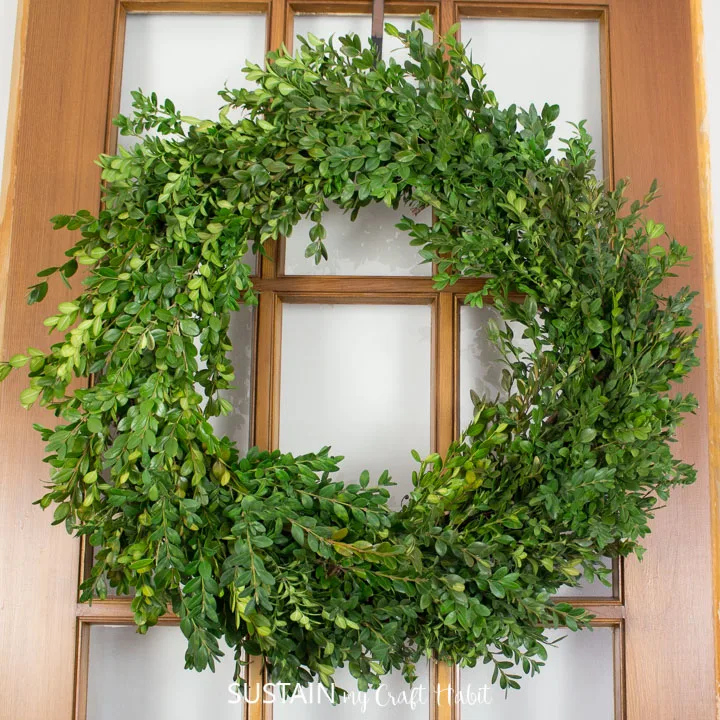
- Boxwood wreath
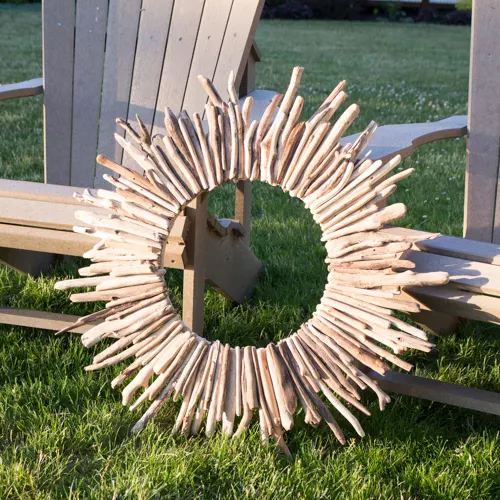
- DIY driftwood wreath
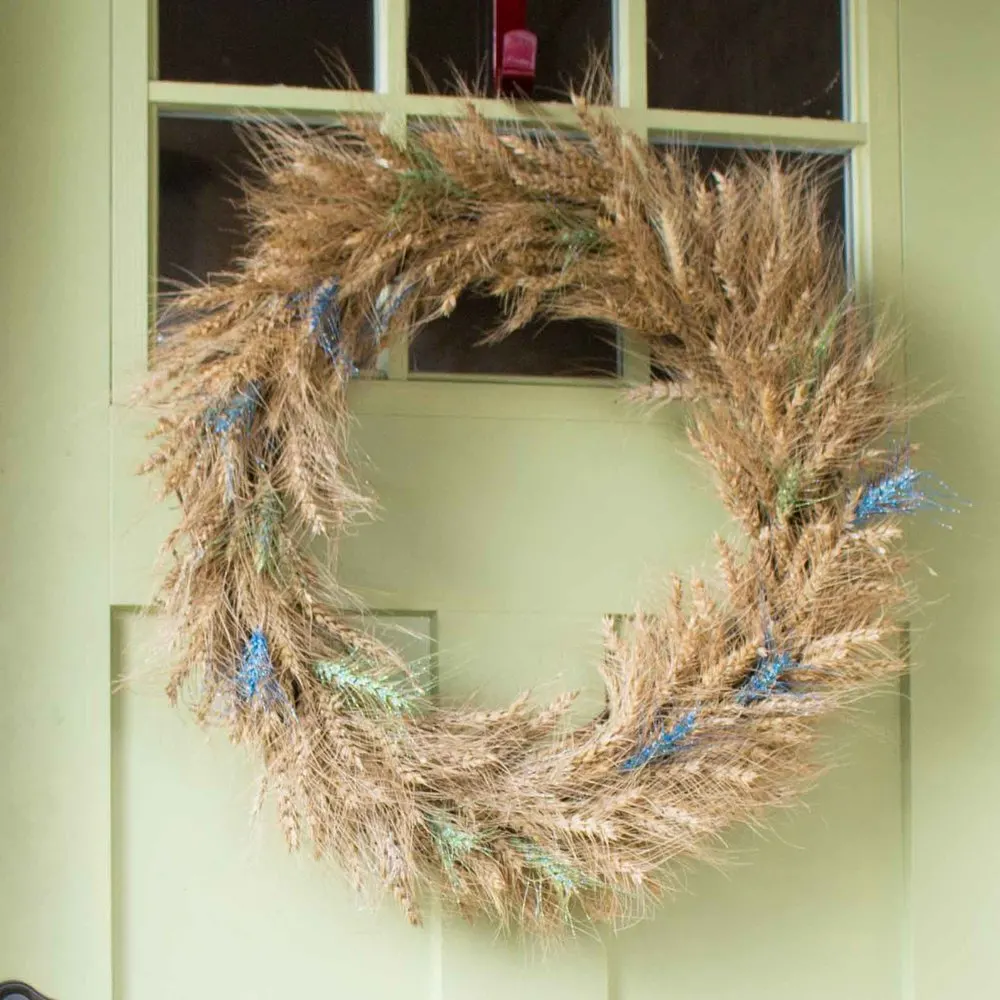
- DIY wheat wreath
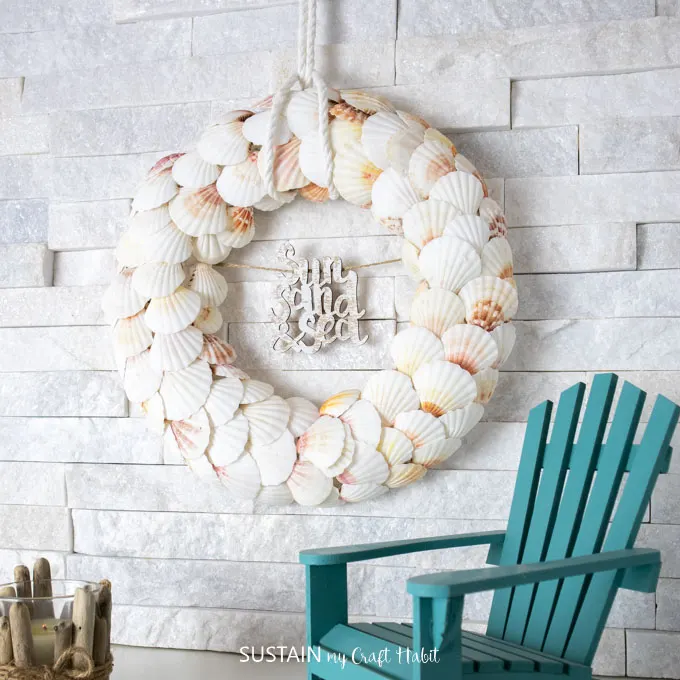
- Beautiful seashell wreath
- Evergreen wreath
Like it? Pin it for later!
How to Make a Pinecone Wreath (without wire or glue)
Materials
- wire wreath form 14" diameter
- Eastern white pinecones approx. 150-175
- Large Bowl or Pail filled with water
Instructions
- Clean and bake pinecones.
- Soak pinecones in a pail of water for 30 minutes. The pinecones will close up making them easy to work with.
- Sort pinecones by size. Use the smaller pinecones for the inner ring and the larger pinecones for the outer two rings.
- Insert the bottom of one large pinecone between the two outer wires. Push the pinecone to about the 3 or 4th scale on the pinecone and pull it back slightly to lock it in place.
- Continue adding more pinecones to the wire frame, working one section at a time.
- When you get close to the end of the section, squeeze the pinecones over as much as possible and wedge another pinecone inside.
- Continue all the way around the wire wreath form.
- Leave the wreath to dry fully, pinecones will open naturally over several days.



Jodi
Saturday 2nd of December 2023
Is it necessary to bake them?
Suzi R
Saturday 2nd of December 2023
What a great way to make this wreath. Will this work with the type of pine cones we have in Western Washington, which are more round or oval?
Kate K
Wednesday 29th of November 2023
I want to say thank you for sharing this. I’m not a “crafty” person by any means, but this wreath is so easy and it looks just like the picture when finished! I made mine during the cold season, so it took a few extra days to REALLY open up- but it’s so beautiful.
Polly
Tuesday 30th of May 2023
Q1: Is it OK to clean and bake them first to sanitize from bacteria/fungus and get rid of bugs THEN soak them and use for the no-wire/glue wreath? Q2: I thought I read somewhere that baking them also stops them from closing up when they get wet after having been baked - is this true? Q3: I do not see any warning to keep the wreath out of wet conditions (e.g. exposed front door, side of house) to prevent the pinecones from closing back up which would look ugly and also may cause them to fall out. Does this wreath need to be kept dry? Q4: What species of pine tree did the cones you use come from and what are their approx lengths and diameters? I have an abundance of Norway spruce cones which have a different shape & size and may not be usable for a wreath like this.
Kate K
Wednesday 29th of November 2023
@Polly, I baked one to try it, then soaked it and it opened fine.
Jane
Tuesday 30th of May 2023
@Polly, hello! Those are great questions. q1: Yes, absolutely - we do this all the time. q2: No, that hasn't been our experience. We typically bake them and then use the to make the wreath after. They still close up. q3: You're correct- these should be kept for indoors or if outdoors, in a are protected from getting wet as they will likely close again. q4: These are from the Easter White Pine . We haven't tried the Norway Spruce using this technique but image it would work just the same. We have done it with the smaller Austrian pine and works quite well. Hope that helps! Jane
Lisa House
Monday 28th of November 2022
Finally! This is how my aunt made them. This is the first tutorial I have seen for this way!
Jane and Sonja
Tuesday 29th of November 2022
Thank you so much! It is one of the best ways. Our mom has made close to 20 of these wreaths this year alone!