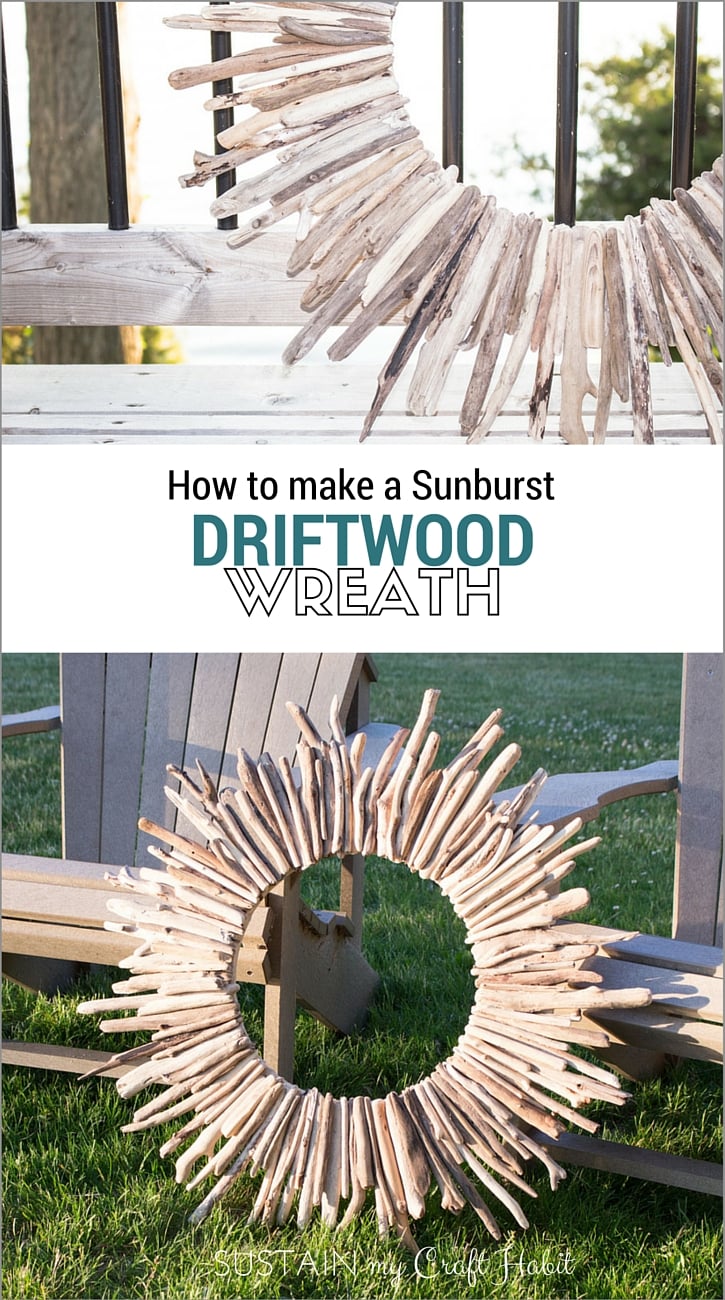
How to make a DIY Driftwood Wreath
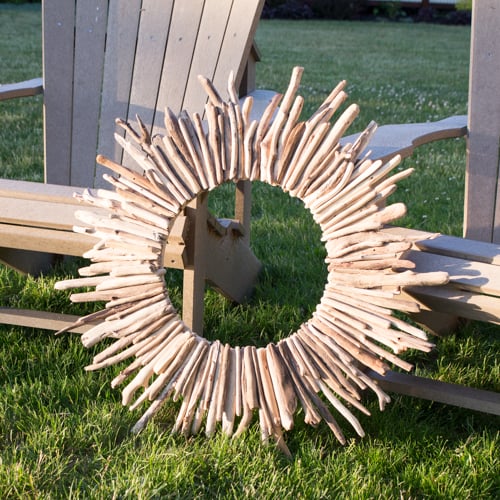
In anticipation of the Summer, I decided to make a large driftwood wreath that I could happily hang on my door to say “Welcome back hot weather!”. And now that this coastal and rustic wreath is done, I might just keep it up all year round because well, who doesn’t want to be reminded of the beach even on the coldest of days???

Over the past year we’ve made a number of driftwood pieces such as our DIY Driftwood Mirror, Heart Rocks and Sea Glass Wall Hanging, and a Driftwood Christmas Tree. What’s that saying? Creativity fuels Creativity. Well in our case, driftwood would be considered the spark (or we just have a problem).
DIY Driftwood Wreath Tutorial
This particular wreath used up 150 individual driftwood pieces! I know what you’re thinking…that’s a lot of time spent collecting driftwood! And yes, although that’s true, collecting driftwood is really one of our favourite things to do when we’re at the lake. We’ve even recruited the kids into helping (they love it, really).
In case you don’t have driftwood available in your area, we do have this wreath and driftwood supplies listed in our Etsy shop. Stop on by and take a look!
Materials Needed to make your own DIY Driftwood Wreath:
- Assorted driftwood pieces – sized 4” to 9” long in various widths
- Loctite PL Construction Adhesive (Amazon affilitate link) or similar product for attaching mirror to plywood
- ½” thick sheet of plywood
- Picture hanging kit (Amazon affiliate link)
- Jigsaw
- Sand paper; 60 Grit
- Nail Gun and ¾” brad nails
- Glue gun and plenty of glue sticks
- Wood Glue (optional)
- Clear spray lacquer (optional) (Amazon affiliate link)
How to Make a Driftwood Wreath
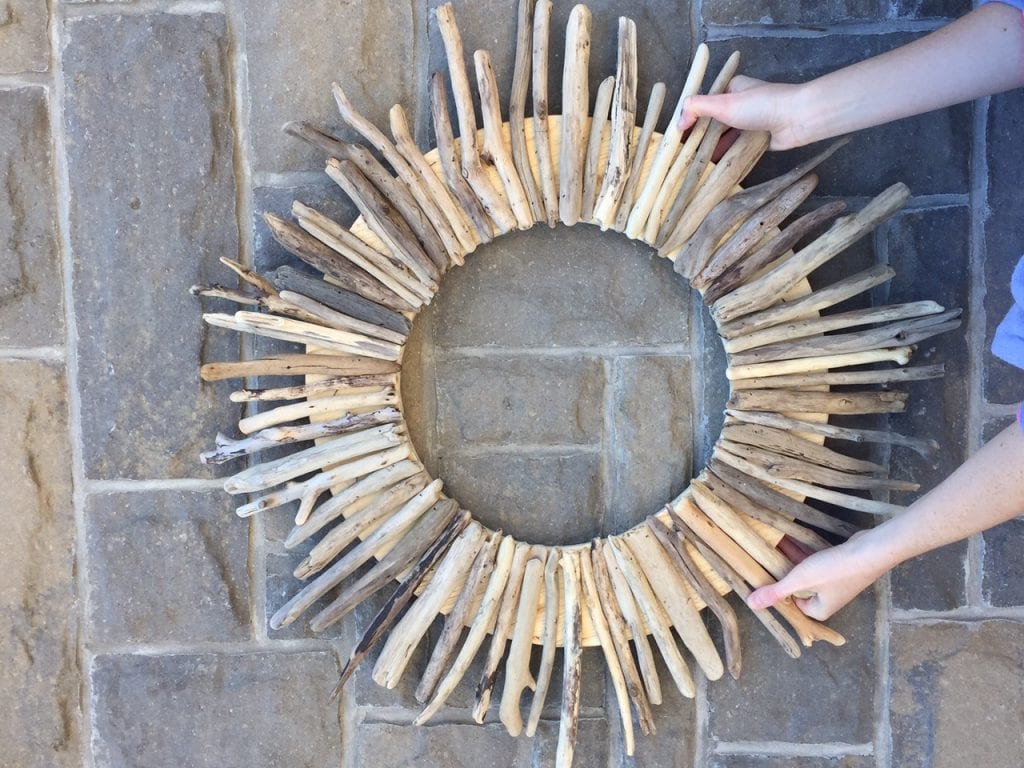
To start, you will need to prepare the base. I used a ½” thick sheet of plywood and cut it in a circular shape with the centre cut out. The base size measured 20” diameter from outer edge to outer edge with a 12” diameter circle cut out of it.
Once the base is cut, gently sand down all the edges and back side for a smooth finish. I used a 60 grit, about a medium grade sandpaper to do this.
Add two sets of hooks to the back side of the base. This will be the side to hang up against the wall.
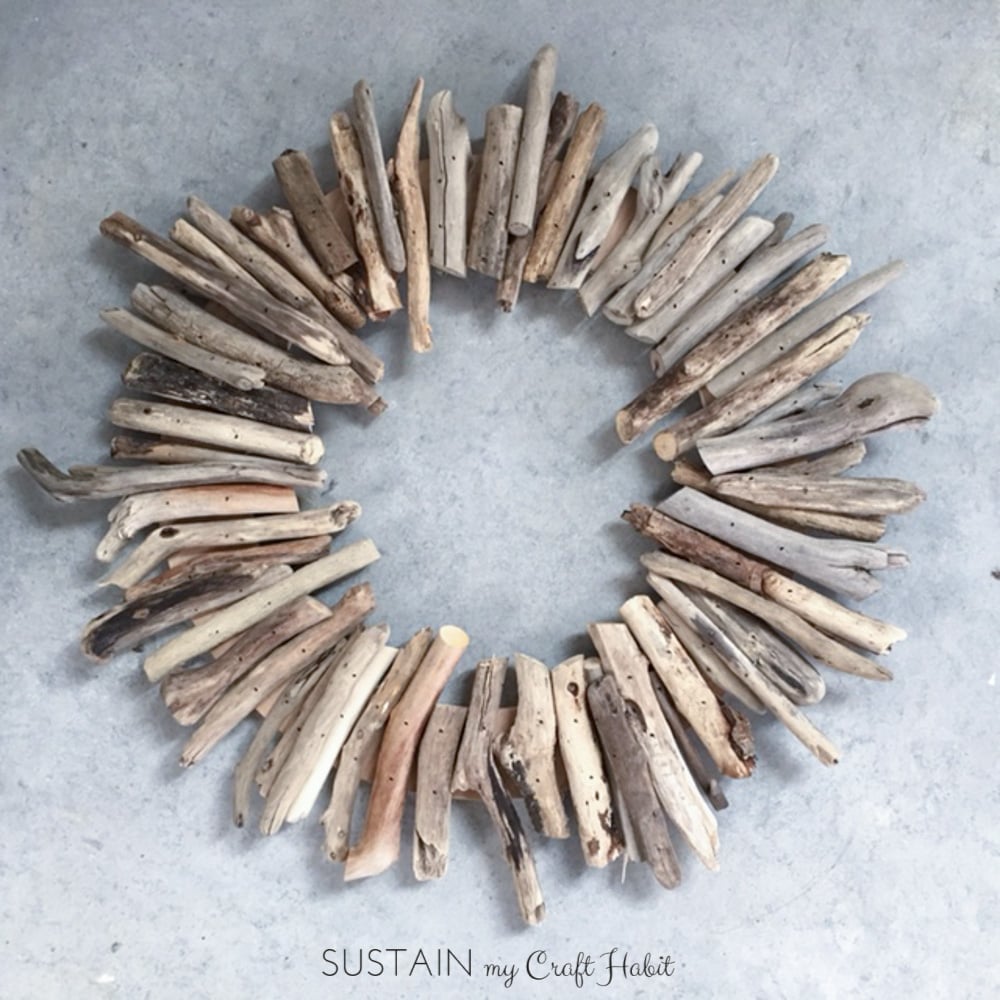
For this project I chose to use a nail gun to apply the driftwood. When I made the Round Driftwood Mirror I had used a hot glue gun and although it did it’s thing, I wanted a stronger method this time. I nailed the longer driftwood pieces to the base loosely side by side (see our prototype pictures below). My plan was to cover this layer of nailed driftwood with another layer of smaller glued driftwood pieces so that the nails would not be visible. Continue to work around the circle.

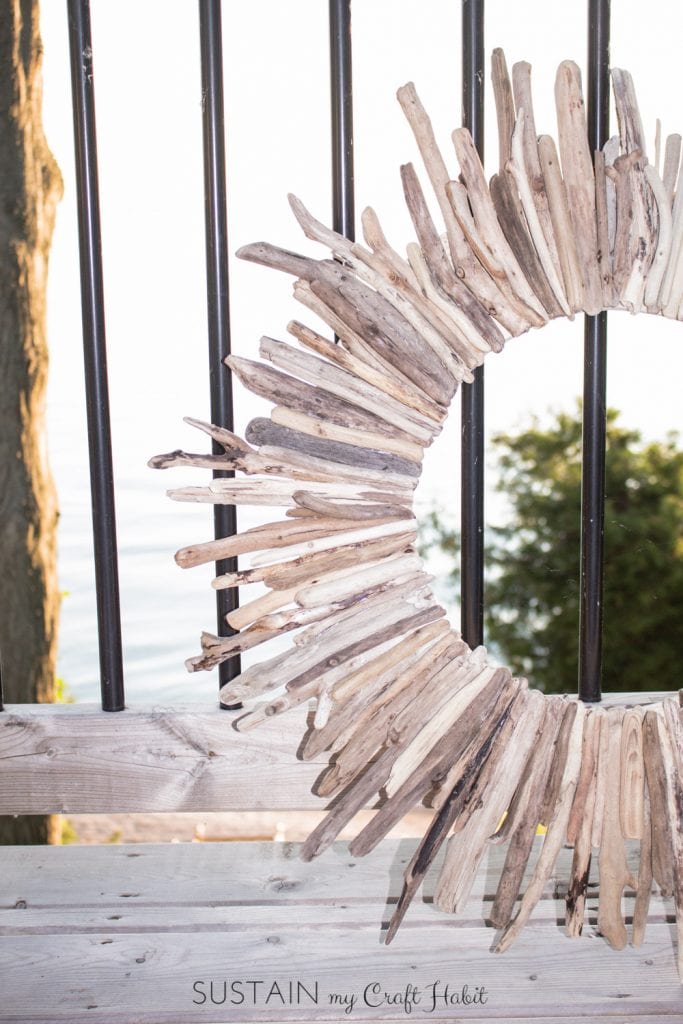
With the shorter driftwood pieces, begin layering over top and in between the longer driftwood pieces using a hot glue gun to hide the exposed plywood underneath. I also tried using a wood glue and although it looked amazing, it was taking a very long time so I ended up switching to a hot glue gun. But in my opinion, if you have the time, I’d recommend a wood glue for the best results.
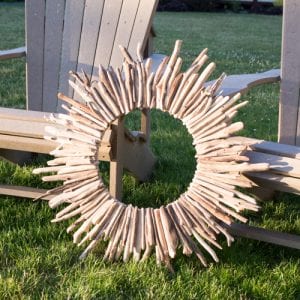
For the final step, I applied a thin coat of clear high gloss lacquer. It really made the colours of the driftwood pieces pop! My finished and substantial wreath ended up measuring 25” to 28” across. 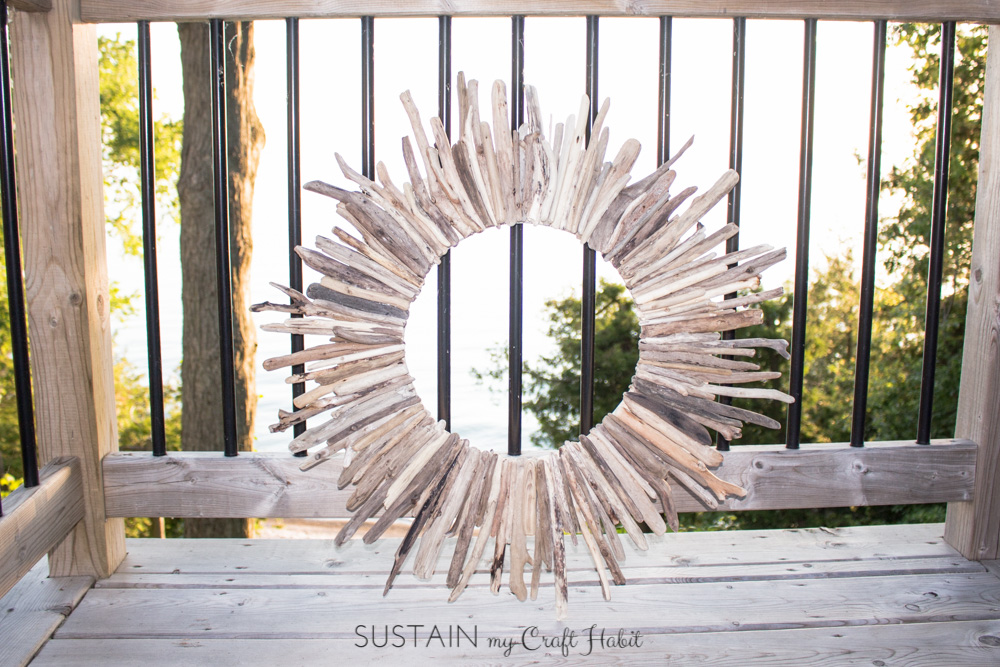
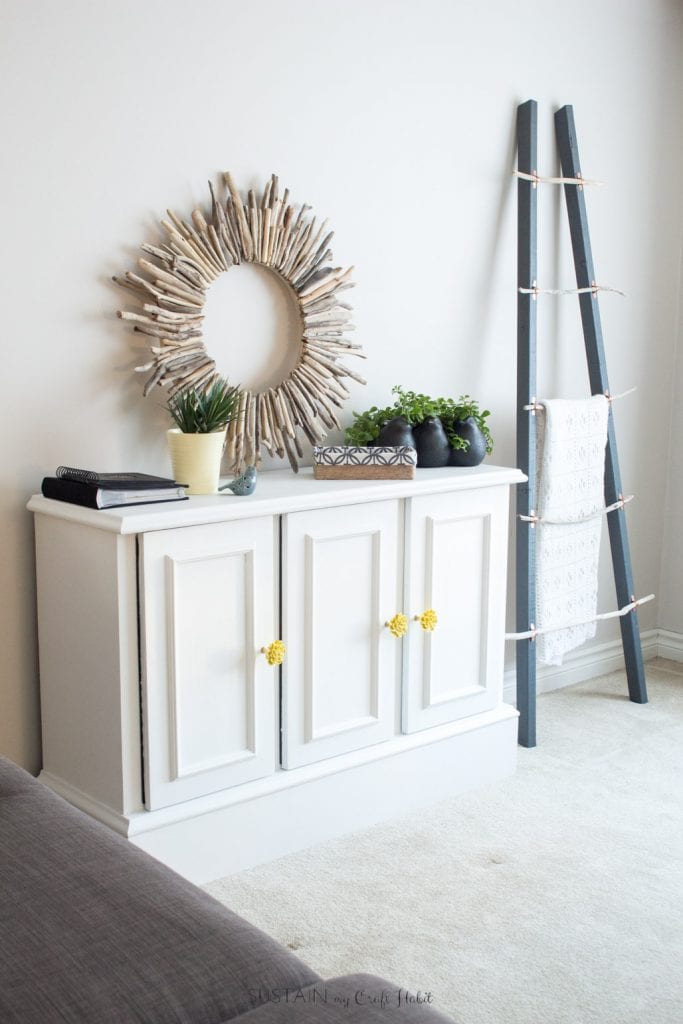
What is it about driftwood that I love so much? Maybe it’s a sign I should move to the beach?! Or maybe this old farmhouse dresser we recently upcycled says it all: the beach helps us Laugh, Relax, Unwind and Enjoy!
And there are so many different ways to make a wreath with driftwood: maybe next I’ll try something like this quirky one on Amazon (affiliate link). You can also find tons of other inspiring ideas to use up your own driftwood on our “DIY Driftwood Crafts, Ideas and Projects” Pinterest Board.
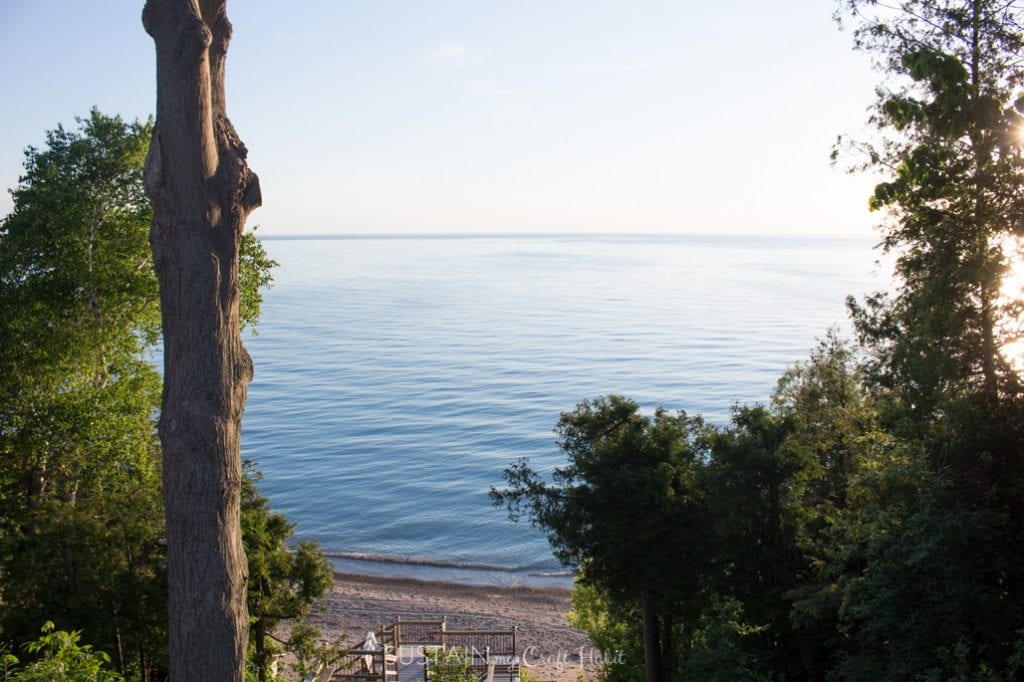
I had some fun carrying this wreath around the neighbourhood at the cottage, trying to find a nice place to take a picture of it. It just wouldn’t be fair if I didn’t share with you at least one peak of the stunning Lake Huron views I enjoyed on my expedition!
This wreath has now found it’s way into my home on this upcycled buffet:
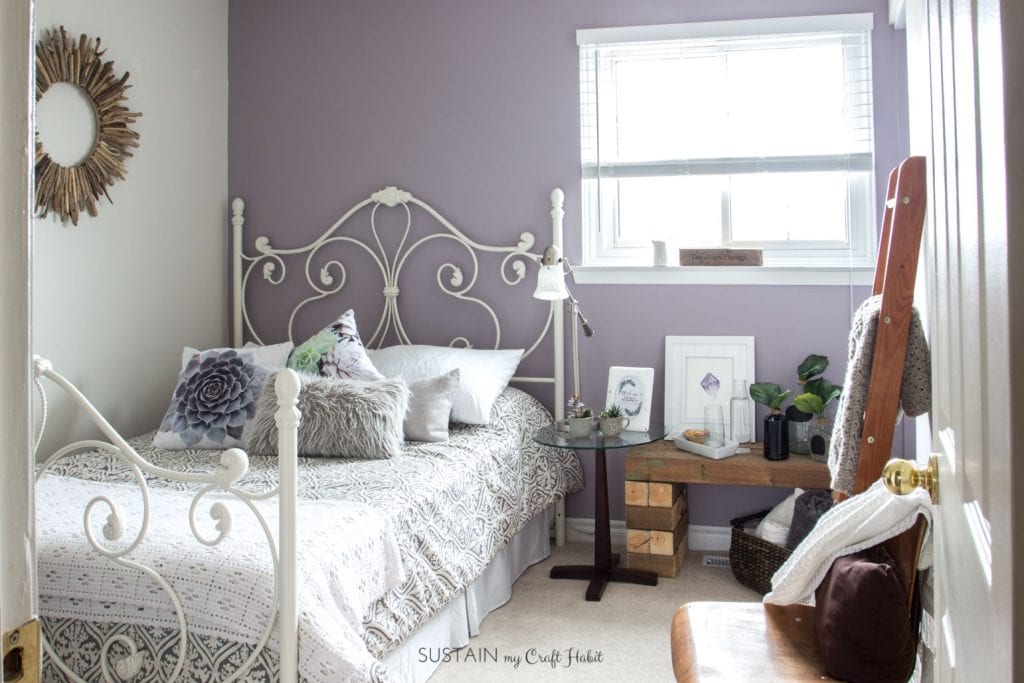
You can also catch a peak of it in my French Country-Inspired guest bedroom:
Like it? Pin it for later!
How to make a DIY Driftwood Wreath
Materials
- Assorted driftwood pieces - sized 4” to 9” long in various widths
- Loctite PL Construction Adhesive or similar product for attaching mirror to plywood
- ½ ” thick sheet of plywood
- Picture hanging kit
- Jigsaw
- Sand paper 60 Grit
- Nail Gun and ¾” brad nails
- Glue gun and plenty of glue sticks
- Wood Glue optional
- Clear spray lacquer optional
Instructions
- Prepare the base: cut a ½” thick sheet of plywood in a circular shape with the center cut out (outer diameter of 20” with a 12” diameter circle cut out of the center).
- Gently sand down all the edges and back side for a smooth finish using 60 grit sandpaper.
- Add two sets of hooks to the back side of the base for hanging.
- Using an air-gun nailer, nail longer driftwood pieces loosely side-by-side to the plywood base all around the circle.
- With the shorter driftwood pieces, begin layering over top and in between the longer driftwood pieces using a hot glue gun (or wood glue) to hide the exposed plywood underneath.
- Finally, apply a thin coat of clear high gloss lacquer to seal the wood and accentuate the colors.

This is gorgeous, love it. You might just have inspired me to go on a driftwood hunt. 😉
It’s a rough job, strolling the beach for the perfect pieces of driftwood 😉 . Seriously though, we find the best pieces after a good storm or high winds which helps to wash the pieces up to the shore.
Thank you for stopping by!
How did you mount/hang it on the wall?
Hi, love your work, just a question in your project you don’t see the plywood, do you remove it or is it totally covered. Thanks keep posting.