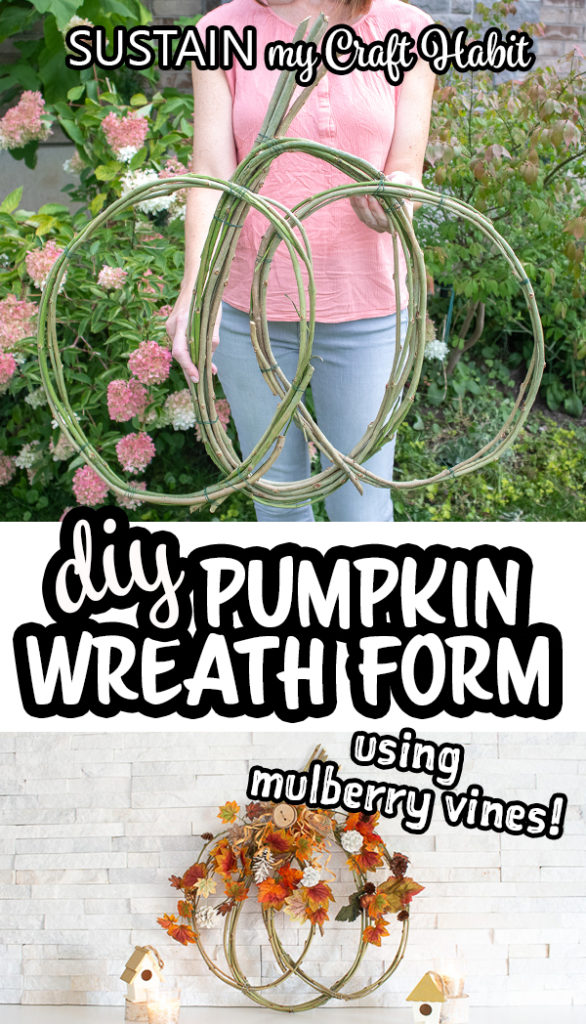
Making a Pumpkin Wreath Form using Mulberry Vines
A twist on the traditional round wreath, make your own adorable pumpkin wreath form using simple materials from nature.
Hello, Pumpkin! Simple DIY Wreath Form
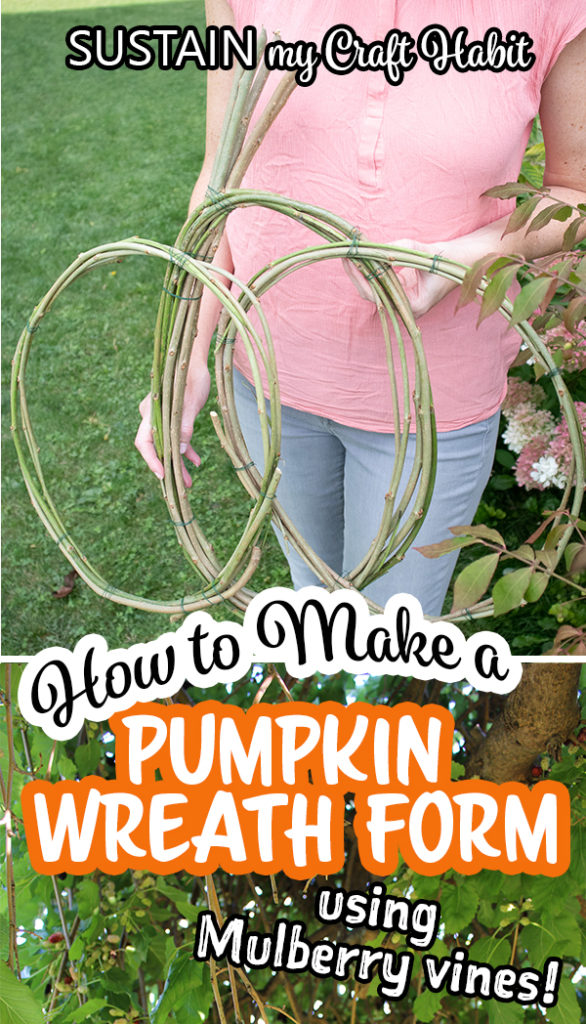
In my front yard, I have a large weeping mulberry tree that requires a good amount of trimming several times throughout the Spring and Summer months.
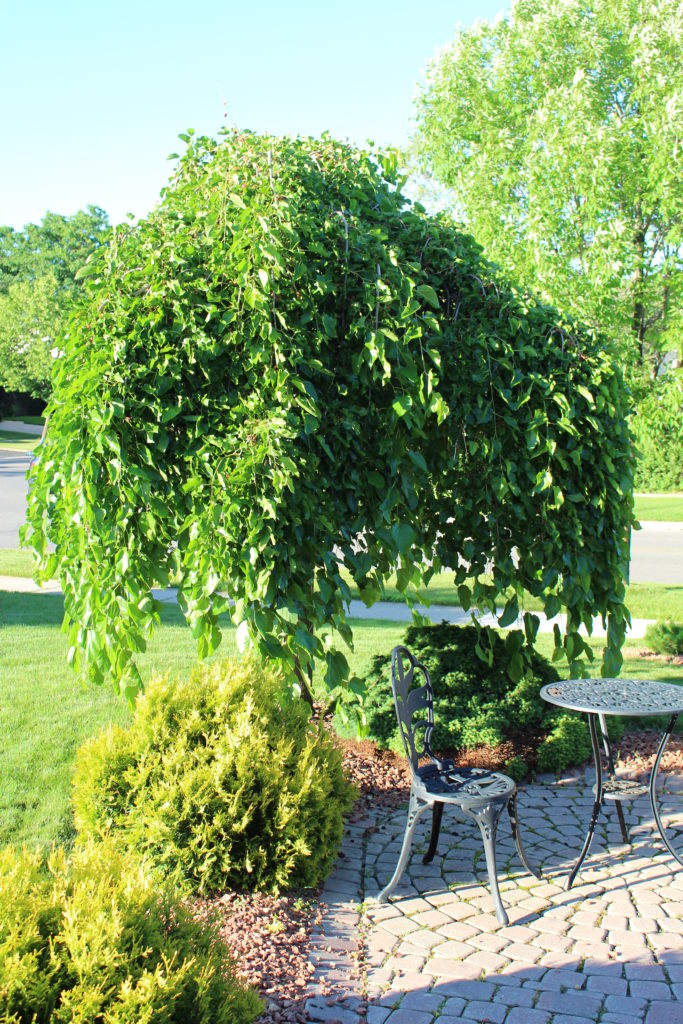
The long hanging branches grow incredibly quick so instead of taking an electric hedge trimmer and hacking off the ends, I use my garden shears to individually cut the longest vines to use for DIY projects like this vine wreath pumpkin form.
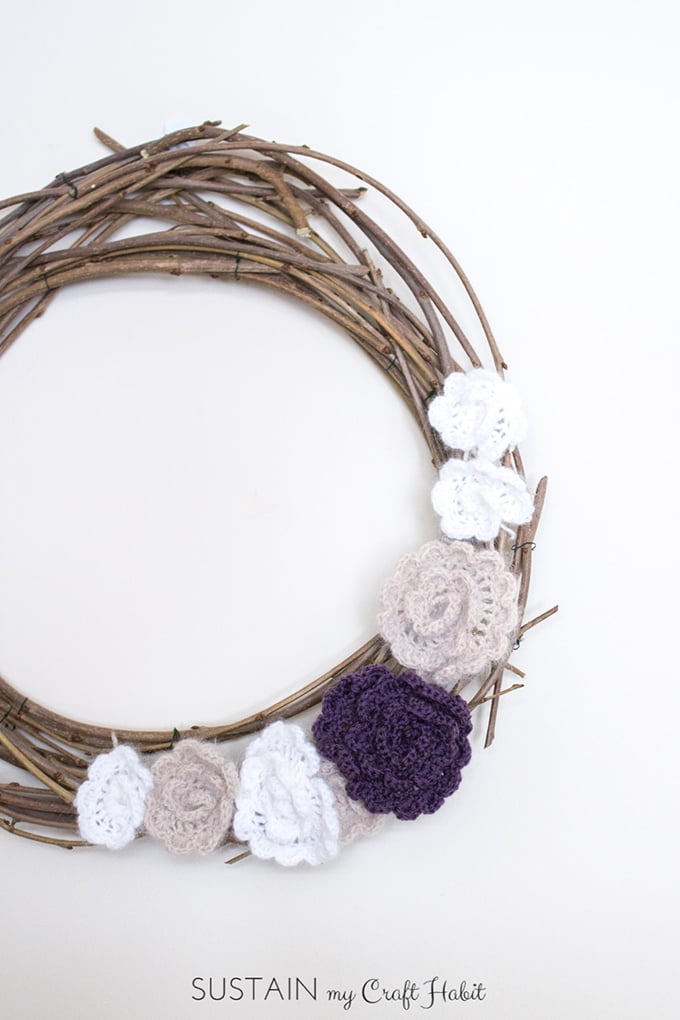
Not only does the mulberry tree produce delicious organic berries for making mulberry jam, I get to use the vines for crafting! In the past, I’ve used the vines to make a simple round mulberry vine wreath and I added pretty crochet flower blooms for Spring.
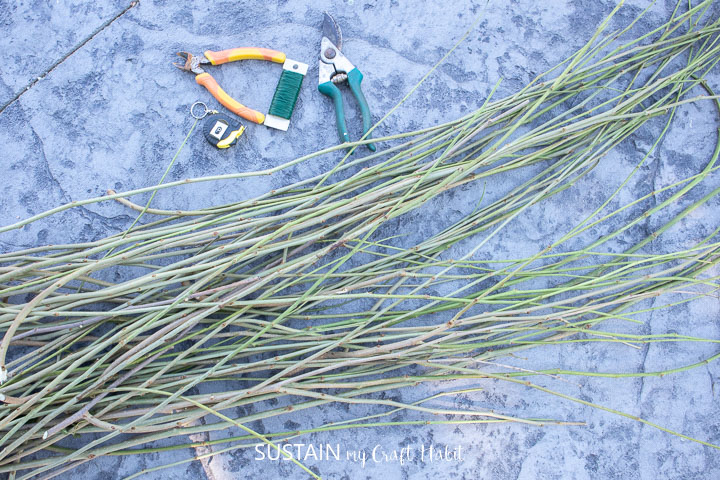
Materials Needed:
- 12-15 mulberry vines, freshly cut and leaves removed
- Wire cutters
- Floral wire
- Garden shears
- Measuring tape
How to Make a Pumpkin Wreath Form:
Preparing the Mulberry Vines
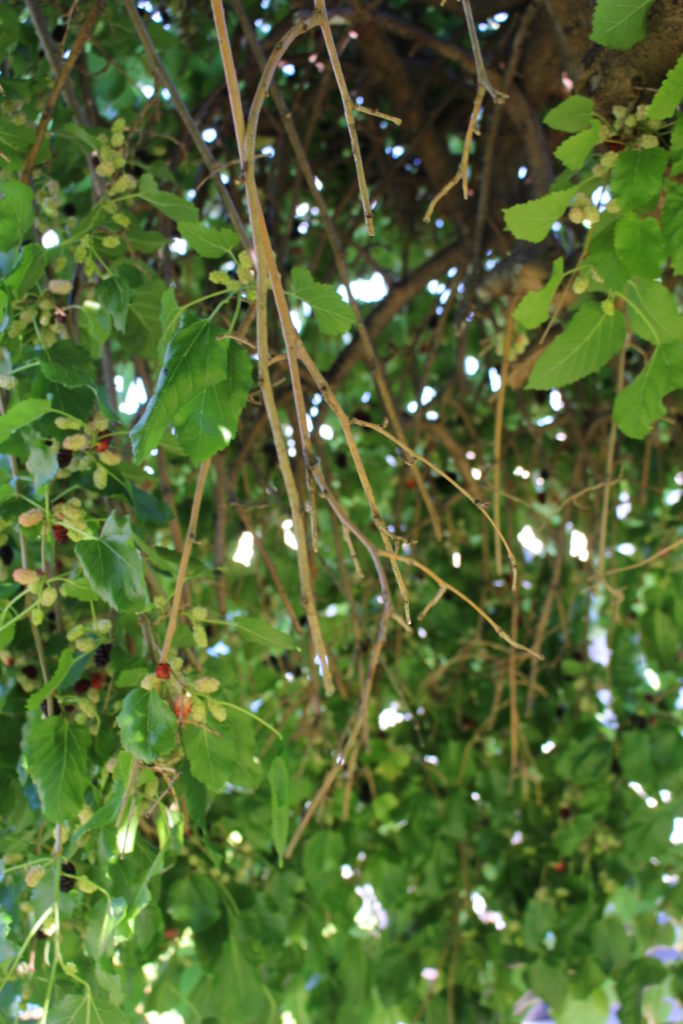
Using a pair of garden shears grab one long hanging vine and cut the vine as close to the branch as possible. Keep trimming all the long vines in the same way until you have a substantial amount of vines to use for crafting.
Next, remove the leaves off of each vine. Holding the top of the vine in one hand, run your other hand down the full length of the vine breaking off all of the leaves. Discard the leaves. Do this for all vines.
Assembling the Pumpkin Wreath Form
Although this can be done on your own, if you have a second set of hands to help, assembling the pumpkin form will be easier. Also, we recommend wearing a pair of work gloves to protect your hands from the sharp wire ends.
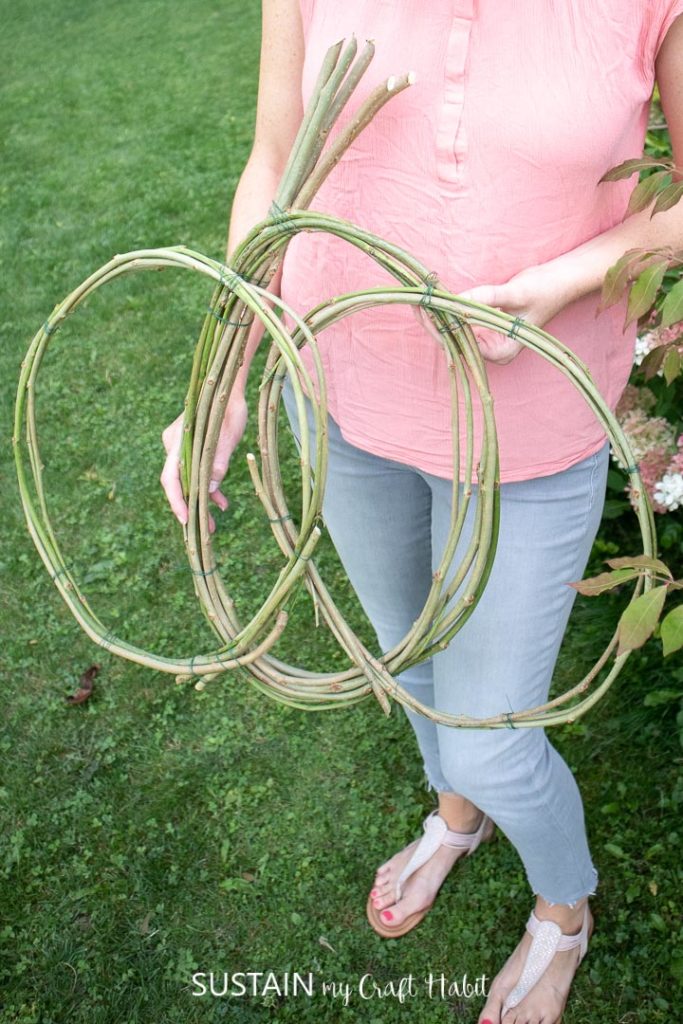
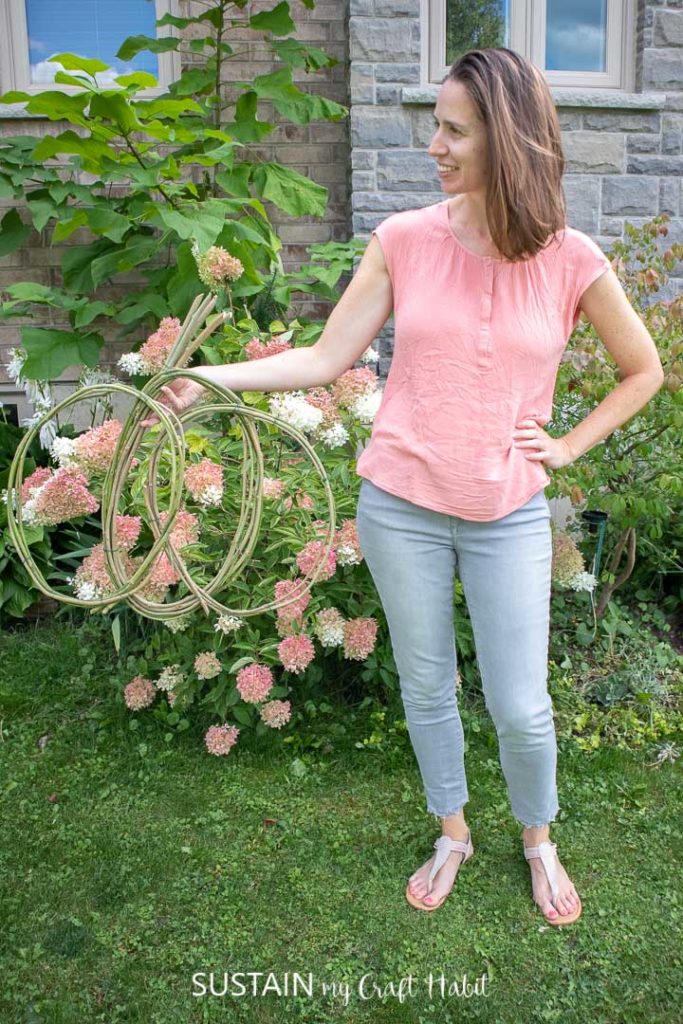
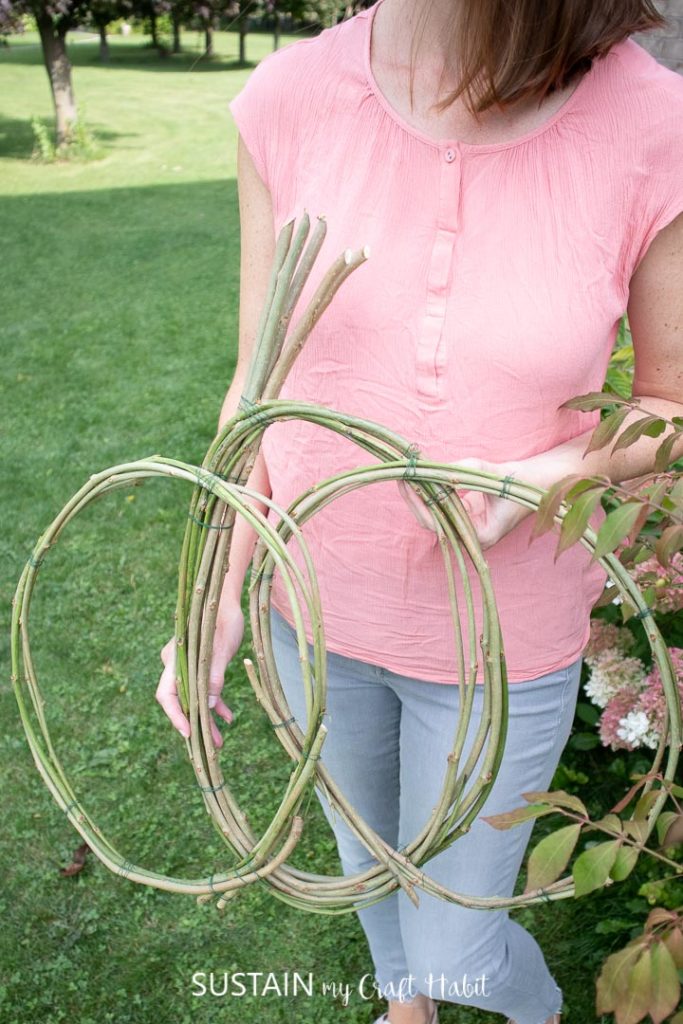
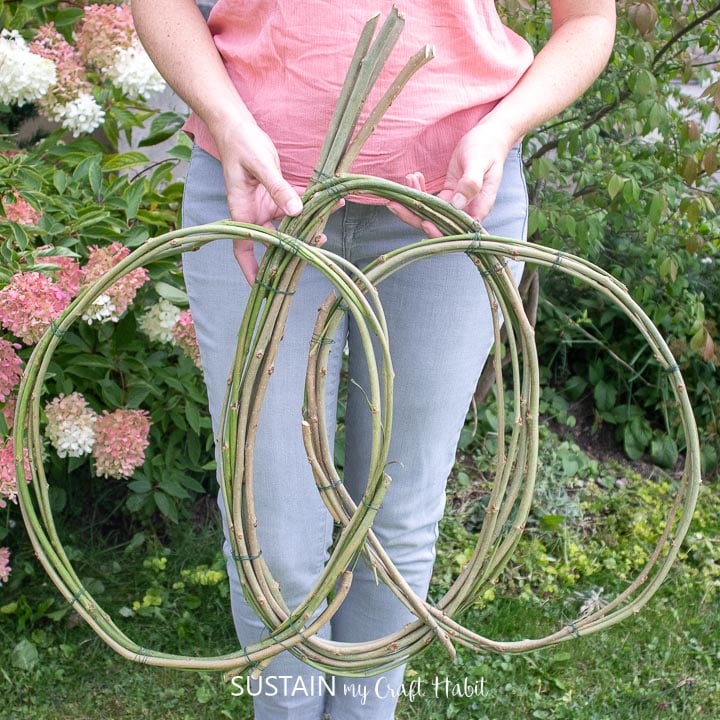
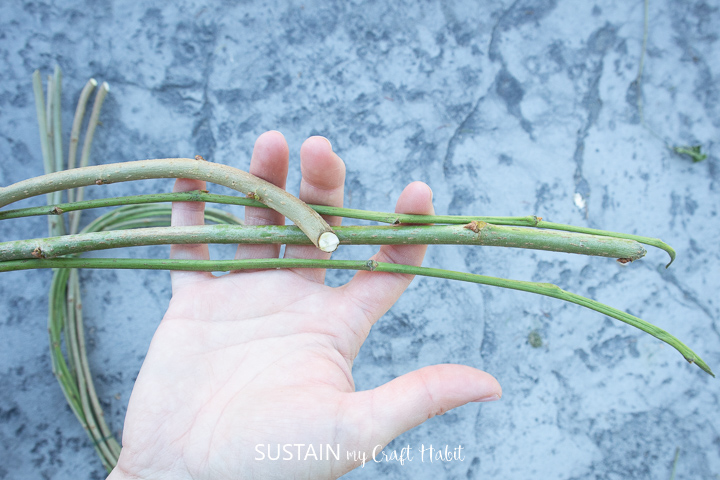
Grab 4 long vines with the thicker ends altogether and bend the vines into a large circle shape about 18” across.

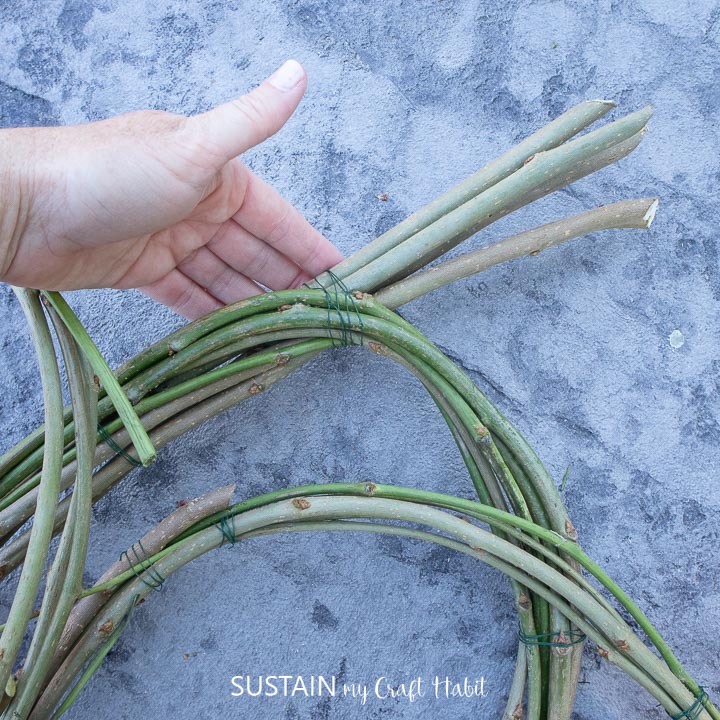
With the thicker vine ends sticking out, wrap a piece of floral wire around the top to secure the circle. Cut some more floral wire pieces and wrap them around the circle in a few spots to hold the circle shape.


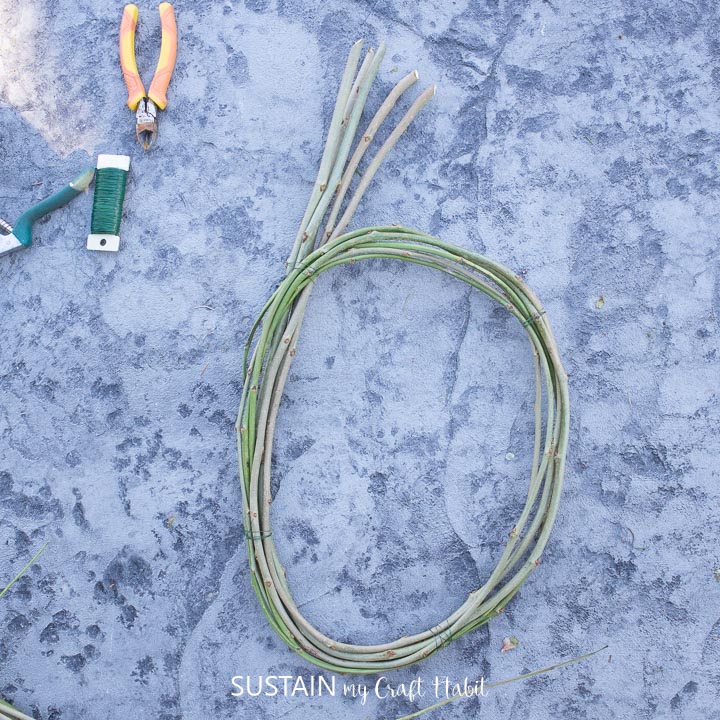
Make two more identical sized circles but instead of having the thicker ends altogether alternate the direction of the vines.
Wrap the vines into a circle shape and secure with some more floral wire.

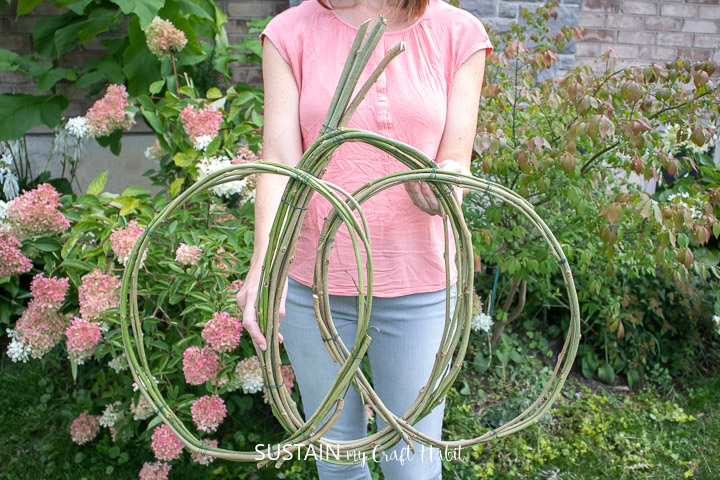
Place these circles on either side of the first circle overlapping them in the center.
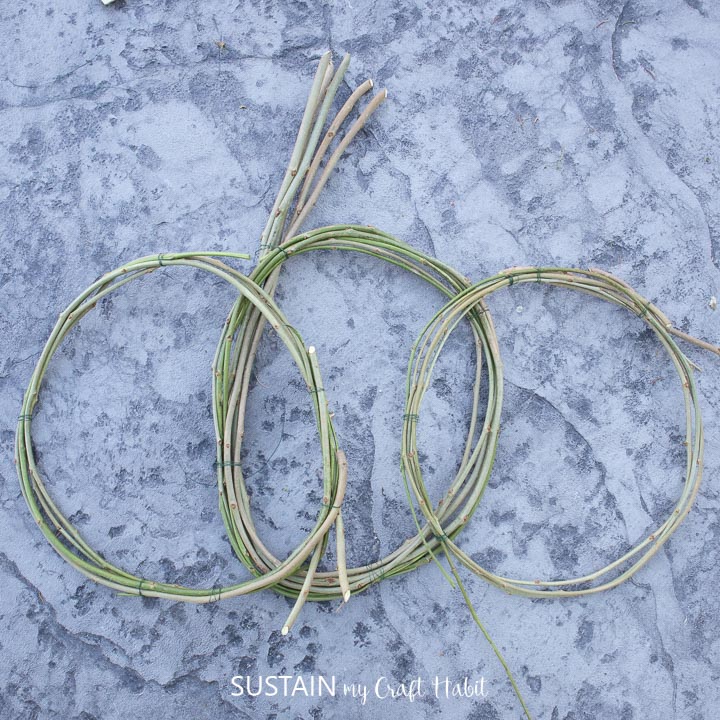
Using a long piece of floral wire, criss cross the wire around the two circles attaching them together.
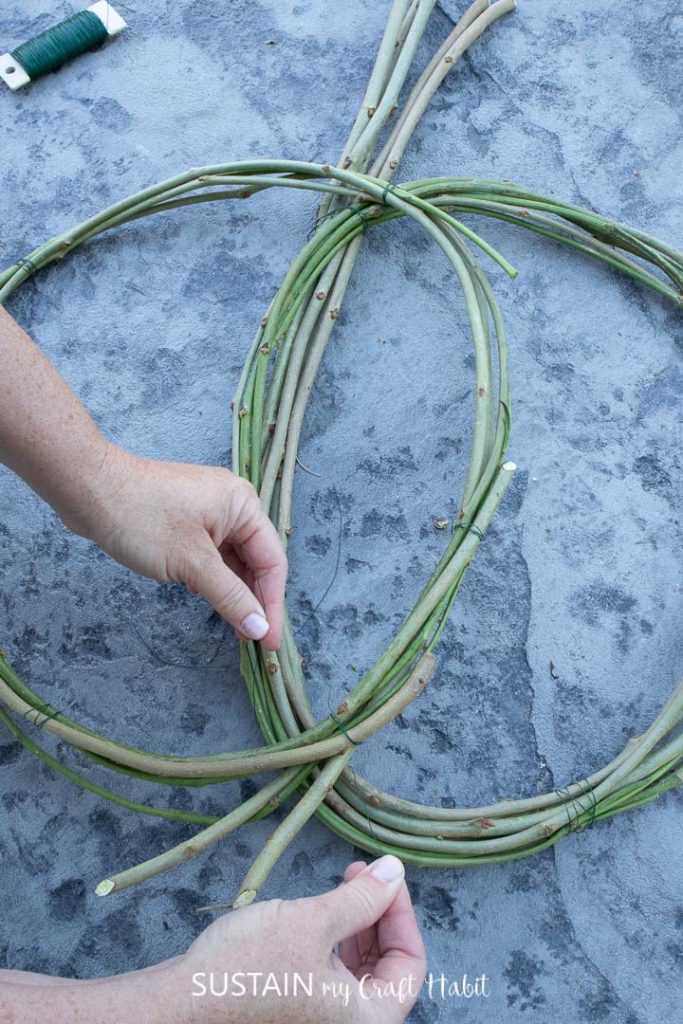
Repeat with the other circle. Next, secure the circles together at the top.

The pumpkin shape will look better if the center circle is more oval shaped. SO when attaching the circles together try to stretch them to make them more oval.
Finishing
Trim any loose hanging vine ends and add more floral wire where needed.
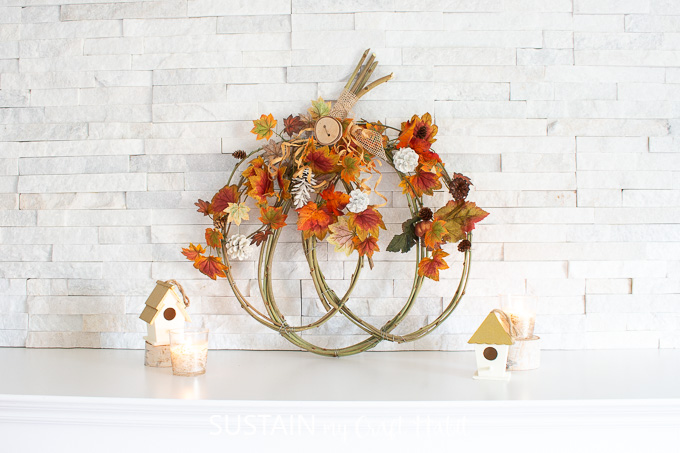
And that’s it! The pumpkin wreath form is complete and ready to dress up for Fall. If the vines are more green when picked (like mine were), don’t worry, they will darken over time to a twiggy color.
Now that the pumpkin vine wreath form is complete, I’m able to dress it up for Fall using faux pumpkin leaves, twine and other pretty decor.
We also made a similar mulberry vine wreath form in the shape of a snowman for Winter. Can’t wait to dress him up too!
Like it? Pin it for later!


I font have access to Milberg vines but I’ve used bittersweet vines for wreath making. So much fun!