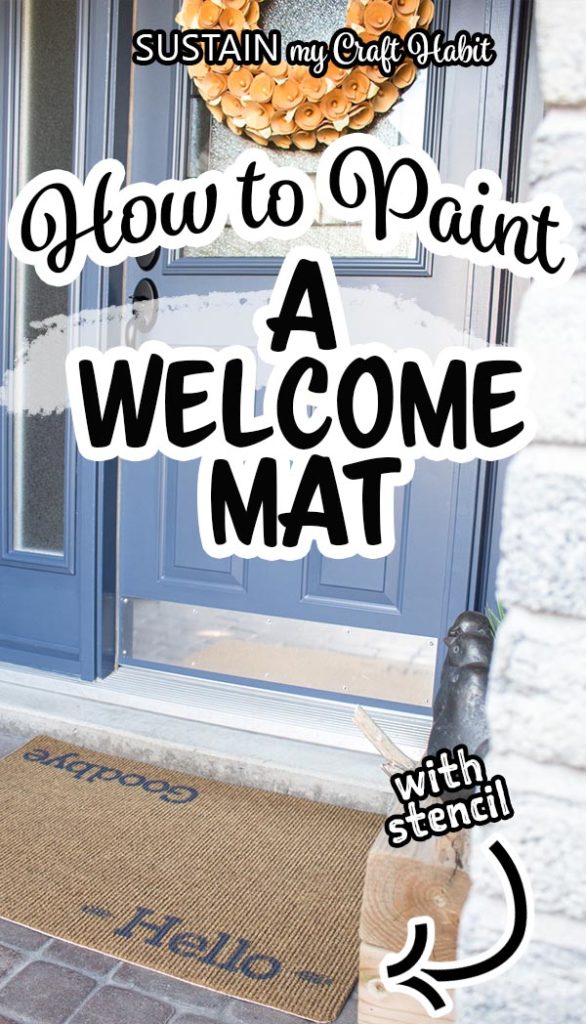
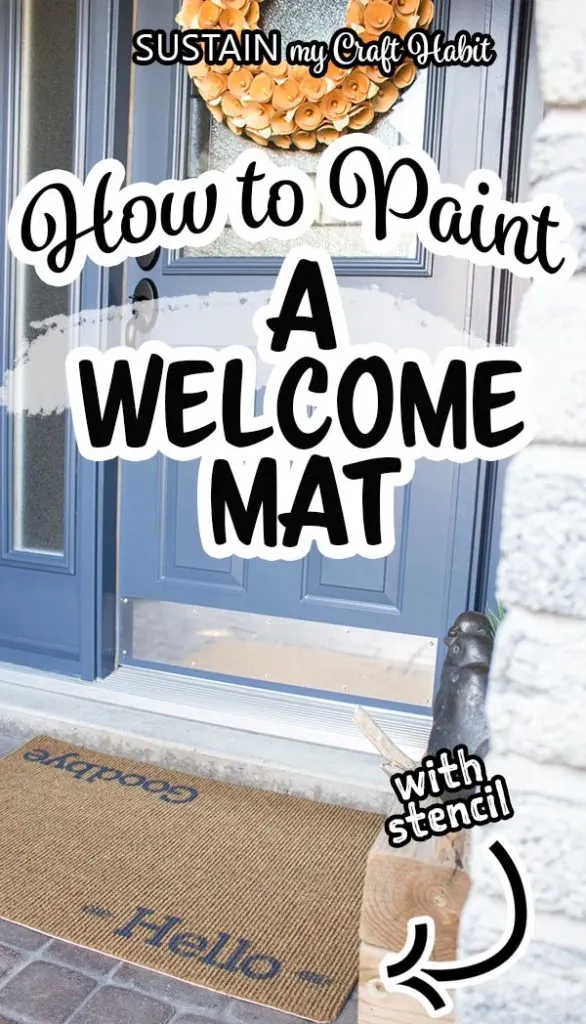
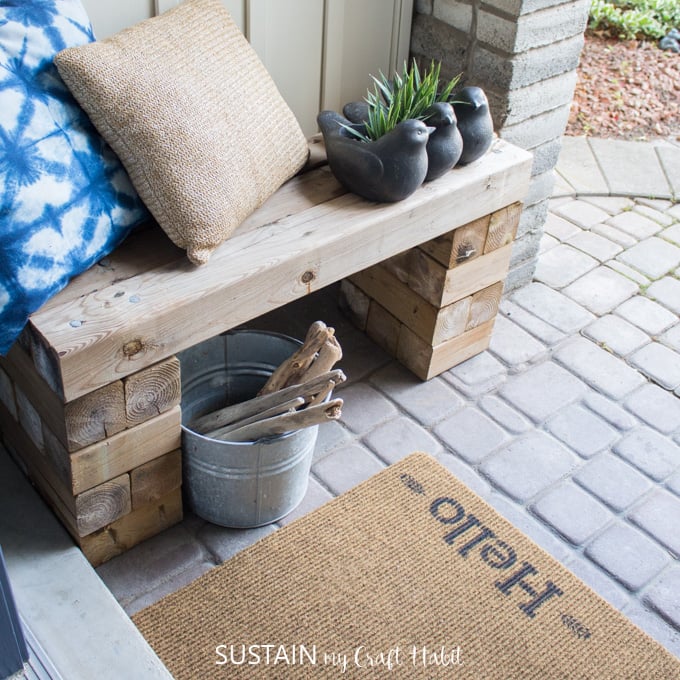
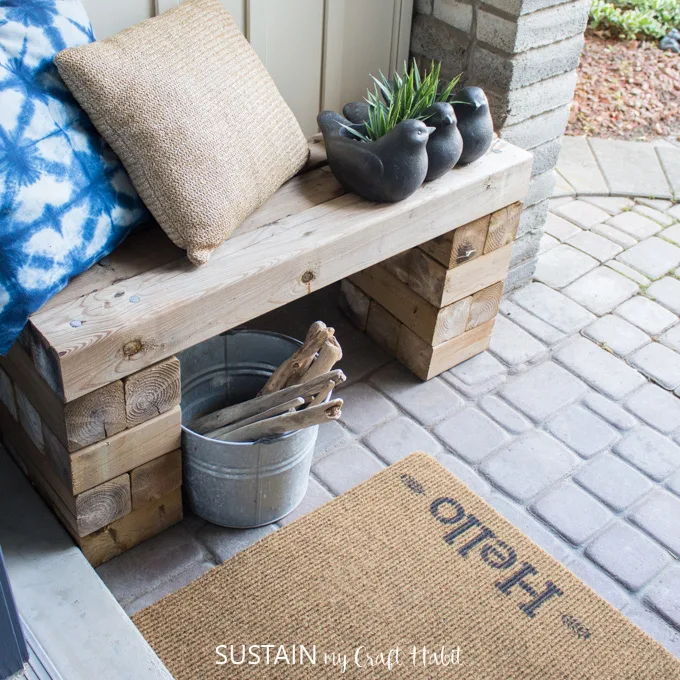
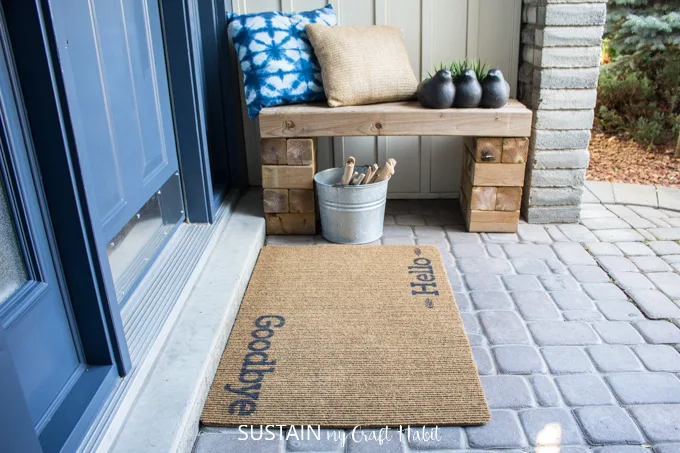
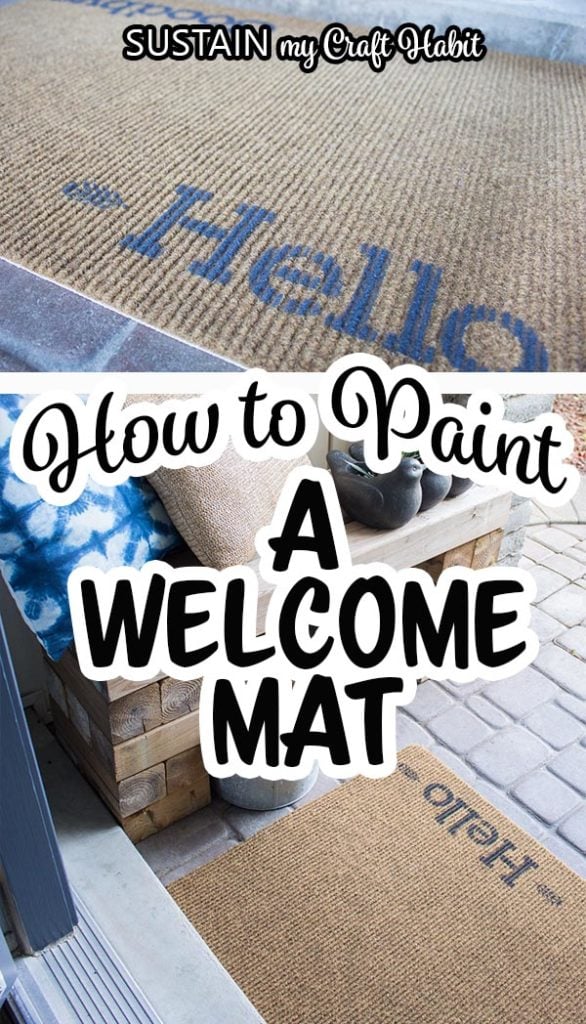
Add some personality to your front porch with this simple tutorial for how to paint a welcome mat.
DIY Painted Welcome Mat
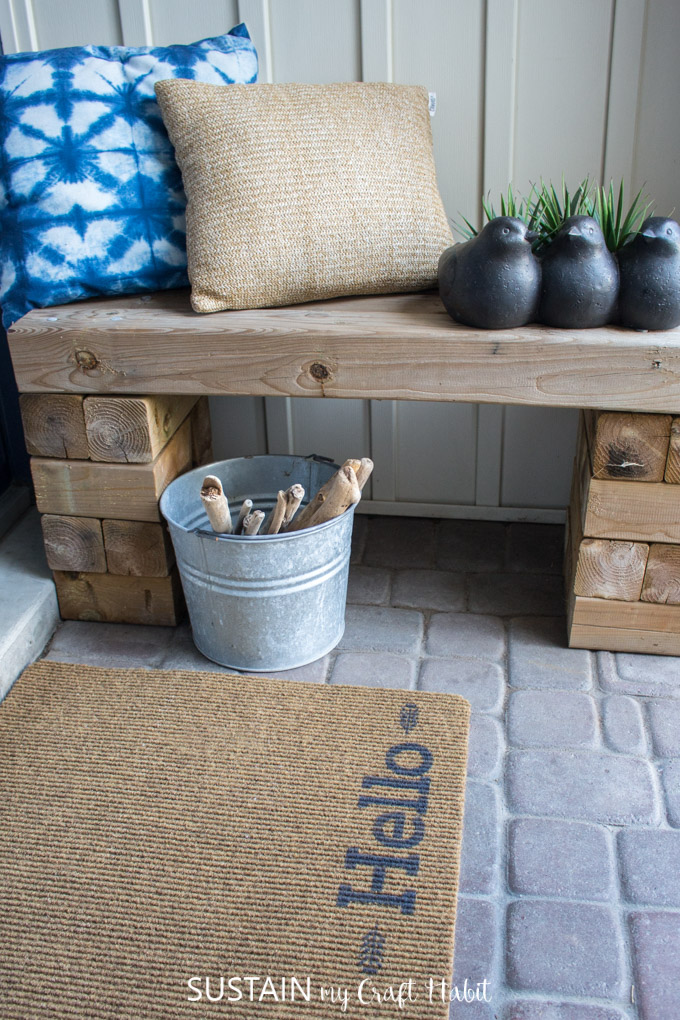
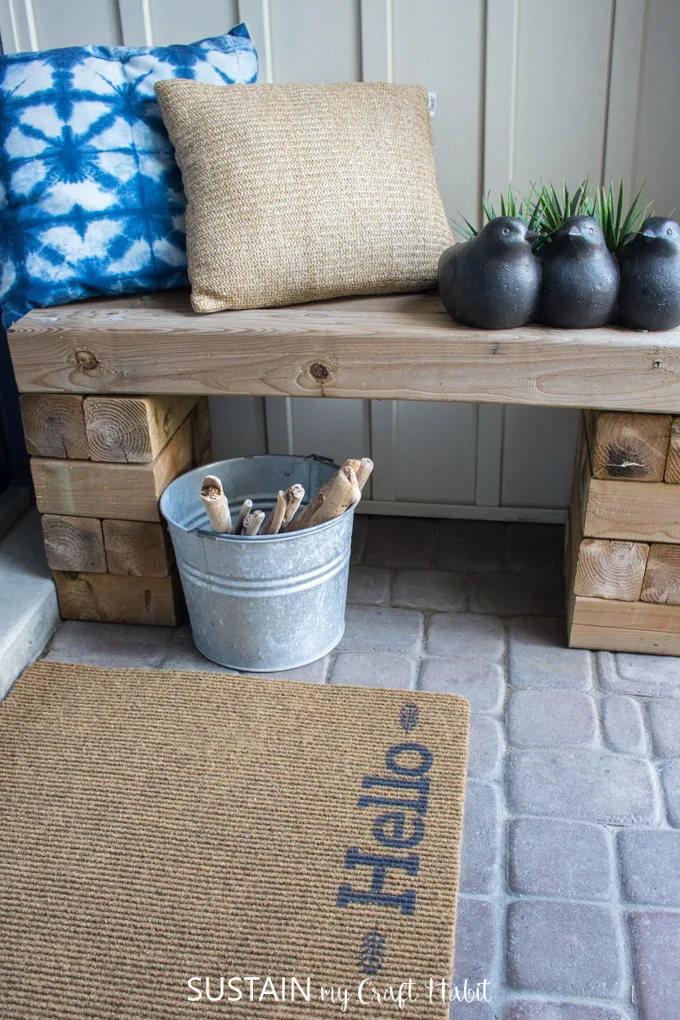
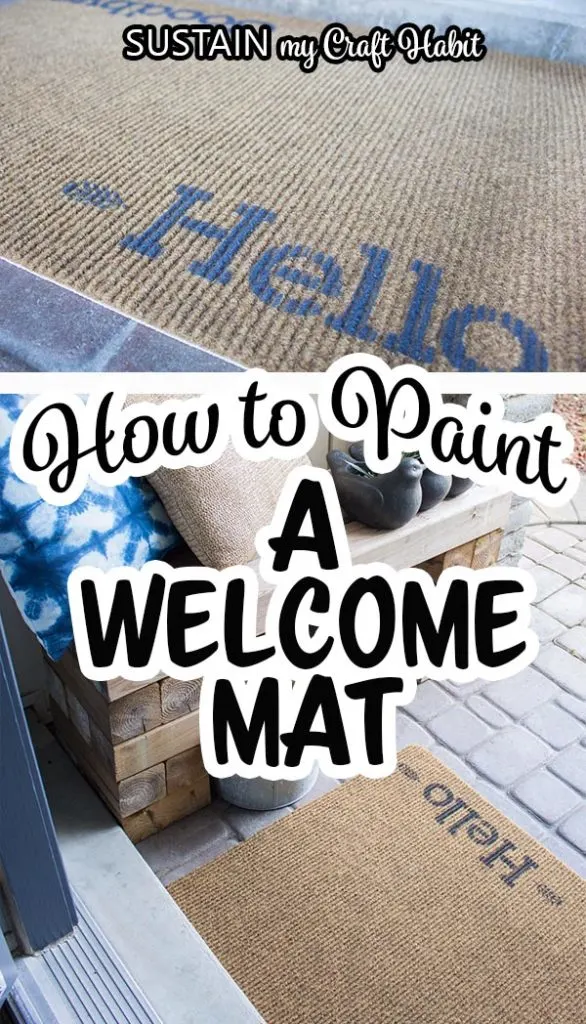
You don’t need to spend a lot to personalize your home. With so many great stencil options to choose from, there’s something for everyone. I loved this “hello” and “goodbye” stencil as soon as I saw it and instantly thought of adding it to my front porch in some way. Using an inexpensive natural door mat and exterior paint, I added a bit of fun to the entrance of my house.
How Well does the Painted Mat hold up?
After one full year of use, the paint on the welcome mat has begun to fade. Keep in mind that includes one full Canadian Winter with plenty of exposure to moisture since my front porch is not fully covered. Depending on the outdoor elements and other exposure at your home, the results may differ for you.
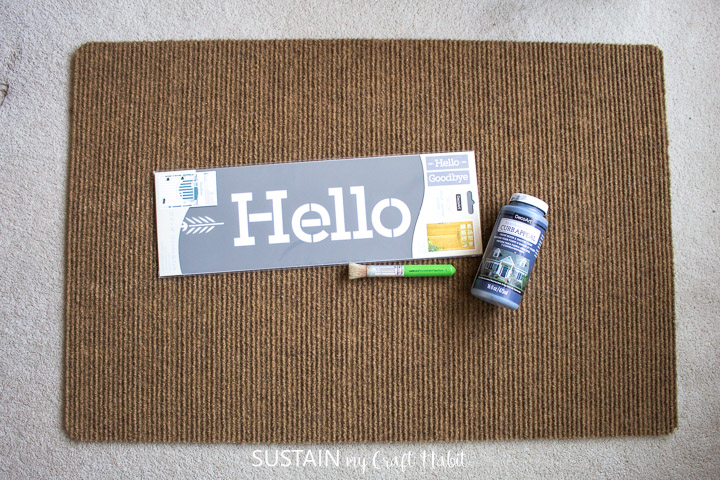
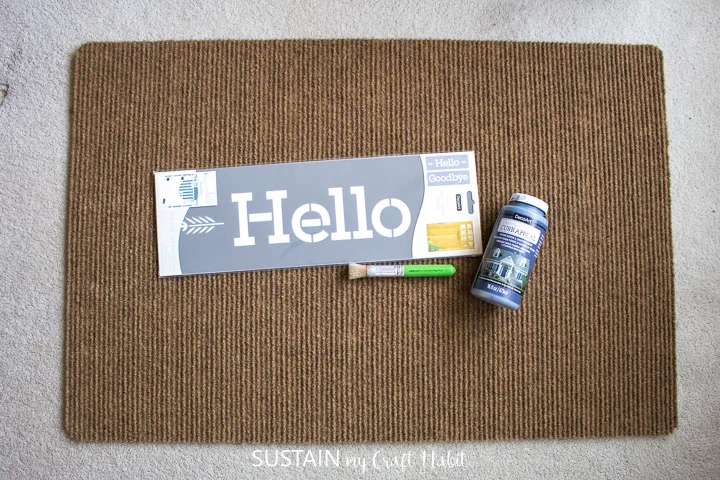
Materials Needed
Disclosure: This post contains affiliate links for your shopping convenience. Should you choose to purchase through them, we will make a small commission at no extra cost to you. You can read our full disclosure policy here.
- Natural Door Mat, 30”x18”
- Decoart Curb Appeal in Nantucket Grey (this is the same paint but in black)
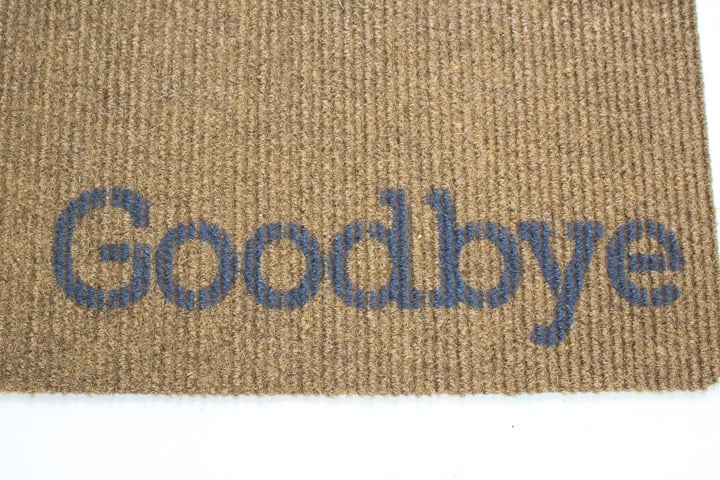
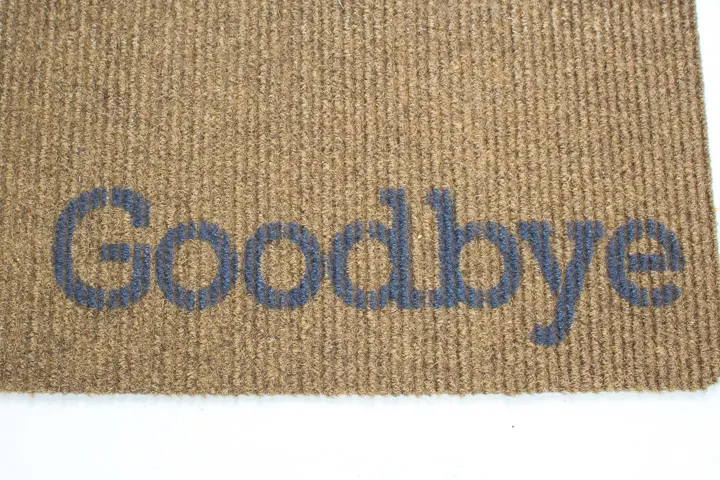
- DecoArt Hello Type 2pc Americana Decor Stencil 6×18
- Stencil Brush
- Painter’s Tape
How to Paint a Welcome Mat
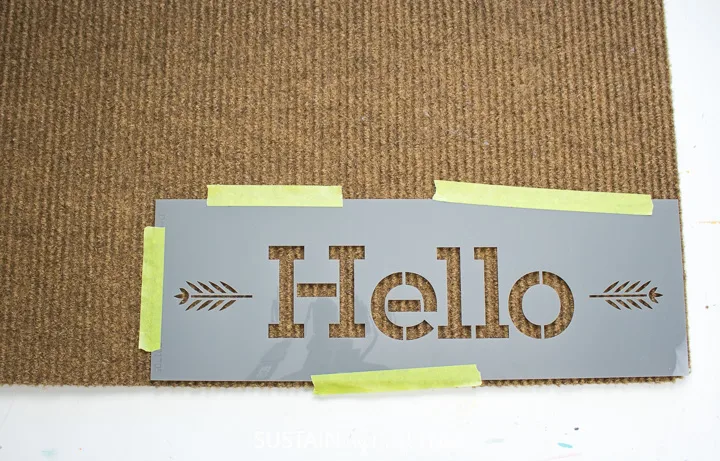
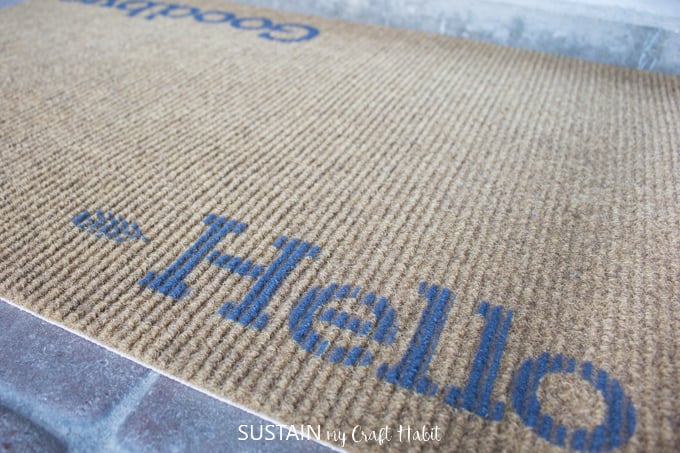
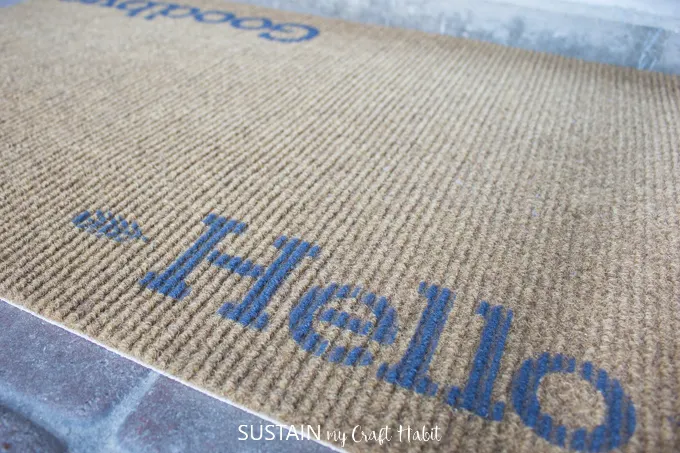
Place the HOME stencil in the bottom right corner of the mat and hold in place with painter’s taupe or by hand.

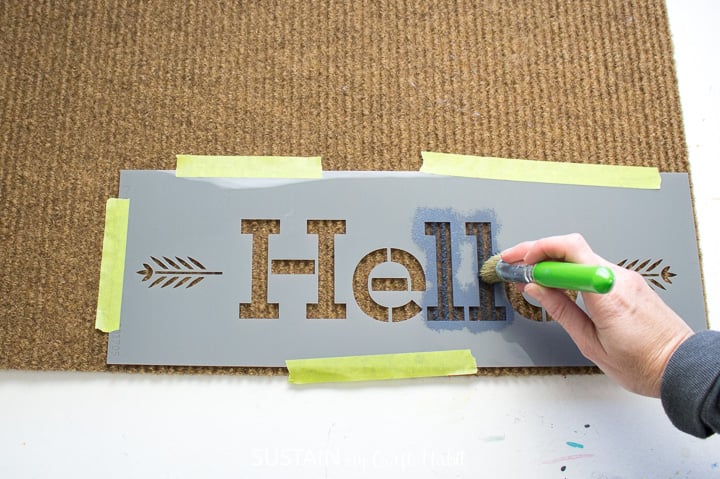
Using a stencil brush dab the outdoor paint over the stencil.

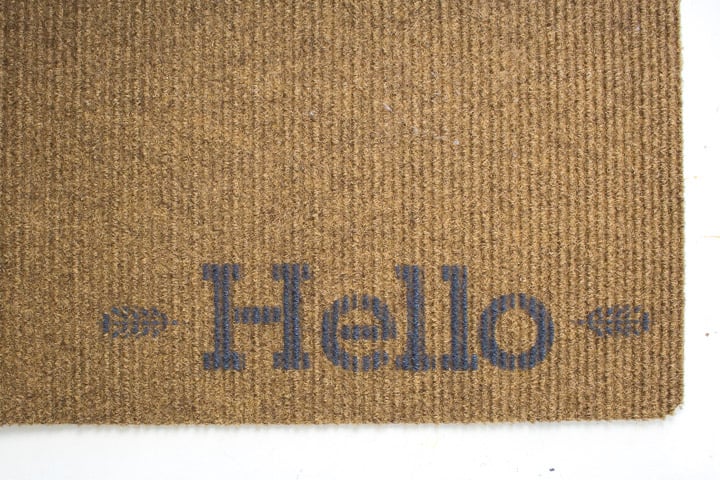
Peel away the stencil.

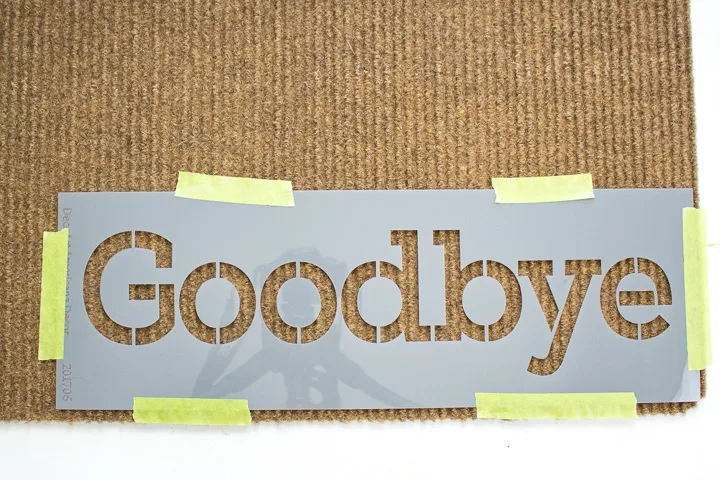
Repeat with the opposite corner using the GOODBYE stencil.


Leave paint to dry fully before using the welcome mat.
And that’s it, it took less than a half hour to personalize this plain welcome mat! Not bad, eh? As it begins to fade, I plan to touch up the stencil with some fresh paint to get more use out of the mat. You can also add an extra touch to your porch with this homemade door stop.

Check Out These Porch Decorating Ideas
- Driftwood cattails porch decor
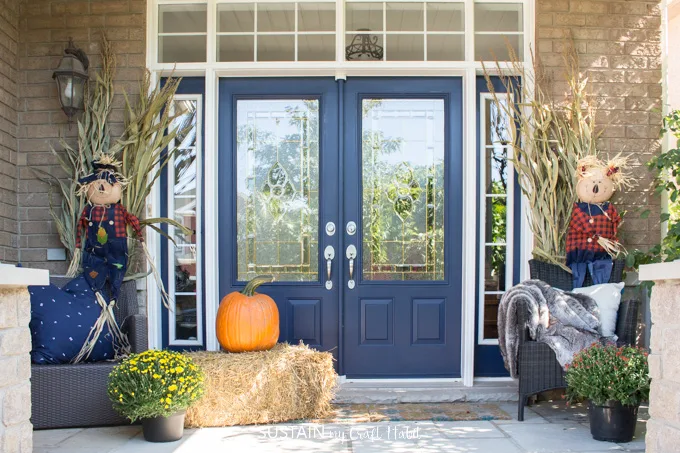
- Fabulous fall porch decor
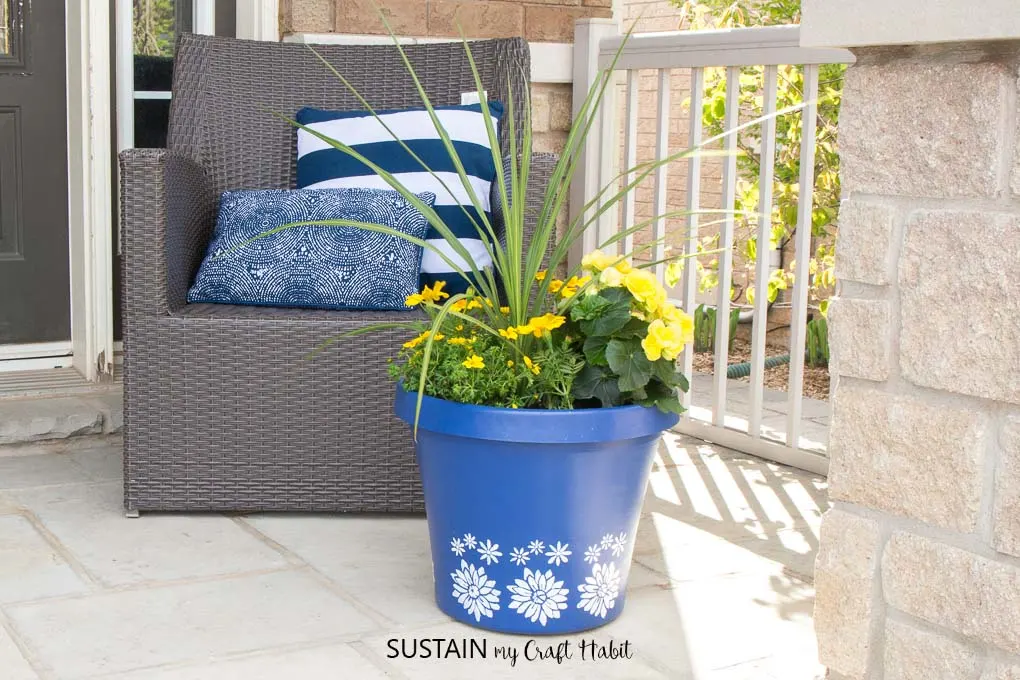
- DIY planters for outdoors
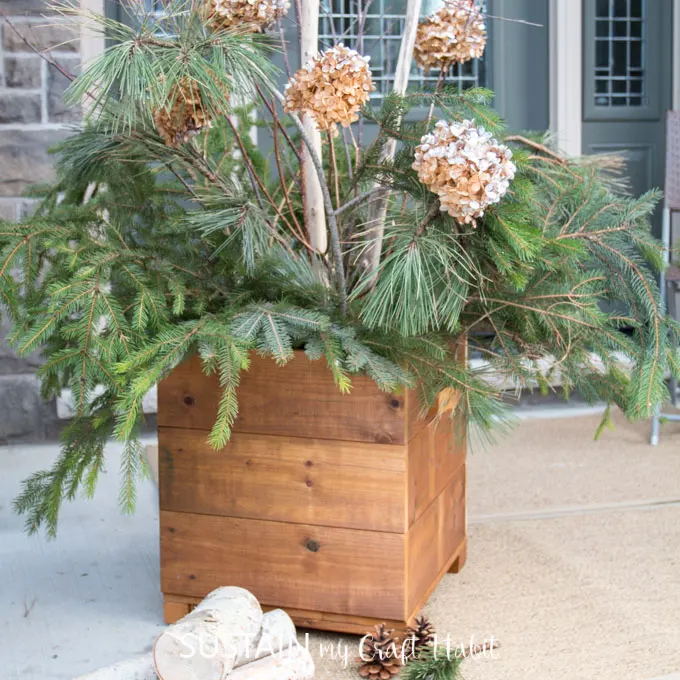
- Wooden DIY planter box
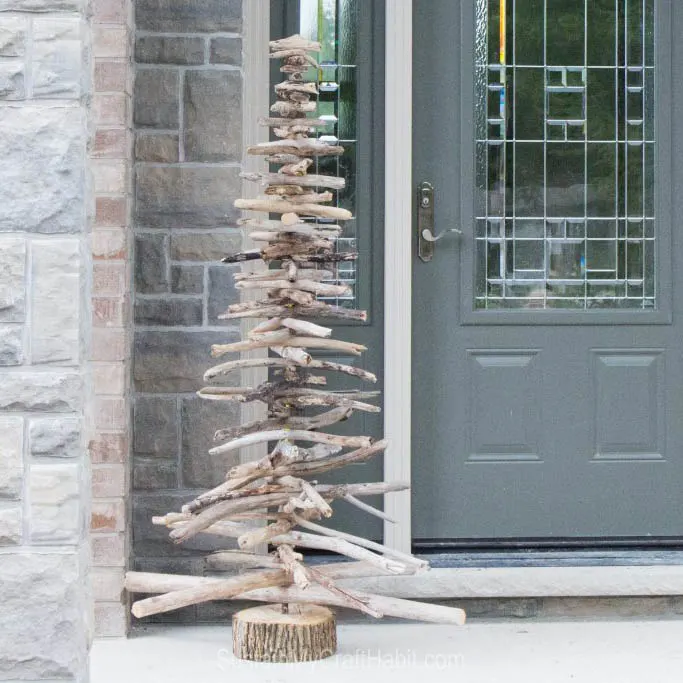
- Driftwood Christmas tree
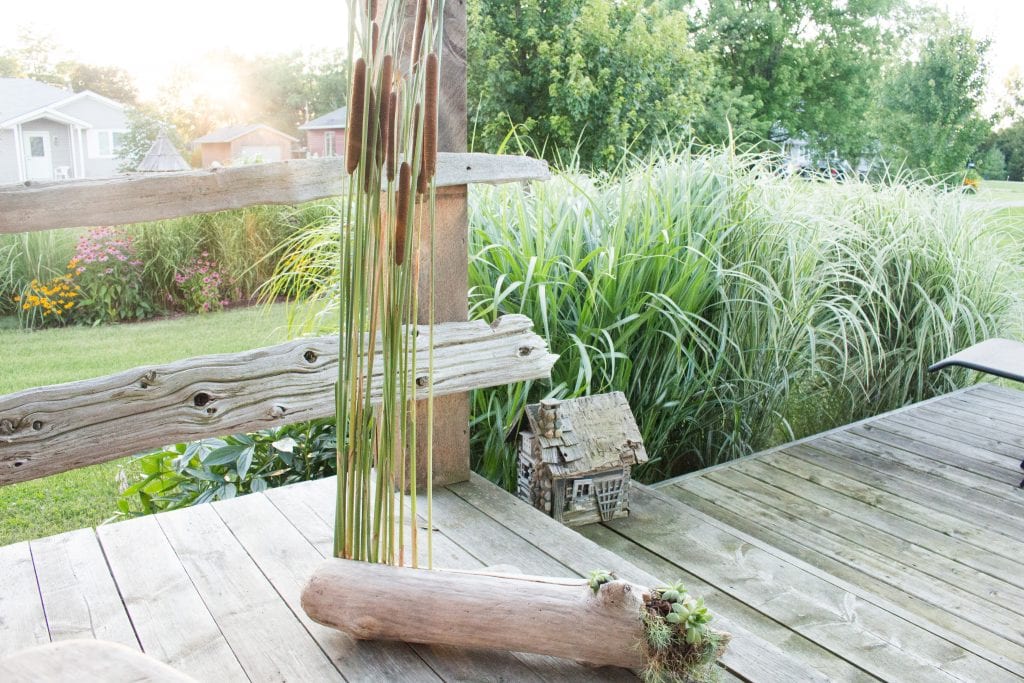

Cattails Porch Decor 

Fabulous Fall Porch 

DIY Planter 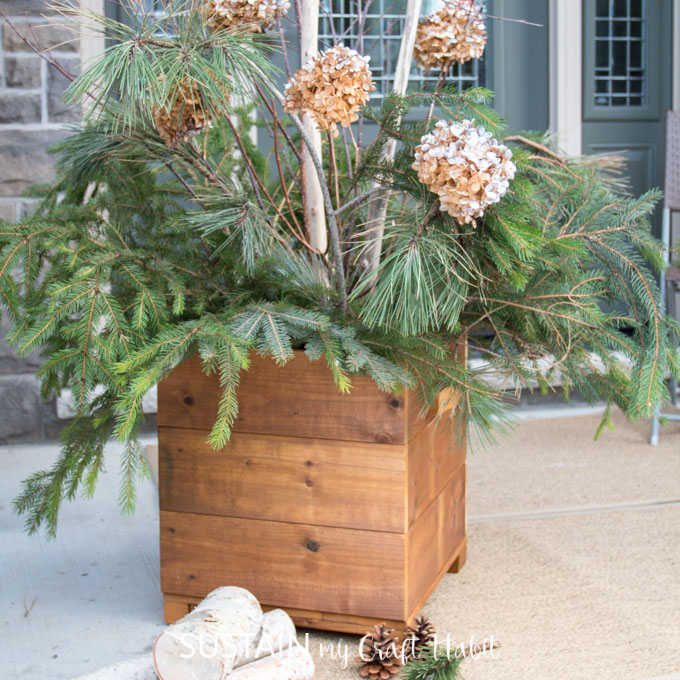

Cedar Planter Box 

Driftwood Christmas Tree

Like it? Pin it for later!


How to Paint a Welcome Mat
Materials
Instructions
- Place the HOME stencil in the bottom right corner of the mat and hold in place with painter’s taupe or by hand.
- Using a stencil brush dab the outdoor paint over the stencil.
- Peel away the stencil.
- Repeat with the opposite corner using the GOODBYE stencil.
- Leave paint to dry fully before using the welcome mat.