Do you ever find yourself captivated by the beauty of engraved stones? Whether it’s a personalized garden marker, a unique piece of art, or a heartfelt gift, rock engraving can turn simple stones into cherished mementos. And now, with the xTool P2 laser engraving machine, you can actually make your own engraved rocks at home!

If you’ve been wondering how to achieve such intricate designs yourself, you’re in the right place. In this blog post, we’ll show you how to engrave rocks using the xTool P2. This powerful tool makes the engraving process not only accessible but also incredibly satisfying. So, grab your xTool P2, select your stones, and let’s embark on this creative journey together!
Why You Will Love Engraving Rocks With The XTool P2
Ever sine we first received our xTool P2, rock engraving has been on my must-do craft list. One of it’s unique features is the ability to engrave on to curved surfaces. Many other users engrave tumblers but for us, rocks has been the dream surface to engrave. The versatility of the xTool P2 also means you can experiment with various rock types and sizes, giving you endless opportunities to create personalized and meaningful items.
Additionally, all users can achieve professional-quality results with minimal effort. We’ll take you through the step by step instructions on just how to make these engraved rocks yourself.

Can I Engrave Other Items?
Absolutely! The xTool P2 is not limited to just rock engraving. This versatile machine is capable of engraving a wide range of materials, making it an invaluable tool for various DIY projects. You can easily engrave wood, metal, glass, leather, and even certain plastics with the xTool P2. Each material offers a unique texture and appearance, allowing you to explore endless creative possibilities. Check out our full review of the xTool P2 along with reviews on the xTool M1 and the portable xTool F1 machines.
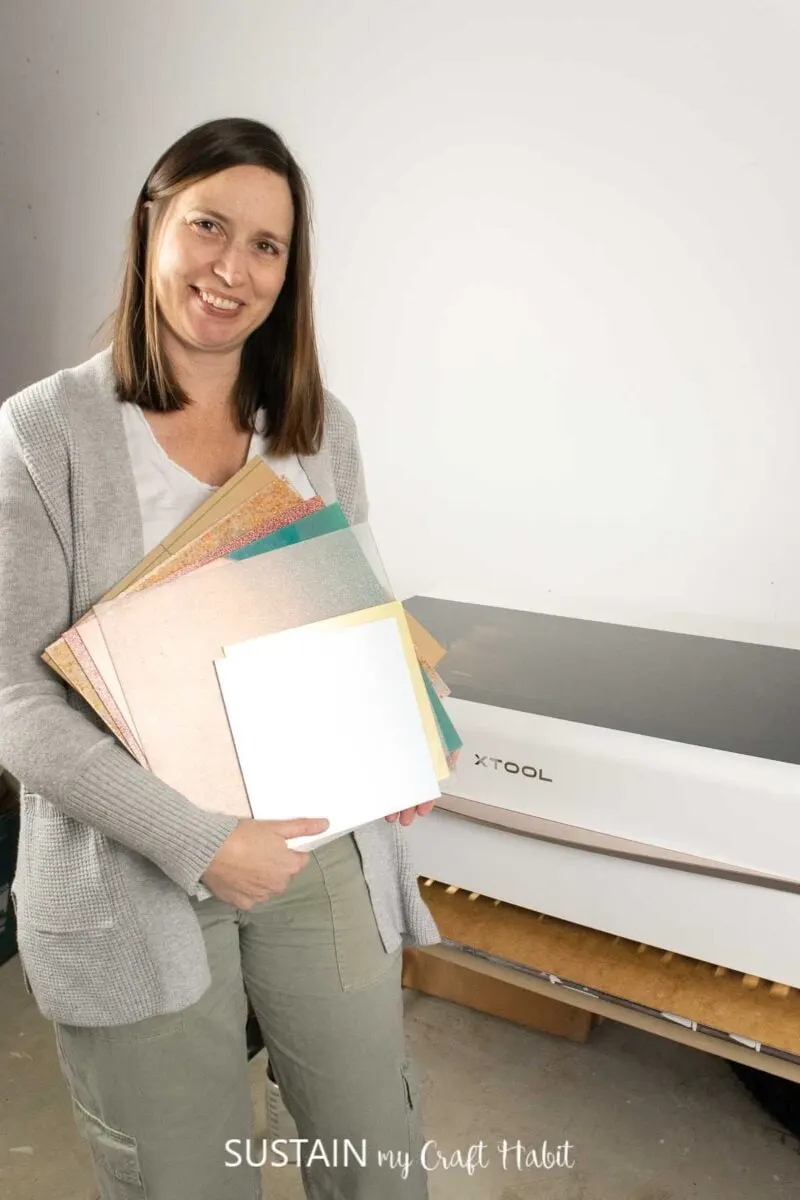
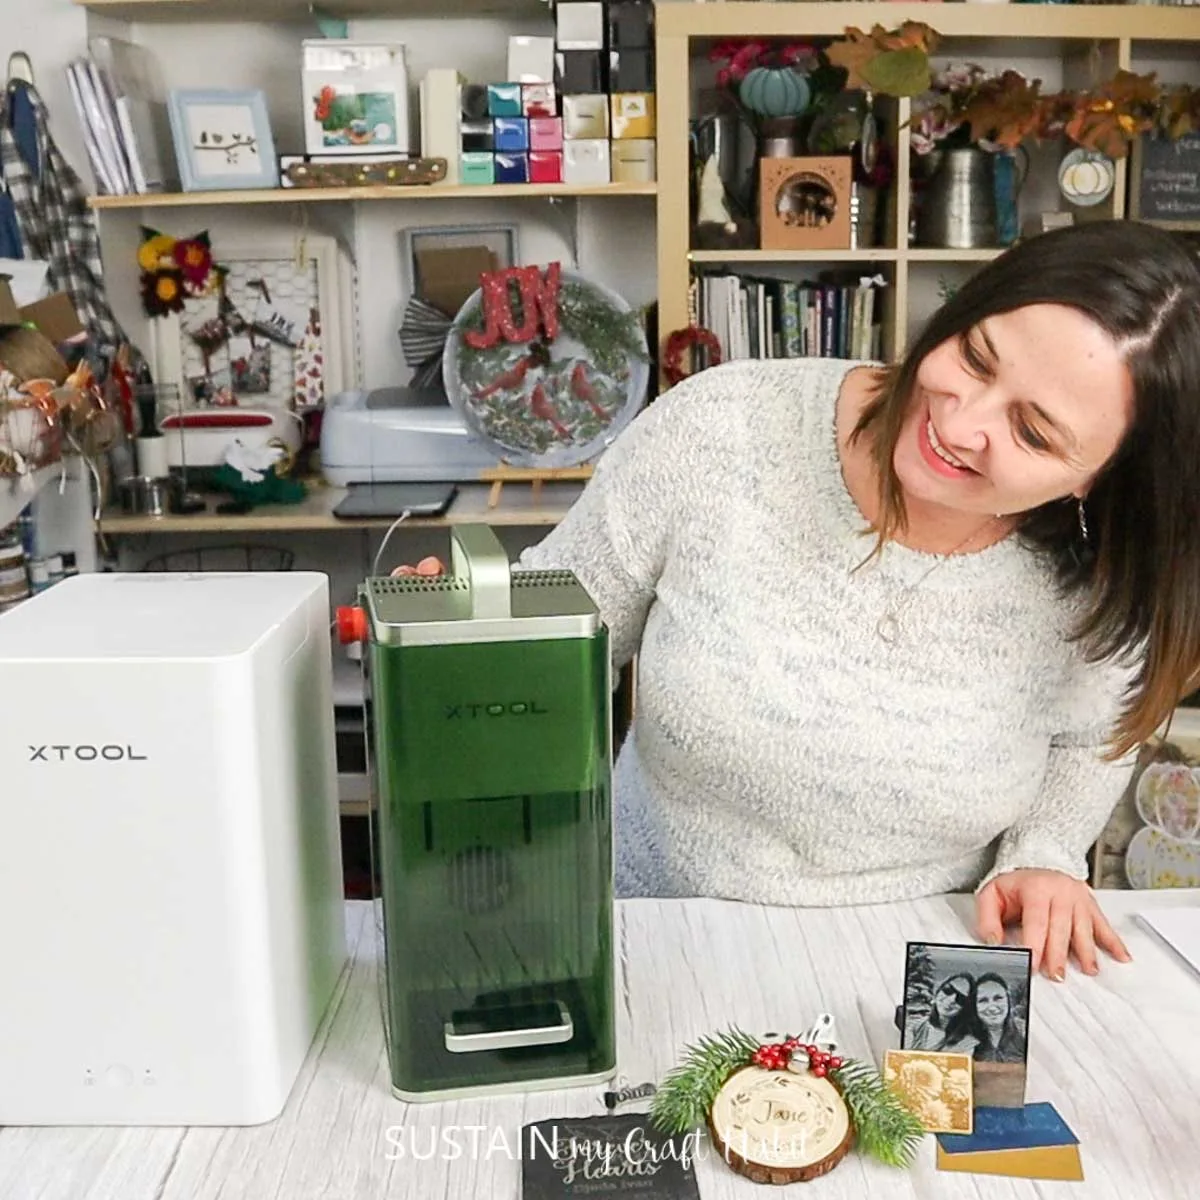
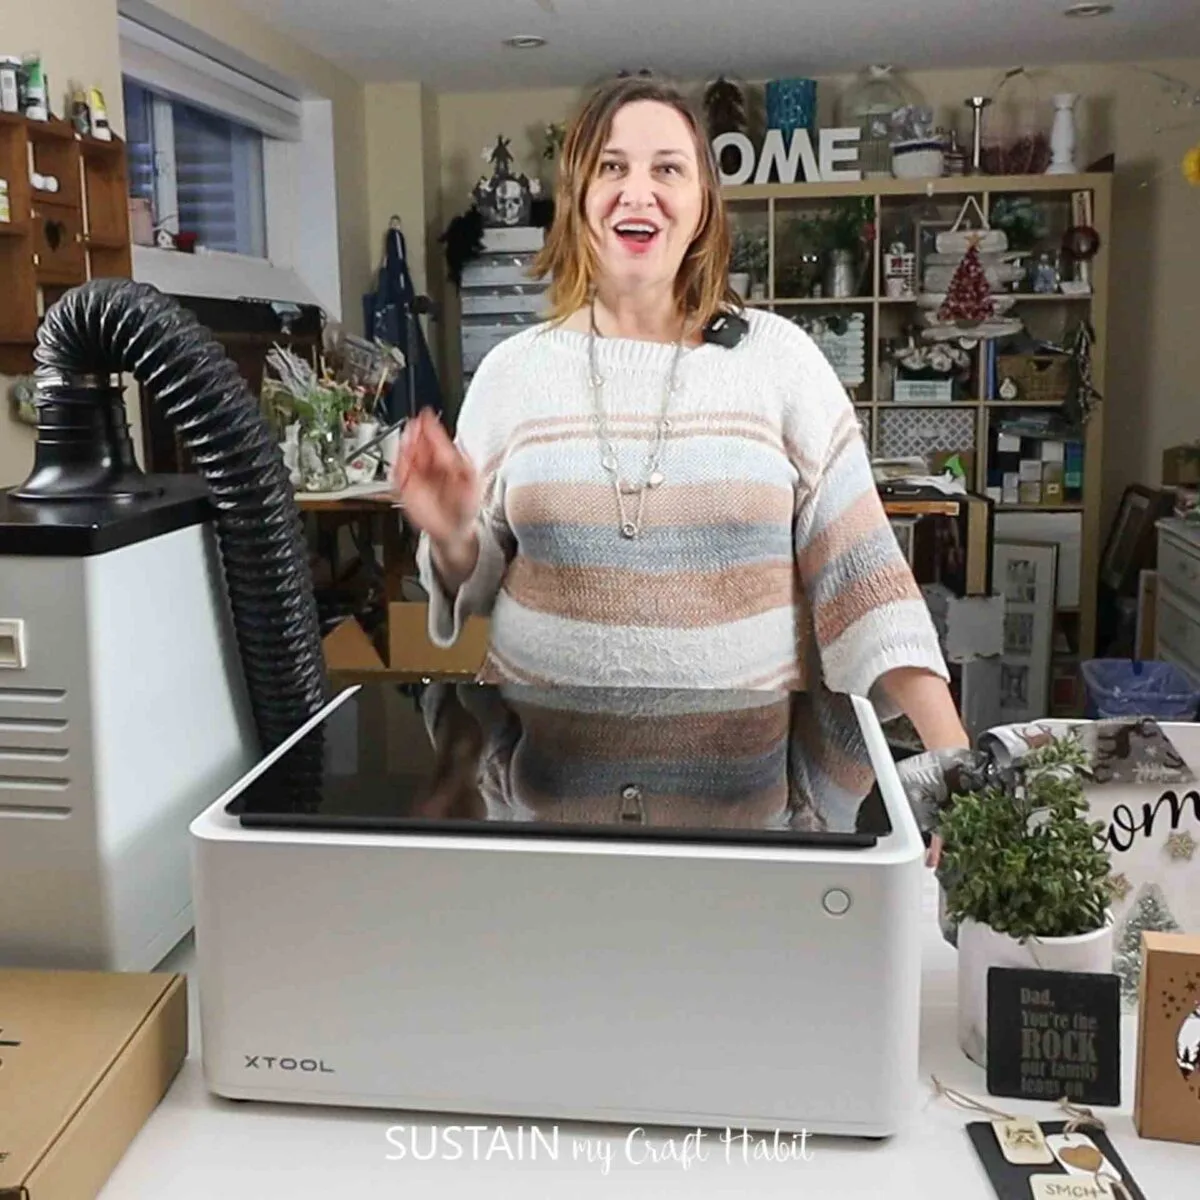
Be sure to get access to our resource library filled with cut files and other xTool craft ideas!
Materials Needed
Disclosure: This post contains affiliate links for your shopping convenience. Should you choose to purchase through them, we will make a small commission at no extra cost to you. You can read our full disclosure policy here.
- xTool P2
- Sandstone rocks, smooth, any size (we sell rocks on our Etsy shop)
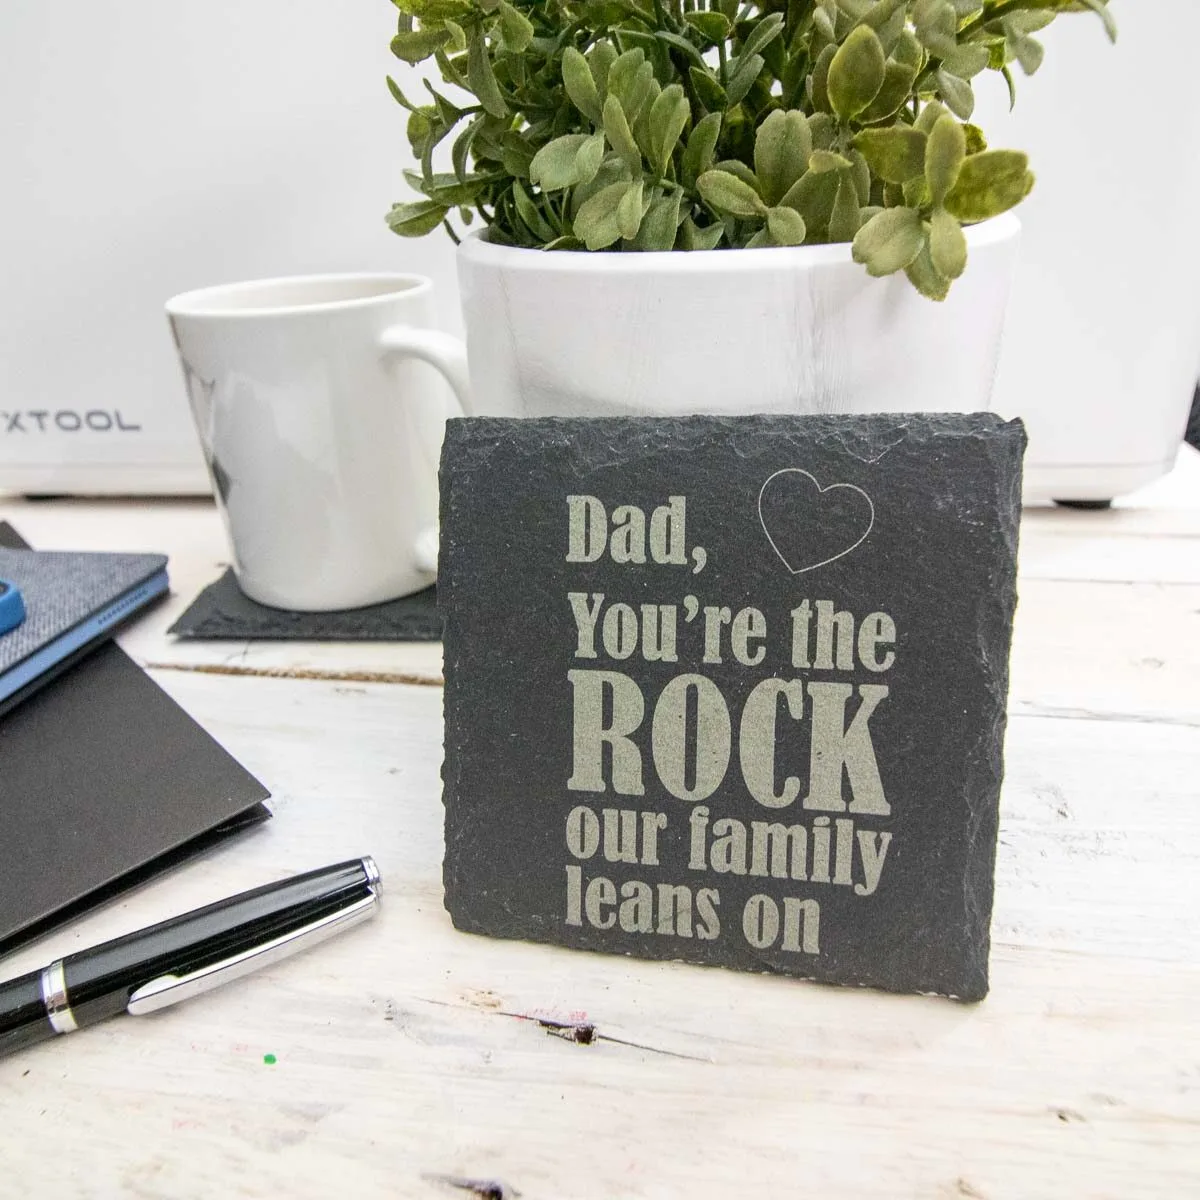
- Dad, You Are Our Rock SVG (grab this free SVG from our Sustain My Craft Habit shop)
- Waterproof Sealer
- Painter’s Tape
- Outdoor Paint, black or any color of your choosing
- Paintbrush

How to Engrave Rocks with xTool P2
Prior to engraving, be sure to wash and dry the rock or stone you plan to use. Once dry, apply a coat of sealer to the rock and leave it to dry fully.
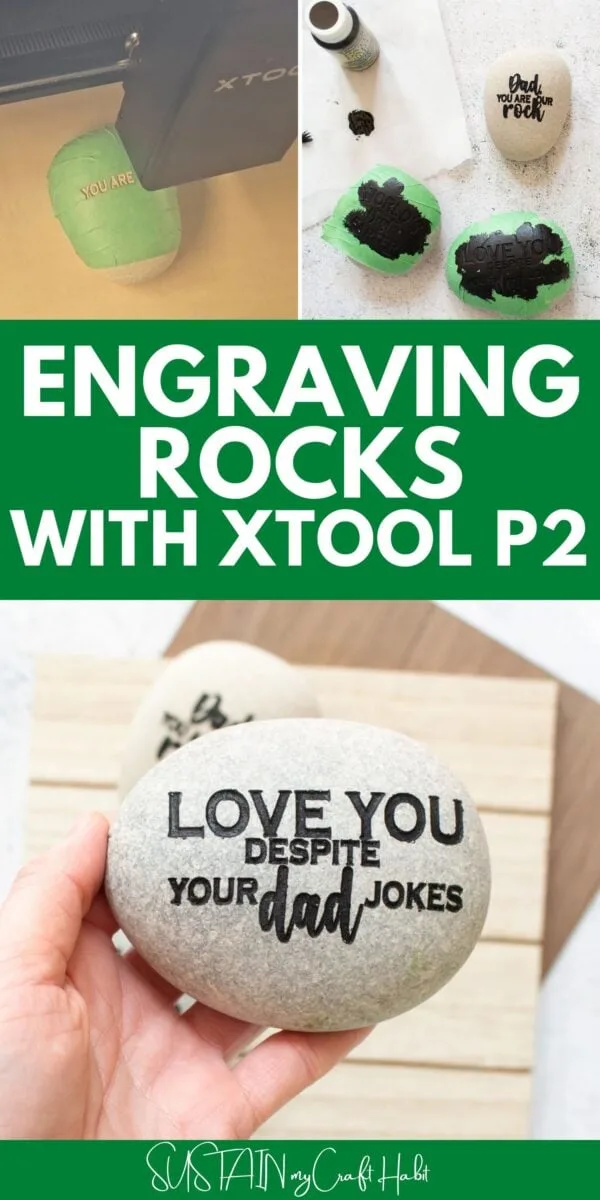
Since rocks are porous, we found applying a coat of selaer prevents the paint from seeping under the painter’s tape after engraving. I discovered this handy tip after engraving the rock and you can see areas the paint bled over.

Engraving with the xTool P2
Connect Creative Space app to machine and click on create project.
Import Image – “Dad, You Are Our Rock” or other SVG file you wish to use.
Apply painter’s tape to the surface of the rock. Press tape down firmly.

Remove the slats and load the rock into the cutting machine, propping the rock up so the top of the rock is above the level of the slats if they were installed. Close the lid.
Select “curved material” mode in the Creative Space software and then click on “curve- measure” button.

Follow the prompts on the screen to measure the curvature of the rock by indicating the upper left corner and lower right corner of the rock.

Once measured, size the design to fit within the square shown on the canvas. This square or rectangular shape is the area of the rock to be engraved.

With the design selected, ensure the parameter is set to engrave and then assign the settings for the machine to follow. In our case, we found 45% power with 20mm/s and 1 pass the ideal setting.
Hit process.

Remove when engraving is complete.
Blow away some of the fine dust on the surface of the rock.

Painting the Rock and Finishing Touches
Using a fine tip paintbrush and outdoor paint, paint the engraved area of the rock with the painter’s tape still in place.


Leave to dry, then peel away the painter’s tape. Use an awl or pin to peel away the smaller areas of the engraving.


And voila, the engraved rocks are complete!

Enhance Your Garden with DIY Engraved Rocks
Rock engraving with the xTool P2 is more than just a hobby; it’s a gateway to endless creative expression. Whether you’re crafting personalized gifts, enhancing your garden, or simply experimenting with designs, this versatile tool will help bring your vision to life.
With its precision, ease of use, and ability to work on various materials, the xTool P2 transforms ordinary objects into extraordinary works of art. So, don’t hesitate—unleash your creativity, discover the joy of engraving, and start making memories that will last a lifetime. What would you love to engrave on rocks?
More XTool Crafts to Make



Stay in the know on our latest crafts, special offers and freebies by joining our mailing list.
Like it? Pin it for later!

How to Engrave Rocks with xTool P2
Materials
- xTool P2
- Sandstone rocks smooth, any size
- Dad You Are Our Rock SVG
- Painter’s Tape
- Black Outdoor Paint or color of your choosing
- Paintbrush
Instructions
- Connect Creative Space app to xTool P2 machine.
- Import Image – “Dad, You Are Our Rock” or other SVG.
- Apply painter’s tape to the surface of the rock. Press tape down firmly.
- Remove the slats and load the rock into the cutting machine, propping the rock up so the top of the rock is above the level of the slats if they were installed. Close the lid.
- Select “curved material” mode in the Creative Space software and then click on “curve- measure” button.
- Follow the prompts on the screen to measure the curvature of the rock.
- Once measured, size the design to fit within the square shown on the canvas.
- With the design selected, ensure the parameter is set to engrave and then assign the settings for the machine to follow.
- Hit process.
- Remove when engraving is complete.
- Using a fine tip paintbrush and outdoor paint, paint the engraved area of the rock with the painter’s tape still in place.
- Leave to dry, then peel away the painter’s tape.
