
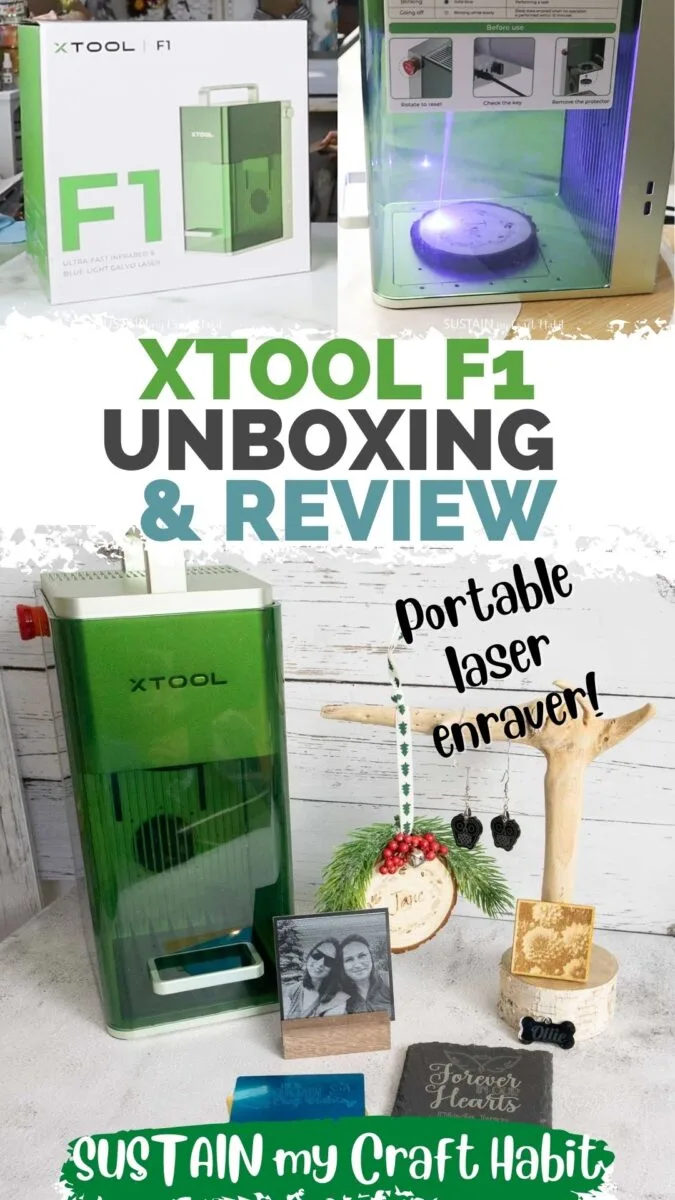
If you’ve been eyeing a laser engraver to add to your crafting workshop, you’ll love today’s post. xTool recently asked us to review their newest, fastest portable laser, the xTool F1. It has both an infrared (IR) and diode laser in one, letting you engrave, score and/or cut over 300 materials at super speed. Moreover, this machine gives you all the fabulous functionality of a laser engraver at home, but with the ability to move and take it anywhere you want to go.
Disclosure: This post is sponsored by xTool. All opinions are our own.

In this post we’ll show you:
- everything that comes with the xTool F1 deluxe bundle (unboxing);
- how to quickly set it up;
- seven quick beginner projects we made;
- our first impressions and honest xTool F1 review.
Disclosure: This post contains affiliate links for your shopping convenience. Should you choose to purchase through them, we will make a small commission at no extra cost to you. You can read our full disclosure policy here.
Shop the Black Friday Deals!!!
Be sure to use the xTool coupon code XTCUT15 for $150 off your order of $1699 or more!
What is the xTool F1 Machine?
The xTool F1 is the fastest portable laser engraver that lets you “print” designs on surfaces at speeds up to 4000mm/s. With both 2W IR and 10W diode lasers in one, it can engrave, score and/or cut over 300 different materials such as wood, metal, plastic, glass, rocks and more! It also has extremely high resolution (up to 1270dpi) meaning you’ll get crisp lines and vivid details.
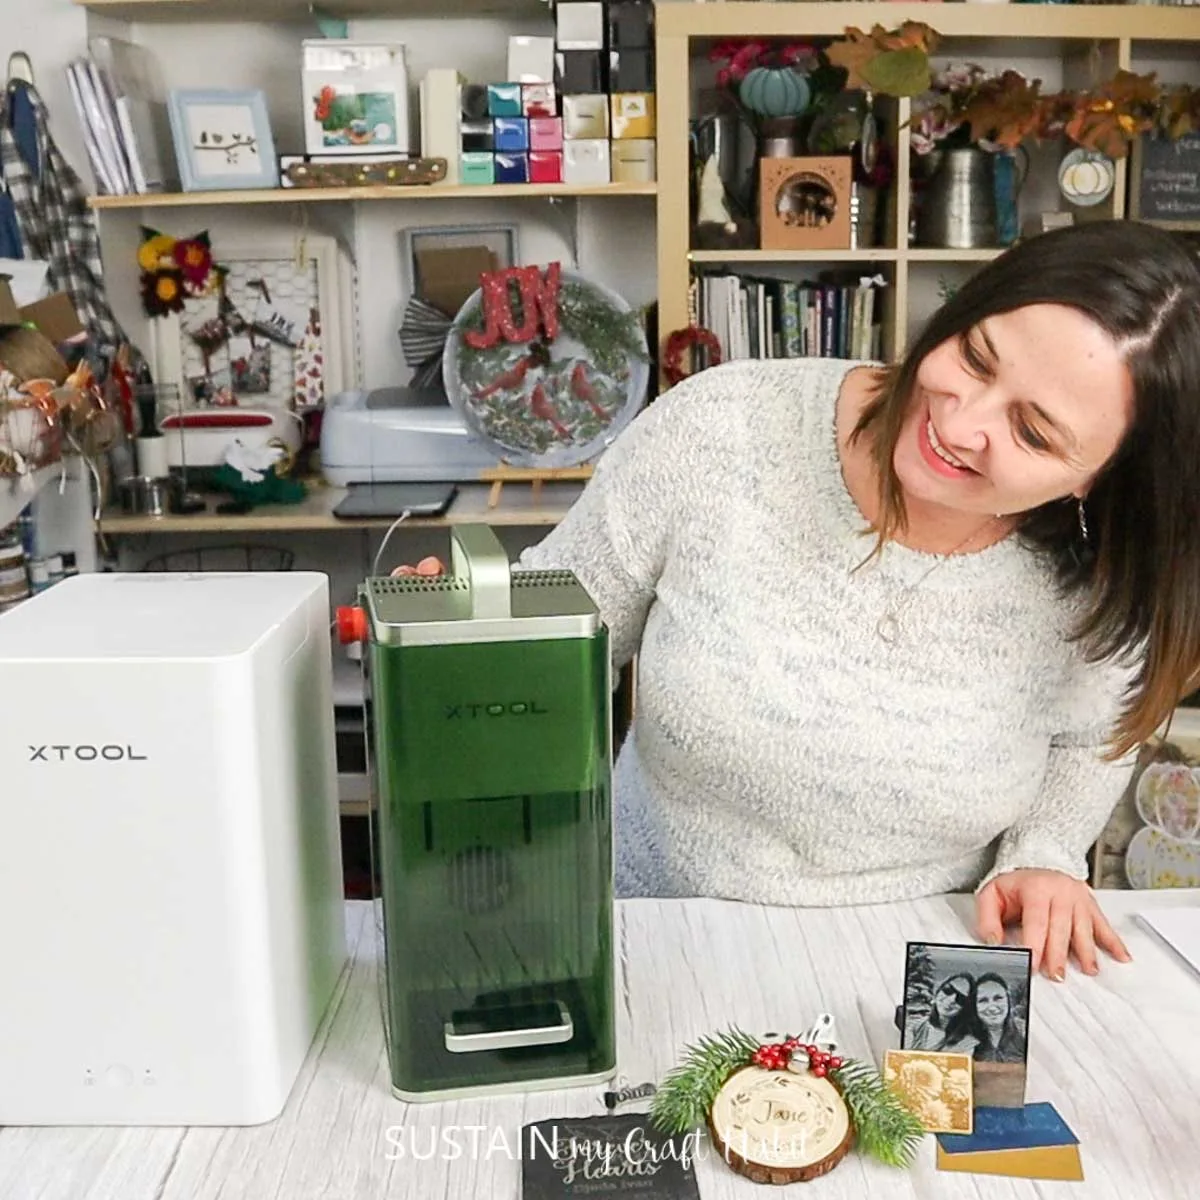
Like the xTool M1 machine which we’ve previously reviewed, the xTool F1 gives you the capability of laser engraving right at home. Even moreso, the lightweight and compact design of the xTool F1 means that it’s completely portable! So you can easily put it away after use, take it with you to a craft show, holiday market, bridal shower, or simply move it around your home.

Laser engravers and cutting machines are used by crafters, wood workers and artisans to make intricate cuts and engravings on surfaces ranging from wood, paper, metal to stone and more. With an additional attachment (the R2 Pro rotary accessory) you can engrave on curved surfaces such as glasses, rings and even spheres.

Video Review of the xTool M1 All-in-one Kit
If you want to see the xTool F1 in action, stay tuned for our full review and demonstration over on YouTube!
Who is the xTool F1 Ideal For?
- Craft enthusiasts who love to make smaller-scale projects for themselves or others with the ability to personalize and craft truly unique items. The xTool F1 is also ideal for those who don’t have room or dedicated space for a larger laser engraver: the portability means it can easily be stowed away after crafting;
- Small businesses who would like to add on-site customization capability at craft fairs, holiday markets or gift shops for example;
- Brides or wedding event coordinators who would like to add unique and personal touches to engagement parties, bridal showers, weddings and other special events.
We would not recommend the xTool F1 for larger projects (larger than 4″x16″) or for particularly high volume of cutting projects. The xTool P2 or D1 Pro would be recommended for higher volume projects.
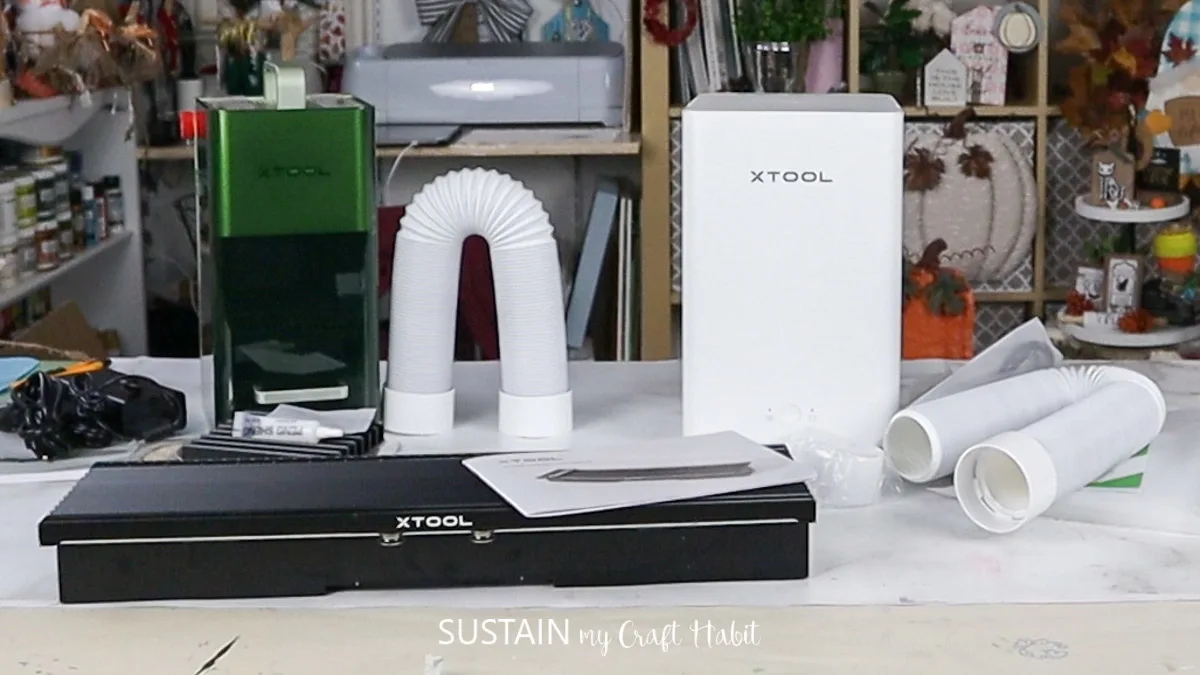
Unboxing the xTool F1 Deluxe Bundle
xTool offers several different models of laser engravers for different types of users. For example, the higher priced P2 and S1 models are designed for higher volume and larger projects. They take up more space and aren’t portable. The xTool M1 which we previously reviewed is the least expensive, requires dedicated desktop space and also has blade cutting functionality.
In comparison to their other laser engravers, xTool F1 is mid-priced and designed for easy, portable use. Everything from the minimal set up (pretty much ready to use straight out of the box) to ease of use reflect that it’s ideal for a novice laser engraver user.


xTool also offers several bundles with the F1 machine. These bundles include key accessories such as:
- xTool F1 Smoke Purifier: This add-on includes a 3-layer filtration system which filters the smoke and other particulates released during the engraving process. This Purifier is ideal if you are unable to vent your machine to the outside.
- xTool F1 Slide Extension: Extends the working area of the xTool f1 four times.
- xTool RA2Pro: Enables engraving of curved surfaces such as tumblers and glasses.

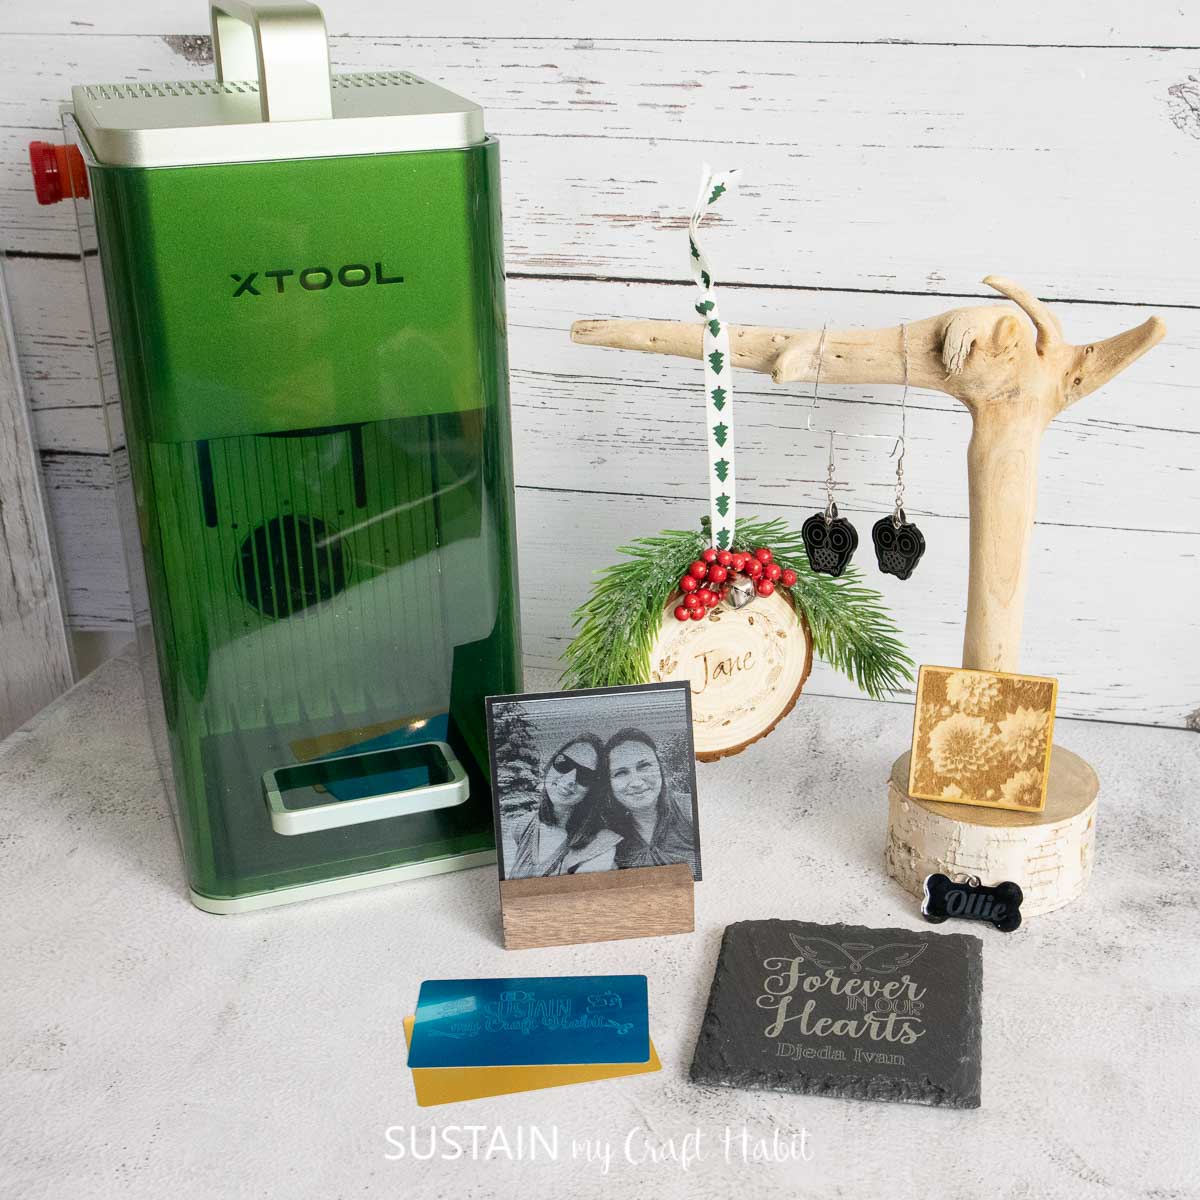
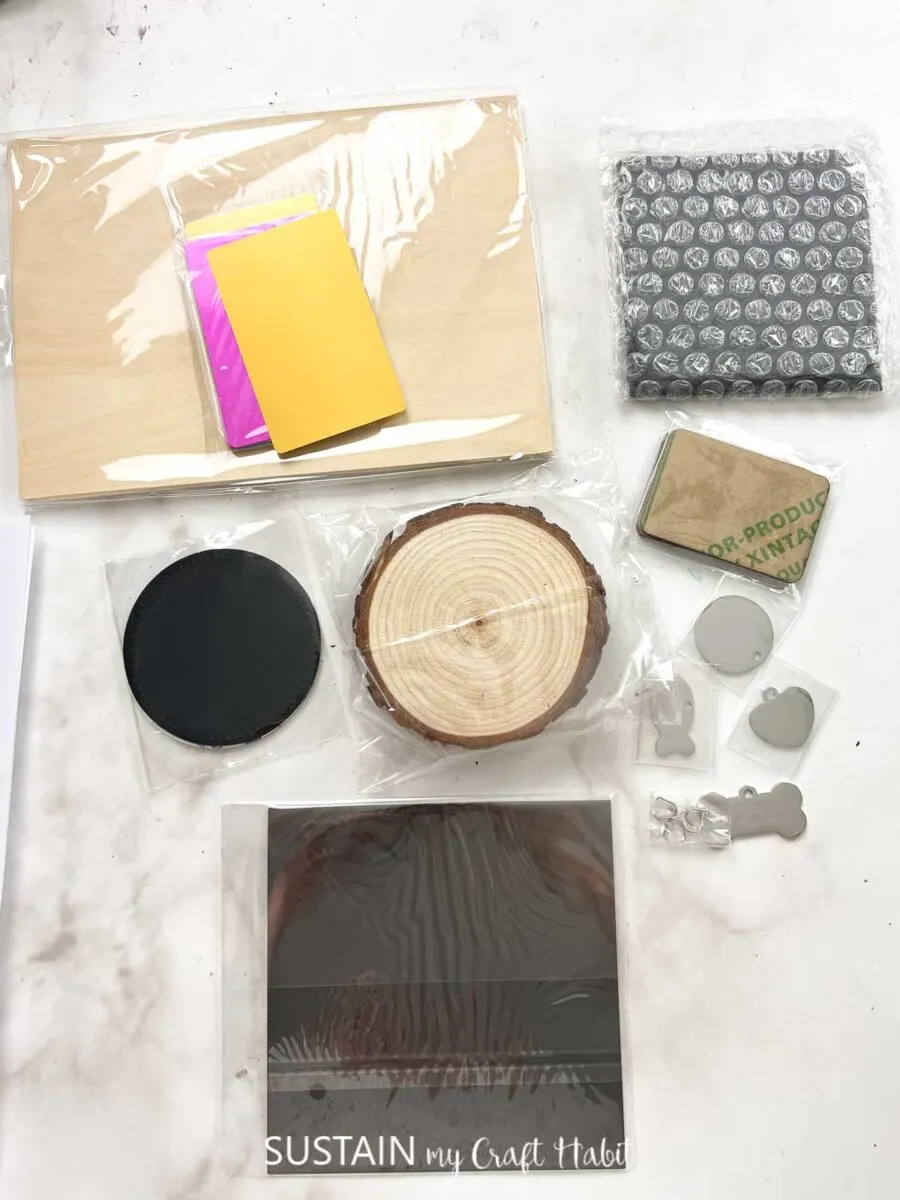
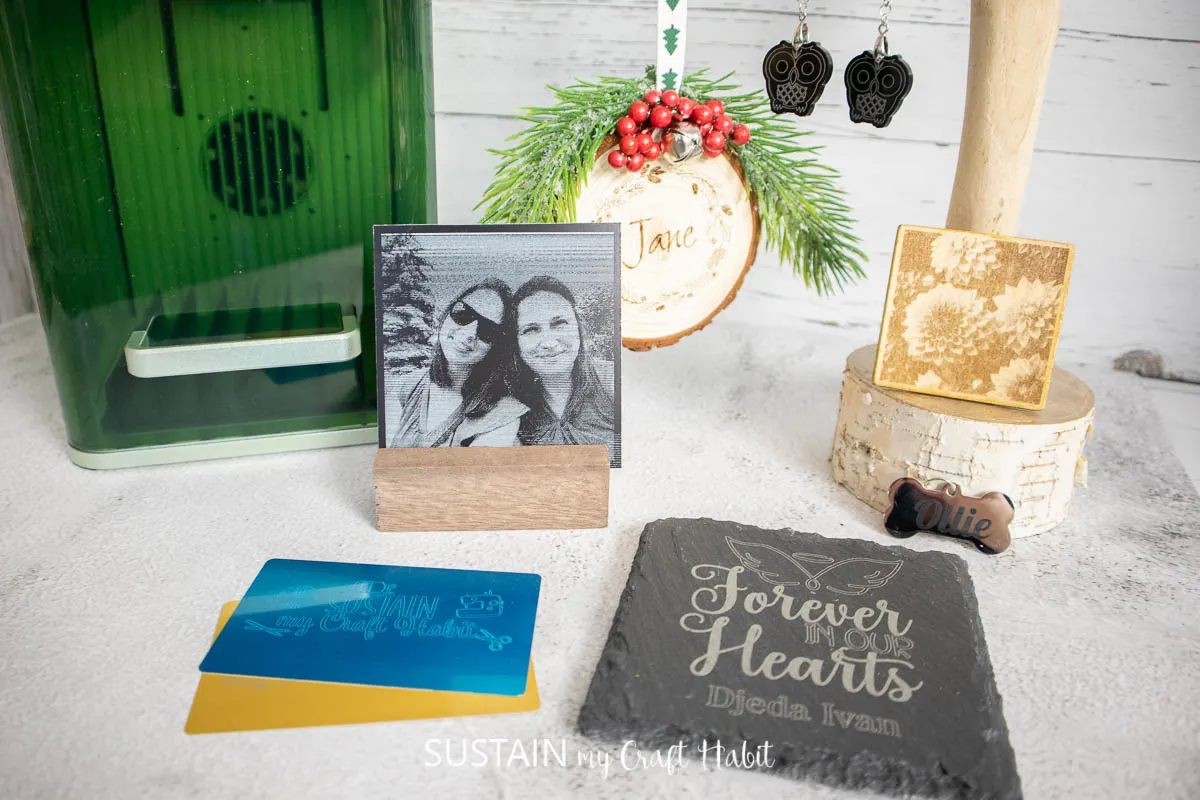
The xTool F1 also came with a sample materials kit with eight different materials including metal business cards, wood slices, black acrylics, slate coaster, plywood sheet, metal tags, faux leather coasters and photo paper. We’d strongly encourage using these materials to get a sense of making different types of projects with the xTool F1.

We’re happy to share the xTool Creative Space file which we created for our seven sample projects. Simply download and use to get your crafts started!
xTool F1 Set-Up
Setting up the xTool F1 machine was actually quite simple and quick. Be sure to have the instruction manual on hand which provides great step-by-step pictorial directions.
I first attached one end of the vent which came with the xTool F1 to the smoke outlet at the back. I then attached the other end to the smoke inlet at the back of the smoke purifier.

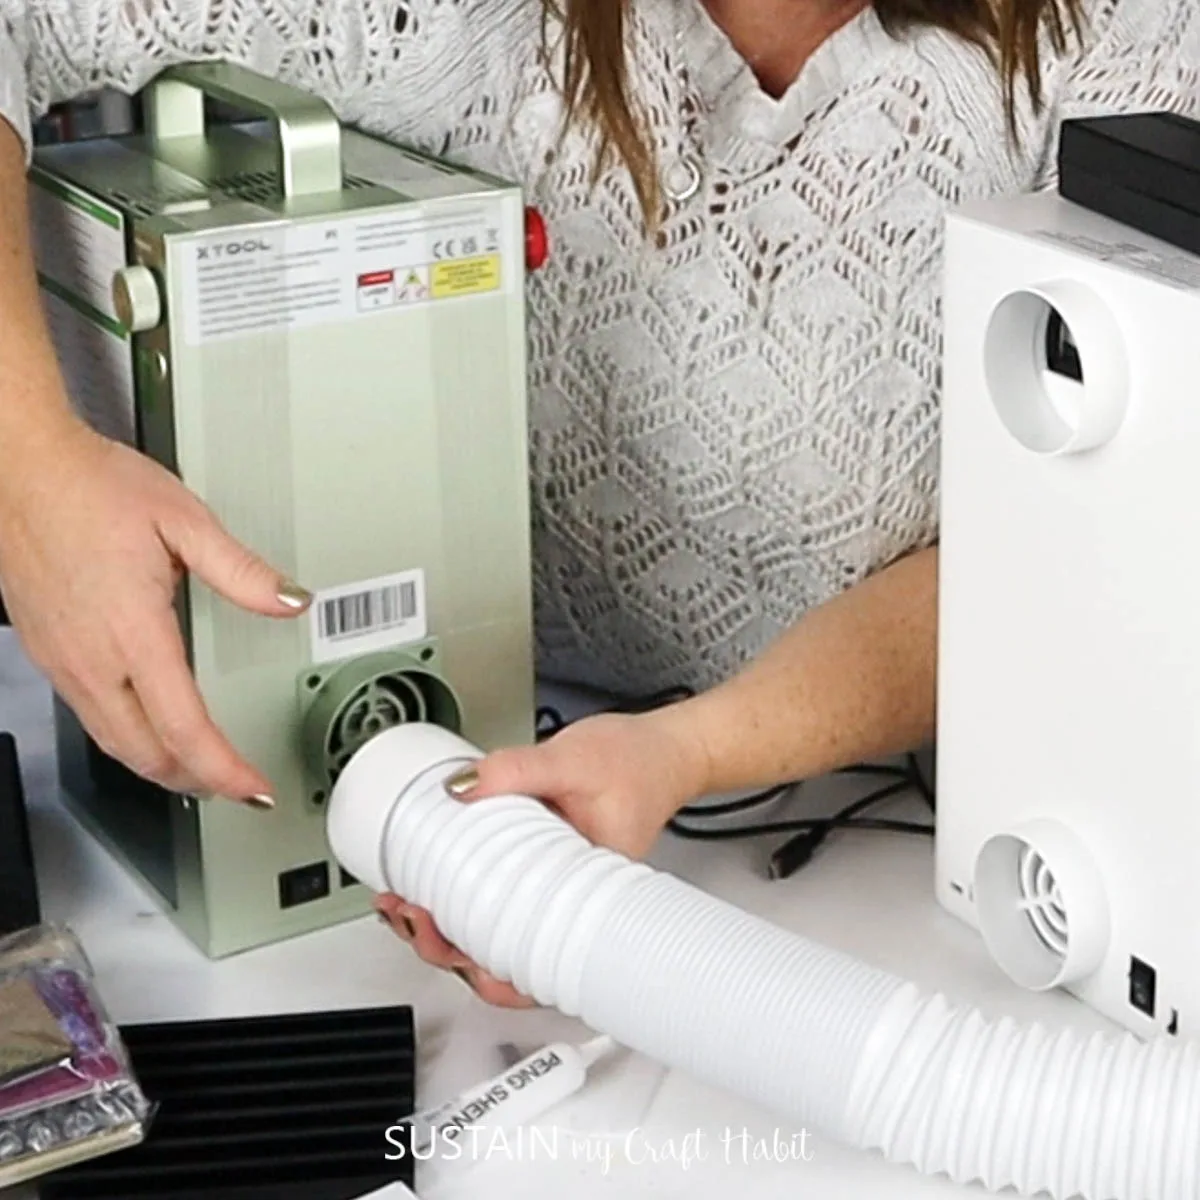
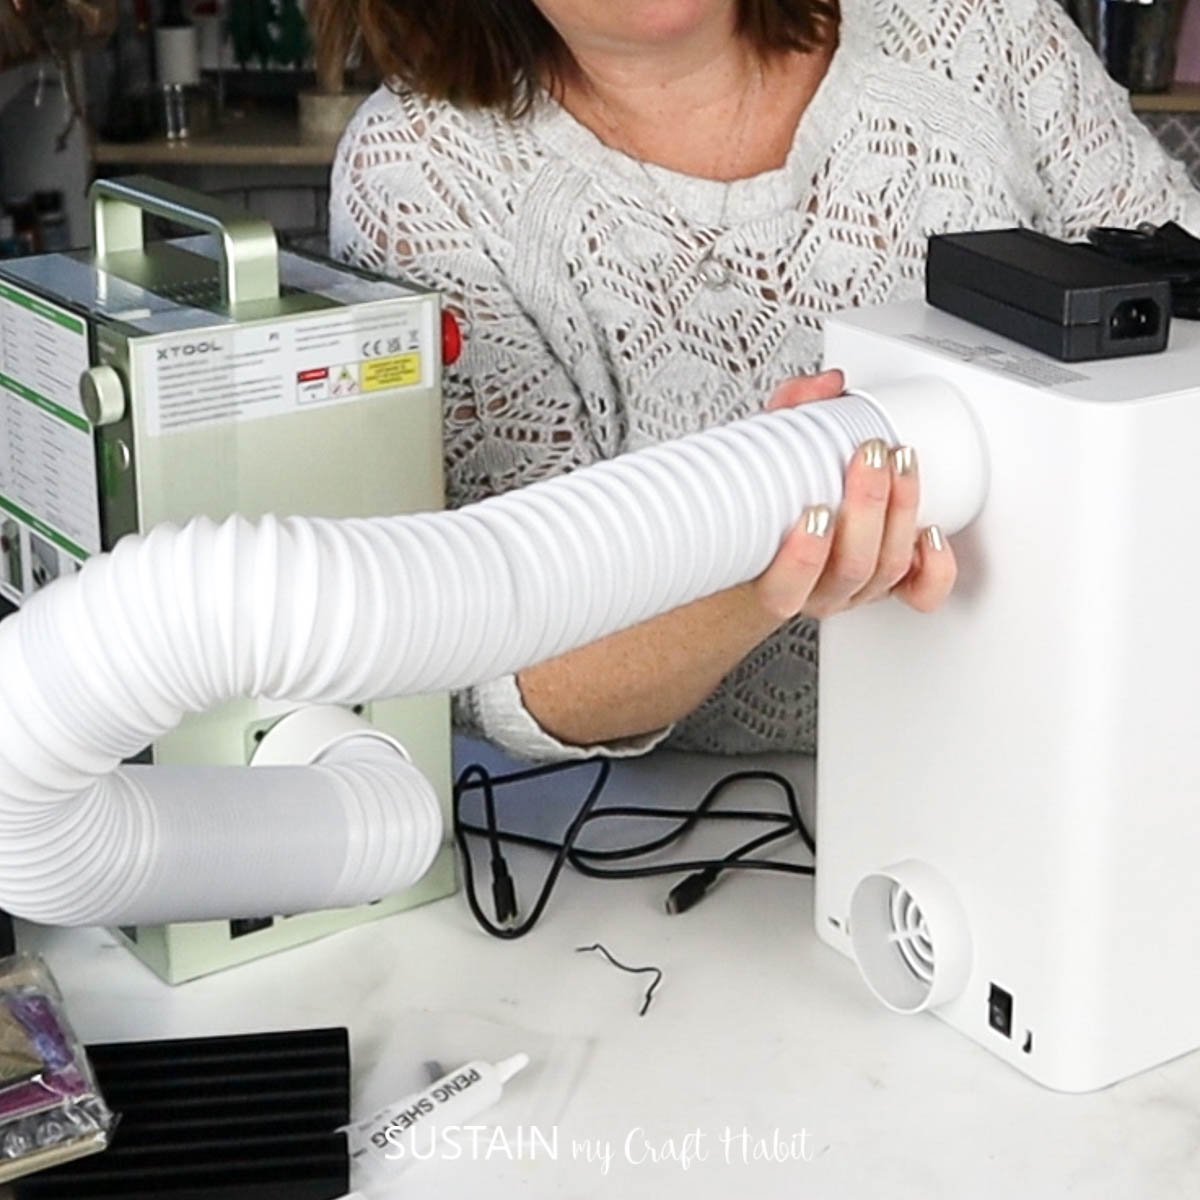

The vent hose pulls out the smoke and debris produced during the laser engraving and cutting process. If you did not buy the smoke purifier, make sure that the other end of the hose vents outdoors through a window or door.
After I plugged in the two machines with the included AC adaptors, the set up was complete!
Connecting the xTool Creative Space Software
In order to operate the xTool F1 machine you’ll need to install the free xTool Creative Space Software onto your desktop computer or mobile device. You’ll then connect it to the machine with either the USB cable provided or via WIFI Connection.
To install the software simply head to https://www.xtool.com/pages/software and select the version that matches your computer device.


Once installed you will open up the canvas which looks like this on the desktop computer…

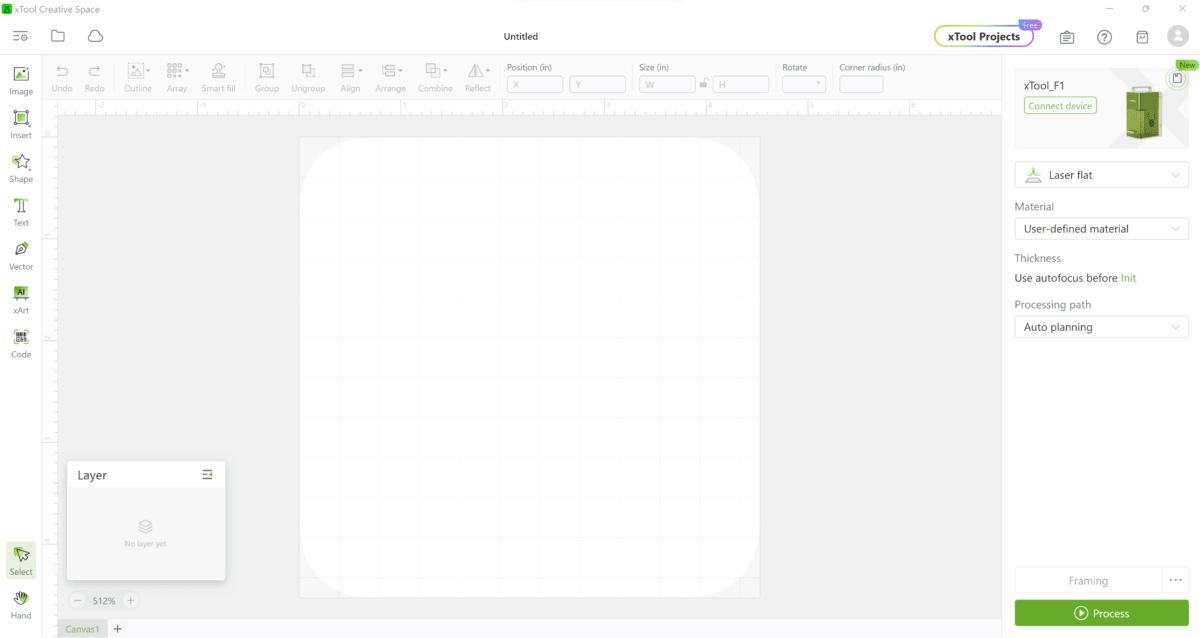
This is the command center from where you’ll tell your machine what to do. At this point you have a few options:
- Load one of the pre-built projects from the “xTool Projects” tab – this is an evergrowing collection of designs contributed by fellow xTool users;
- Design your own images using the Shape, Text, Vector and or xArt functions on the left side of the canva (see intructions below); or
- Upload images and/or cut files from your computer. You can find free SVG files here are Sustain My Craft Habit and some premium files in our Craft Habit Graphics shop. We also have a post on other places to find SVG files for your xTool machines as well.
Once I set everything up, I was determined to make projects using a bunch of the sample materials. I made seven different projects to try out a variety of functions in xTool Creative Space. You’re welcome to download our xTool Creative Space file to follow along.
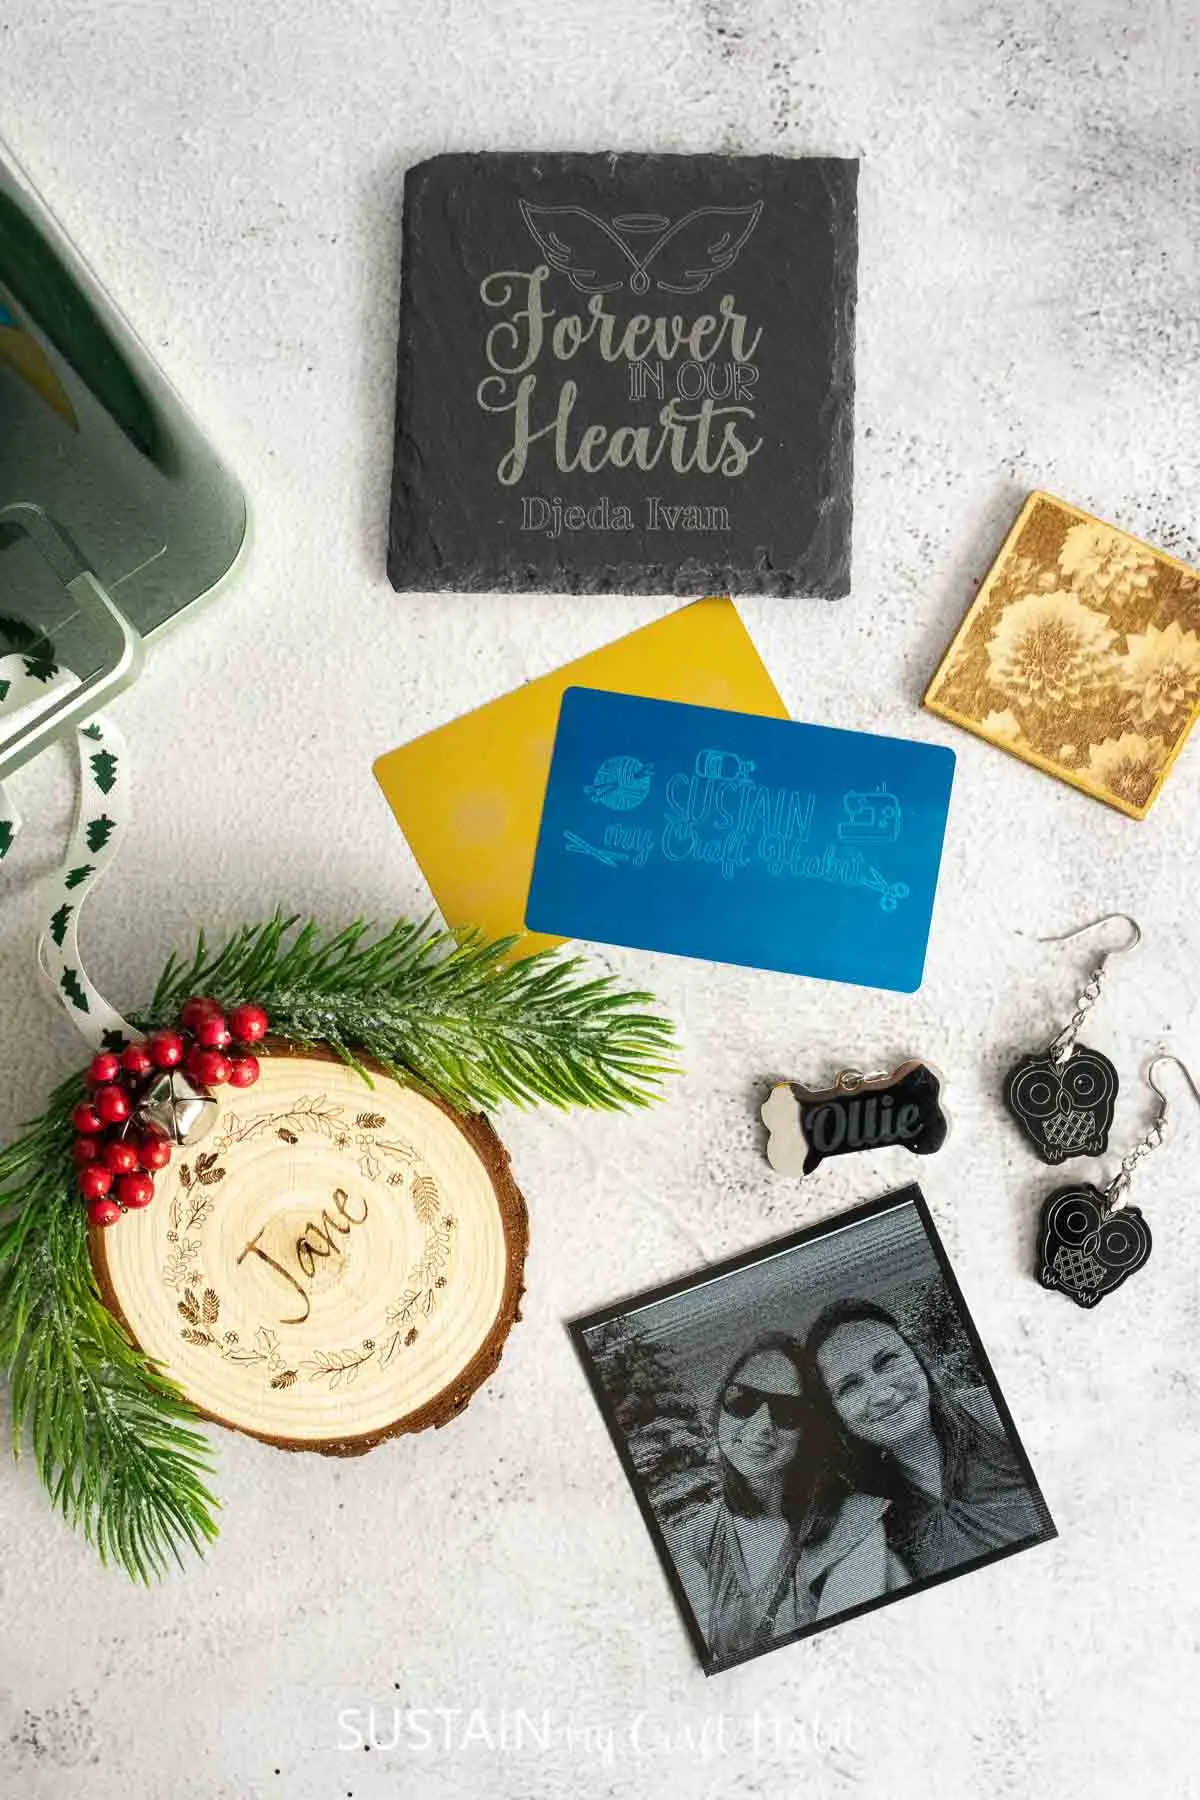
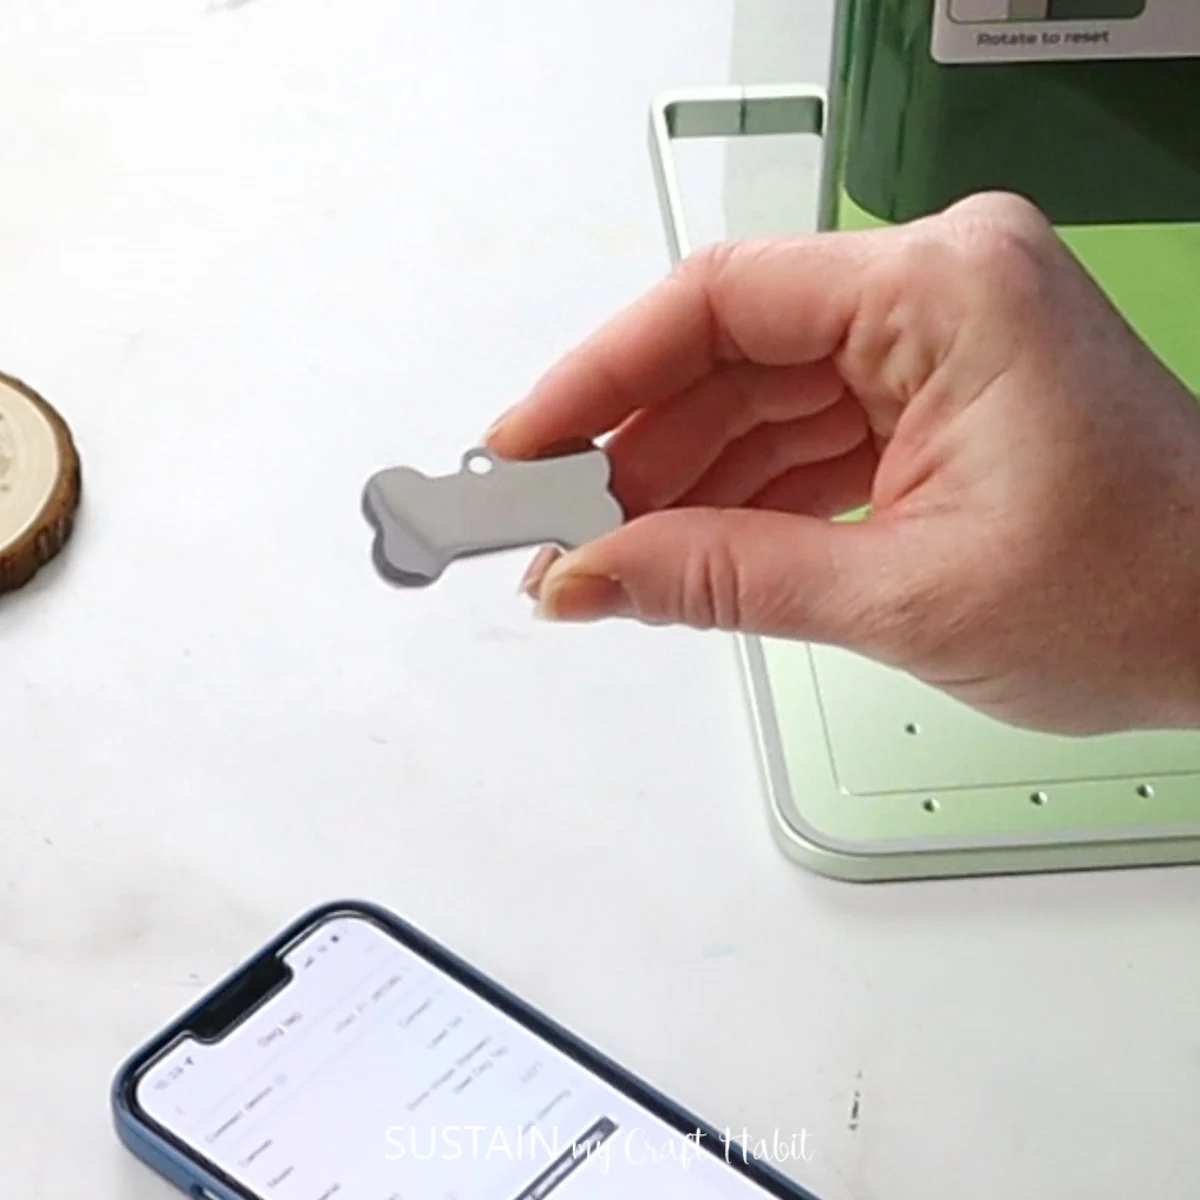
Project 1: Engraved Stainless Steel Bone Tag
I wanted my first project to be a simple one: a custom dog tag for Sonja’s puppy Ollie stainless steel bone tag from the materials kit.

I started by measuring the height and width of the engraving area on the dog tag. I opened a new canvas, clicked on the Text tool and typed Ollie. I changed the font to Lobster and then sized the text to 0.4″ tall (which was .988″ wide with this font).

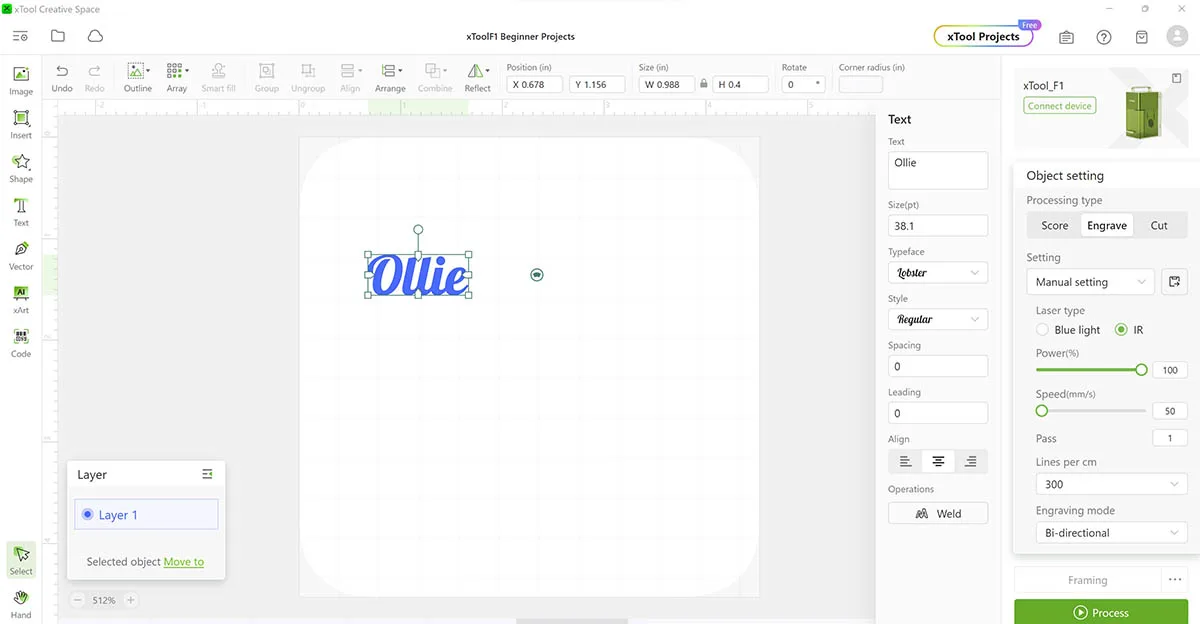
Next it was time to set the processing settings. The nice thing about using the xTool materials is that there are pre-sets for most of them in Creative Space which makes it easy to get started. A bonus is that the xTool materials are really good quality and affordable compared to other sources for wood, acrylic, jewelry and other engraving surface.
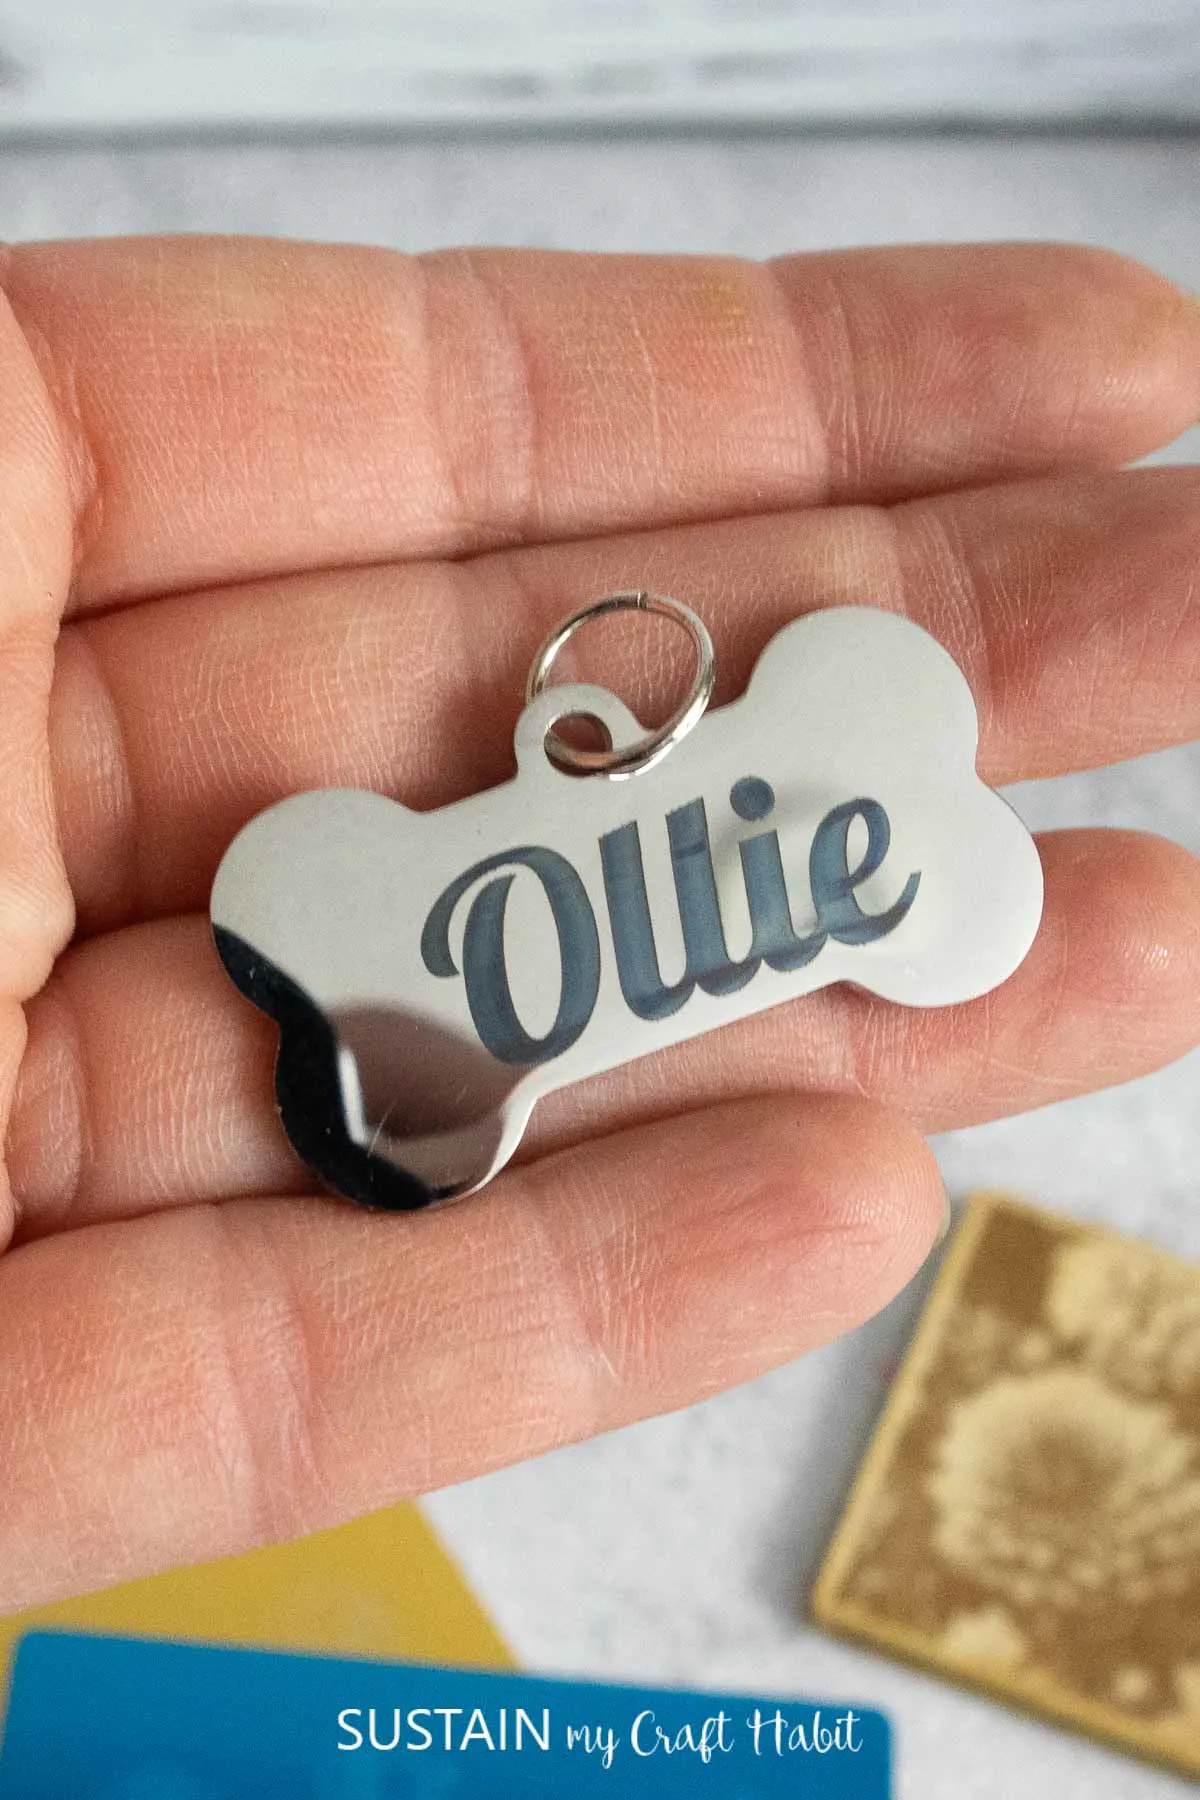
After pressing Process and Start, the machine did the work. After less than two minutes, I had adorable personalized tag for Ollie!

Project Two: Personalized Wood Ornaments
For my second project I used the wood coaster with the Shapes and Text functions from xTool Creative Space.
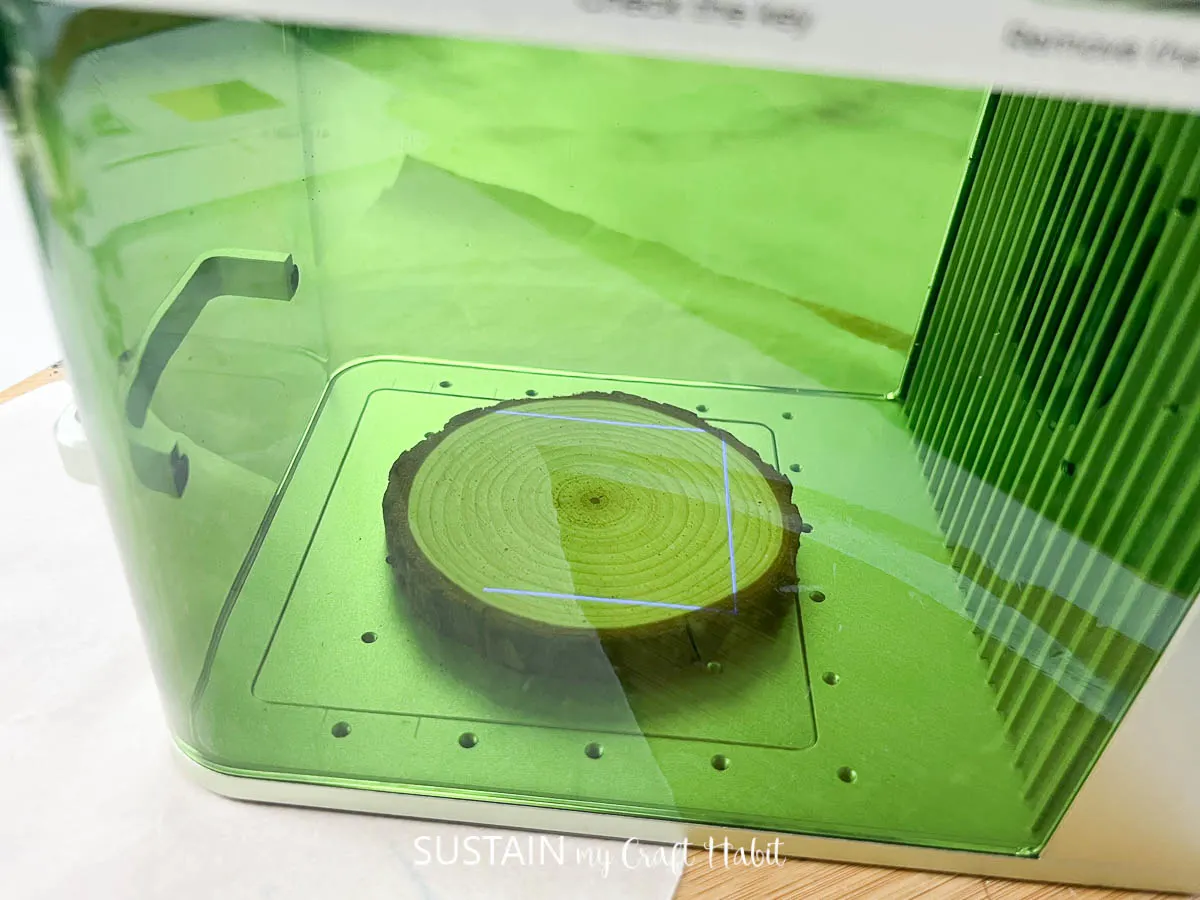
After measuring the size of the engraving surface (4″) I placed the wood slice in the xTool F1 compartment and closed the cover.

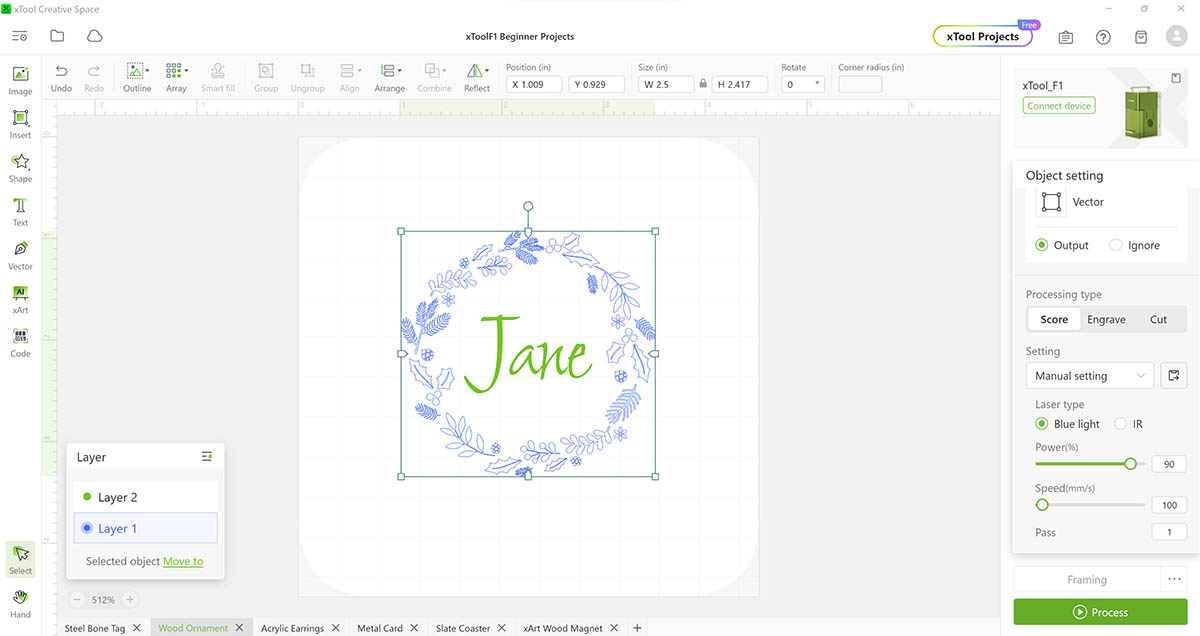
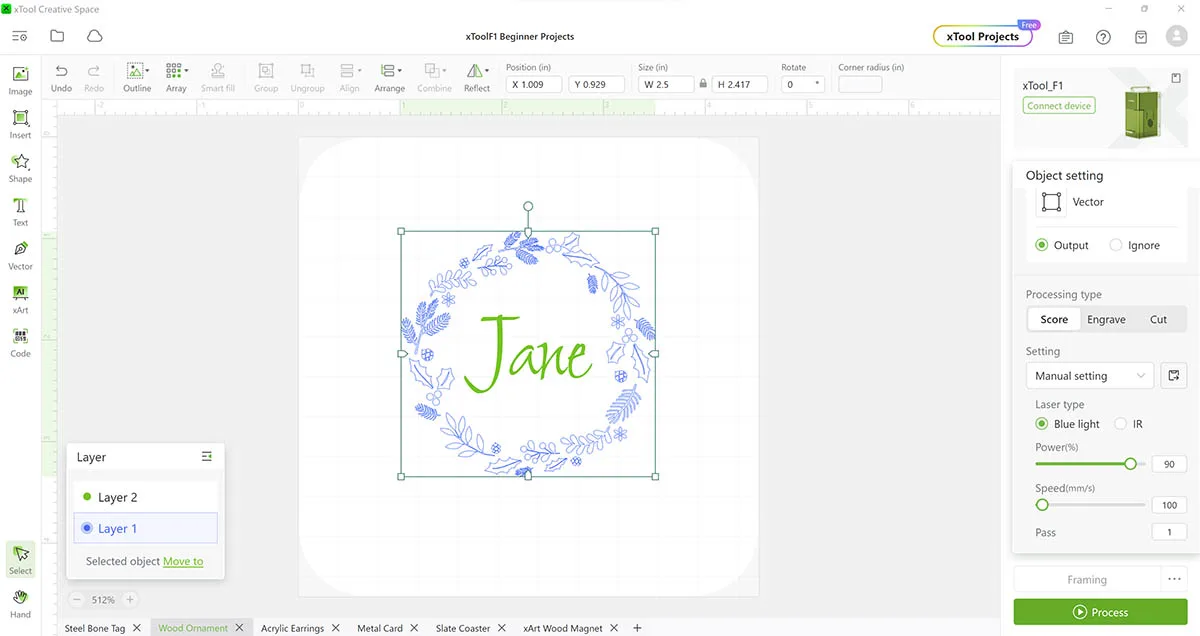
On a new canvas in Creative Space I placed a wreath shape (Shape -> Border) and sized it to 4″ wide. Next, I added my name with the Text tool, changed the font to Shalimar at 76pt size.
Since I was planning to use the Engrave function for my name, I moved the text to a new layer by right clicking and then clicking on the green color under “Move”.
With the name layer selected I chose the Engrave processing type and with the wreath layer selected I chose the Score processing type.
After setting the material type, I pressed process and reviewed the framing lines (positioning) on the wood slice. The position looked good so I went ahead and started the scoring/engraving.
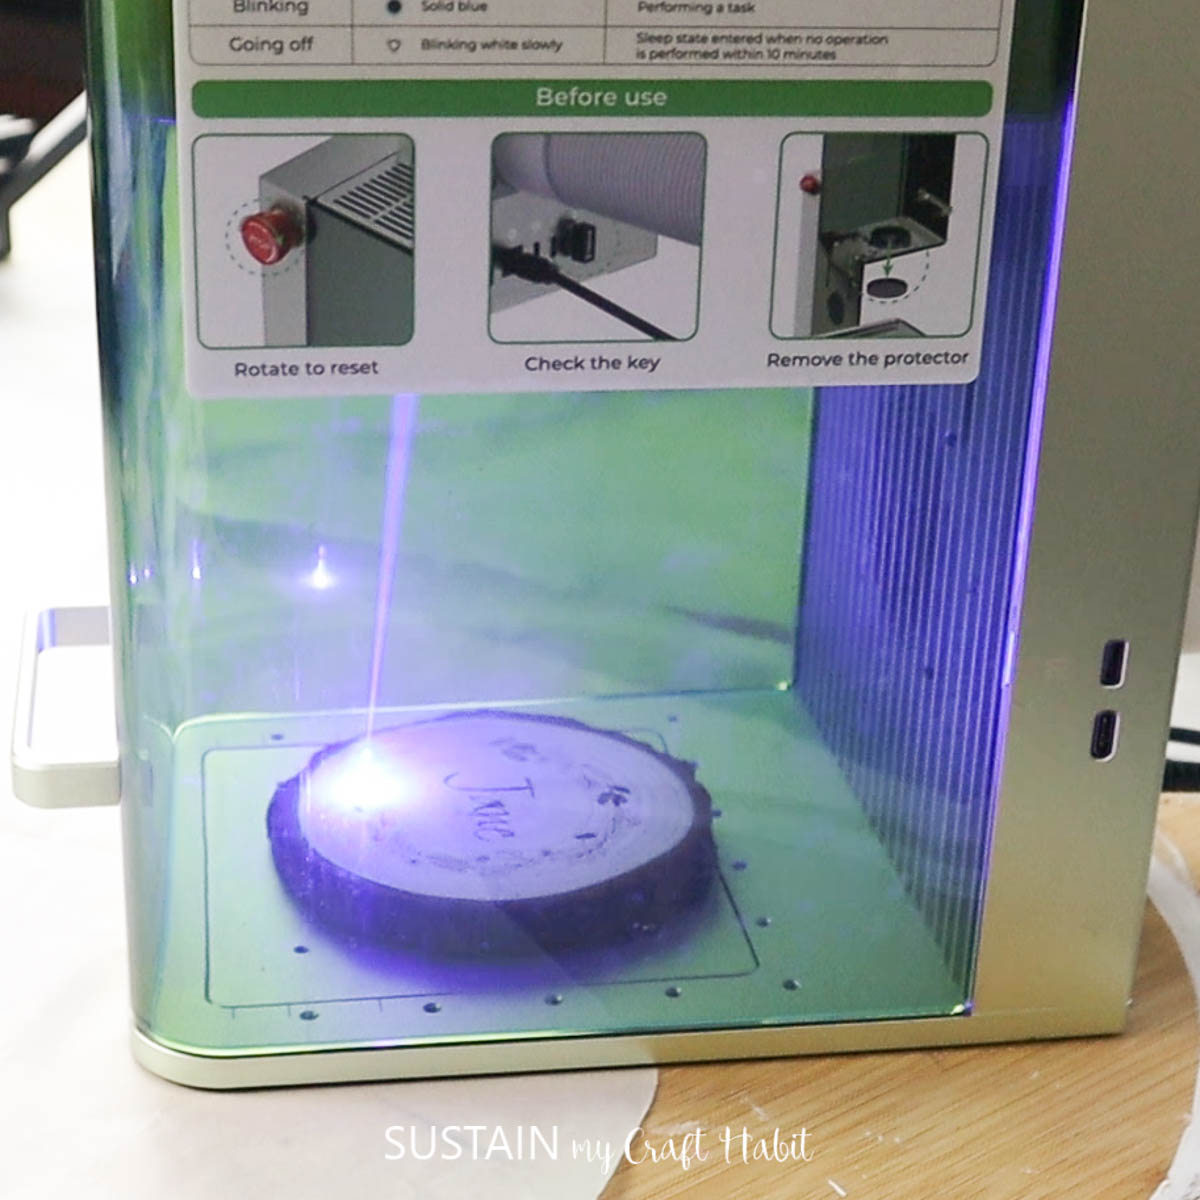

The function completed so quickly (less than 2 minutes!). After adding an eyelet for hanging a few embellishments, we had a beautiful personalized ornament made in no time!


We’ll have the tutorials for the other laser engraving craft ideas with the xTool F1 soon. In no time I had crafted owl acrylic earrings, metal business cards, a keepsake slate coaster, wood magnet and photo. In the meantime you can find the full tutorial for them over on our YouTube channel!

Initial Impressions and xTool F1 Review
After getting over the initial overwhelm of where to start, I found using the xTool so fun and inspiring. Now everywhere I look I see something that can be engraved!
I’m looking forward to mastering the photo engraving function and doing some curved objects such as tumblers and rocks. Be sure to join or email list to get notified of new tutorials, tips and engraving designs that you can use with your xTool F1.
A few quick impressions:
- The xTool F1 machine was super easy to set up pretty much straight out of the box. It would be an ideal laser engraver for both beginner or more experienced laser crafters;
- The machine really is FAST! I struggled to even get my phone to video record some of the functions before they were done. I can definitely see this being a huge opportunity for someone wanting to offer customization at craft shows or in gift shops for example;
- The xTool F1 is definitely portable. Unlike our xTool M1 which I had to find a dedicated space for, the F1 can easily be moved around and put away if needed.
- The xTool F1 Official Group on Facebook is an absolutely treasure of a resource for all-level of xTool F1 users, even if you’re just trying to decide whether to buy one.
Thank you to xTool for the opportunity to review the F1 portable laser engraver. We’re looking forward to using it for all sorts of upcoming projects and sharing them with you all.
Let us know if you have any questions about it and what surfaces we should try to engrave next!
Like it? Pin it for later!

