Have you ever thought about making a wreath using died leaves? Well we’re here to tell you it’s possible and we’ll show you exactly how you can do it. This easy to follow guide to crafting a gorgeous fall wreath using dried leaves will leave you with a festive and aux-naturel touch to your home.


Making a Gorgeous Dried Leaf Wreath
It’s the perfect time to bring those warm fall colors into your home. What better way to embrace the season than by creating your own DIY fall wreath using dried leaves? With just a handful of materials and some creative flair, you can design a one-of-a-kind piece that reflects your personal style.
We couldn’t resist adding the cutest little wood gnome to ours, but you can add whatever personal touches you like. For a rustic look, hang the fall leaf wreath as is, no embellishments needed.


Because the leaves are free, this is a very budget-friendly craft. Hang this charming wreath on your front door, in your entryway, or anywhere you want to add some fun fall vibes. So grab some coffee, put on your favorite playlist, and let’s get crafting with this fun and festive dried leaf wreath!
How to make Dried Leaves for Crafting
Head over to our post on how to easily preserve leaves for crafting and then come back to assemble a gorgeous fall dried leaf wreath.

Join our crafting community to find more nature-inspired DIYs and upcycled craft ideas. It feels good to repurpose, upcycle and create with nature!
Materials Needed
Disclosure: This post contains affiliate links for your shopping convenience. Should you choose to purchase through them, we will make a small commission at no extra cost to you. You can read our full disclosure policy here.
- Grapevine wreath
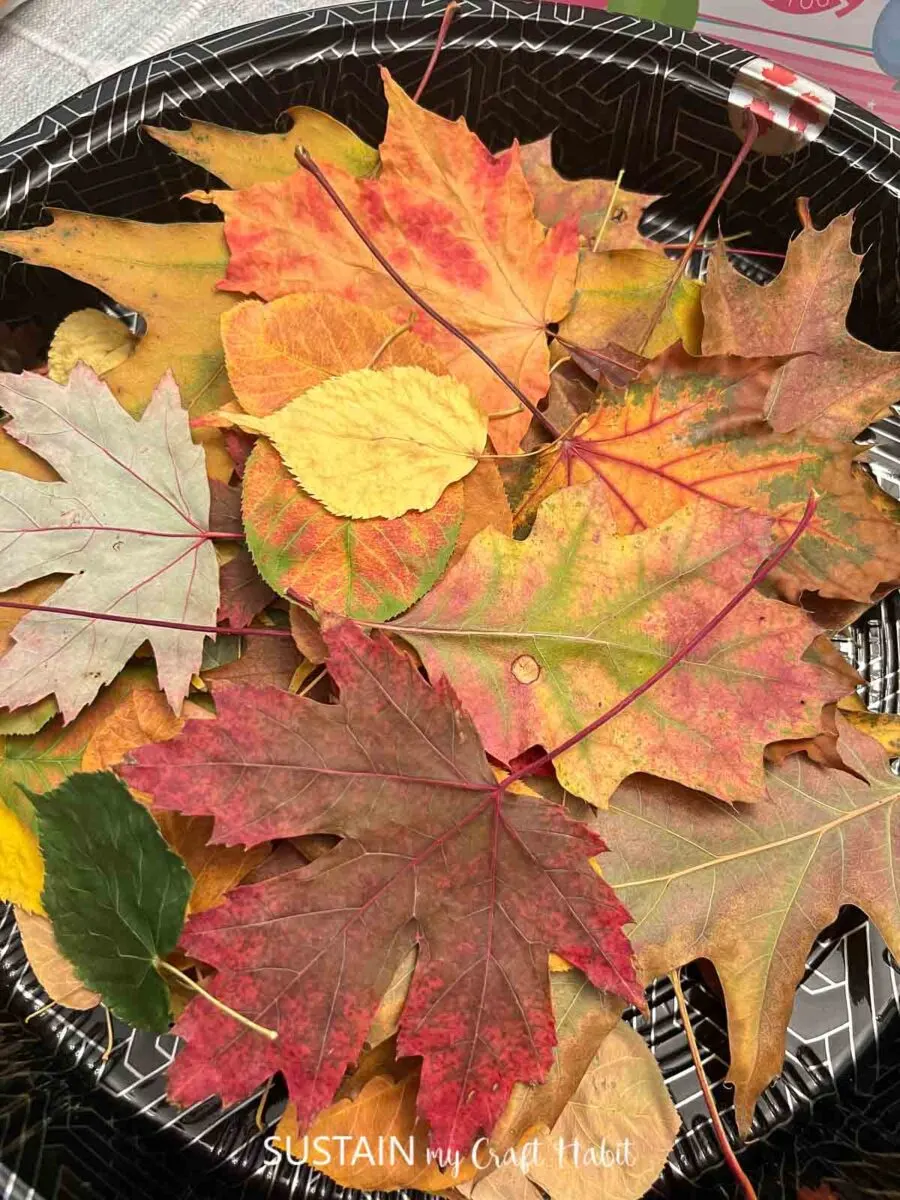
- Dried leaves (gather leaves and press dry before crafting)
- Gnome cut out
- Blue buffalo check paper napkins
- Paint in white and orange
- Paintbrushes
- Mod Podge or Decoupage
- Fishing wire or twine
- Cricut EasyPress Mini (or other small iron)


How to Make a Fall Wreath using Dried Leaves
I shared the tutorial for this fall wreath craft on a Facebook Live which you can catch here. Or if you prefer the photo tutorial, continue reading below.
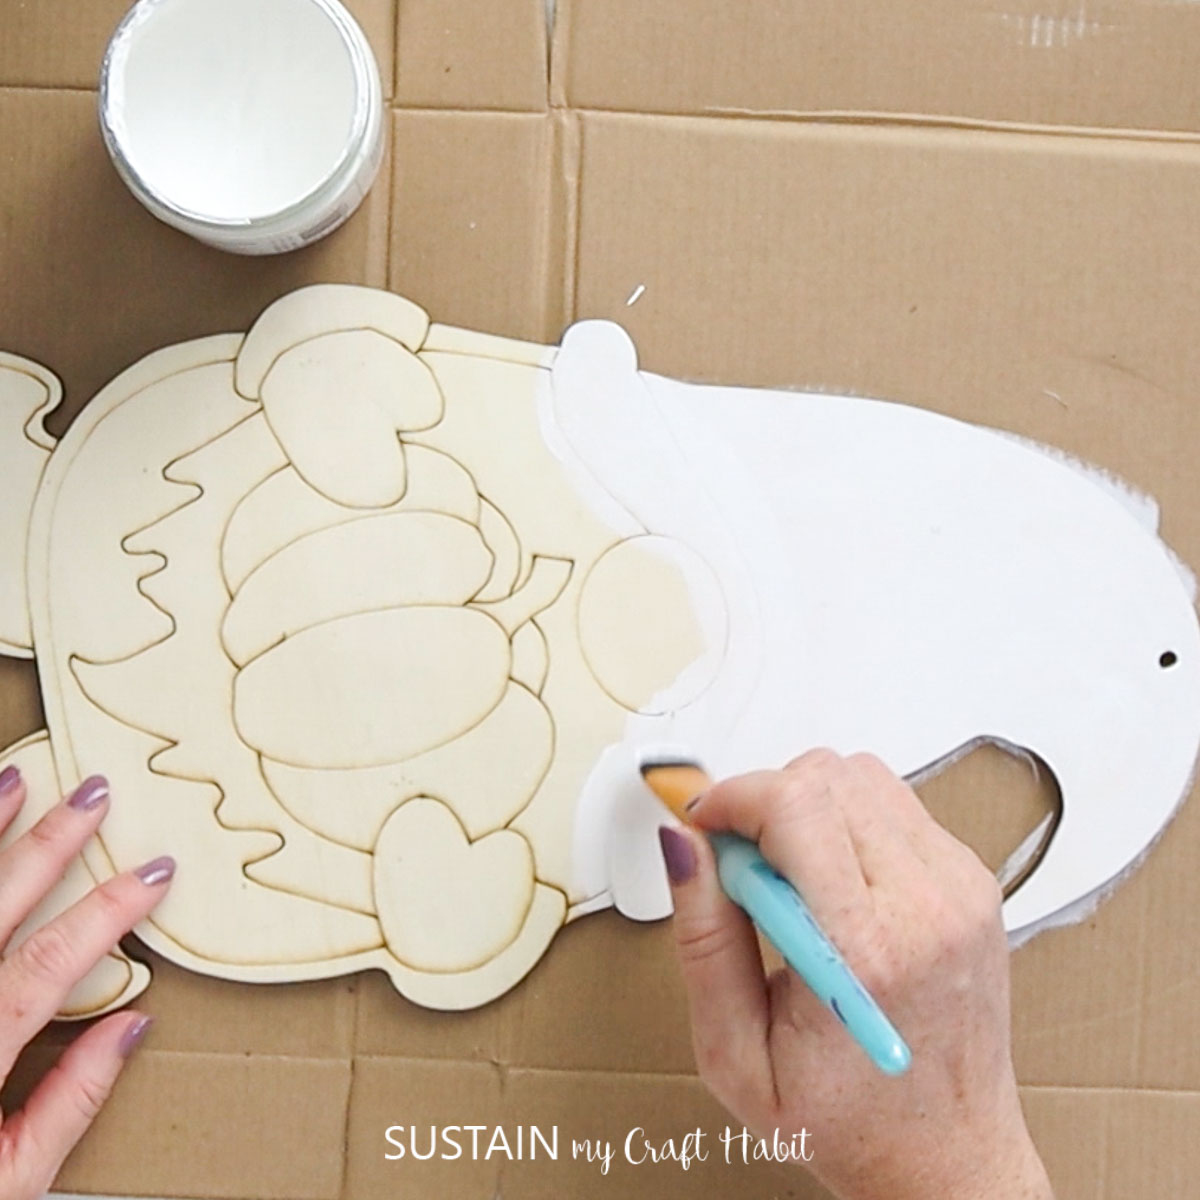
Start by painting your gnome cutout white and letting it dry.

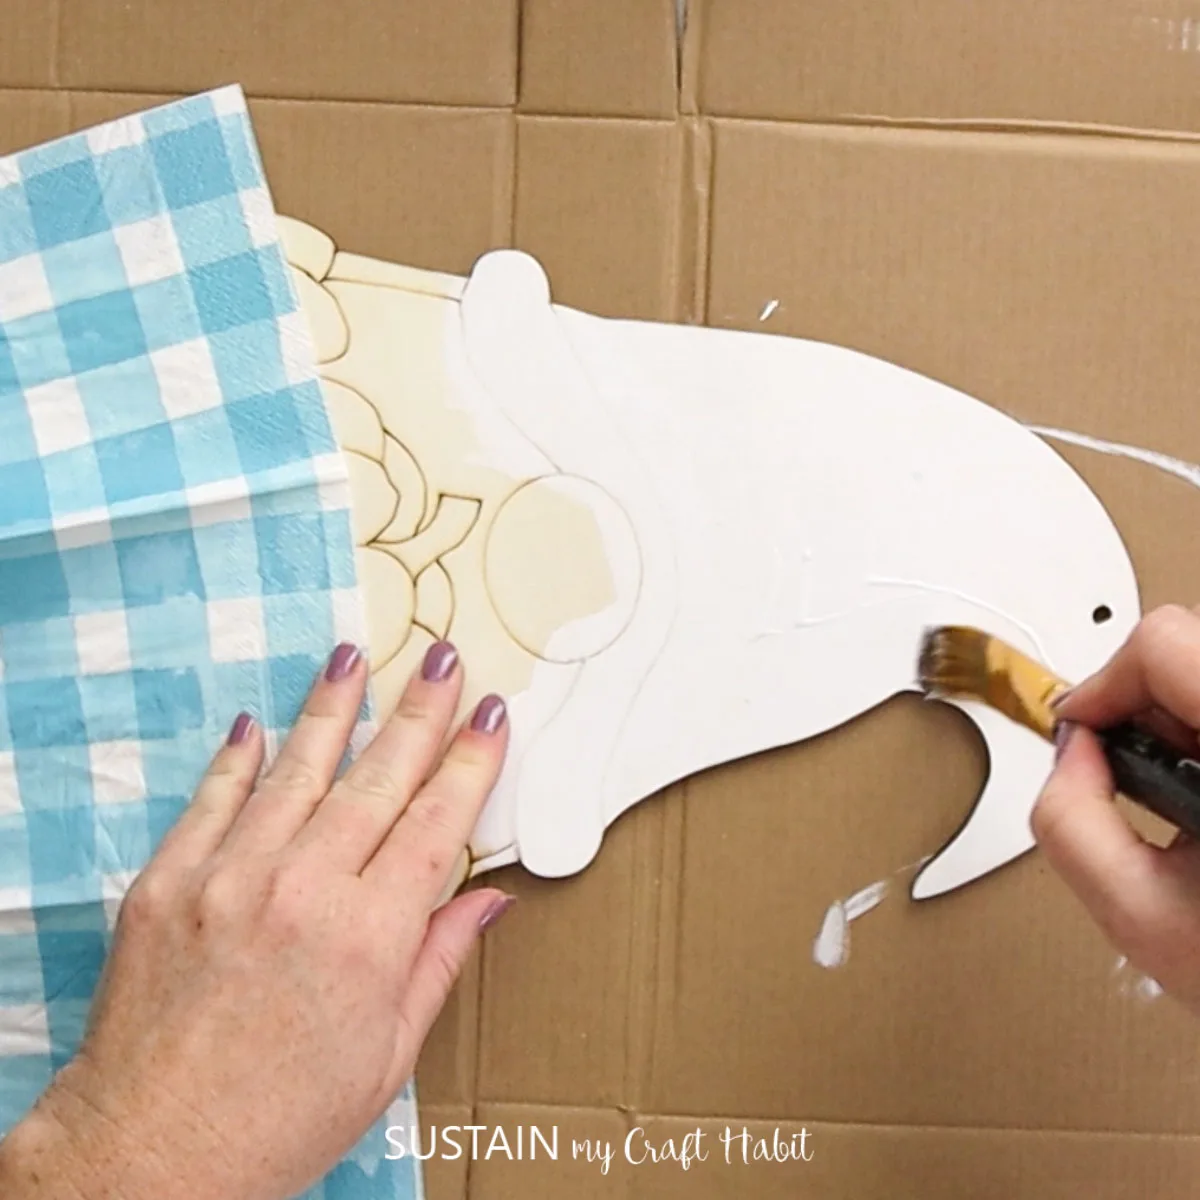
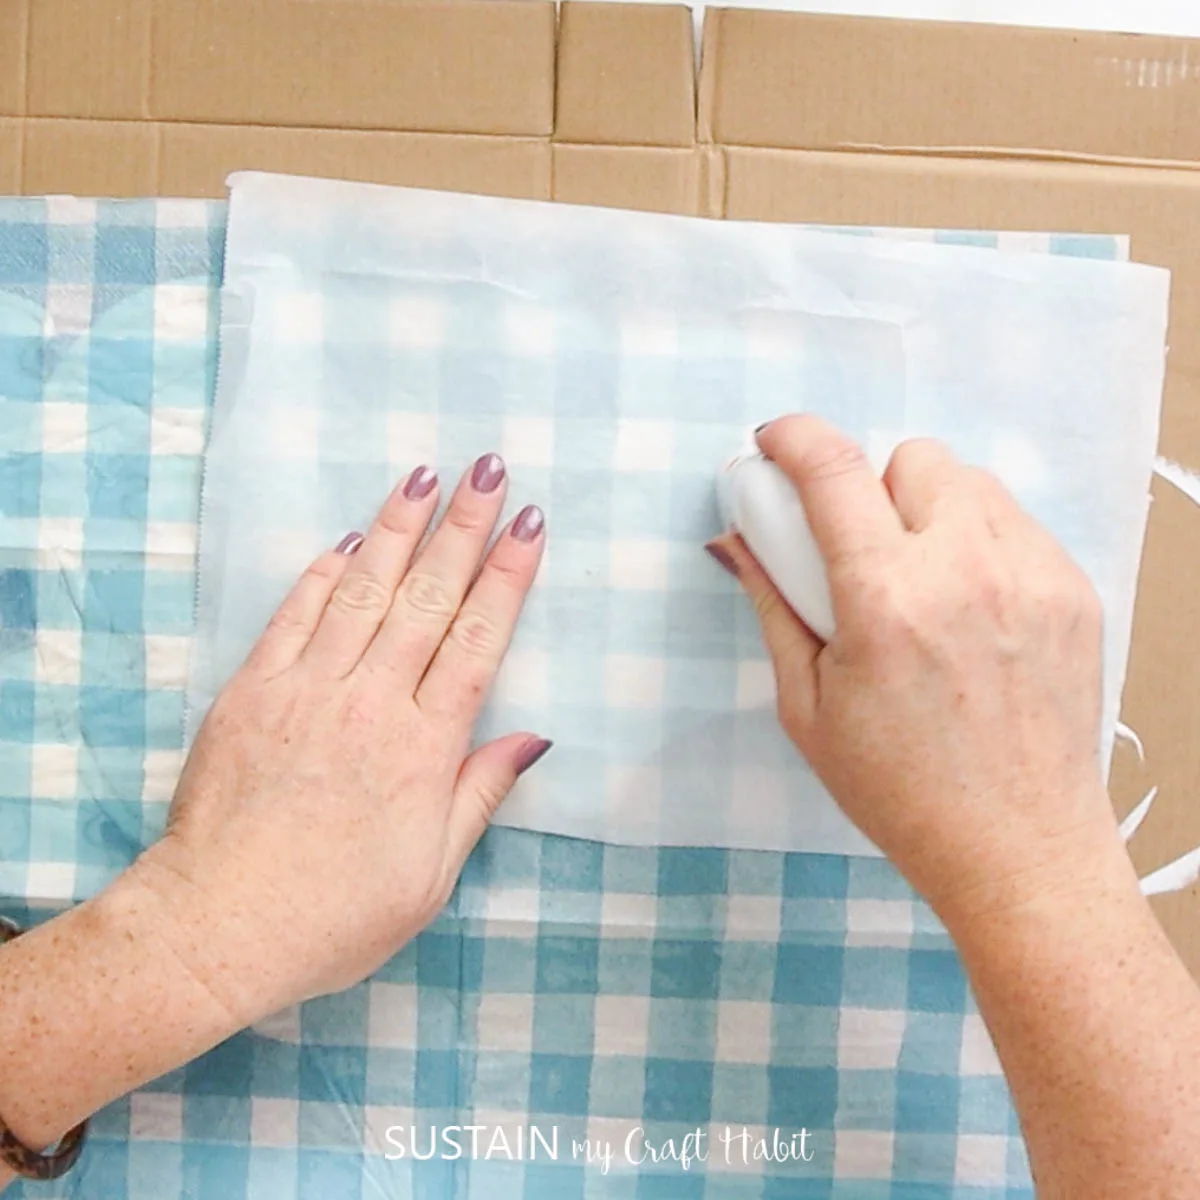
Brush on a layer of Mod Podge onto the gnome and then press the paper napkin on top. Gently press the paper and continue until the gnome surface is covered.


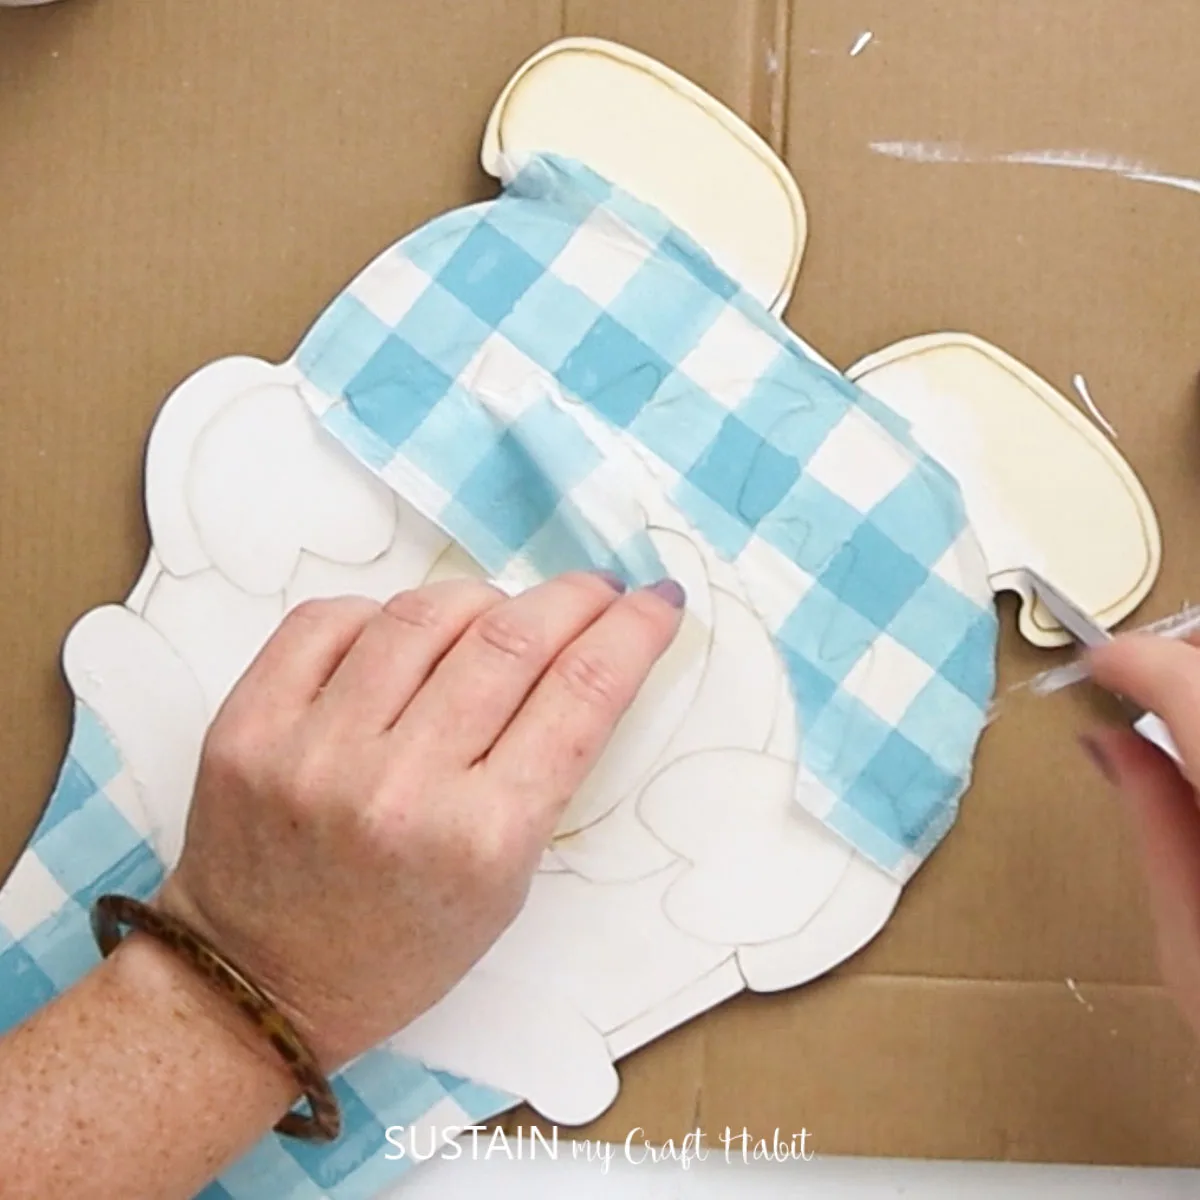
You can also place a piece of parchment paper over the glued napkin and take your mini heated iron and gently rub back and forth.

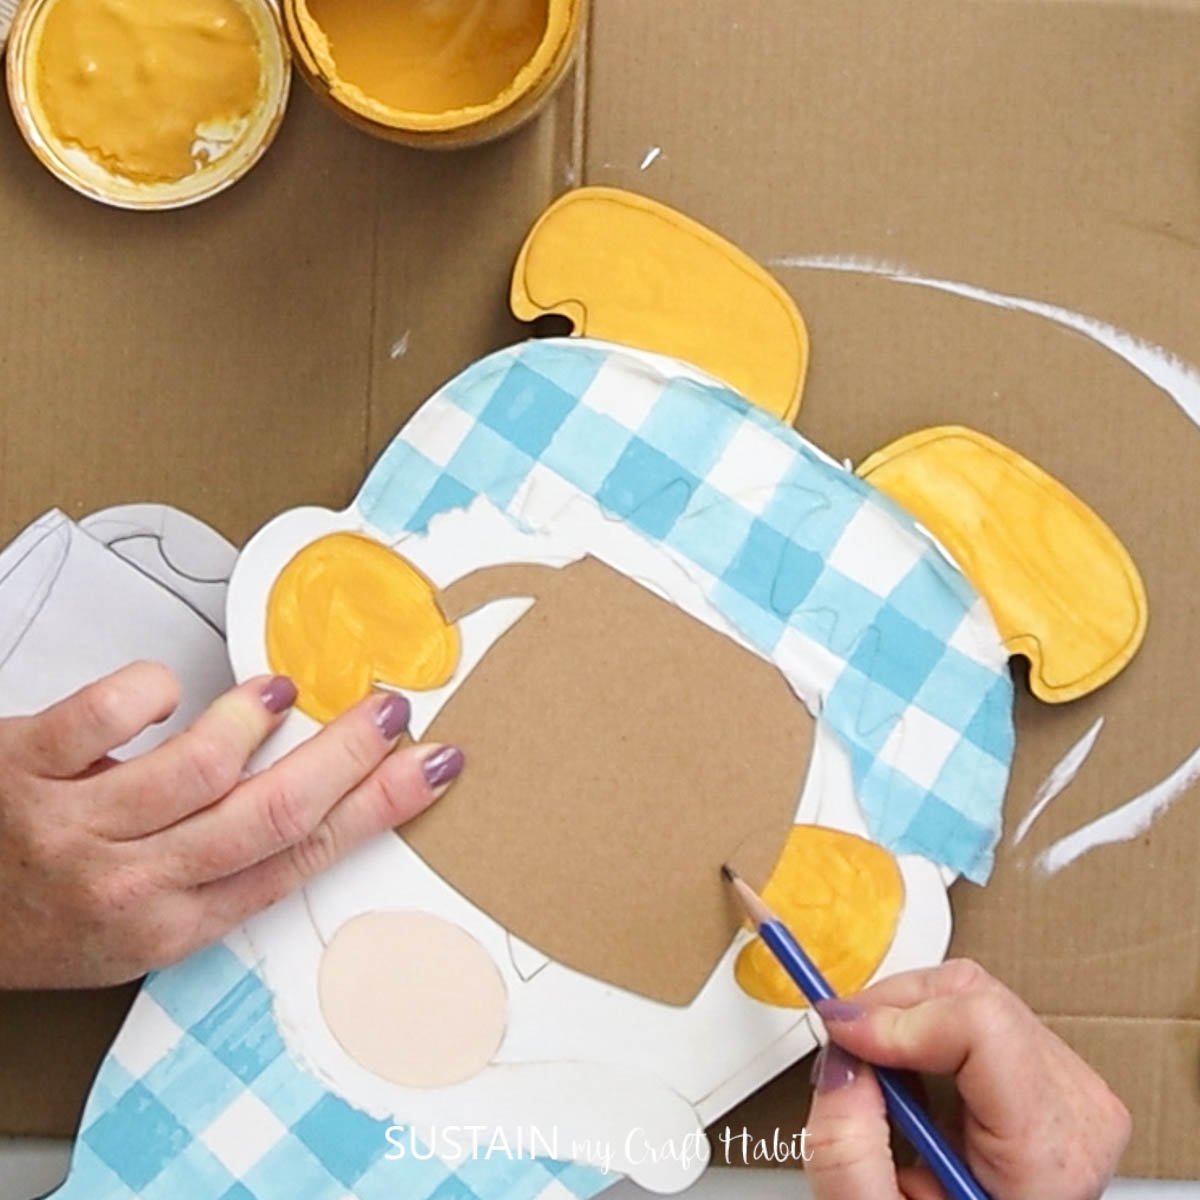
Paint the rest of your gnome and add embellishments, like a cardboard coffee mug and white beard.


Stack some of your pressed leaves together and tie them together to add some texture and depth.


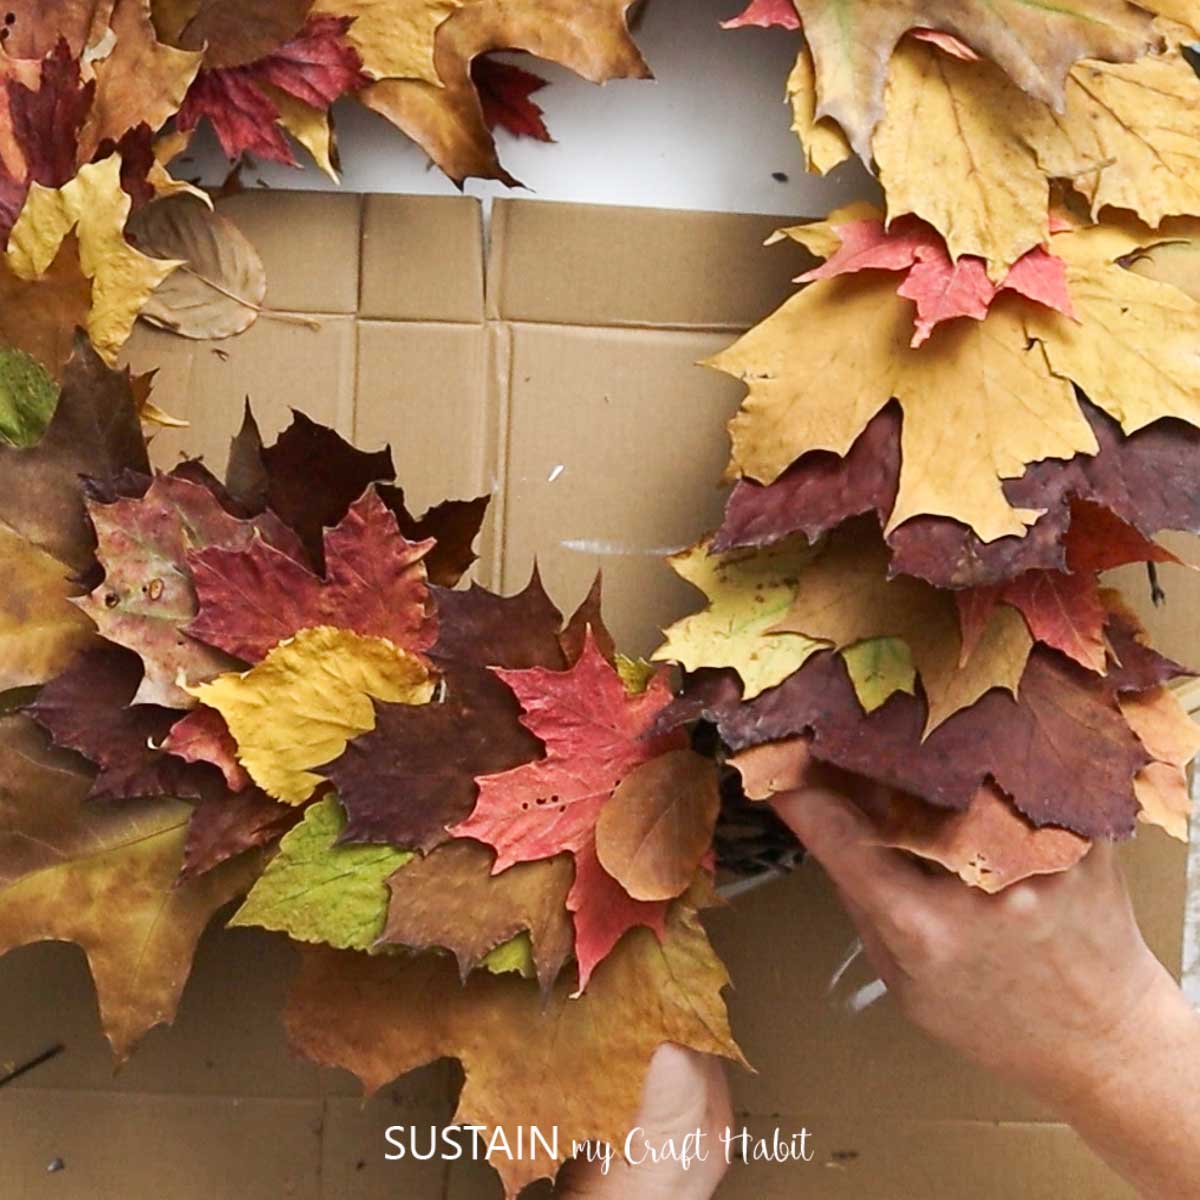
Next, weave the stems from the loose leaves and the stacked piles throughout the grapevine wreath.


Tie the leaves into place.


Continue adding leaves until the wreath is covered.

Finally, attach the decorated gnome to your wreath!


What do you think about this adorable dried leaf wreath? Wasn’t it super easy to create? Let us know if you give this dried leaf wreath a try by tagging us on Facebook or Instagram– we can’t wait to see it!
More Fall Crafts
- Fall Gnome Decor using Pressed Leaves
- Dollar Tree Pumpkin Wreath
- Metallic Fall Leaf Wreath
- Dollar Store Fall Wreath
- Burlap and Floral Fall Wreath
- Pretty Pumpkin Wreath


Want to receive a ton of inspiration and money saving ideas for decorating, gift-giving and crafting? Join HERE!
Like it? Pin it for later!


DIY Fall Wreath using Dried Leaves
Materials
- Grapevine wreath
- Dried leaves
- Gnome cut out
- Blue buffalo check napkins
- Paint in white and orange
- Paintbrushes
- Mod Podge or Decoupage
- Fishing wire or twine
- Mini iron
Instructions
- Start by painting your gnome cutout white and letting it dry.
- Brush on a layer of Mod Podge onto the gnome and then press the paper napkin on top.
- Paint the rest of your gnome and add embellishments.
- Stack some of your pressed leaves together and tie them together to add some texture and depth.
- Next, weave the stems from the loose leaves and the stacked piles throughout the grapevine wreath.
- Tie the leaves into place.
- Continue adding leaves until the wreath is covered.
- Finally, attach your decorated gnome to your wreath!