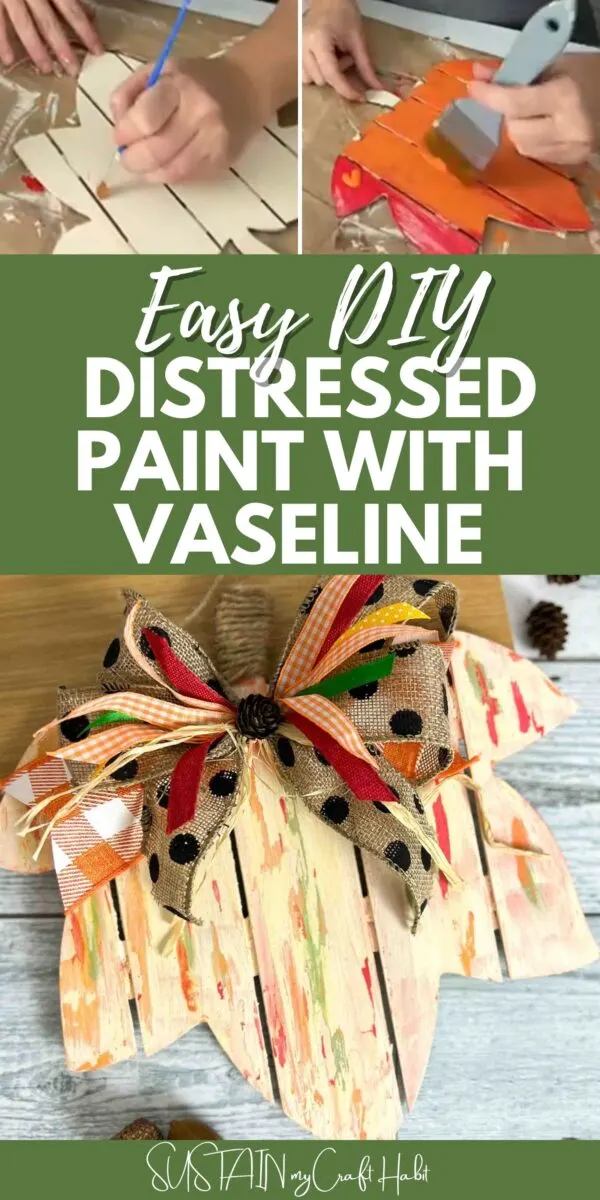
We’re sharing the secret to effortless DIY distressed paint using Vaseline. Learn how to create unique, shabby-chic pieces in no time! So if you want to add a touch of rustic charm to your home decor? We have the perfect project to share with you.
With just a few simple steps, you can transform any wooden surface into a beautiful distressed piece with this Vaseline technique. Keep reading for the simple step-by-step tutorial.

Why You Will Love This Distressed Paint Technique
Here are just a few reasons why you will love this paint technique.
- Versatility – while we are showing how to distress paint on a wood leaf, you can use this technique on so many different projects, including furniture.
- No Special Tools Needed – you don’t need any special skills or tools to create it.
- Quick and Easy – this process comes together so quickly and is simple enough for even a beginner crafter.
Just think about the projects you can create with this easy DIY technique! From everyday household items that have seen better days to budget-friendly dollar store wood pieces and more.
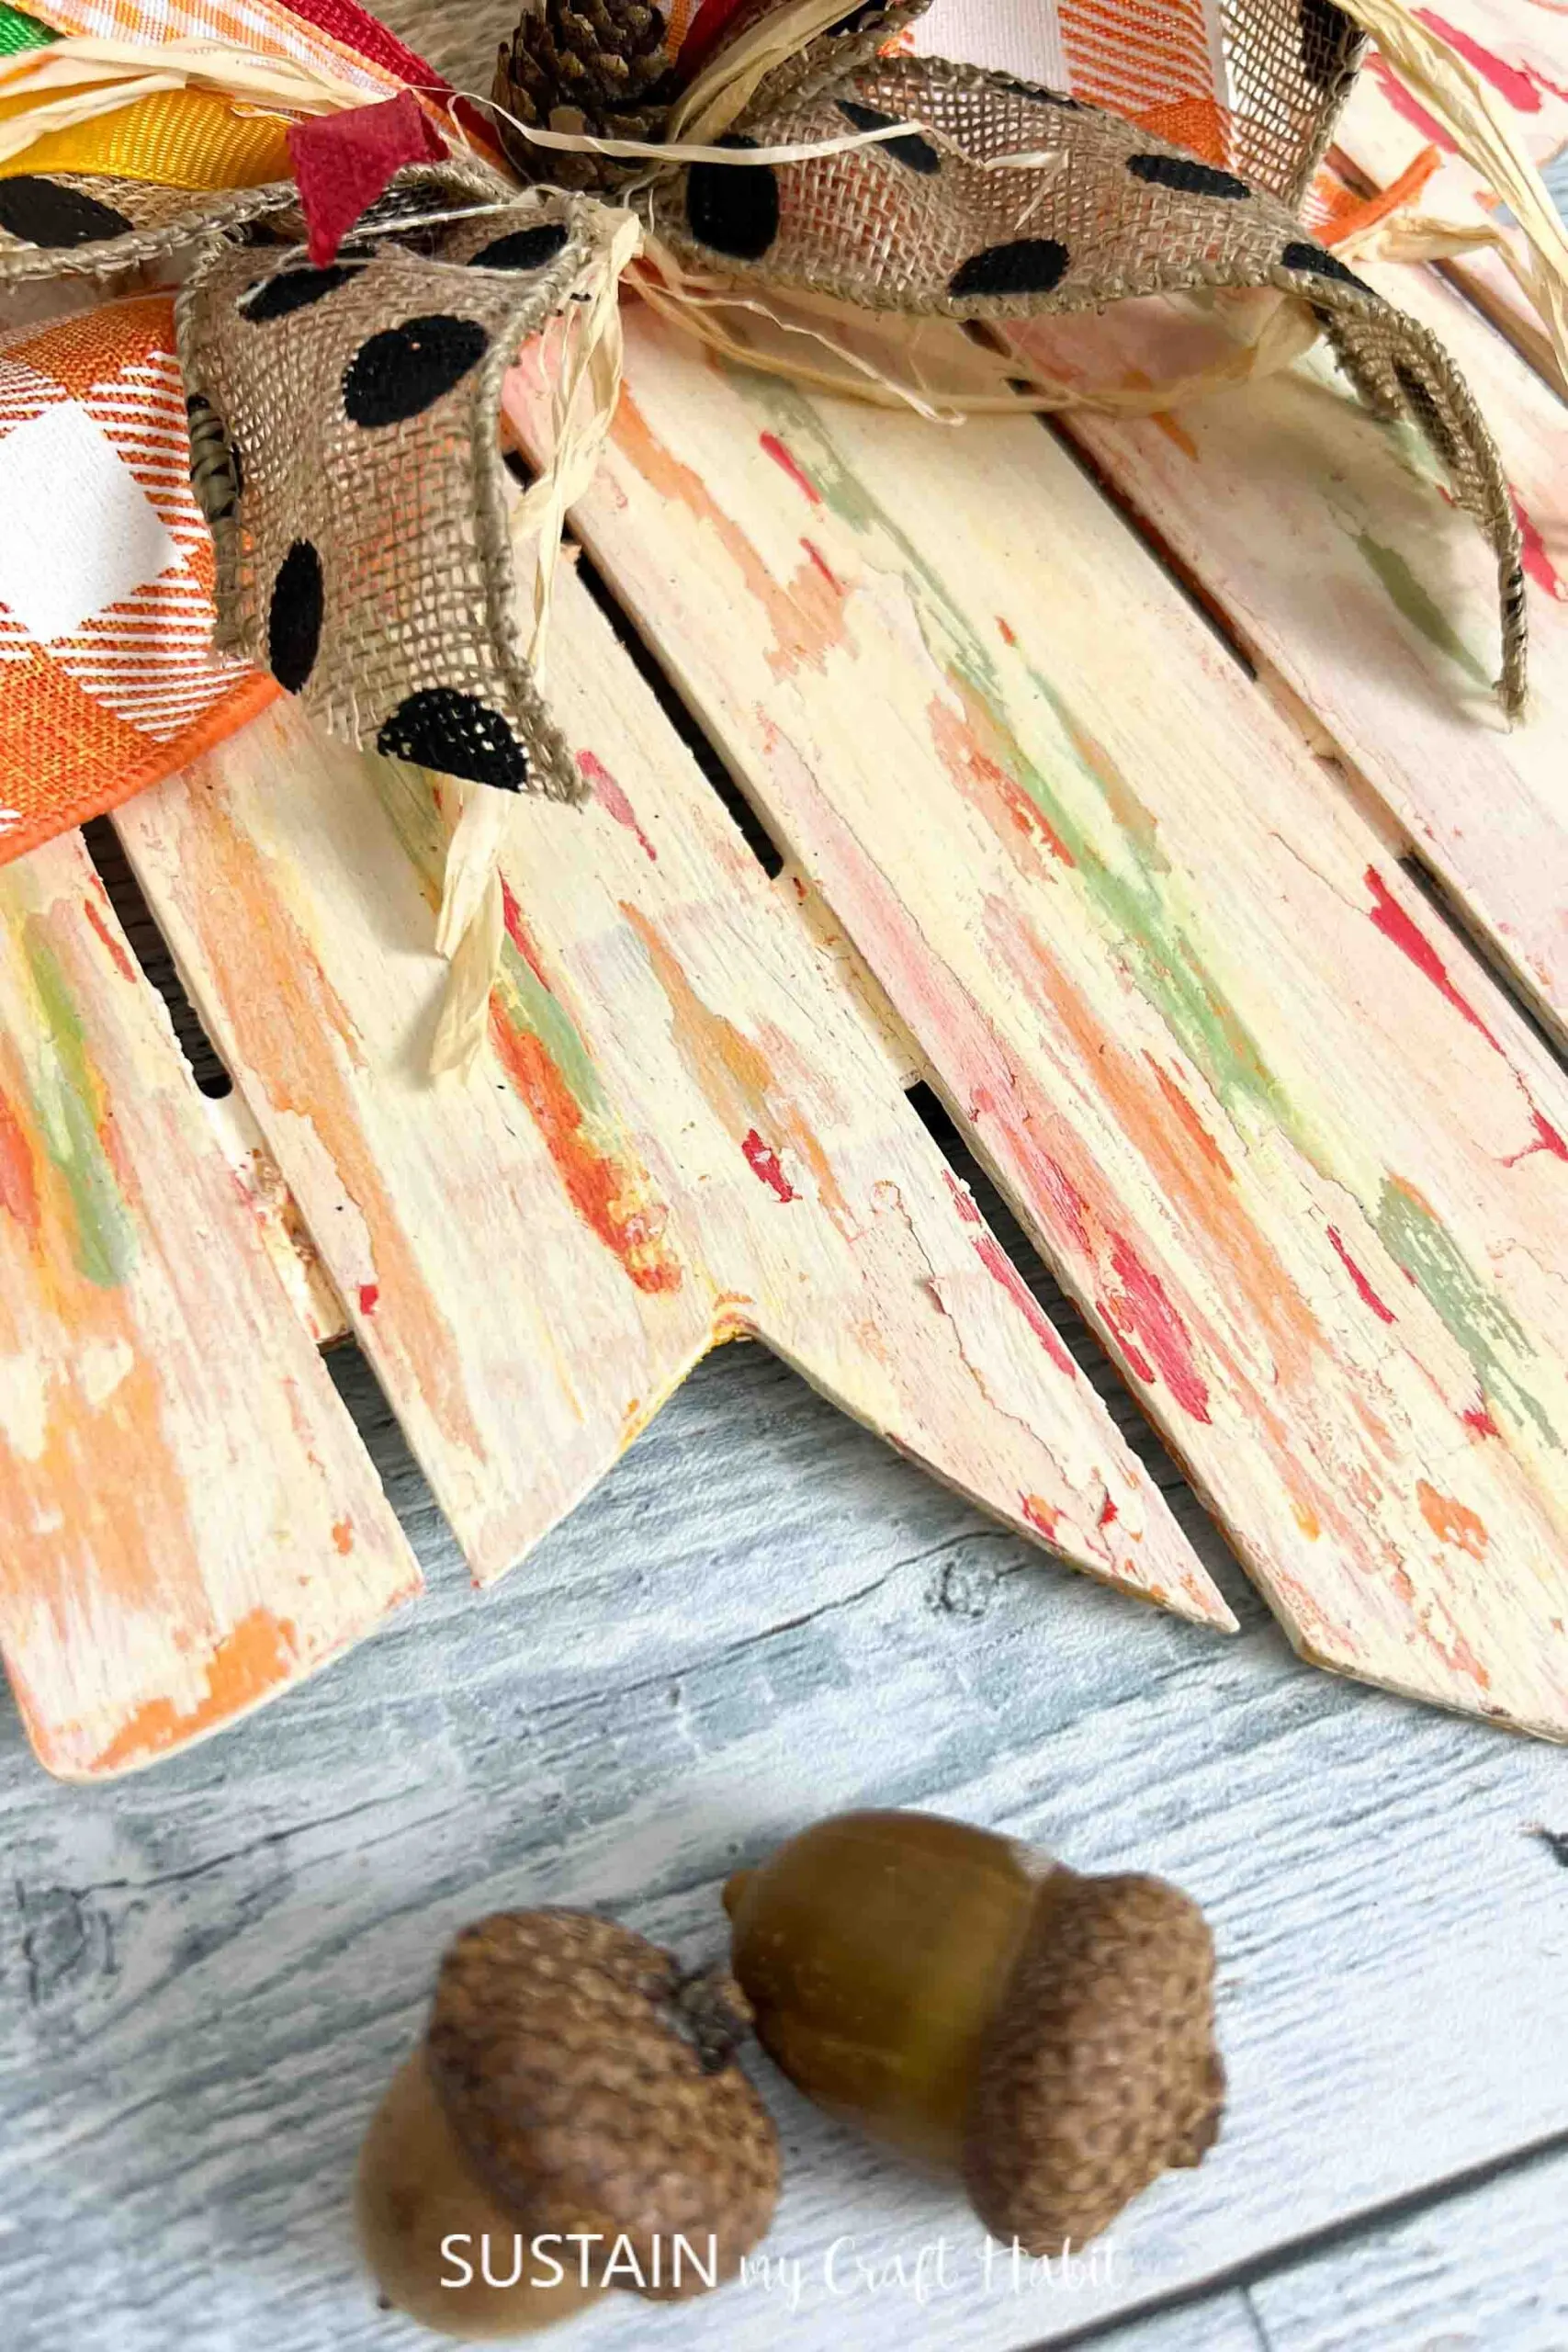
This tutorial is perfect for anyone who wants to explore their creativity and bring new life to old wood. So pick up a jar of Vaseline the next time you’re shopping and get ready to have a little fun creating!
Get updates on the latest posts and more from Sustain My Craft Habit straight to your inbox by joining our weekly newsletter. We promise to send you only the good stuff.
Materials Needed
Disclosure: This post contains affiliate links for your shopping convenience. Should you choose to purchase through them, we will make a small commission at no extra cost to you. You can read our full disclosure policy here.
- Wood sign
- Vaseline
- Paint in colors of your choice (we used white, red, orange, green, yellow)
- Paintbrushes
- Paper towels or clean cloth
How to Easily Easy Distress Paint with Vaseline
Paint your wood sign in a base white or cream color and let dry.

Next, apply a thin layer of Vaseline on the areas where you want the distressing to occur. You can add it to the edges, corners or throughout the entire sign.
Apply a top coat over the entire wood sign and let dry.


And then add more Vaseline overtop and paint again with the next color.


Continue the process until you’ve layered the colors you want.


Take a paper towel or clean cloth and start wiping off the spots where the Vaseline was used.


This will reveal the colors underneath and will look like distressed paint.

That’s all there is to it! A beautiful, distressed piece full of layers and texture. What is the first project you are going to make with this Vaseline paint technique?
If you do give this craft project a try, make sure to tell us and show it off! We really do love seeing your projects. Tag us on Facebook or Instagram – we can’t wait to see it!
More Crafting Techniques You Should Know!
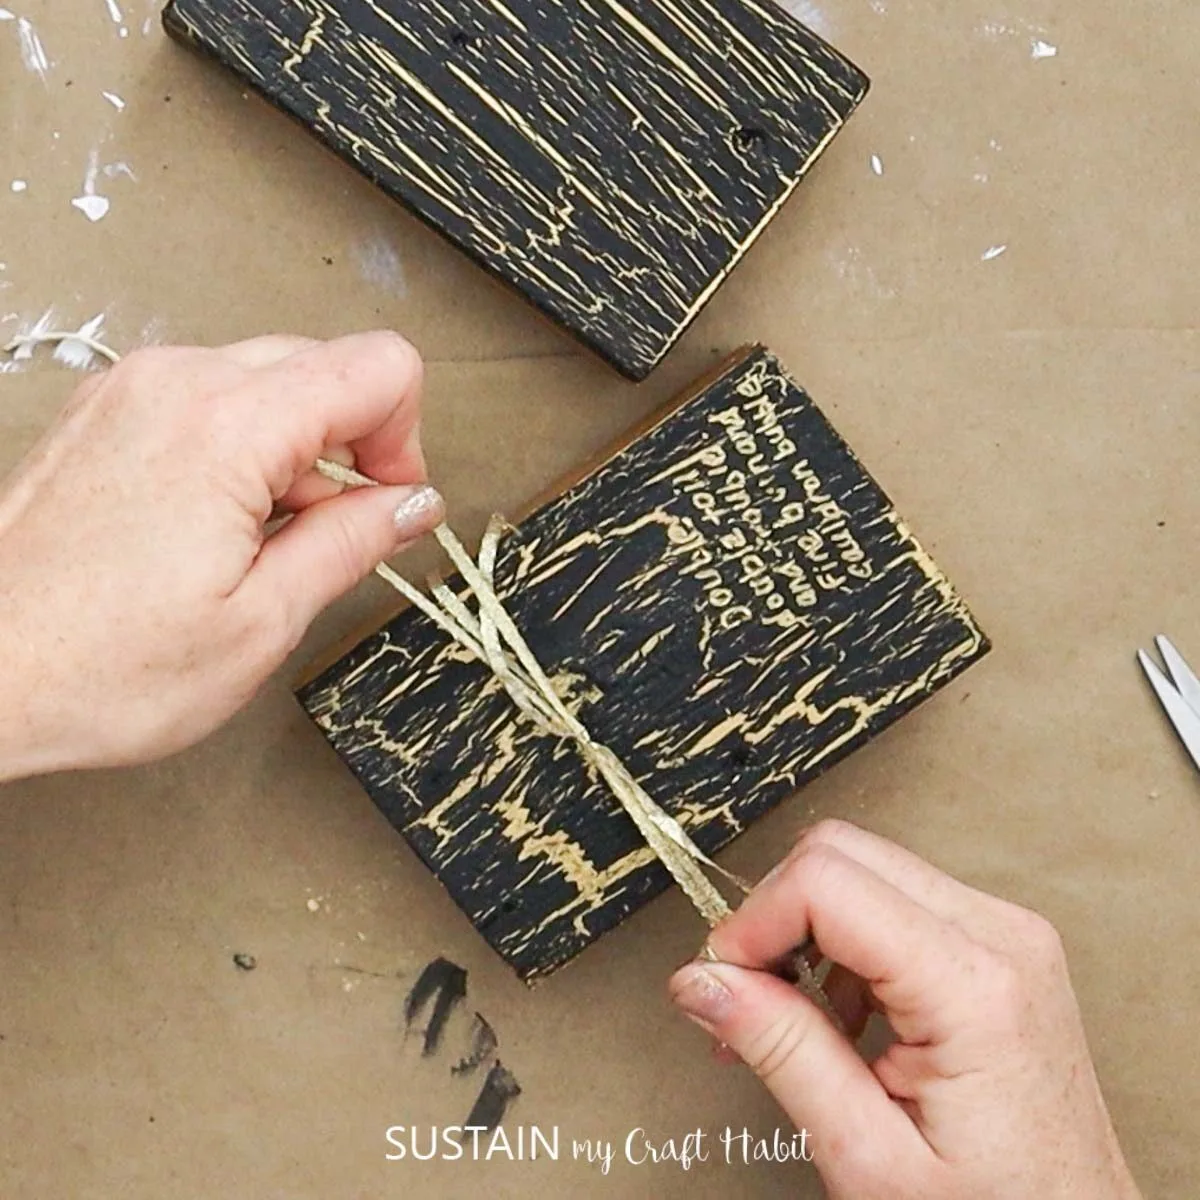
- How to Crackle Paint with Glue
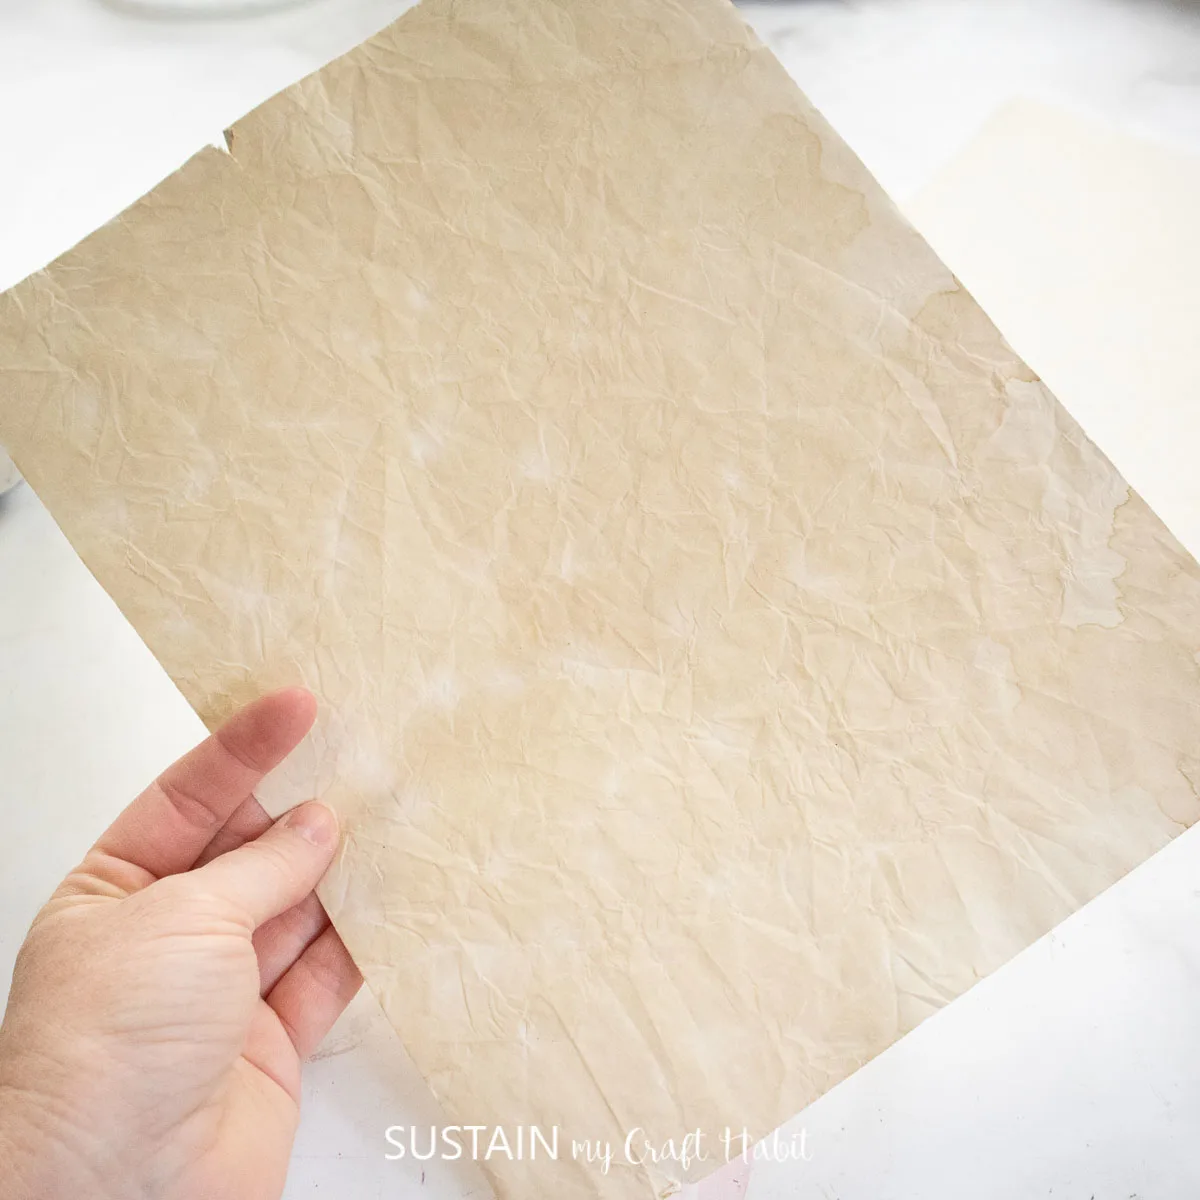
- How to Make Coffee Paper
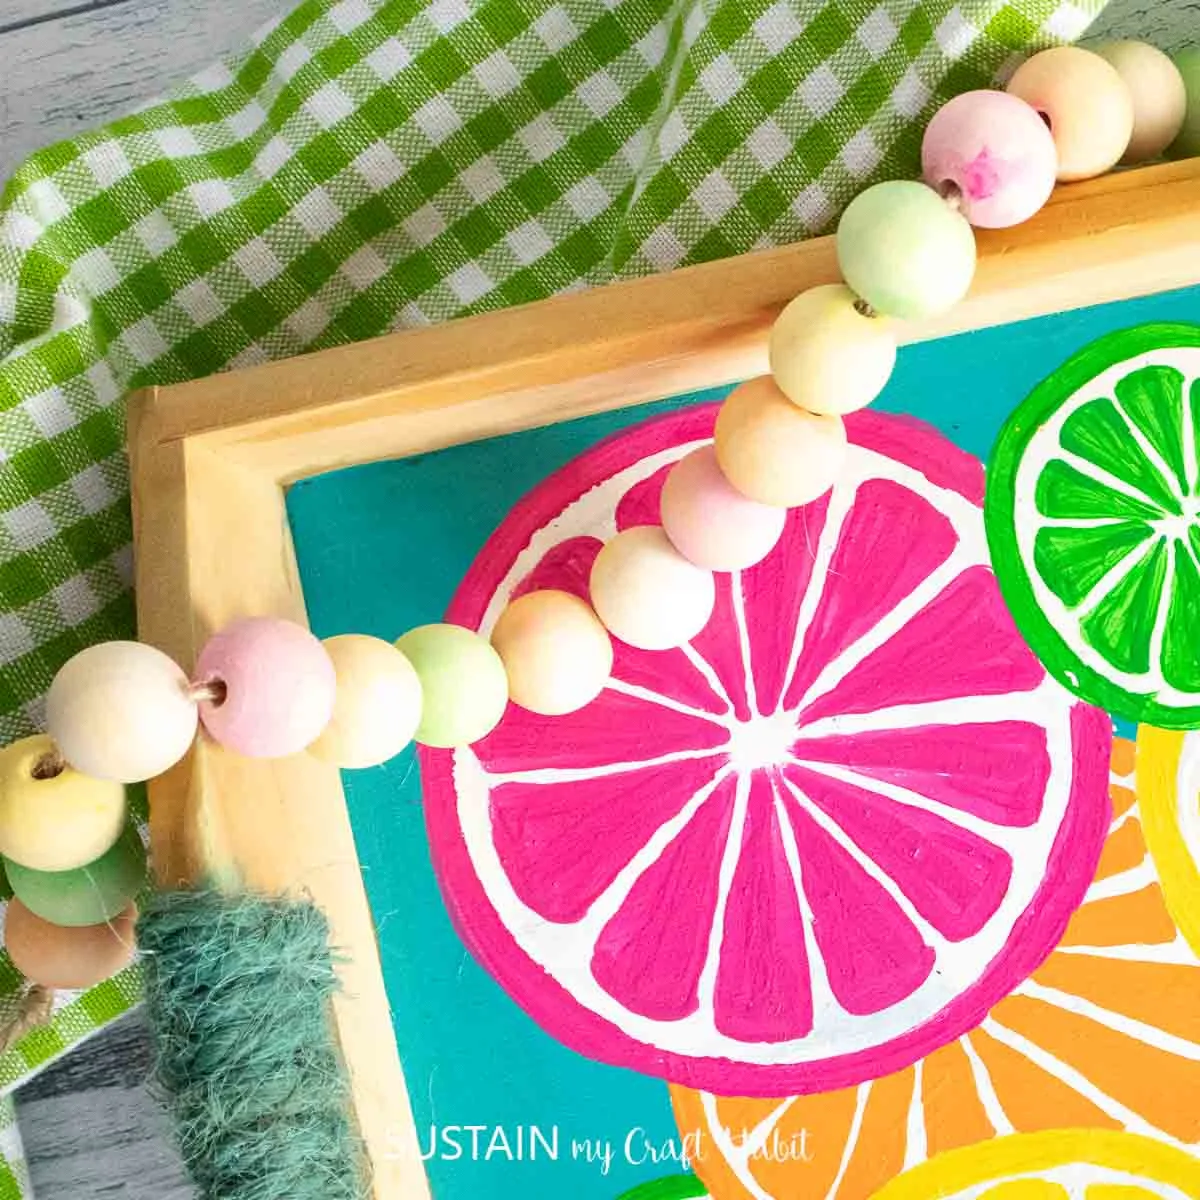
- How to Stain Wood Beads
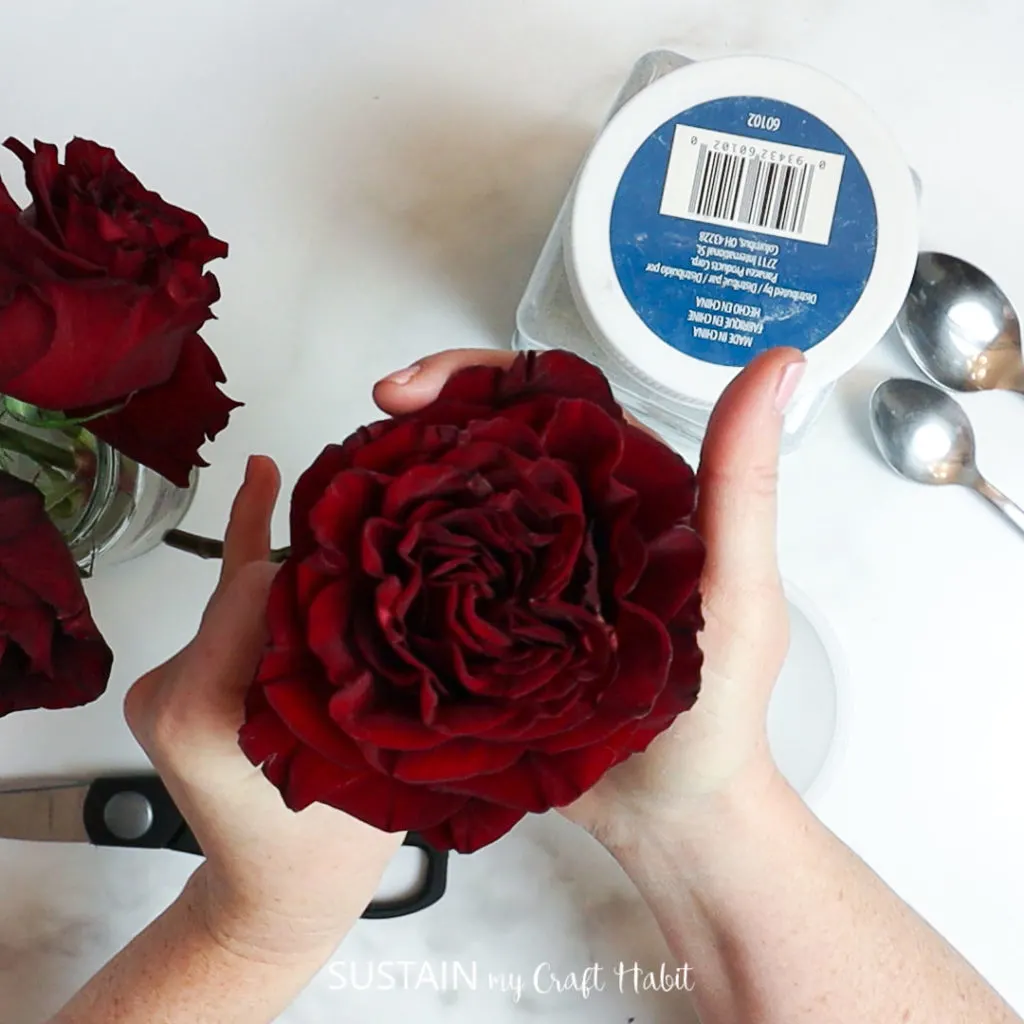
- How To Dry Roses
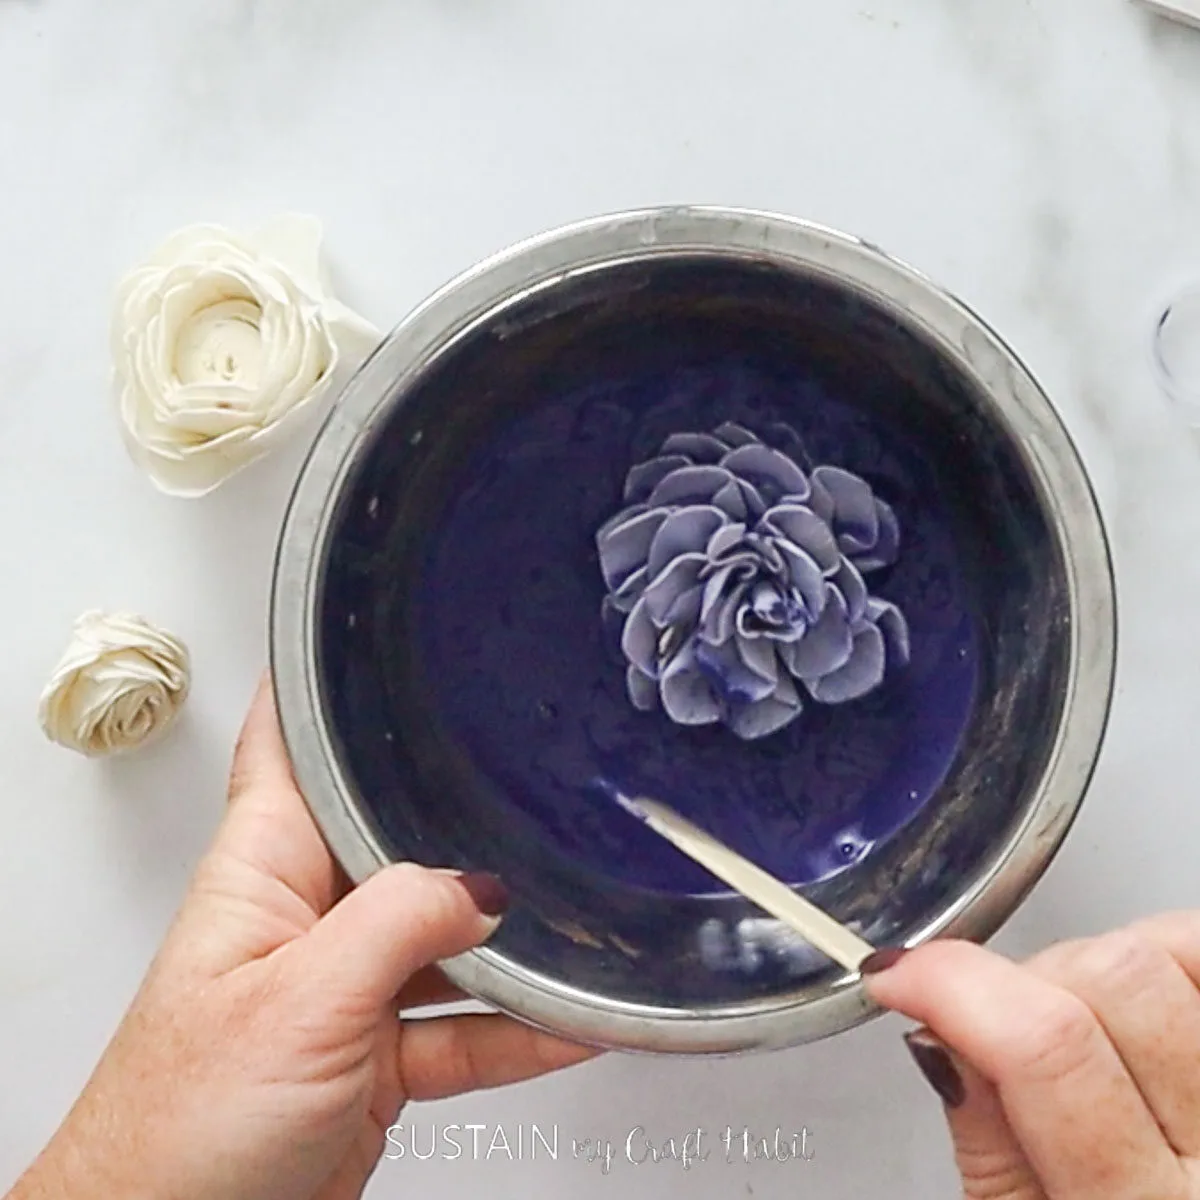
- How to Dye Sola Wood Flowers
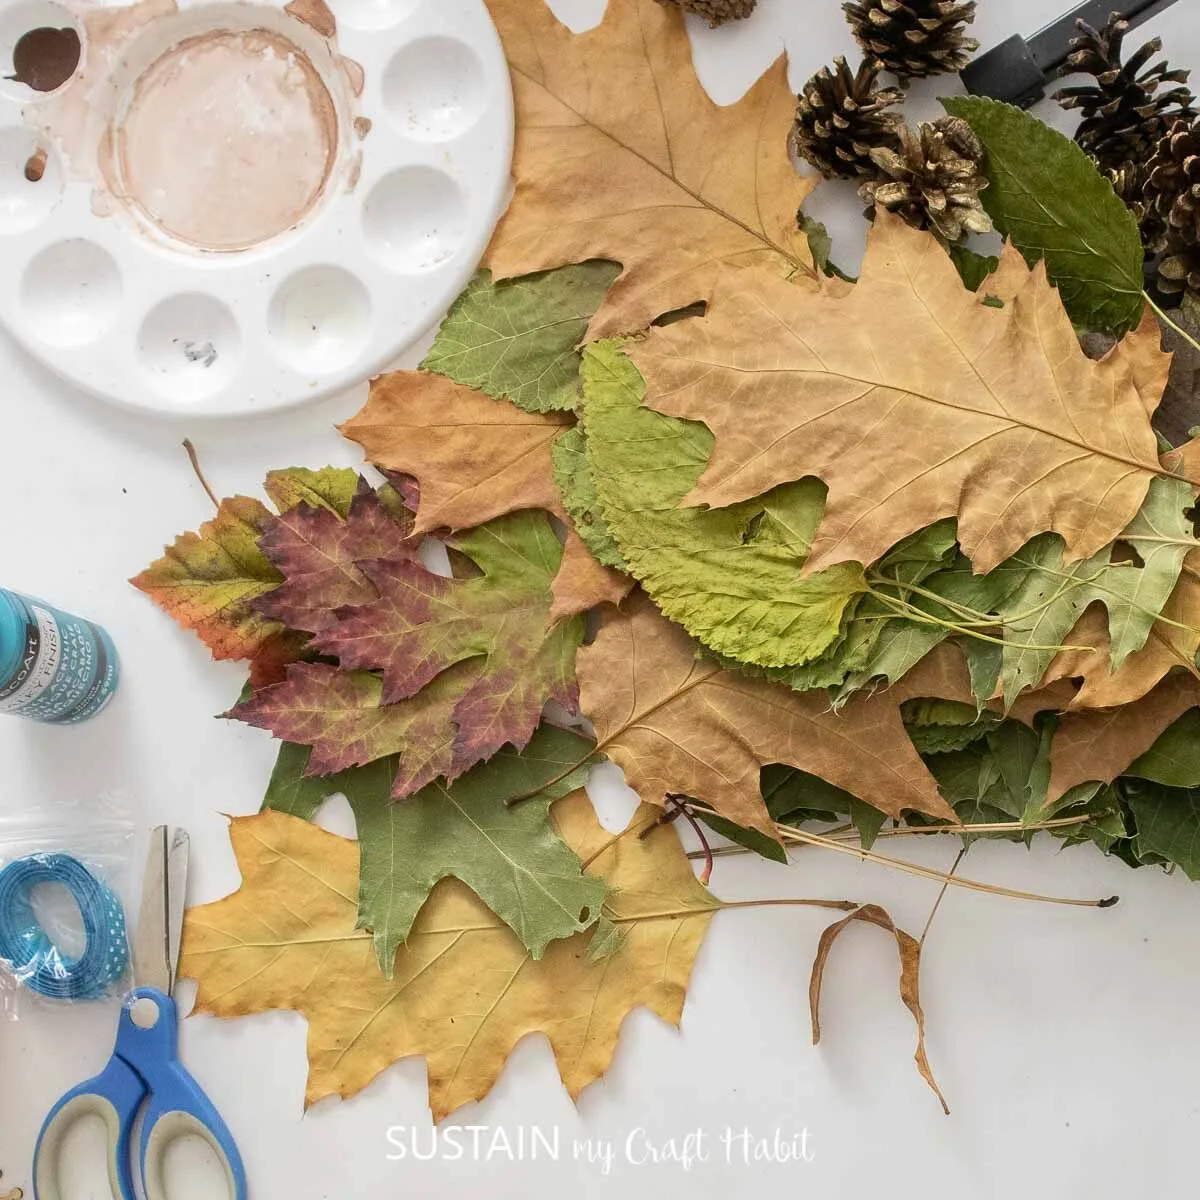
- How To Preserve Leaves For Crafting
Want to receive a ton of inspiration and money saving ideas for decorating, gift-giving and crafting? Join HERE!
Like it? Pin it for later!


Easy DIY Distressed Paint with Vaseline
Materials
- Wood sign
- Vaseline
- Paint in colors of your choice we used white, red, orange, green, yellow
- Paintbrushes
- Paper towels or clean cloth
Instructions
- Paint your wood sign in a base white color and let dry.
- Next, apply a thin layer of Vaseline on the areas where you want the distressing to occur.
- Apply a top coat over the entire wood sign and let dry.
- Add more Vaseline overtop and paint again with the next color.
- Continue the process until you’ve layered the colors you want. Take a paper towel or clean cloth and start wiping off the spots where the Vaseline was used.
- This will reveal the colors underneath and will look like distressed paint.

