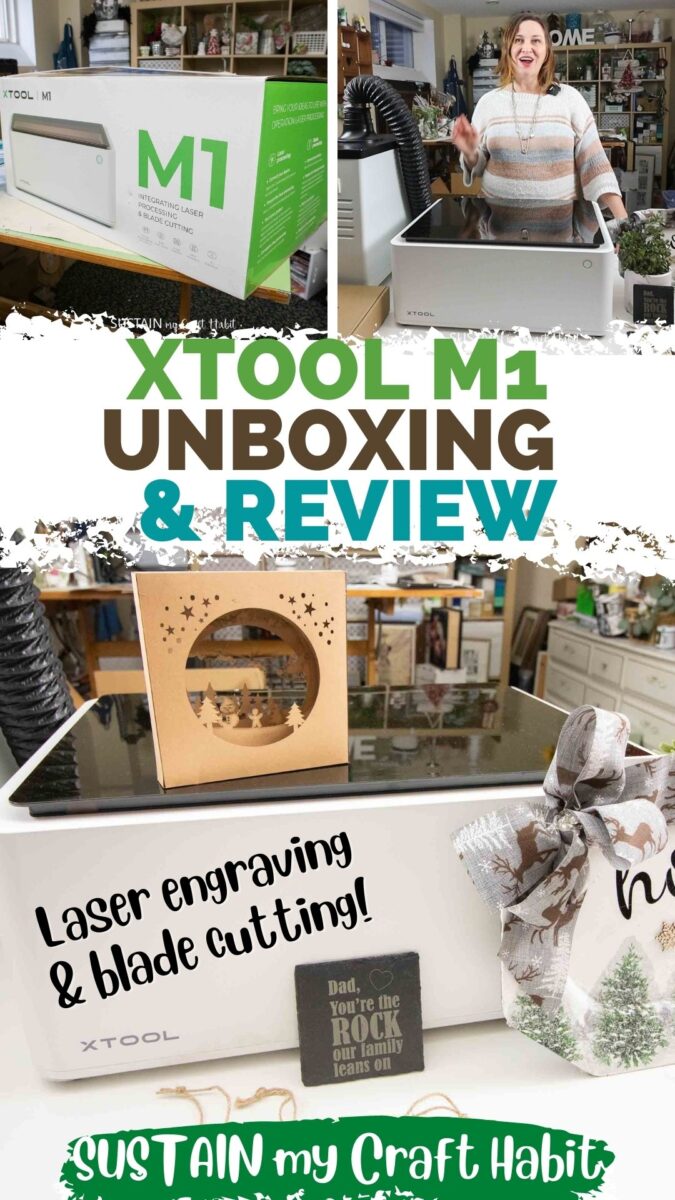
xTool M1 Review: Hybrid Laser Engraver and Cutting Machine!
As long time cutting machine owners and SVG cut file designers ourselves, we’ve been eyeing laser engravers and cutting machines to add to our crafting arsenal. So when xTool reached out to see if we’d be interested in reviewing the xTool M1, their hybrid laser engraver and blade cutting machine, we jumped on the chance! In this post we’ll show you:
- everything that comes with the xTool M1 All-in-one Kit (unboxing);
- how easy it is to set it up;
- four quick beginner projects we made;
- our first impressions and honest xTool M1 review.
Disclosure: This post is sponsored by xTool. All opinions are our own.
Disclosure: This post contains affiliate links for your shopping convenience. Should you choose to purchase through them, we will make a small commission at no extra cost to you. You can read our full disclosure policy here.
What is the xTool M1 Machine?
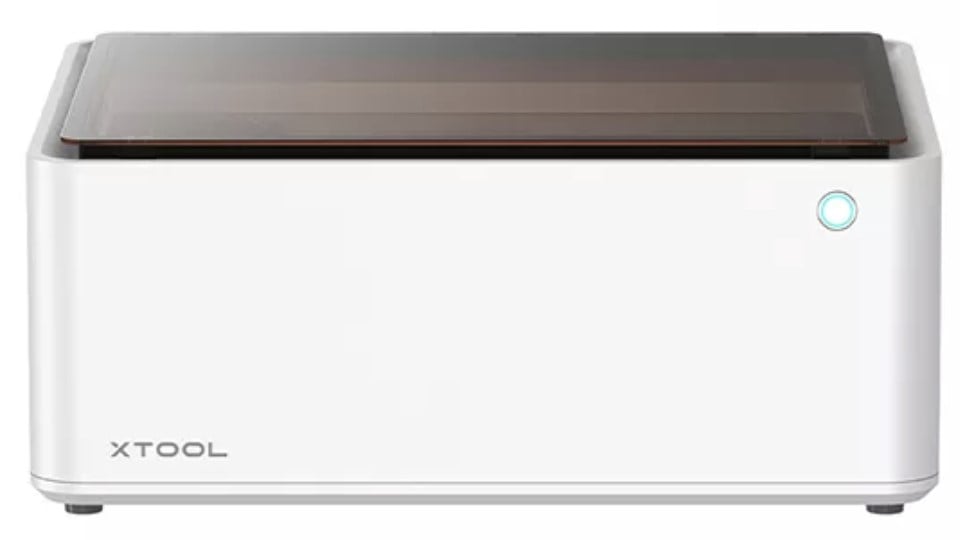
The xTool M1 is a combination machine that can both engrave on and cut numerous materials with a CO2 laser and cut materials with a separate blade. Laser cutting and engraving has traditionally been reserved for more commercial purposes – with the M1 machine, xTool has made this into desktop technology that’s suitable for any home!

Laser engravers and cutting machines are used by crafters, wood workers and artisans to make intricate cuts and engravings on surfaces ranging from wood, paper, metal to stone and more. And with their R2 Pro rotary accessory lets you engrave on curved surfaces such as glasses, rings and even spheres.
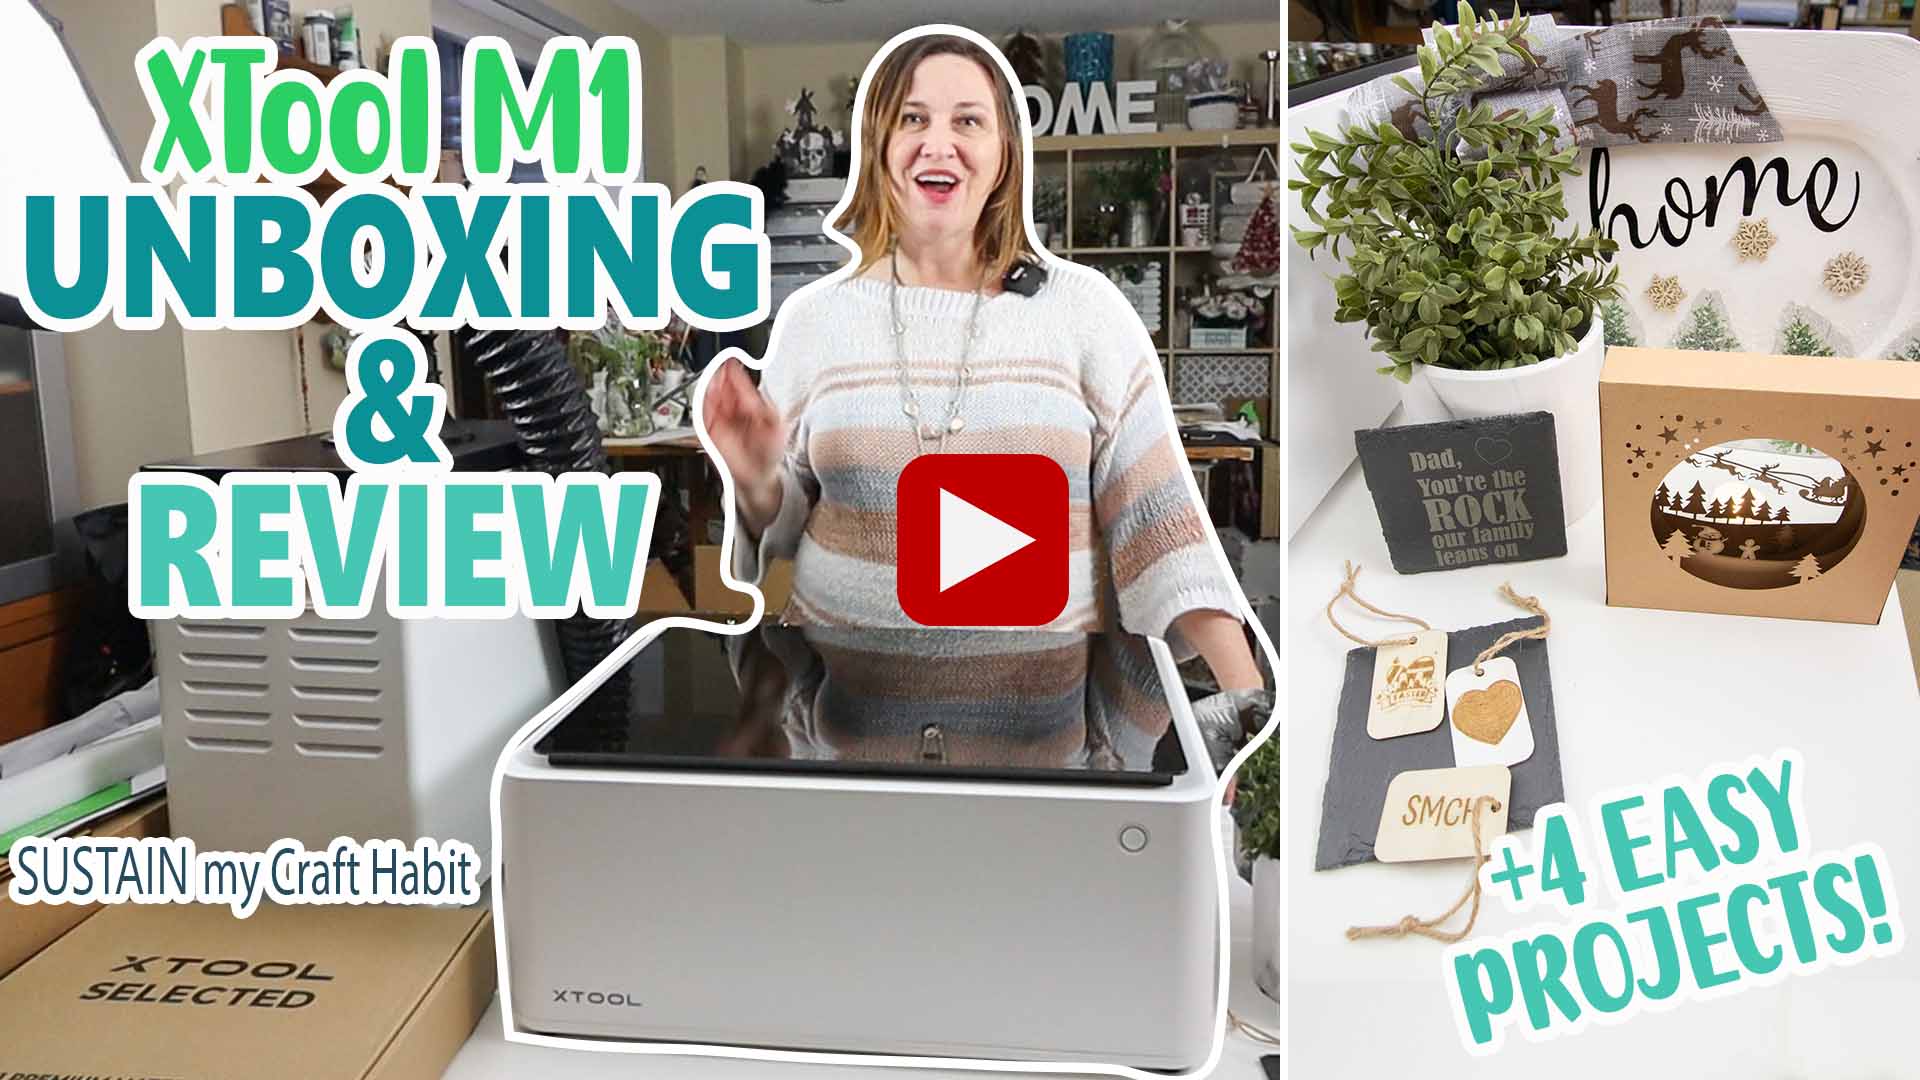
Video Review of the xTool M1 All-in-one Kit
Want to see all that came with the xTool M1 All-in-one Kit? Be sure to check out our full review and demonstration over on YouTube!
Unboxing the xTool All-in-one Kit
xTool offers several models of laser cutters. Compared to the higher priced D1 model, the xTool M1 is intended for home, personal use. Everything from the minimal set up (pretty much ready to use straight out of the box) to ease of use reflect that it’s ideal for a novice laser engraver user.
The xTool M1 itself comes in two versions: 5W and 10W. The 5W Basic is the least expensive (currently on sale for $899) and doesn’t come with any of the accessories.
The 10W Basic is a bit more expensive (currently on sale for $999) but will give you the option to cut thicker and more types of materials. For double the power we think the 10W version is worth the extra cost.
xTool also offers a variety of bundles, or kits with with the 10W model. There bundles include key accessories such as:
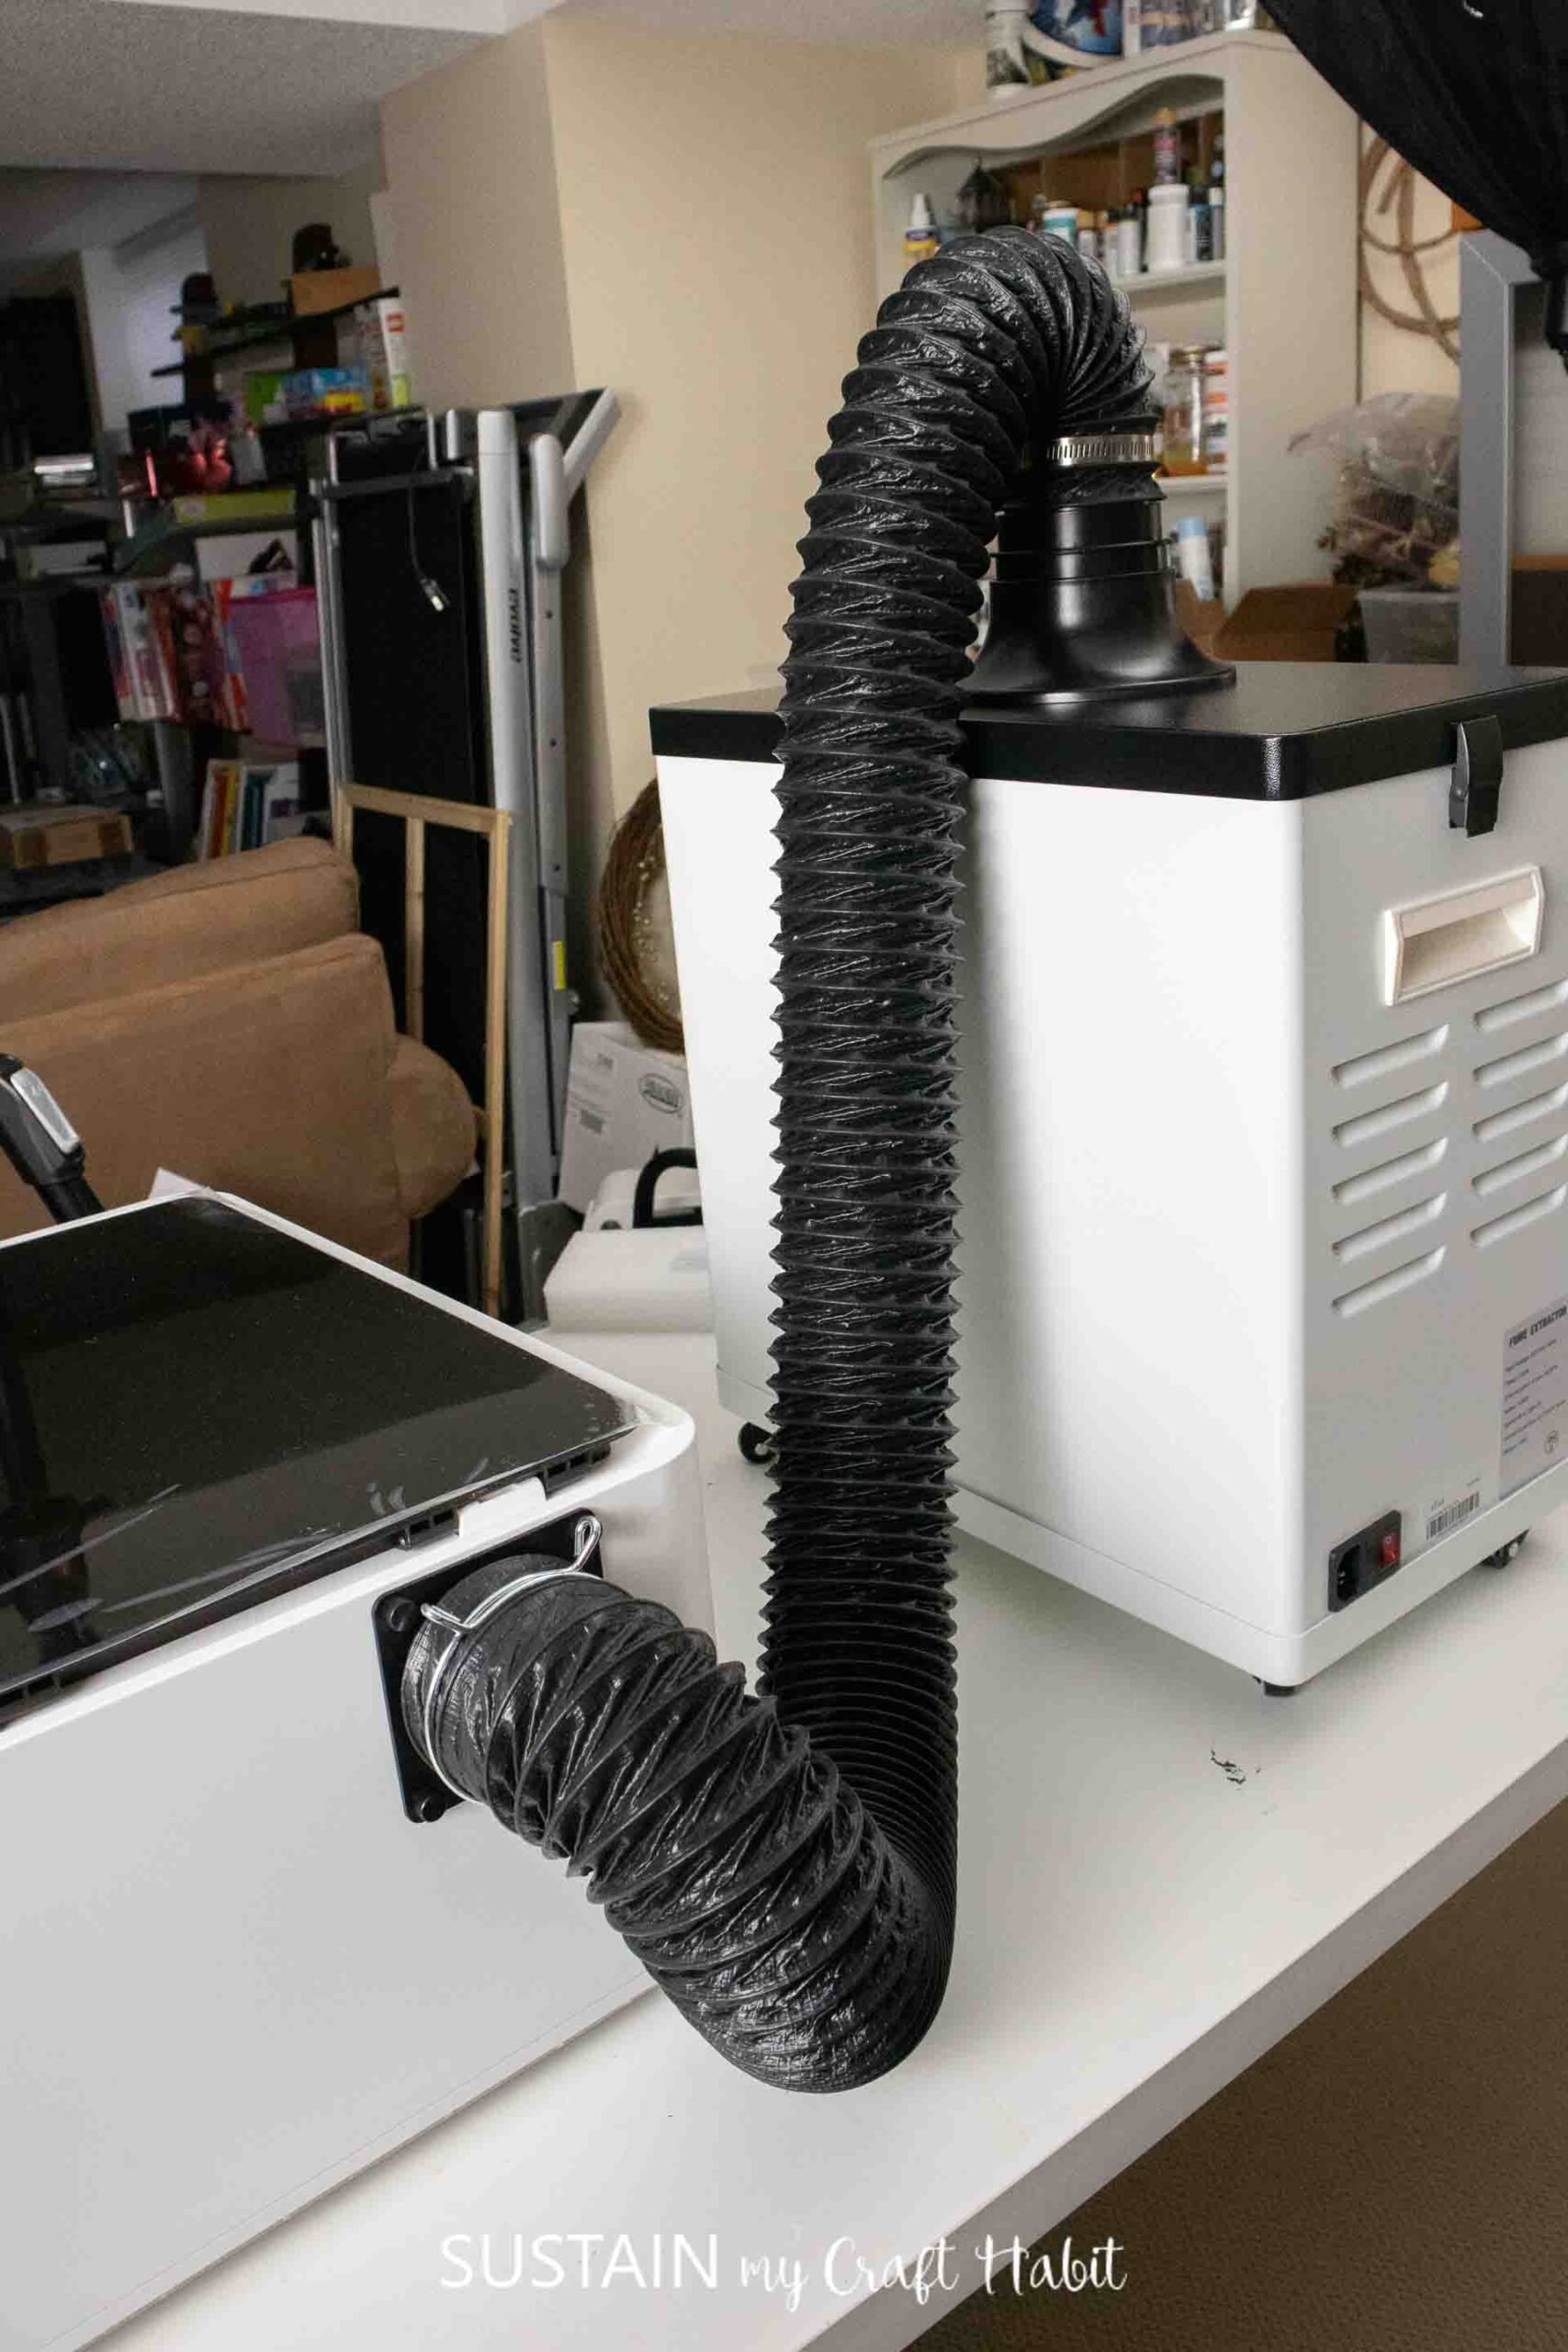
- xTool Smoke Purifier: This add-on includes a 3-layer filtration system which filters the smoke and other particulates released during the engraving process. This Purifier is ideal if you are unable to vent your machine to the outside.
- Riser Base with Honeycomb Panel: This riser supports engraving with the RA2Pro and taller objects. It provides for increased air flow and fast heat dissipation for cleaner engraving and cutting (less charring).
- xTool M1 Air Assist Set: This set creates a stronger airflower which enables deeper, faster and cleaner cutting.
The M1 All-in-one Kit we received included the 10W model along with all of the above accessories.

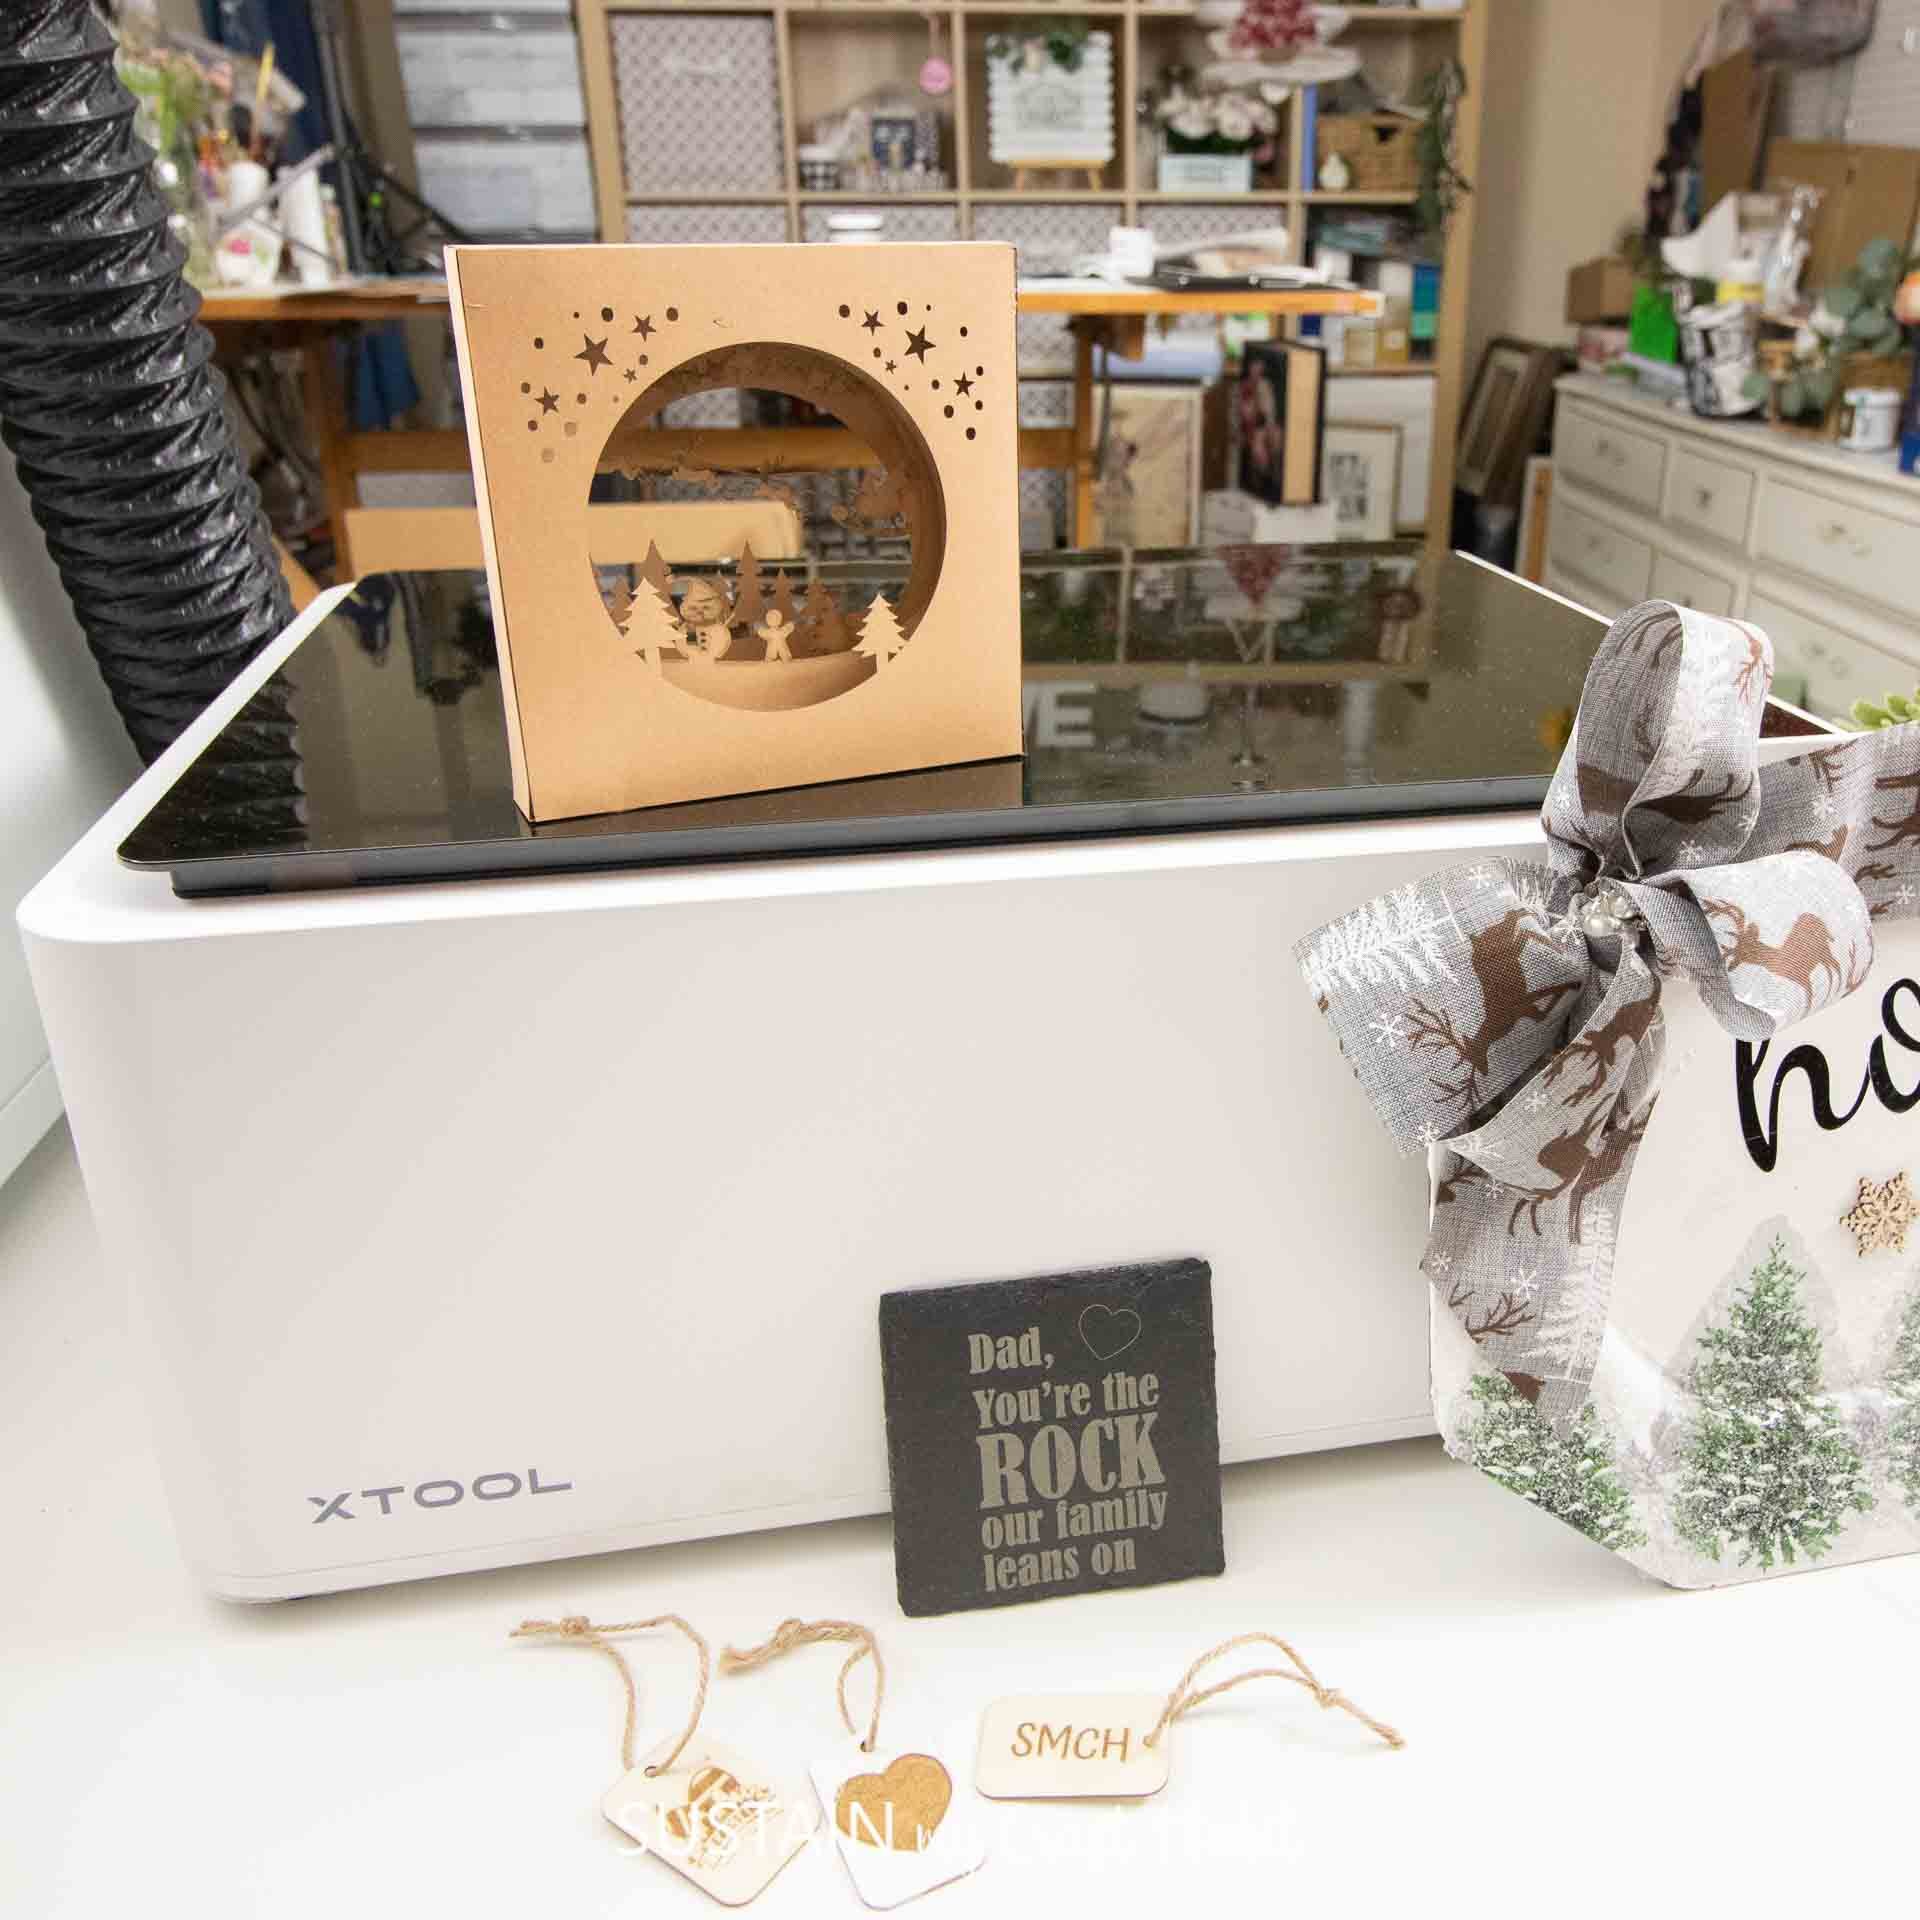
The All-in-one Kit also included a Premium Materials Box. This box is filled with a generous selection (245 pieces) of surfaces and materials including wood tags, slices, sheets, kraft and cardstock papers, vinyl and acrylic sheets, faux leather, metal card holder, slate coasters and more.
xTool M1 Set-Up
Setting up the machine was actually really quick following the instruction manual.
I simply attached the vent hose to the outlet on the back of the machine.


The vent hose pulls out the smoke and debris produced during the laser engraving and cutting process. The other end of the vent hose should be placed outdoors through a window or door.
An alternative to outdoor venting is to use the xTool Smoke Purifier. This too was really easy to set up with just a single adapter and ring to secure the hose in place.
After I plugged in the two machines with the included AC adaptors, the set up was complete!
Connecting the xTool Creative Space Software
In order to operate the xTool M1 machine you’ll need to install the free xTool Creative Space Software onto your PC. You’ll then connect it to the machine with either the USB cable provided or via WIFI Connection.
To install the software simply head to https://www.xtool.com/pages/software and select the version that matches your computer device.

Once installed you will open up the canvas which looks like this…

This is the command center from where you’ll tell your machine what to do. At this point you have a few options:
- Load one of the pre-built projects from the “Projects” tab;
- Design your own images using the Shape, Text and/or Vector functions on the left side of the canva; or
- Upload images and/or cut files from your computer. You can find free SVG files here are Sustain My Craft Habit. We also have a post on other places to find SVG files for your xTool M1 machine as well.
Simple Wood Tag Engraving
For my first project I decided to do some simple engraving on these wood tags which came in the Premium Materials Box.

I placed the tags into the machine and closed the lid. The built in camera takes a picture of the items inside and then you simply position your designs onto the surfaces.

I used a combination of images: one from the Project gallery (Easter), the heart from the Shape tab and then I made the SMCH (for Sustain my Craft Habit!) using the Text feature.
After pressing Process and Start, the machine did the work. After less than two minutes, I had these lovely personalized wood tags!

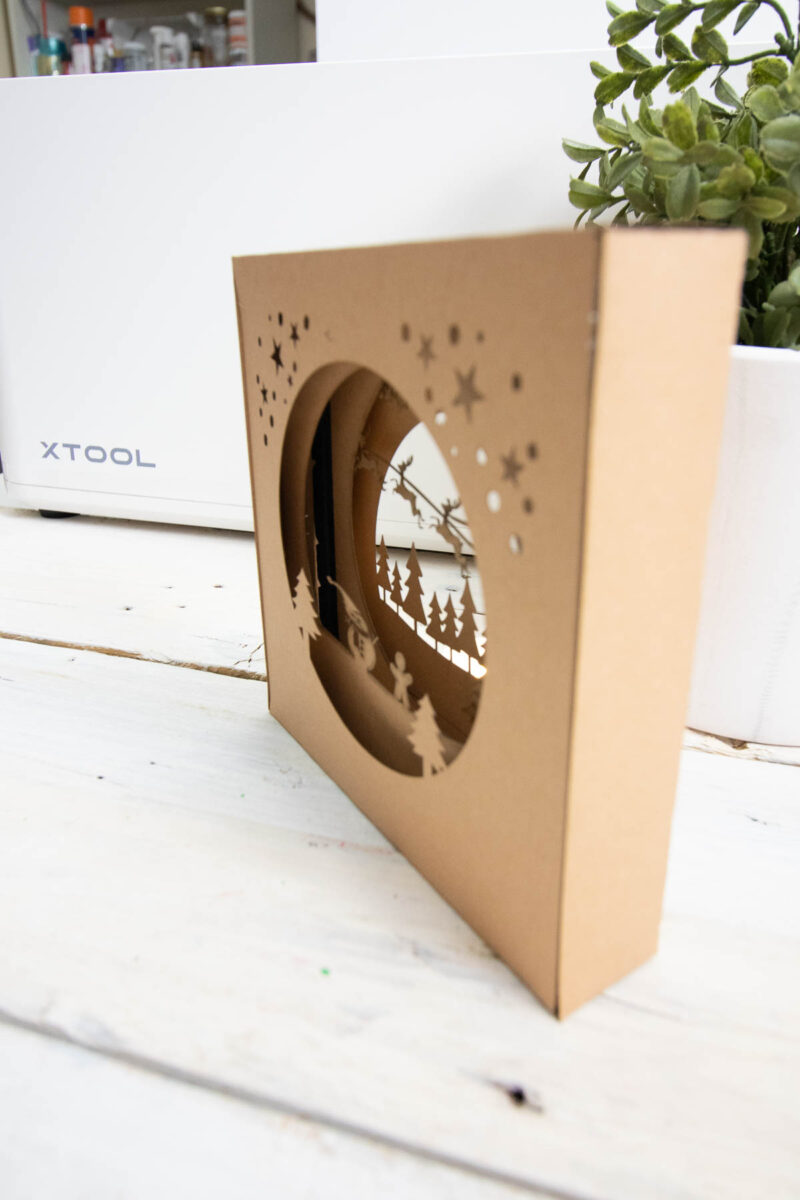
We’ve also crafted an engraved slate coaster and upcycled home sign. We’ll have the tutorial for the kraft paper nightlight soon. In the meantime you can find the full tutorial for them over on our YouTube channel!


Initial Impressions and xTool M1 Review
After I got over my initial intimidation of using the laser engraver and making a few projects, I have to say I’m hooked! I haven’t even scratched the surface of the capabilities of the xTool M1 and can’t wait to try engraving on all sorts of surfaces.
I’m also looking forward to testing out the blade cutting feature more – will let you know how that goes!
A few quick impressions:
- This machine was super easy to set up and use making it ideal for beginner or more experienced laser crafters. I can absolutely see it used in classrooms or any group setting where ease-of-use is important;
- As someone who’s quite frugal and resistant to spending money, I found myself wondering if I would drop $1K on a machine. However, as I’m starting to get a sense for it’s capabilities and versatility I think it will quickly become a huge asset in our home for numerous applications. I also know it’ll support our small business (ie. Creative Habit Craft Boxes, creating personalization options for our other products) – so overall I think it’s a fantastic investment;
- The project gallery in the Creative Space software is quite limited still. So you’ll need to find design files to upload to make the most of the capabilities. The xTool Community site is filled with inspiration, tips and tutorials so you’re connected with others using the machine right away.
Thank you to xTool for the opportunity to review the M1 laser engraver and blade cutting machine. We’re looking forward to using it for all sorts of upcoming projects.
Let us know if you have any questions about it and what surfaces we should try to engrave next!
Like it? Pin it for later!