Upcycled Home Sign: Beginner xTool M1 Tutorial
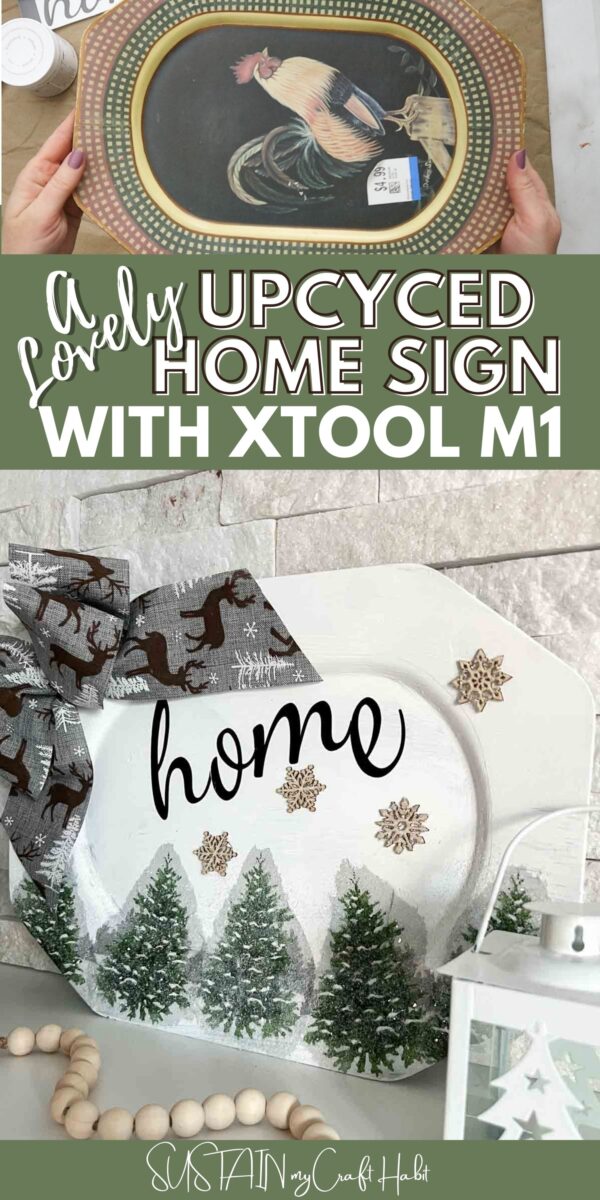
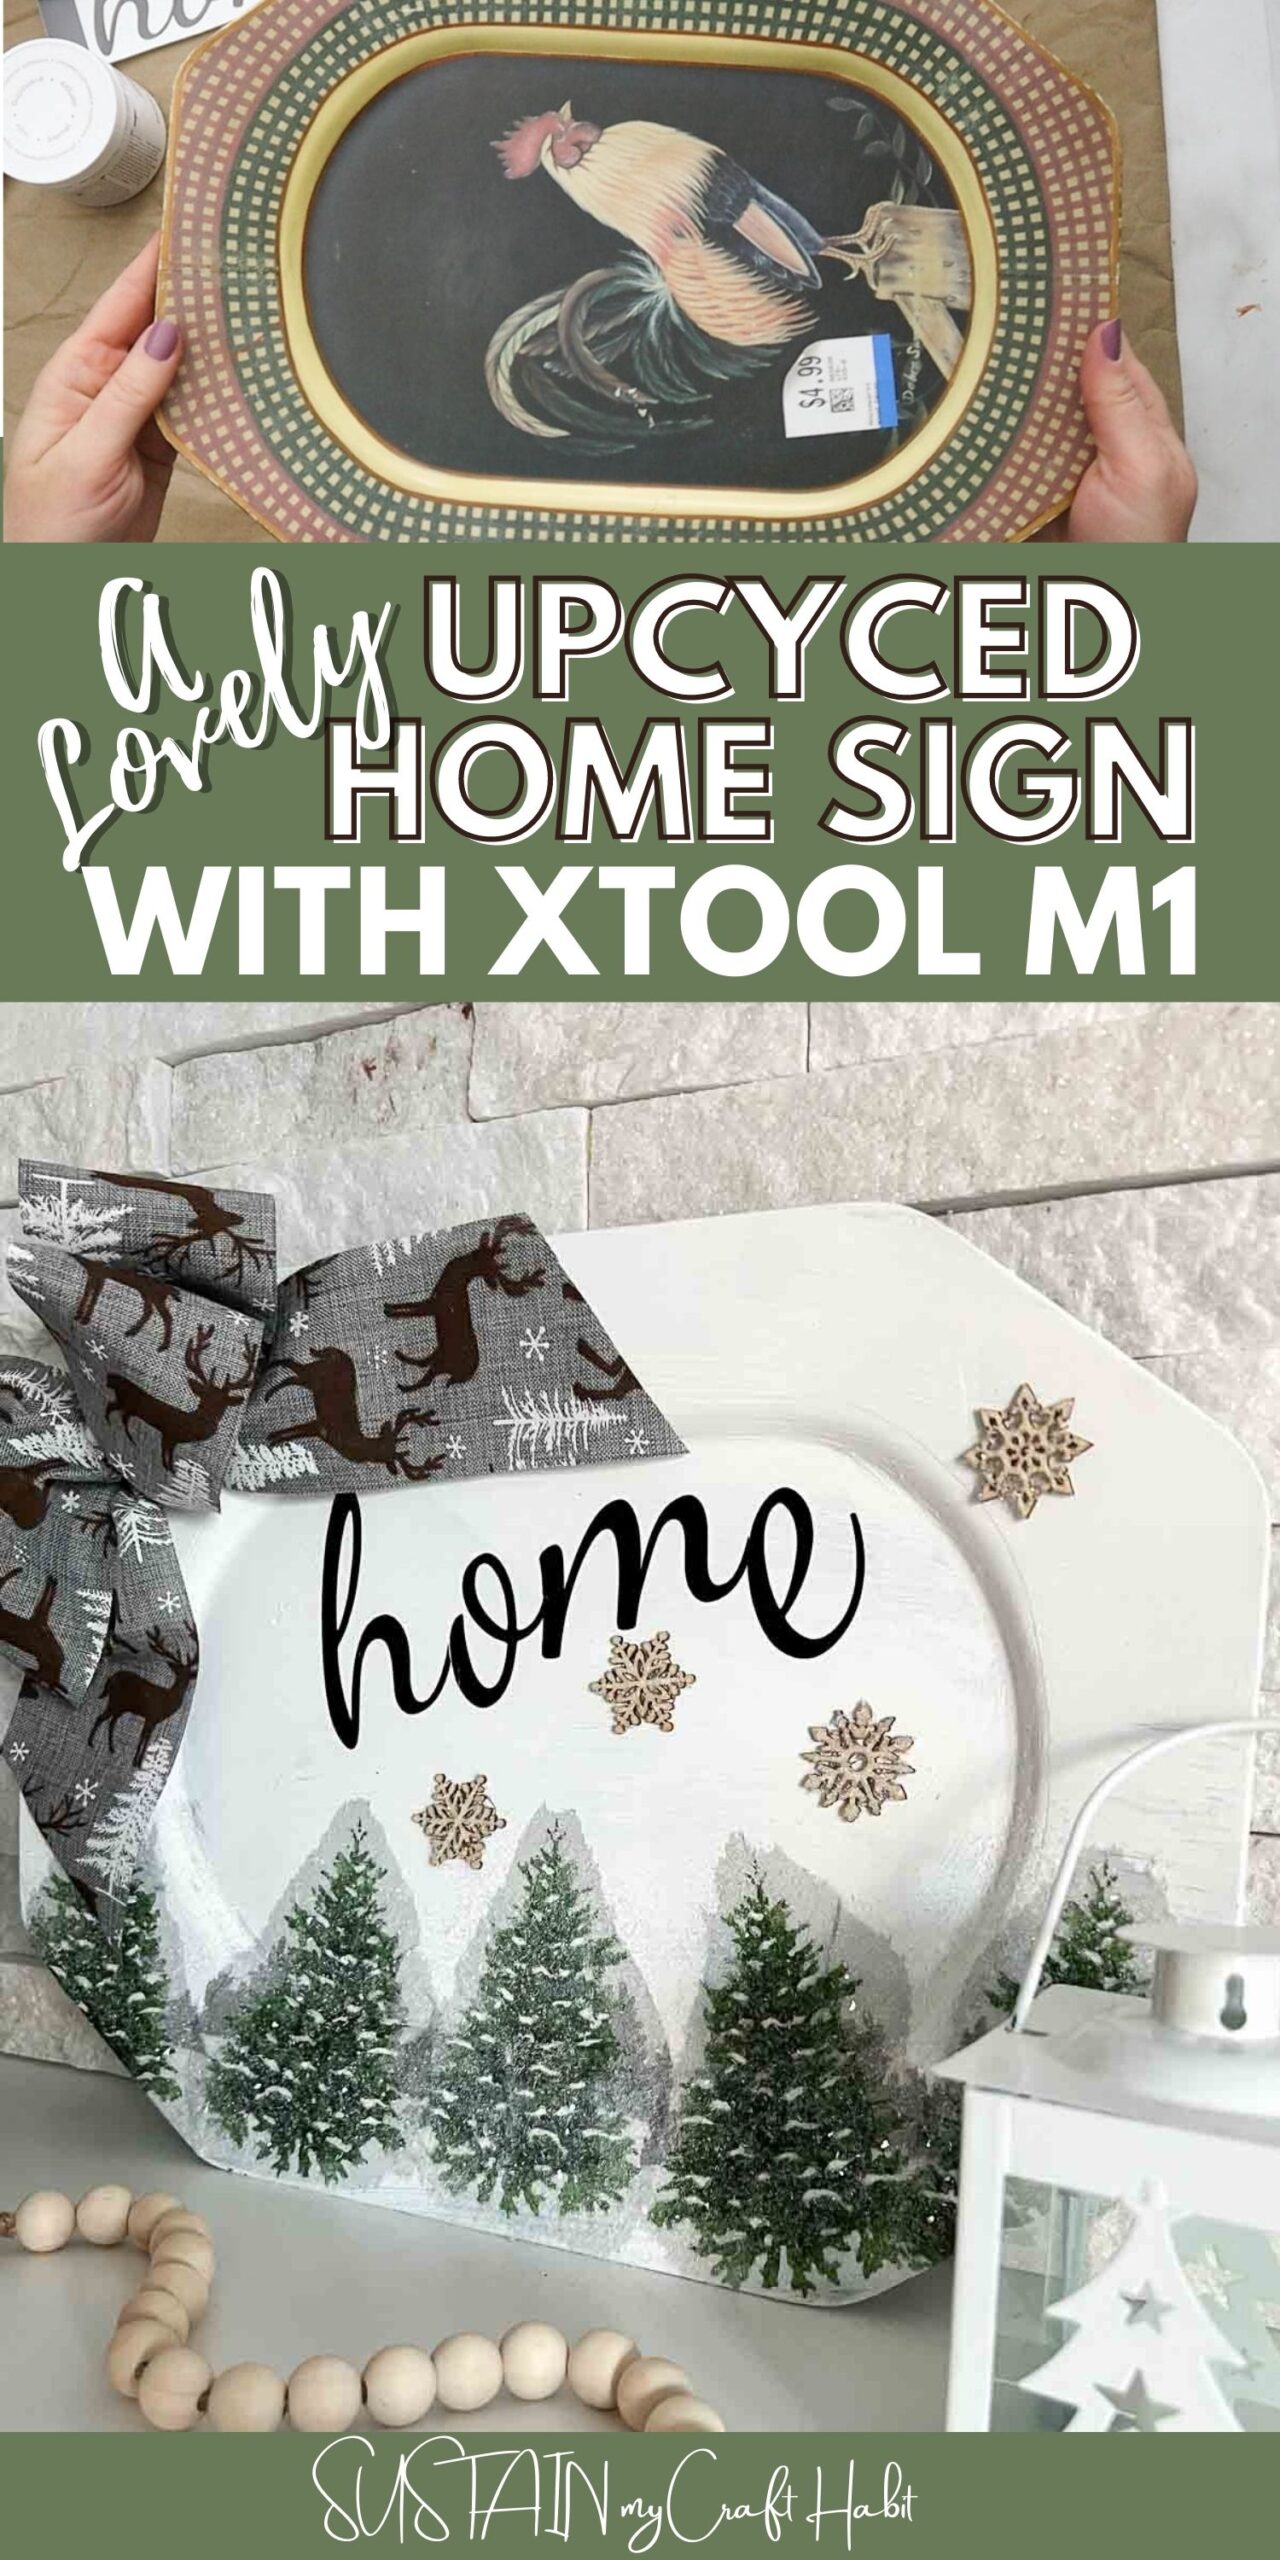
Turning an inexpensive item from the thrift store into something pretty for my home is my happy place! Today I’ll show you how I transformed a dated platter into a beautiful home sign with a bit of paint, some napkins and vinyl decal cut with my xTool M1.
Disclosure: This post is sponsored by xTool. All opinions are our own.

Beginner Crafting with the xTool M1
We recently introduced our new toy, an xTool M1 hybrid laser engraver and blade cutting machine. We even shared an unboxing video and review over on our YouTube channel.

The xTool M1 has a CO2 laser which lets you engrave and cut hundreds of different materials. Moreover, it’s the first machine of it’s kind to also have a blade cutting feature which you can use for materials not appropriate for the laser (ie. vinyl, paper).
In the coming weeks we’ll be sharing different types of projects we’ve already made with our new craft room power tool. Today we’ll be starting with a simply beginner project using the blade cutting feature: a vinyl decal for a thrift store makeover.

For this project we’re using xTool’s Creative Space software and the built in fonts. For fancier images, cut files and designs you’ll want to explore some of the free SVG font sources we mentioned here.
Become a Sustain My Craft Habit insider to receive fun freebies!
Materials Needed for this Upcycling Project
Disclosure: This post contains affiliate links for your shopping convenience. Should you choose to purchase through them, we will make a small commission at no extra cost to you. You can read our full disclosure policy here.
- xTool M1 with cutting blade installed (see below)
- Vinyl in black
- Large platter from thrift store
- Chalky Finish paint in white
- Paintbrush
- Decorative ribbon (2.5” wide)
- Winter-themed paper napkin
- Mod Podge
- Scissors
- Mini wooden snowflake embellishments
- Diamond Dust (optional)
- Hot glue gun
How to Make an An Upcycled Home Sign with xTool M1
Cutting the Home Decal with the xTool M1
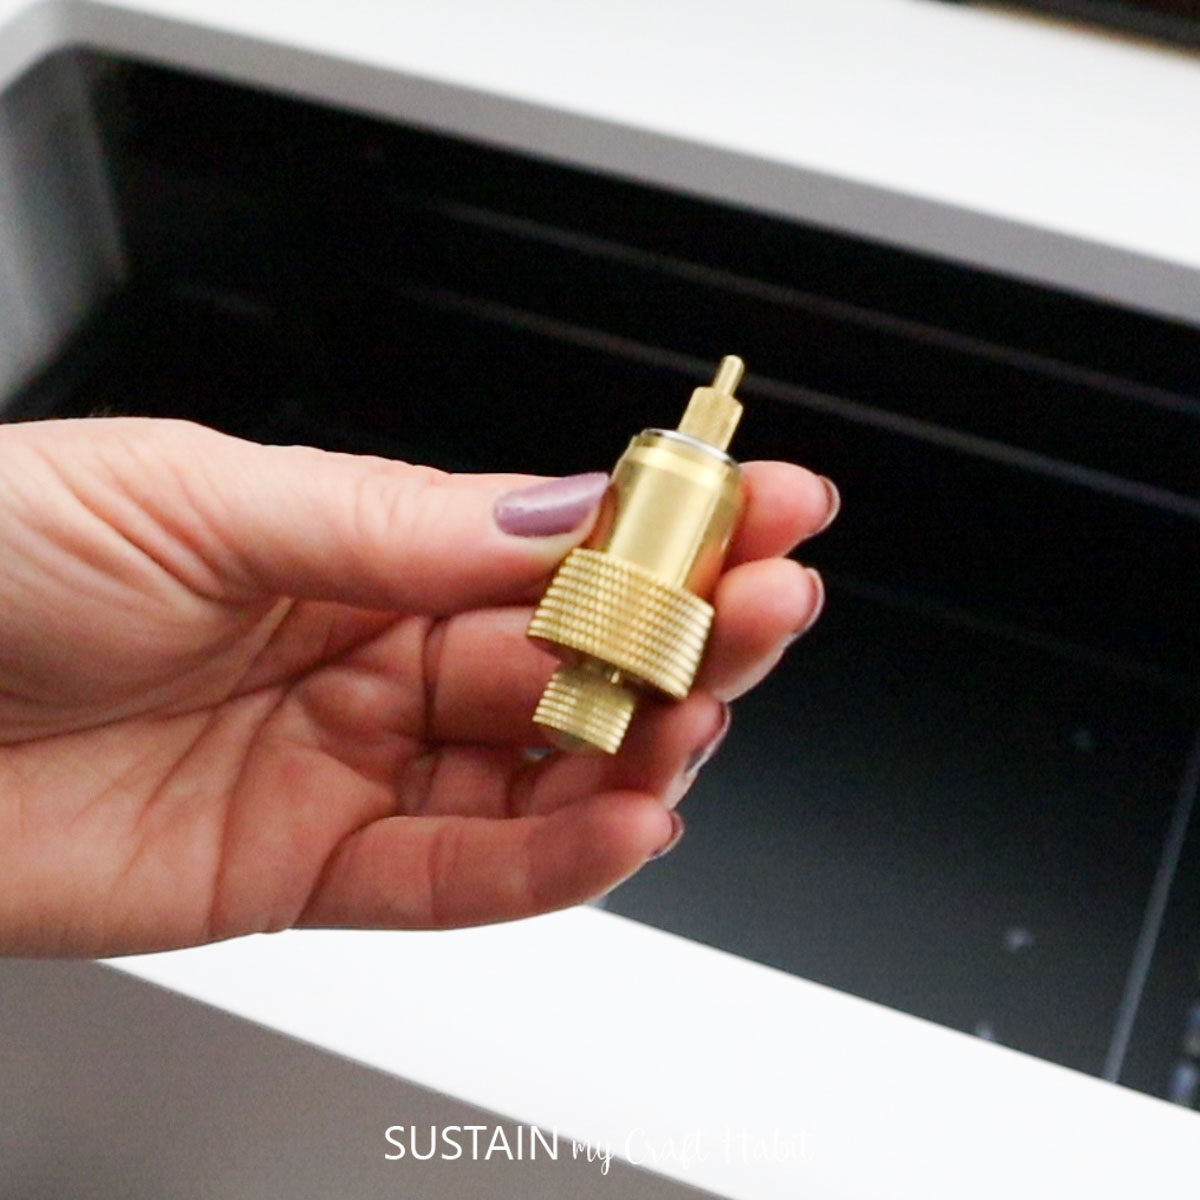
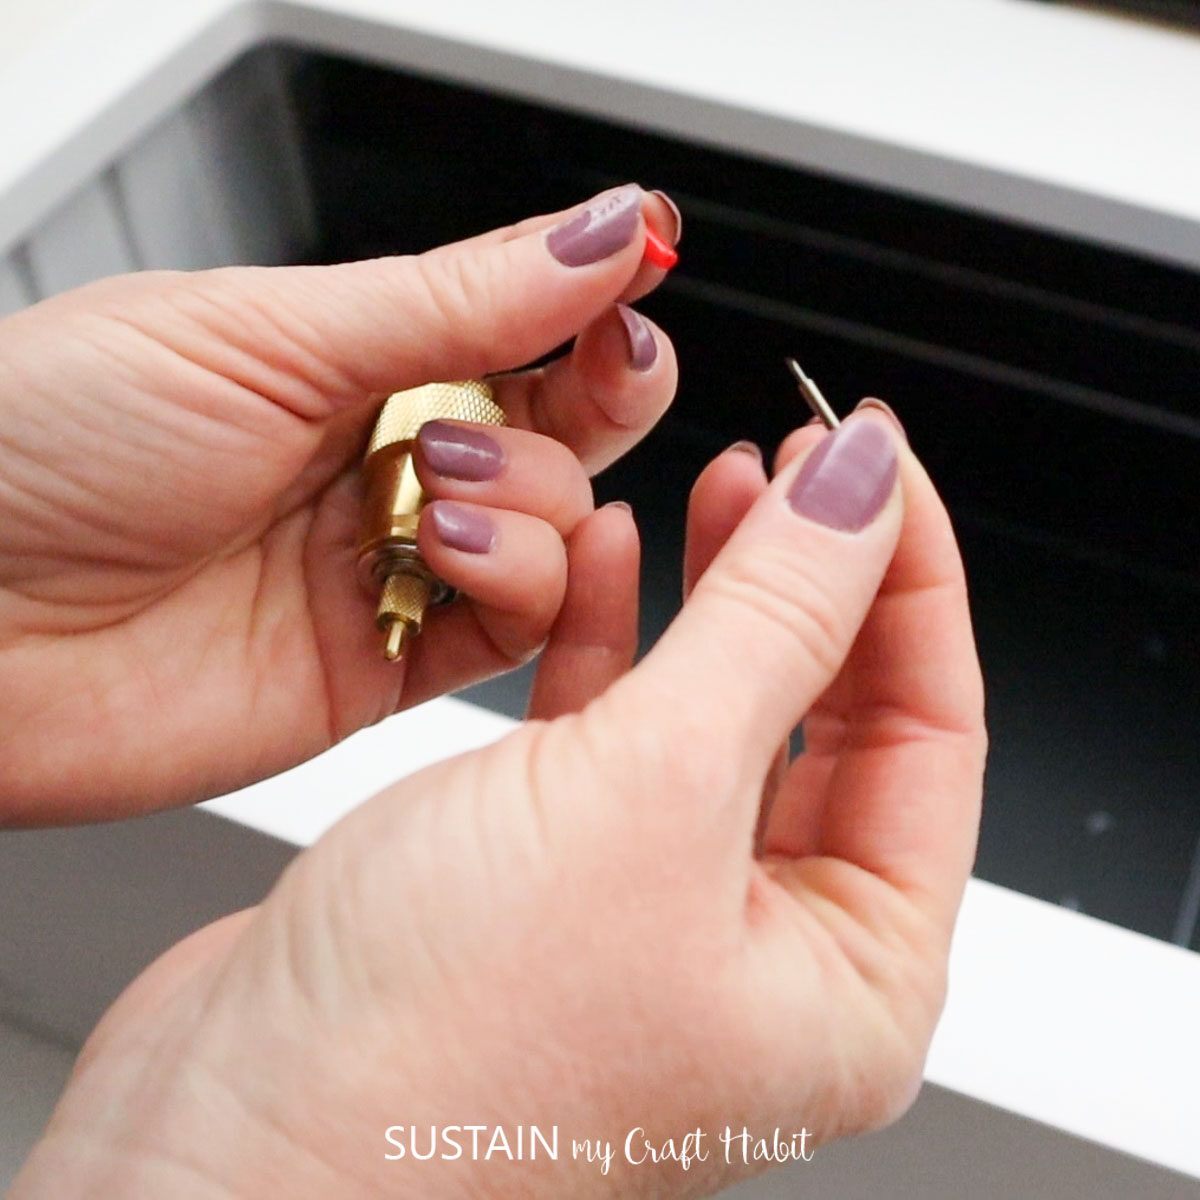
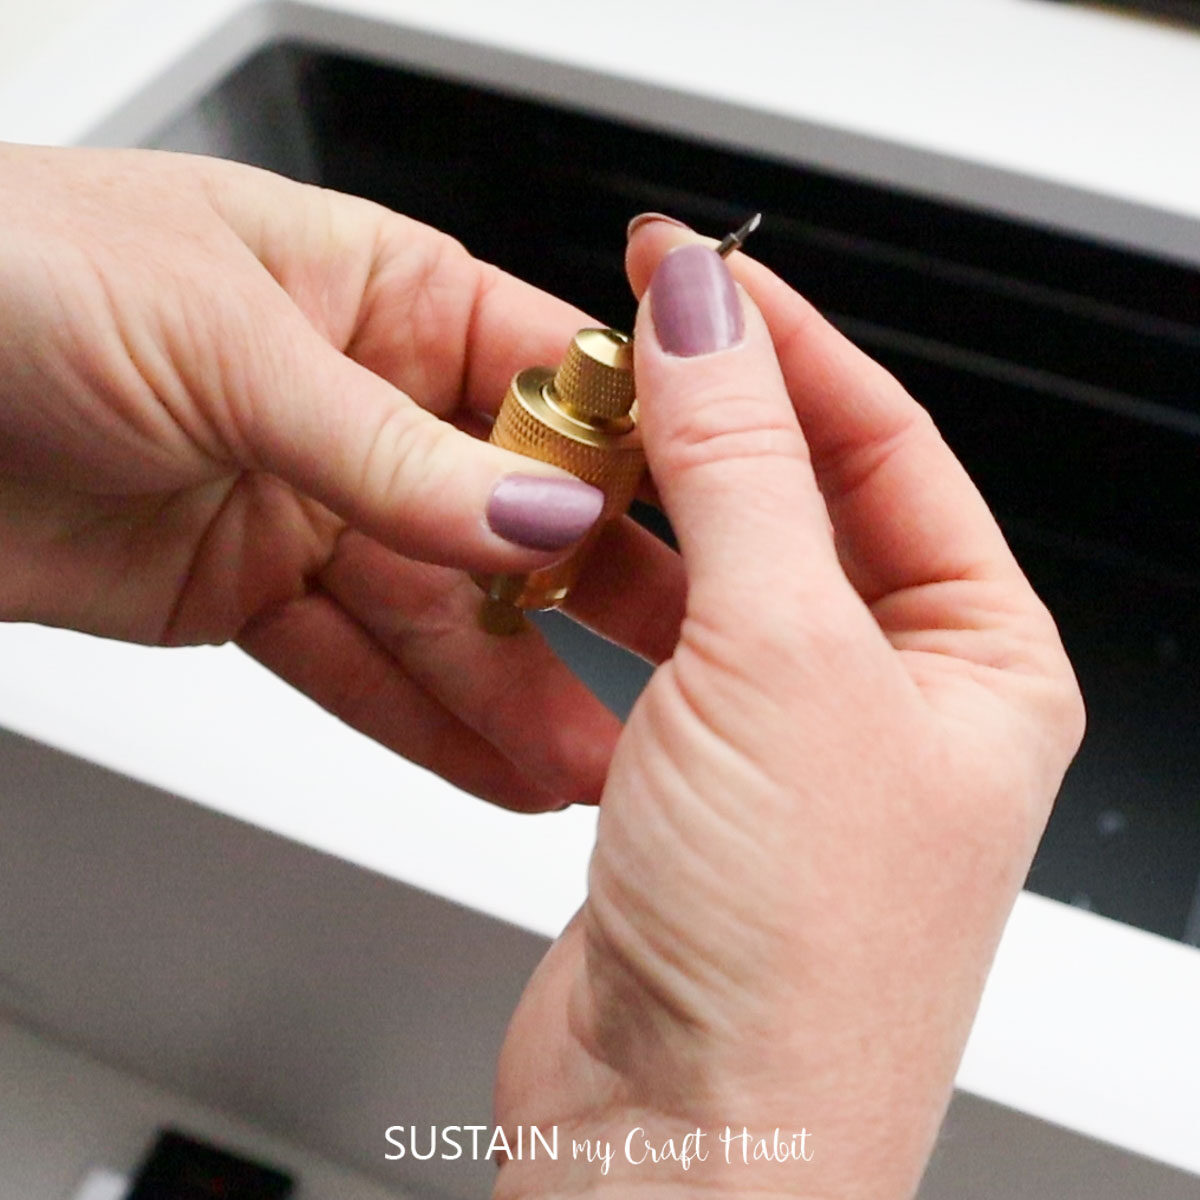
The xTool M1 has magnetic housing for the cutting blade. You simply pop out the housing, remove the protective tip from your cutting blade and slide it into the opening. Then just insert the housing back into the cutting/laser head.
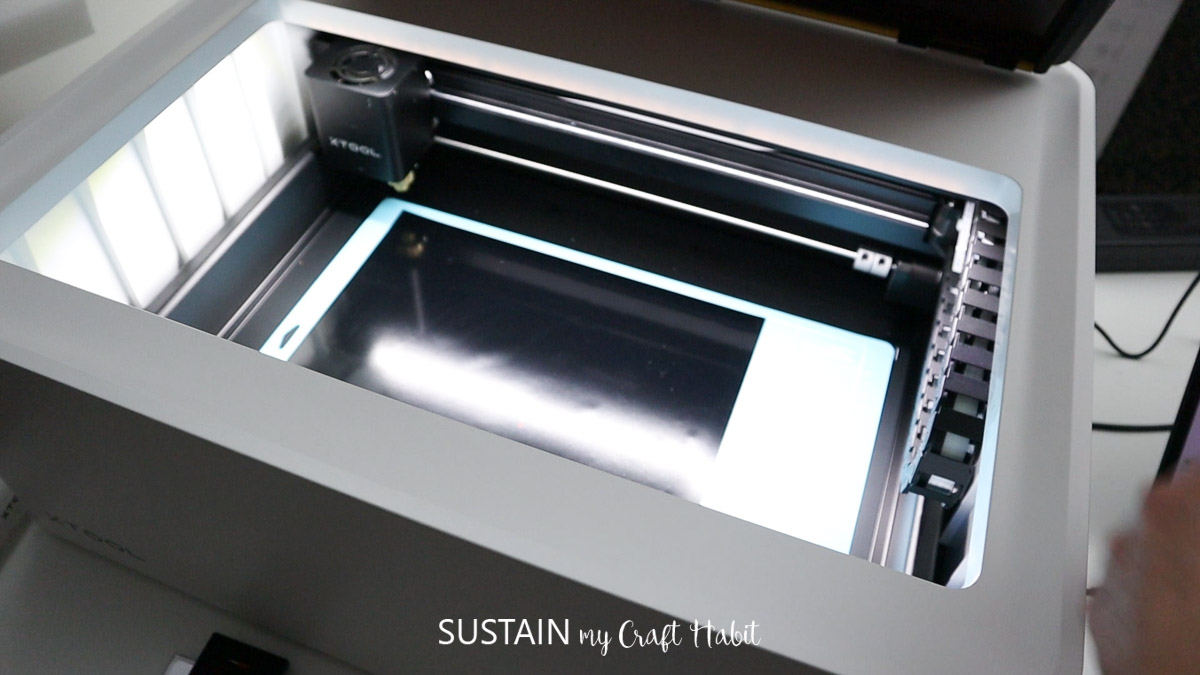
To cut vinyl you will need to position the Light Grip mat into the compartment. Be sure to remove the plastic sheets on the back and then front to expose the adhesive surface.
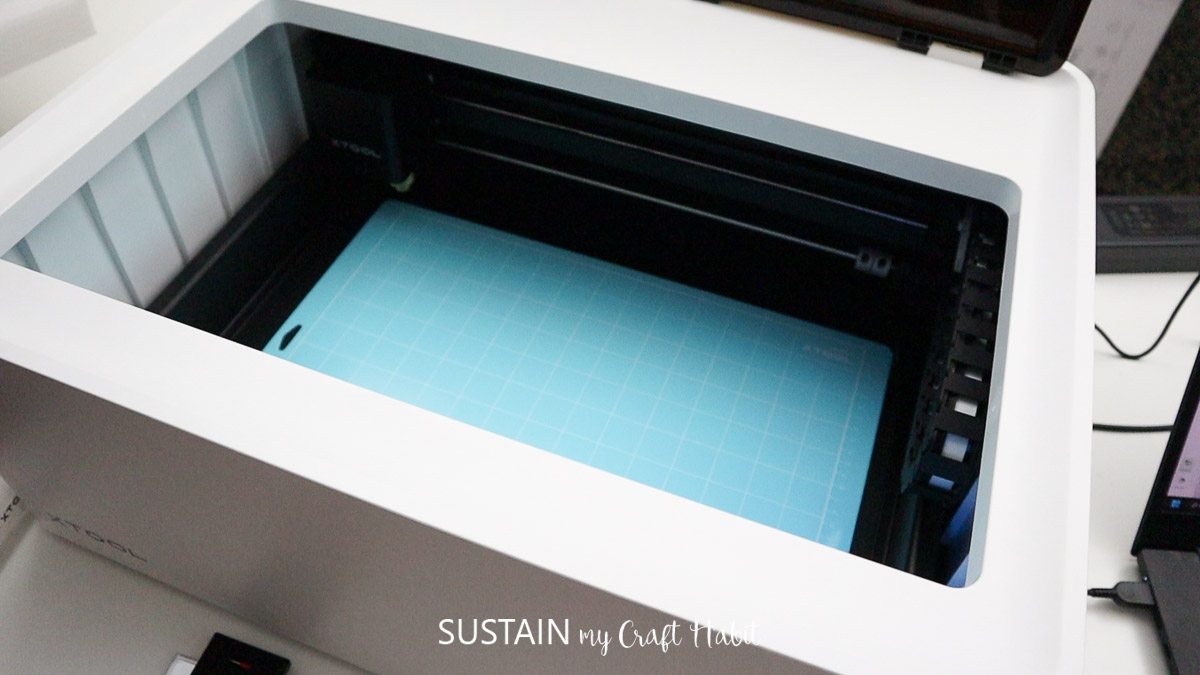
Next, position your vinyl sheet onto the mat and close the lid of the xTool M1.
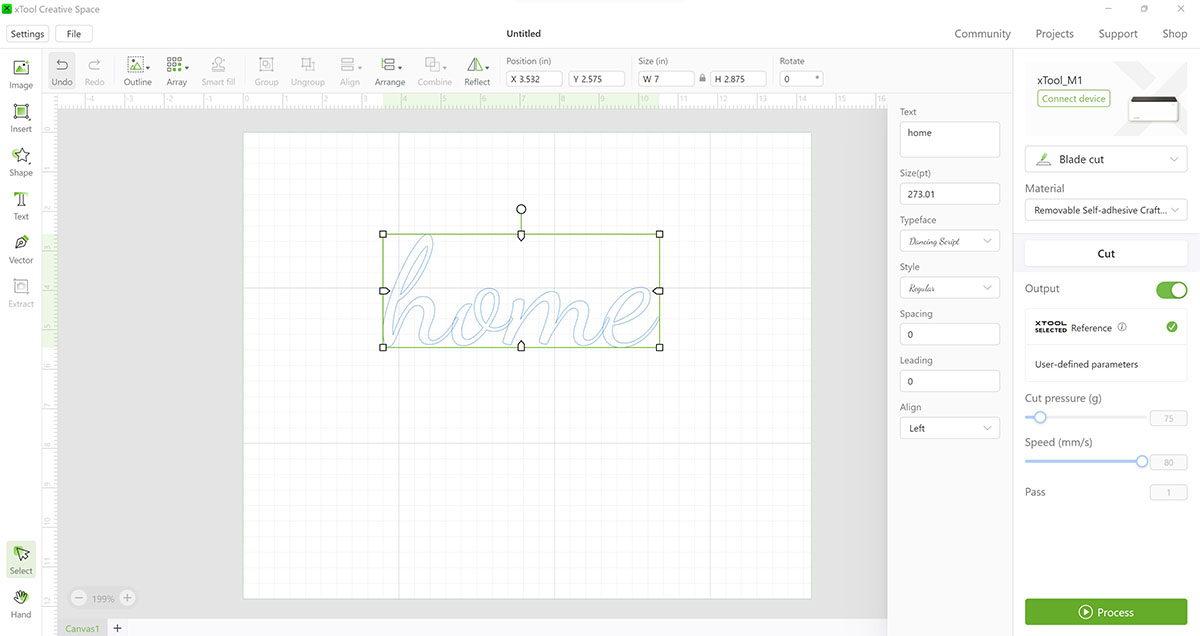
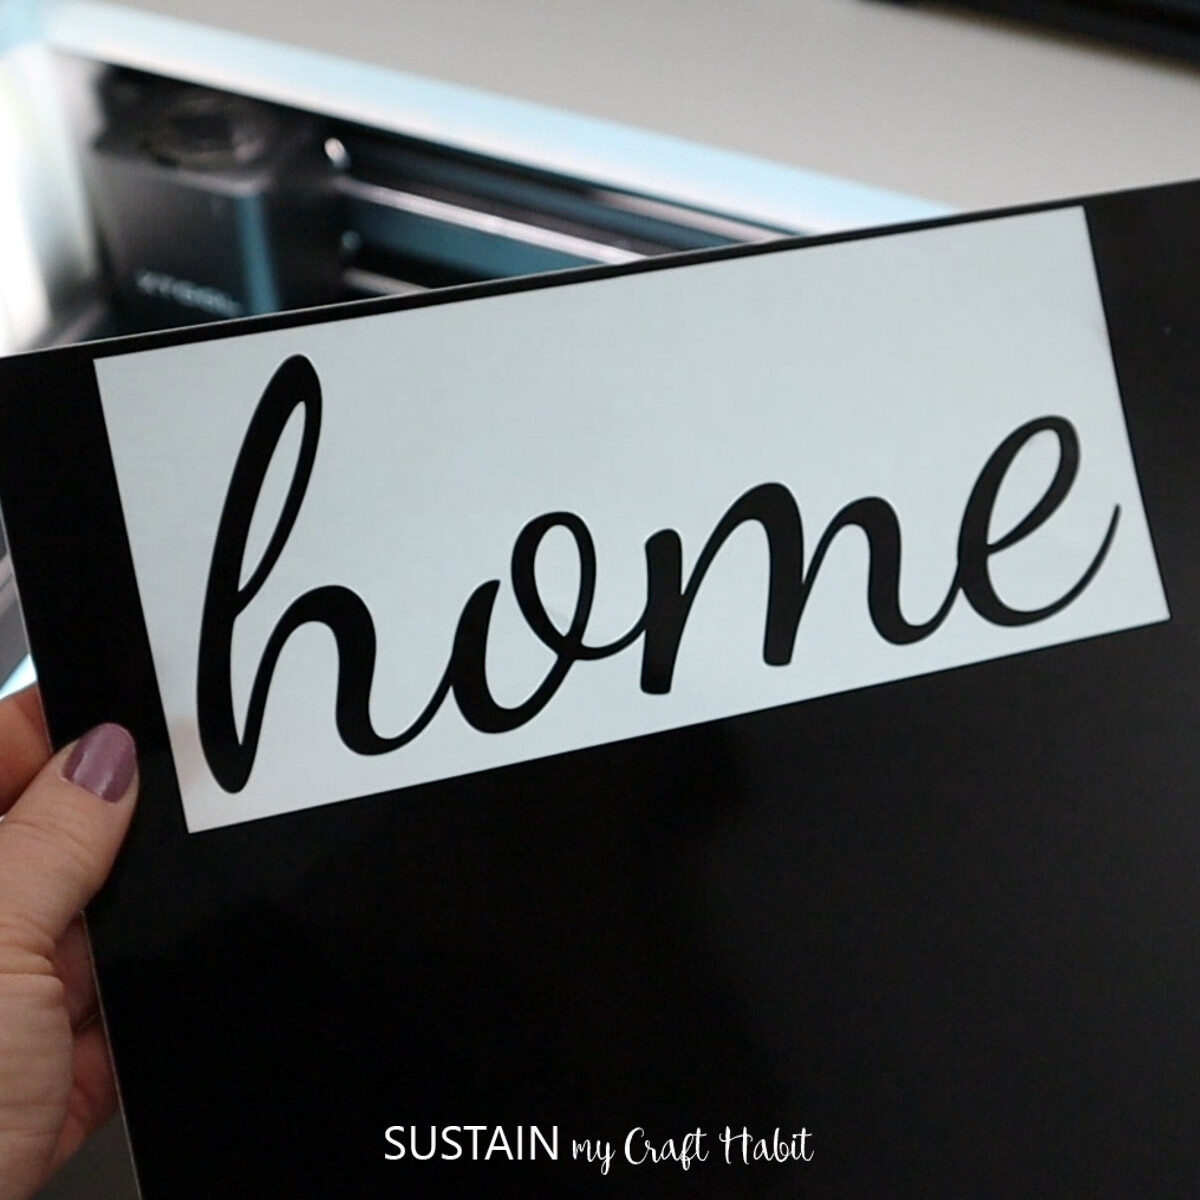
Open the xTool Creative Space software. Click on the Text tool and type the word “home”. Change the Typeface to “Dancing Script” and resize the word to how big you need it to be (7″ wide for me).
I also added a Rectangle shape around the phrase to help with weeding. I selected both pieces and clicked “Group”.
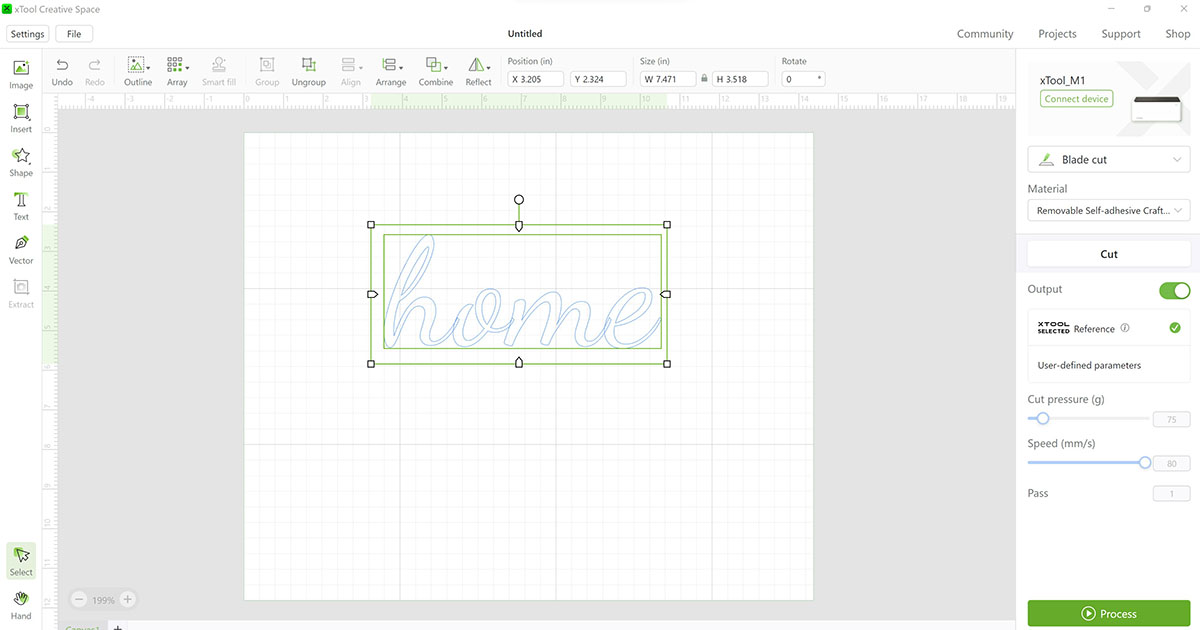
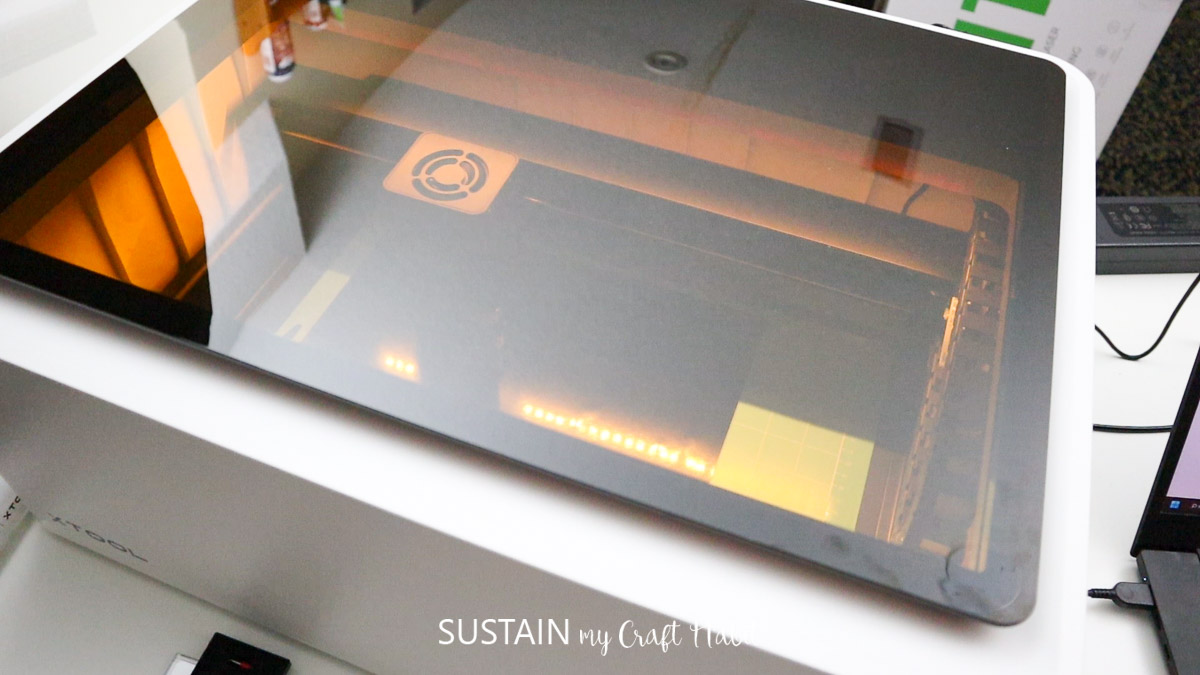
On the right panel select “Blade Cut” from the dropdown and set the material type to “Removable Self-Adhesive Craft Vinyl”. Click “Process” and then “Start”. Your machine will start cutting!
Using the weeding tool, peel away the excess vinyl around the word and discard. Set aside until ready to use.
Assembling the Home Sign
I shared the tutorial for making this upcycled home sign on a recent Facebook Live which you can catch here.

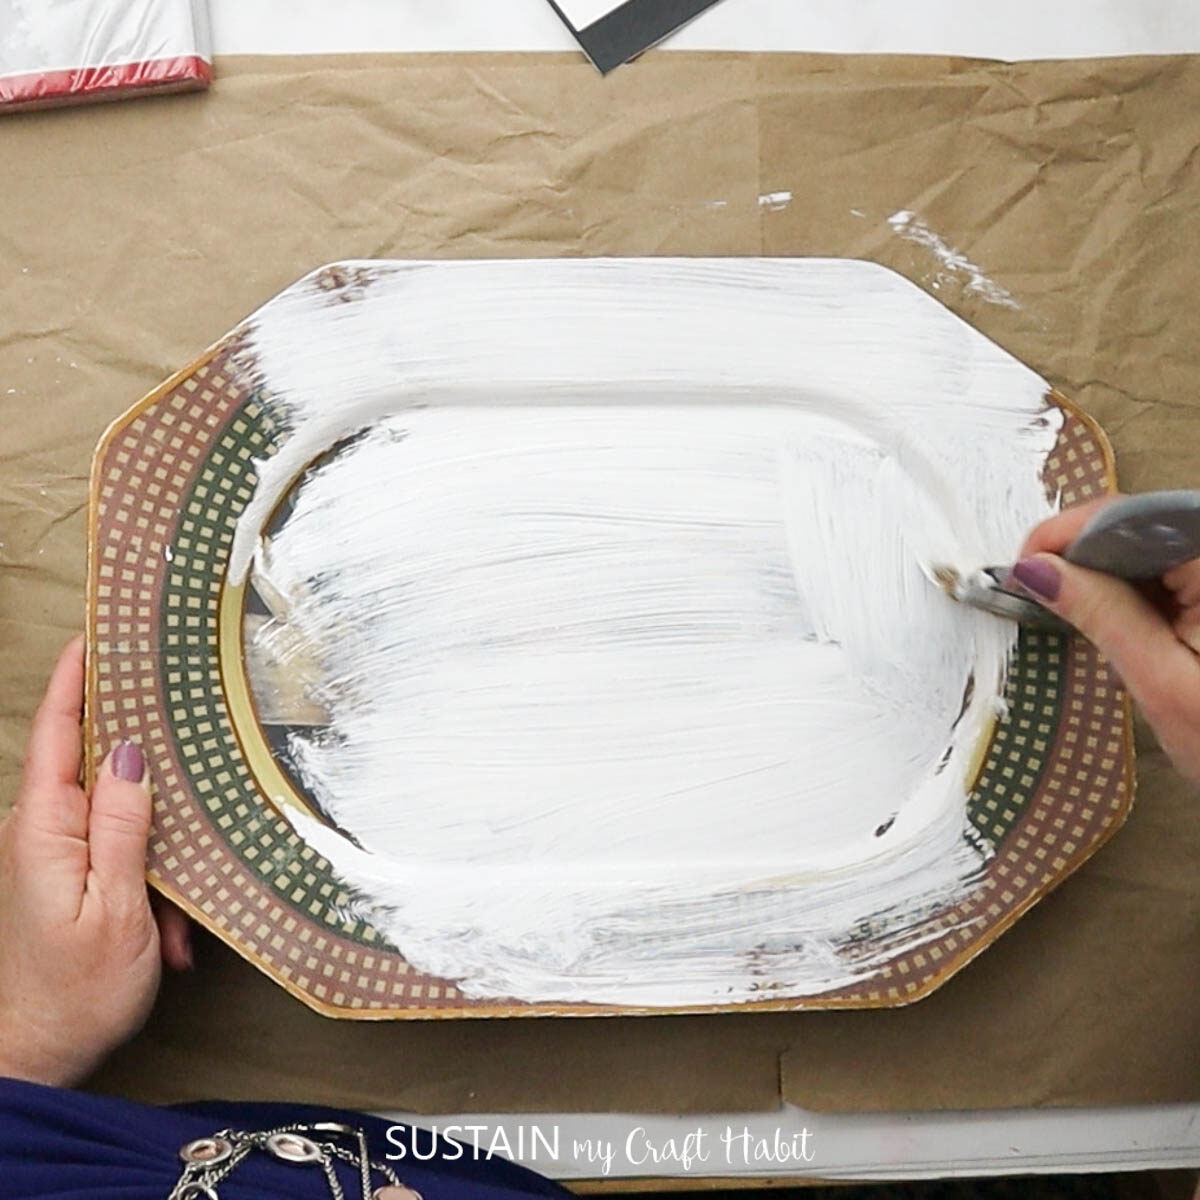
Paint the surface of the platter in a white chalky paint. Leave it to dry fully before proceeding.
Pull apart the paper napkin to just the single printed ply. Trim around the design of the napkin and discard the remaining paper pieces.
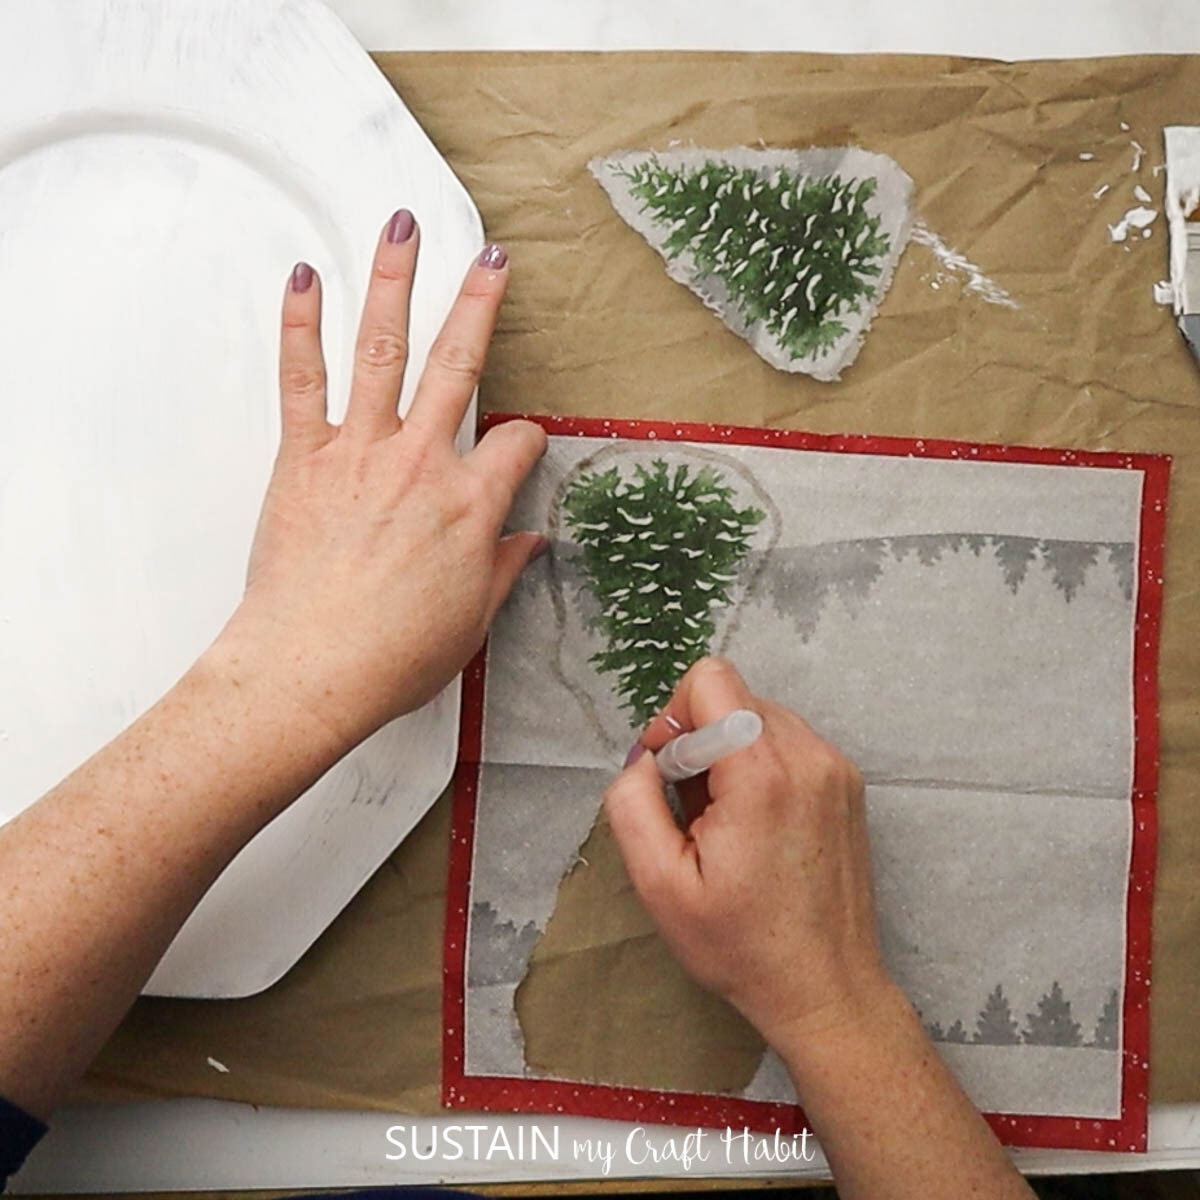
Apply a coat of Mod Podge to the lower portion of the painted platter leaving enough room for the home cutout.
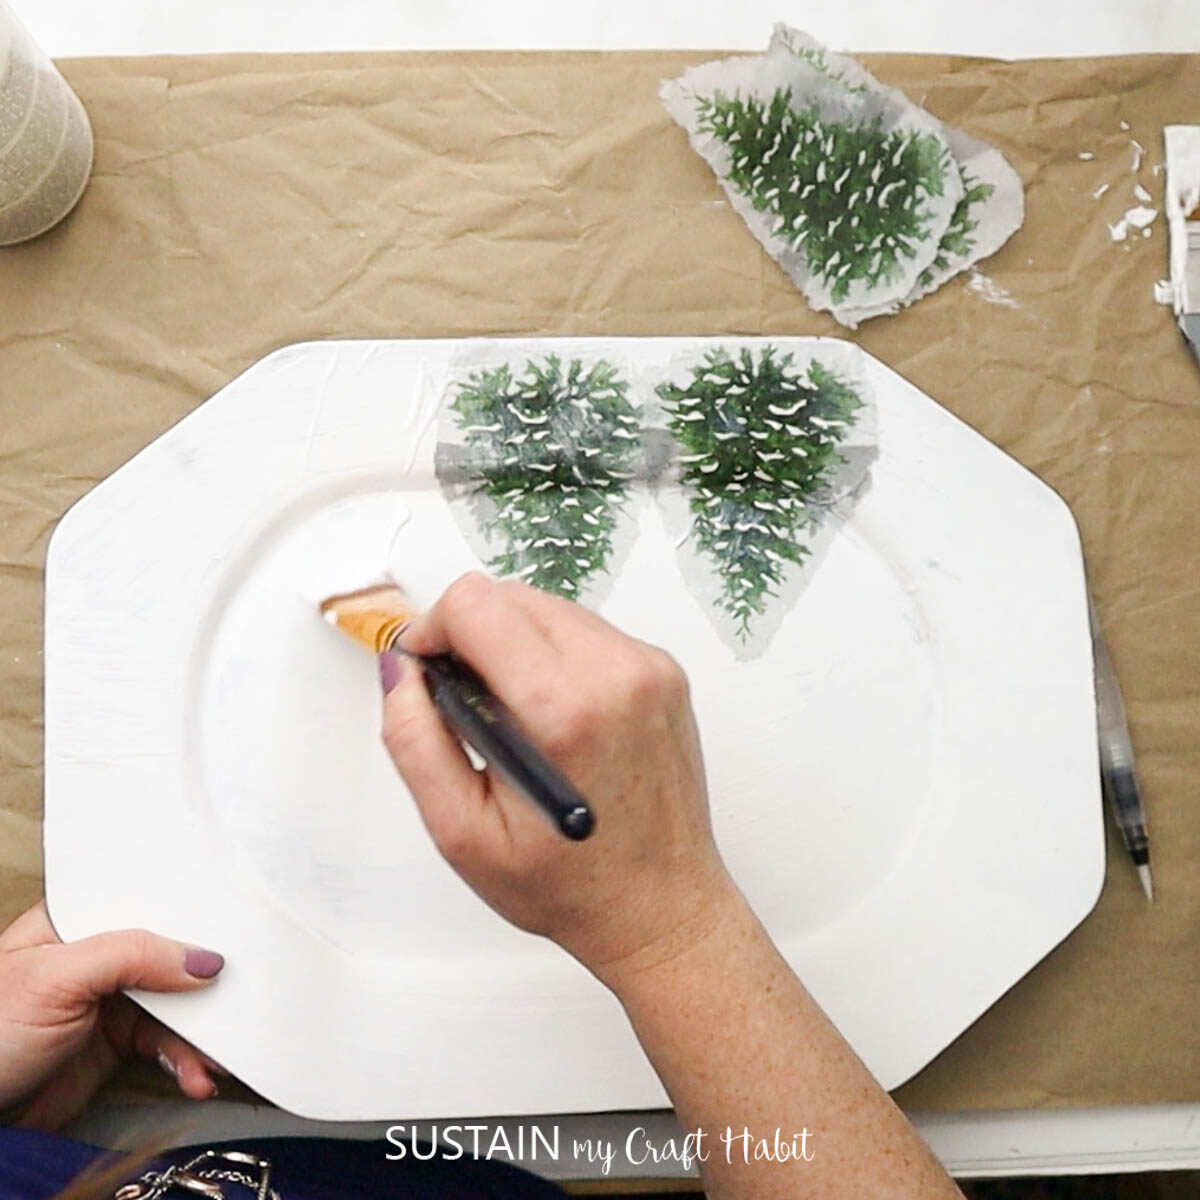
Press the paper napkin on to the platter and apply another coat of Mod Podge to seal the napkin in place. Leave the sealer to dry fully.
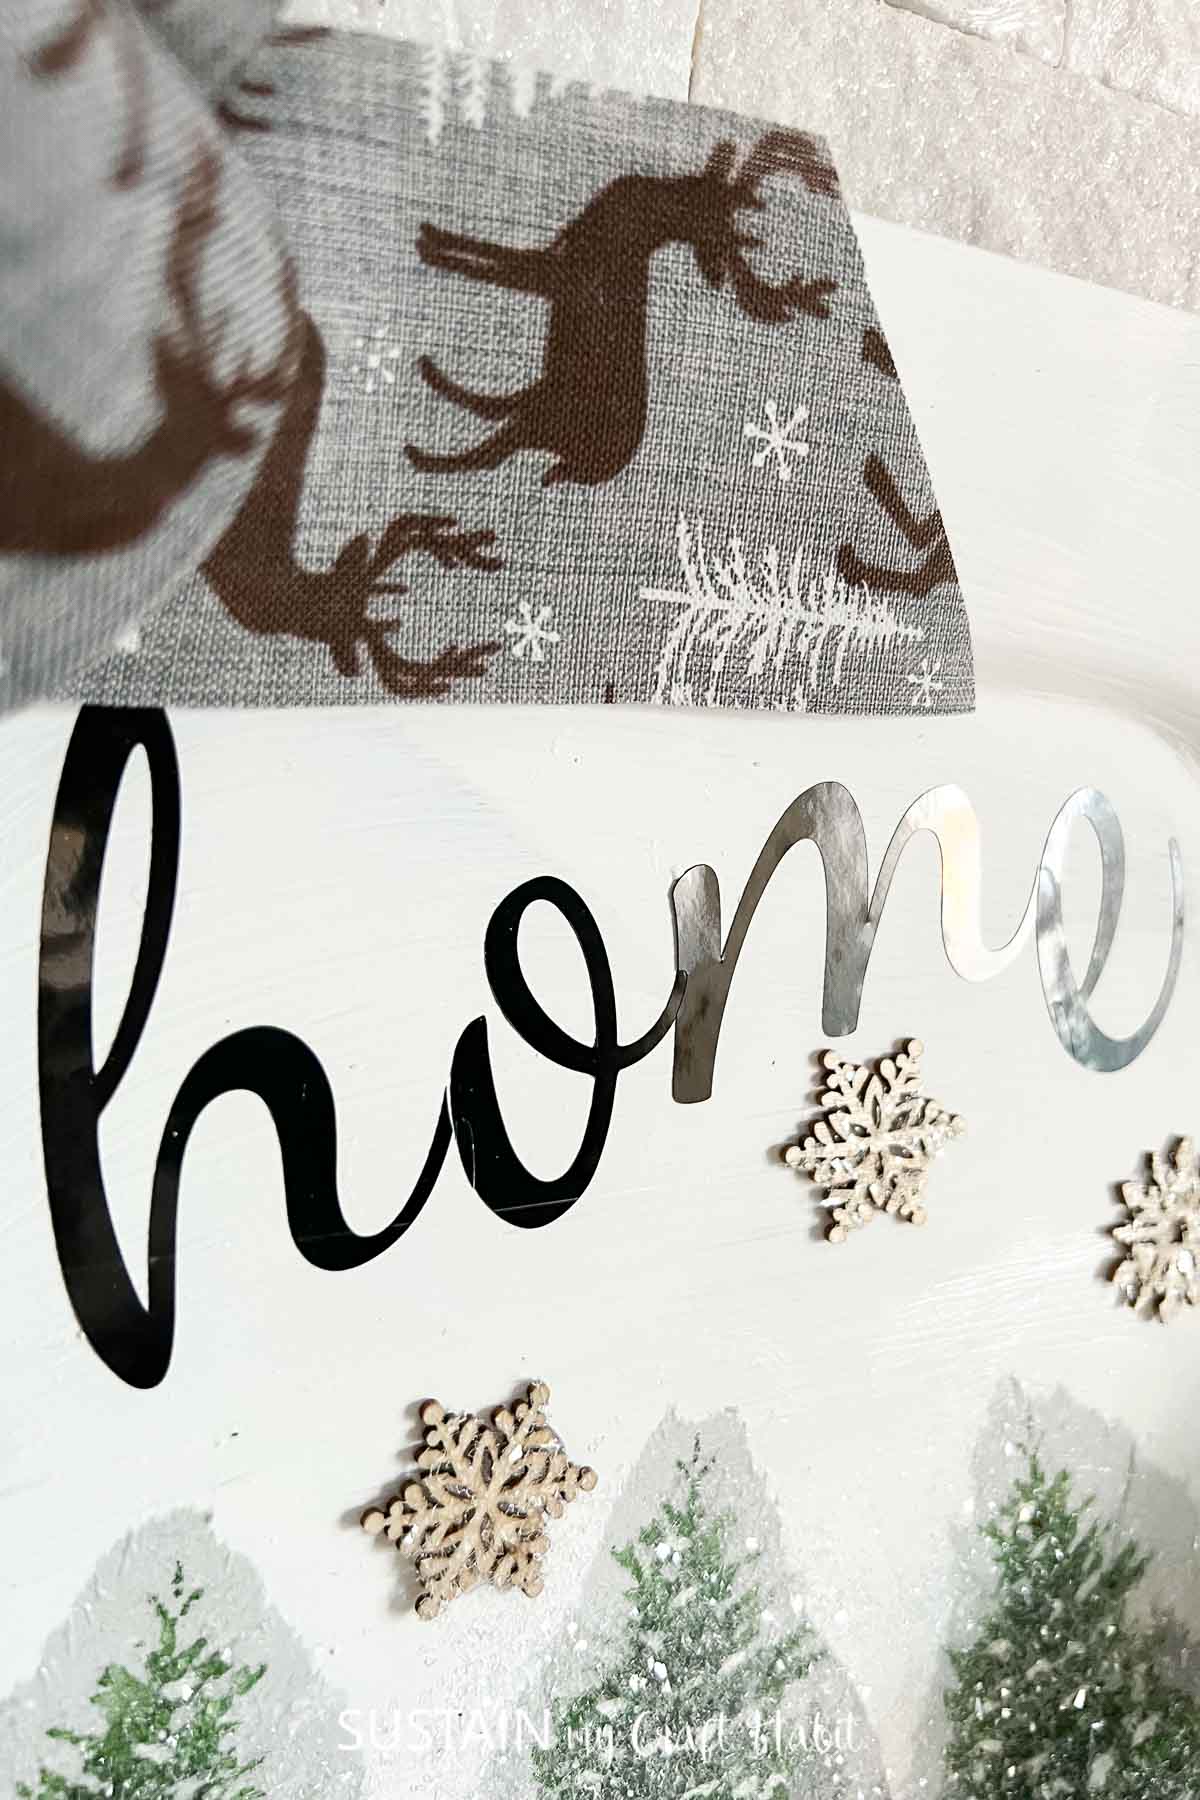
Next, apply the “home” vinyl cut out to the sign. You can use a piece of transfer tape or alternatively, peel away the cutout from the backing and carefully place it on the sign by hand.
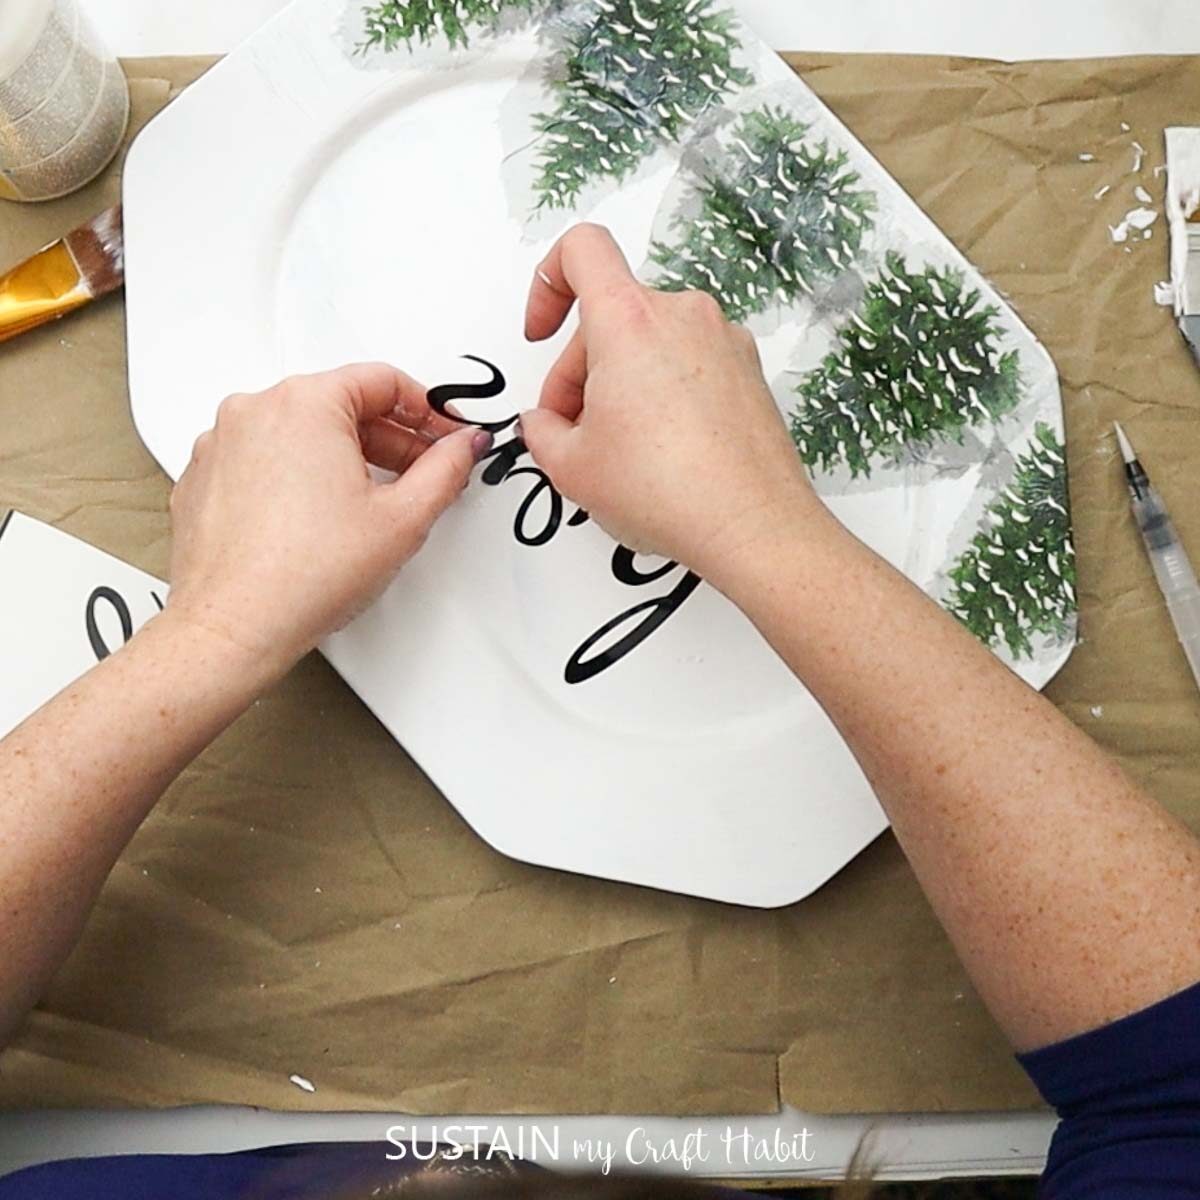
Gently rub the vinyl to help it stick.

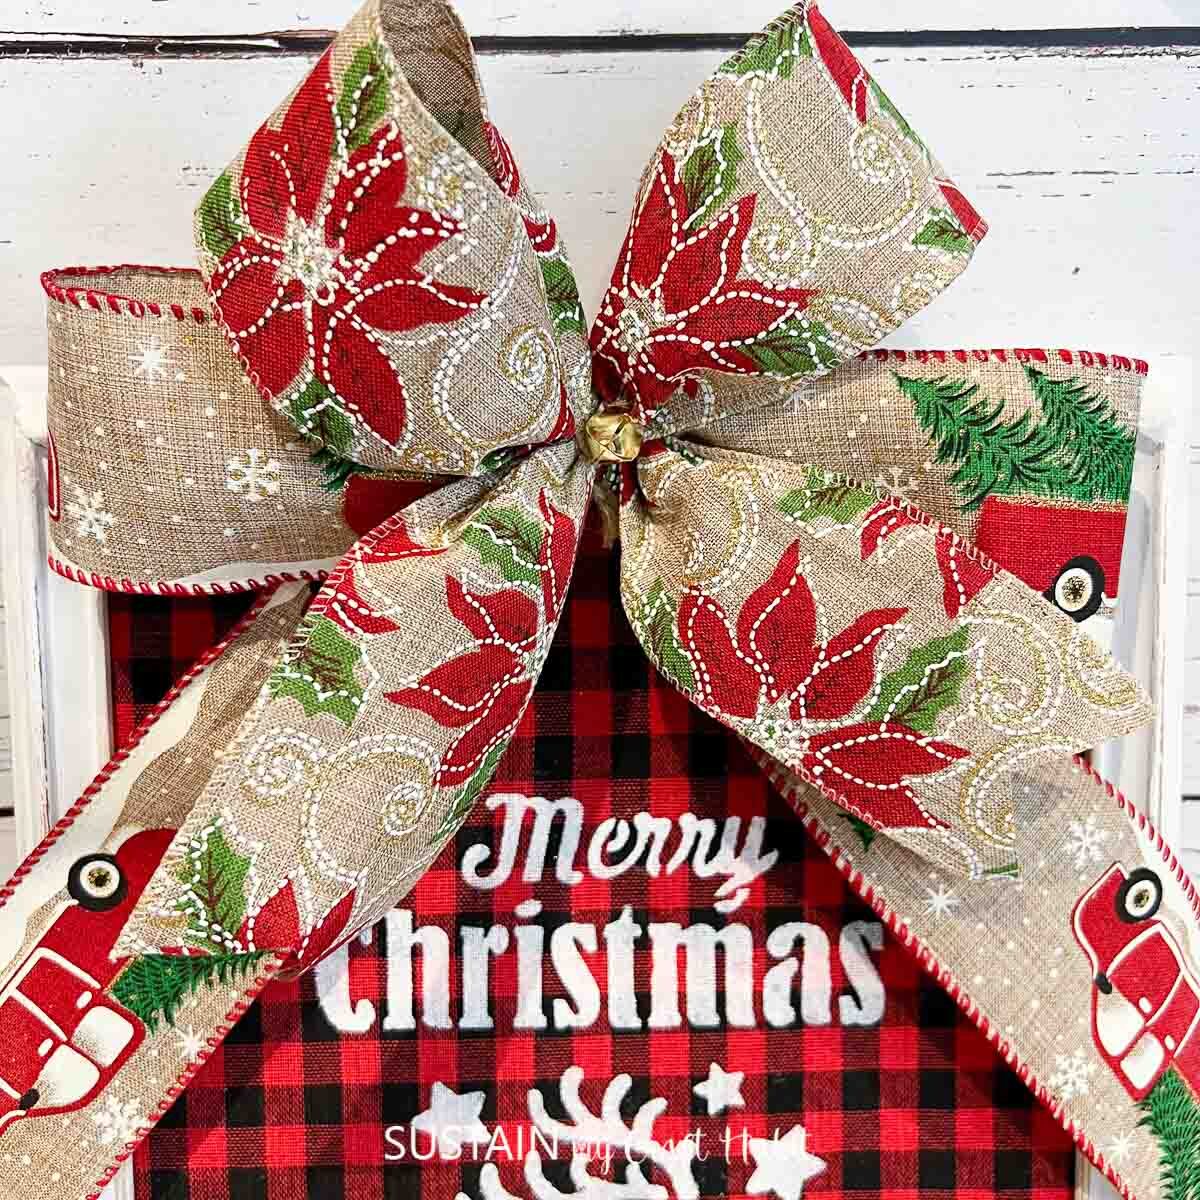
Next, create a large bow to place above the home lettering. Use a hot glue gun to secure it in place.

And lastly, glue on the wooden snowflakes randomly on to the sign as well as apply some diamond dust over the napkin portion for some adding glitter and texture.
Hang the sign to enjoy!
We hope you’ve found this beginner xTool M1 tutorial helpful! In the coming weeks we’ll be trying out the machine with different materials including wood, paper and even stone! Be sure to join our email list to catch all of the ideas.
More Upcycled Signs to Make for your Home
- Winter Welcome Sign
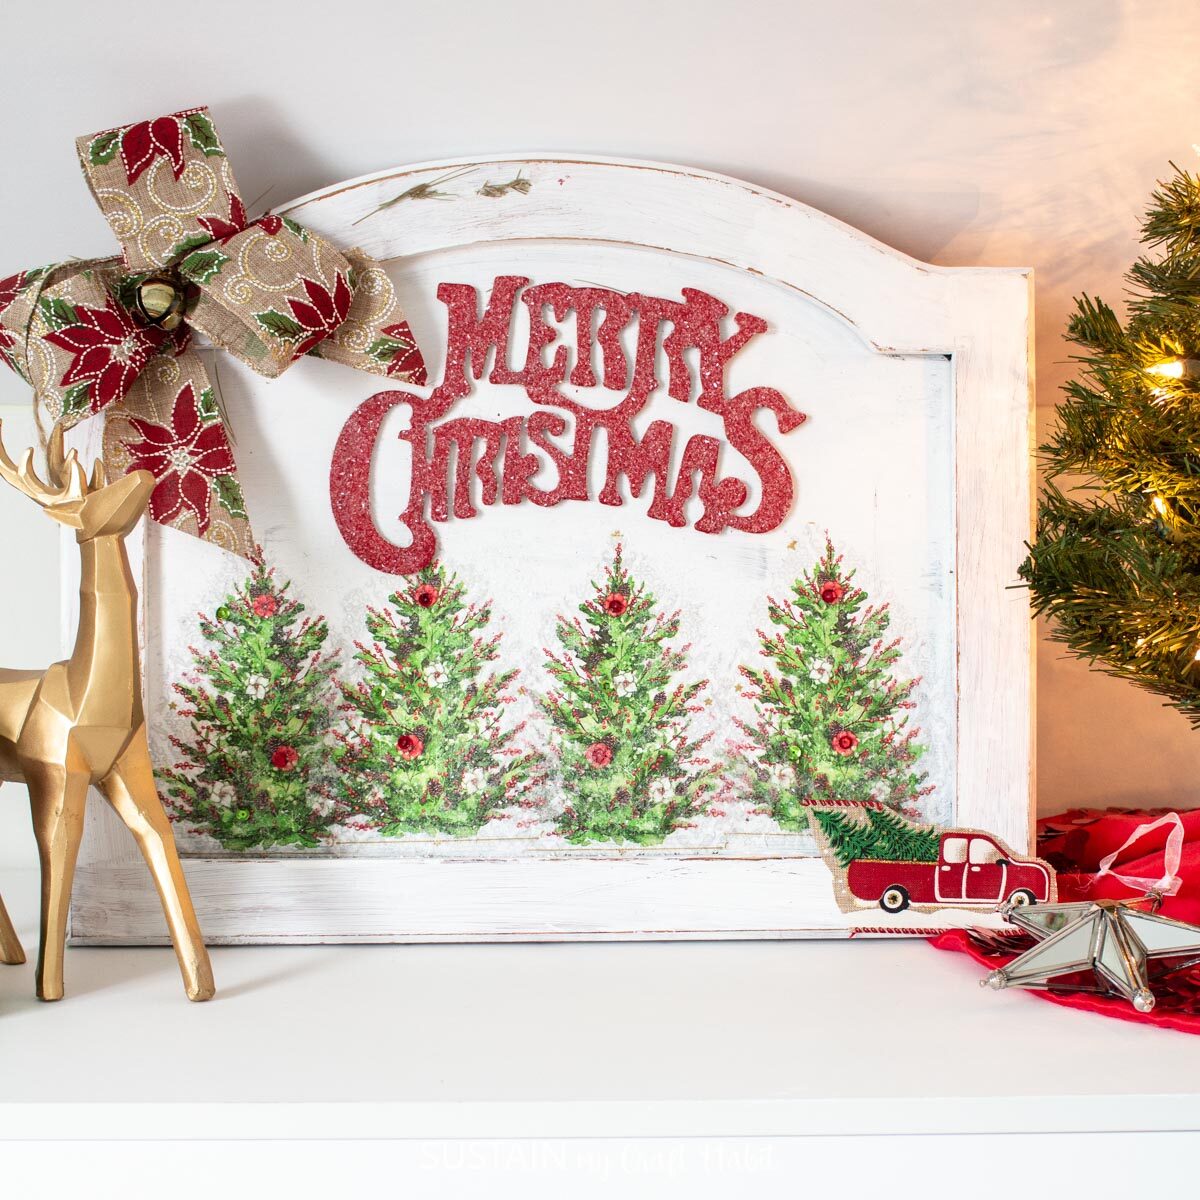
- Christmas Decoupage Sign
- Framed Art with Christmas Stencils
- Penguin Family Portrait Craft
- Farmhouse Craft with Dollar Store Cow


Want to receive a ton of inspiration and money saving ideas for decorating, gift-giving and crafting? Join HERE!
Like it? Pin it for later!

An Upcycled Home Sign with xTool M1
Materials
- xTool M1 with xx blade
- Vinyl in black
- Large platter from thrift store
- Chalky Finish paint in white
- Paintbrush
- 2.5” Wide Decorative ribbon
- Winter-themed paper napkin
- Mod Podge
- Scissors
- Mini wooden snowflake embellishments
- Diamond Dust optional
- Hot glue gun with clear craft glue
Instructions
Using the XTool M1
- Size the “home” word to fit your platter, which should be positioned in the upper top half of the sign.
- Ensure the machine is set to Blade Cut.
- Set material type to Vinyl.
- Follow prompts for loading the mat into the xTool M1 and cutting the vinyl. When prompted, unload the vinyl from the cutting machine.
- Using the weeding tool, peel away the excess vinyl around the word and discard. Put aside until ready to use.
Assembling the Home Sign
- Paint the surface of the platter in a white chalky paint. Leave it to dry fully before proceeding.
- Trim around the design of the napkin and discard the remaining paper pieces.
- Apply a coat of Mod Podge to the lower portion of the painted platter leaving enough room for the home cutout.
- Press the paper napkin on to the platter and apply another coat of Mod Podge to seal the napkin in place. Leave the sealer to dry fully.
- Next, apply the “home” vinyl cut out to the sign. You can use a piece of transfer tape or alternatively, peel away the cutout from the backing and carefully place it on the sign by hand.
- Gently rub the vinyl to help it stick.
- Next, create a large bow to place above the home lettering. Use a hot glue gun to secure it in place.
- And lastly, glue on the wooden snowflakes randomly on to the sign as well as apply some diamond dust over the napkin portion for some adding glitter and texture.