How to Laser Cut a Layered SVG File
Many of us are eagerly search for that perfect and meaningful gift to present to our dear loved ones. There’s never a wrong time to express our love and appreciation through unique and personalized tokens of affection.
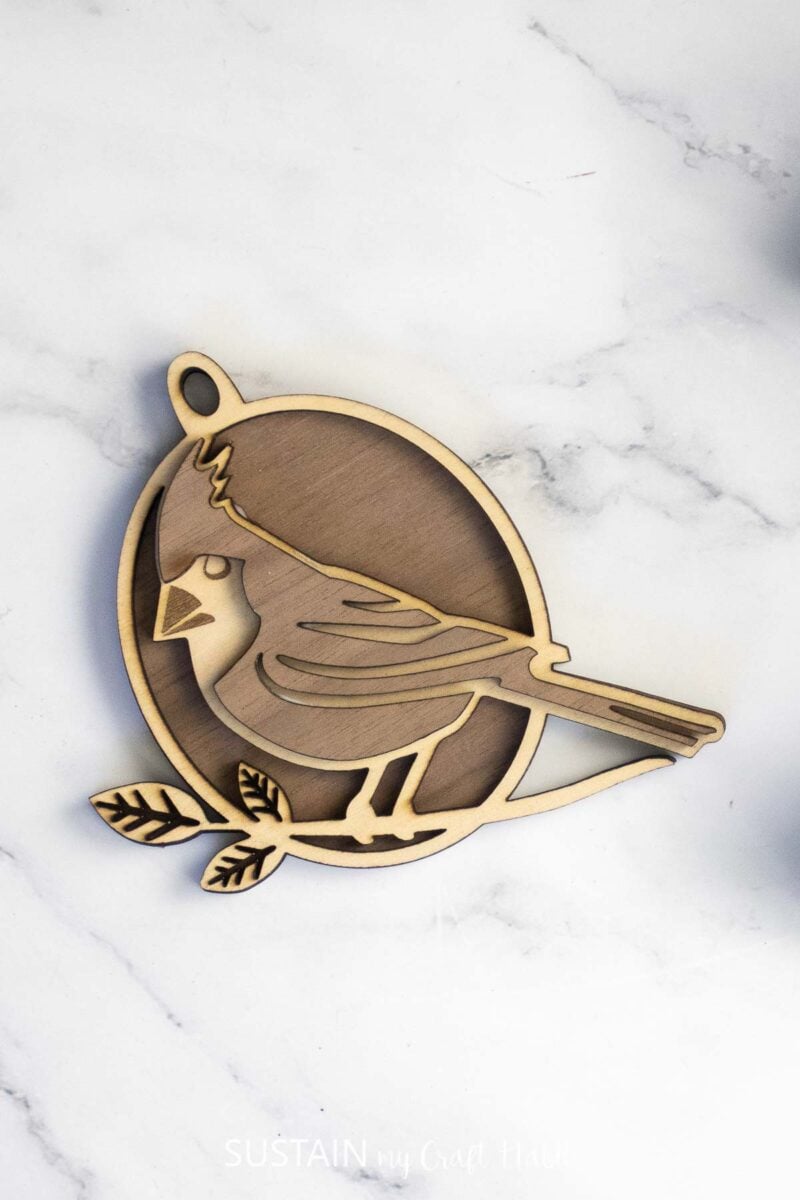
One delightful option is a laser cut 2-tone layered wood ornament such as this cardinal design. And we’ll show you just how to easy it is to laser cut a layered file with this step by step tutorial.
These exquisitely crafted ornaments are not just gorgeous embellishments for Christmas trees; they also hold sentimental value as timeless keepsakes that can be treasured for generations to come. Their intricate designs and charming aesthetic add a touch of warmth and nostalgia to holiday celebrations, making them a delightful addition to the festive spirit.
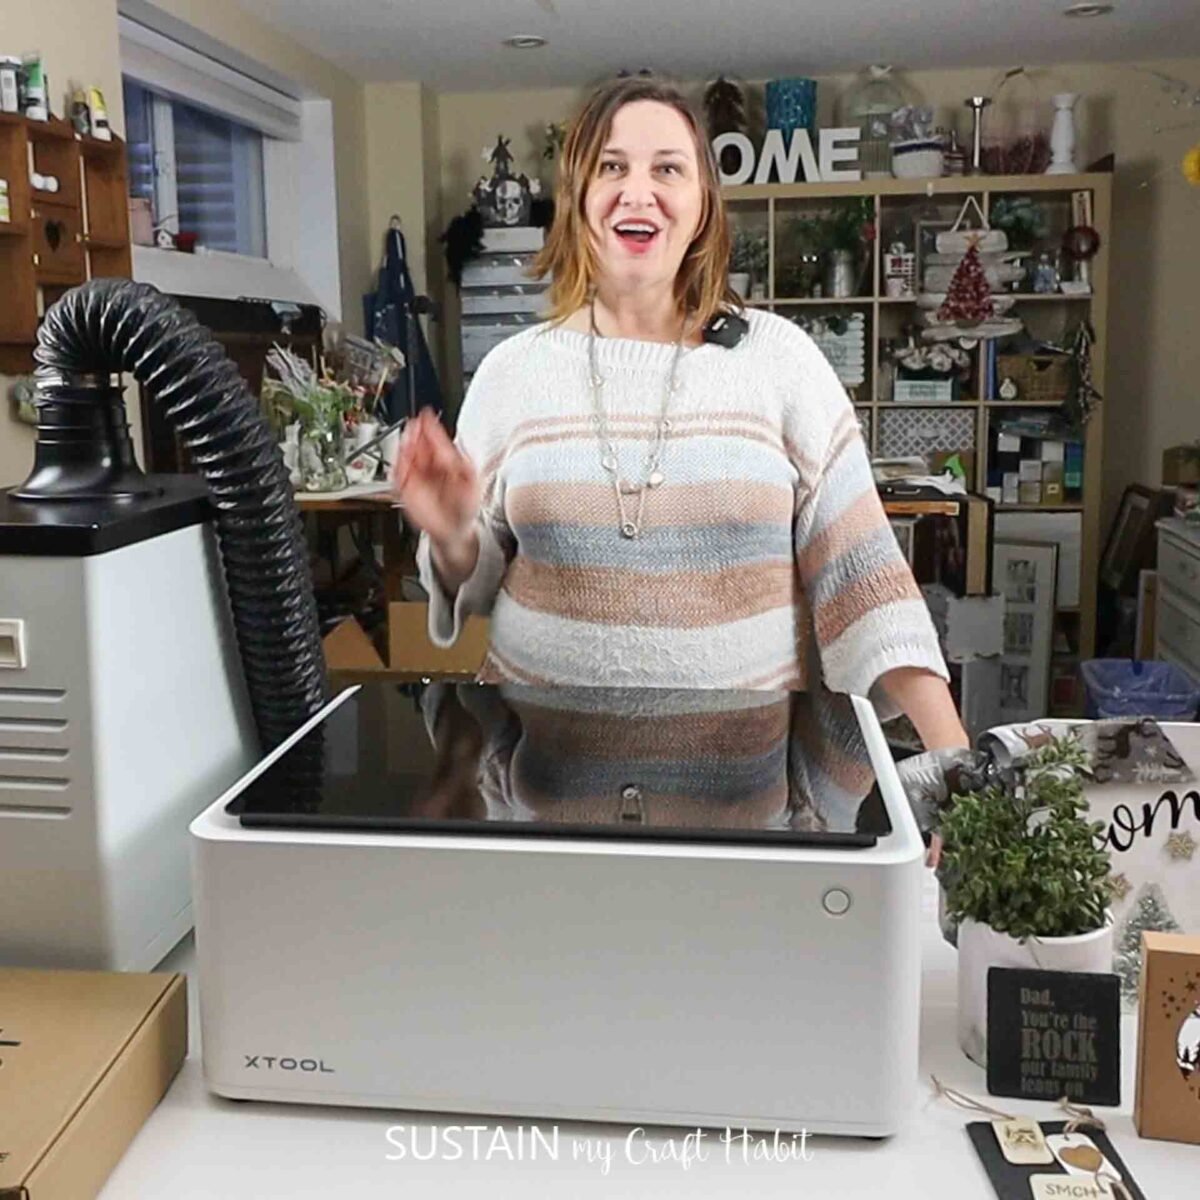
And now you can make them at home with ease using a laser cutting machine such as our
Why You Will Love Making Layered Wood Ornaments
The best part about these ornaments is that they can be created at home with a few simple materials and a laser cutter. And even better, we have a free SVG file for you to use! This means you can customize the design and create as many unique ornaments as you want without spending a fortune.
Materials Needed
Disclosure: This post contains affiliate links for your shopping convenience. Should you choose to purchase through them, we will make a small commission at no extra cost to you. You can read our full disclosure policy here.
How to Laser Cut a Layered File
Importing the SVG File to Creative Space
Open Creative Space app on mobile phone and turn on XTool M1.
Connect the Creative Space app to the laser cutting machine and click to create new project.
Import the Image – “Cardinal Ornament ” SVG that you can grab from out Sustain My Craft Habit shop for FREE!

The ornament is sized to about 4.3” high when it imports. You can keep this size or adjust it to your preference.

By default, the canvas measures in metric units. I prefer imperial so I click on the general icon in the upper left corner and switch it to the imperial unit instead.
To identify which pieces will be cut in walnut and which will be cut in basswood, you will need to move pieces to a new layer. Keep the middle piece on Layer 1. Keep the beak and eye on Layer 2. Move the remaining 2 pieces on to Layer 3.
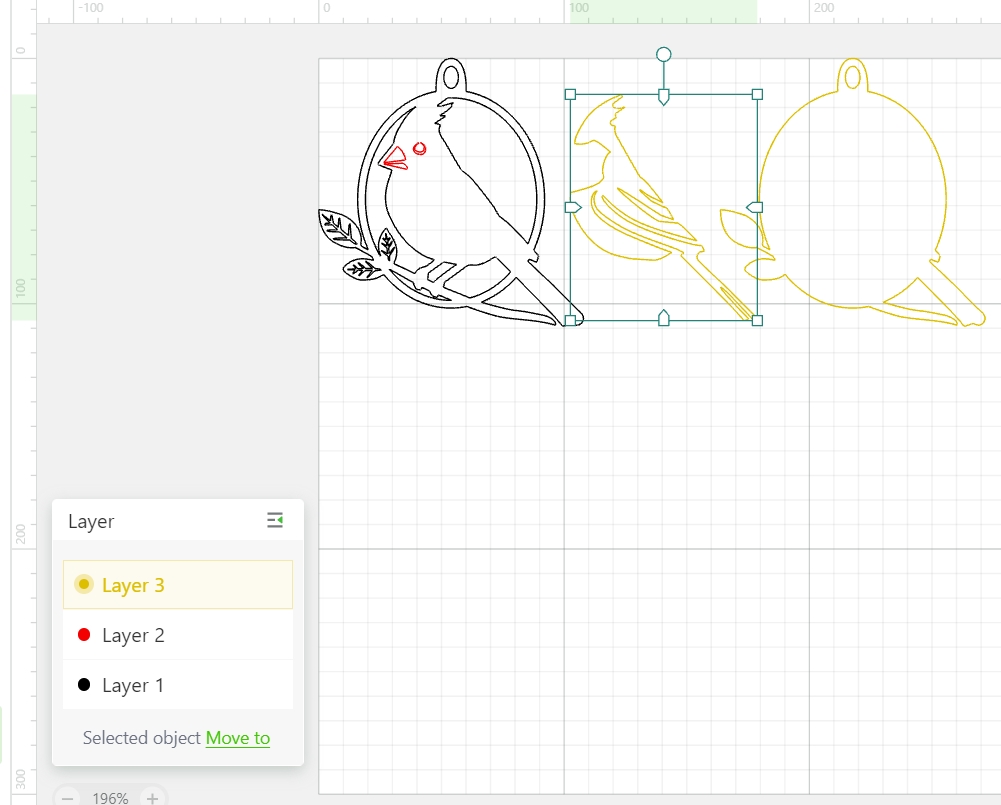
Next, assign the processing type to each piece by clicking one piece at a time and adjusting the object setting to “CUT” for all pieces except for the beak and eye, which needs to be set to ENGRAVE.

Hide Layer 3 and switch the object setting for those hidden pieces as “ignore”.
Select the material type from the drop down menu as basswood. Adjust the number of passes to 1 instead of 3 which it will automatically adjust to.

Then click on the green PROCESS button at the bottom.
Loading the Wood Material
Load the basswood material into the cutting machine. Secure with the magnets on the sides.
Position the cardinal design on top of the material in the desired location. Keep in mind the direction of the wood grain.
Double check the placement. Turn on air assist and hit process.
Remove the wood when cutting is complete and repeat these steps for cutting the remaining pieces in walnut.
Unhide Layer 3 and hide Layer 1 and Layer 2, also switching the object setting for that hidden piece as “ignore”.

Select the material type from the drop down menu as walnut. Adjust the number of passes to 1 instead of 3 which it will automatically adjust to.
Then click on the green PROCESS button at the bottom.
Load the walnut material into the cutting machine. Secure with the magnets on the sides.
Position the cardinal design on top of the material in the desired location and hit process.
Remove when cutting is complete.

Assembling the Layered 2-Tone Ornament
When all pieces are cut, layer them as shown, add a touch of wood glue between the layers to hold in place. Add a ribbon or piece of twine to the top to complete the ornament.

User Tip – make sure to always have air assist on – you can see the start of the cut is scorched where we forgot to turn on the air assist!
Unique and Beautiful Ornaments
With our free SVG file and some creativity, you can easily create beautiful and unique ornaments that will be cherished for years to come. We hope this tutorial on how to laser cut a layered file gives you some clairty and inspiration!
So, don’t wait any longer and get started on creating your own stunning ornaments today!
Love Cardinals? Check out These Other Cardinal Crafts!
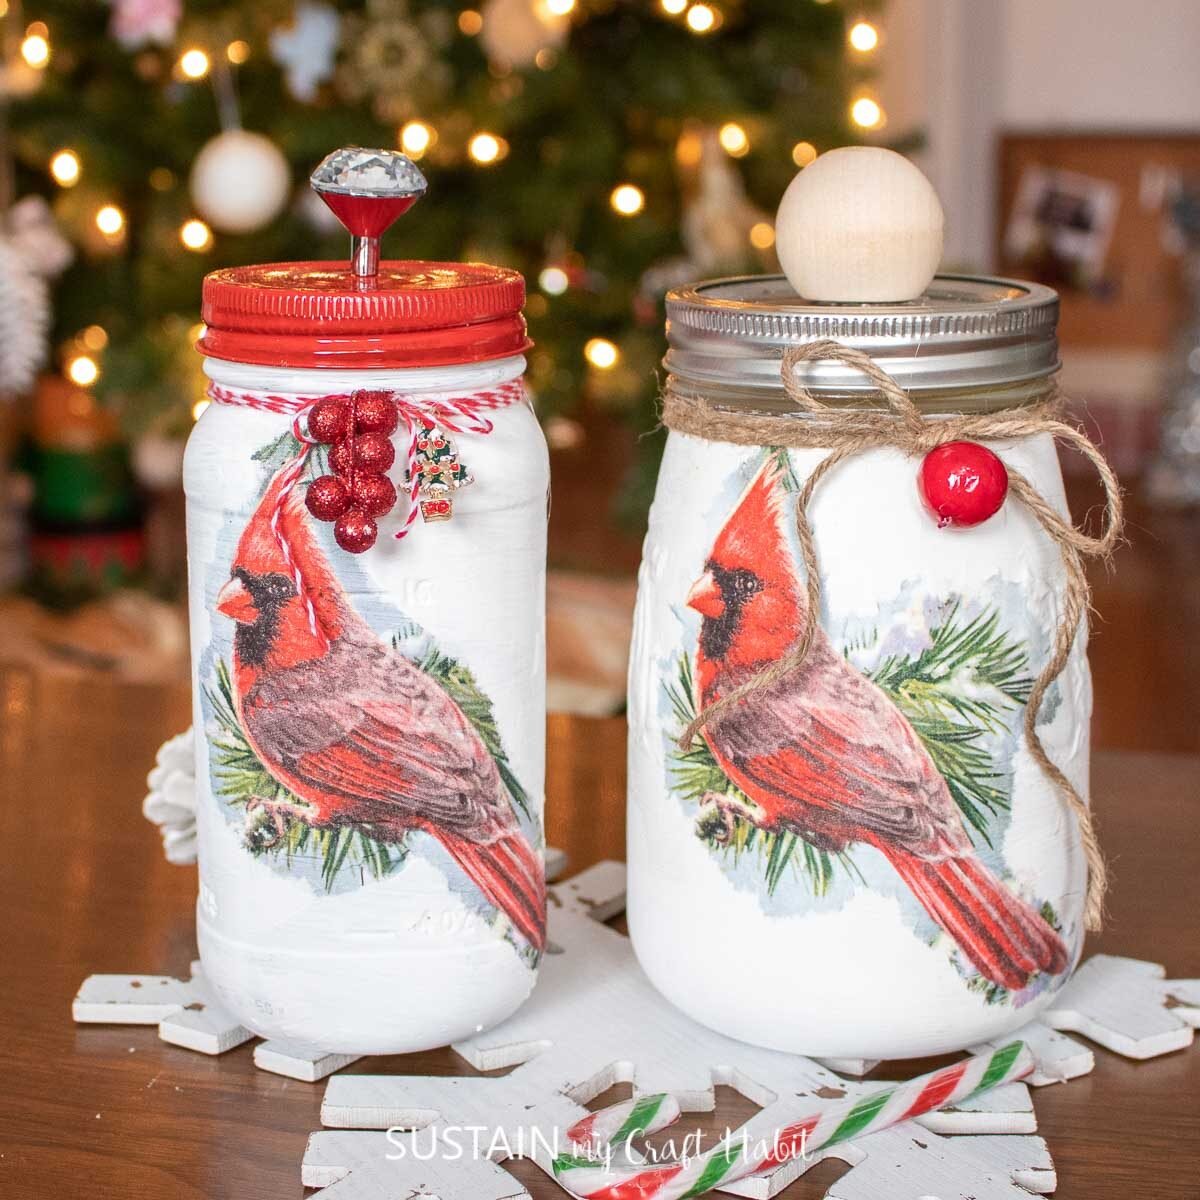
- Decoupage Ideas with Mason Jars
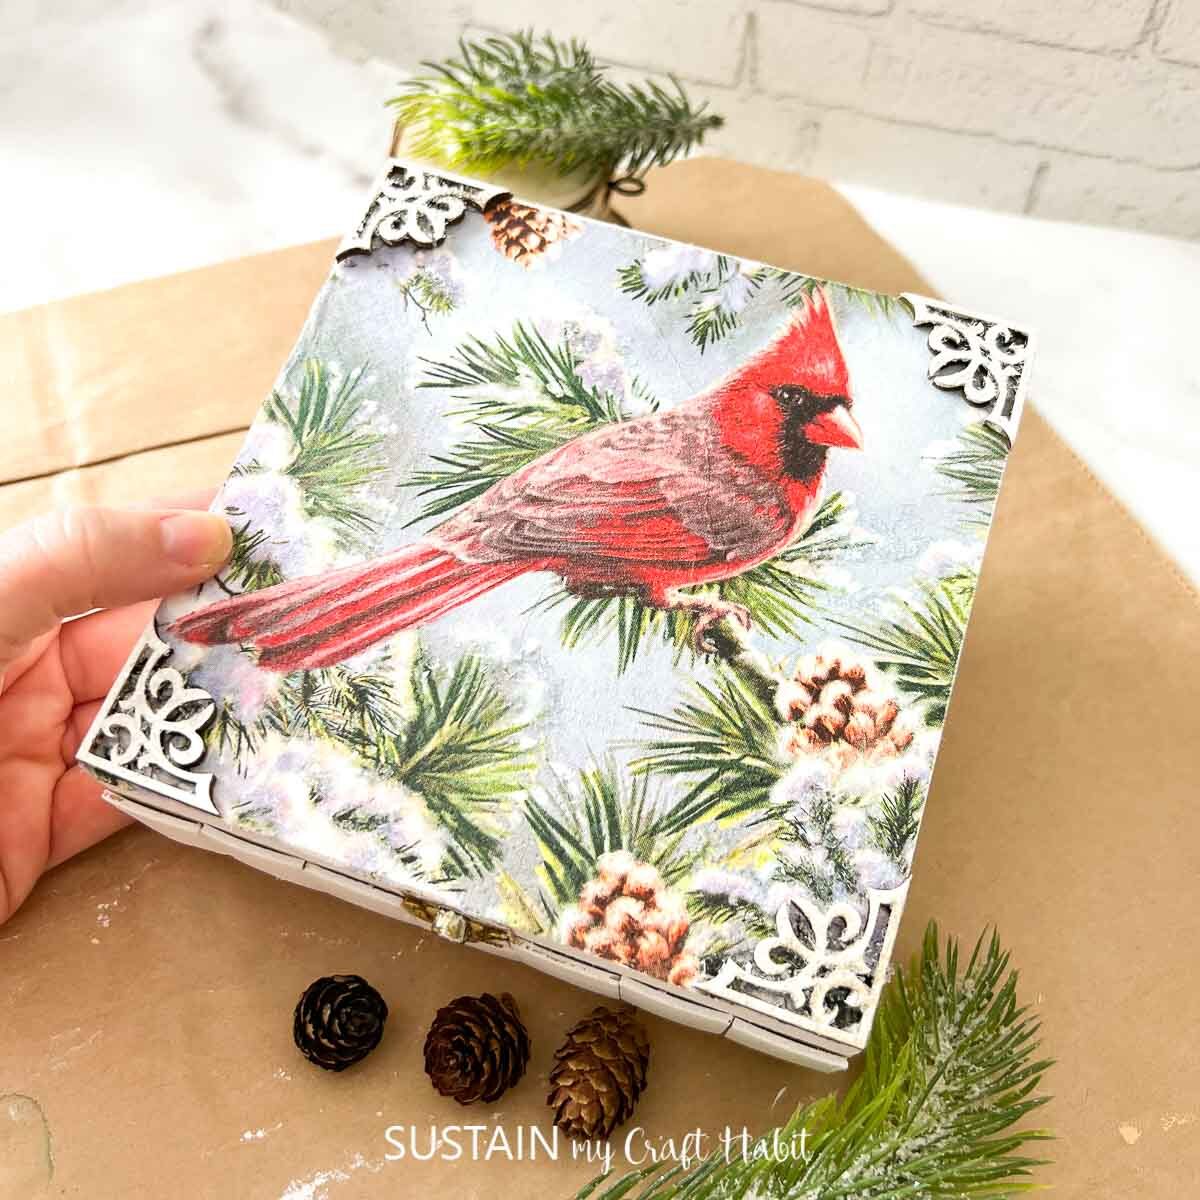
- Keepsake Box Craft
- Pinecone Wreath with Cardinals
- Paper Napkin Cardinal Decoupage
- Felt Birds


Get access to our resource library filled with cut files and other xTool craft ideas!
Like it? Pin it for later!


How to Laser Cut a Layered File with FREE SVG
Materials
- XTool M1
- Walnut size 3mm 12”x12”wide
- Basswood Plywood size 3mm 12”x12”wide
- Cardinal Ornament SVG
Instructions
- Connect Creative Space app to Xtool M1 machine.
- Import Image – “Cardinal Ornament ” SVG.
- To identify which pieces will be cut in walnut and which will be cut in basswood, you will need to move pieces to a new layer. Keep the middle piece on Layer 1. Keep the beak and eye on Layer 2. Move the remaining 2 pieces on to Layer 3.
- Next, assign the processing type to each piece by clicking one piece at a time and adjusting the object setting to “CUT” for all pieces except for the beak and eye, which needs to be set to ENGRAVE.
- Hide Layer 3 and switch the object setting for those hidden pieces as “ignore”.
- Select the material type from the drop down menu as basswood. Adjust the number of passes to 1 instead of 3 which it will automatically adjust to.
- Then click on the green PROCESS button at the bottom.
- Load the basswood material into the cutting machine. Secure with the magnets on the sides.
- Position the cardinal design on top of the material in the desired location. Keep in mind the direction of the wood grain.
- Double check the placement. Turn on air assist.
- Hit process.
- Remove when cutting is complete.
- Repeat these steps for cutting the remaining pieces in walnut.
- Unhide Layer 3 and hide Layer 1 and Layer 2, also switching the object setting for that hidden piece as “ignore”.
- Select the material type from the drop down menu as walnut. Adjust the number of passes to 1 instead of 3 which it will automatically adjust to.
- Then click on the green PROCESS button at the bottom.
- Load the walnut material into the cutting machine. Secure with the magnets on the sides.
- Position the cardinal design on top of the material in the desired location.
- Hit process.
- Remove when cutting is complete.
- When all pieces are cut,add a touch of wood glue between the layers to hold in place. Add a ribbon or piece of twine to the top to complete the ornament.