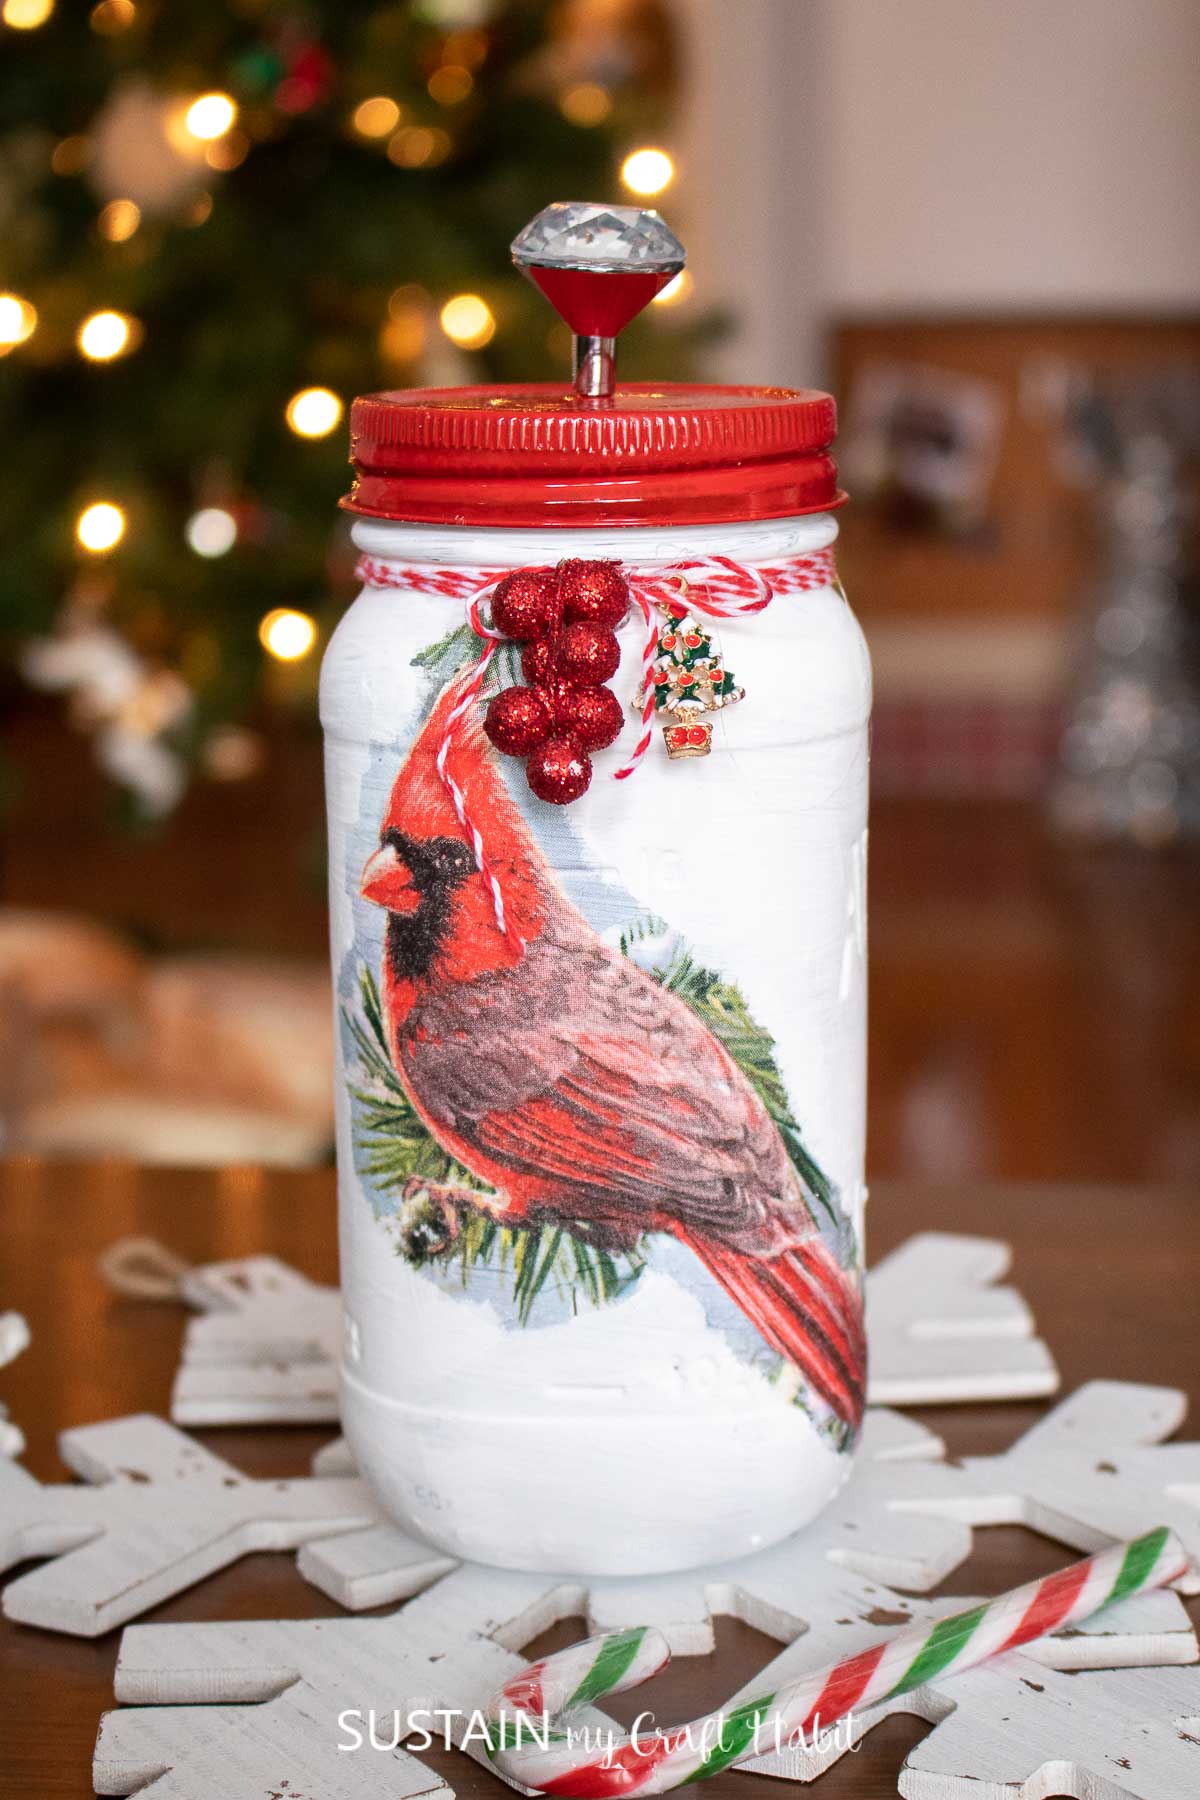
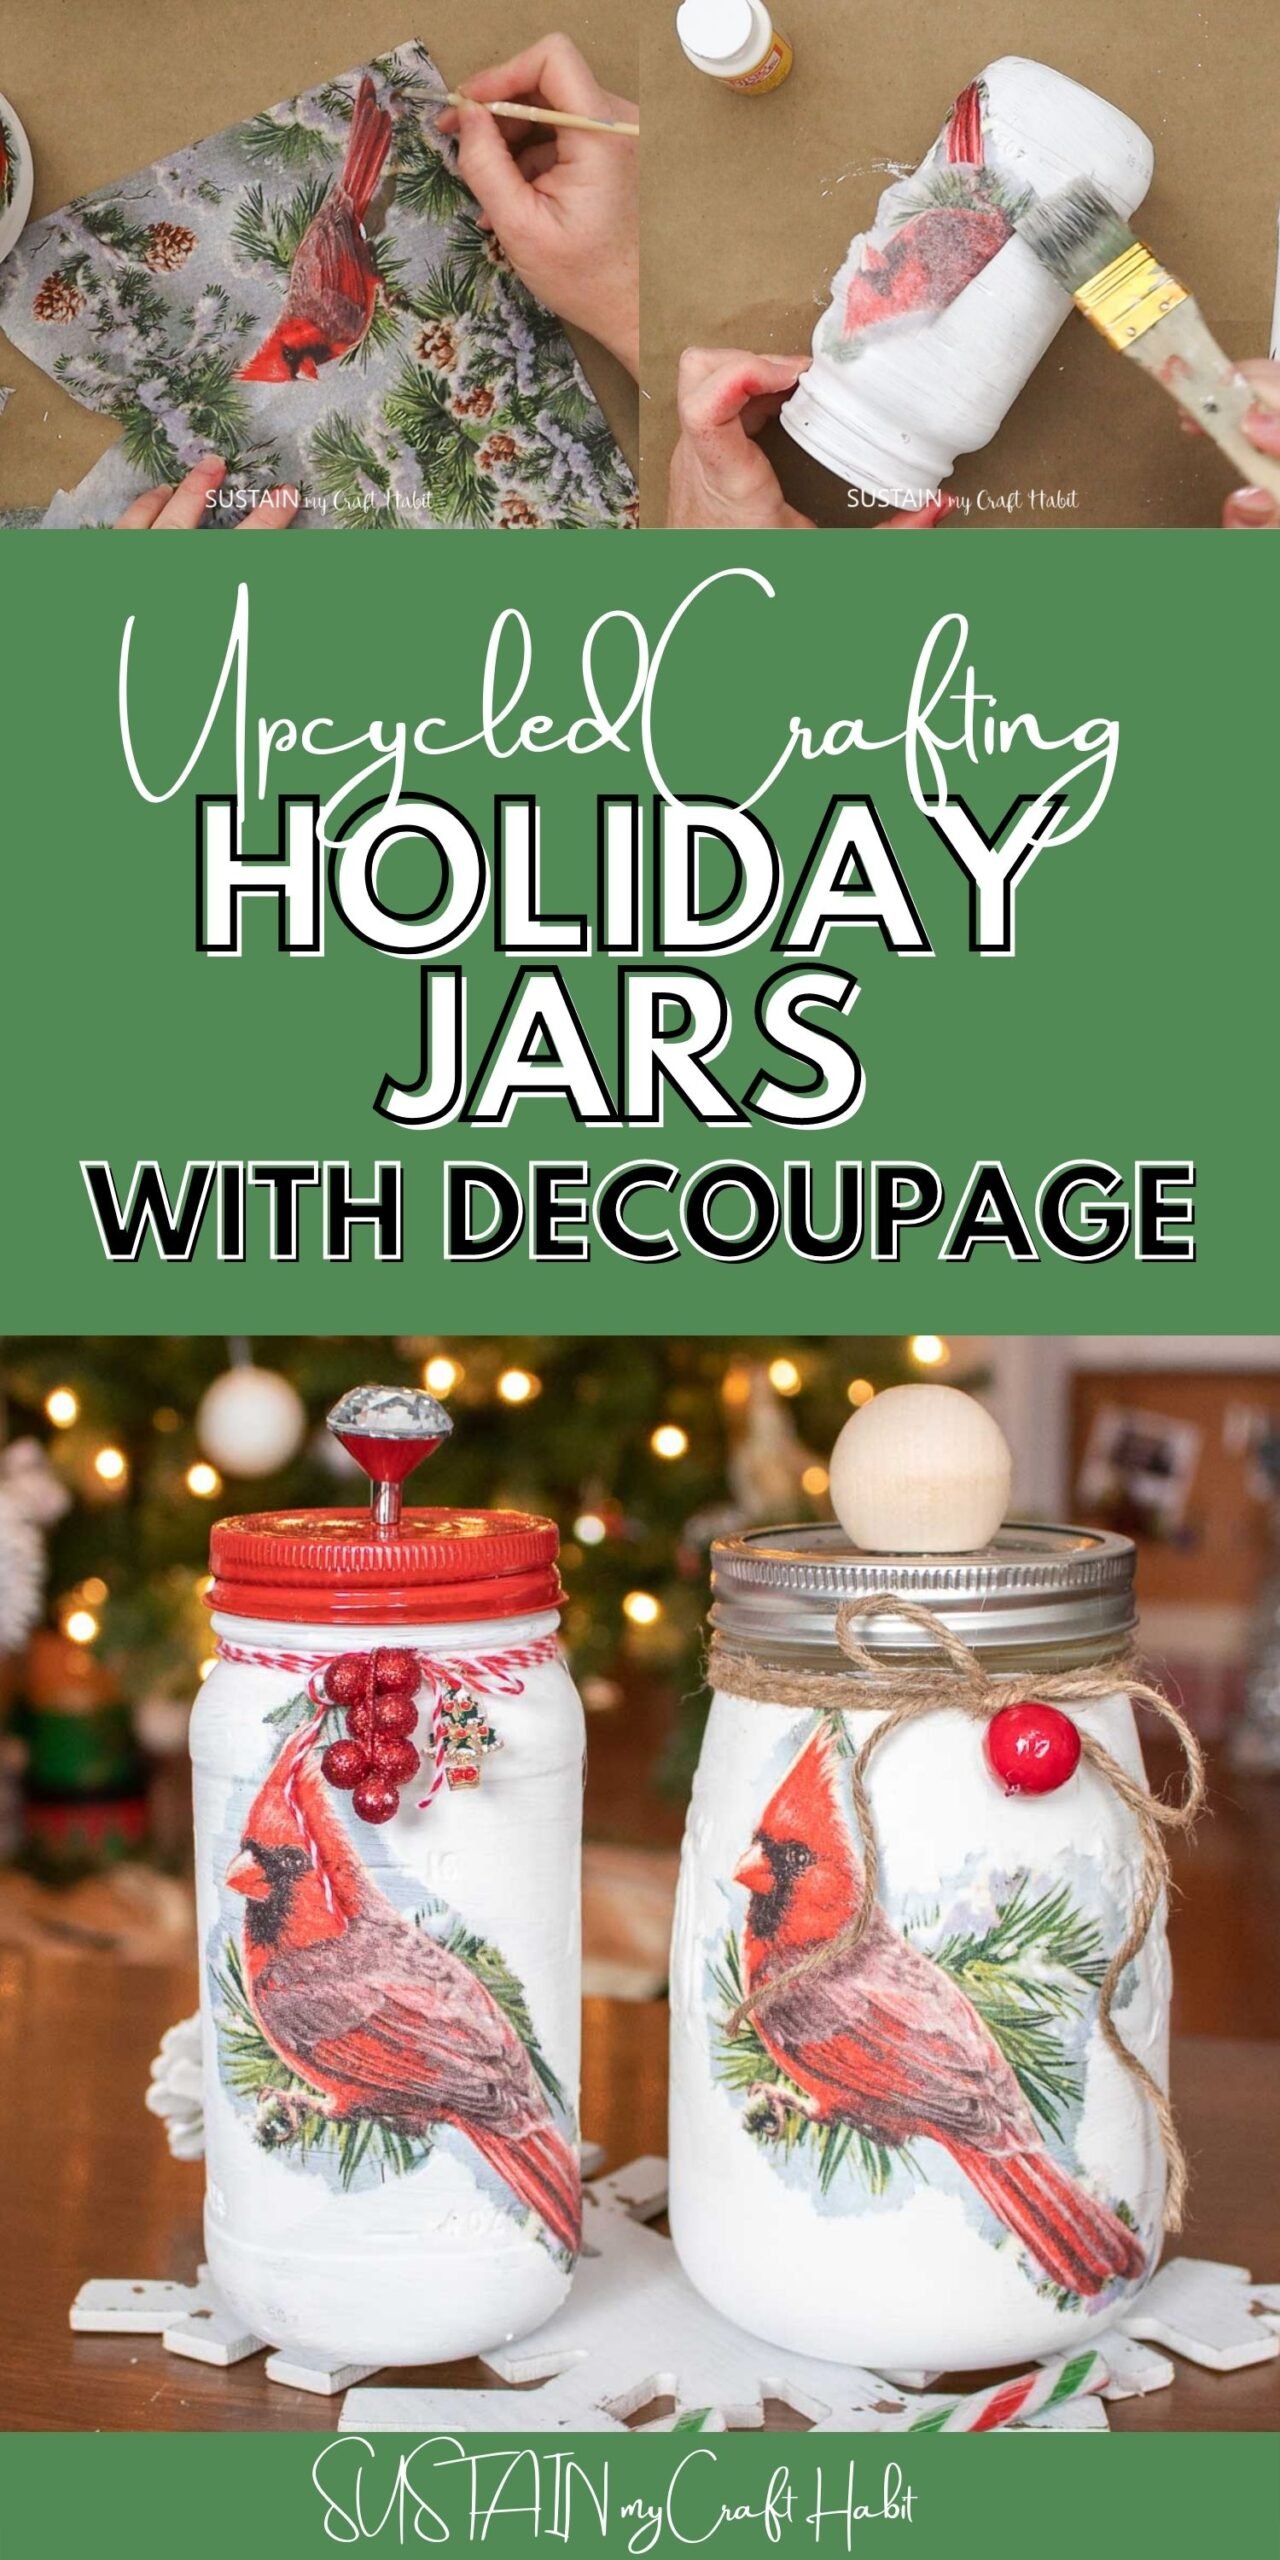
Christmas Decoupage Ideas with Mason Jars
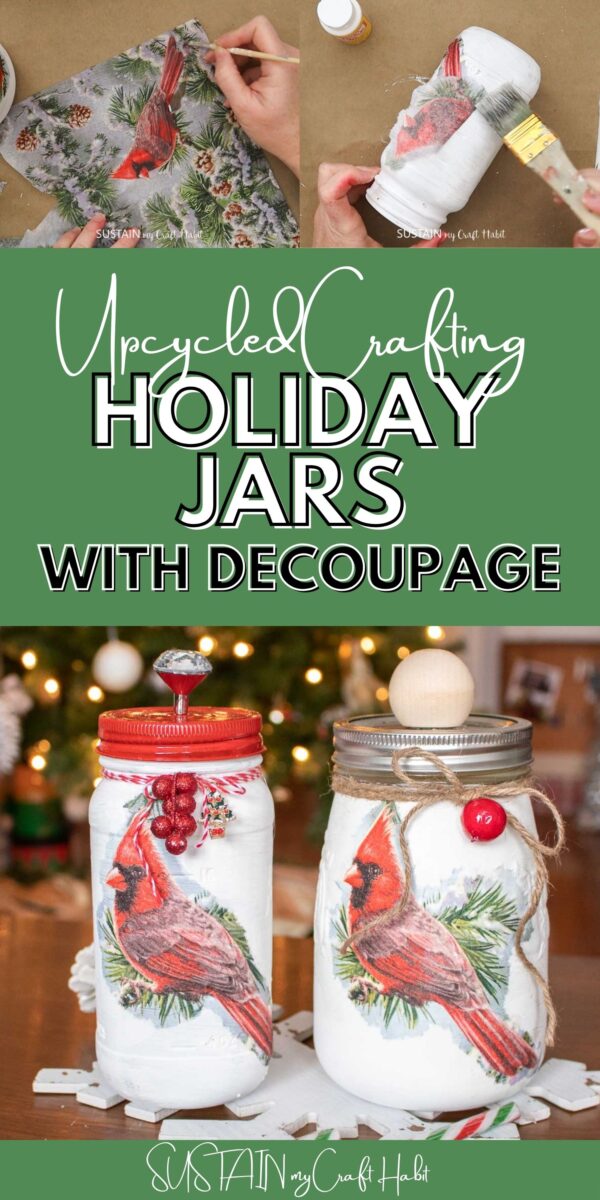
Although it may look like these holiday mason jars were painstakingly hand painted, they were actually made really easily! If you’re looking for simple Christmas decoupage ideas, these holiday jars made with your favorite Christmas napkin are fun and festive.
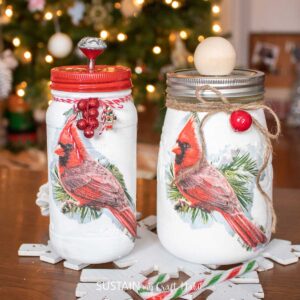
DIY Holiday Mason Jars with Decoupage
At the time this craft was made and shared on a recent live video on our Facebook page, I was thinking how I hadn’t seen any cardinals outside in a long time.
I assumed it was because we had moved to a new house and there just weren’t any cardinals in this area. BUT then just yesterday, my daughter excitedly shared how she saw THREE cardinals perched in our backyard birch tree!
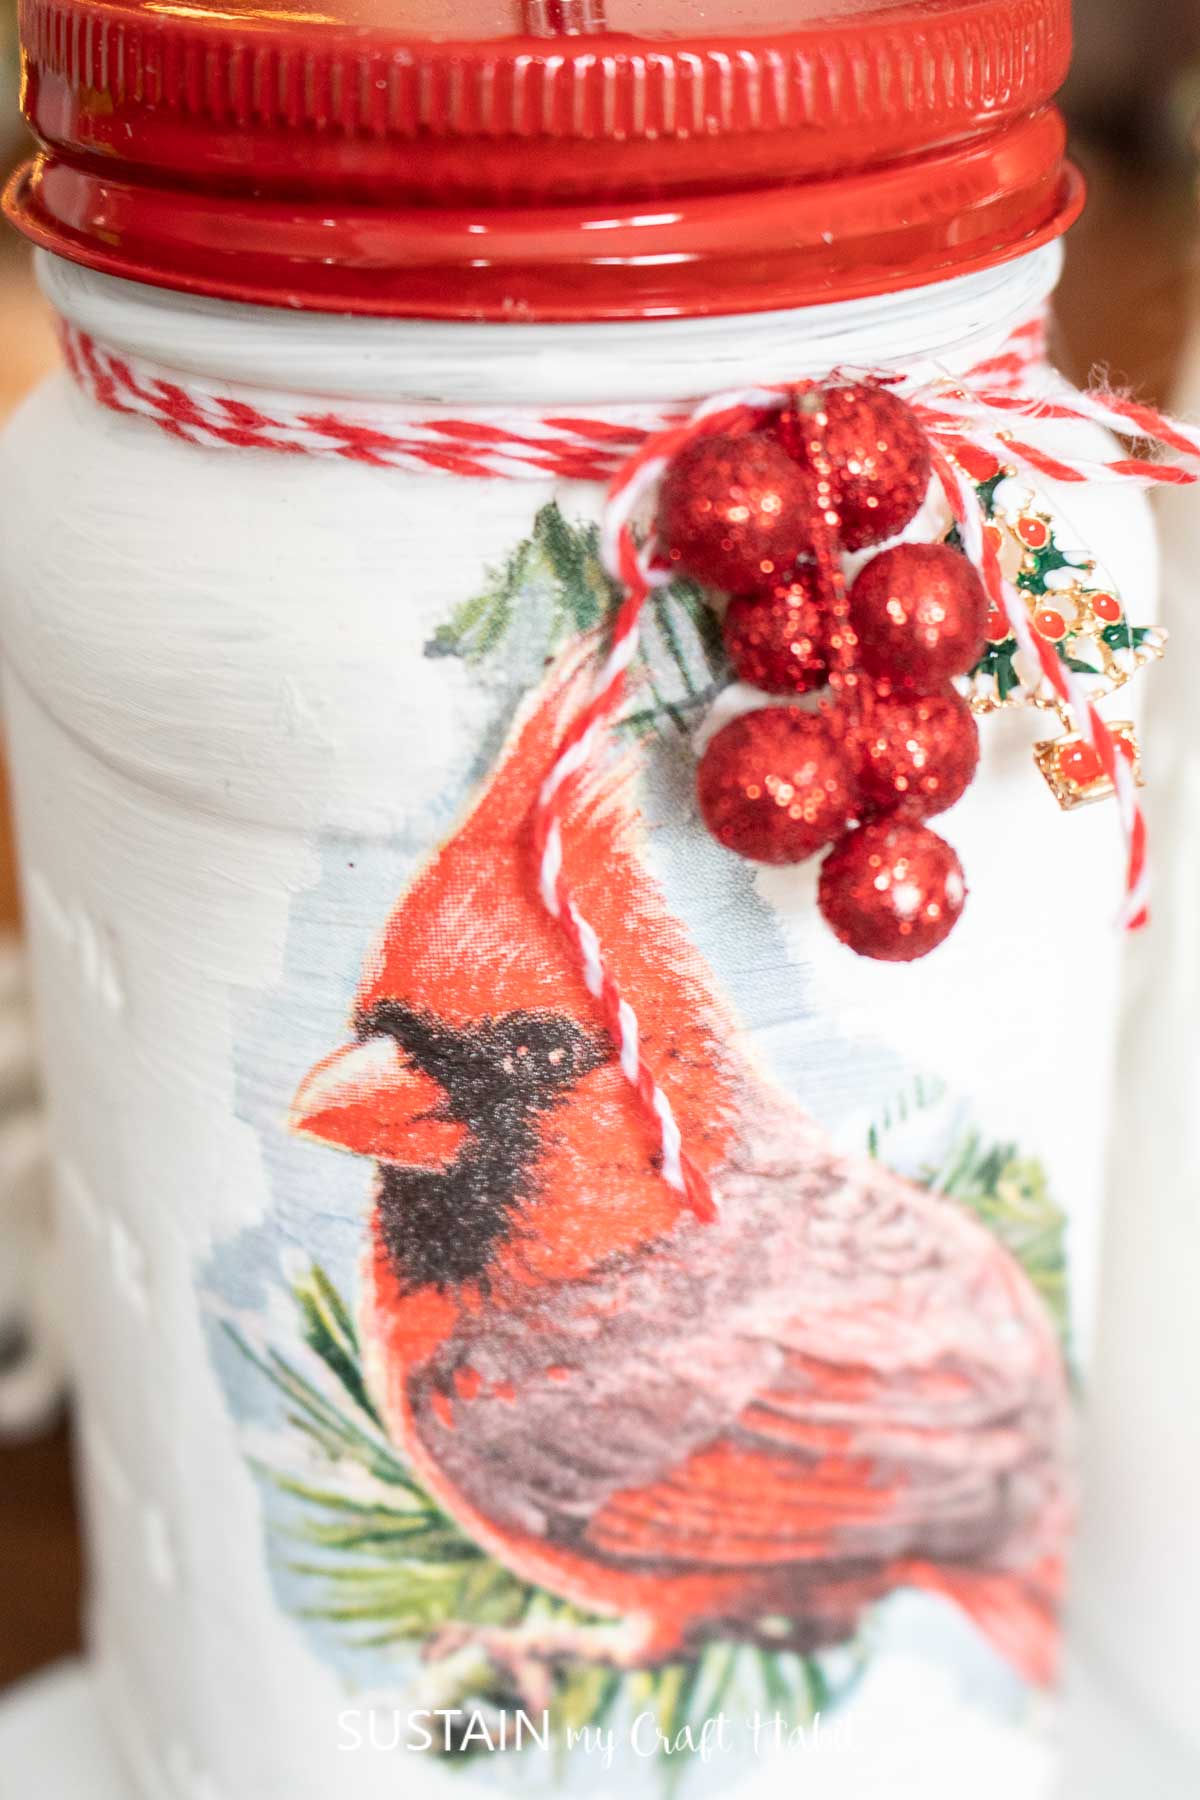
And although we used these pretty cardinal printed paper napkins, you can use just about any paper napkin for this Christmas decoupage idea.
There are so many beautiful designs, it’s sometimes hard to pick just one! We did a similar craft in the Summer using monstera leaf printed paper napkins, which turned out beautifully if I can say so myself!
Materials Needed for this Christmas Decoupage Idea
Disclosure: This post contains affiliate links for your shopping convenience. Should you choose to purchase through them, we will make a small commission at no extra cost to you. You can read our full disclosure here.
- Mason Jar with lid and rim (a grouping of three different sized jars looks wonderful!)
- Holiday Themed Napkin (shop our Christmas napkin bundle!)
- White Chalky Paint
- Modge Podge
- Paint Brushes
- Spray paint in a high gloss red
- Decorative Knob
- Drill with drill bit
- Decorative Ribbon
How to Make Holiday Mason Jars with Decoupage
Here is a step-by-step video of the holiday mason jars we made on our Facebook page! Or if you prefer the photo tutorial, continue reading below.
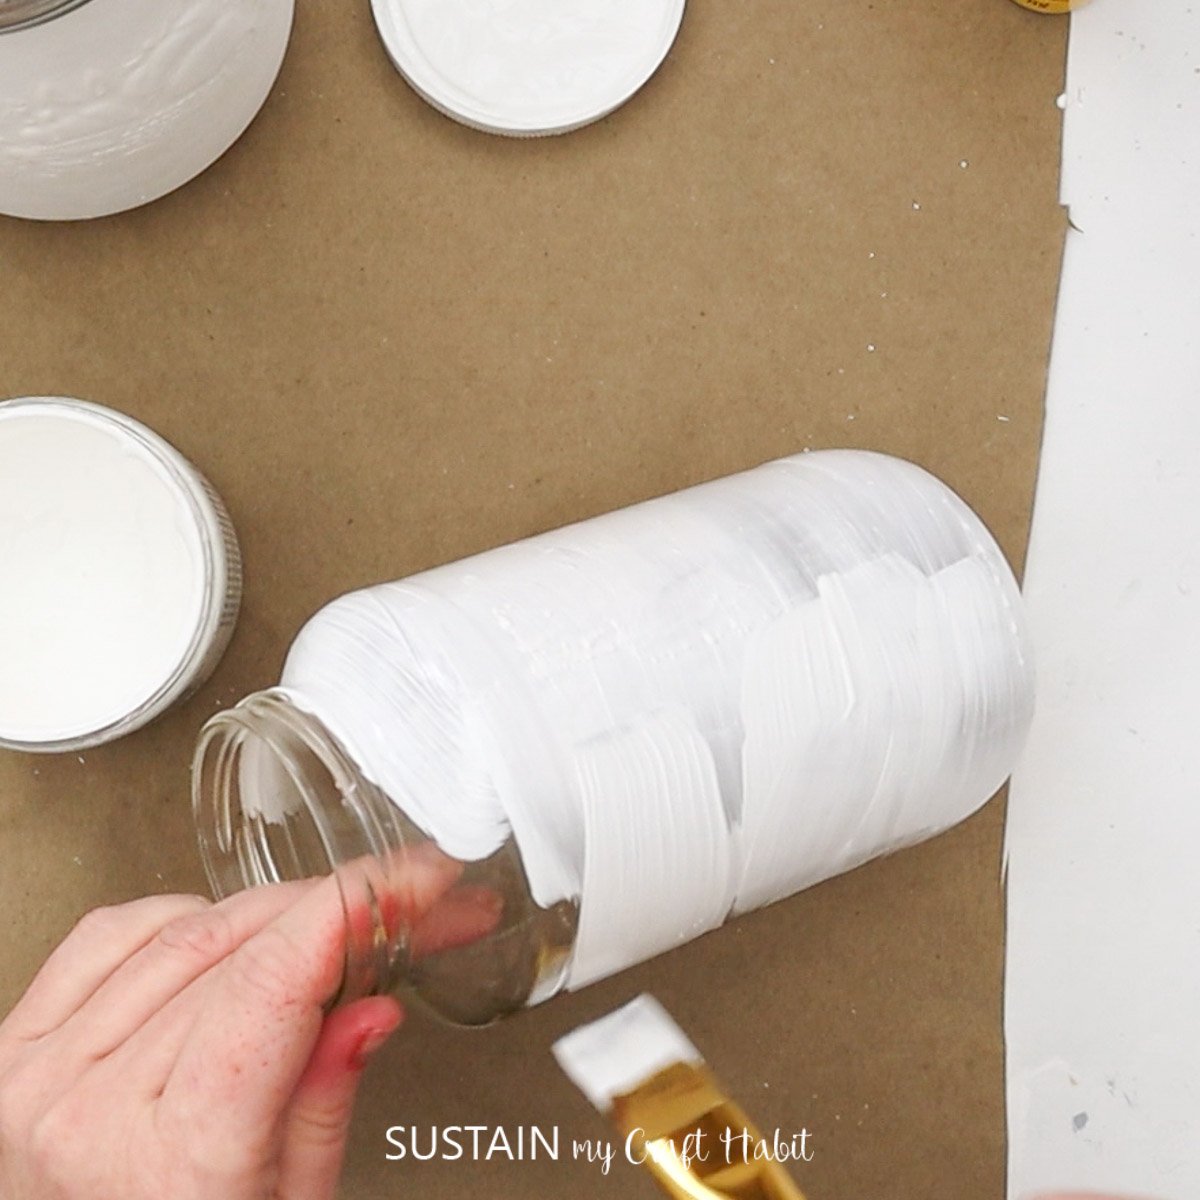
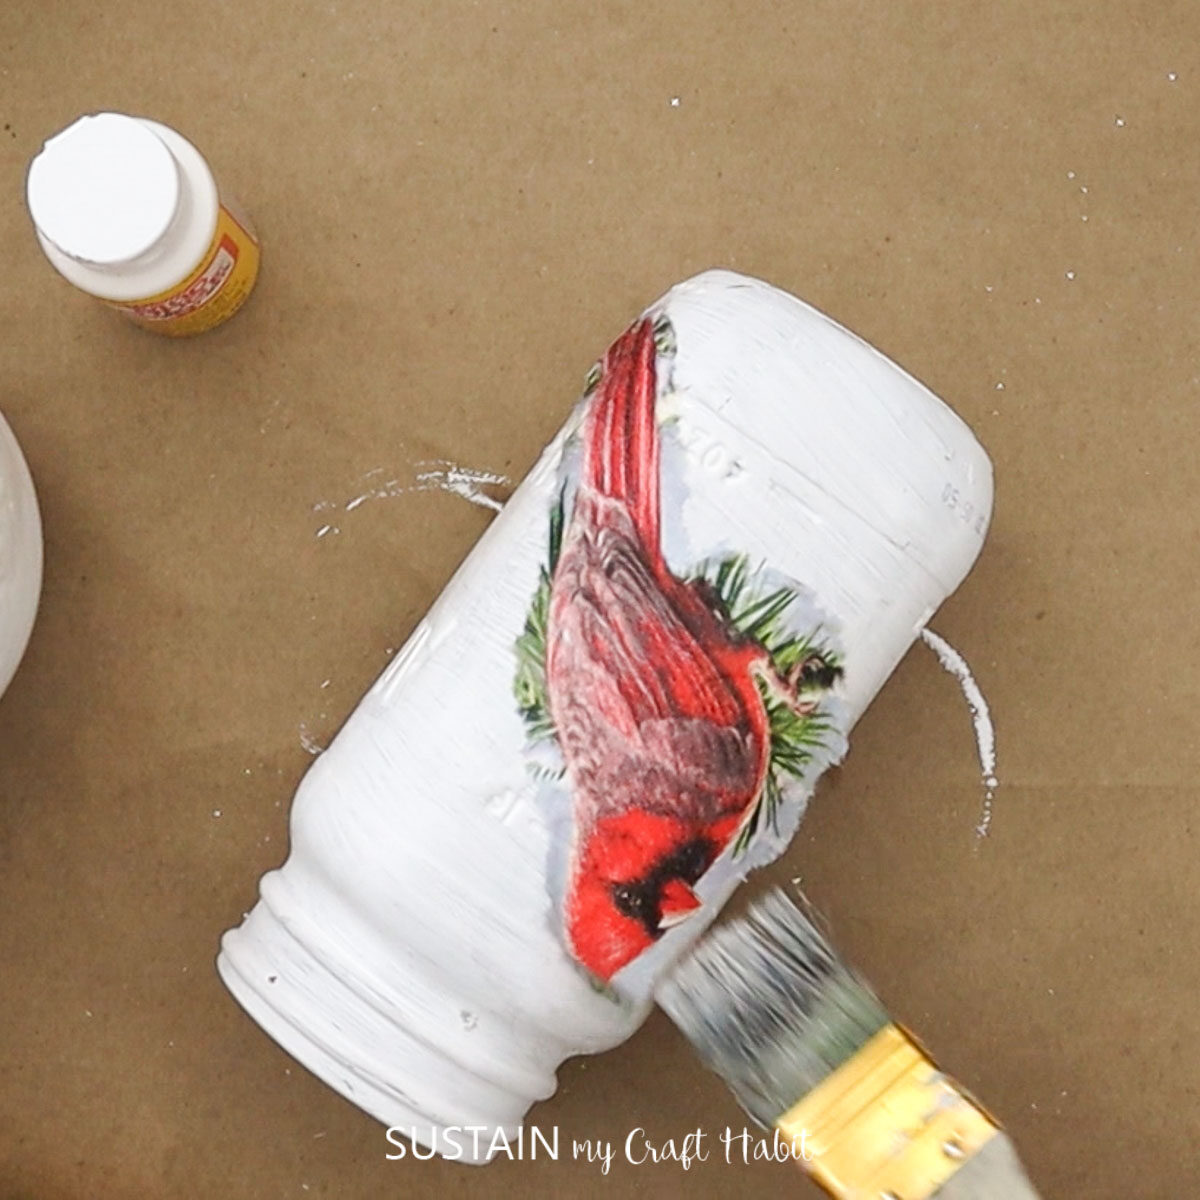
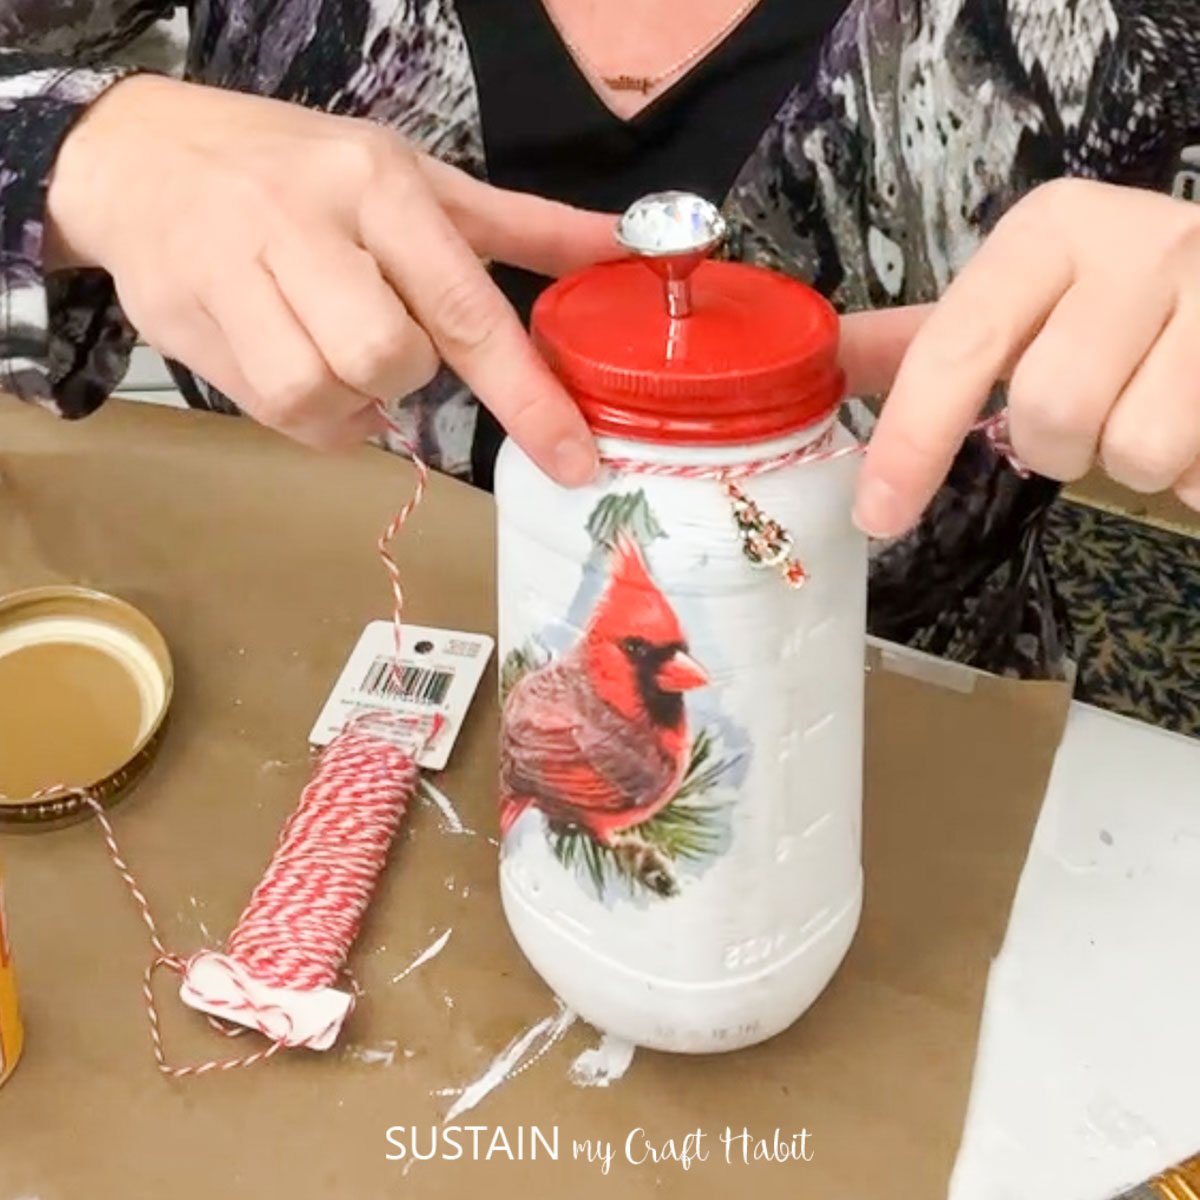
The first step is to paint the mason jar white and let the paint dry. Apply a second coat of paint for better coverage and then again let the paint dry fully.
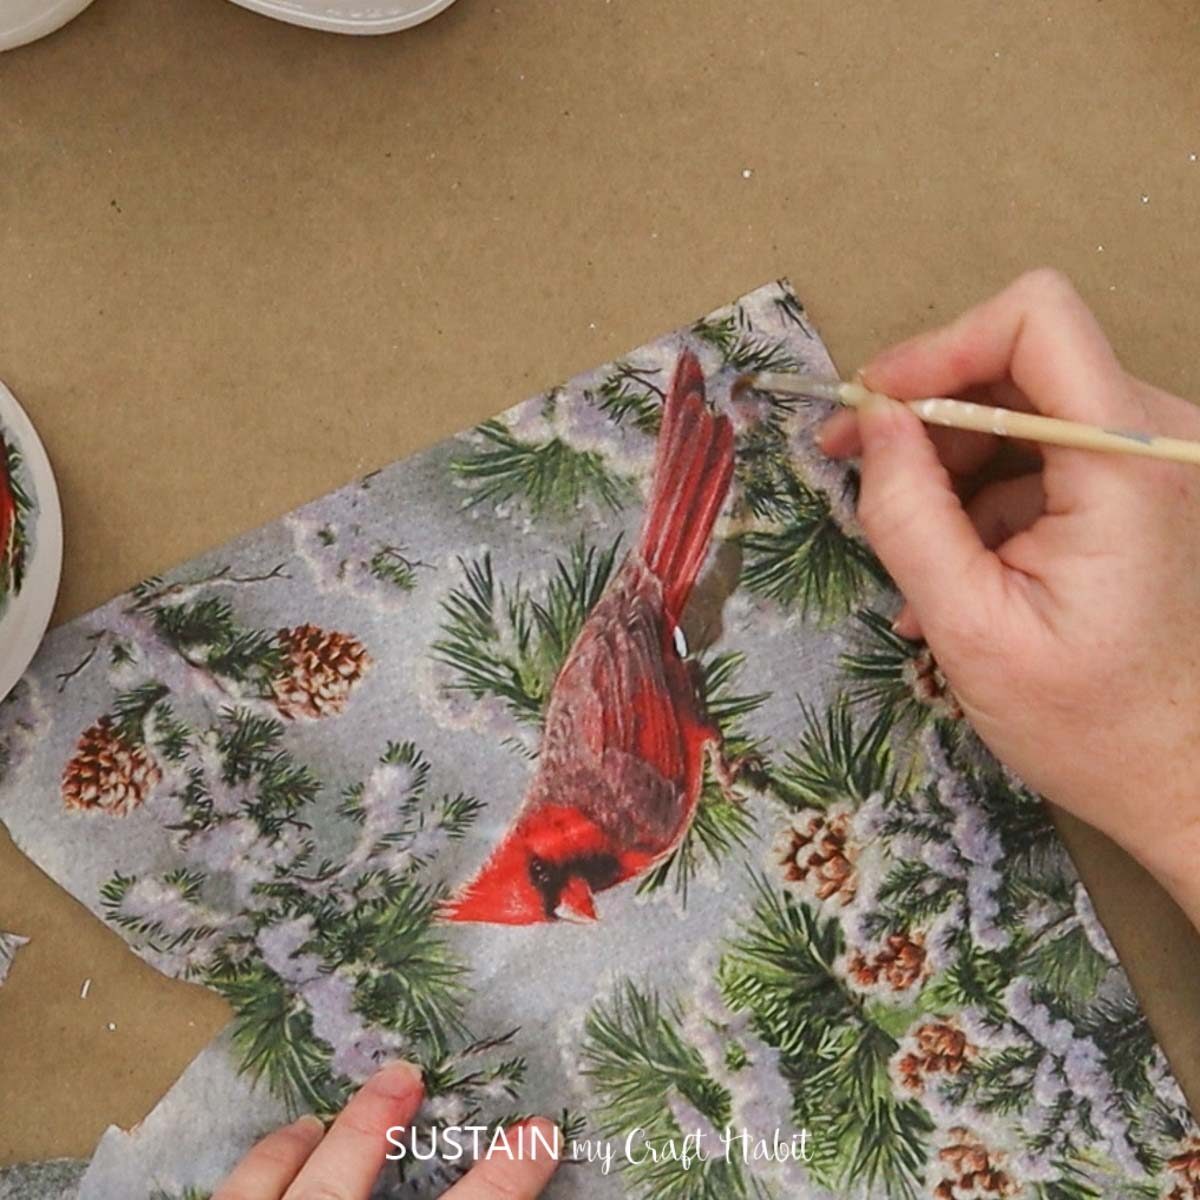
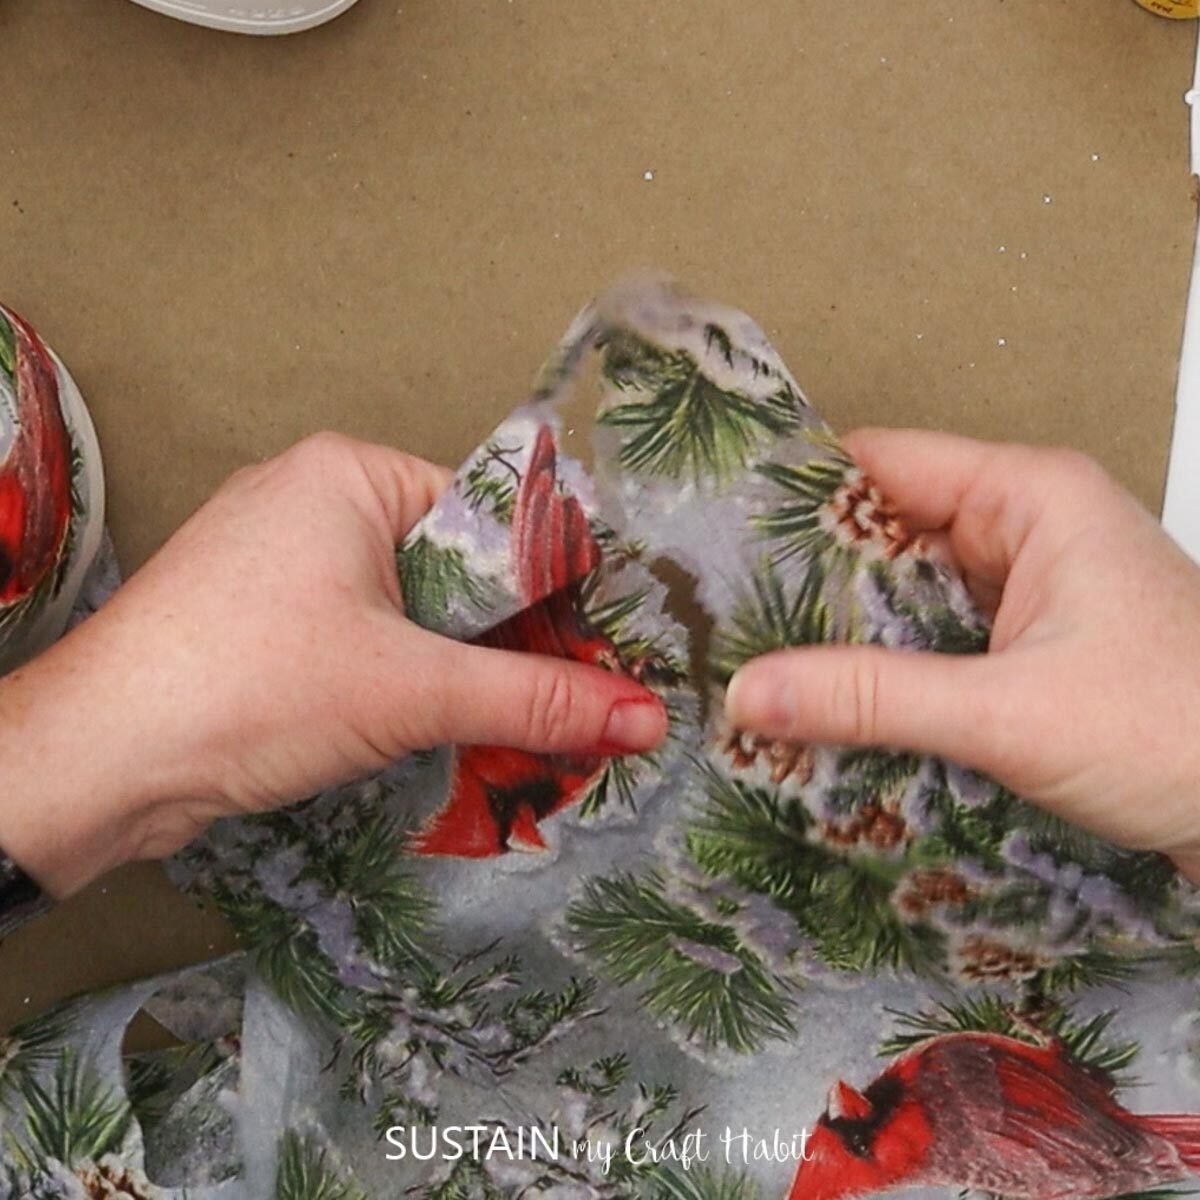
Open the napkin and separate the layers keeping just the top printed layer and discarding the other ply. Using scissors cut out the image from the napkin.
Alternatively, you can also use a small paintbrush dipped in water to brush around the edges of the image and then gently tear the paper creating a rustic frayed edge.
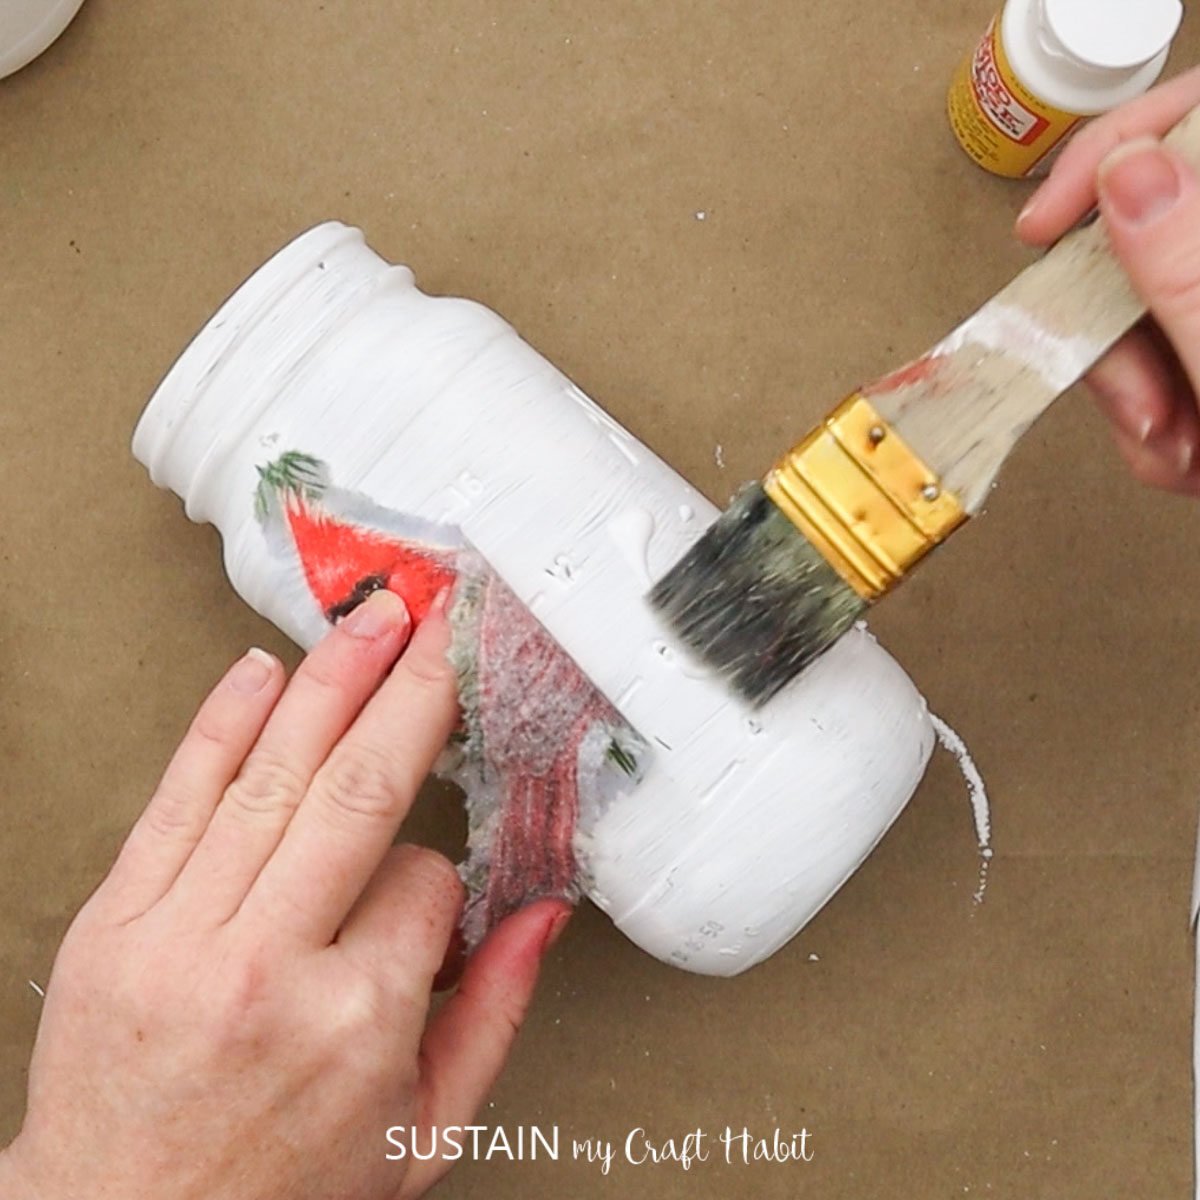
Place the image on the jar on a smooth portion of the glass jar. Lift the image and apply some Mod Podge on to the jar and then apply the image on top of the glue. Gently press and smooth aways any excess glue along the edges.
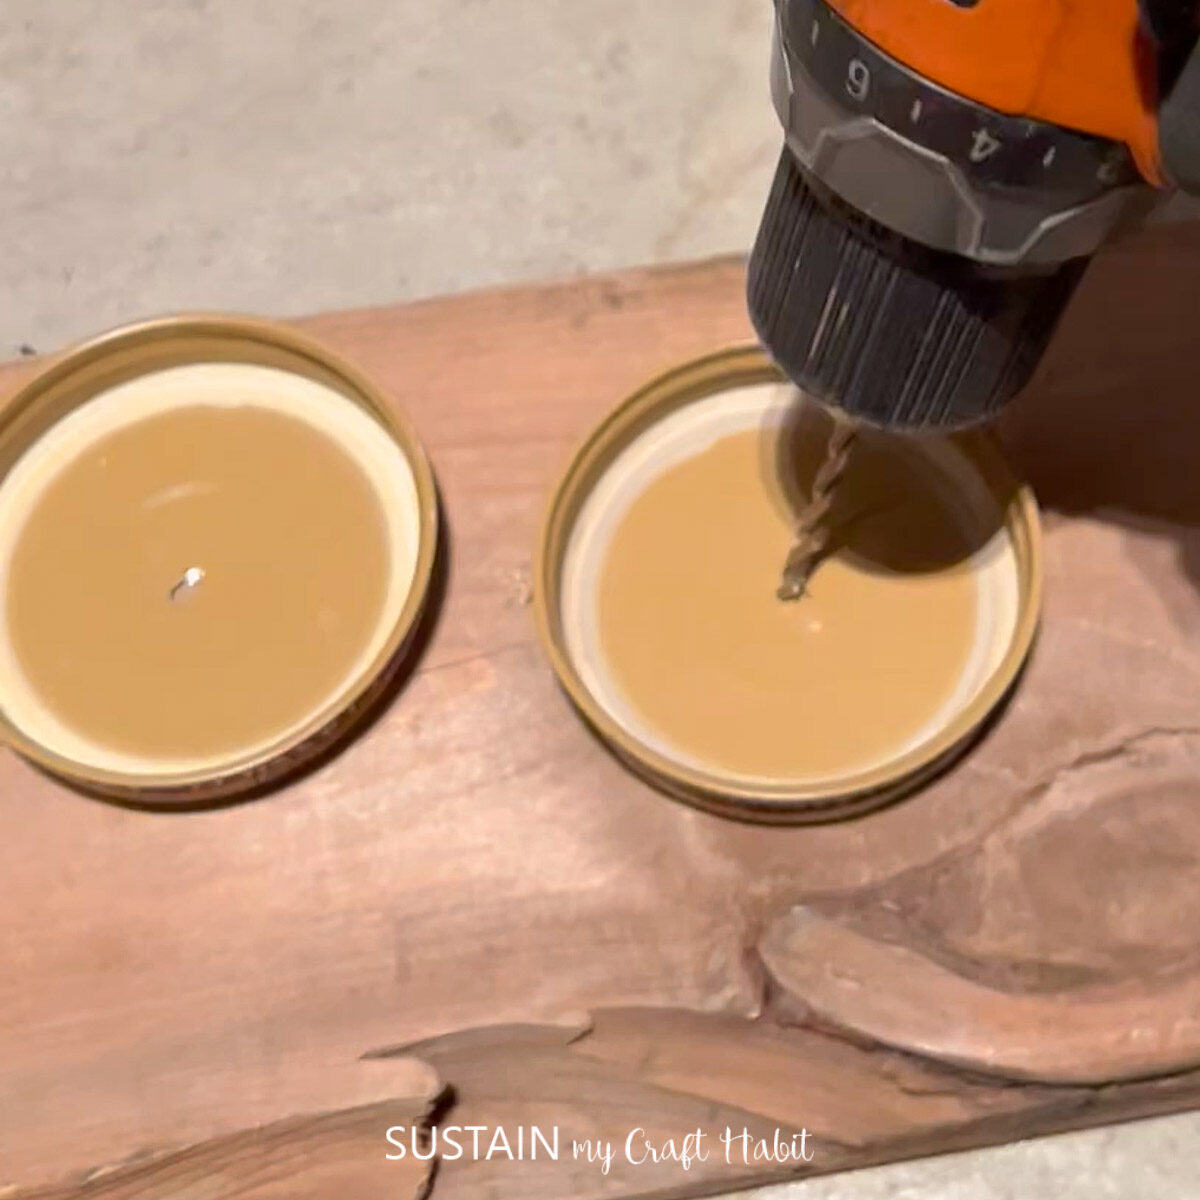
Take the lid of the jar and drill a hole in the centre of the lid.
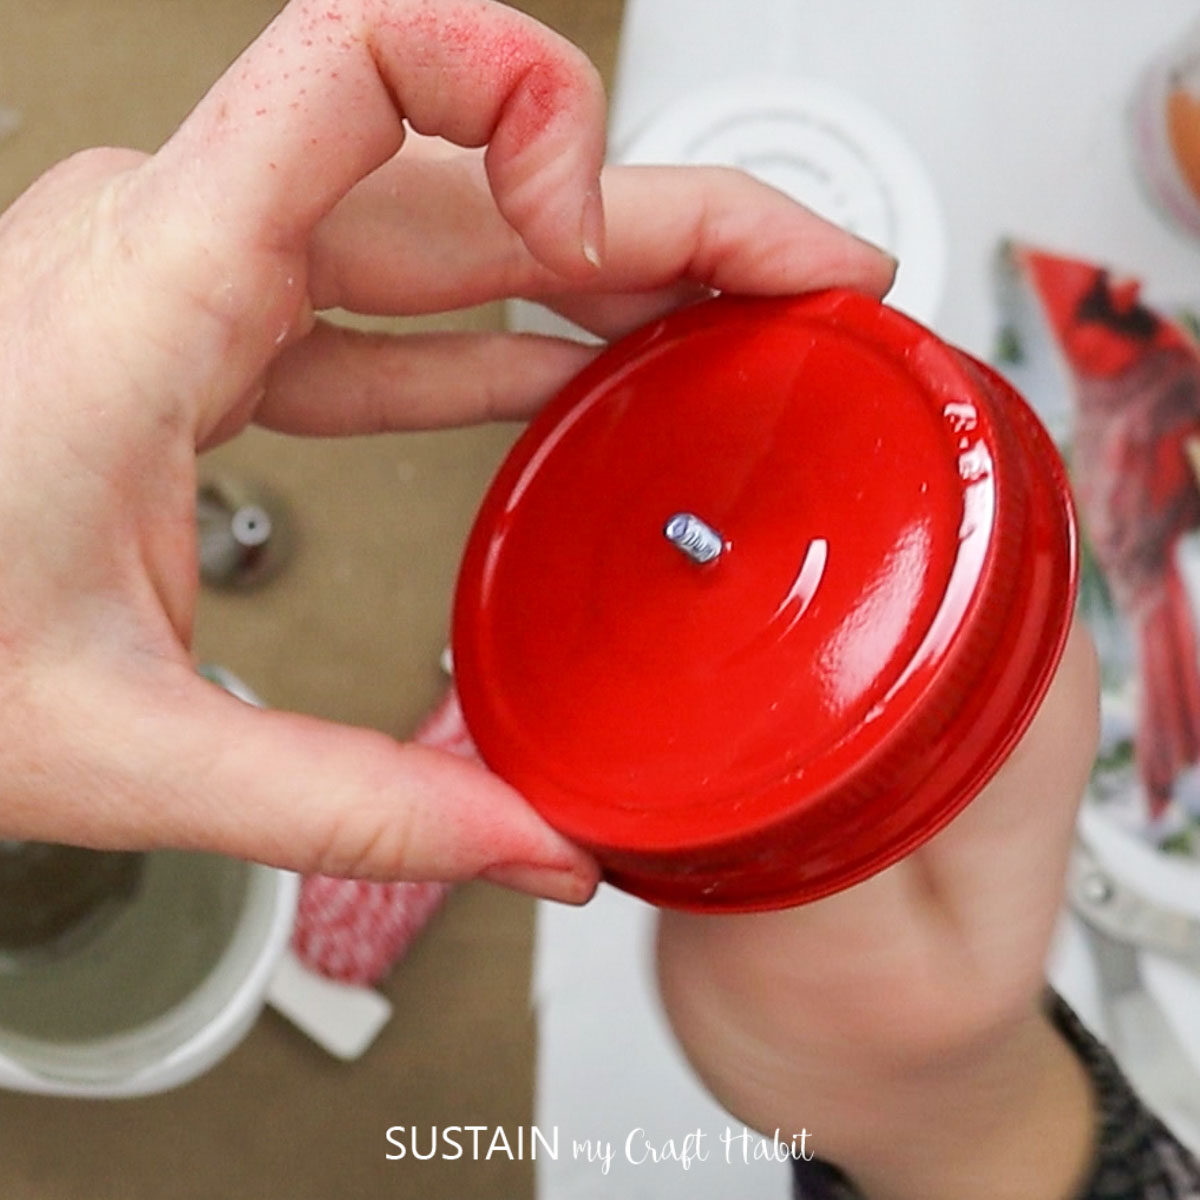
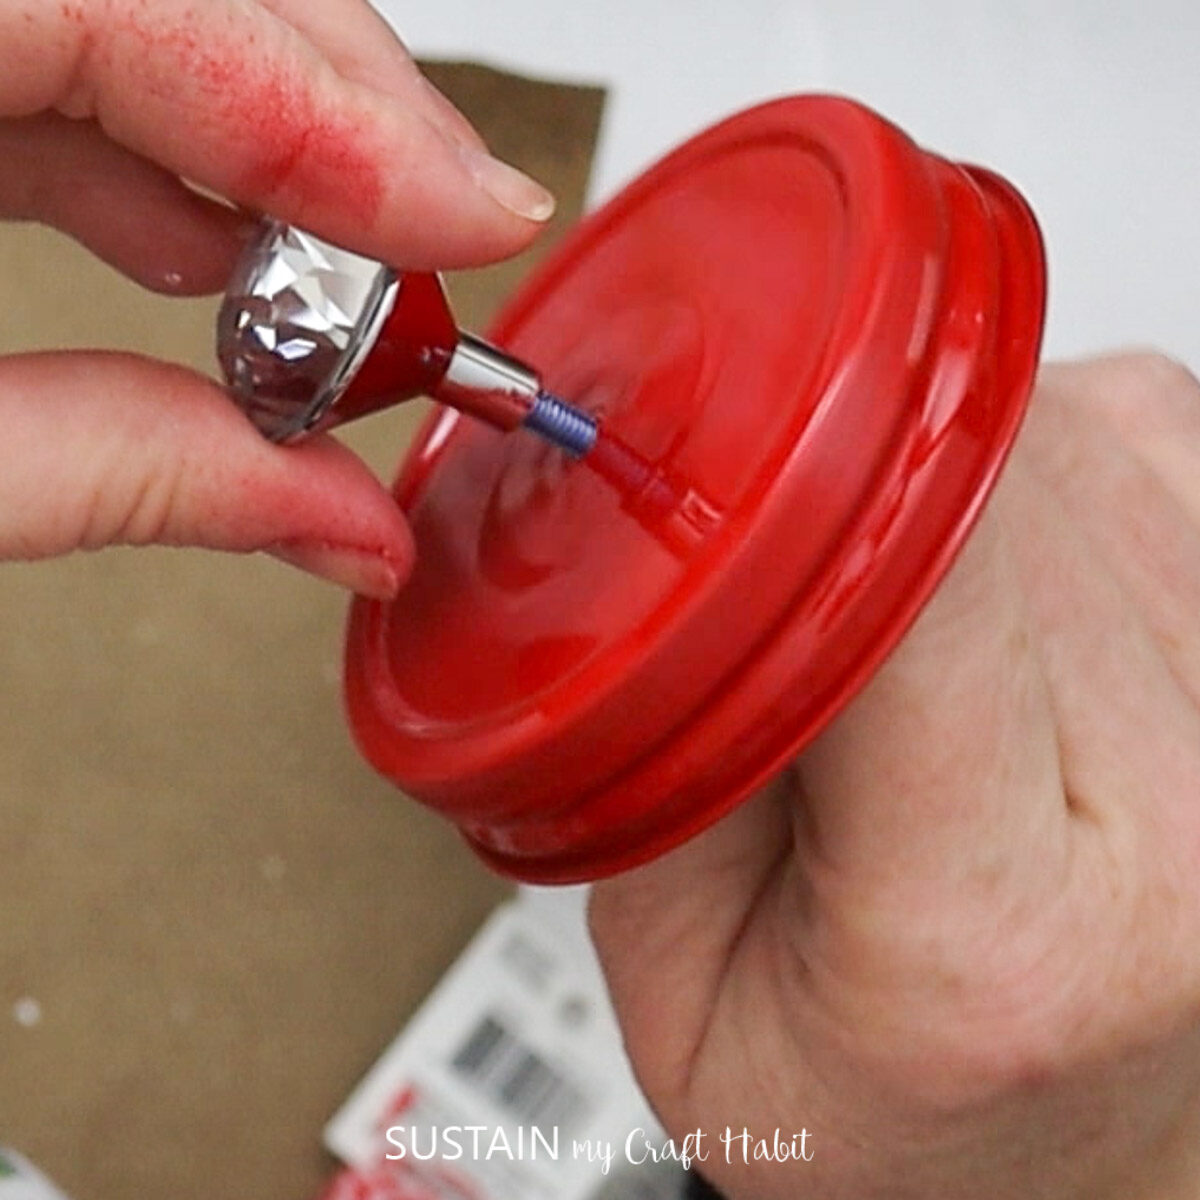
Give the lids a coat of spray paint. We used a high gloss red spray paint that made all the difference! Add a decorative knob by ‘screwing’ the knob to the lid once the paint has fully dried.
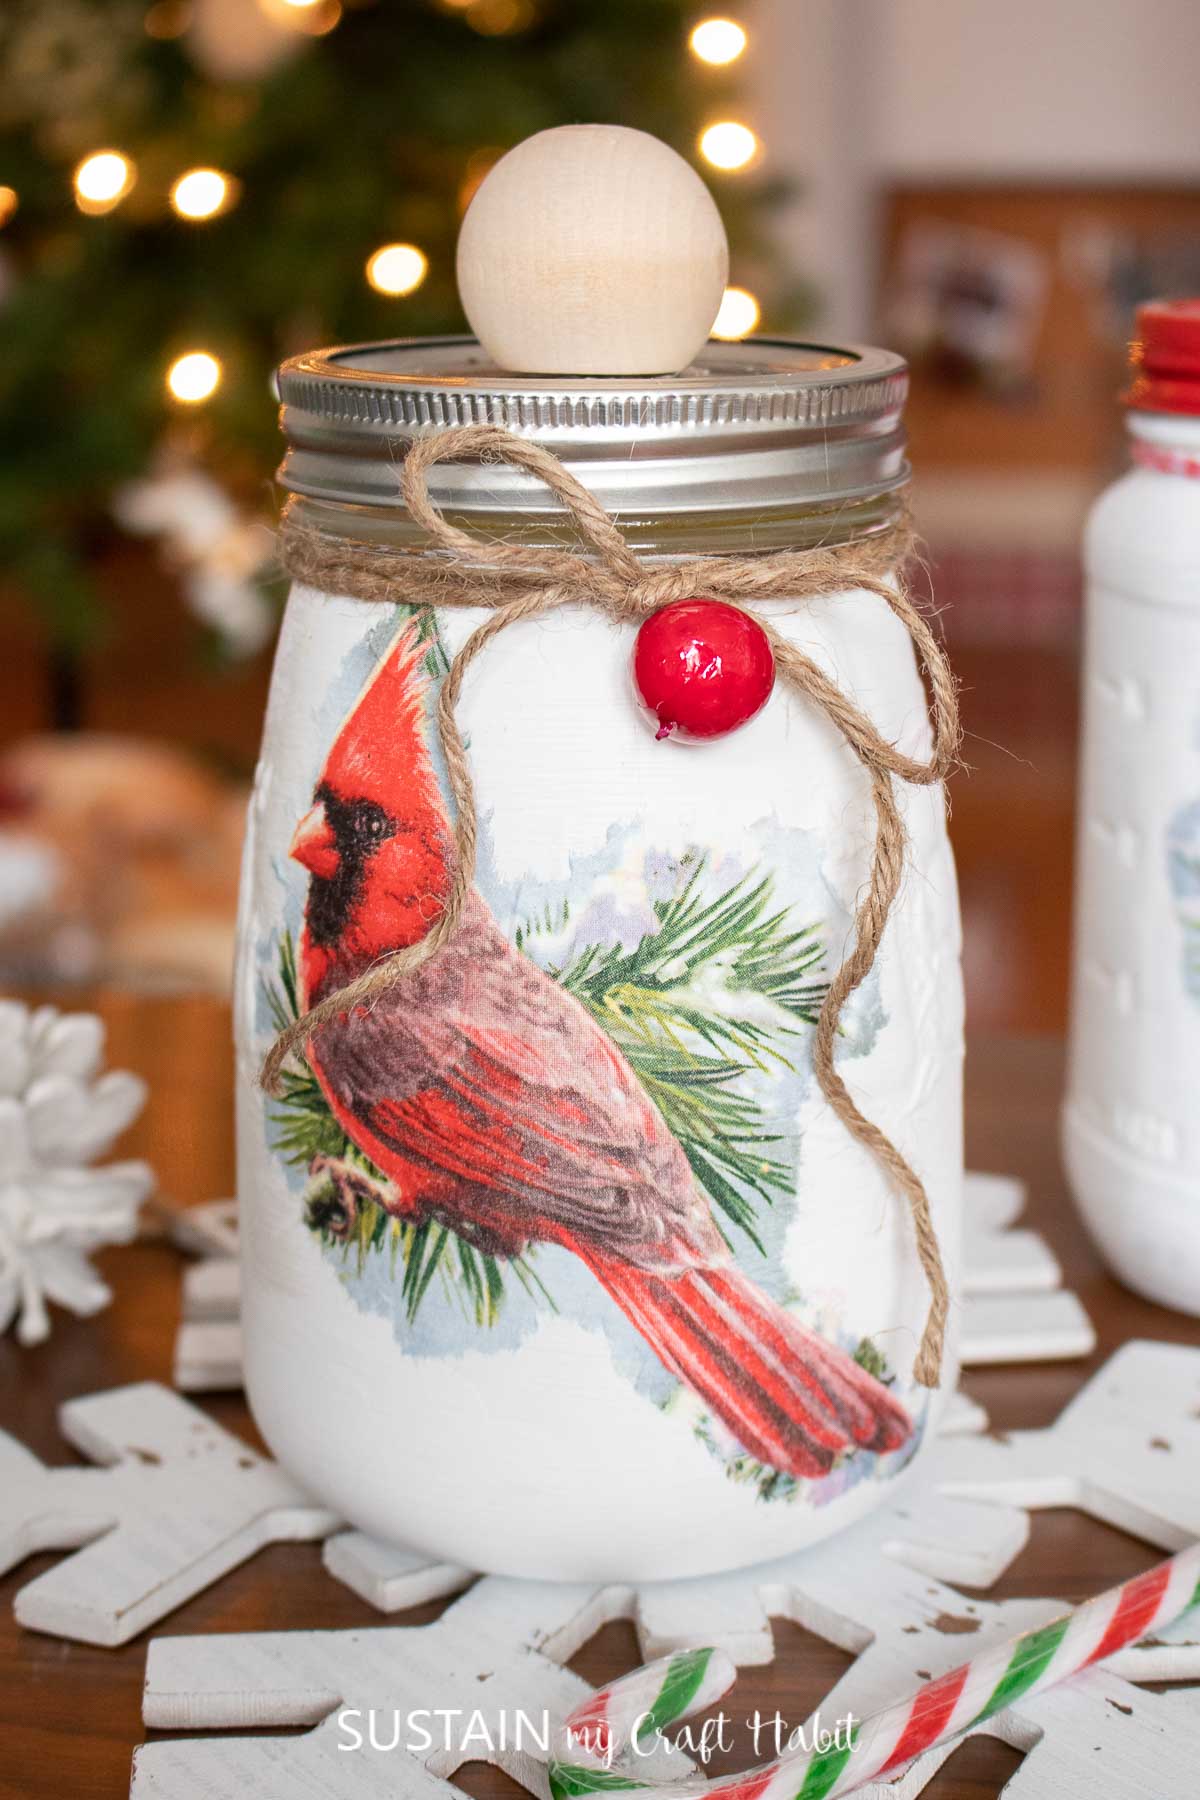
Tie some decorative ribbon or baker’s twine to the top of the jar adding any embellishments like a festive charm if you like.
For this other version of the Christmas decoupage idea I used a large wood knob and a bit of twine for a slightly different look.
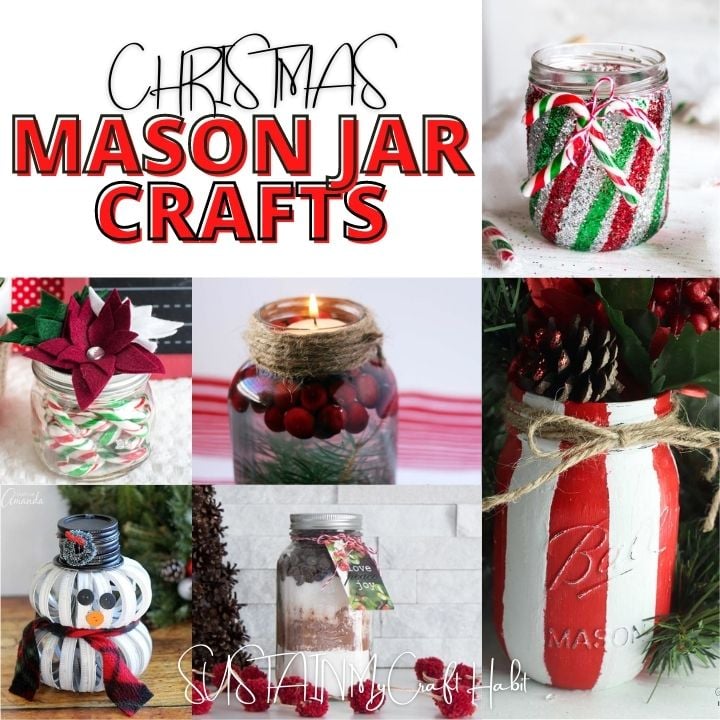
More Holiday Mason Jar Crafts to Make
I hope you enjoyed this simple Christmas decoupage craft with a pretty holiday napkin and some glass jars.
There is no shortage of crafts to make for Christmas this year! Check out these creative DIYs using repurposed glass jars.
- The Best Mason Jar Christmas Crafts
- DIY Soap Dispenser for Christmas
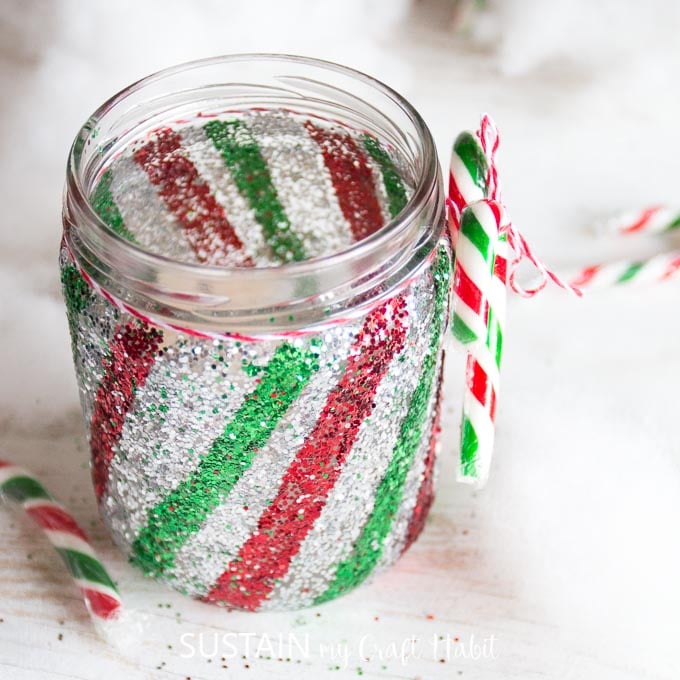
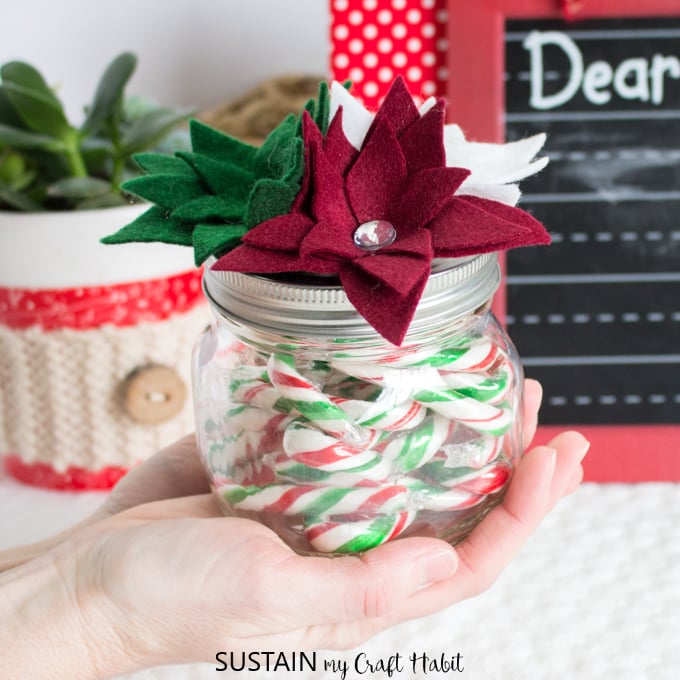
- Glittering Jar Candy Cane Jars
- Pickle Jar Christmas Terrarium
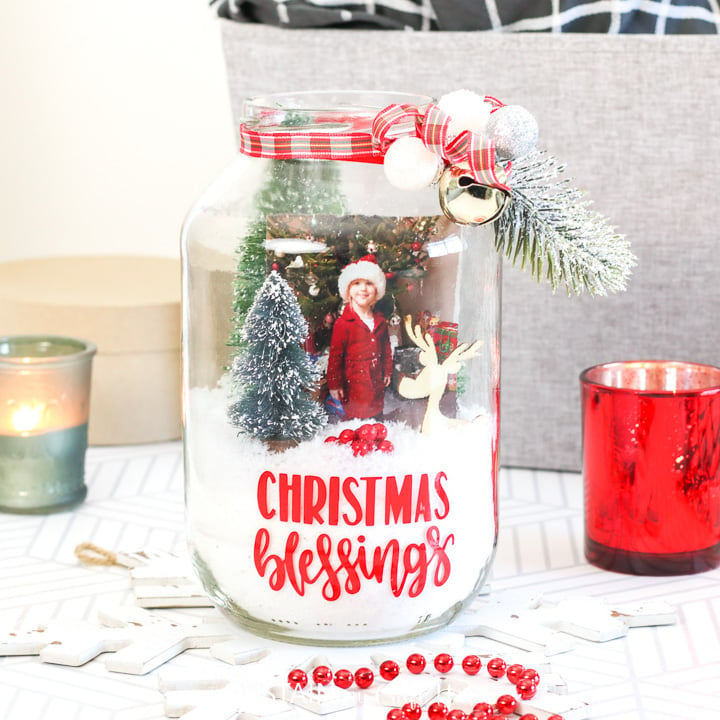
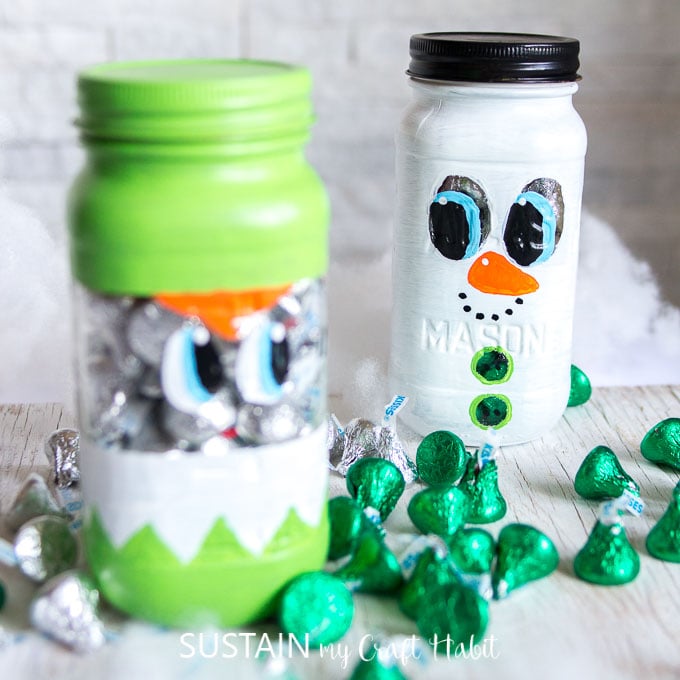
- Snowman & Elf Mason Jars
- Felt Poinsettia Capped Mason Jars

Mason Jar Christmas Crafts 
Soap Dispenser 
Glittering Candy Cane Jars Upcycled Jar Photo Display Snowman and Elf Painted Mason Jar Felt Poinsettia Capped Mason Jars

Like it? Pin it for later!
How to Make Holiday Mason Jars with Decoupage
Materials
- Mason Jar
- Holiday Themed Napkin
- Drill with drill bit
- Chalky Paint White
- Modge Podge
- Paint Brushes
- Decorative Knob
- Decorative Ribbon
- Spray paint high gloss, red
Instructions
- First step is to paint the mason jar white and let the paint dry. Apply a second coat of paint and let the paint dry.
- Separate the layers of paper mapkin using nly the top printed layer.
- Use a pair of scissors to cut around the desired image (in our case, the cardinal) or alternatively, brush on some water around the image and tear away the paper for a rustic distessed edge.
- Apply modge podge to the smooth side of the jar and place the image on top. Press down gently and leave it to dry.
- Take the lid of the jar and drill a hole in the centre of the lid.
- Spray paint the lid.
- Add a decorative knob by ‘screwing’ the knob to the lid.
- Take some ribbon and metal findings and wrap around the top of the jar and tie it off.