Baby Beaver Free Crochet Appliqué Pattern
When you think of animals from Canada, along with the moose, Canada goose and polar bear, the beaver comes quickly to mind. Not only are they native to our beautiful country, the beaver has been Canada’s national symbol for over 300 years.
From this fun fact sheet for kids on the Canadian Geographic website, I learned that a beaver’s teeth never stop growing so constantly chewing on wood helps to keep them from getting too long. These large buck teeth and their flat tails are the beaver’s signature traits along with their busy and hardworking nature.
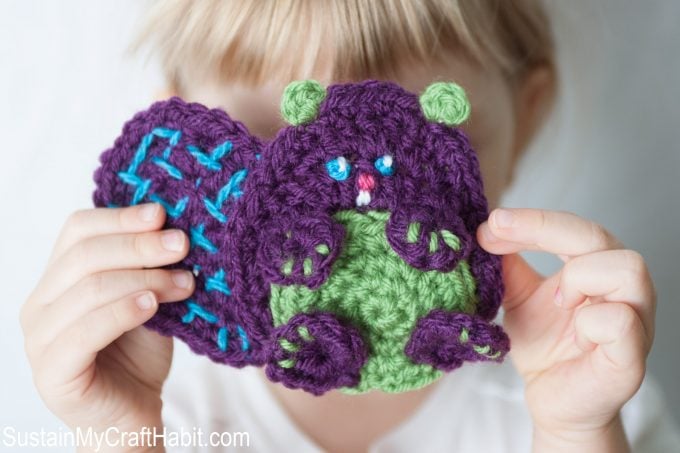
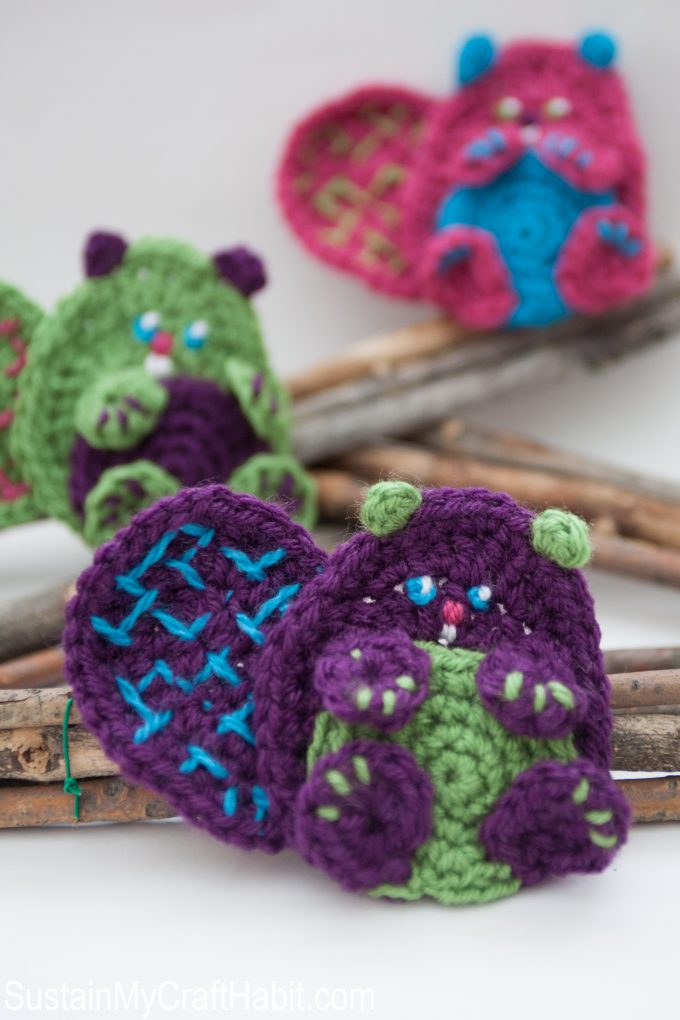
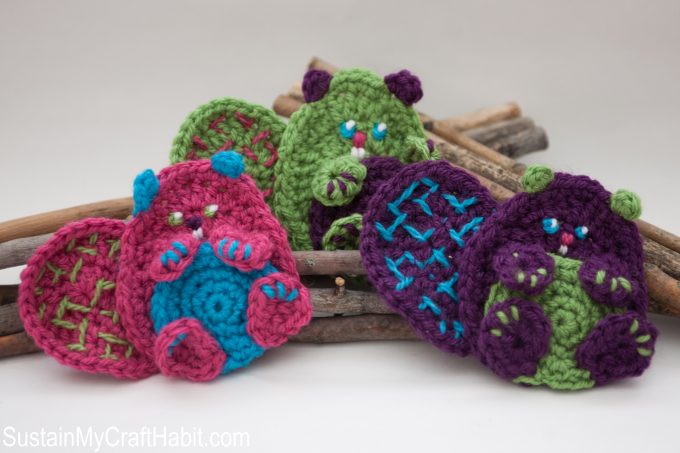
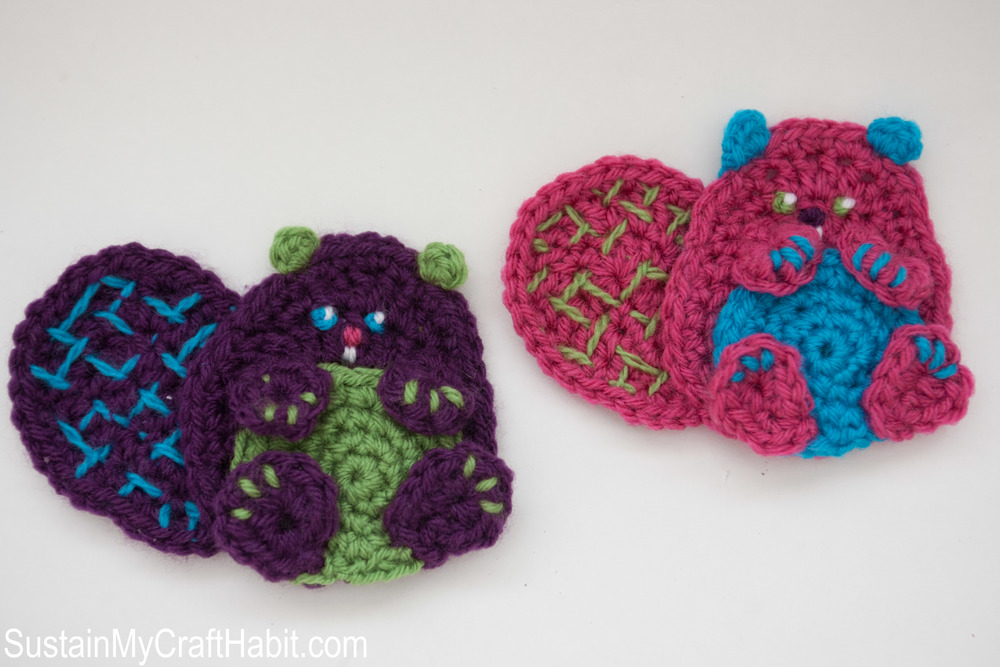
In celebration of Canada Day coming up on July 1 we have designed a baby beaver crochet applique. This fun little guy can be made in his traditional colour of brown (there’s even a crayola colour of “beaver” in the brown hue family) or experiment with different bright and fun colours!
Appliques are a great way to jazz up clothing, embellish a kids backpack, frame for décor or stitch to a throw pillow.
Baby Beaver Crochet Appliqué Pattern
Designed by SustainMyCraftHabit.com (06/04/2015)
Completed appliqué measures approximately 5” wide by 4” tall.
Materials:
- Medium weight (#4) yarn in colors of choice: we used Vanna’s Choice© Lion Brand© in Purple*, Fern*, Aqua*, and Raspberry* (and scrap piece of white yarn)
- Crochet hook (US 7/4.50mm)
- Embroidery needle
Ch=chain; sc=single crochet; hdc=half double crochet; dc=double crochet; sl st=slip stitch; sts=stitches
Body (Fern)
Round 1: magic chain 6, sl st.
Round 2: ch 2, dc in same st, 2dc in each st around, (14 sts) sl st.
Round 3: ch 2, dc in same st, 2dc in each st around, (28 sts) sl st.
Round 4: sc in next 2sts, 2hdc in next st, 2dc in next st, 2hdc in next st, sc in next 2sts, sc in next 3 sts, *2sc in next st, sc in next st*, repeat from *5 times, sc in next 3 sts, (38 sts) sl st.
Round 5 (incomplete round): sc in next 4sts, 2sc in next 3 sts, sc in next 4 sts, sl st. Fasten off.
Ears (Purple)
Join yarn to third stitch to the left of the center stitch at the top of the body. In the same st: sc, hdc, sc, sl st. Fasten off.
Repeat in third stitch to the right of the center stitch.
Belly (Purple)
Round 1: magic chain 6.
Round 2: 2sc in each st around (12 sts).
Round 3: *sc in next st, 2sc in next st*, repeat from *around (18 sts).
Round 4: *sc in next st, 2sc in next st*, repeat from *around (27 sts), sl st. Fasten off leaving a long enough piece of yarn for sewing (about 8 inches).
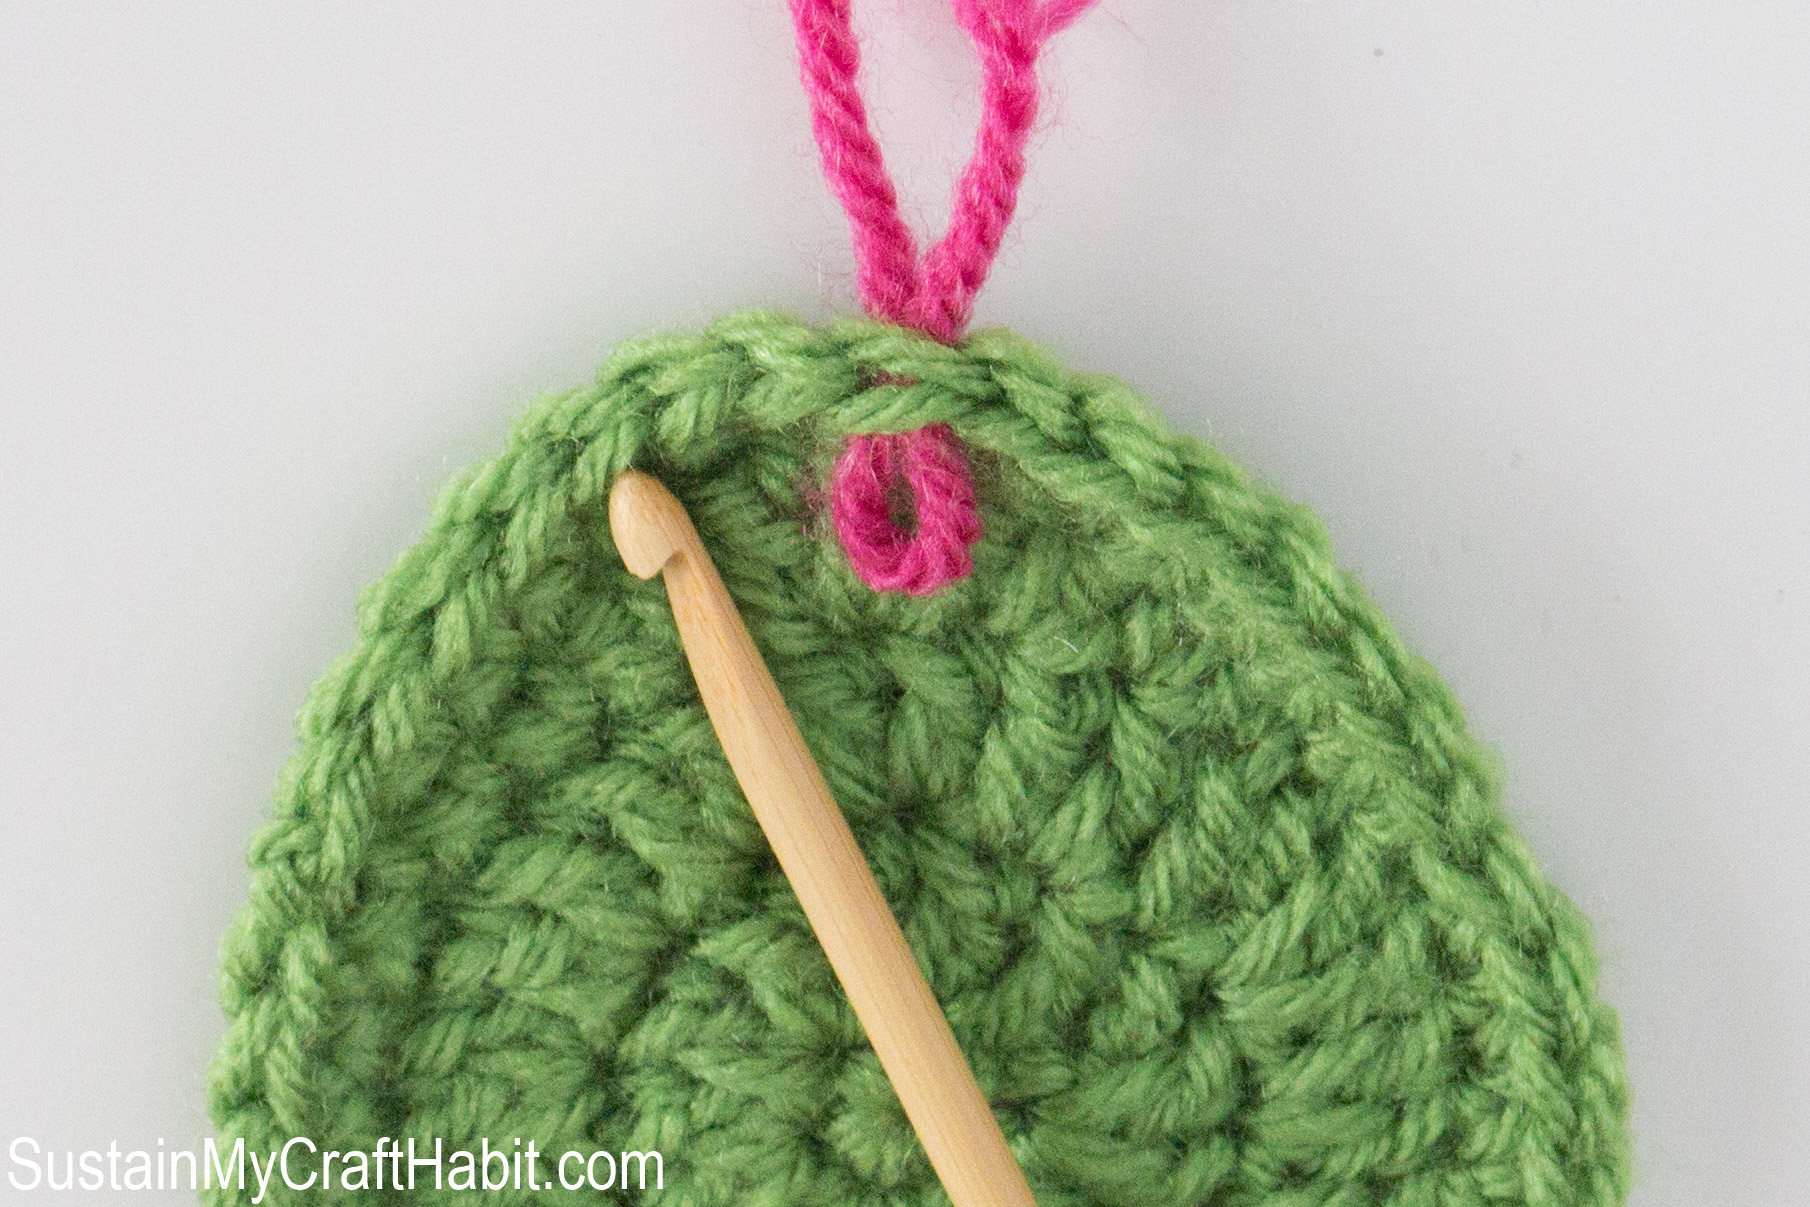
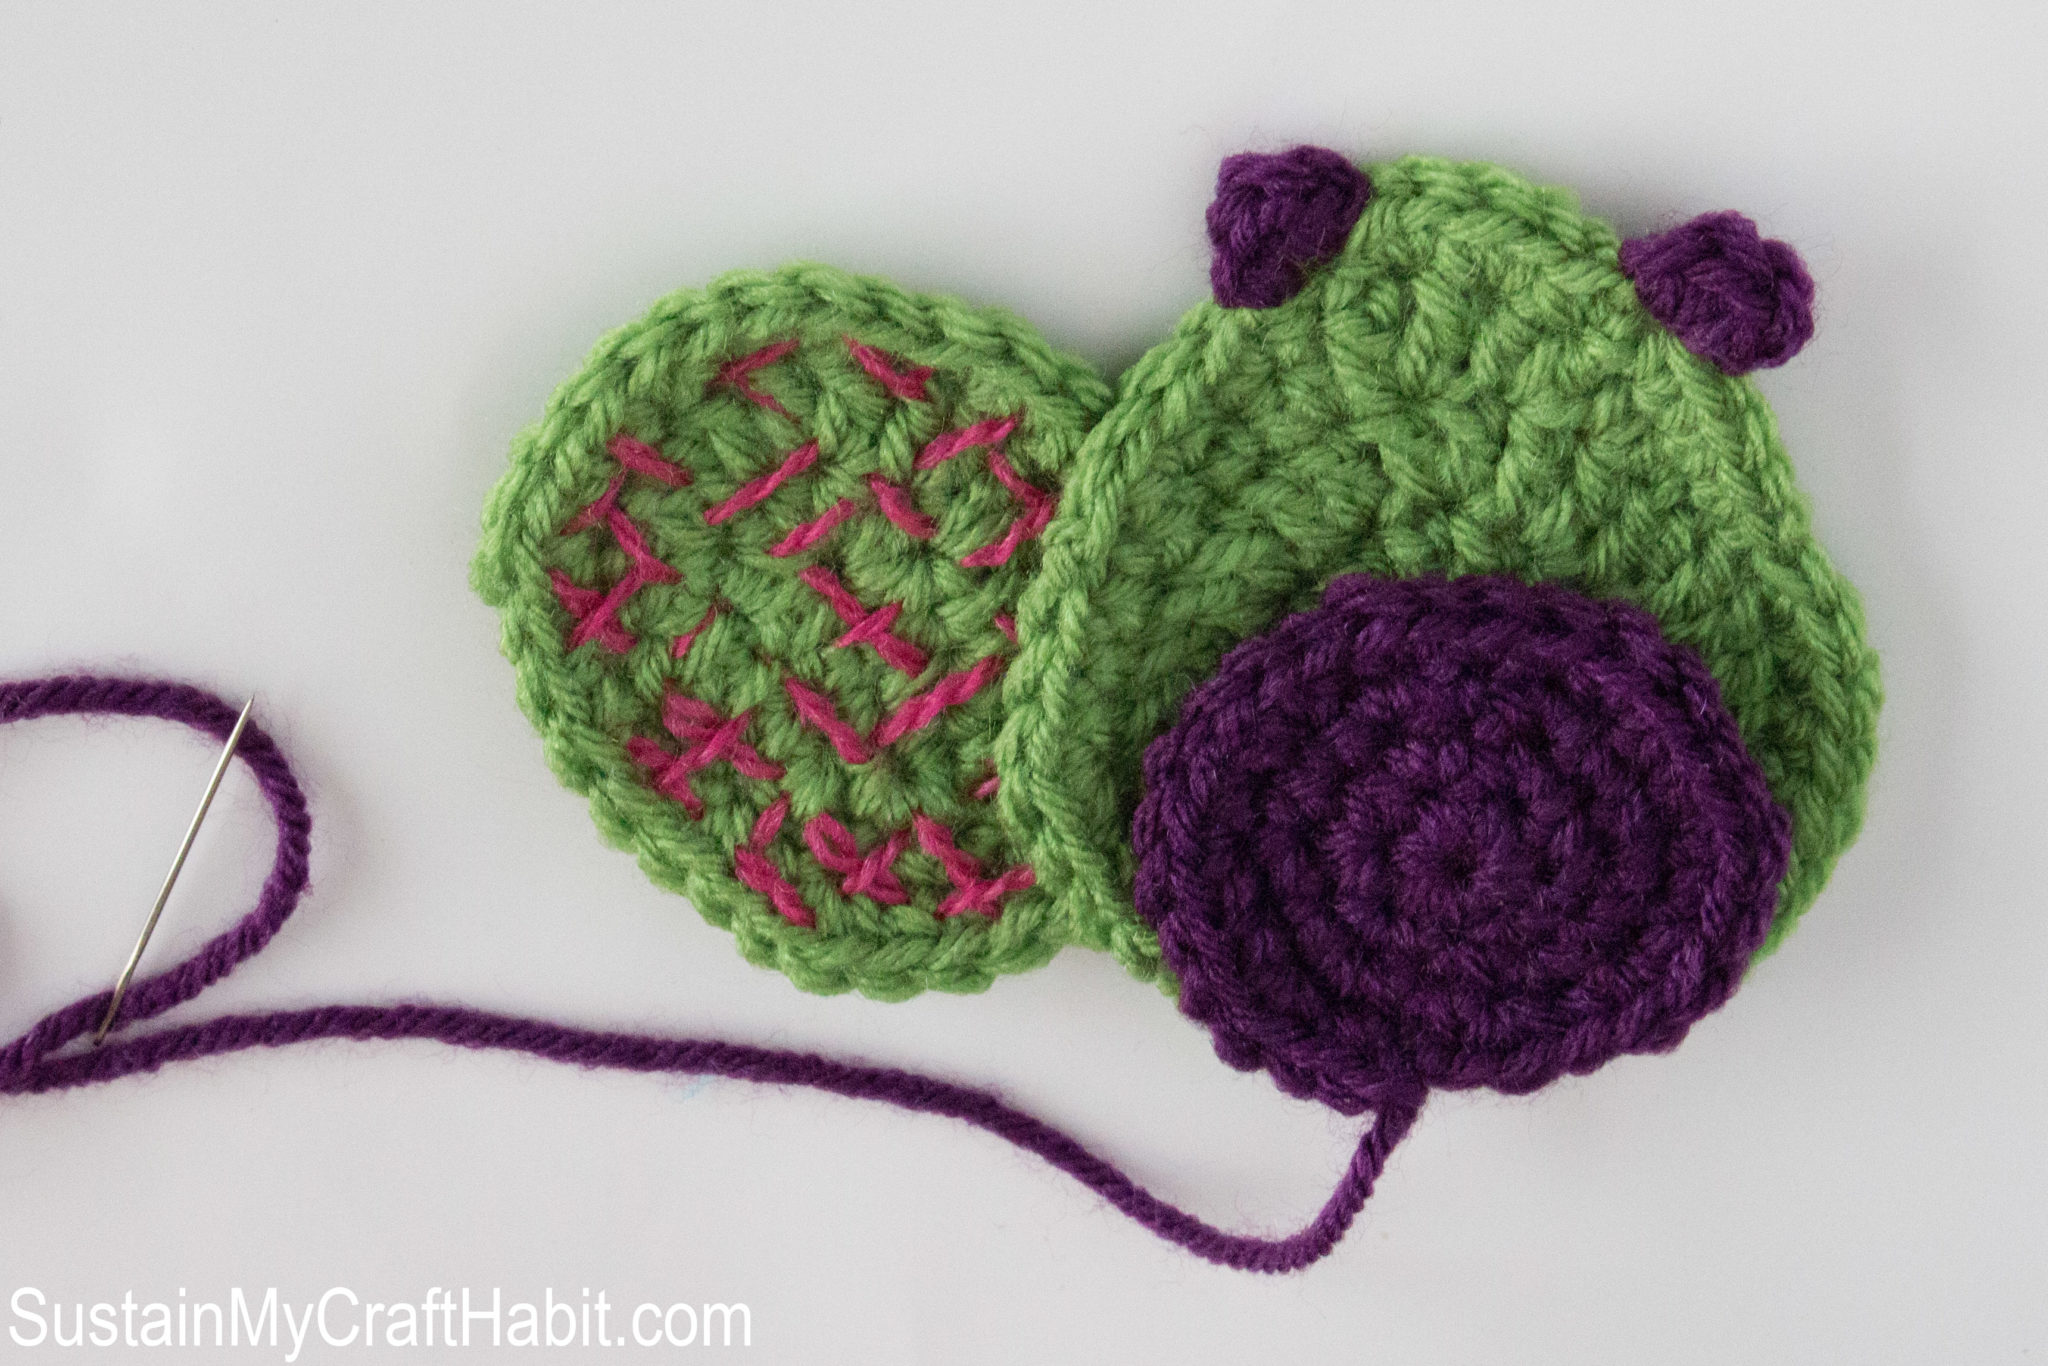
Tail (Fern)
Row 1: Ch 5.
Round 2: sc second ch from hook, sc in next ch, hdc in next ch, 7dc in next ch (will bring you around to the underside of your starting ch), hdc in next ch, sc in next ch, 3sc in next ch (will bring you around to the first sc in this row), sl st.
Round 3: ch 1, sc in next st, hdc in next 2 sts, dc in next st, 2dc in each of next 6 sts, dc in next st, hdc in next 2 sts, sc in next st, 2 sc in next 2 sts, sc in next st (26 sts).
Round 4: sc in next 5 sts, *2sc in next st, sc in next st*, repeat from * 4 times, sc in next 5 sts, 2sc in next st, sc in next 3 sts, 2sc in next st, sl st. Fasten off leaving a long enough piece of yarn for sewing (about 6 inches).
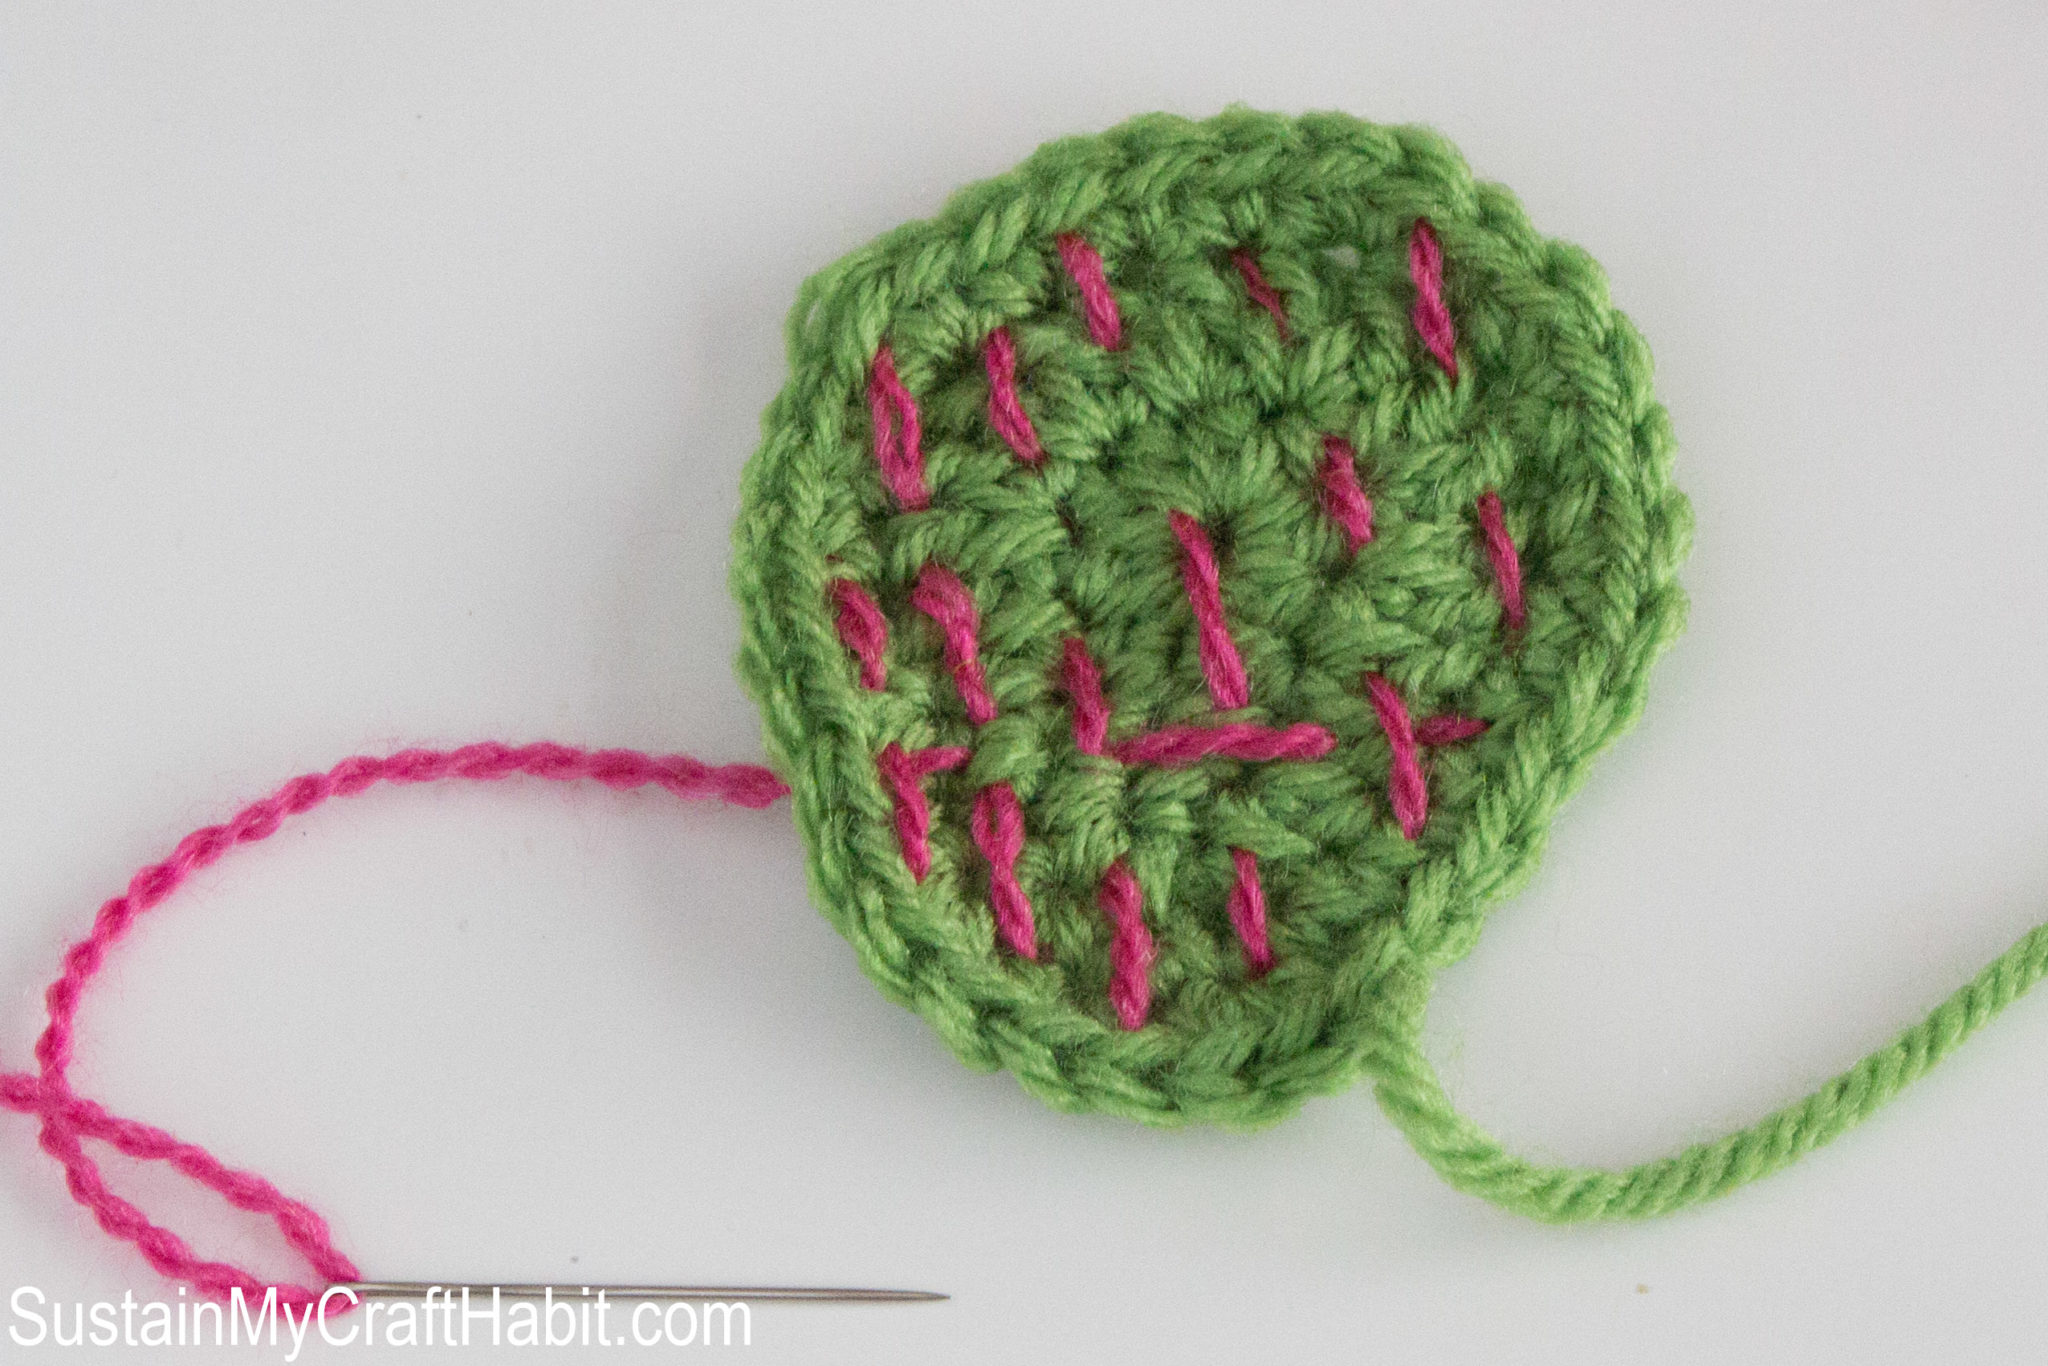
Using 2 of the 4 yarn strands of a contrasting colour of choice (we used Raspberry), with embroidery needle handstitch hatches on tail.
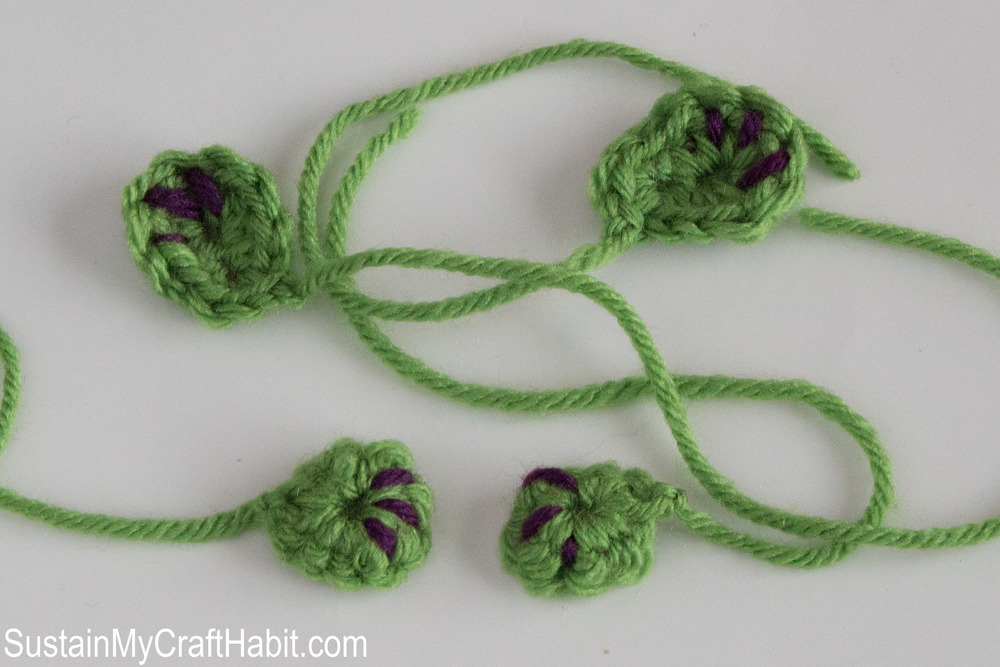
Foot Paw (Fern)
Make 2.
Row 1: Ch 3.
Round 2: sc second ch from hook, *hdc, 5dc, hdc* all in next ch (will bring you around to the underside of your starting ch), 3 sc in next ch, sl st. Fasten off leaving a long enough piece of yarn for sewing (about 6 inches).
Hand Paw (Fern)
Make 2.
Row 1: Ch 2.
Round 2: *sc, 5hdc, 3sc* all second ch from hook, sl st. Fasten off leaving a long enough piece of yarn for sewing (about 6 inches).
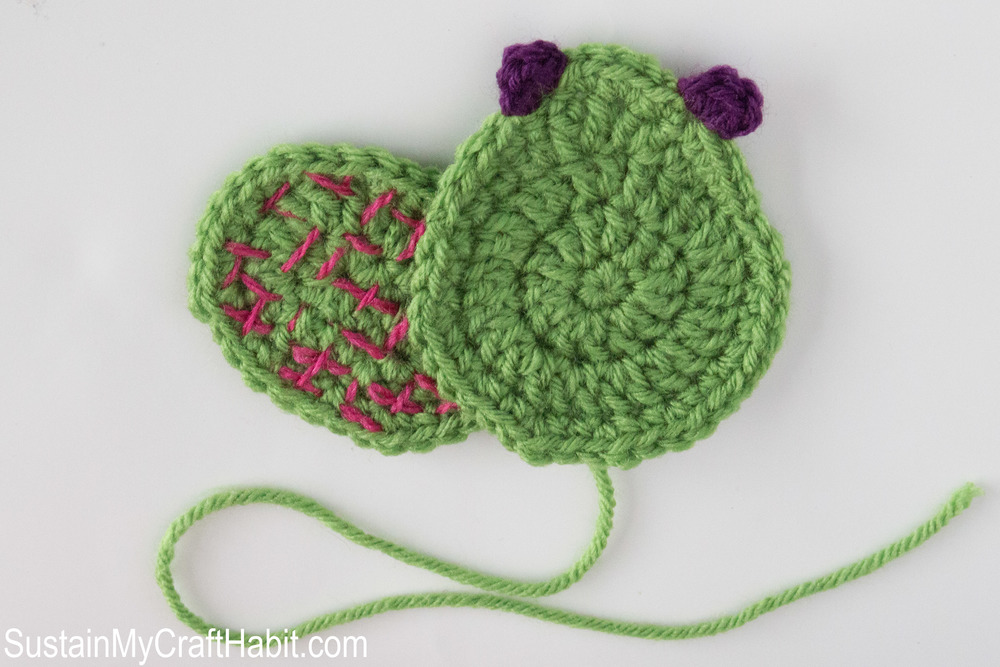
To Assemble
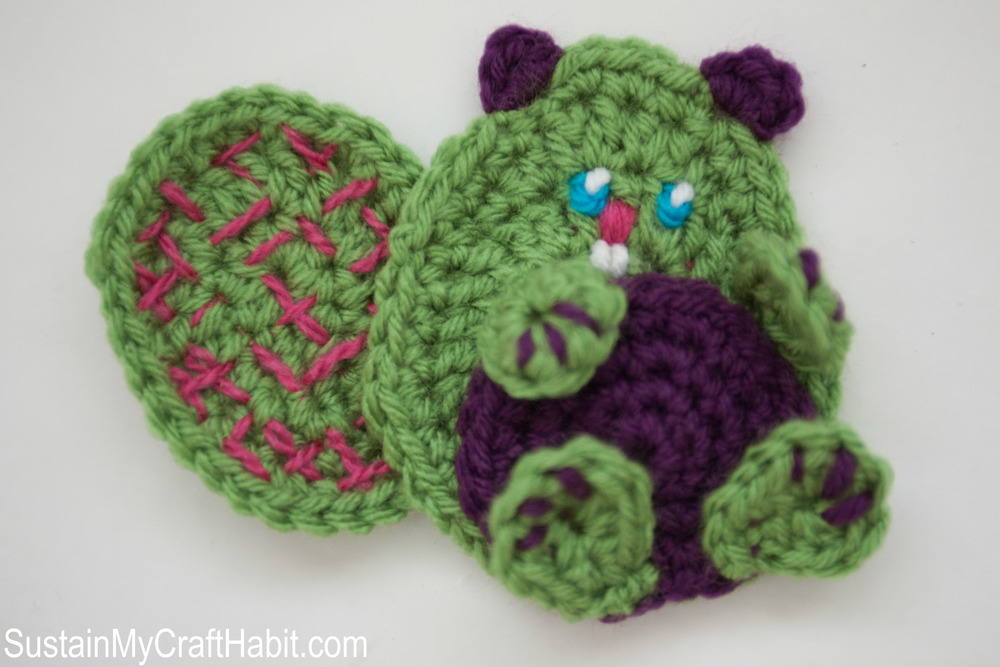
With the leftover length of yarn, sew Tail to back left-side of the Body.
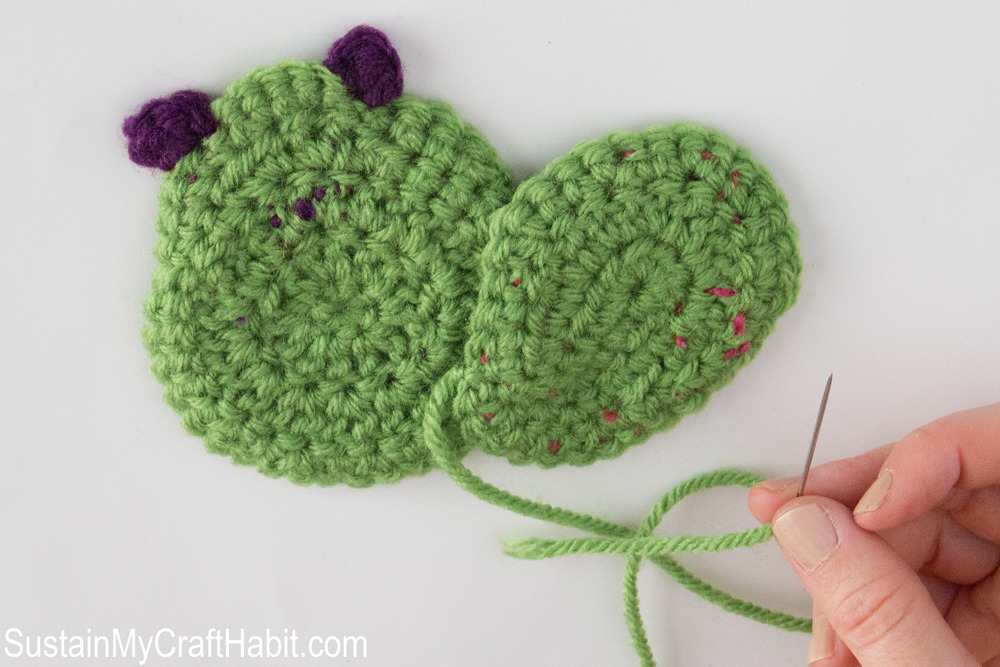
With the leftover length of Fern yarn, sew the Belly to the center front of the Body.
With a contrasting colour of your choice (we used Fern), sew lines unto “underside” of each Foot paw. You’ll see when you crochet the Hand and Foot paws that they will slightly curve under- this is the “underside” of the paw. Sew the Foot paws to the front and bottom side of the belly using leftover lengths of yarn.

As with the Foot paws, stitch lines onto the “topside” of each Hand paw. Sew the Hand paws to the front, just above the belly.
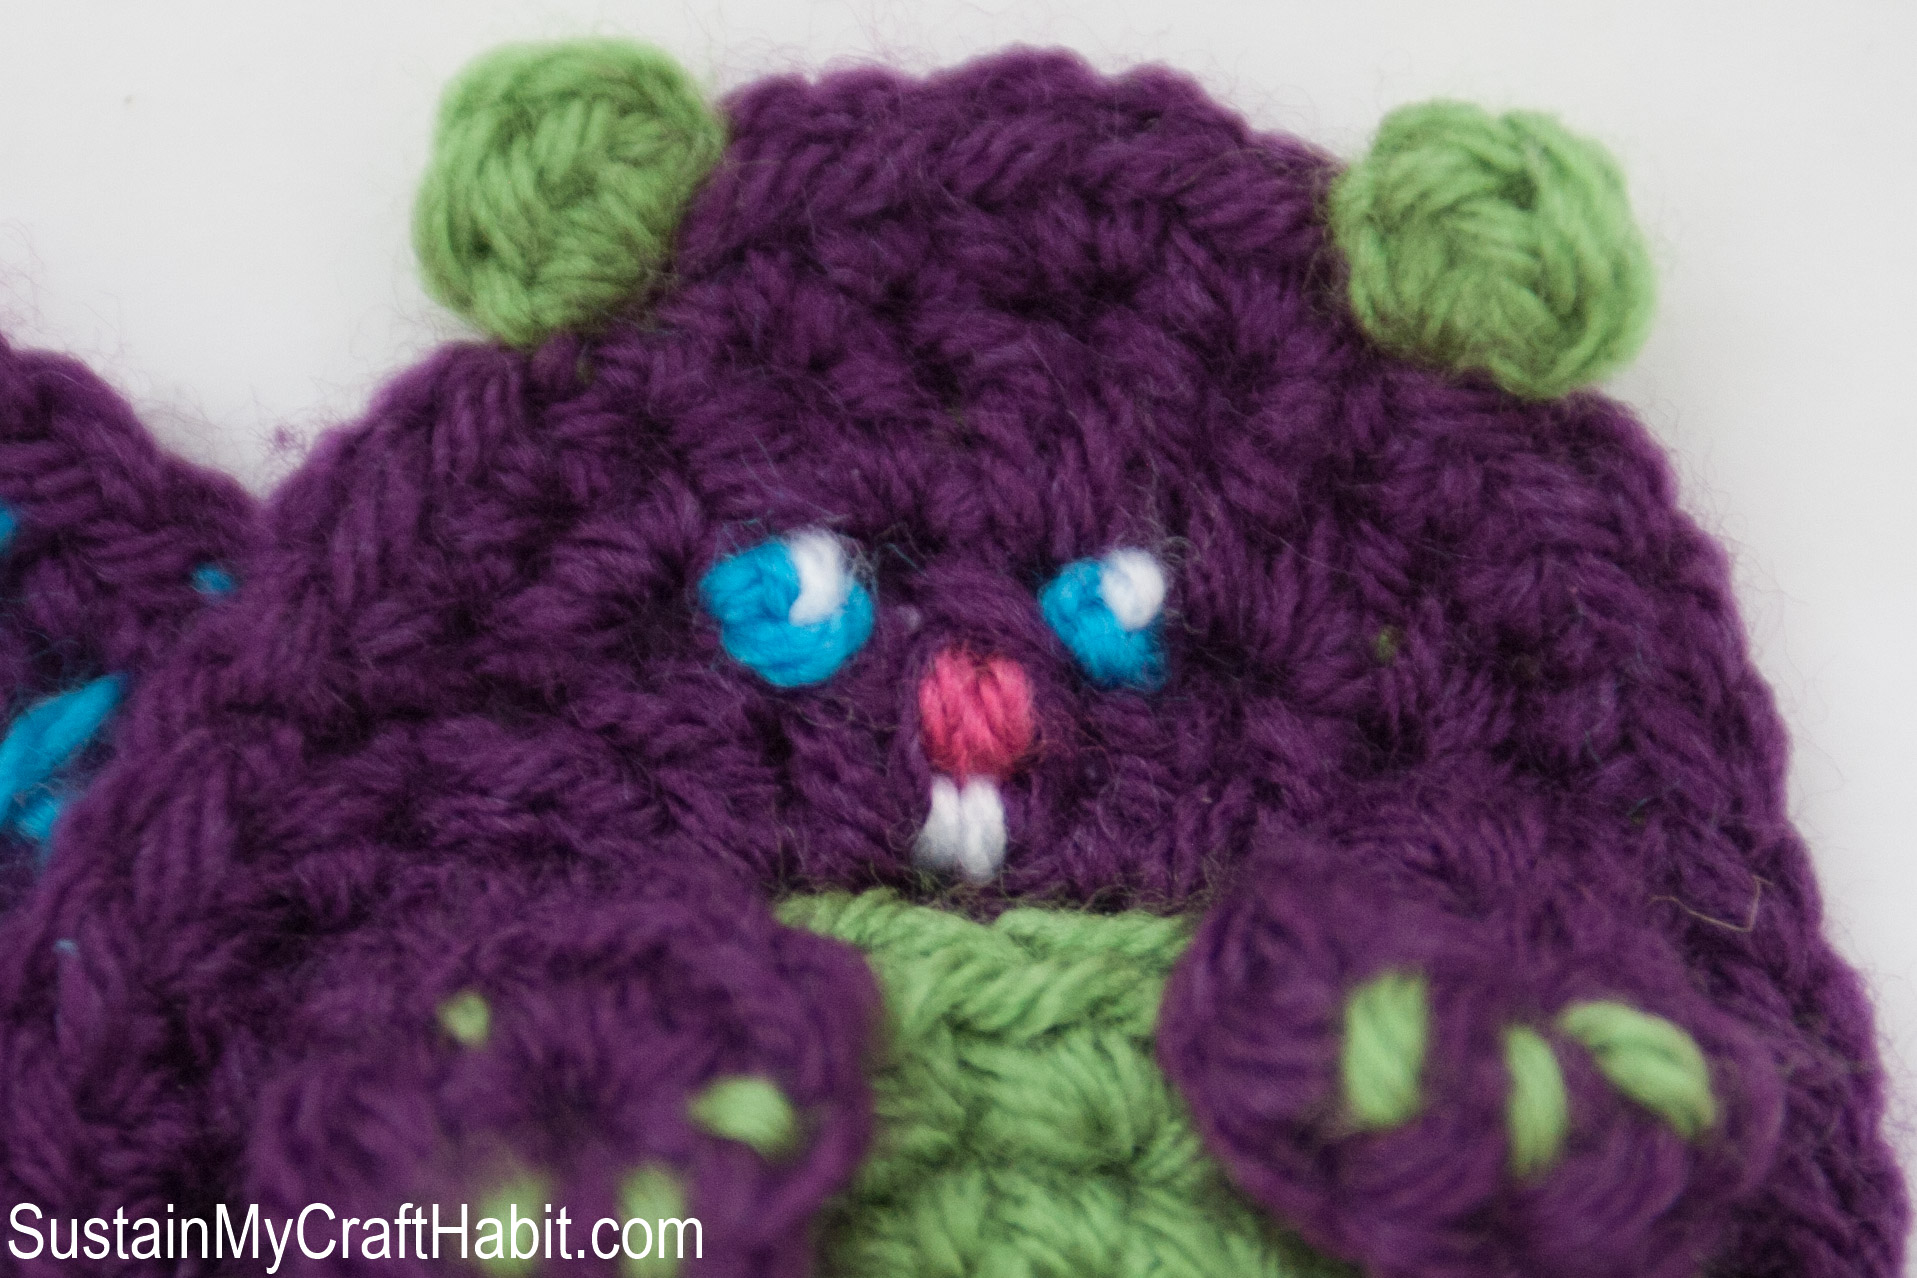
Use image to help with placement of facial features:
- use Raspberry yarn to stitch the nose to the middle of the center stitch of Round 4 of the Body;
- for the eyes, make two French knots in Aqua to the right and left of the nose;
- add in a white yarn stitch to each eye and then just below the nose for the two teeth. Enjoy!

So cute! I’d use this on my luggage. What better way to distinguish it from all the rest at the airport. Go Canada!
baby beaver is so cute
Thank you! We did learn to crochet from the best 😉
This little beaver is so cute! Would love if you shared this at our Yarn Fanatic Party – http://eyeloveknots.blogspot.com/2015/06/yarn-fanatic-party-41-join-us-for-some.html.
Alexandra
EyeLoveKnots.blogspot.com
Thank you Alexandra! We have added him to the Yarn Fanatic Party. There are so many creative and inspiring ideas there! Thank you for the invitation.
This is an adorable little guy! Great pattern.
http://divinedebris.com
Thank you so much Amber! We’re so happy you stopped by.