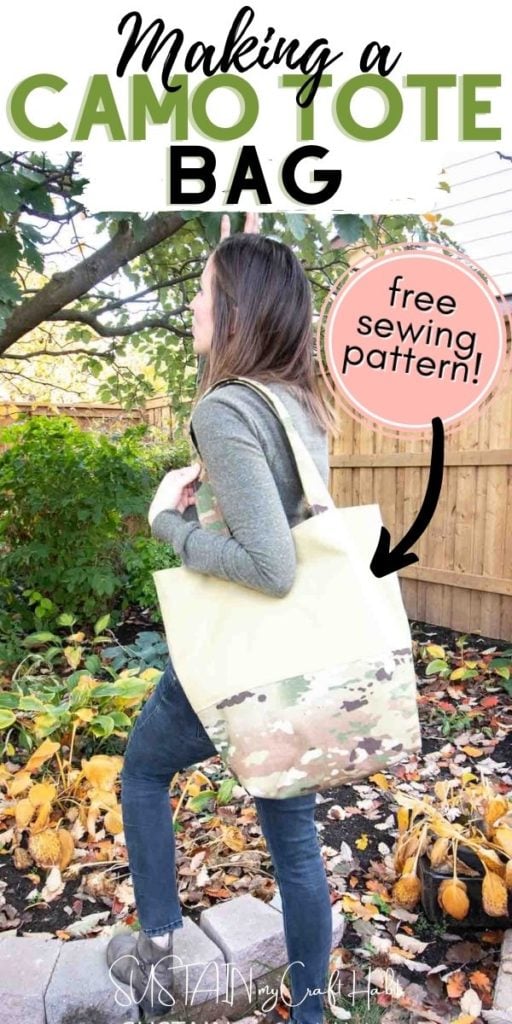
Making a Camo Tote Bag with Free Sewing Pattern
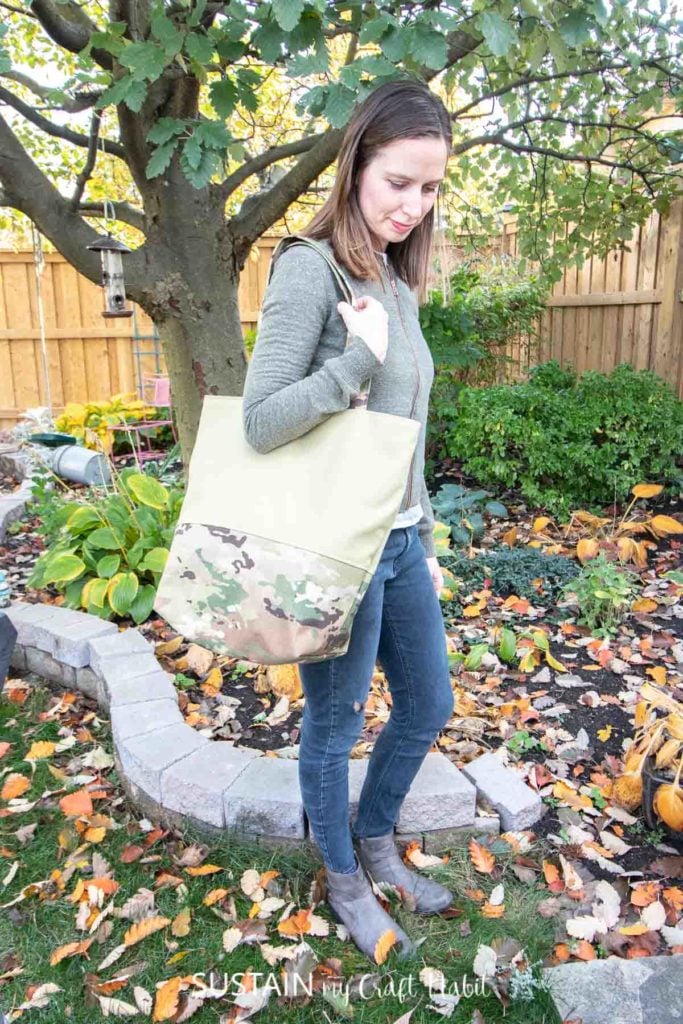
Hi creative friends and sewists-alike. Today we’re sharing a free sewing pattern and tutorial for making a large (and stylish) camo tote bag with a durable reinforced base that is perfect for holding loads of stuff.
Large Tote Bag Pattern
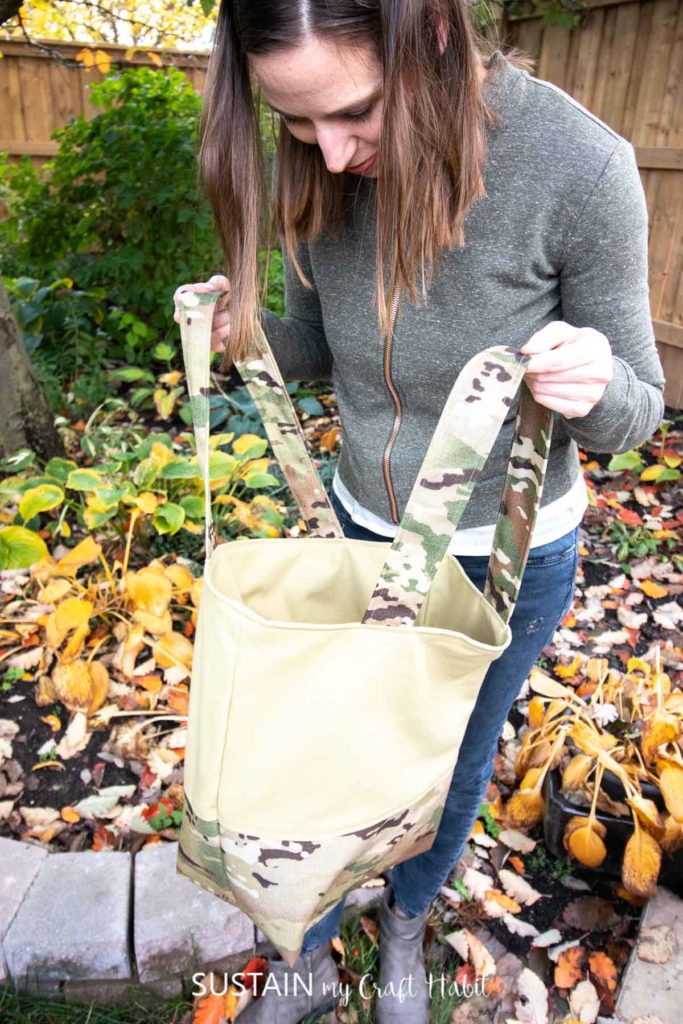
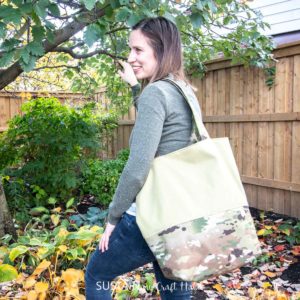
I love the two material combination of this large tote bag with the durable camouflage base and matching solid color upper half. Additionally, the camo fabric from Canvas Etc. is a versatile coated water repellent material which will keep the items inside protected. This is especially important for us here in South Western Ontario, Canada where much of the time is spent in wet snow and rainy conditions. I won’t have to worry that water will soak through if I happen to put the bag down on the wet ground.
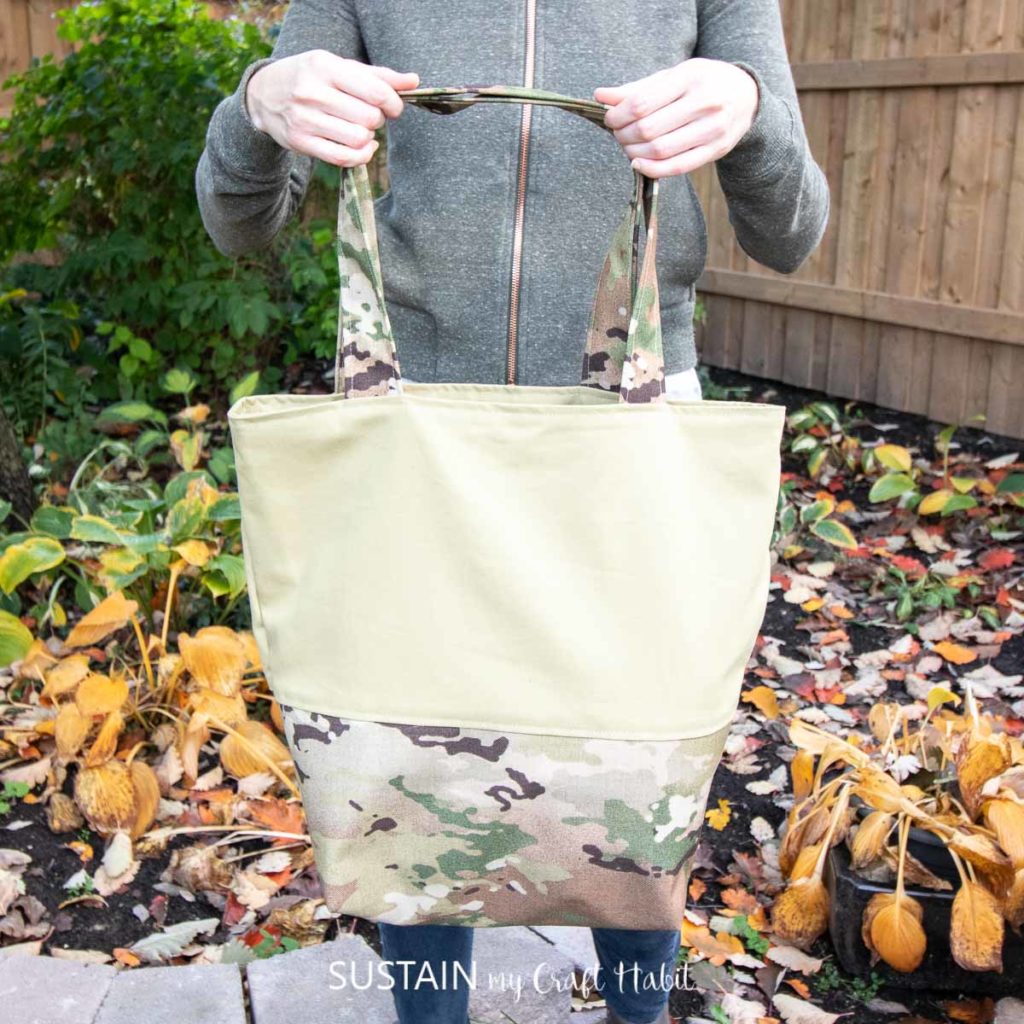
I added a large patch pocket to the inside for holding keys, my phone and my wallet. The size of the bag overall is pretty roomy, it measures 19” wide x 20.5” high (not including the straps) so it will conveniently hold a lot of stuff! Take it from me, as a mom I’m always carrying plenty of “stuff” for my kids.
Love to Sew?
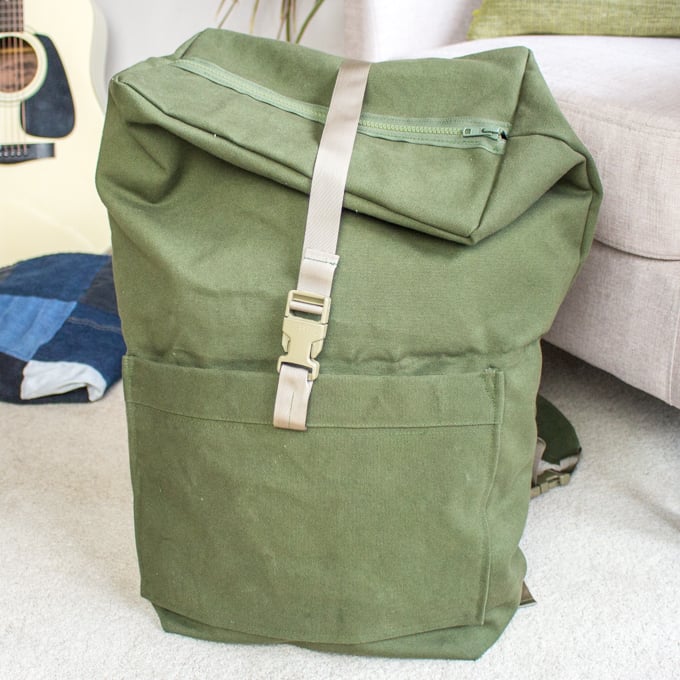
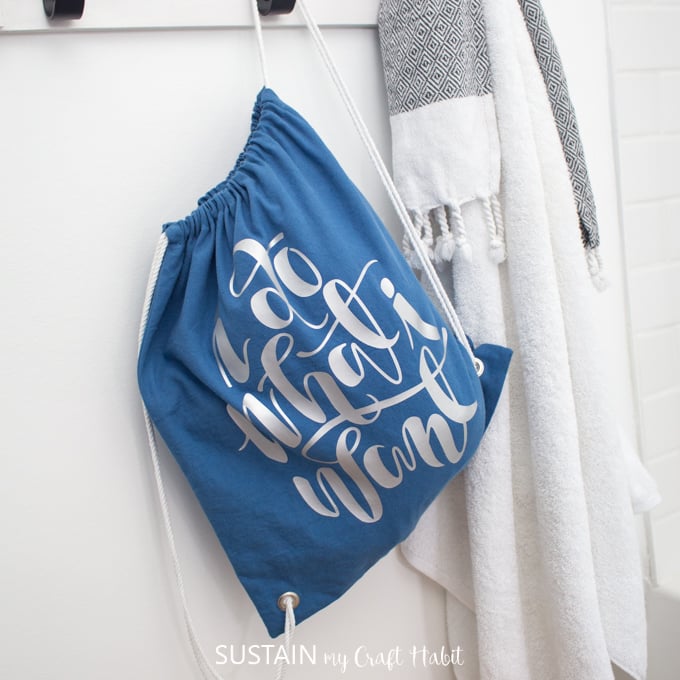
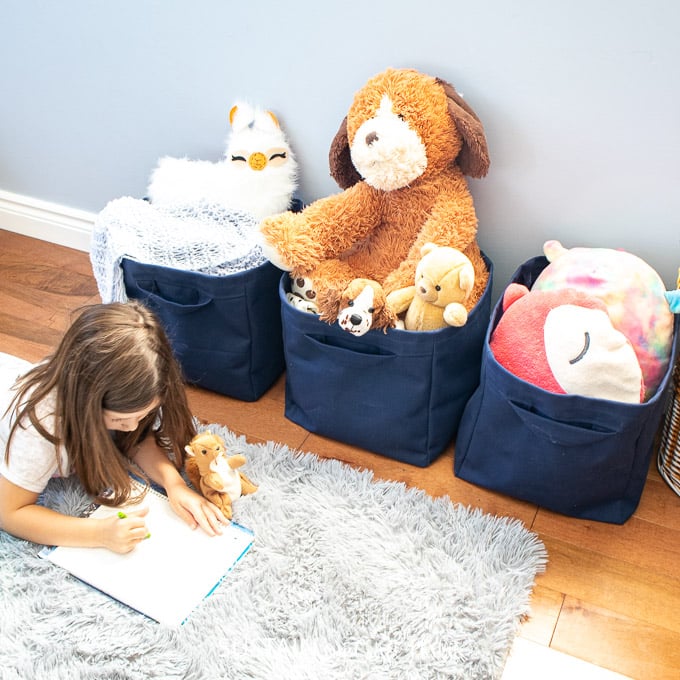
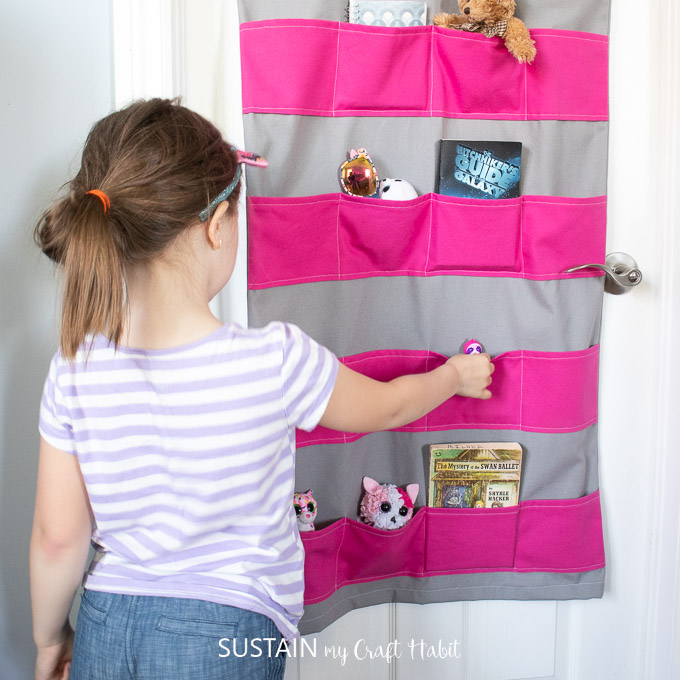
If you love to sew as much as I do, you can grab some more of our free sewing patterns. We’ve previously made a few other bag styles like this large rucksack and this handy drawstring bag. We’ve also sewn plenty of storage solutions for the home such as this hanging toy organizer, storage ottoman and large fabric storage cubes.

Rucksack Drawstring bag Fabric Cubes Hanging Toy Storage 
Storage Ottoman
Materials Needed:
Disclosure: This post contains affiliate links for your shopping convenience. Should you choose to purchase through them, we will make a small commission at no extra cost to you. You can read our full disclosure policy here.
- 100% Cotton Duck Canvas, 10oz in khaki, 1.5 yard
- 500 Denier OCP Camo fabric, 100% polyester, 1 yard
- Printable Large Tote Sewing Pattern and tape
- Fabric scissors (my all time favorite are these Fiskars scissors)
- Chalk, ruler, measuring tape
- Iron and ironing board
- Sewing machine and matching thread color

How to Make a Large Camo Tote Bag:
If you’re unclear on any of the sewing terms, you can refer back to our how to make an apron post for clarity.
Cutting
Print off the large tote sewing pattern on 16 sheets of 8.5×11 paper. Align the paper edges and tape the pieces together as shown.
Place the pattern pieces on top of the fabric aligning the grainlines. The lower half of the bag and the straps are cut out of the camo fabric while the other remaining pieces (and lining) is cut out of the cotton canvas. Cut along the solid line (the dashed lines represent the sew lines).


Remember to clip the notches on the pattern as these notches will guide you with aligning pieces together.

Sewing
Sewing the Inner Patch Pocket
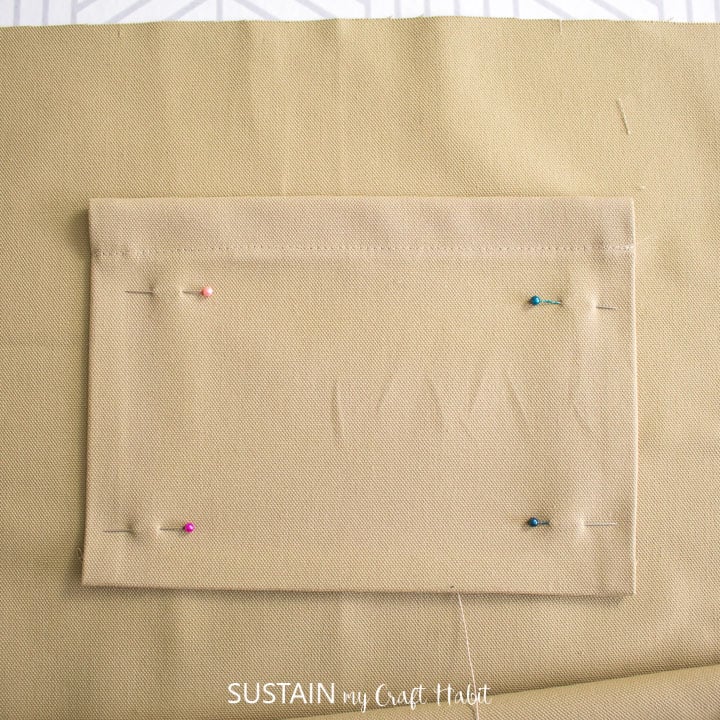
Fold and press the edges of the pocket piece in by ½”. Fold the top edge of the pocket in another ½” to clean finish the pocket opening.


Sew the hem at the pocket opening with a 1” hem height.


Align the dots on the pocket with the dots on the lining piece and pin together. Next stitch pocket in place along all three sides leaving just the opening unstitched.

Sewing the Lining
Fold the large lining piece in half lengthwise and sew the side seams together. Leave one side with a 5” gap opening to use later when turning the sewn piece right side out.

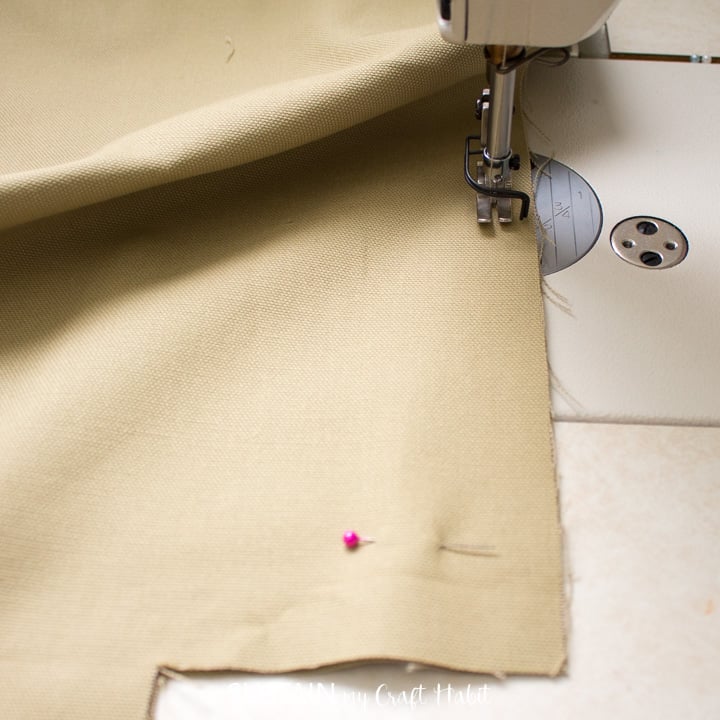

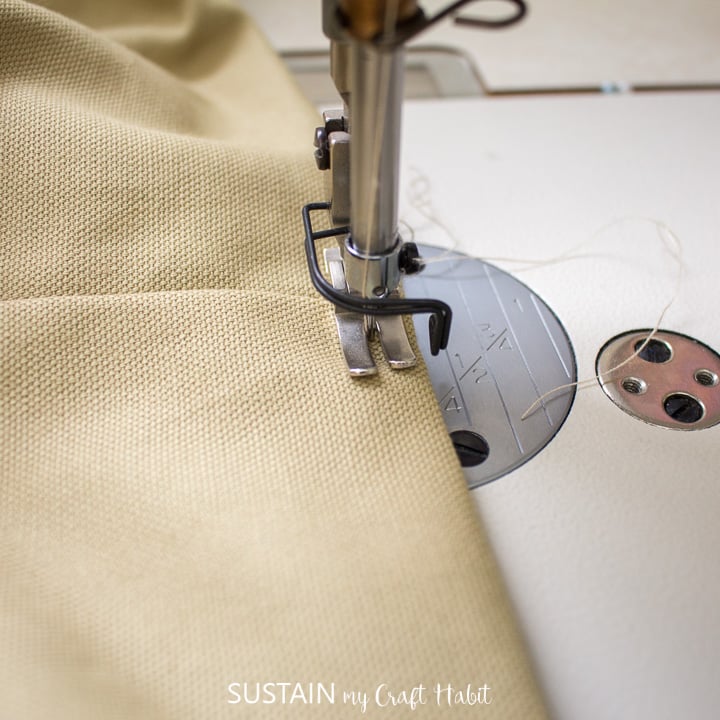
Once the sides are sewn with the square cut out at the bottom, fold the lining piece to form a triangular peak so that the bottom of the side seam aligns with the center point of the bag.


Sew across with a ½” seam allowance stitching the edges together. Repeat on the other side.

Turn the piece right side out to see how the lining has formed a bag shape.


Sewing the Outer Shell
Sew the lower half (camo base) to the upper half of the bag (solid canvas). Fold seam allowance to one side and top stitch the seam to reinforce.


Next, fold the outer shell piece in half lengthwise and sew the side seams together, similar to how you did the lining except there is no need to leave a gap opening along the outer shell side seams.


Once the sides are sewn with the square cut out at the bottom, fold the outer shell piece to form a triangular peak so that the bottom of the side seam aligns with the center point of the bag.
Sew across with a ½” seam allowance stitching the edges together. Repeat on the other side.


Sewing the Straps
Since the camouflage material is heavy, it is best to finish the straps by first folding and stitching down one lengthwise edge. Then fold the long strap in half with WRONG sides together and then fold the other lengthwise cut edge in by ½” and stitch the two folded edges together.
Repeat for the other strap.


Align the cut ends of the straps with the notches on the outer shell piece as shown. Stitch in place.


Finishing the Camo Tote Bag
With right sides together, align the top edge of the lining piece with the top edge of the outer shell piece and sew them together with a ½” seam allowance.

Turn the lining piece to the inside using the 5” gap opening along the inside to turn the piece right side out. Stitch the opening closed.


Press the top edge of the bag opening with an iron so it lays flat. Topstitch the opening for added reinforcement.
And that’s it, the large camo canvas tote bag is complete and ready to use! Happy sewing!

Like it? Pin it for later!
Making a Camo Tote Bag with Free Pattern
Materials
- 1.5 yards 100% Cotton Duck Canvas, 10oz in khaki in khaki (or other color)
- 1 yard 500 Denier OCP Camo fabric, 100% polyester
- Printable Large Tote Bag Pattern
- Fabric scissors
- Chalk, ruler, measuring tapeIron and ironing board
- Sewing machine and matching thread color
Instructions
Cutting
- Print off the large tote bag pattern on 16 sheets of 8.5×11 paper. Align the paper edges and tape the pieces together.
- Place the pattern pieces on top of the fabric aligning the grainlines. The lower half of the bag and the straps are cut out of the camo fabric while the other remaining pieces (and lining) is cut out of the cotton canvas. Cut along the solid line.
Sewing the Inner Patch Pocket
- Press the edges of the pocket piece in by 1/2". Fold the top edge another 1/2" and topstitch pocket opening in place.
- Pin the pocket to the lining piece matching small dots.
- Sew the sides and bottom of the pocket to the lining and remove pins.
Sewing the Lining
- Fold the large lining piece in half lengthwise and sew the side seams together. Leave one side with a 5” gap opening to use later when turning the sewn piece right side out.
- Once the sides are sewn with the square cut out at the bottom, fold the lining piece to form a triangular peak so that the bottom of the side seam aligns with the center point of the bag.
- Sew across with a ½” seam allowance stitching the edges together. Repeat on the other side.
Sewing the Outer Shell
- Sew the lower half (camo base) to the upper half of the bag (solid canvas) matching notches. Fold seam allowance to one side and top stitch the seam to reinforce.
- Next, fold the outer shell piece in half lengthwise and sew the side seams together, similar to how you did the lining except there is no need to leave a gap opening along the outer shell side seams.
- Once the sides are sewn with the square cut out at the bottom, fold the outer shell piece to form a triangular peak so that the bottom of the side seam aligns with the center point of the bag.
- Sew across with a ½” seam allowance stitching the edges together. Repeat on the other side.
Sewing the Straps
- Fold the long strap in half with WRONG sides together and turn edges in by 1/2". Stitch folded edges together to form strap.
Finishing
- With right sides together, align the top edge of the lining piece with the top edge of the outer shell piece and sew them together with a ½” seam allowance. Turn the lining piece to the inside using the 5” gap opening along the inside to turn the piece right side out. Stitch the gap opening closed.
- Press the top edge of the bag opening with an iron so it lays flat. Topstitch the opening for added reinforcement.