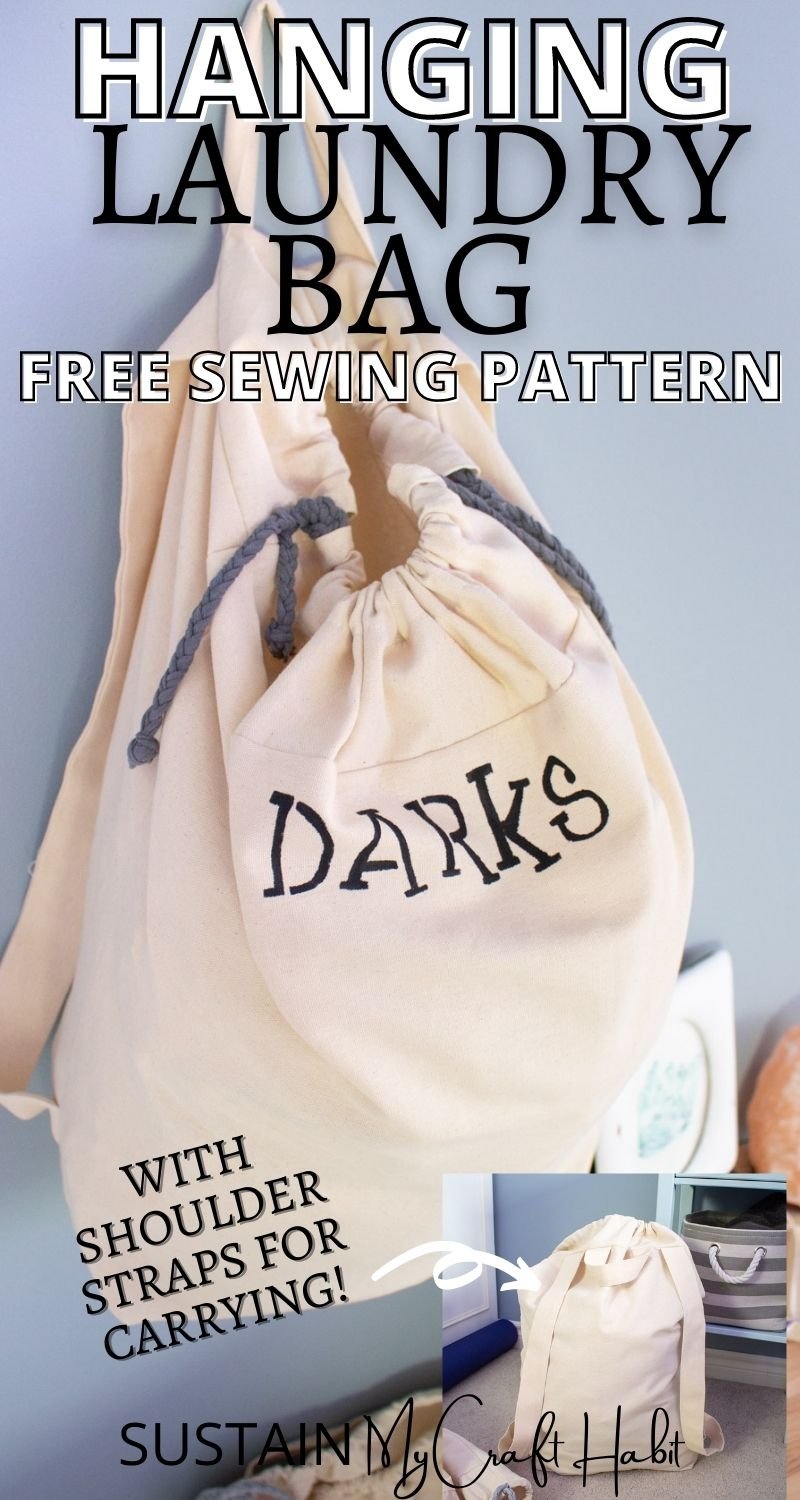
Hanging Laundry Bag Sewing Pattern

How do you keep your laundry organized? Or are you like me and sort it as I’m about to do the wash? So as a way of adding more order to my home, I recently sewed these hanging laundry bags to sort and hold dirty clothes and linens and today, I’m sharing the free sewing pattern.
Disclosure: This post contains affiliate links for your shopping convenience. Should you choose to purchase through them, we will make a small commission at no extra cost to you. You can read our full disclosure policy here.
Getting Organized with Hanging Laundry Bags
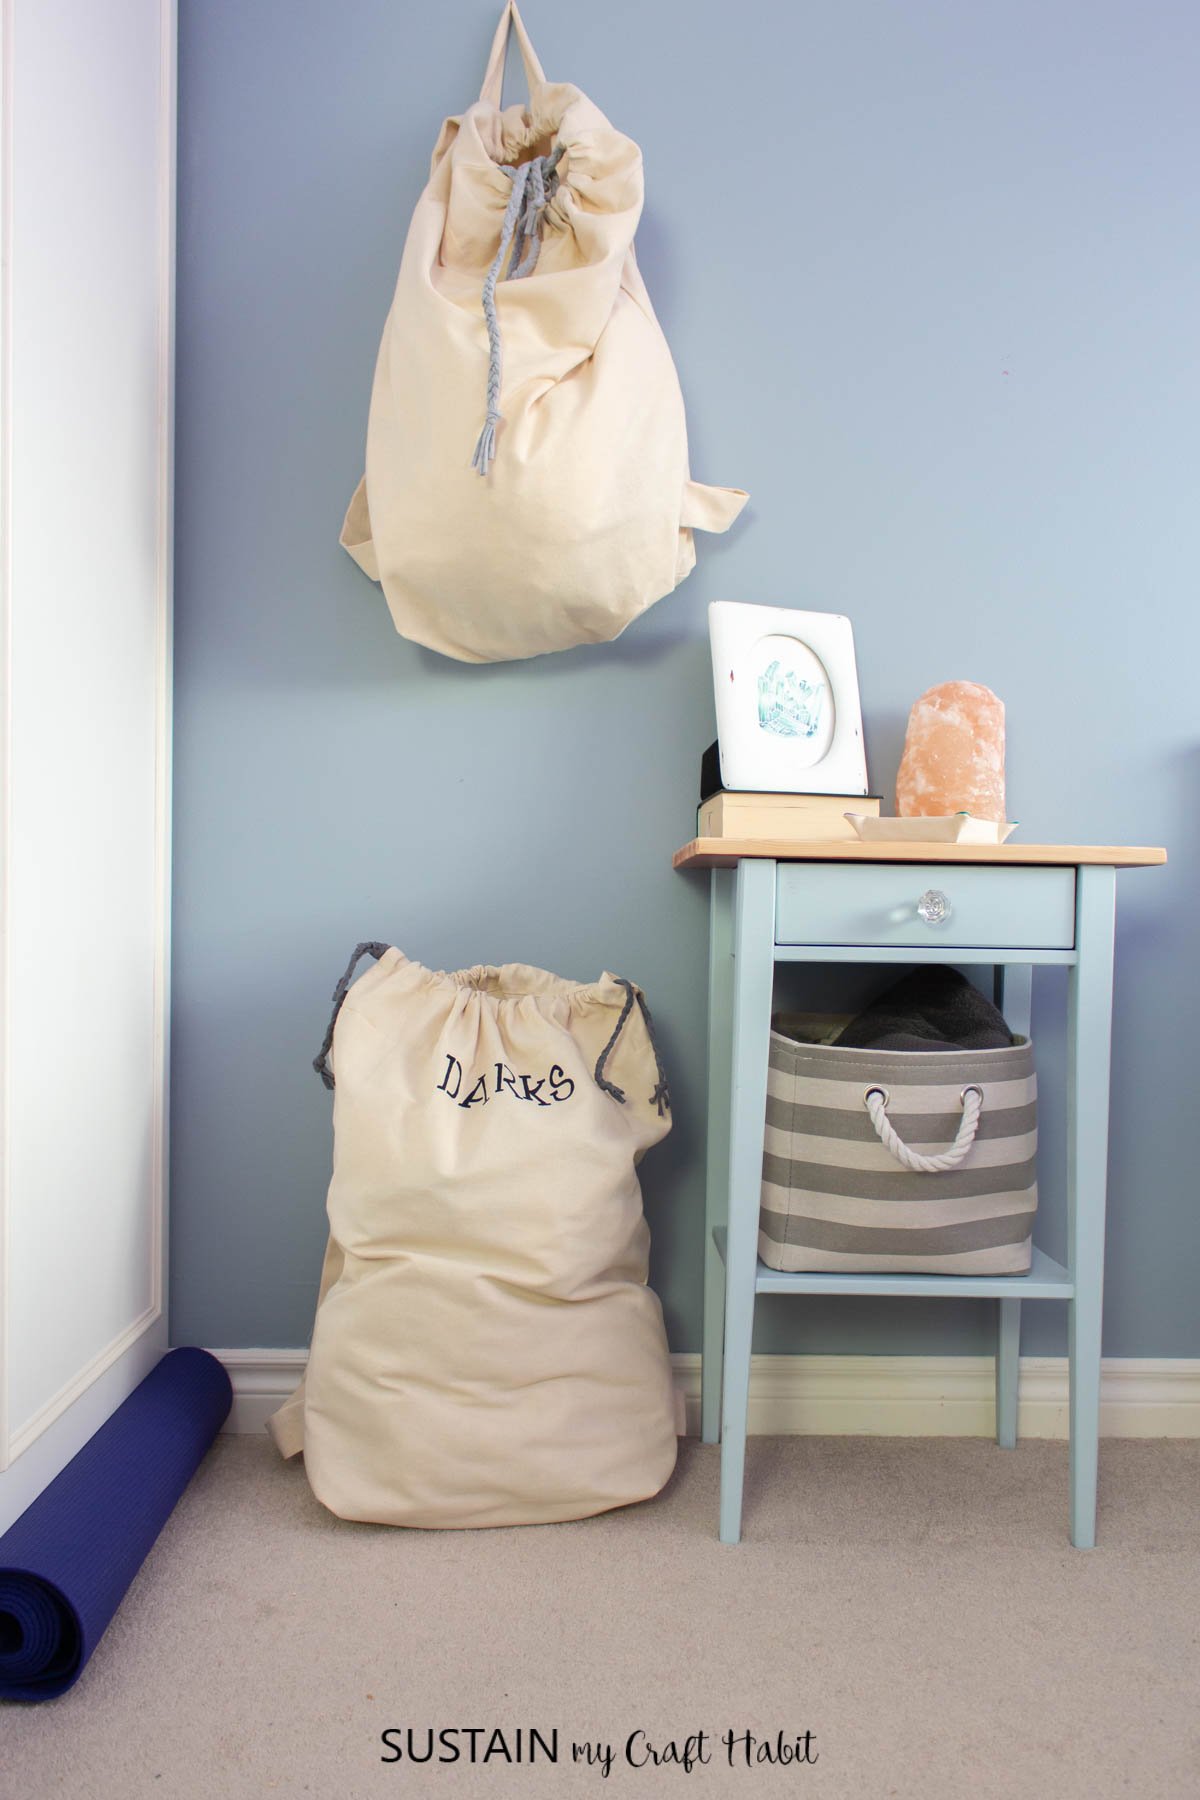
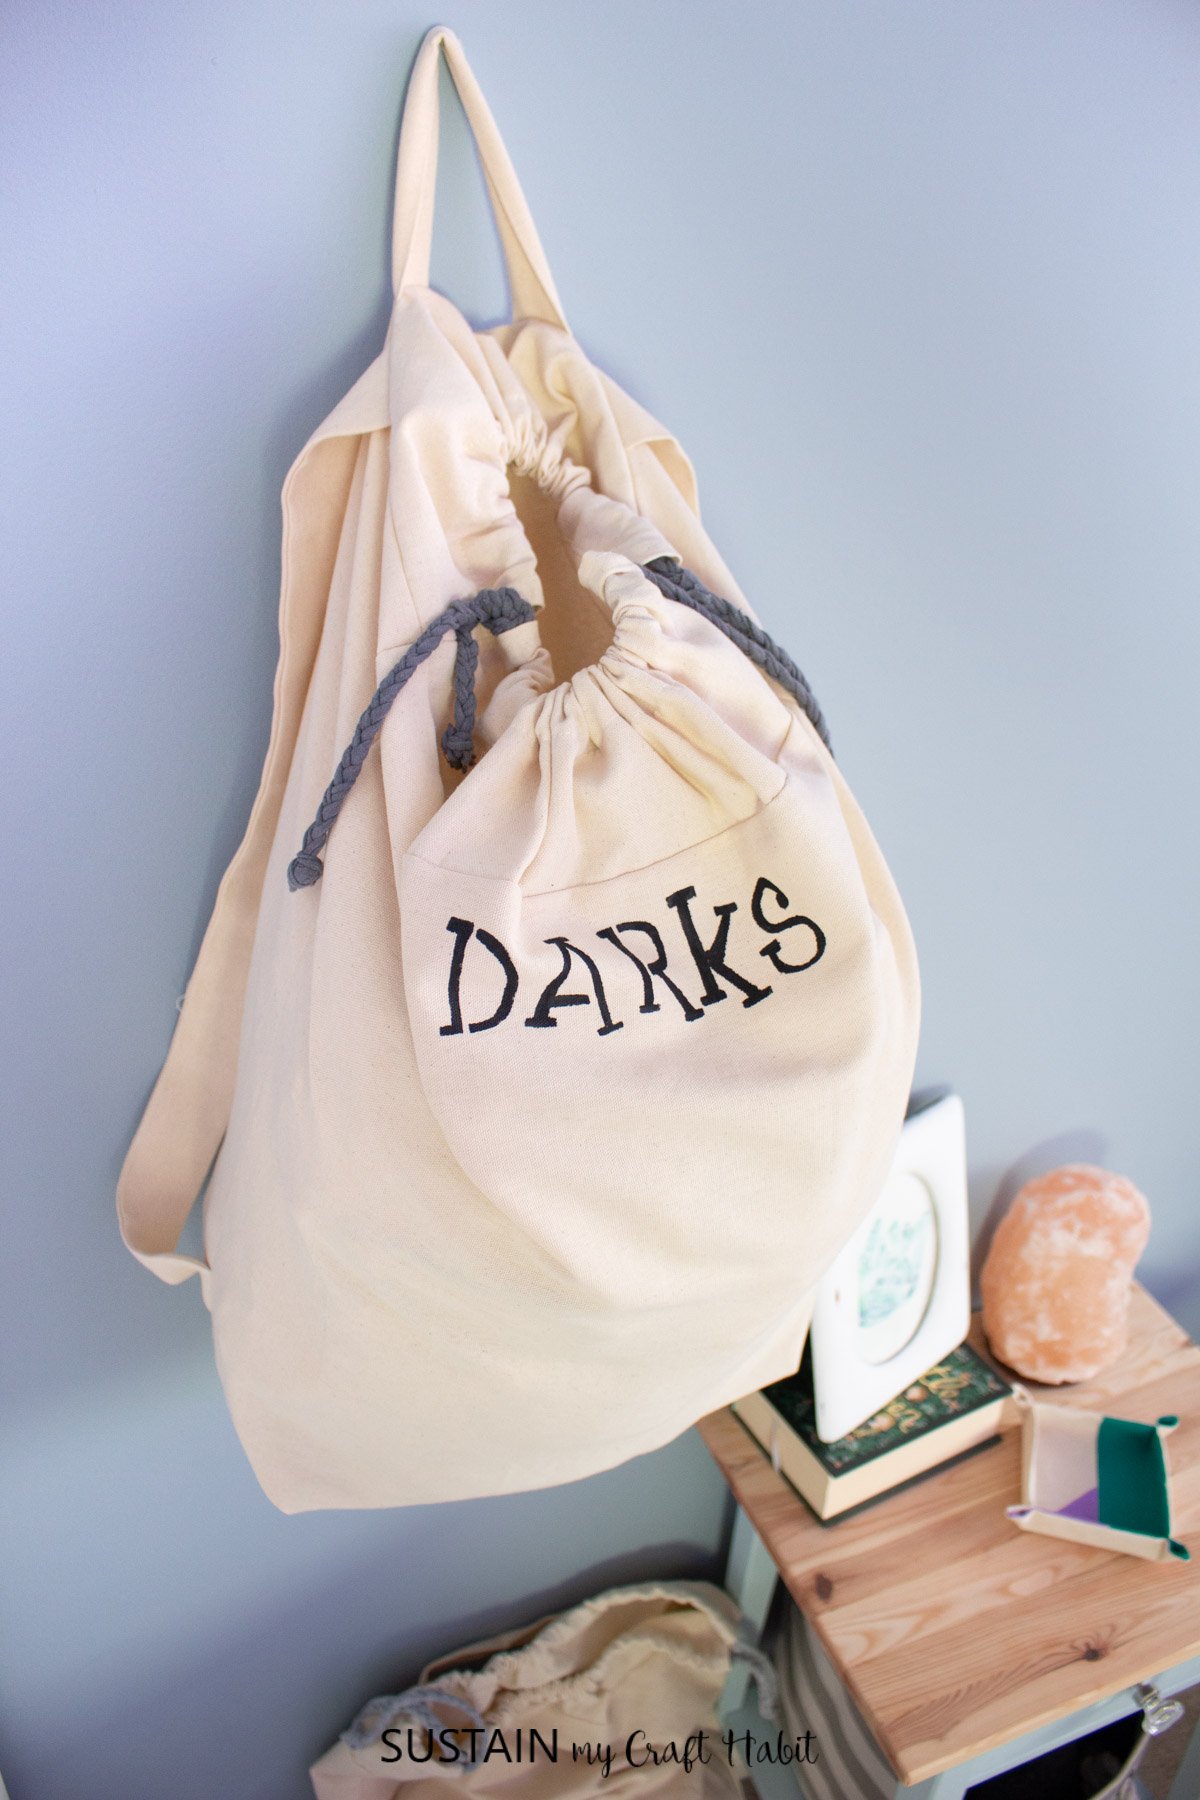
These bags can be hung on the wall or better yet, behind the door; keeping the dirty laundry tucked away and off the floor. Also keeping in mind those sudents that move away from home to study, this hanging laundry bag sewing pattern includes shoulder straps as well for transporting to the laundry mat or back to mom’s house for laundering.

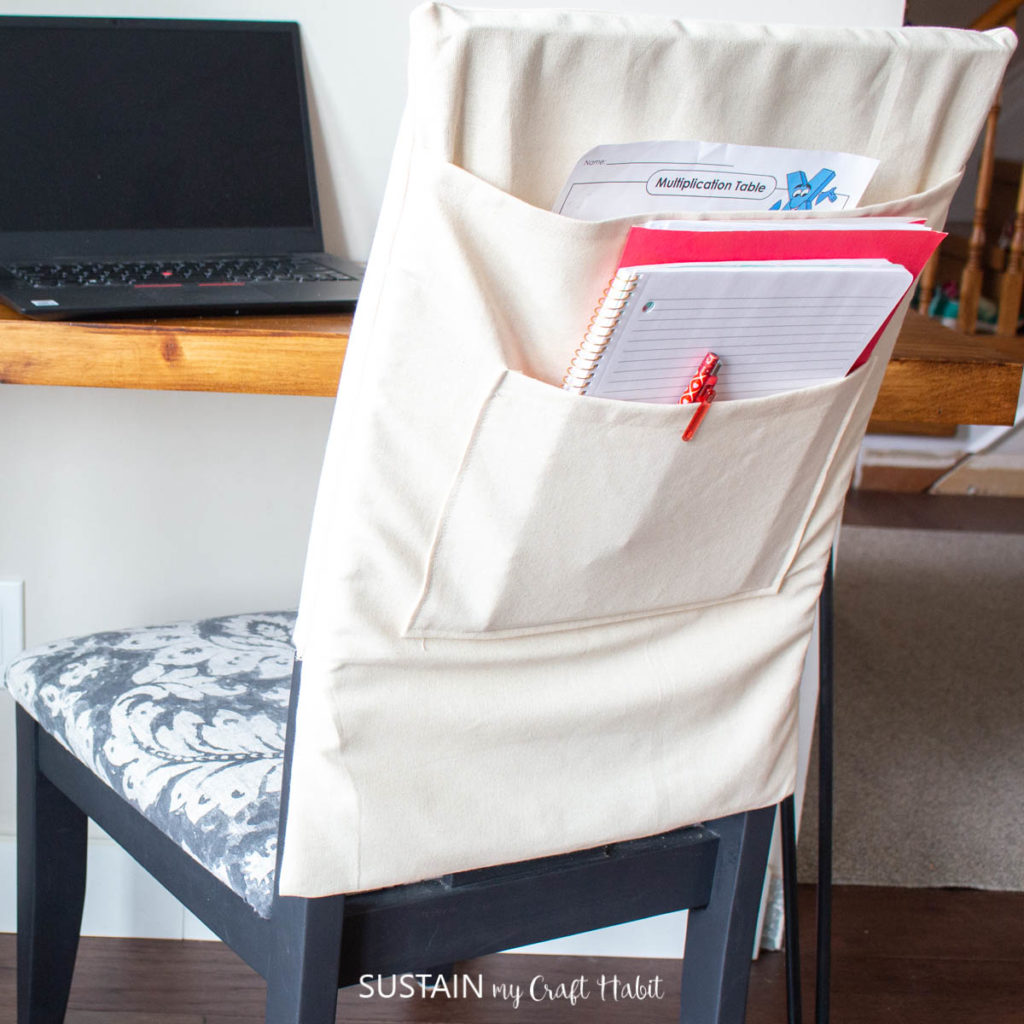
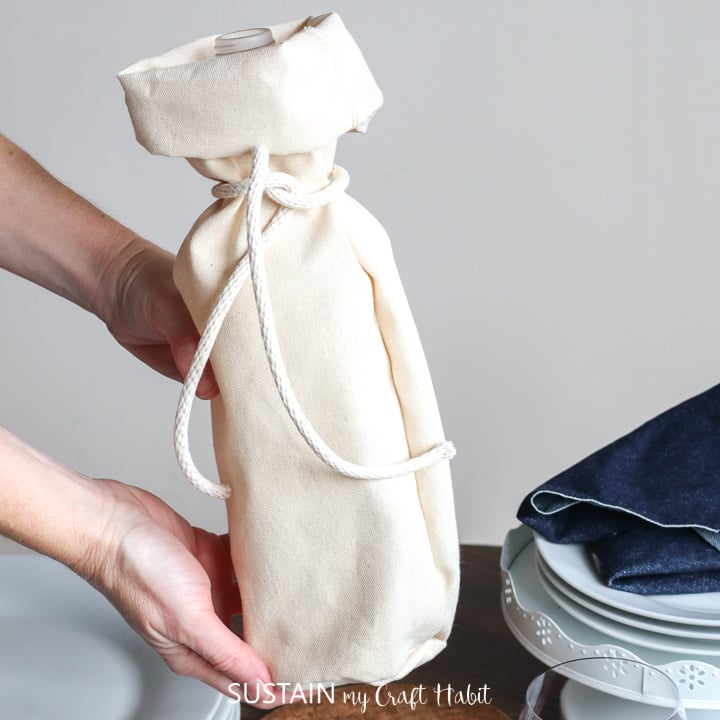
We’re partnering once again with Canvas Etc. to bring you this free sewing pattern and tutorial using a 7oz 100% cotton canvas material in a natural color. We’ve used this same fabric for other projects such as our student chair organizer and DIY wine bags. The fabric is really easy to work with, durable and inexpensive!
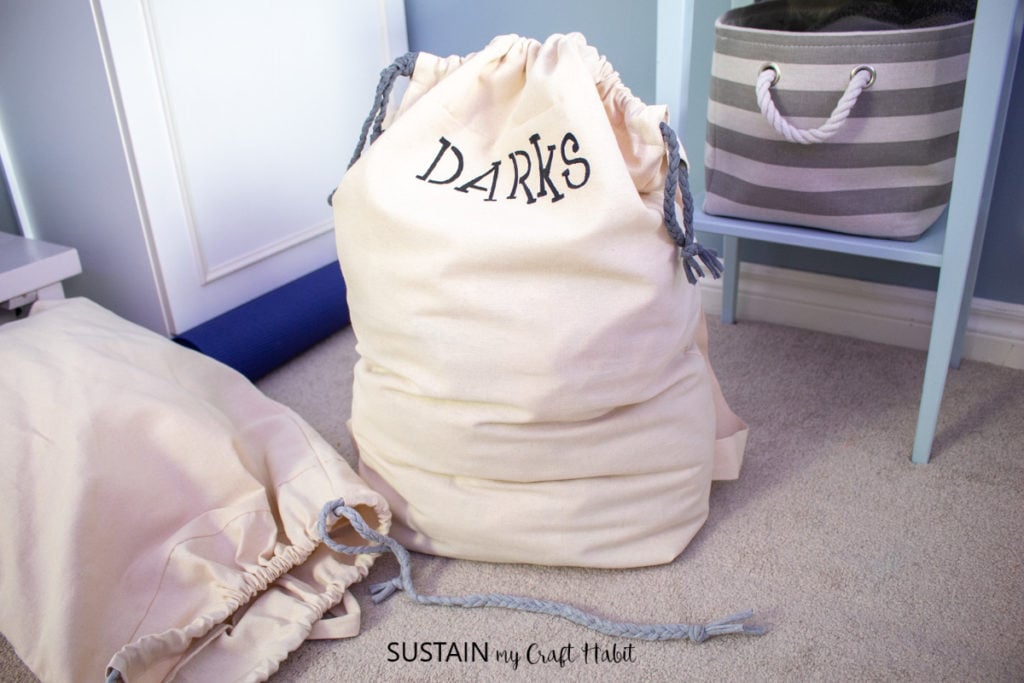
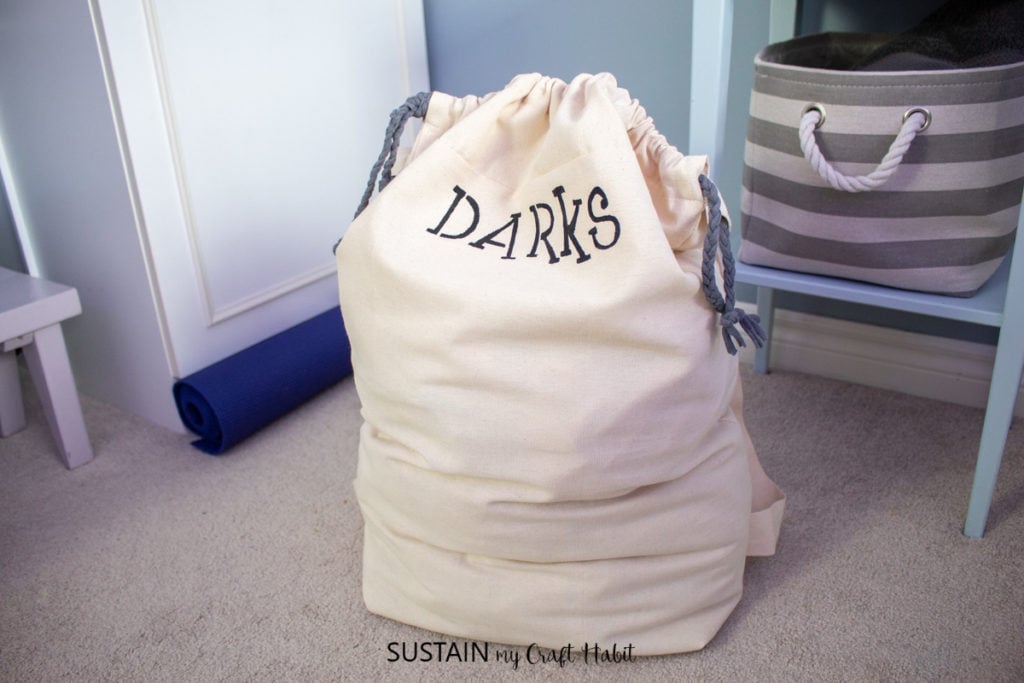
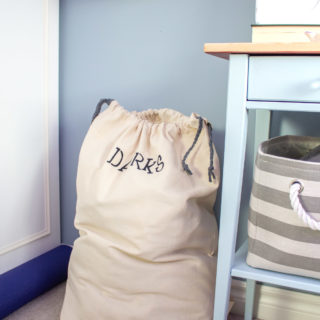
We like the idea of labelling the laundry bags to help keep things in the right place. Words like “DARKS”, “WHITES” and “DELICATES” can easily be added with permanent, washable fabric paint and we’ll show you just how we did ours below.
Materials Needed:
Disclosure: This post continues affiliate links for your shopping convenience. You can find our full disclosure policy here.
- 100% Cotton Canvas, 7oz in natural, 63″ wide, 1.5 yards
- Laundry bag pattern
- Fabric Scissors
- Sewing machine and matching thread
- Fabric Paint (we used DecoArt SoSoft in black)
- Stencil pouncer
- Alphabet Stencil (2-3″ high)
How To Make Hanging Laundry Bags:
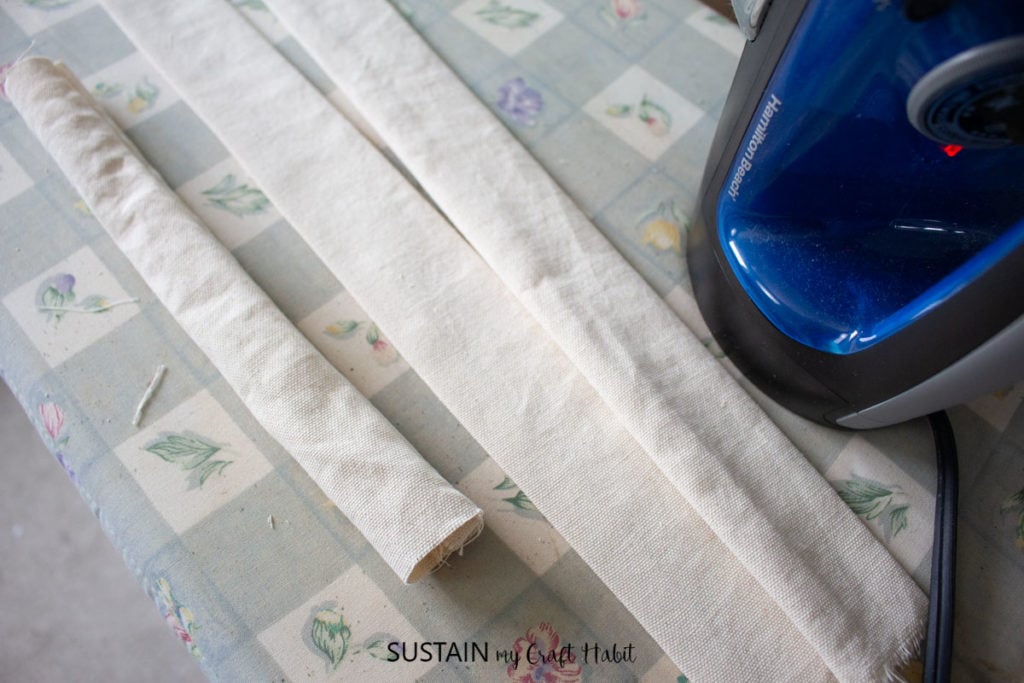
Wash and dry the fabric prior to sewing, removing promptly from the dryer to reduce wrinkles. Iron out any creases and wrinkles prior to cutting.
Print off the sewing pattern on 8.5×11 sheets of paper without adjusting the scale. Tape the pattern pages together to form a full pattern and cut around the individual pattern pieces.
Place on top of the fabric aligning arrow with grainline and cut out along the solid lines.
Sewing
Fold the hanger loop pattern piece and shoulder strap pieces in half lengthwise with RIGHT sides together and then sew along the edge with a ½” seam allowance.
Turn the sewn pieces right side out and press flat.
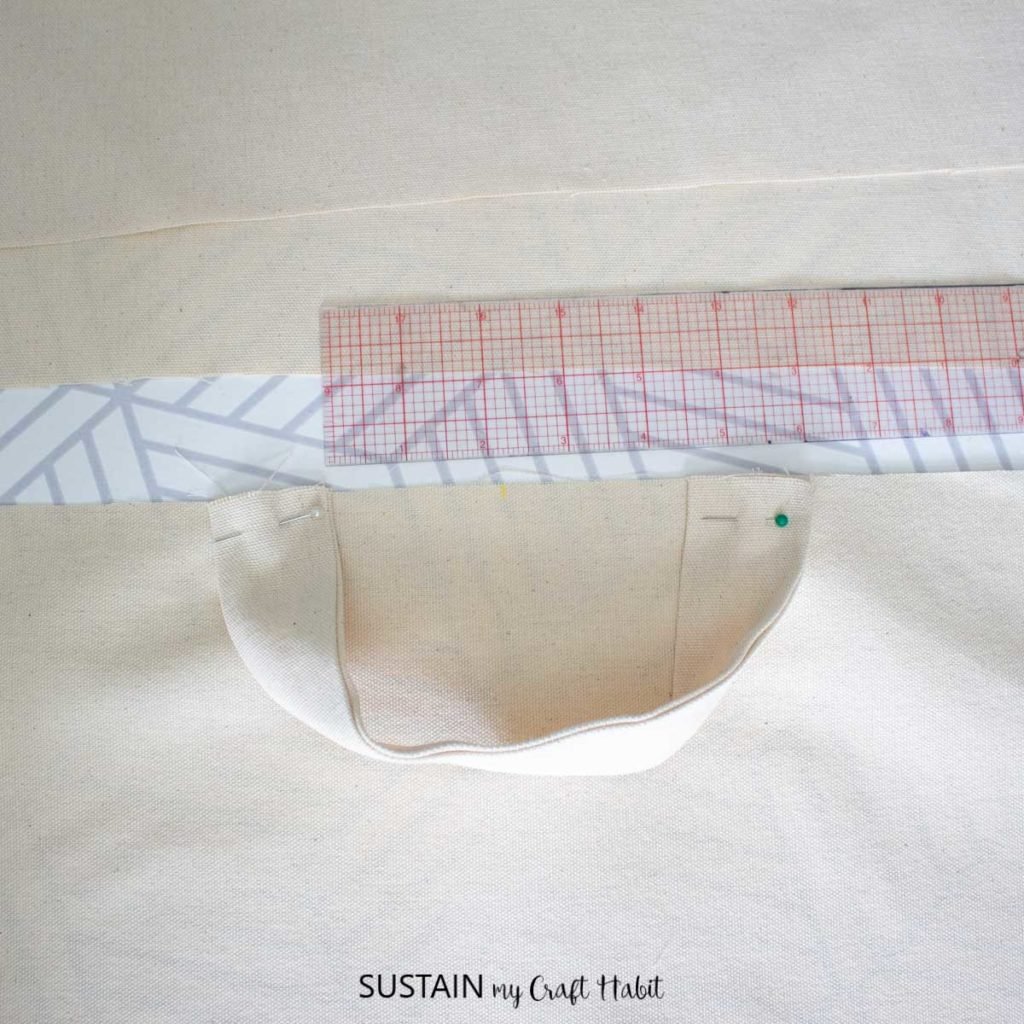
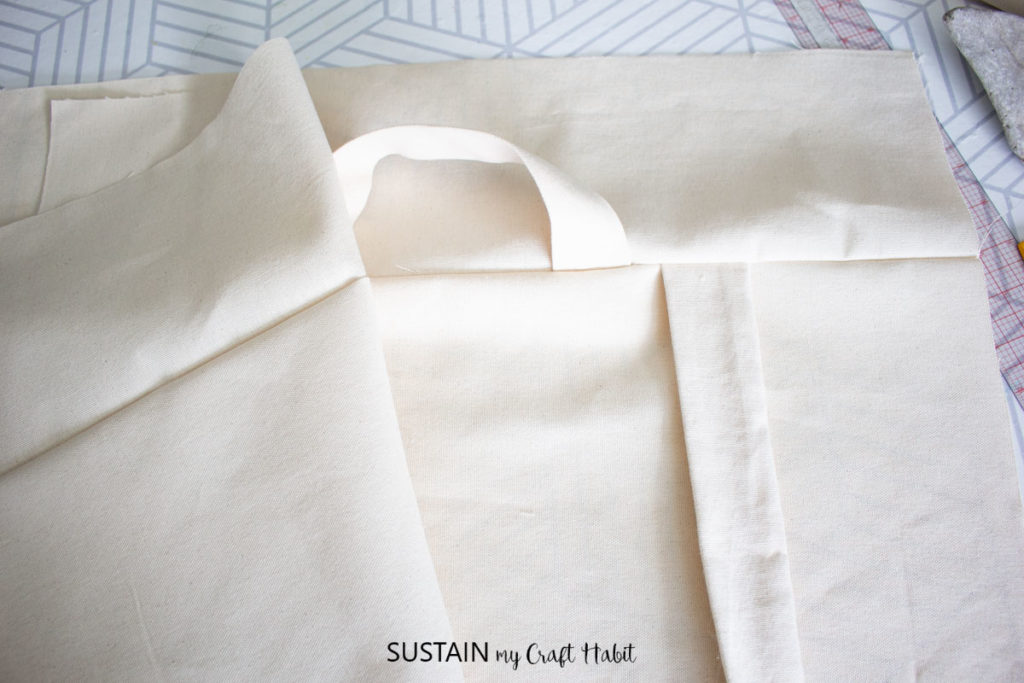
Place the prepared hanger loop at the center top of the BACK piece, matching notches.
Place the prepared shoulder straps on the BACK piece, matching notches at the top and along the sides.
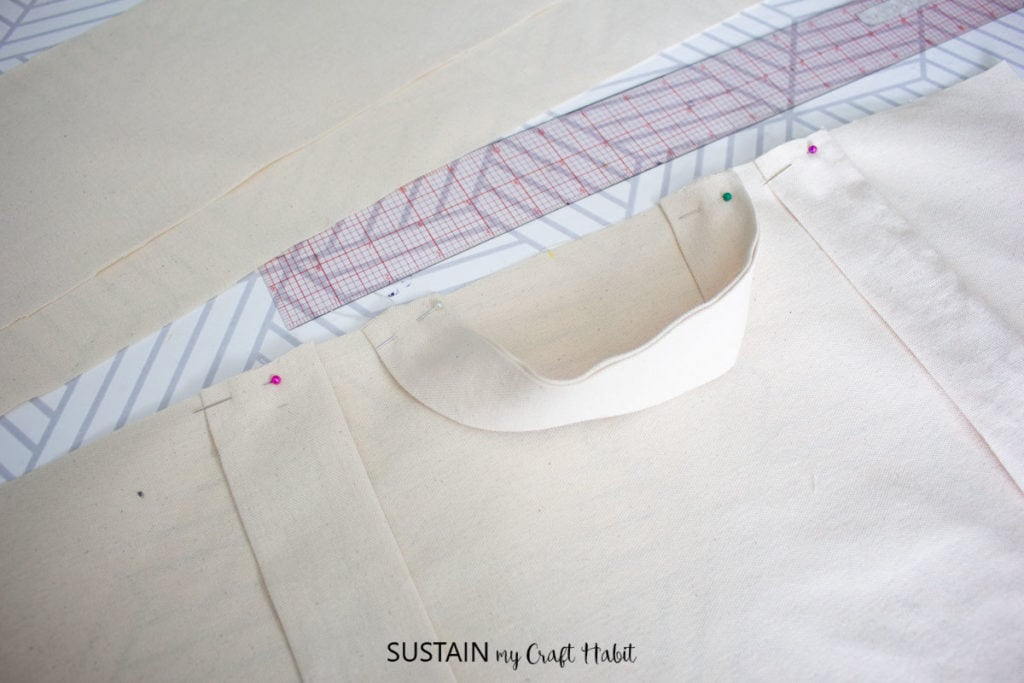
Baste stitch the straps in place.
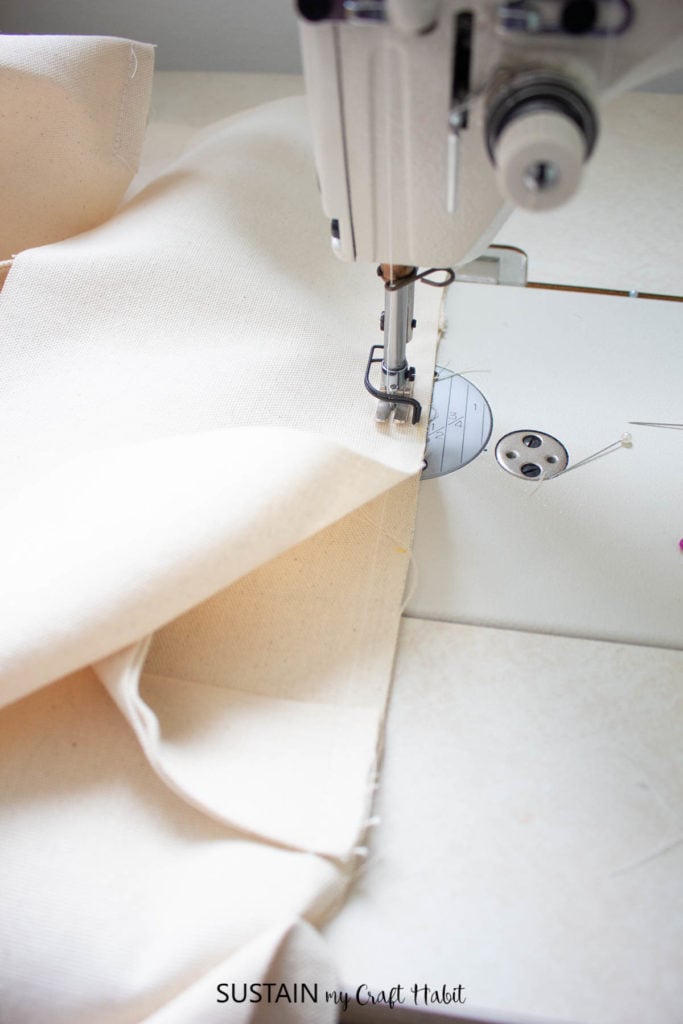
Stitch the UPPER FRONT and BACK pieces with the LOWER FRONT and BACK piece.


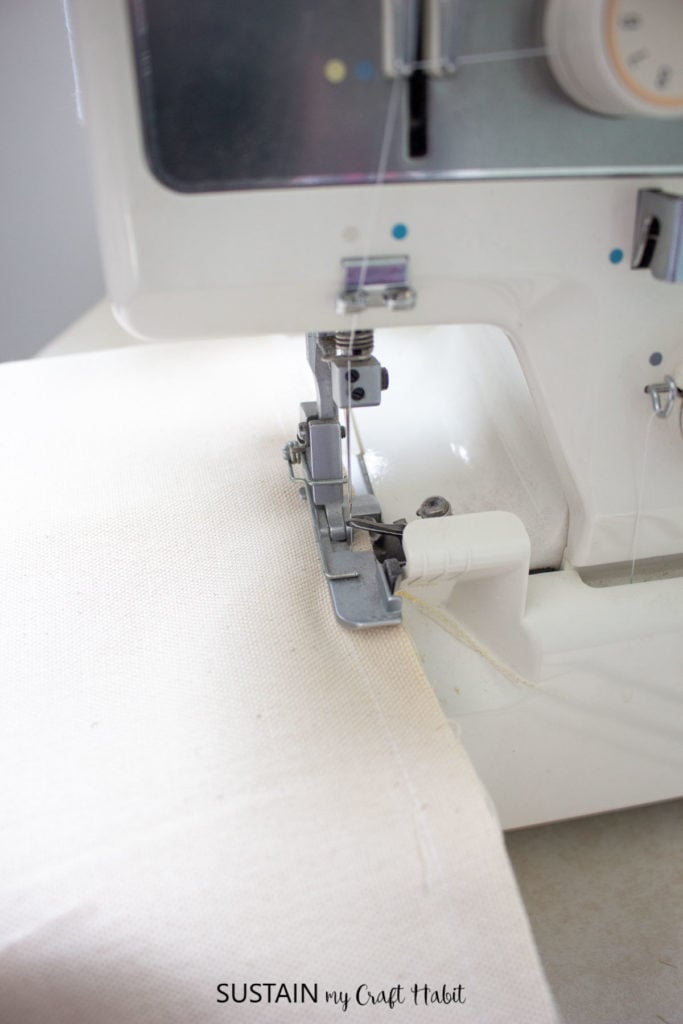
Clean finish all the raw edges with a zig zag stitch or serger to prevent fabric from fraying.
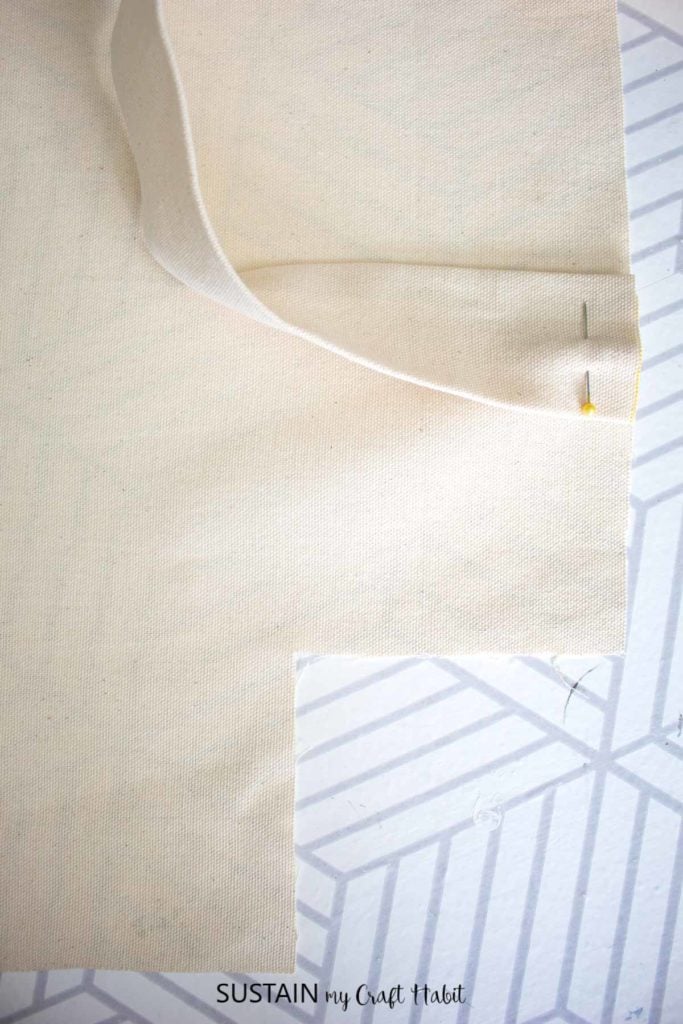
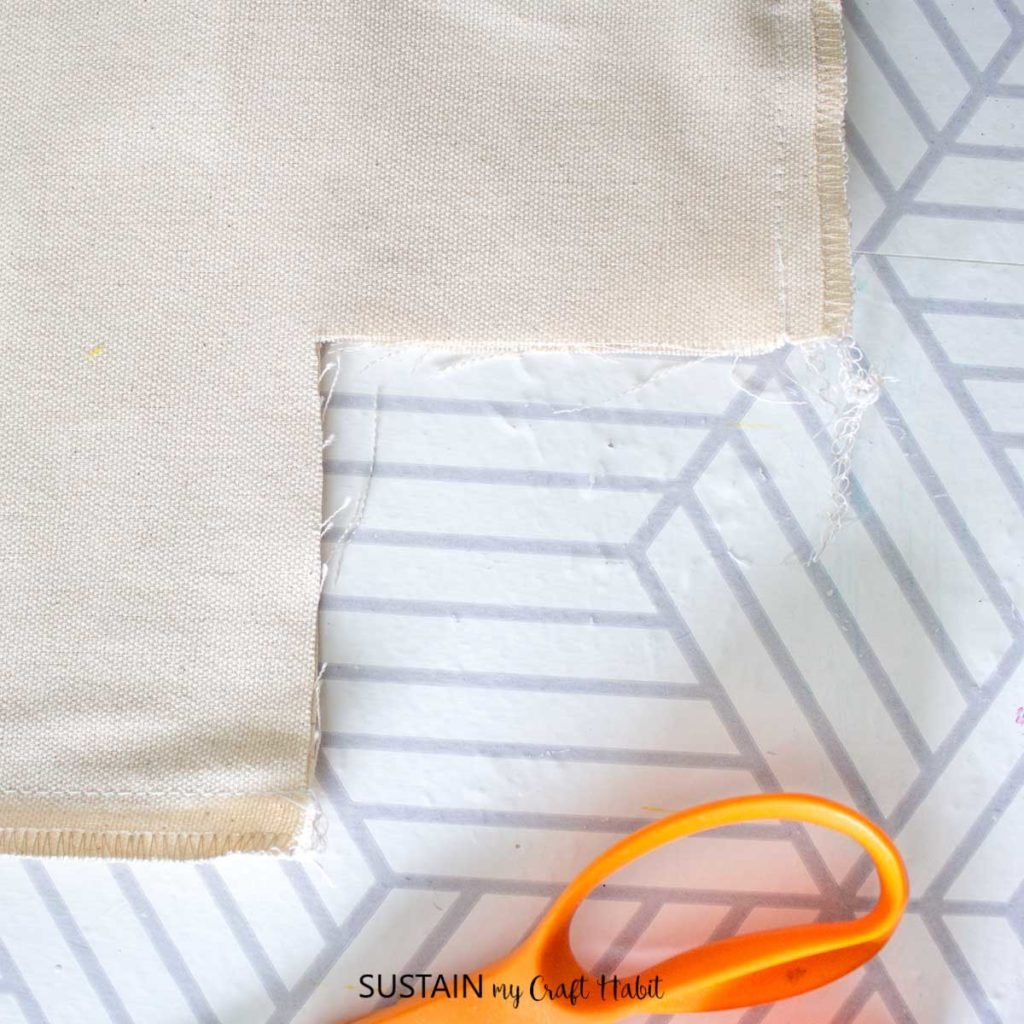
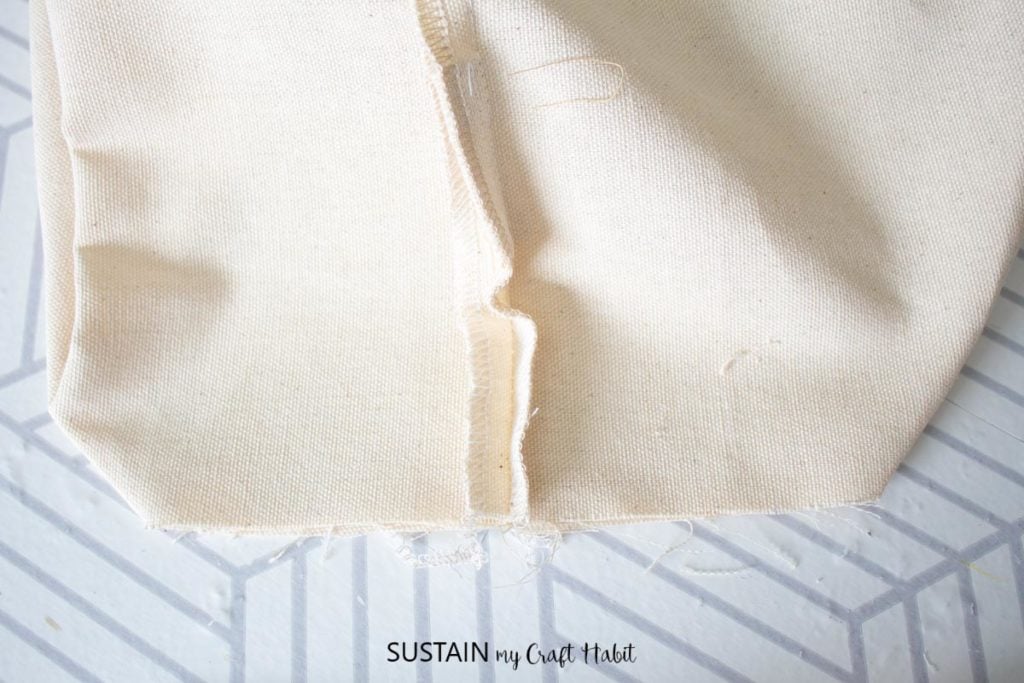
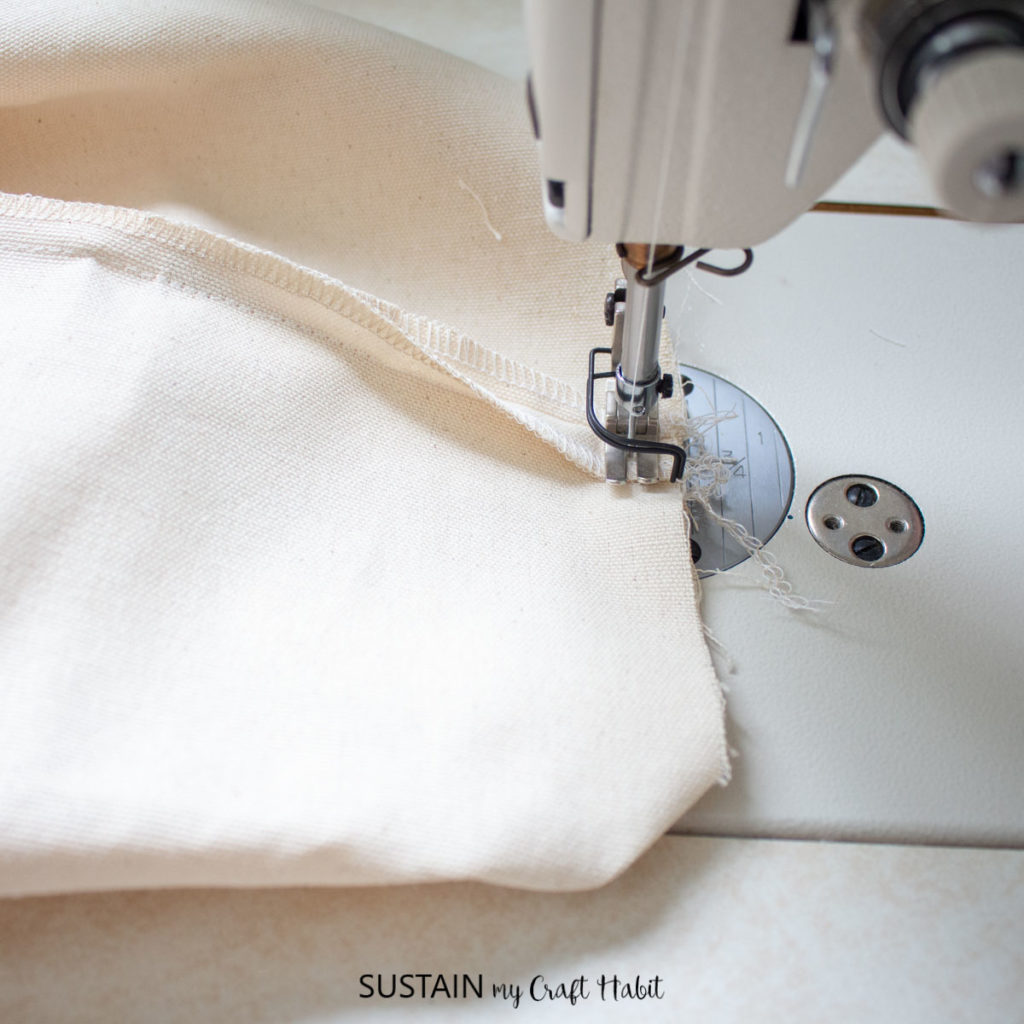
Place the FRONT and BACK pieces RIGHT sides together and mark a point 3” from the top edge along both sides (or just on one side). Stitch along the sides from top to bottom and along the bottom edge, leaving the square cut outs un-stitched.

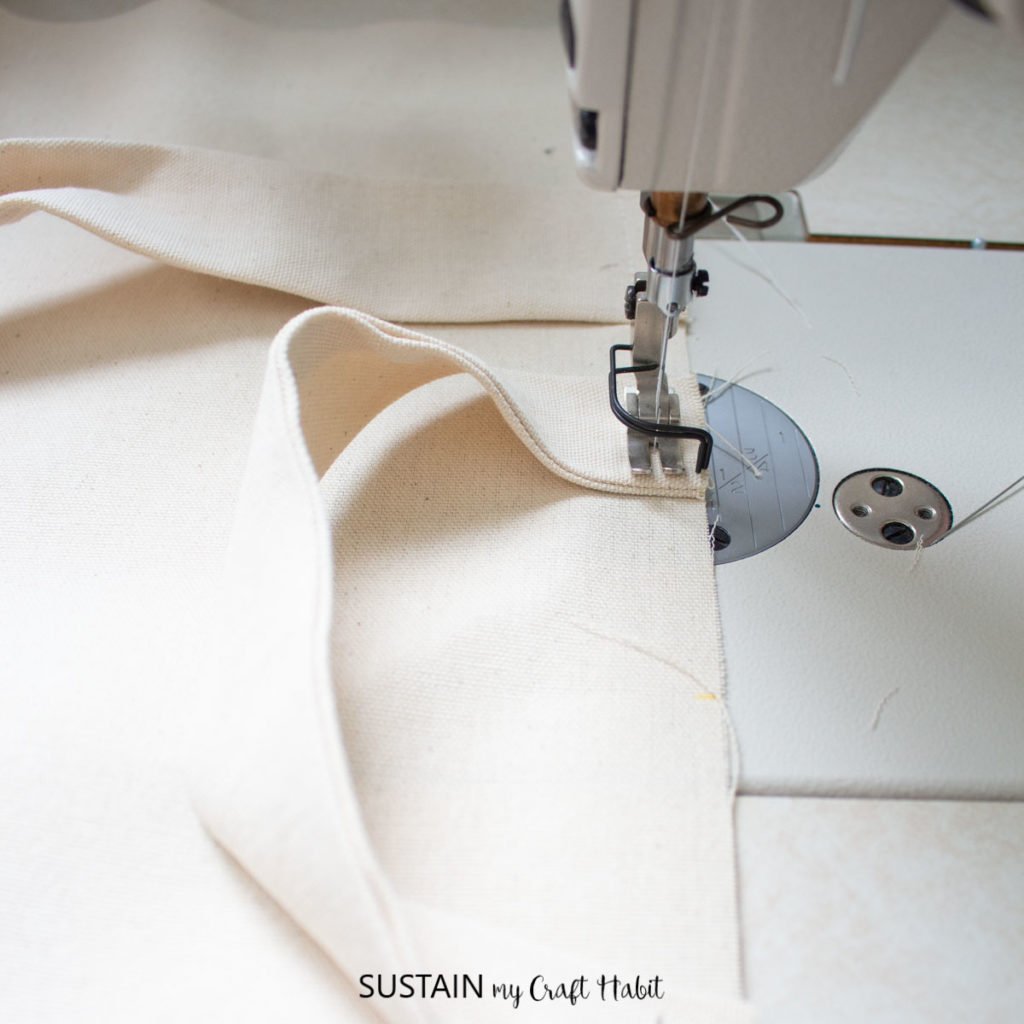
Fold the bottom cutouts so that the side seam aligns with the bottom seam and sew along the diagonal edge with a ½” seam allowance.
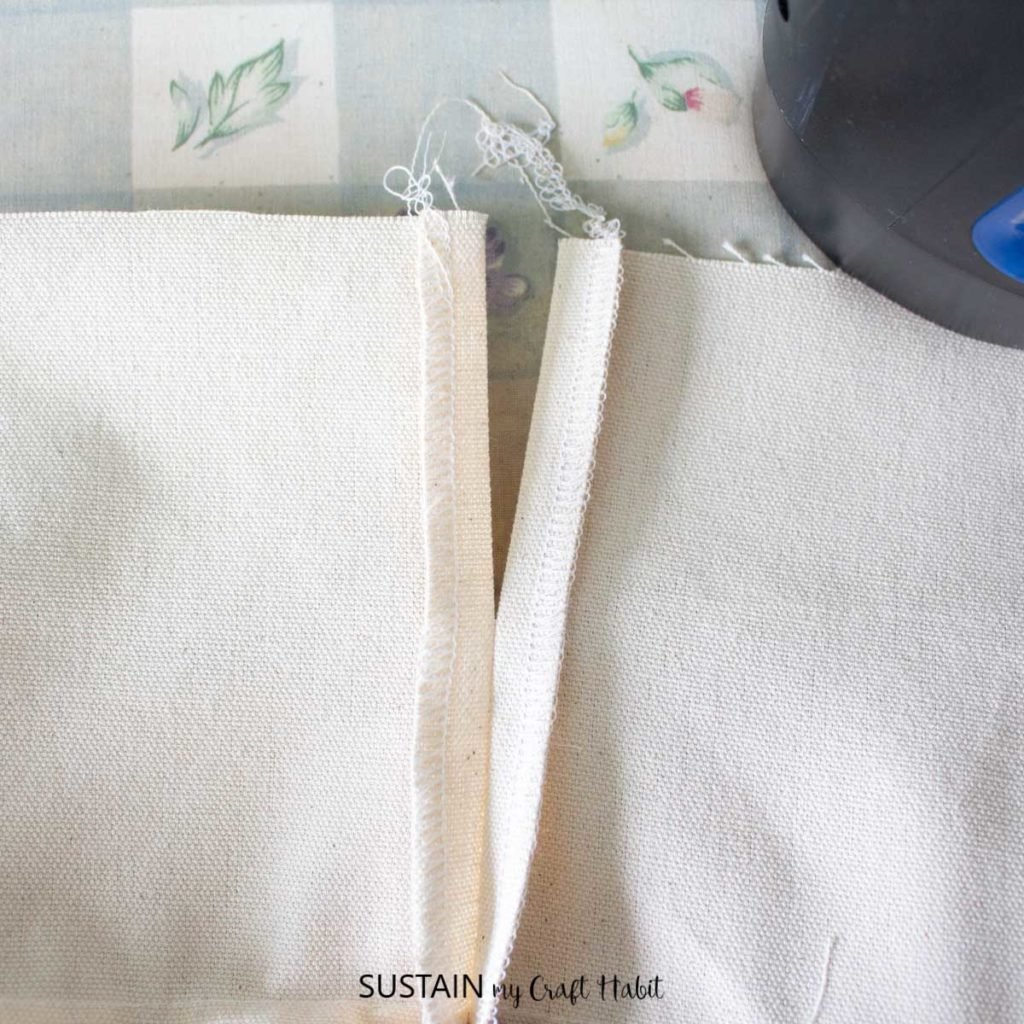
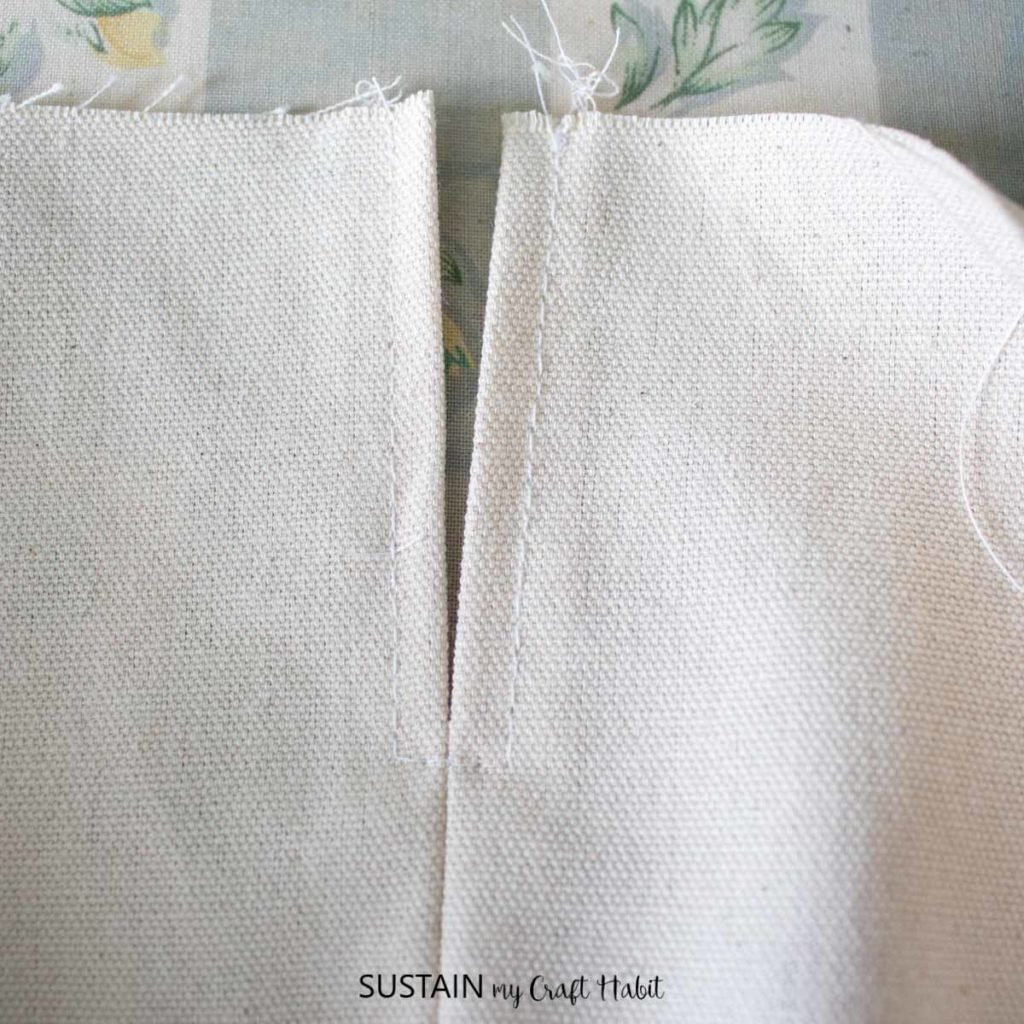
To sew a casing along the laundry bag opening, fold and press the seam allowance inwards at the 3” side slit. Topstitch the seam allowance in place.

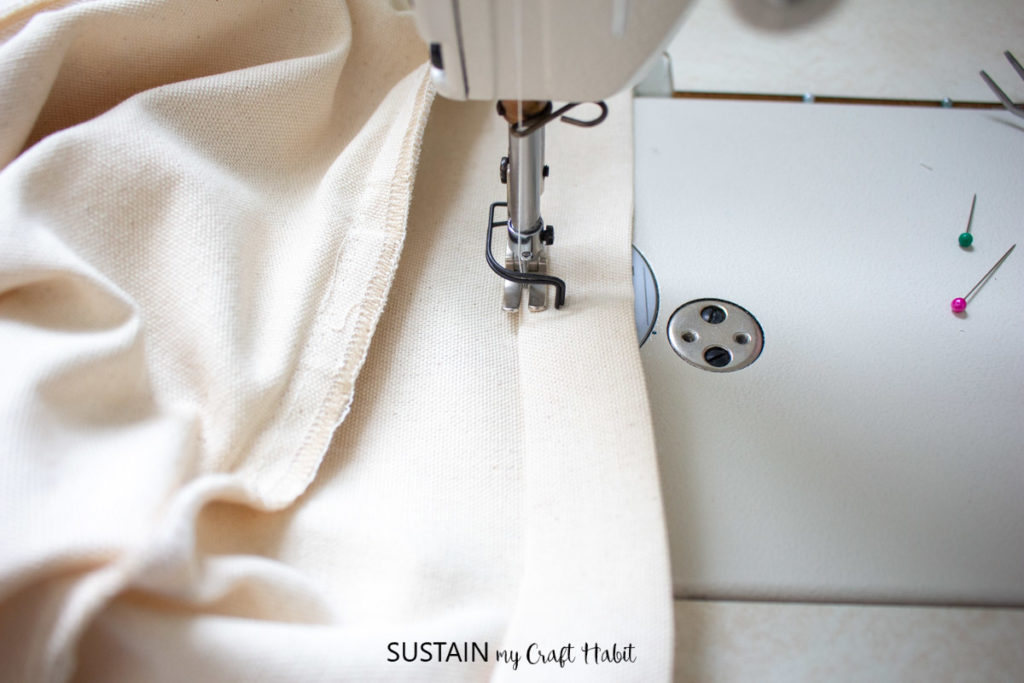
Press and fold the opening edge by ¼” and then fold again another 1.25”and pin hem in place. Stitch along the folded hem 1.25” from the edge forming a casing for the drawcord or cording ties.


Finishing
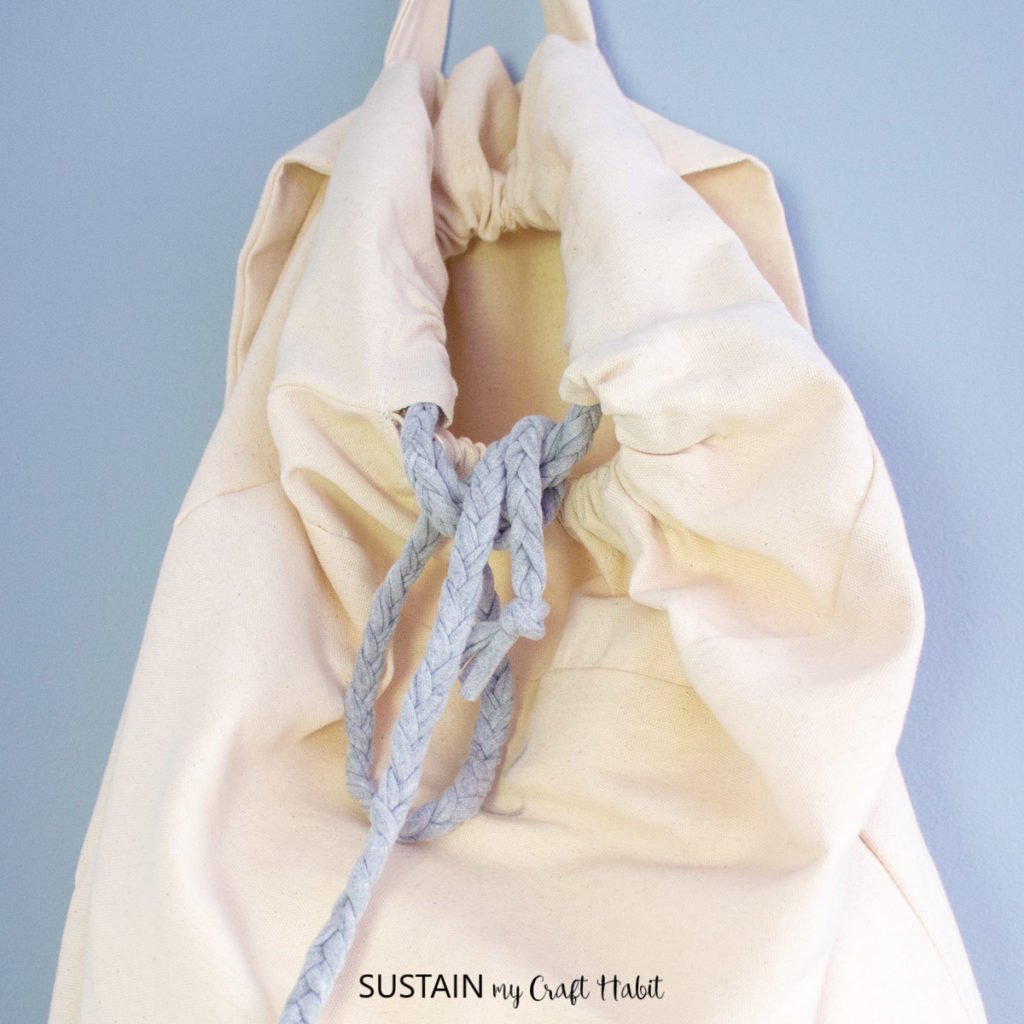
Cut a piece of cotton cording longer than the full opening. Insert cotton cording or in our case we used braided t-shirt yarn into the casing all the way through and out on the other side. It’s easiest to attach a safety pin to the end of the cord and guide that through the casing. Once all the way through, cinch to close the opening.
Personalizing the Laundry Bags with Fabric Paint
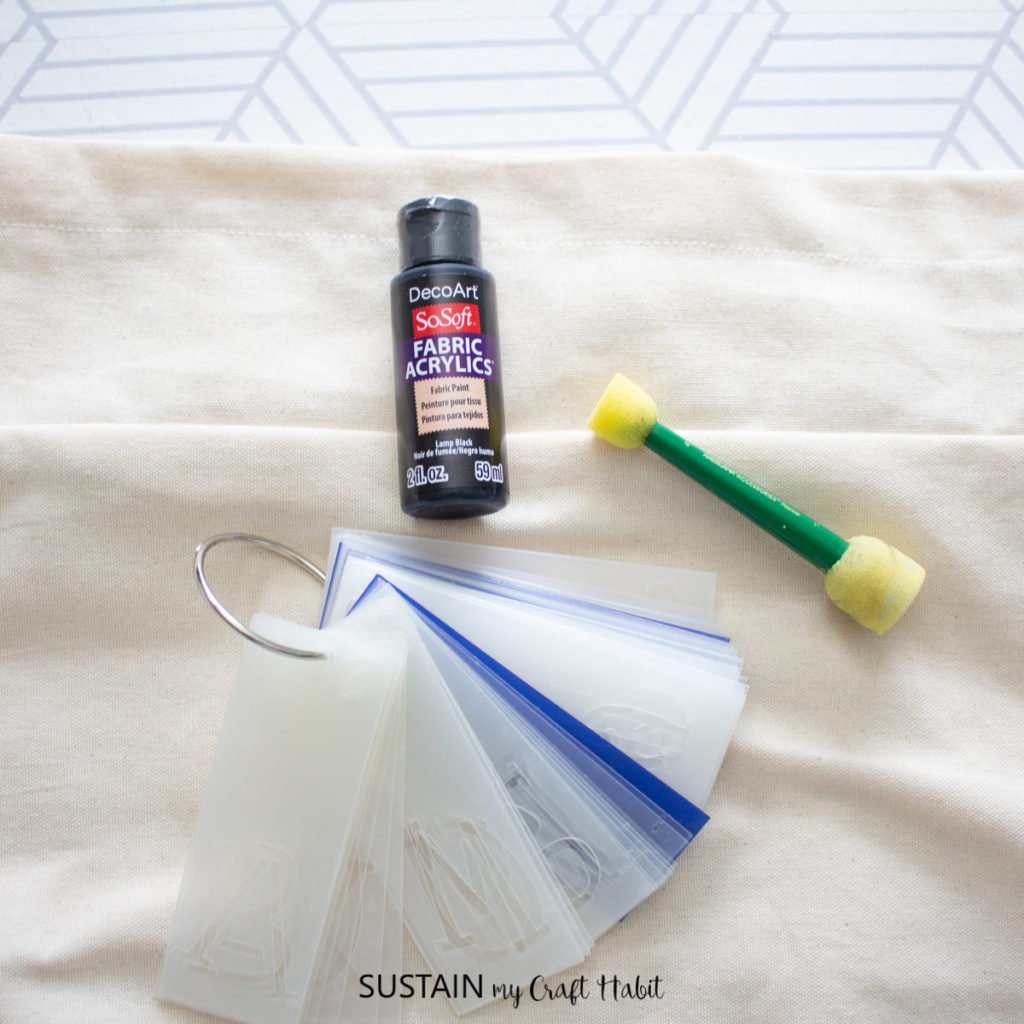
Using fabric paint and an alphabet stencil, add the words “darks” and “whites” or whatever you like to the fronts of the bags to keep your laundry in order. Place a piece of cardboard behind the material to avoid seeping through and then use the stencil with a stencil brush to dab on the fabric paint. Touch up any jagged parts with a fine tip paintbrush.

Let the paint dry fully, needs about 72 hours and the bags are ready for use!
Get Organized with More Free Sewing Patterns!
We have loads of free sewing patterns on the blog to keep you organized, everything from a storage ottoman to storage cubes and more. Check out these sewing tutorials for more information:

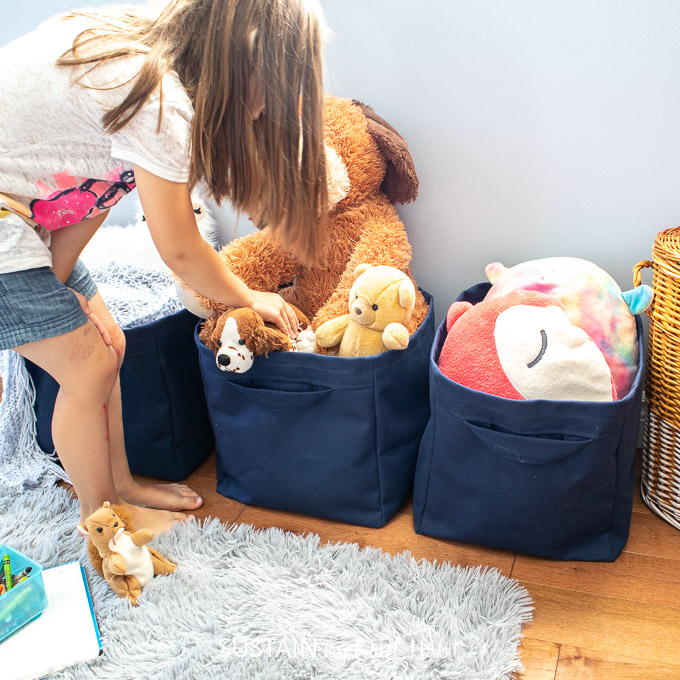
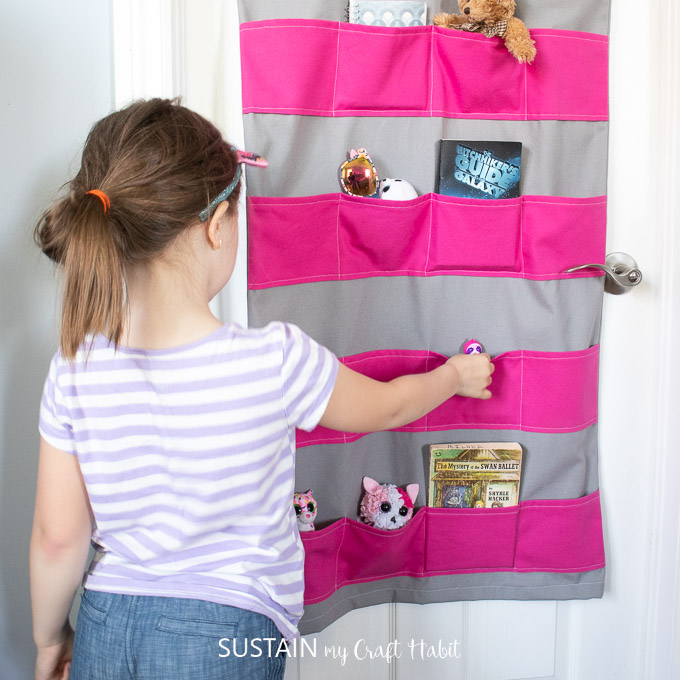
Storage Cubes Hanging Toy Storage 
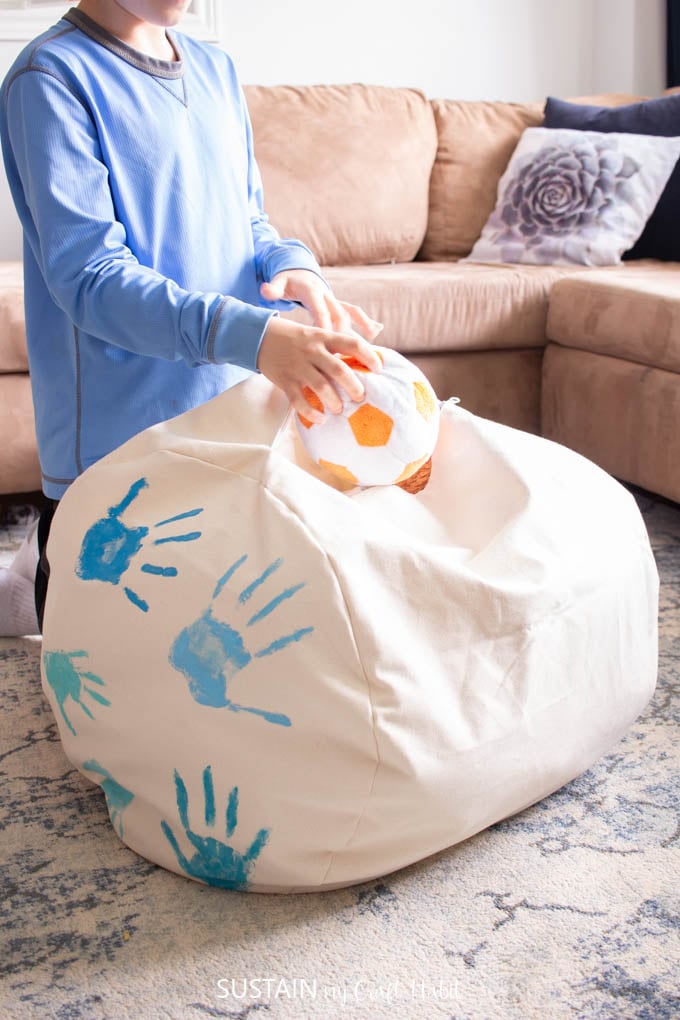
Storage Ottoman
Like it? Pin it for later!
Hanging Laundry Bag Sewing Pattern
Materials
- 100% Cotton Canvas 7oz in natural, 63″ wide, 1.5 yards
- Laundry bag pattern
- Fabric Scissors
- Sewing machine and matching thread
- Fabric Paint DecoArt SoSoft in black
- Stencil pouncer
- Alphabet Stencil 2-3″ high
Instructions
- Wash and dry the fabric prior to sewing. Iron out any creases and wrinkles prior to cutting.
- Print off the sewing pattern on 8.5×11 sheets of paper without adjusting the scale. Tape the pattern pages together to form a full pattern and cut around the individual pattern pieces.
- Place on top of the fabric aligning arrow with grainline and cut out along the solid lines.
Sewing
- Fold the hanger loop pattern piece and shoulder strap pieces in half lengthwise with RIGHT sides together and then sew along the edge with a ½” seam allowance.
- Turn the sewn pieces right side out and press flat.
- Place the prepared hanger loop at the center top of the BACK piece, matching notches.
- Place the prepared shoulder straps on the BACK piece, matching notches at the top and along the sides.
- Baste stitch the straps in place.
- Stitch the UPPER FRONT and BACK pieces with the LOWER FRONT and BACK piece.
- Clean finish all the raw edges with a zig zag stitch or serger to prevent fabric from fraying.
- Place the FRONT and BACK pieces RIGHT sides together and mark a point 3” from the top edge along both sides (or just on one side). Stitch along the sides from top to bottom and along the bottom edge, leaving the square cut outs un-stitched.
- Fold the bottom cutouts so that the side seam aligns with the bottom seam and sew along the diagonal edge with a ½” seam allowance.
- To sew a casing along the laundry bag opening, fold and press the seam allowance inwards at the 3” side slit. Topstitch the seam allowance in place.
- Press and fold the opening edge by ¼” and then fold again another 1.25”and pin hem in place. Stitch along the folded hem 1.25” from the edge forming a casing for the drawcord or cording ties.
Finishing
- Cut a piece of cotton cording longer than the full opening. Insert cotton cording into the casing all the way through and out on the other side.
- Once all the way through, cinch to close the opening.
Personalizing the Laundry Bags
- Using fabric paint and an alphabet stencil, add the words “darks” and “whites” to the fronts of the bags.
- Place a piece of cardboard behind the material to avoid seeping through and then use the stencil with a stencil brush to dab on the fabric paint.
- Touch up any jagged parts with a fine tip paintbrush.
- Let the paint dry fully, needs about 72 hours and the bags are ready for use!