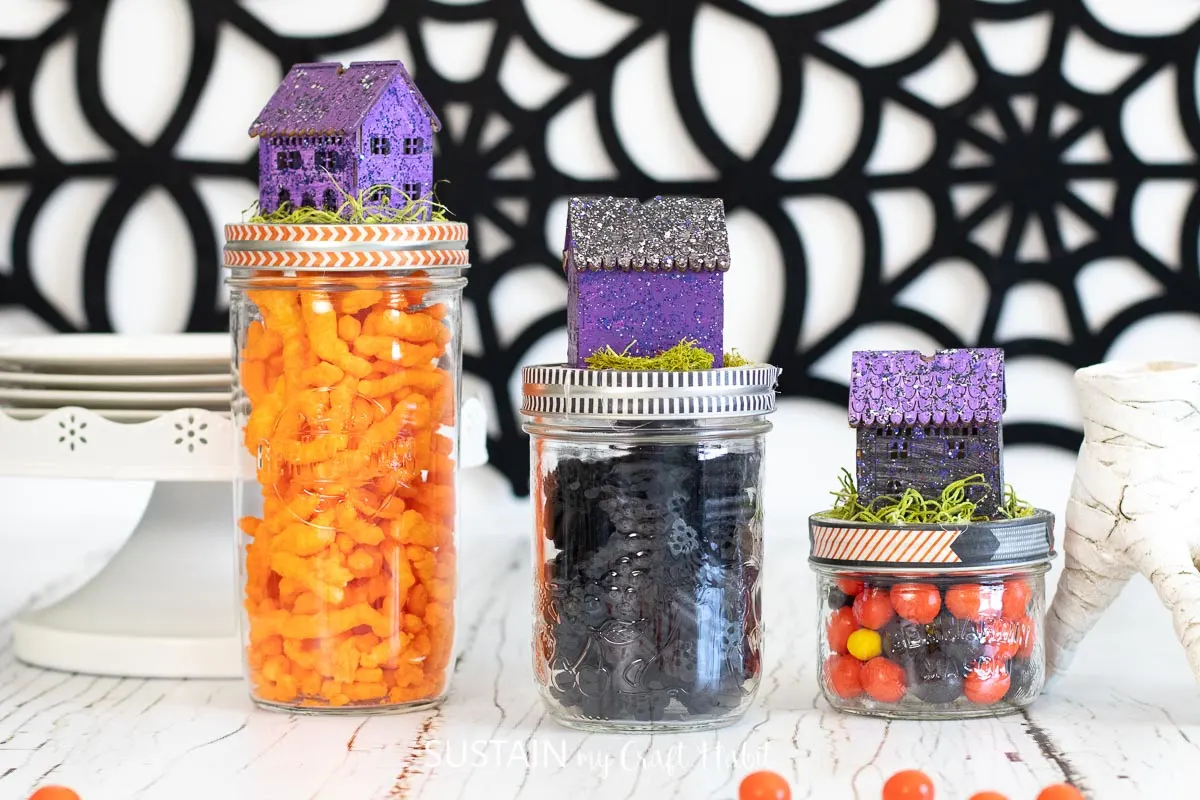
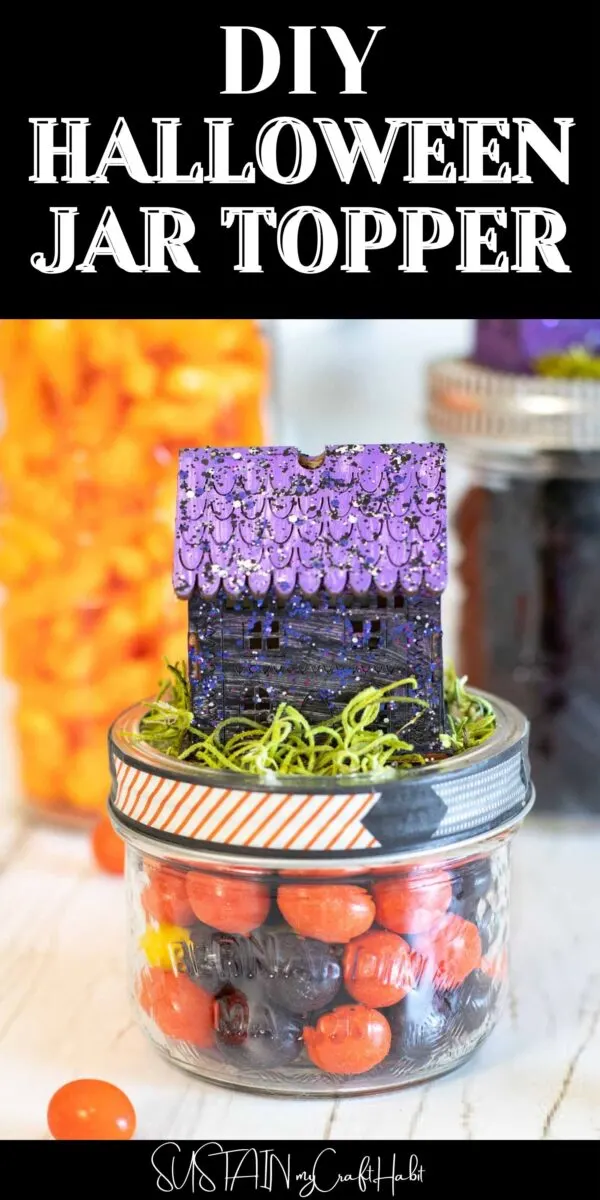
Hello creative friends, we have a fun Halloween craft to share today. We’ll show you how to create your own sweet Halloween treat jars using glass jars, decorative moss and painted spooky wooden houses.
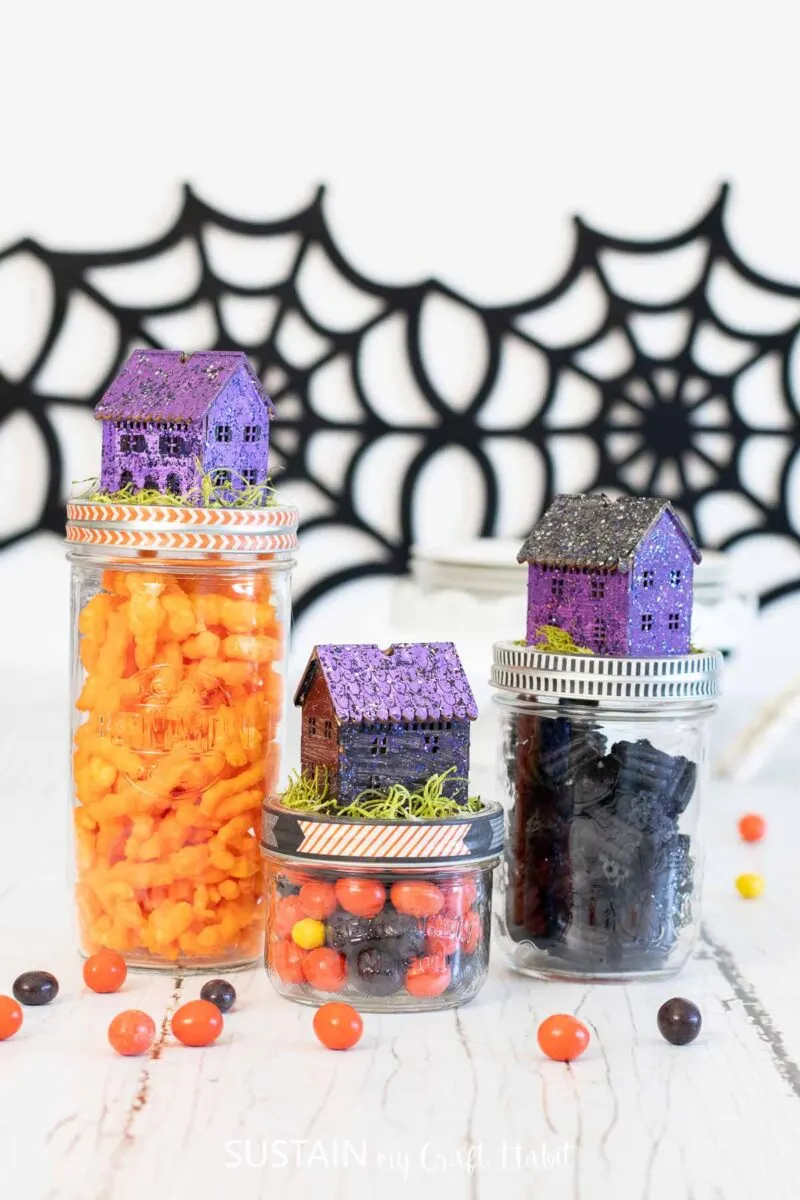
Making Halloween Jar Toppers
If you’ve visited our blog here before, you’ll likely notice that we love to use upcycled materials for crafting. Looking around the house (and out in nature) for whatever supplies or surfaces we can use, is often where our craft ideas originate. And these halloween treat jars are no exception! Finding the wooden houses on a strand of broken Christmas lights, we imagined they would make adorable spooky Halloween houses. I’ll include a picture of the strand of lights soon.
Of course, crafting with glass jars are one of our favorite supplies to use! Since there tends to be a lot of empty jars lying around once the canned dill pickles, jams and homemade salsa are consumed.
Materials Needed:
Disclosure: This post contains affiliate links for your shopping convenience. Should you choose to purchase through them, we will make a small commission at no extra cost to you. You can read our full disclosure here.
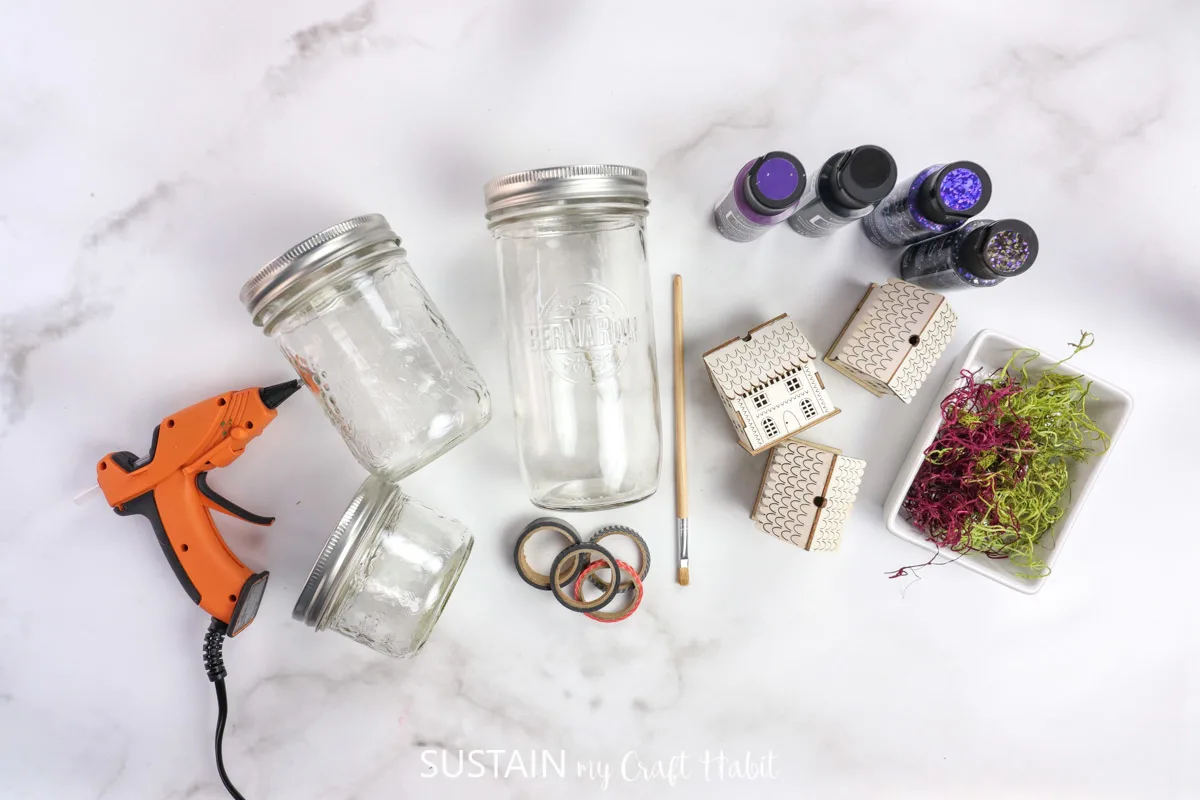
- Set of 3 Different Sized Jars; we used 250ml, 500ml and 750ml without shoulders; with lids
- Multi Surface paint in black and two shades of purple (we used DecoArt Americana Multi Surface Satin Paint in Black Tie, Iris and Eggplant)
- Glitter Paint in purple and black (we used DecoArt Galaxy Glitter in Purple Eclipse and Black Hole)
- Paintbrush
- Set of 3 Decorative 3D wood houses, 2” size
- Hot glue gun with clear glue sticks
- Halloween themed Washi tape
- Decorative Moss
How to Make Halloween Jar Toppers
Thoroughly wash jars with soap and hot water and let them dry completely before using. Additionally, you can use rubbing alcohol and a clean paper towel to wipe away any prints or smudges.
Making the Toppers
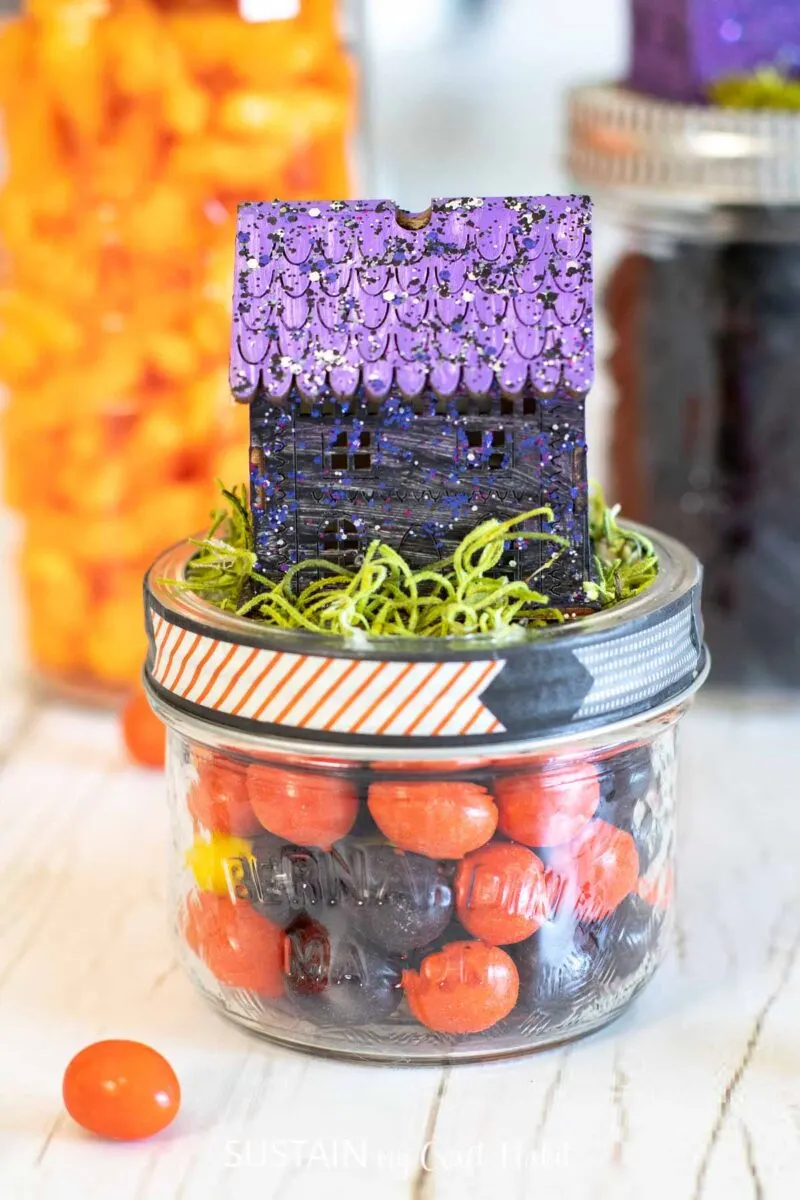
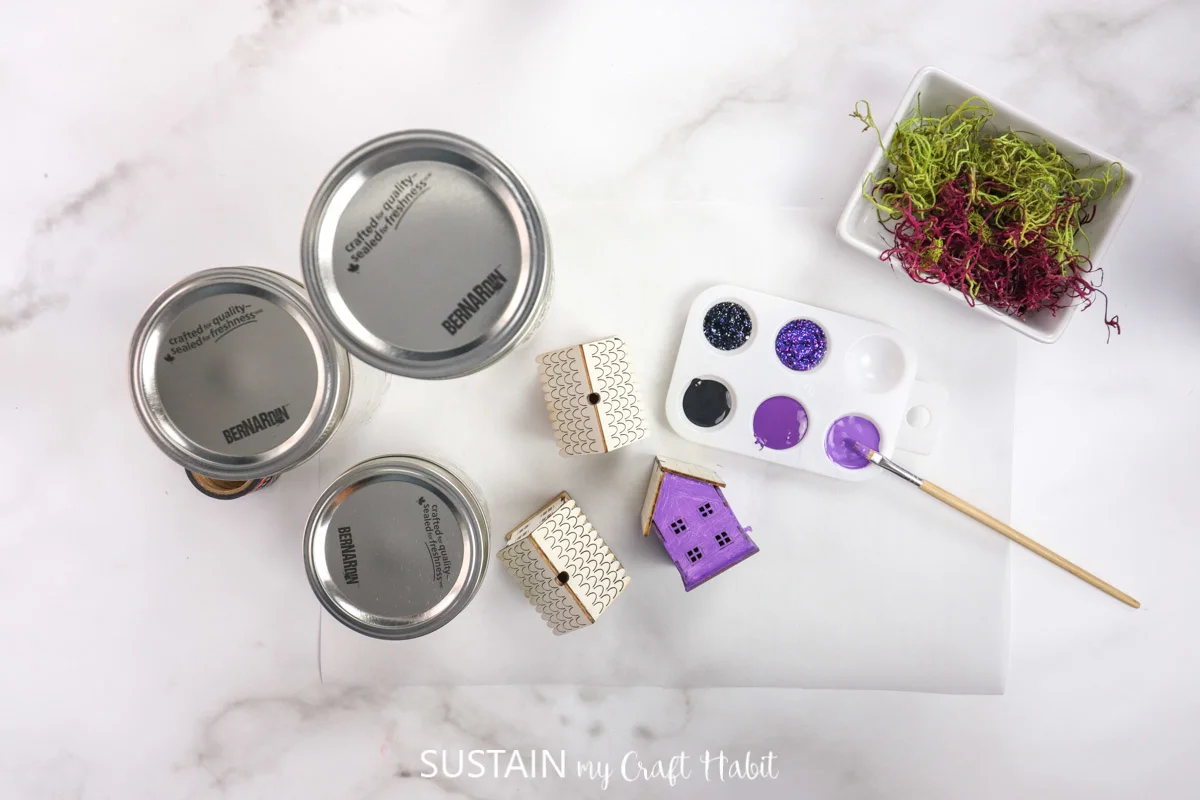
Paint the surface the wood houses in a mix of purples and black using Multi Surface Satin paint. Allow the paint to dry.
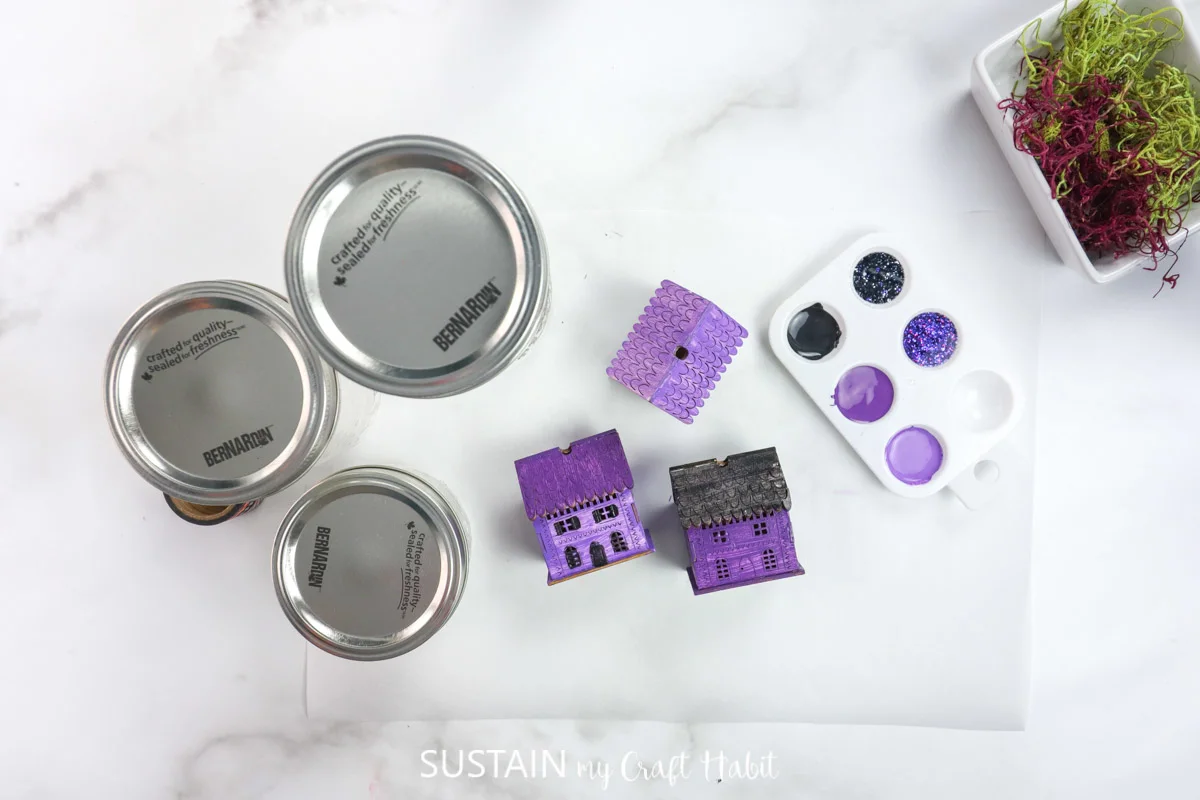
Add a coat of glitter paint over the painted wood houses. Allow the paint to dry.
Cut a strip of Washi tape and wrap it around the mason jar lid. Repeat for all lids.
Preheat glue gun and appply a dab of glue to the bottom of the painted house and press it on to the top of the lid. Repeat for all houses and then glue some moss to the top of the lids surrounding the houses.
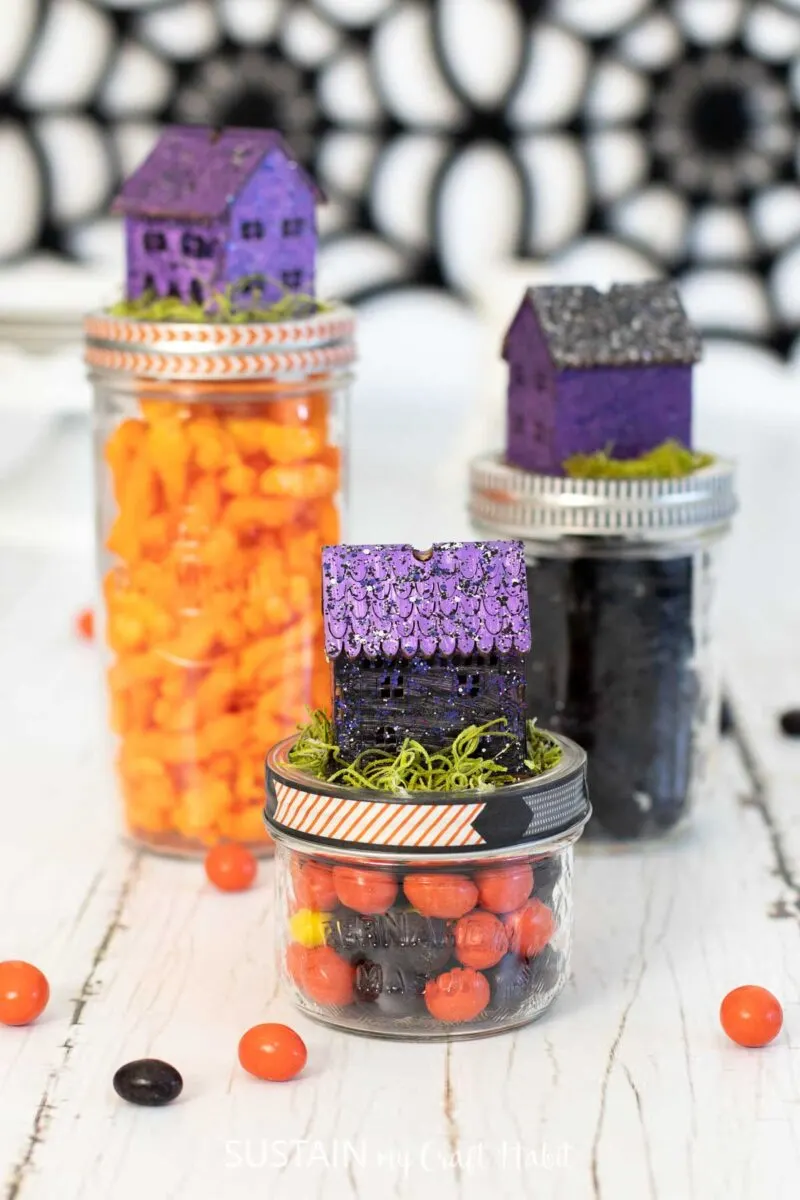
Fill the jars with Halloween colored treats and candies and seal with the lids to enjoy! What are your favorite Halloween treats? Let us know in the comments below.
More DIY Halloween Decor
If you’re in the crafting spirit, check out these other Halloween craft ideas.
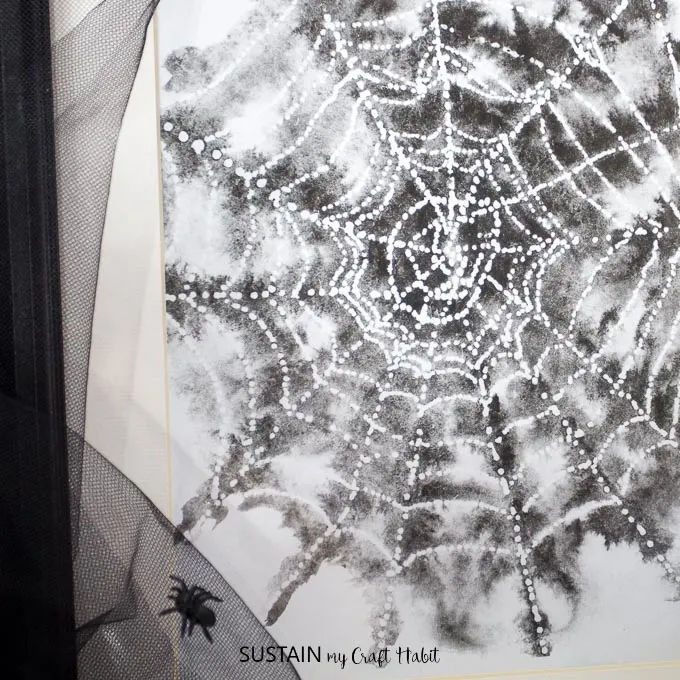
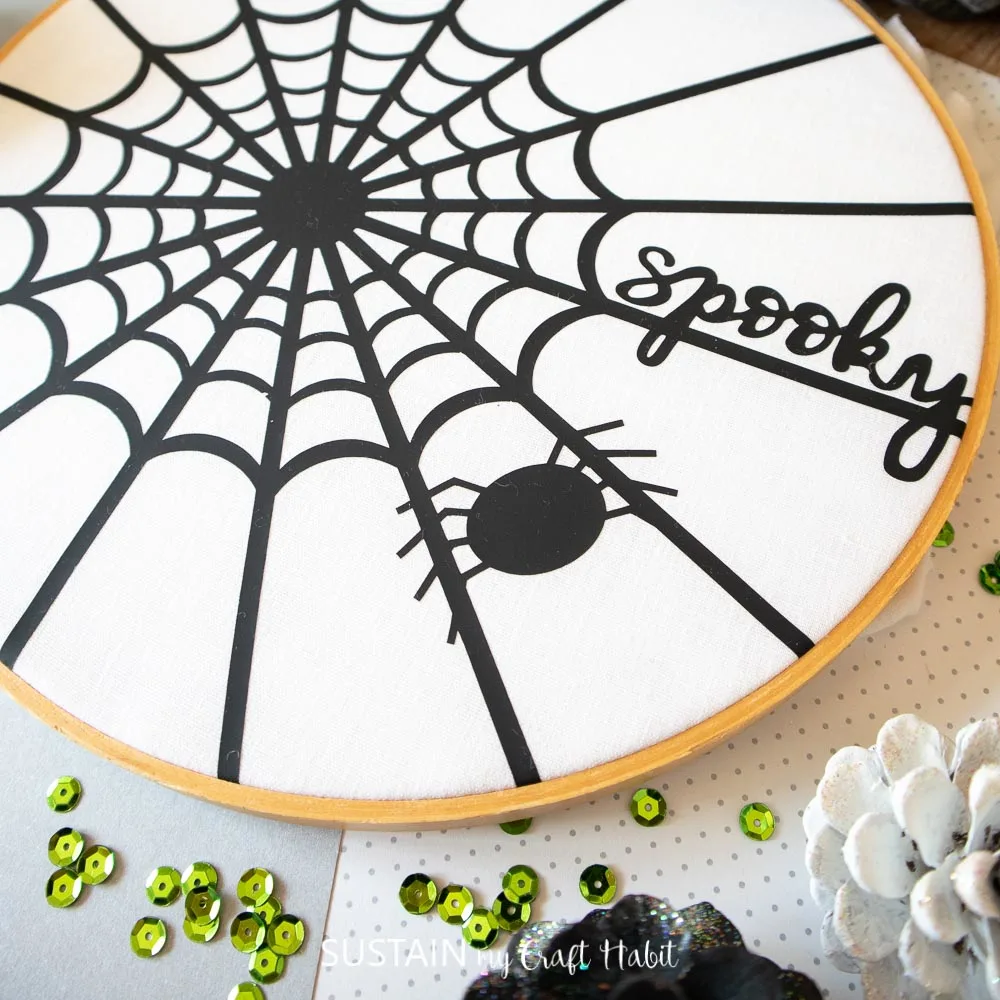
- Free printable spider web art
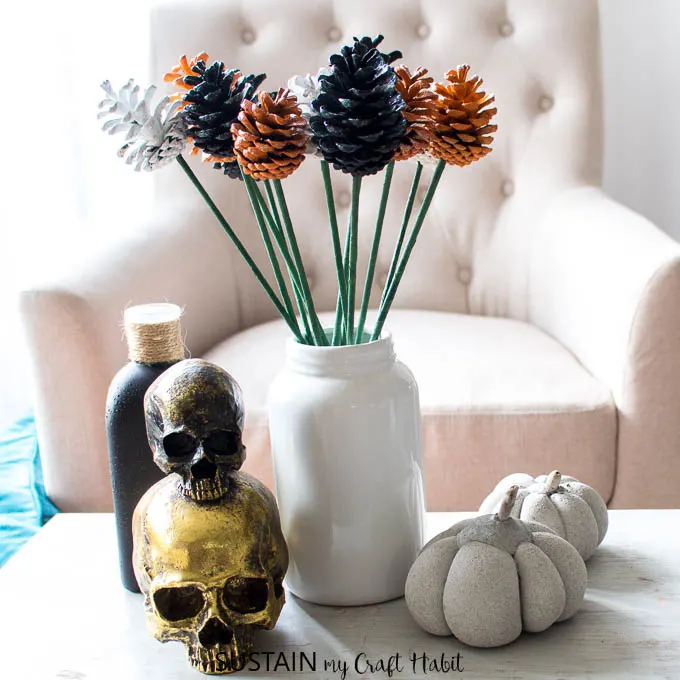
- Halloween pine cone flowers
- Spider web art
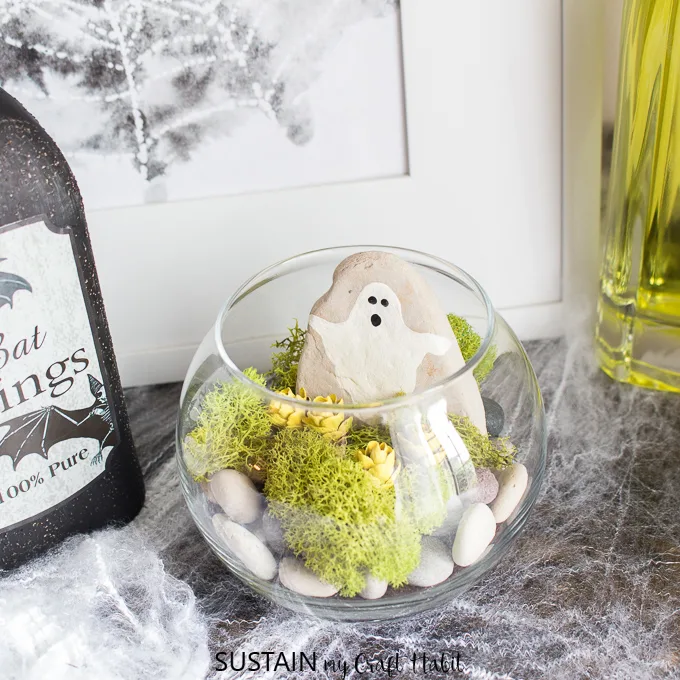
- Cute Halloween terrarium
- Upcycled tin pumpkin
- Halloween painted rocks
Like it? Pin it for later!
DIY Halloween Jar Topper Idea
Materials
- Set of 3 Different Sized Jars 250ml, 500ml and 750ml without shoulders; with lids
- Multi Surface paint in black and two shades of purple we used DecoArt Americana Multi Surface Satin Paint in Black Tie, Iris and Eggplant
- Glitter Paint in purple and black we used DecoArt Galaxy Glitter in Purple Eclipse and Black Hole
- Paintbrush
- Set of 3 Decorative 3D wood houses 2” size
- Hot glue gun with clear glue sticks
- Halloween themed Washi tape
- Decorative Moss
Instructions
- Thoroughly wash jars with soap and hot water and let them dry completely before using.
- Paint the surface the wood houses in a mix of purples and black using Multi Surface Satin paint. Allow the paint to dry.
- Add a coat of glitter paint over the painted wood houses. Allow the paint to dry.
- Cut a strip of Washi tape and wrap it around the mason jar lid. Repeat for all lids.
- Apply a dab of glue to the bottom of the painted house and press it on to the top of the lid. Repeat for all houses.
- Glue some moss to the top of the lids next to the houses.
- Fill jars with Halloween colored treats and candies and seal with the lids.

