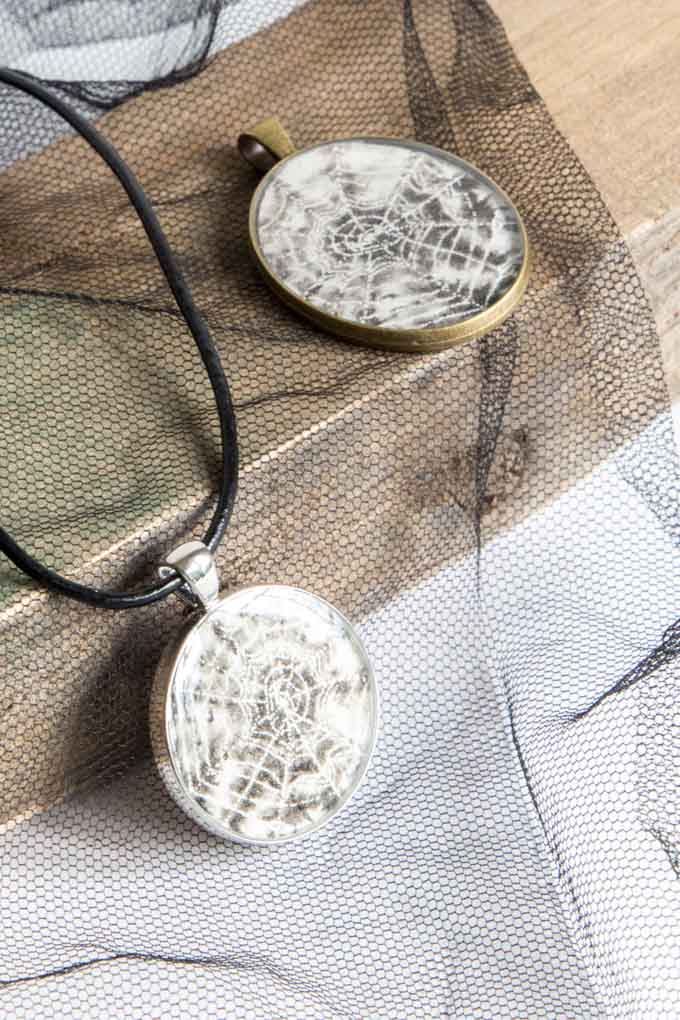
DIY Halloween Resin Jewelry Pendant
Just because it’s Halloween, doesn’t mean we can’t make and wear something beautiful. We’ll show you how to make a lovely piece of Halloween jewelry with resin using our free watercolored spiderweb printable and this step by step tutorial.
Beautiful DIY Halloween Jewelry Resin
When it comes to Halloween decor, I struggle to find pieces that are classic and interesting, without being tacky and disposable. This is especially true for Halloween jewelry which often looks gimmicky. Although that sort of thing can be pretty funny and silly, I prefer my Halloween crafting to be more on the sophisticated side.
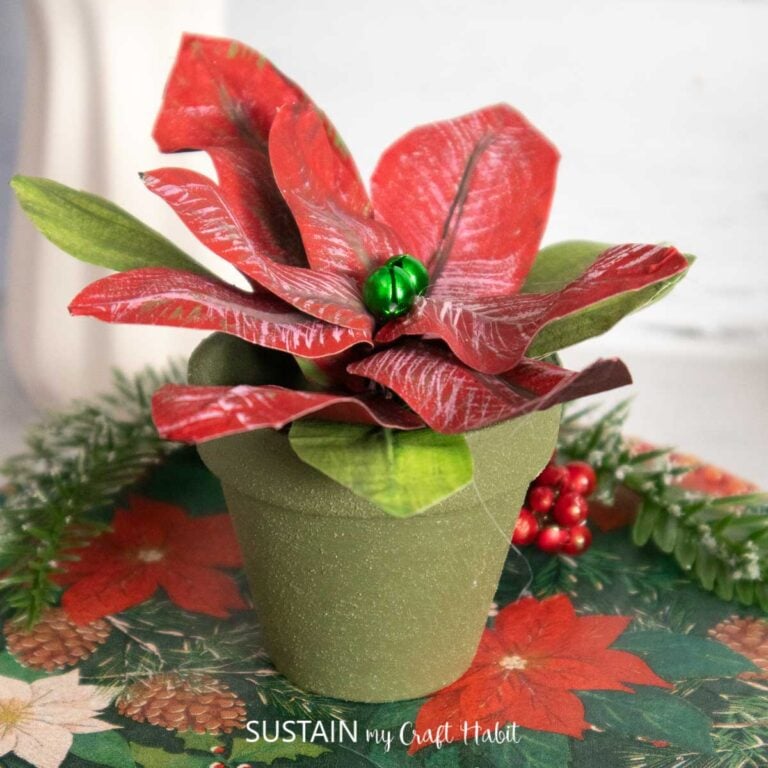
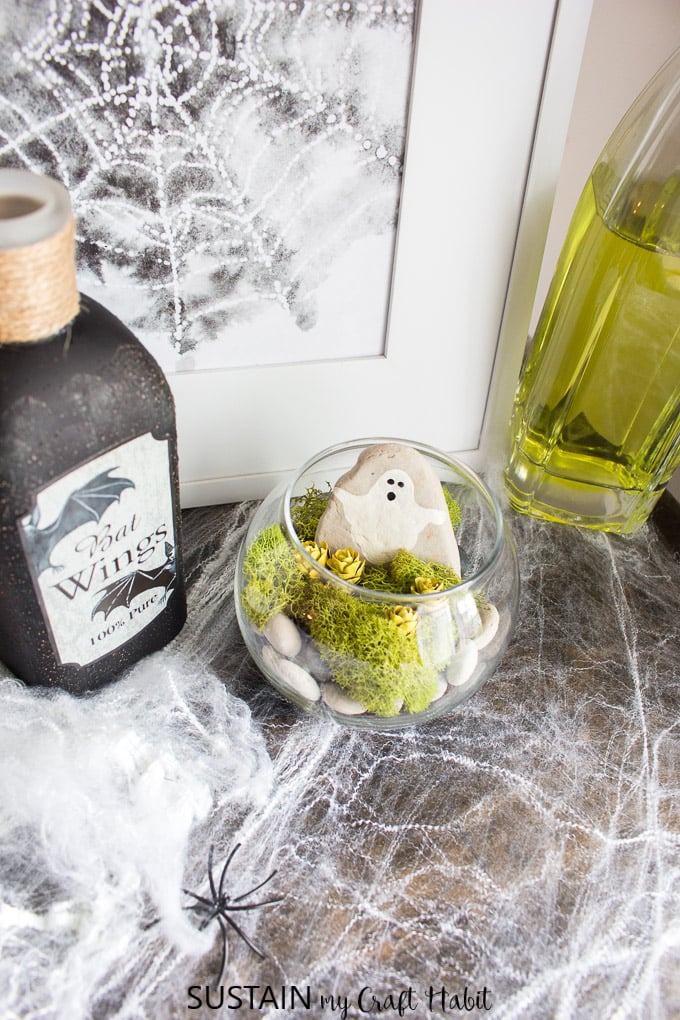
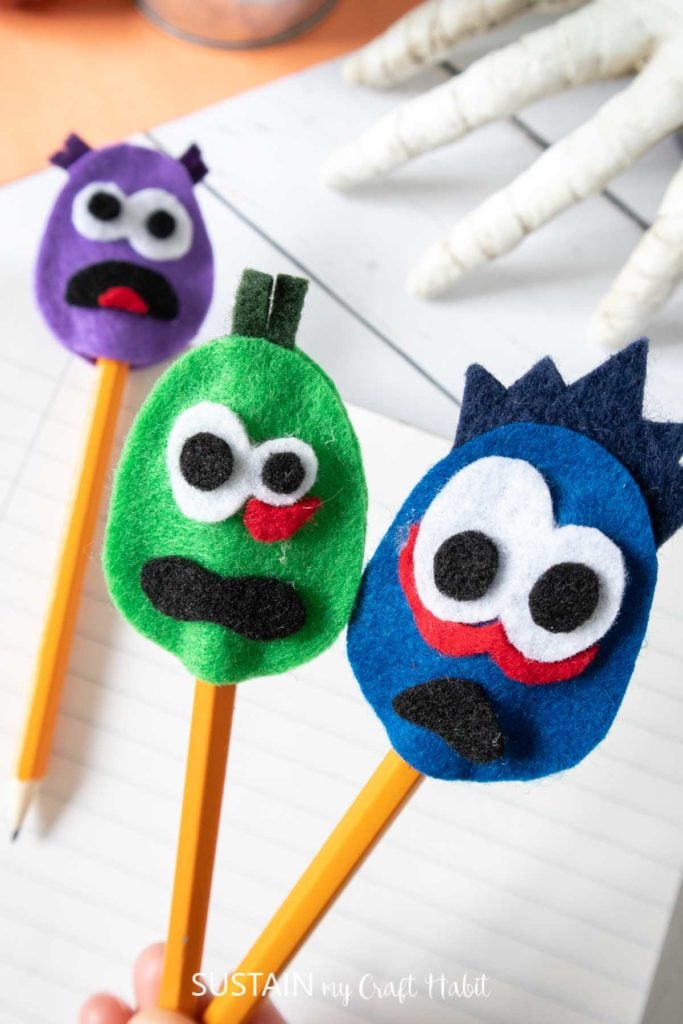
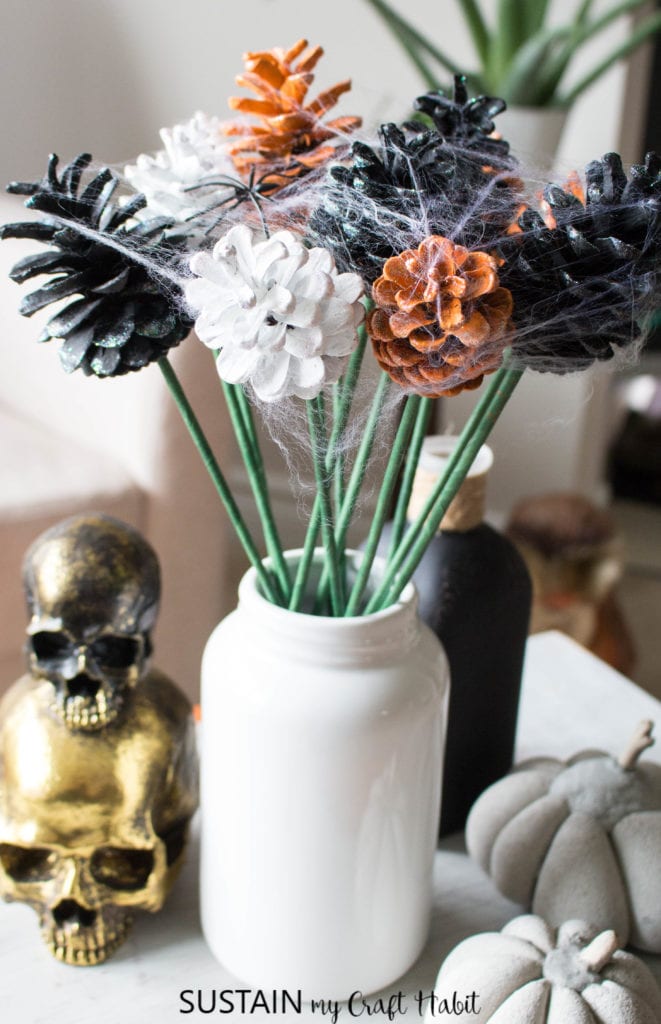
So whenever my sister and I craft for Halloween, we tend to make things that are cute vs spooky. Just take these DIY felt monster pencil toppers, this sweet Halloween terrarium and this beautiful pinecone bouquet as a few examples that we’ve shared here on the blog.
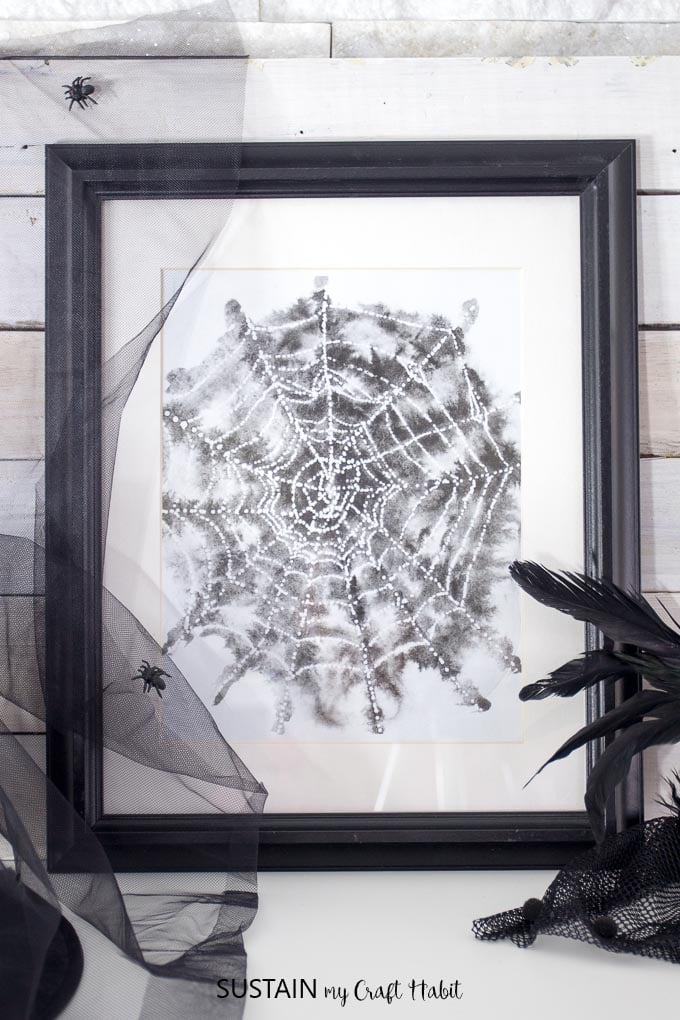
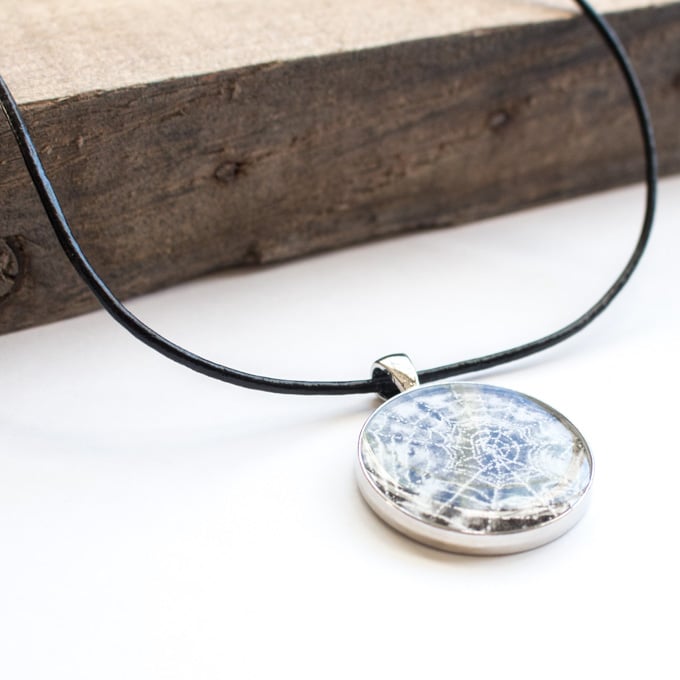
You can find the full size printable for this watercolored spiderweb art in our other post here. Since we loved it so much, we decided to size it down to make a pretty jewelry pendant or Halloween.
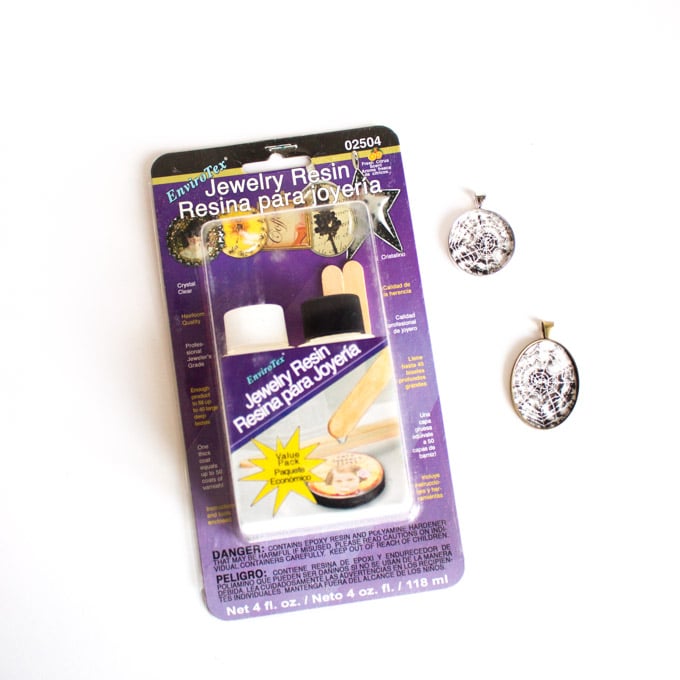
Materials Needed for Making Halloween Jewelry Resin:
Disclosure: This post contains affiliate links for your shopping convenience. Should you choose to purchase through them, we will make a small commission at no extra cost to you. You can read our full disclosure here.
- 1.25” diameter jewelry pendant bezel
- Printed spiderweb water color, sized and cut to fit the bezel
- Gloves, wooden craft sticks, plastic straw
- Ultra-Seal Quick Decoupage (or other multipurpose sealer) and crafting paint brush
EnviroTex Jewelry Resin - Plastic measuring cups
How to Make a Halloween Jewelry Resin:
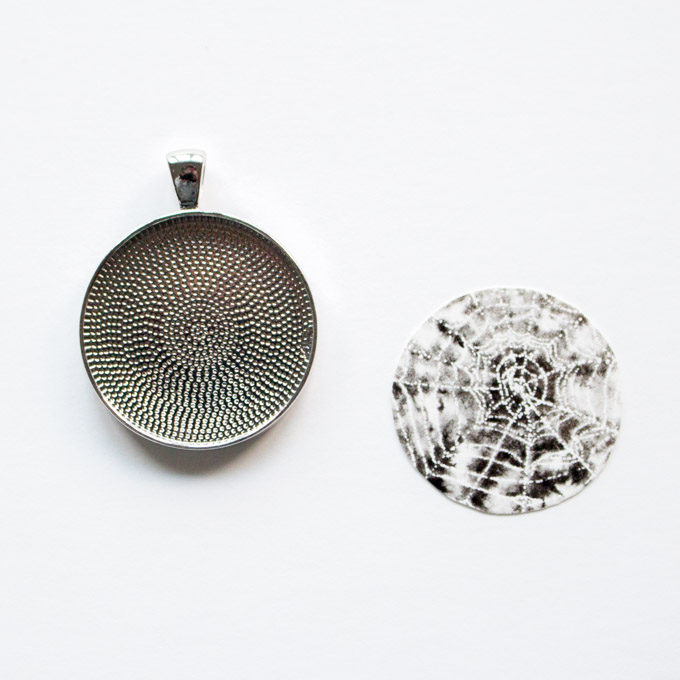
Using a laser printer, print out the spiderweb watercolor template in black and white color setting and then carefully cut the photo to fit the bezel using scissors or the right size of paper punch.
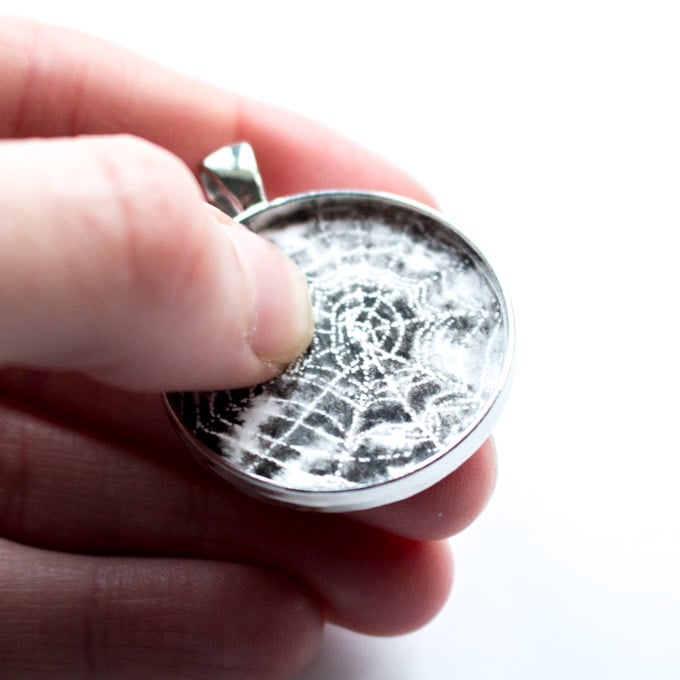
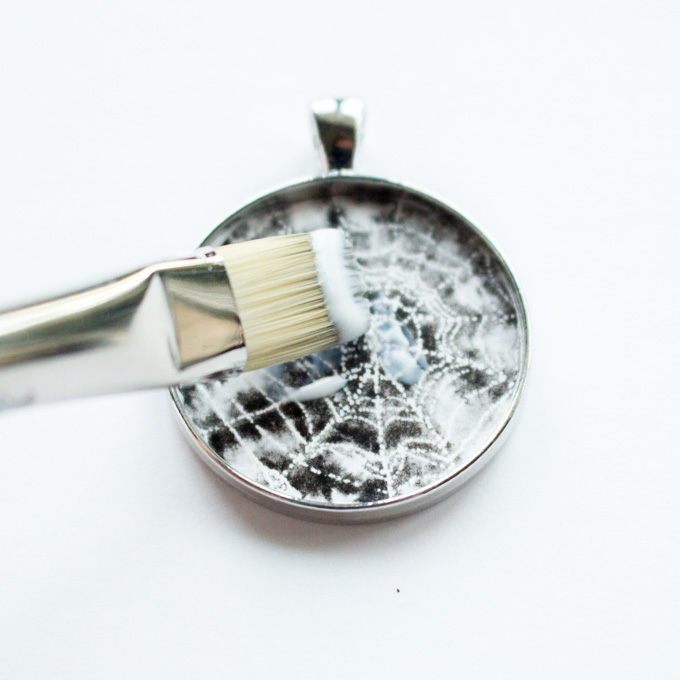
Paste the image into the bezel removing any bubbles underneath and generously coat the image and sides of the bezel with the multipurpose sealer. Let the glue dry completely before moving on to the next step.
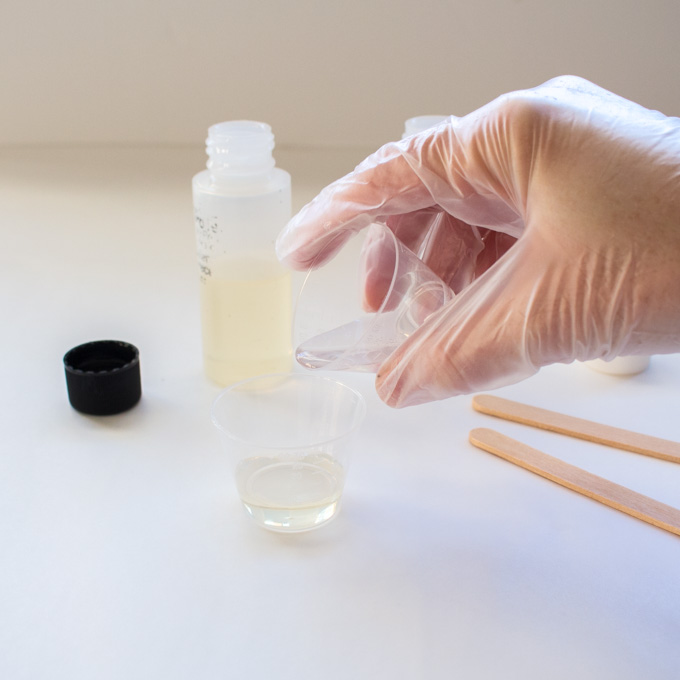
For best results be sure to read the instructions provided in the EnviroTex Jewelry Resin packaging. Mix exactly equal amounts of Resin and Hardener into one measuring cup and then stir continuously for 2 minutes, scraping the sides of the container.
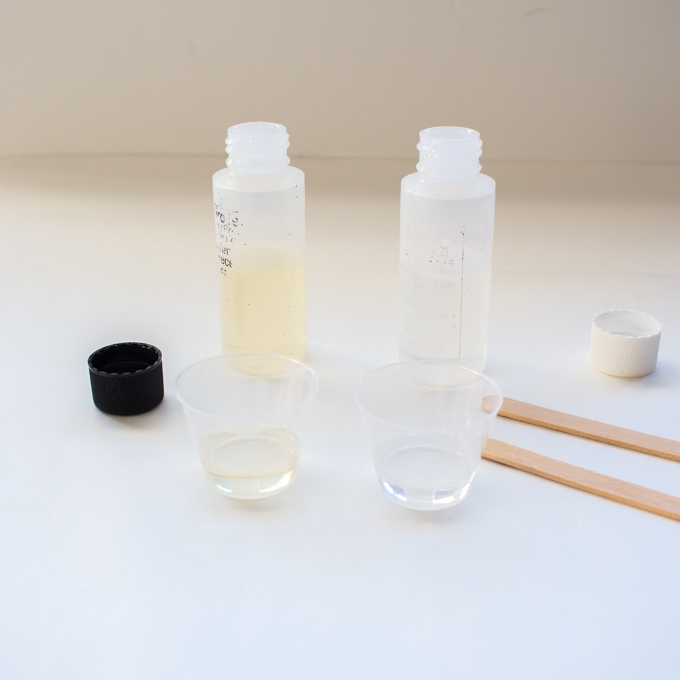
Pour the mixture into a second cup and stir for an additional minute, scraping the sides of the container and stir stick.
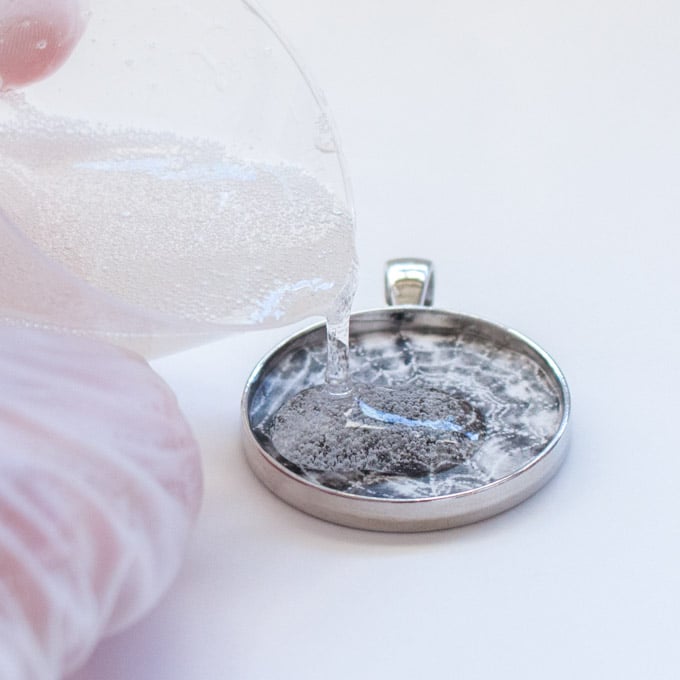
Using the stir stick, carefully dip your stick into the EnviroTex mixture and then drop into the bezel. Fill the piece slightly higher than the rim for a nice dome finish.
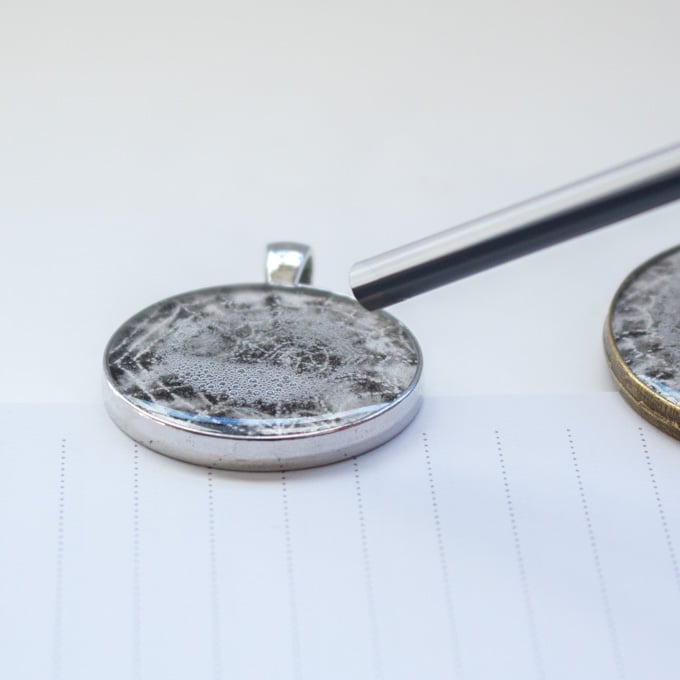
Cover to keep dust from settling in. After about 25 minutes, remove any bubbles that have risen to the surface by gently blowing over the piece through a straw and repeat if necessary after another 15 minutes.
Cover and allow to cure overnight before using or attaching to a necklace chain. Just look at that shine! I love how the EnviroTex Jewelry Resin creates a long lasting and professional look. This project originally appeared on the Resin Crafts Blog.
Looking for More Halloween Craft Ideas
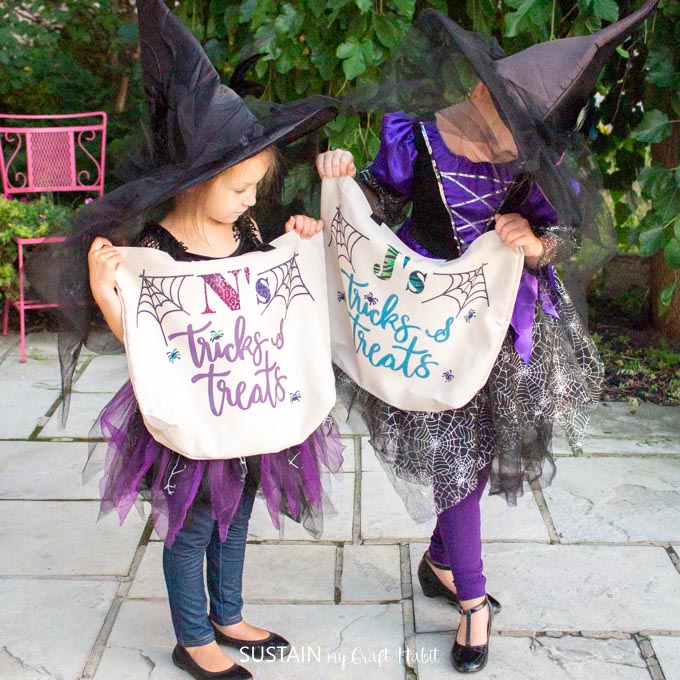
Complete your Halloween look with these non-creep DIY Halloween costume ideas and these DIY trick or treat bags.

Halloween Costumes 
DIY Trick or Treat Bags

Like it? Pin it for later!
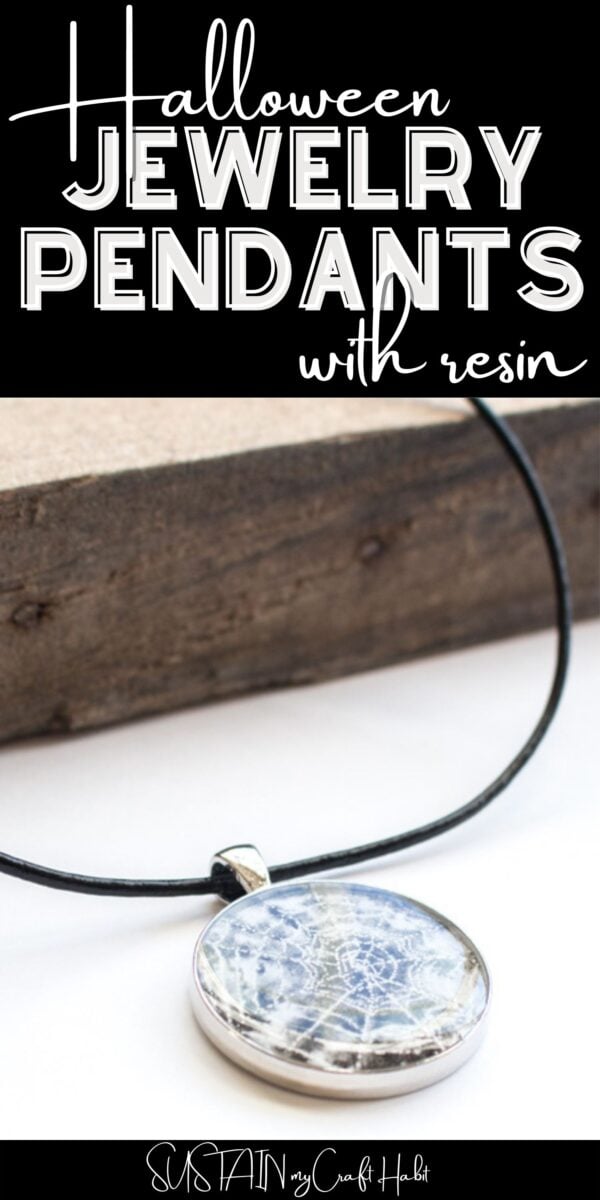
DIY Halloween Resin Jewelry Pendant
Materials
- 1.25” diameter Jewellry pendant bezel
- Printed spiderweb water color sized and cut to fit the bezel
- Gloves wooden craft sticks, plastic straw
- Ultra-Seal Quick Decoupage or other multipurpose seale
- EnviroTex Jewelry Resin
- Crafting paint brush
- Plastic measuring cups
Instructions
- Print out the spiderweb water color template in black and white color setting.
- Carefully cut the photo to fit the bezel using scissors or the right size of paper punch.
- Paste the image into the bezel removing any bubbles underneath and generously coat the image and sides of the bezel with the multipurpose sealer. Let dry completely.
- Mix exactly equal amounts of Resin and Hardener into one measuring cup. Stir continuously for 2 minutes, scraping the sides of the container.
- Pour the mixture into a second cup and stir for an additional minute, scraping the sides of the container and stir stick.
- Using the stir stick, carefully dip your stick into the EnviroTex mixture and then drop into the bezel.
- Cover to keep dust from settling in. After about 25 minutes, remove any bubbles that have risen to the surface by gently blowing over the piece through a straw.
- Cover and allow to cure overnight.
![How To Dry Leaves for Crafts [The Easy Way!]](https://sustainmycrafthabit.com/wp-content/uploads/2022/11/How-to-press-leaves-1250-768x768.jpg)