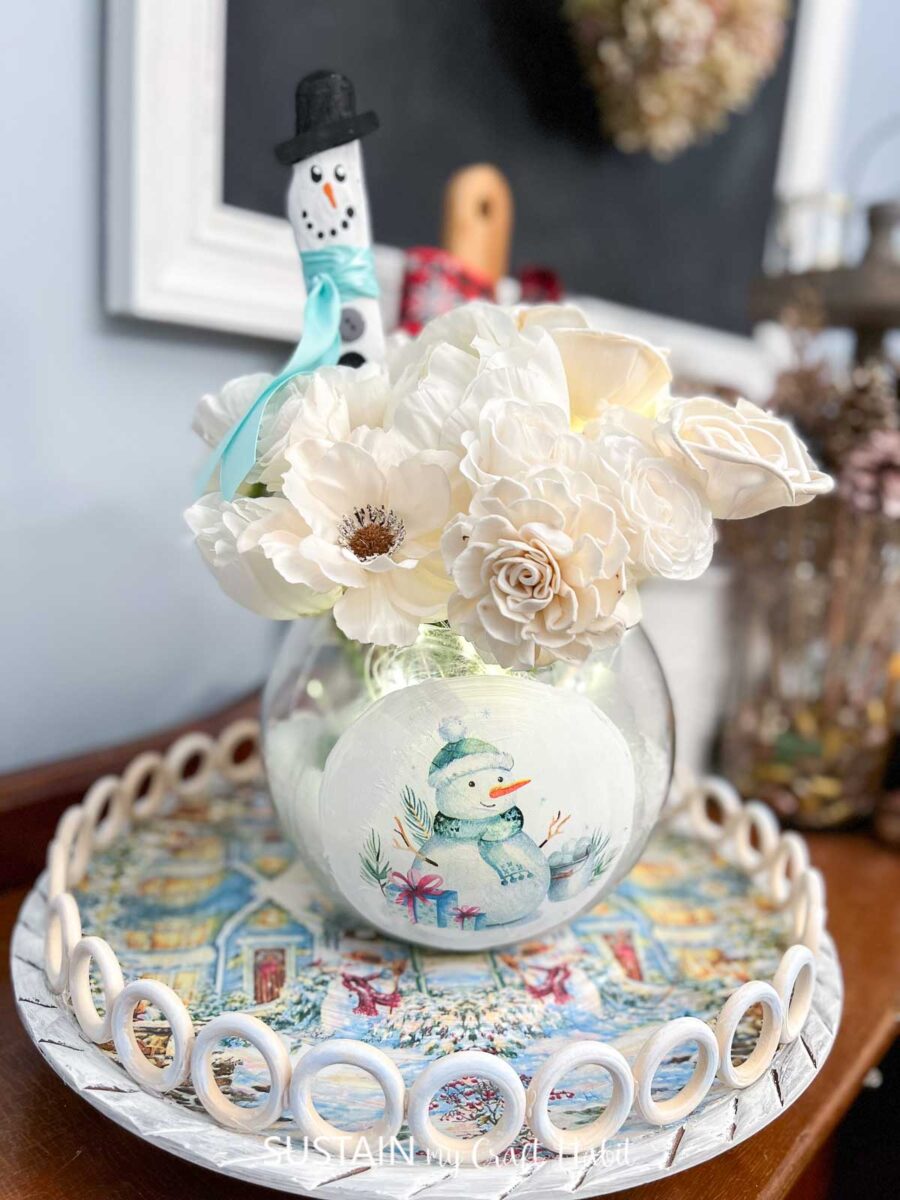
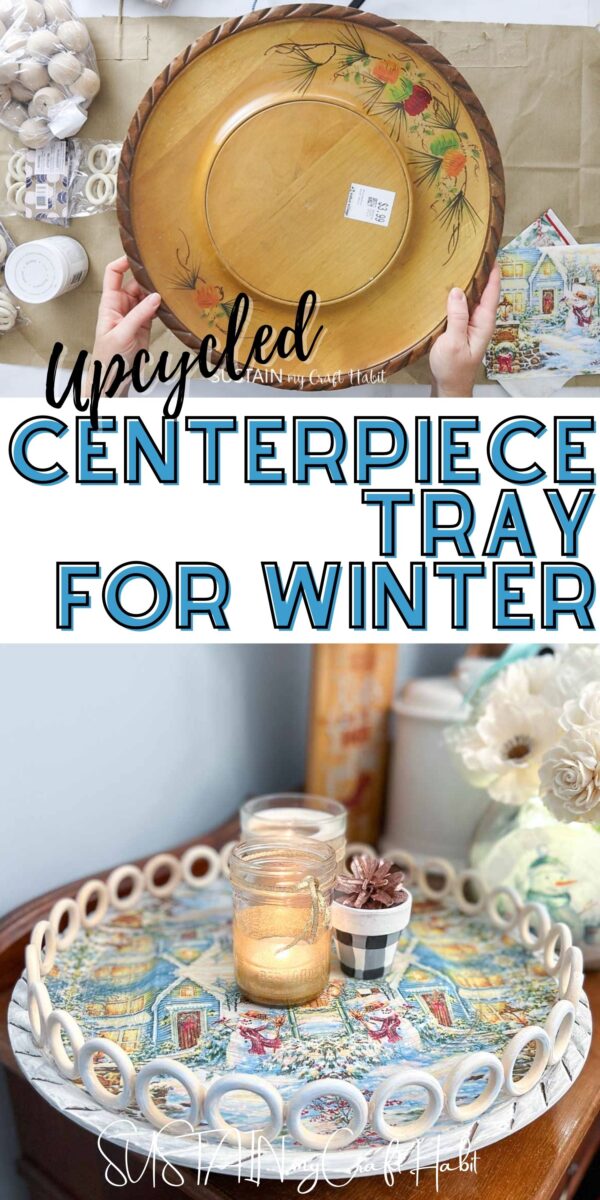
DIY Upcycled Centerpiece Tray for Winter
Are you looking for the perfect centerpiece tray? Did you know that there is a way to do this and create your own background easily? Try this upcycled centerpiece tray for winter as an example!
Crafting a Centerpiece Tray
Who knew decorative napkins could create such a variety of crafts? It definitely can when creating a centerpiece tray! To make the fishbowl centerpiece, check out the post here!
By using napkins, such as the decorative bundle in our shop, you can create multiple designs for one type of craft. This is a great way to make unique presents or create unique crafts for around your house. Even though we have a winter one here, you could technically make one for each season with different types of napkins.

An insider tip: Buy seasonal napkins right after the season as they will be on sale! Also be on the lookout for centerpiece trays at your local thrift store- you never know when you’ll find a good one!
Want to receive a ton of inspiration and money-saving ideas for decorating, gift-giving and crafting? Join HERE!
Materials Needed
Disclosure: This post contains affiliate links for your shopping convenience. Should you choose to purchase through them, we will make a small commission at no extra cost to you. You can read our full disclosure policy here.
- Upcycled wood tray/platter
- Decorative paper napkins (we offer these Christmas napkin bundles in our shop)
- Wood rings
- Wooden knobs/balls
White chalky paint Paintbrushes - DecoArt Decoupage or
Mod Podge - Mini heat press and parchment paper
- Hot glue gun and gorilla glue

How to Make an Upcycled Centerpiece Tray for Winter
I shared the tutorial for decoupaging this centerpiece tray on a recent Facebook Live which you can catch here. Or if you prefer the photo tutorial, continue reading below.
Start by painting your wood tray with white chalky paint. At this time you can also paint your wood knobs and wood rings white as well. Apply a second coat of paint for better coverage and let the paint dry fully.


Apply a thin layer of Decoupage all over the painted wood tray. Wait for the glue to slightly dry.

Open the napkin and separate the layers keeping just the top printed layer and discarding the other ply.
Place the napkin on top of the glued platter and gently press down with your fingers. Cut any excess napkin from the edges.

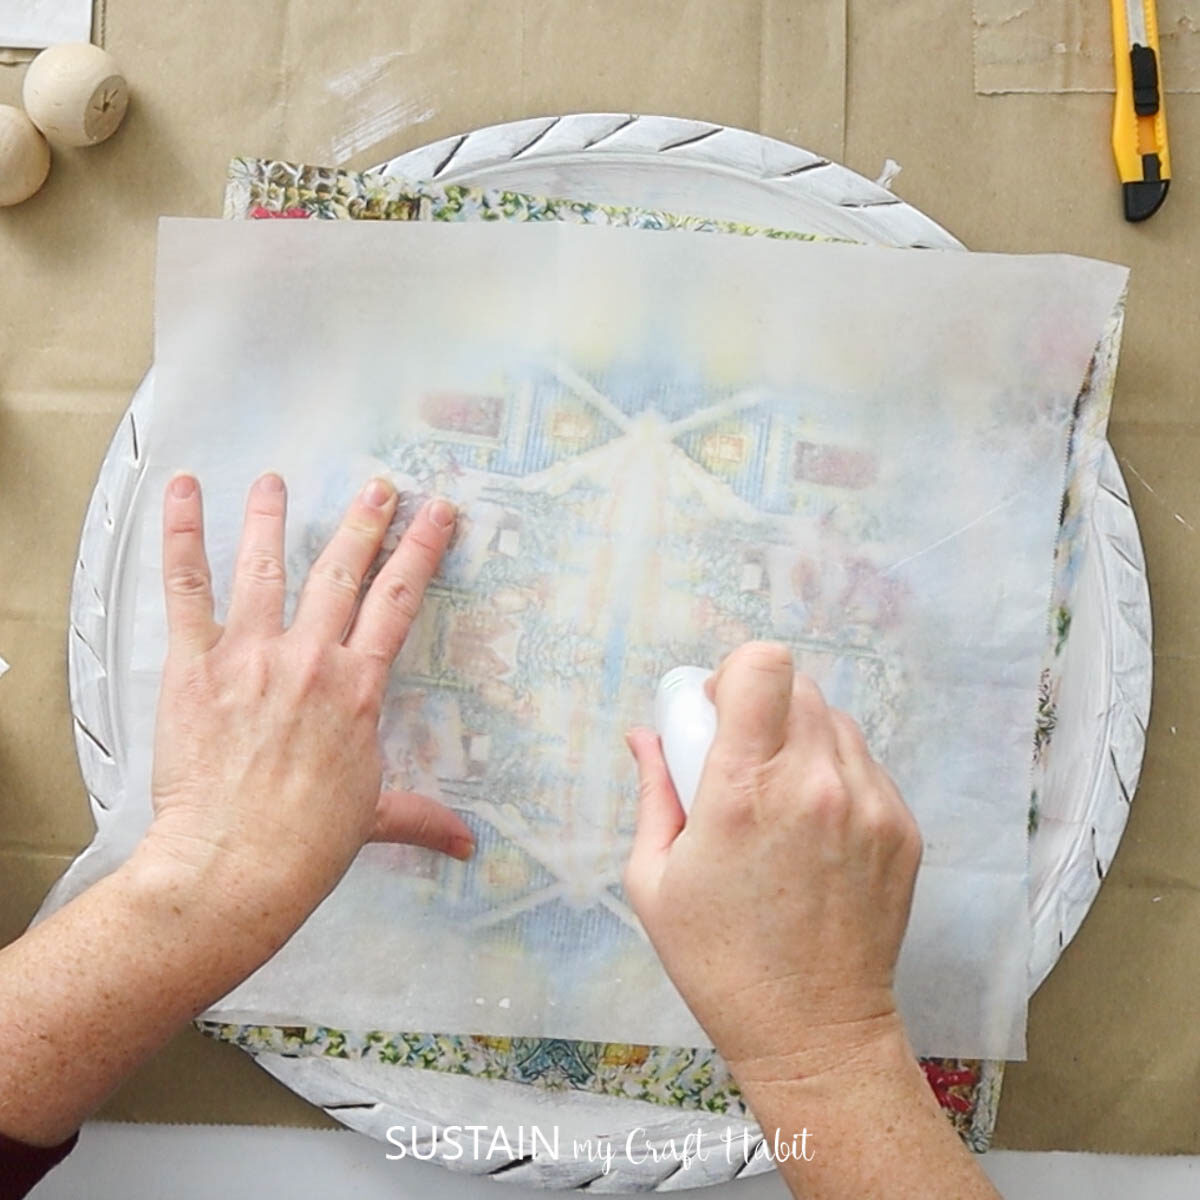
Place a piece of parchment paper over top of the glued napkin and take your heated iron and gently rub back and forth.
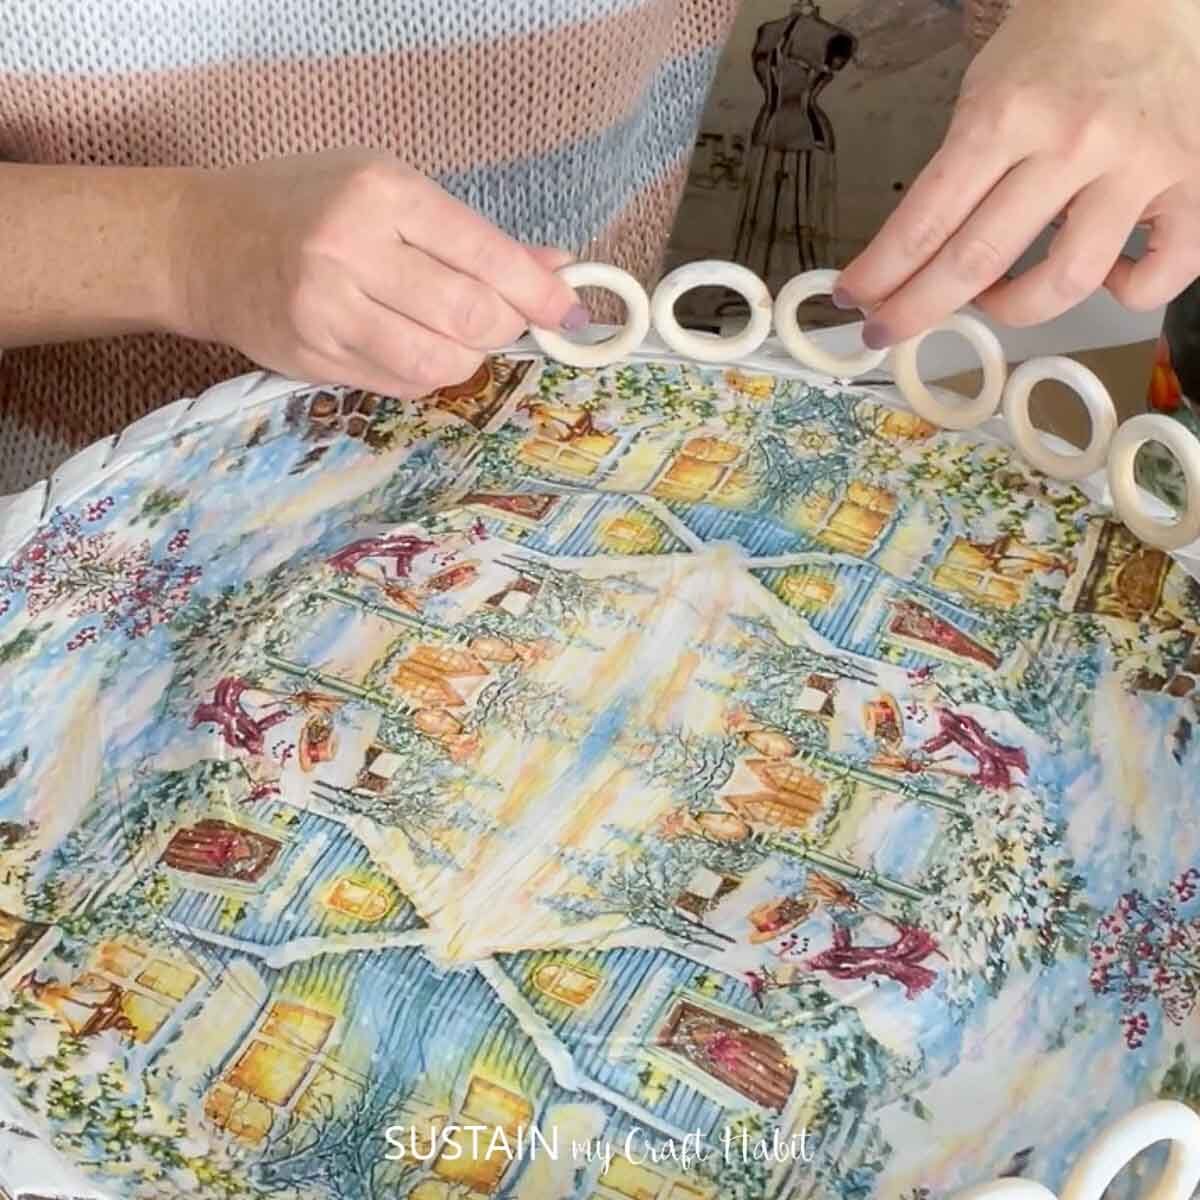
Add hot glue to the edge of the tray and attach a wood ring. Continue adding wooden rings around the tray to form a rim.
Finally, add hot glue to 4 wooden knobs and attach them to the bottom of the tray to create a stand. You may need to add a dab of gorilla glue to ensure the knobs stay in place.

If you made an upcycled centerpiece tray, we would love to see how it turned out! Everyone could make one and have them come out all completely different due to the fun of upcycling. We would love if you tagged us with yours! Tag us on Facebook or Instagram (and follow us there too!)- we can’t wait to see it!

More Decorative Trays to Make
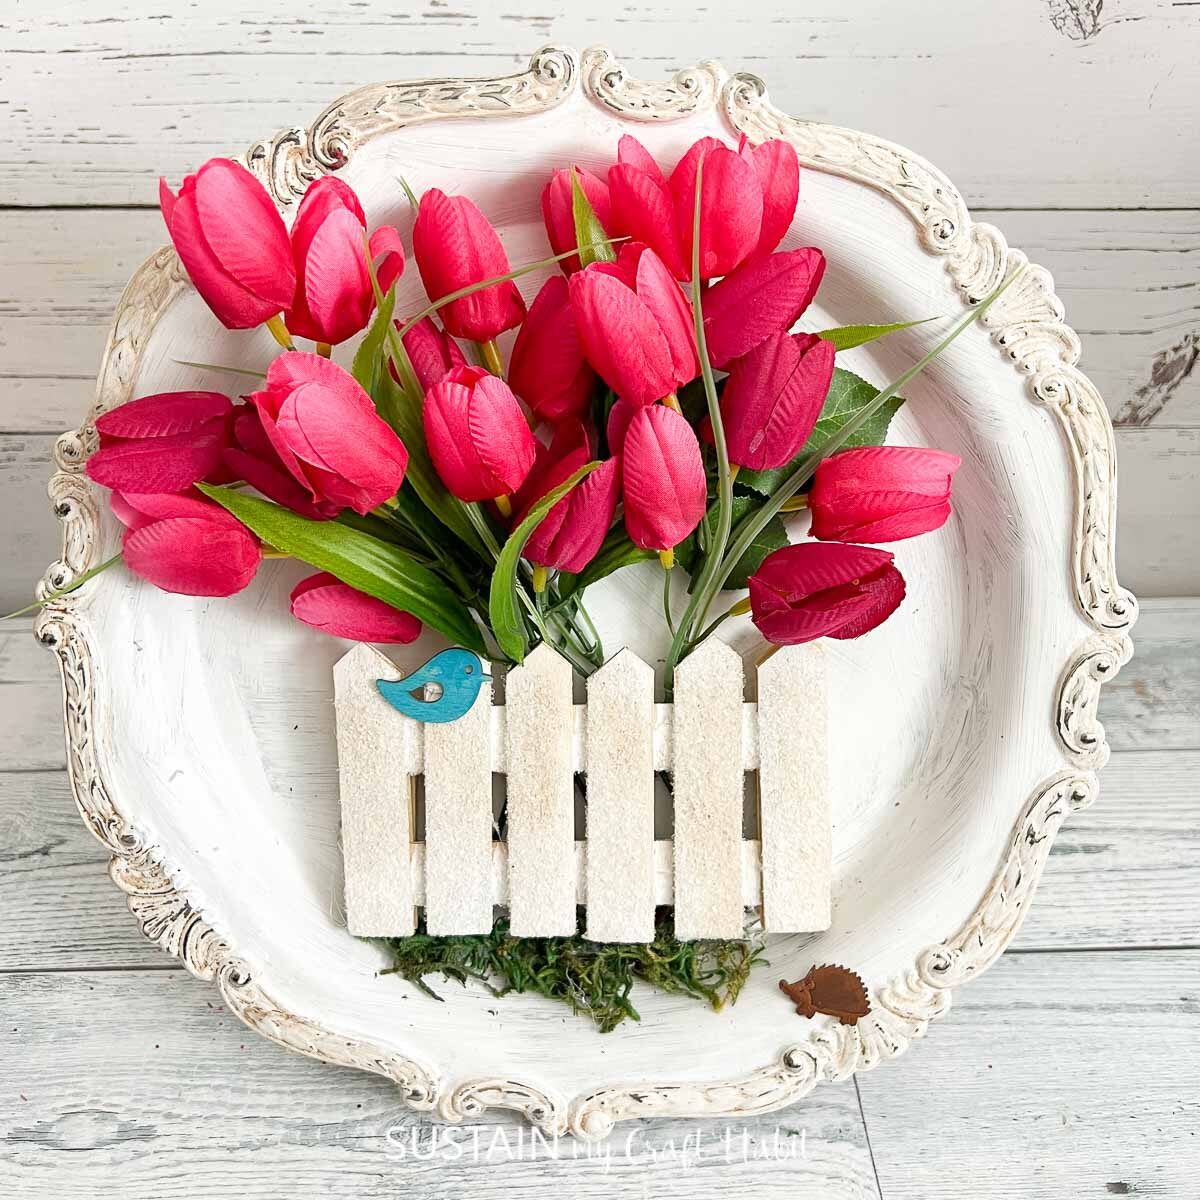
- Upcycled Silver Tray for Spring
- Trinket Tray using a Dollar Store Wood Panel
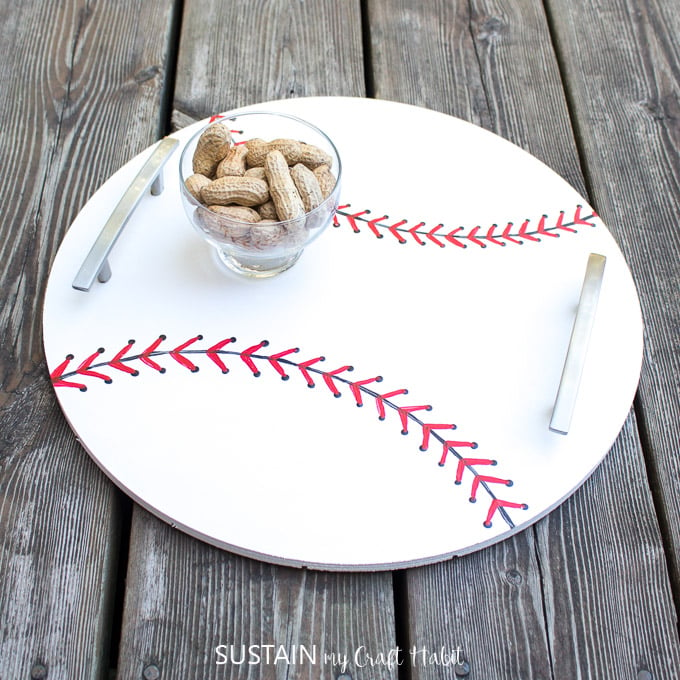
- Baseball Serving Tray
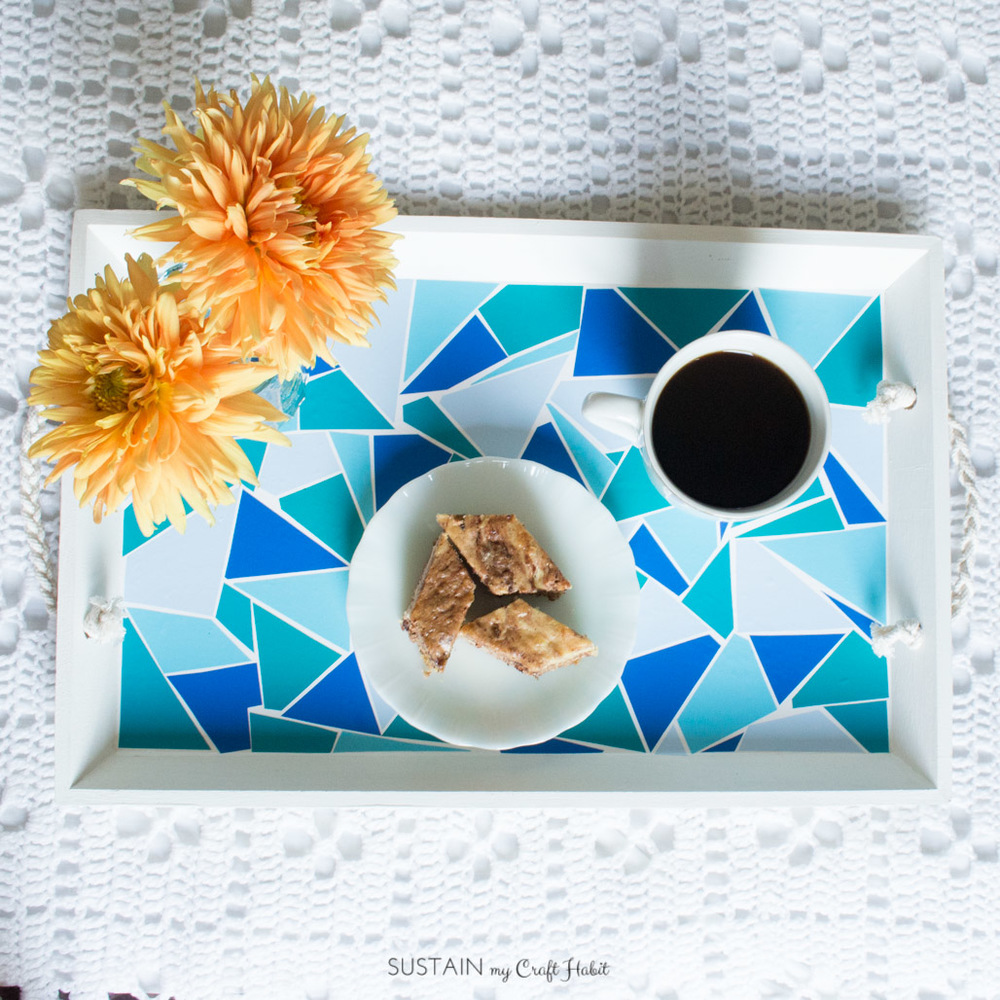
- Faux Mosaic Tile Serving Tray
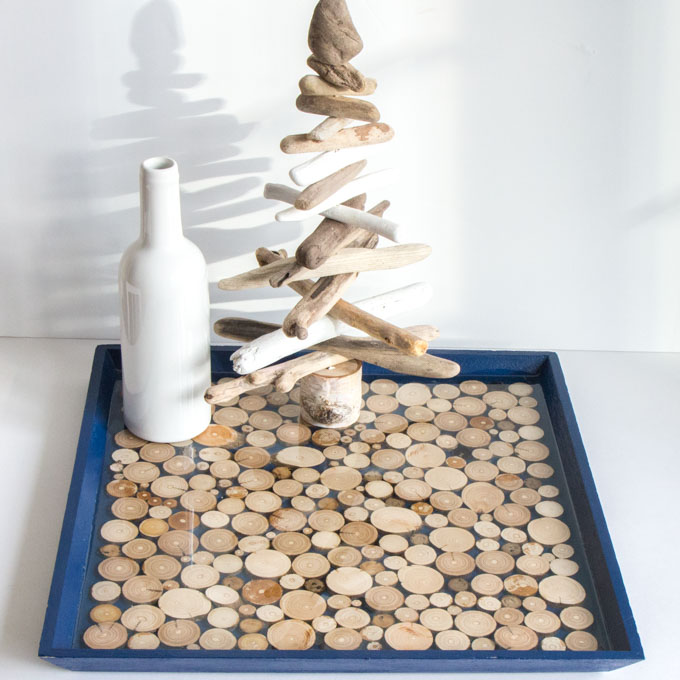
- Upcycled Resin Tray with Driftwood

Get updates on the latest posts and more from Sustain My Craft Habit straight to your inbox by joining our weekly newsletter. We promise to send you only the good stuff!
Like it? Pin it for later!

Upcycled Centerpiece Tray for Winter
Materials
- Upcycled wood tray/platter
- Decorative paper napkins
- Wood rings
- Wooden knobs/balls
- White chalky paint
- Paintbrushes
- DecoArt Decoupage
- Mini heat press and parchment paper
- Hot glue and gorilla glue
Instructions
- Start by painting your wood tray with white chalky paint. At this time you can also paint your wood knobs and wood rings white as well.
- Apply a thin layer of Decoupage all over the painted wood tray. Wait for the glue to slightly dry.
- Open the napkin and separate the layers keeping just the top printed layer and discarding the other ply.
- Place the napkin on top of the glued platter and gently press down with your fingers.
- Place a piece of parchment paper over top of the glued napkin and take your heated iron and gently rub back and forth.
- Add hot glue to the edge of the tray and attach a wood ring. Continue adding wooden rings around the tray to form a rim.
- Finally, add hot glue to 4 wooden knobs and attach them to the bottom of the tray to create a stand.