Never in a million years would I have thought that I would be sharing a tutorial on how to make a kid’s face mask. As heartbreaking as that is to think about, I hope you find this tutorial and free printable pattern helpful for you and your family.
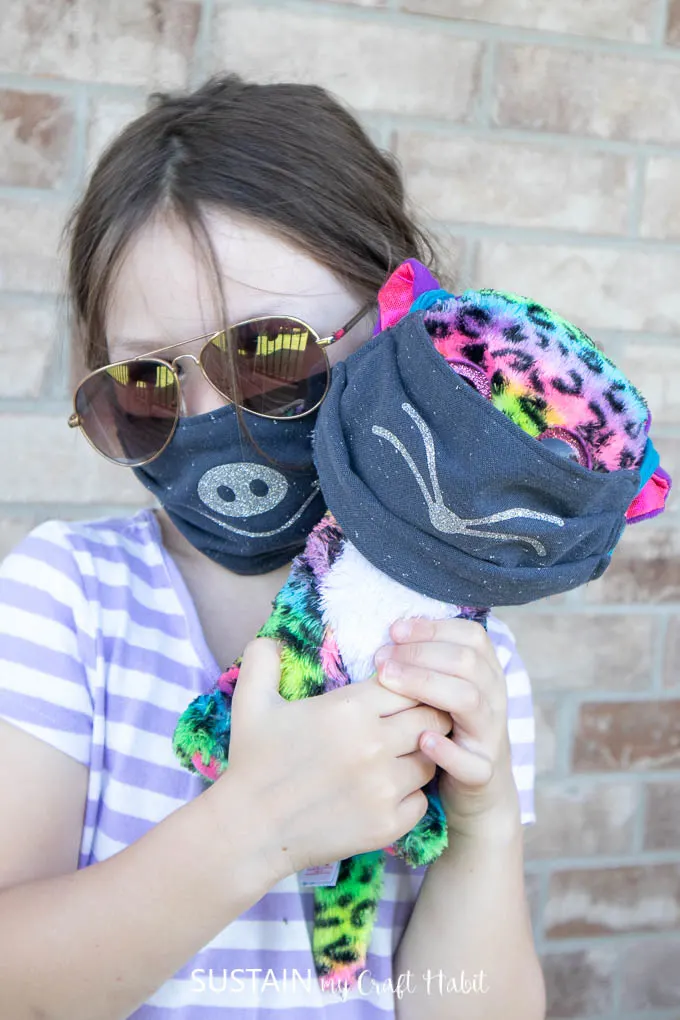
Easy Pleated Kid’s Face Mask Pattern
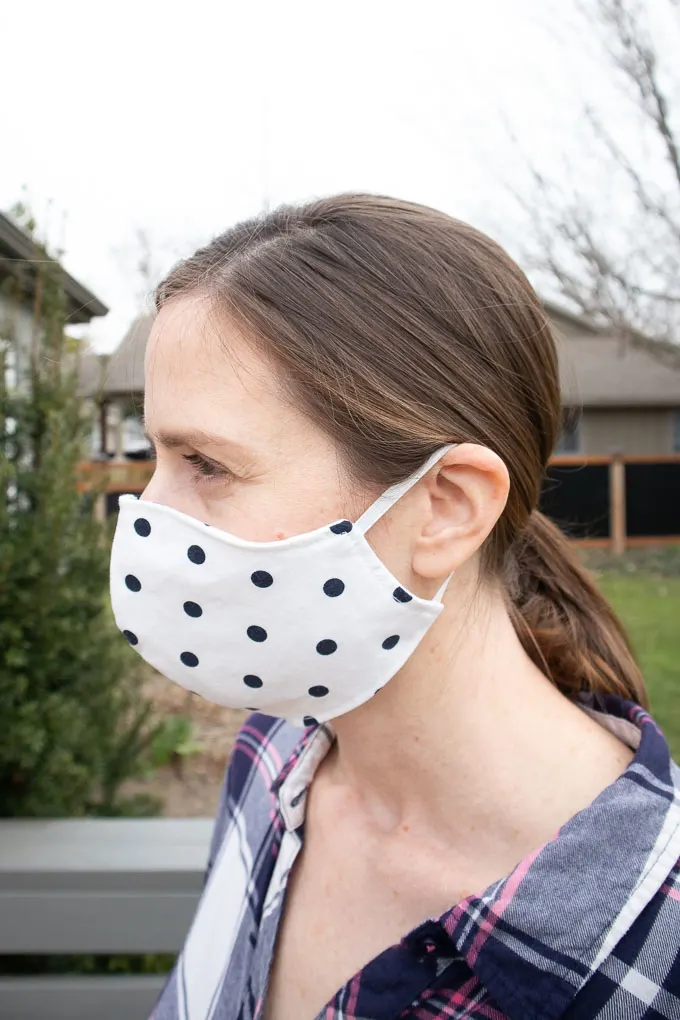
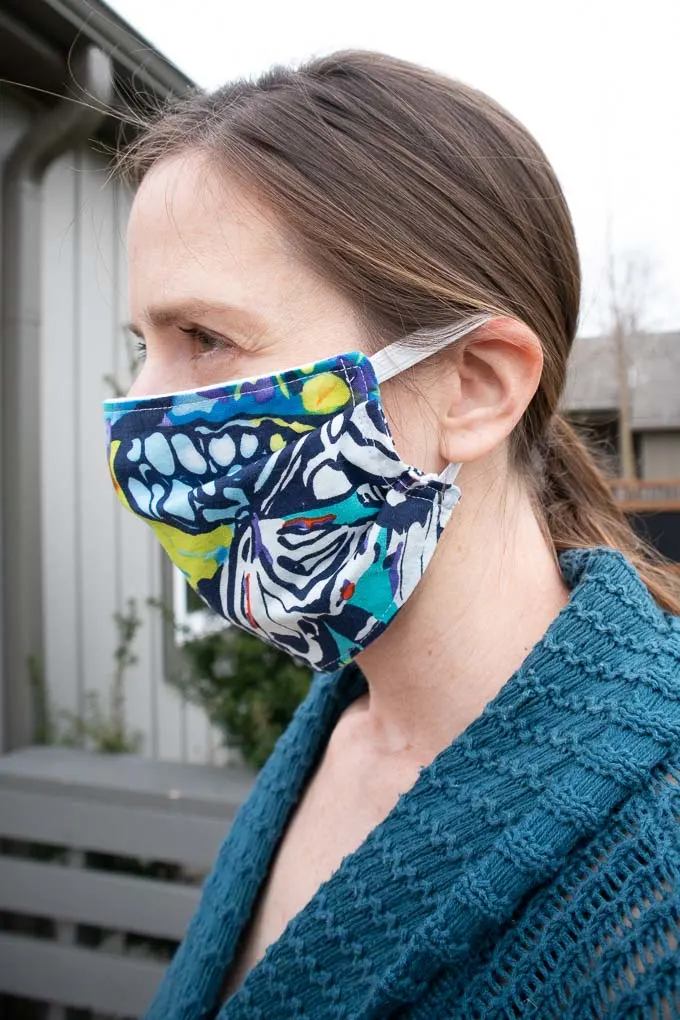
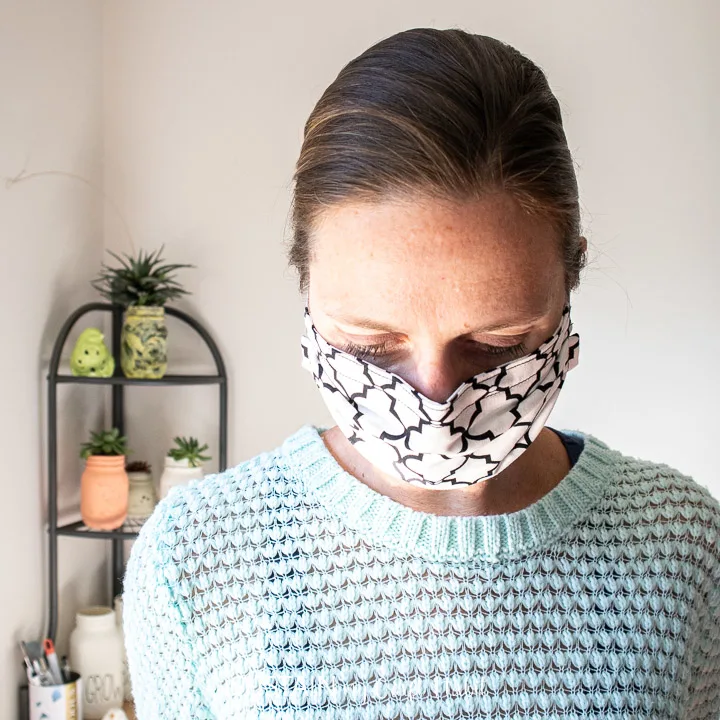
In many areas, it is becoming mandatory for everyone to wear masks whether it’s to go to a store or just being outside of your home. For those of you in need of making masks for children (either family, friends or for donation), this tutorial will show you how to make a washable, reusable kid’s face mask.
WHICH FABRICS TO USE FOR GENERAL USE FACE MASKS?
Although these particular home-sewn masks are intended for general use (not approved for medical use), choosing the right fabric is very important.
It is best to use a tightly woven fabric with a plain weave, one that DOESN’T have any stretch. This is different from a knitted material, such as t-shirts; which are stretchy by nature. A tightly woven fabric (in a medium weight) is less permeable and also will ensure the mask won’t lose its shape after wear.
UPDATE: The WHO (World Health Organization) recommends using 3 layers of fabric for non-medical fabric face masks: outer layer to be water resistant; inner layer to be water absorbent and the middle layer to be a non-woven filter. Refer to the WHO’s video for how to wear a mask for more details.
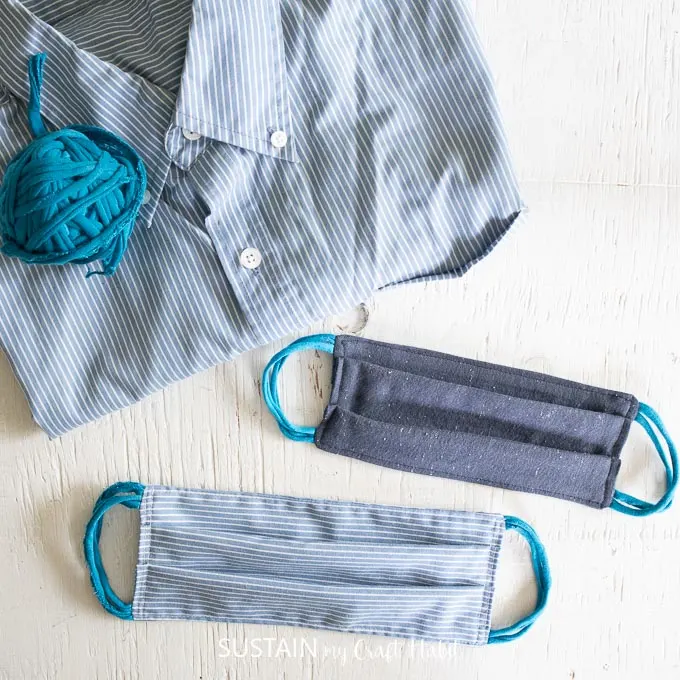
Additionally, we understand it can be hard to get your hands on fabric and elastic. As my fabric stash and elastic supply begins to diminish, I’ve started to upcycle shirts I have around the house for making masks. Using either 100% cotton or polyester woven shirts that are a medium weight and constructed of a tight, plain weave for the main part and using tshirt yarn for the elastics, I’ve been able to make more masks with materials I have around the house.
Additional Free Patterns and Tutorials
You can find our YouTube video for how to make this pleated face mask with upcycled shirts here:

And our YouTube video for how to make your own t-shirt yarn can be found here:

This kids pleated face mask pattern is intended for children ages 6-10 years of age.
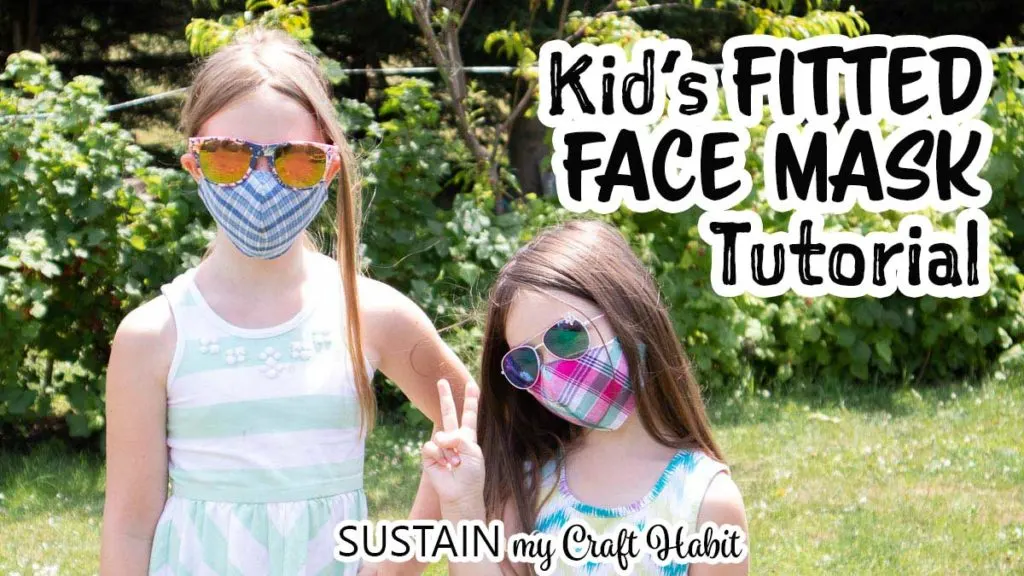
We also have a tutorial for how to sew a fitted face mask for kids, with or without a filter pocket.
For older children, we advise using the adult versions of these patterns:
- How to Make a Pleated Face Mask with Free pattern (adult size)
- How to Make a Fitted Face Mask with Free pattern (adult size)
- These washable fitted face masks can be made with or without built in openings for adding and removing filters.
Adding a Nose Wire
Nose wires are great as they help the mask to fit snugly around the nose giving them a more comfortable fit. To add a nose wire to your fitted face mask with filter pocket, head to this post here.
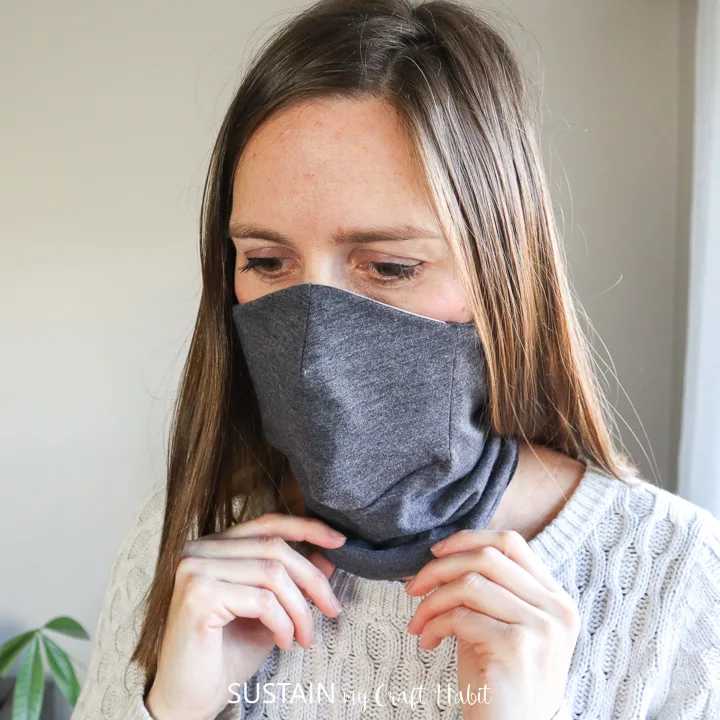
Finally, with the colder weather here. we’ve also created a scarf-style face mask pattern with a filter pocket:
Materials Needed To Make a Kid’s Pleated Face Mask:
Disclosure: This post contains affiliate links for your shopping convenience. Should you choose to purchase through them, we will make a small commission at no extra cost to you. You can read our full disclosure policy here.
- Free Printable Pleated Face Mask Pattern (youth size); refer to this post for the ADULT sized pleated face mask
- Flat, tightly woven fabric, 100% cotton
- Flat elastic, ¼” wide (or alternatively, make your own tshirt yarn)
- Sewing Machine
- Fabric Scissors
- Pins
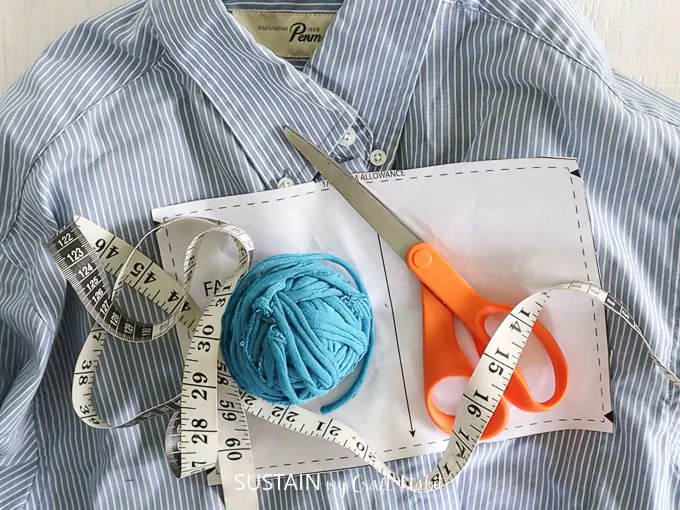
Instructions:
The steps for making this kid’s reusable face mask is the same as the adult face mask pattern we shared weeks ago but with adjustments to the size.
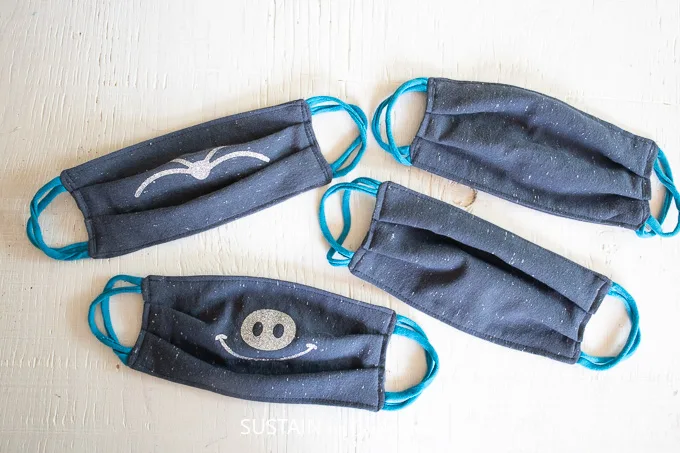
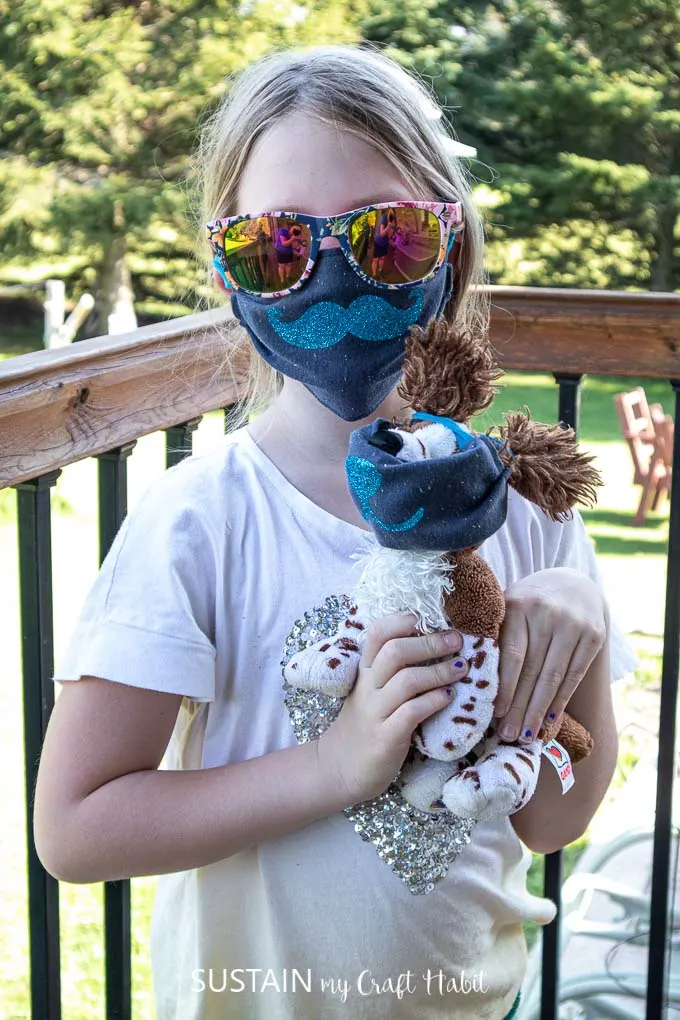
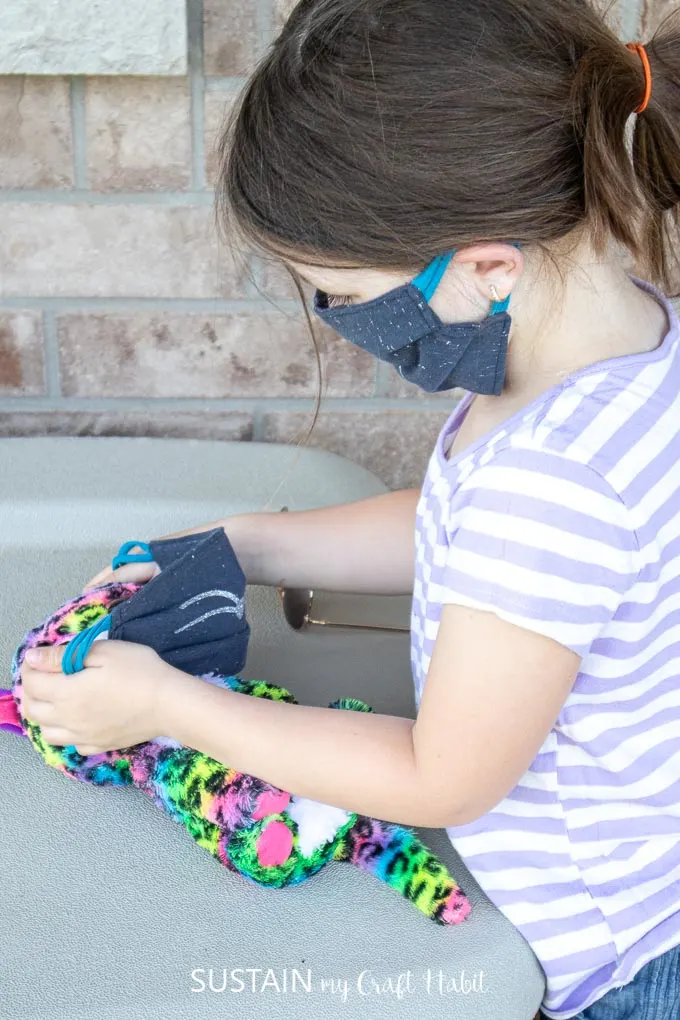
We added some iron-on vinyl animal faces to the masks using our Cricut Mini EasyPress to make the kids face masks fun!
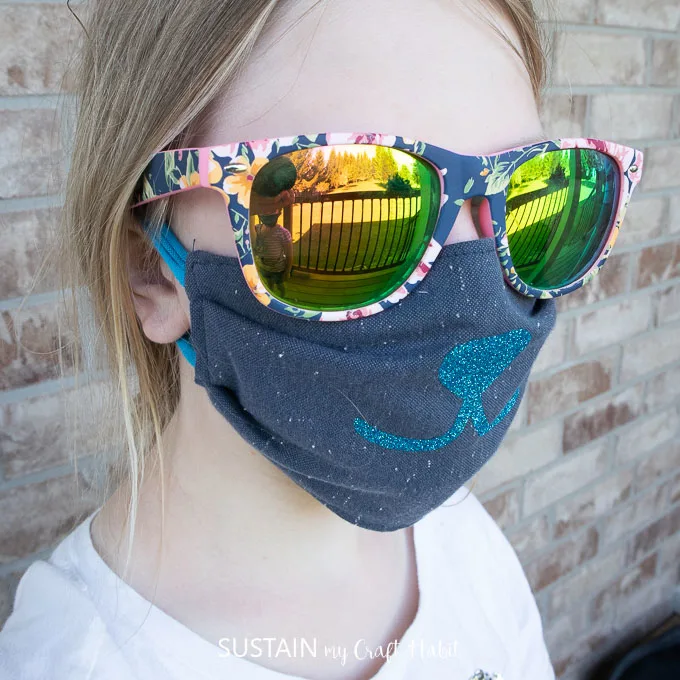
Preparing the Free Printable Pattern
Download and print the youth size pleated face mask pattern on a sheet of 8.5″x11″ printer paper. Ensure the printer settings are set to “actual size” to maintain pattern measurements.
Cutting the Fabric and Elastic
Lay fabric out on a flat surface. Place the pattern on the fabric and cut out or alternatively, cut out two rectangles measuring 5.5” high by 8” wide (for youth sizes face mask).
**To adjust the face mask according to the WHO’s recommended 3 layer fabric mask, cut three rectangular pieces instead of two and work the following sewing steps in the same way (but with an additional layer).
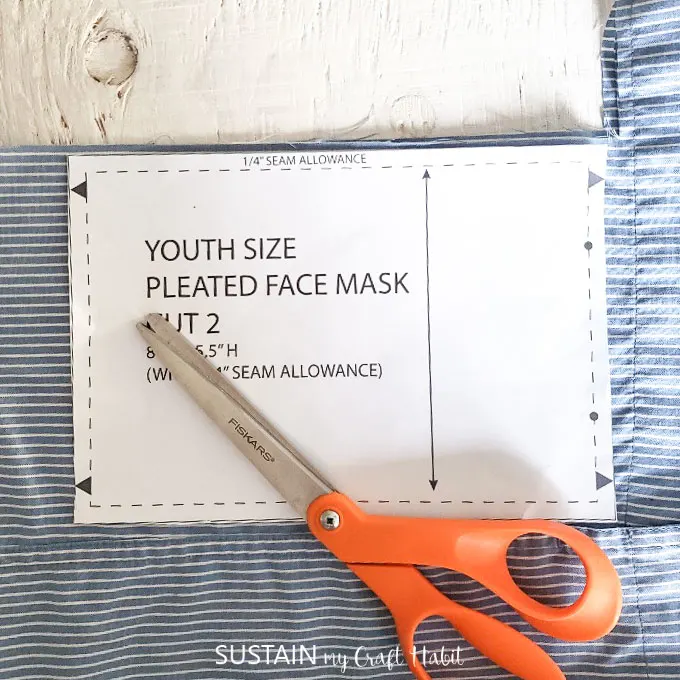
Ensure the arrow on the pattern is aligned with the grainline of the fabric (either lengthwise or widthwise); in other words do not cut the rectangles out on the bias.
Cut two pieces of elastic 4.5” long. Or if you are using t-shirt yarn like we show above, cut 4 strands at equal lengths. Using two loops on both sides will help with the stability and feel more comfortable around the ears.
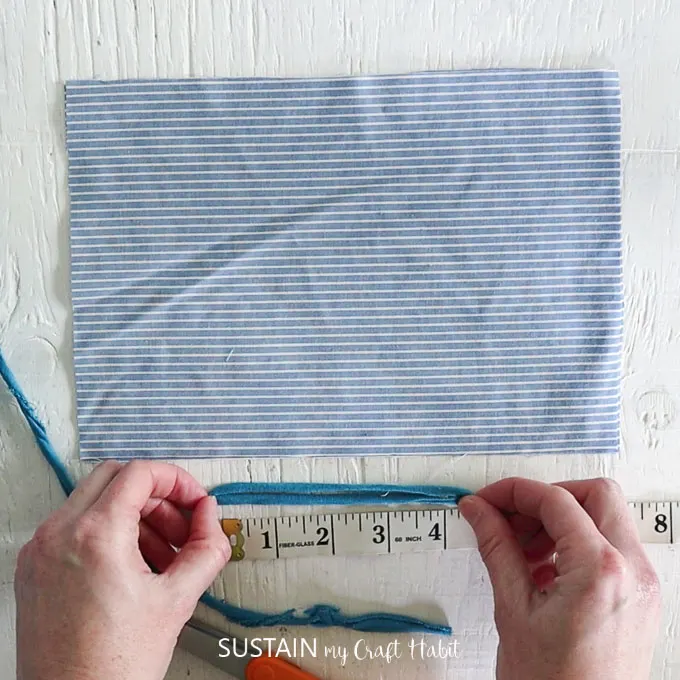
Adjust the length of the elastic (or tshirt yarn) as needed to fit your child. If the mask feels too snug, increase the length of the elastic and if it feels too loose, reduce the length of the elastic (or tshirt yarn). I found the mask also fit my 11 year old nephew after I increased the length of the elastic loops.
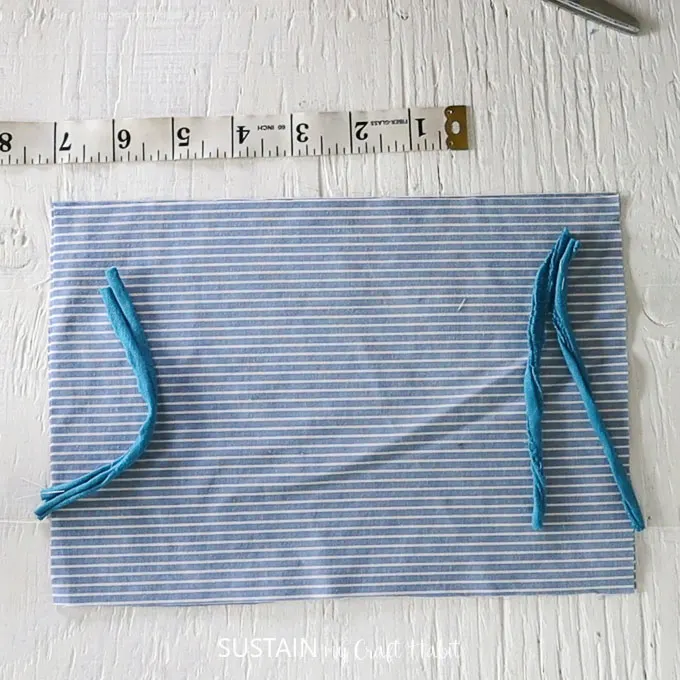
Sewing the Kid’s Pleated Face Mask
Sew the ends of the elastics to the short ends of one rectangular piece (on the RIGHT side of the fabric) forming loops as shown.
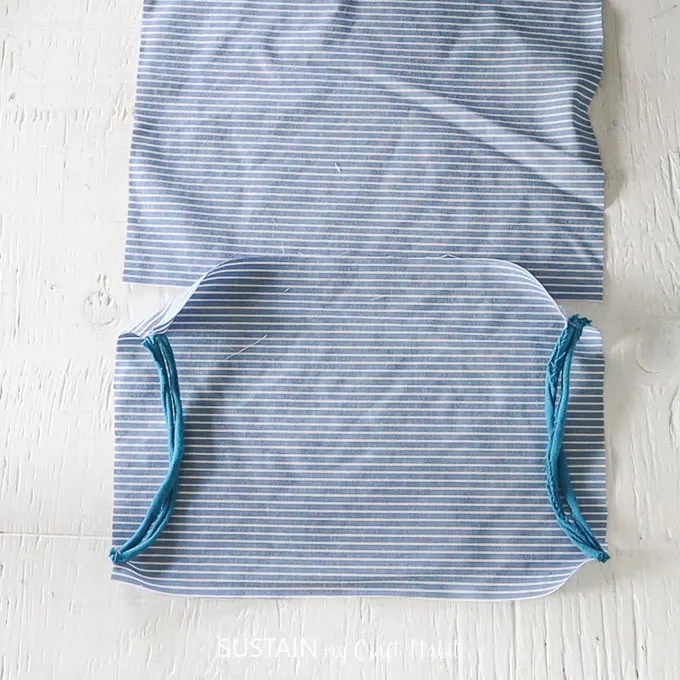
Align the RIGHT sides of the rectangle pieces and sew all four sides with a ¼” seam allowance leaving a 2”-3” gap opening.
Turn the face mask inside out and press the edges flat with an iron.
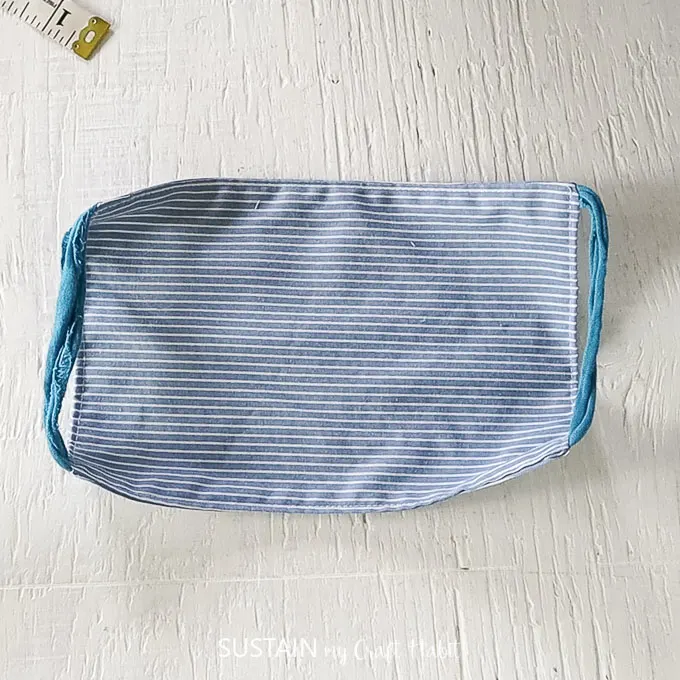
Edgestitch around the perimeter and stitch the opening closed.
Fold the short ends of the sewn face mask creating two pleats on both sides. Pin in place. Pleated side should measure 2.75” high for the youth size.
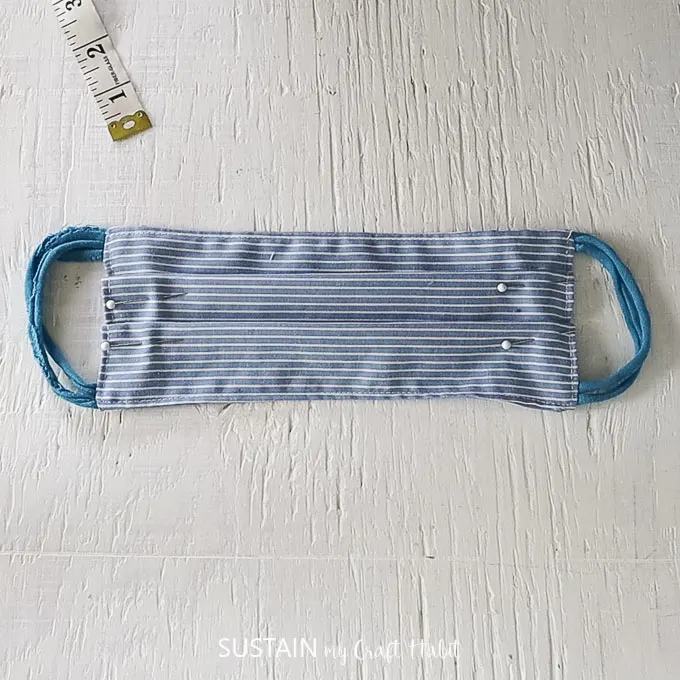
Sew the folded pleats in place and remove the pins.
Washing Your Reusable Fabric Masks
Do not wear a mask that is damaged or dirty. To clean your fabric face mask, place it in the washing machine as you do for regular laundering.
Additional Notes For Using a Fabric Face Mask
Disclosure: This post contains affiliate links for your shopping convenience. Should you choose to purchase through them, we will make a small commission at no extra cost to you. You can read our full disclosure policy here.
Please let us know if you have any questions. Take care and stay healthy!
Making a Face Mask Pouch
To grab the free sewing pattern for making a face mask pouch for you child to store their face masks, sanitizer and other essentials, head here.
Like it? Pin it for later!

How to Sew a Kid’s Face Mask with Free Pattern
Materials
- Pleated Face Mask Pattern (youth size)
- Flat, tightly woven fabric, 100% cotton or 100% polyester
- Flat elastic, ¼” wide (or alternatively, tshirt yarn)
- Sewing Machine and thread
- Fabric Scissors
- Pins
Instructions
- Download and print the free youth size face mask pattern.
- Cut 2 rectangular pieces using the pattern provided.
- Cut 2 pieces of elastic (or tshirt yarn) 4.5" long.
- Stitch the elastic ends to the short ends of the face mask piece matching notches.
- Align right sides of the mask pieces together, sandwiching the elastic inside. Sew around the perimeter with a 1/4" seam allowance.
- Leave a 2" to 3" opening.
- Turn the mask inside out and press the edges flat.
- Topstitch around the mask closing the small opening.
- Fold the rectangle lengthwise creating pleats and pin place. Stitch the pleats along the sides to secure.

Mary
Wednesday 25th of August 2021
When did you iron on the design? Before you sew it together or after when it is finished? I wouldn't want to fight with the pleats.
Jane and Sonja
Thursday 26th of August 2021
Hi Mary, Thanks for your question. I've actually done it both ways but it's true, it is easier to apply the iron on before the mask is sewn. If the design is on the smaller side, then the pleats don't really get in the way especially when using the EasyPress Mini. It's so compact and perfect for smaller projects like this.
mara
Wednesday 14th of April 2021
I could not find a pattern to download ???
Jane and Sonja
Monday 19th of April 2021
Hi Mara, The youth mask pattern is under the materials section of the post (in the bulleted list), just before we begin the step by step instructions (about part way through the post).