I’m terrible at framing and putting up family photos. It’s a mental block. For the same reason that I should be doing it, I don’t: the kids are growing so quickly that the photo will be outdated in no time and then I’ll just need to replace it! Logically though I know that I won’t have to replace it: my favourite photos in our home growing up were those Sears family portraits of us locked in time, permed hair and all!
So I’m determined to get past this mental block and start decking out my walls with the kids gorgeous smiling faces. I started by opening up a box of picture frames that I’d set aside for upcycling. I had picked up this lovely ceramic puppy from a Freecycle add claiming that the frames were “new”.
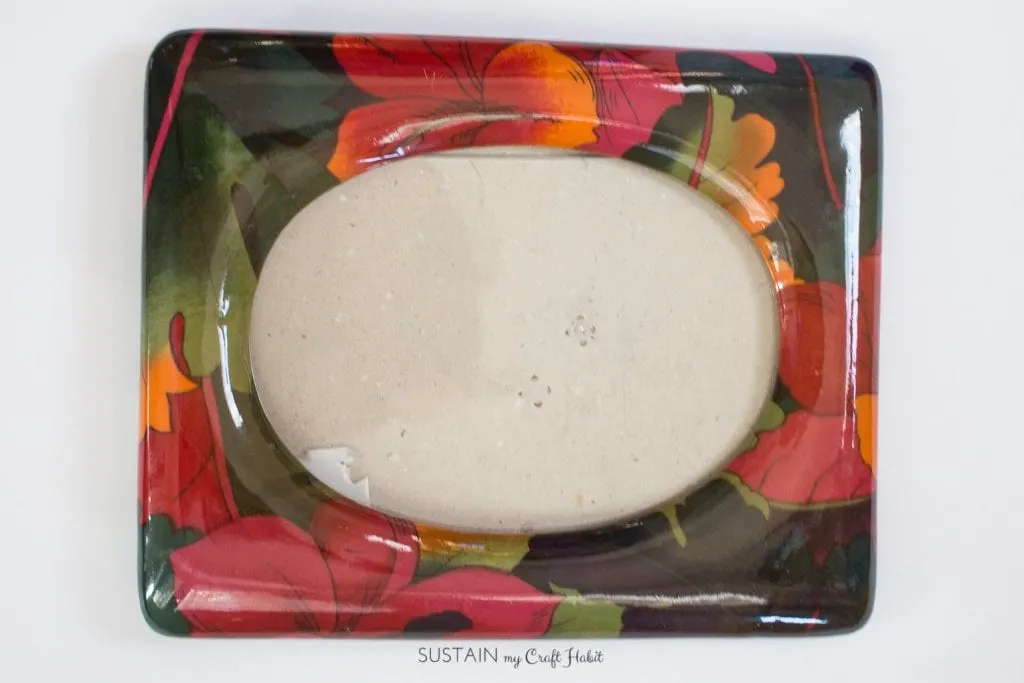
Although the frames were in great shape they were clearly outdated. You can see one of other ones we upcycled with driftwood slices here.
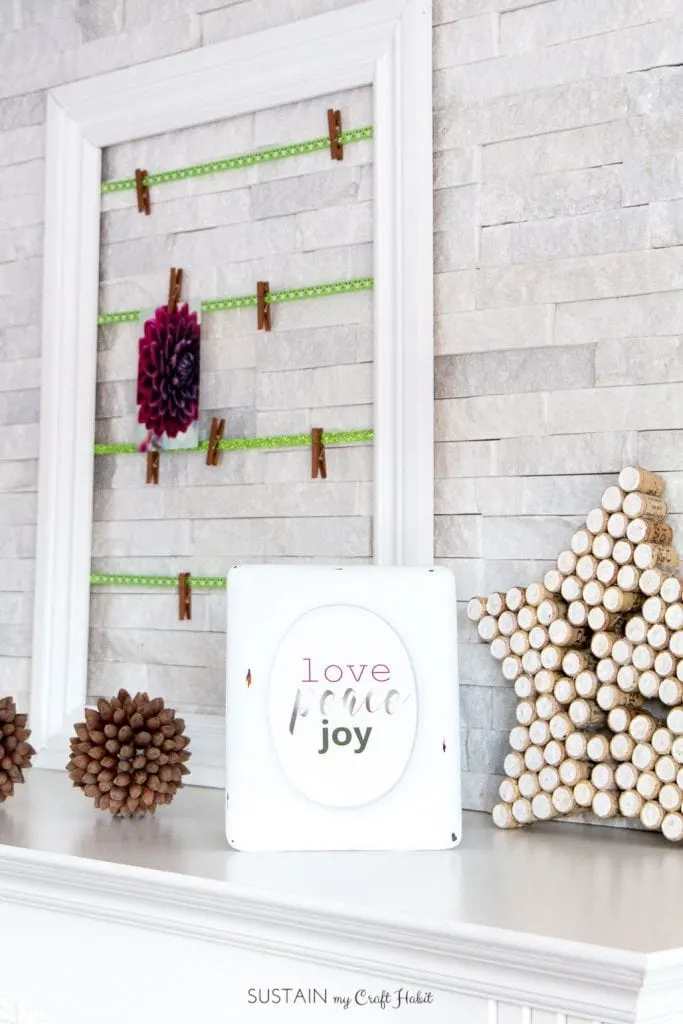
Well, this oval one felt perfect for our holiday mantel which we are decking out week-by-week to be ready just in time for Christmas. Last week we made a simple Christmas card display with ribbon. Each week we’re adding a new simple craft and bringing back one we’ve made in the past such as our Sparkling Wine Cork Star (which is one of the most popular projects here on our blog!).
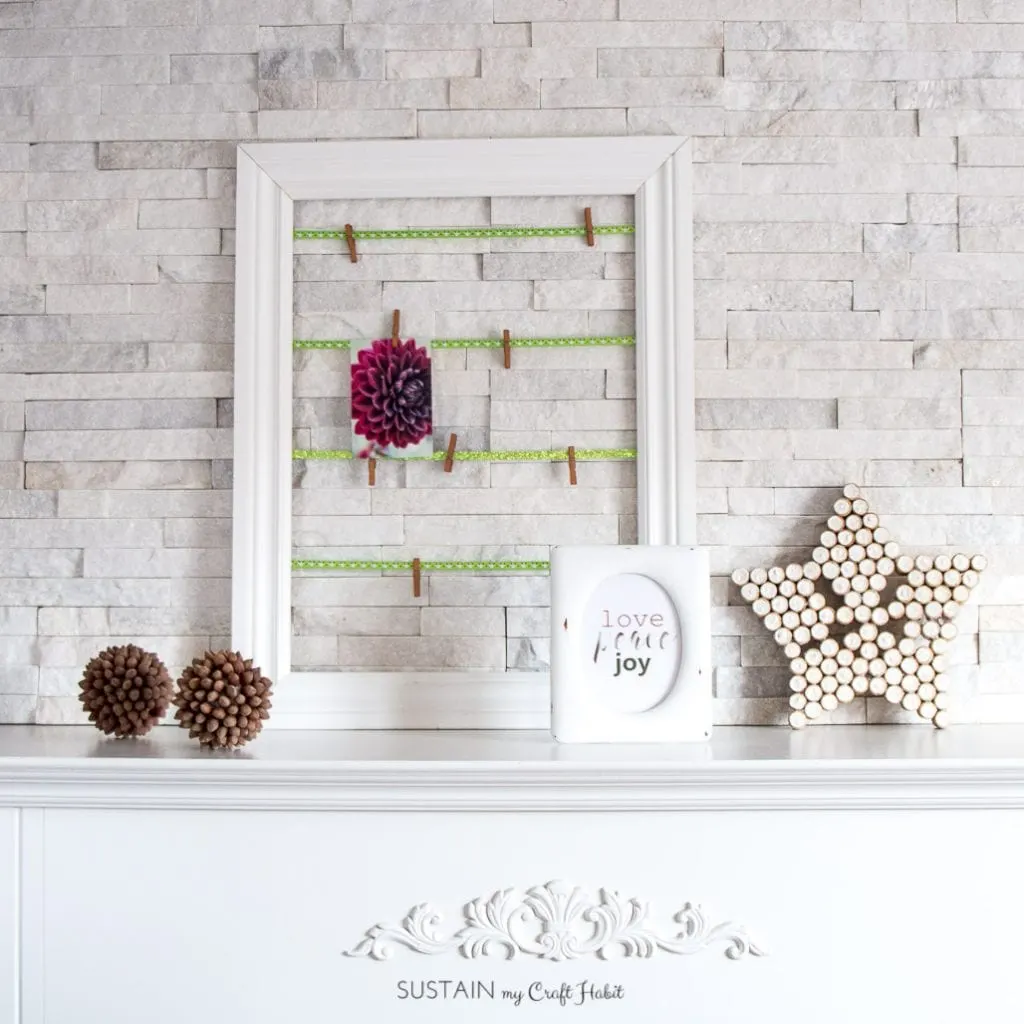
Free Printable Love, Peace, Joy Sign
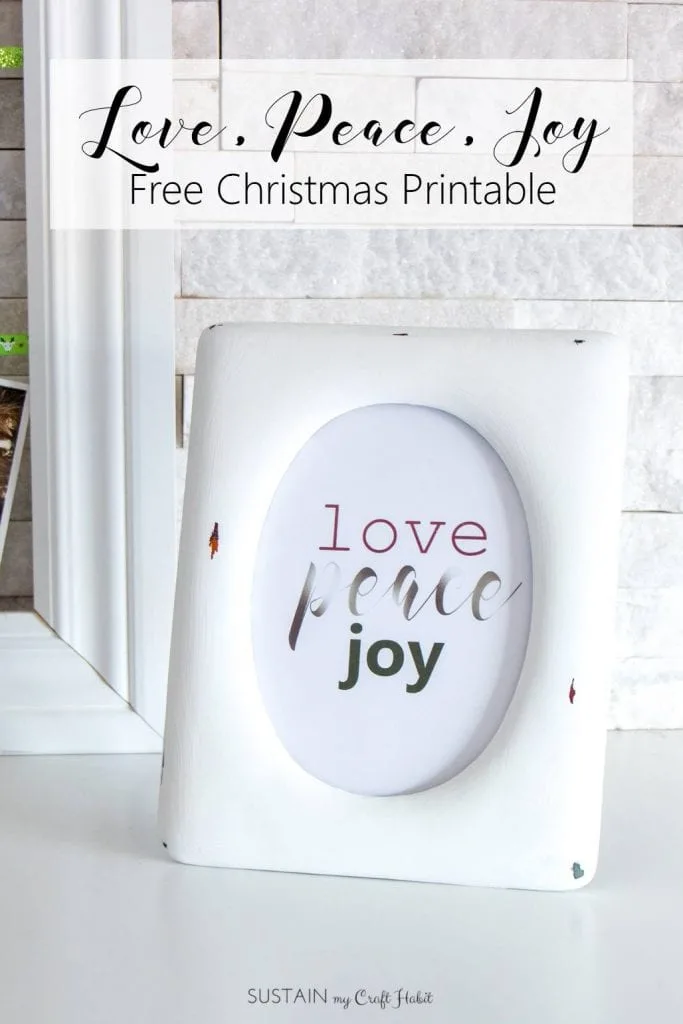
And we’re so happy to share with you this Love, Peace and Joy free Christmas printable for your home. It’s also our project for this month’s #12MonthsofDIY challenge using paper! Be sure to check out the other fabulous craft and DIY ideas using paper by 11 of our fellow Canadian bloggers at the end of this post!
How to Upcycle a Ceramic Picture Frame with Decoart Chalky Finish Paint
Supplies needed:
- Old photo frame in any size – ours was for a 5″x7″ photo
- Decoart Americana Decor Chalky Finish paint in “Everlasting”
- Soft-bristled paint brush
- Old container and a bit of water
Instructions:
1. Remove the glass and thoroughly wash and dry it and the frame.
2. Apply one coat of the Chalky Finish paint to the photo frame and let dry. The paint looked pretty streaky with the first coat.

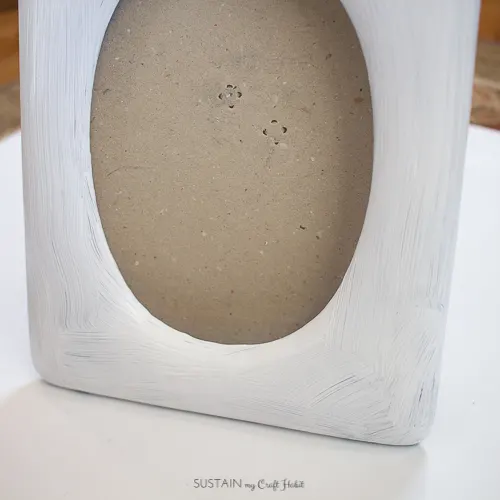
3. Put a small amount of paint in a container that you can discard later. Add a touch of water to dilute it. I actually added too much to mine so needed to do two additional coats. But the streakiness was covered beautifully!
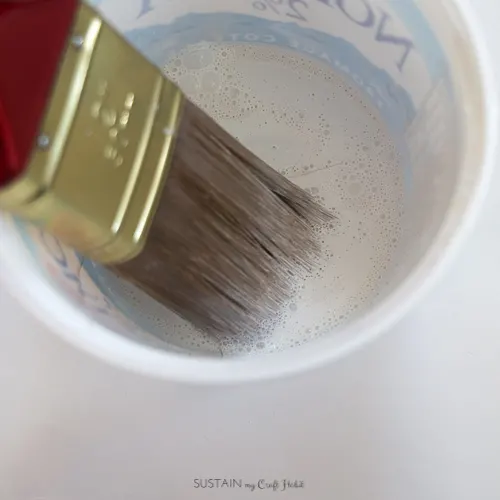
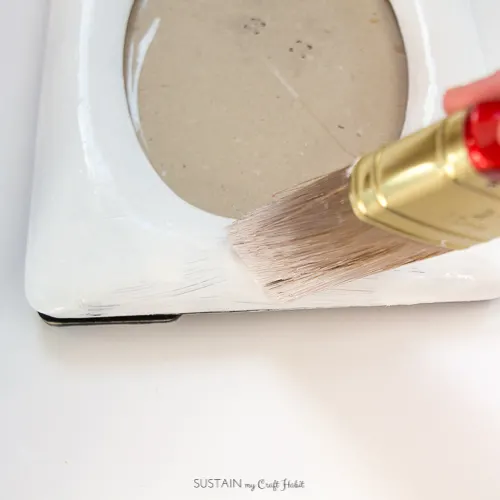
Once the paint was completely dry (the next day) a sanded the edges a bit with a fine-grit sandpaper to give it a little extra touch.
Finally I printed out the Love Peace Joy template, formatted for 5″x7″ in my printer’s settings and assembled it into the frame!
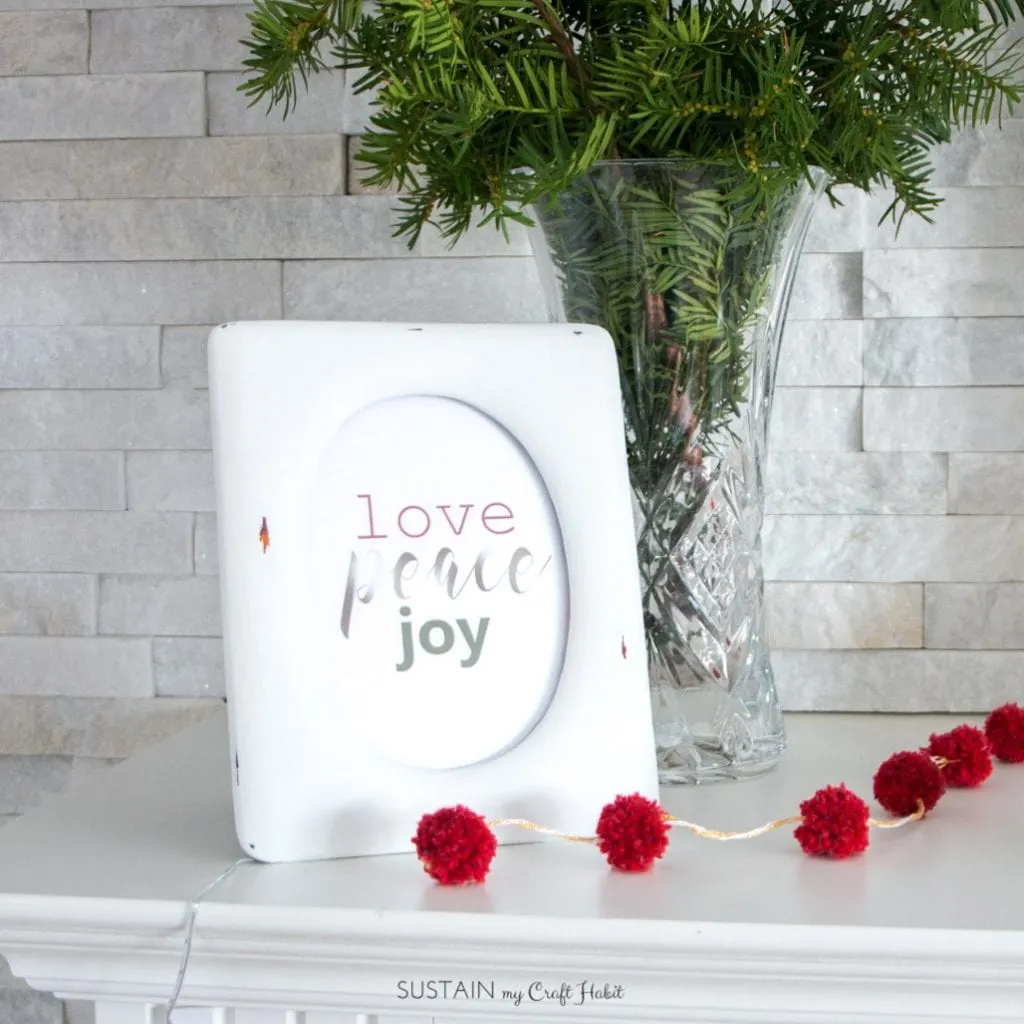
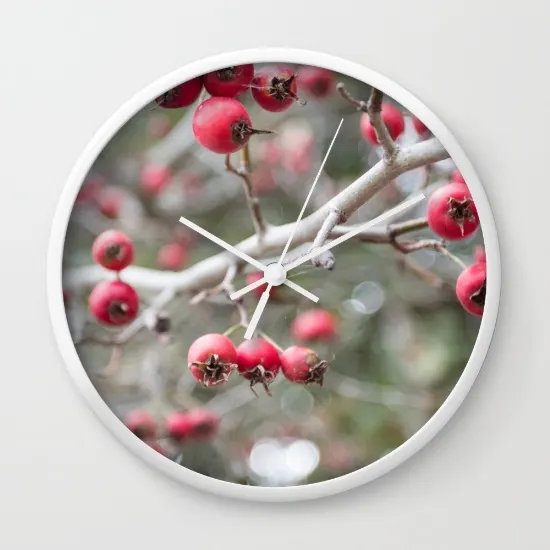
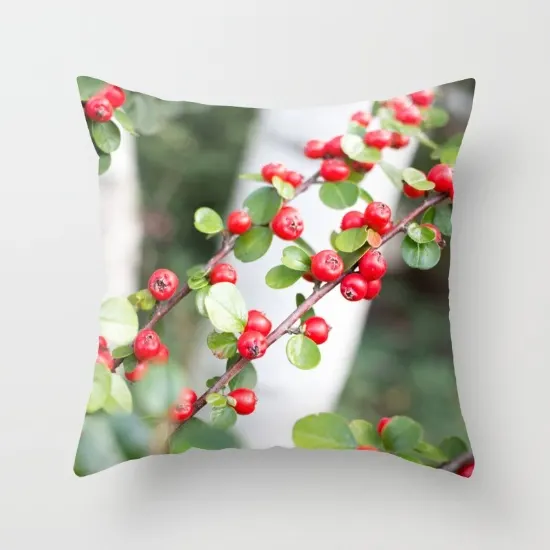
This design is one of this season’s pieces in our Society 6 shop. If you like it, consider grabbing yourself a mug, throw pillow or another holiday design from our shop!


Don’t forget to check out the other fabulous and simple DIY and craft ideas using paper from our talented fellow Canadian blogger friends:
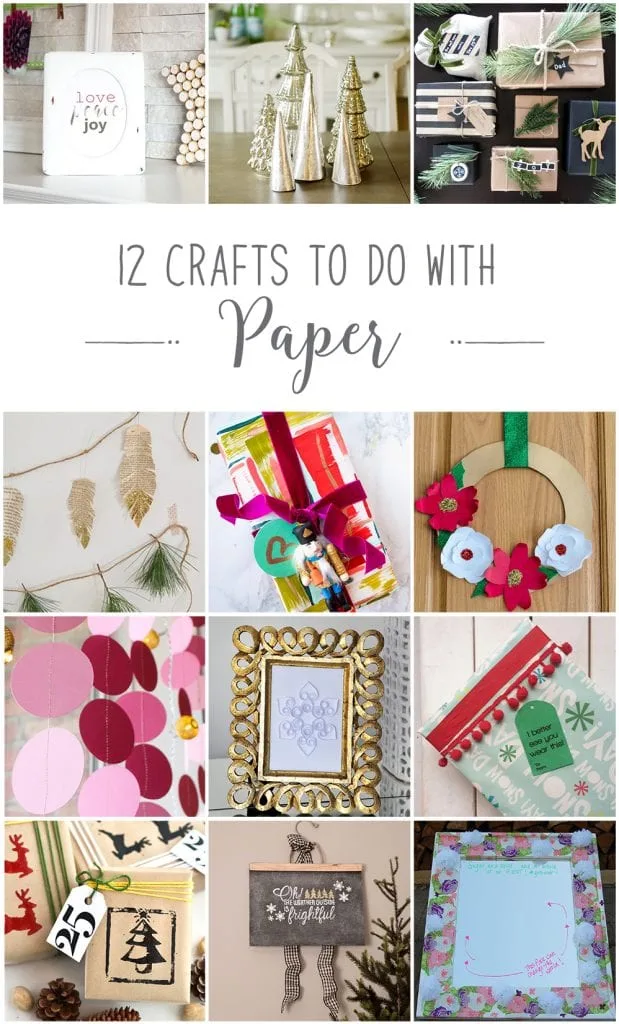
From the top left:
Free Love Peace Joy Christmas Printable from Sustain My Craft Habit
Silver Leaf Paper Trees for Christmas Tabletop Decor from The DIY Mommy
Rustic Gift Wrap Ideas from Love Create Celebrate
Book Page Feather Garland from Life Is A Party
Deconstructed Plaid Wrapping Paper from PMQ for Two
Make 3D Paper Flower Christmas Wreaths from Time With Thea
How to Make a Paper Garland from Fresh Crush
Quilled Paper Snowflake from Lifeovereasy
Funny Printable Gift Tags from Brooklyn Berry Designs
DIY Linocut Print Kraft Paper Christmas Gift Wrap
from Woman In Real
Life
DIY Chalkboard Paper Christmas Art from Vin’yet Etc.
DIY Floral & Paper
Decoupage Girl Power Mirror from Heather in Heels
Are you good about putting up family photos?

Joann MacDonald (Woman in Real Life)
Friday 18th of November 2016
I love that you repurposed the frame instead of tossing it. The end result is lovely!
Jane and Sonja
Friday 18th of November 2016
Thanks, Joann. The frame turned out even better than we expected!
Dannyelle @lifeisaparty.ca
Friday 18th of November 2016
Great upcycle, and the printable is perfect. Such a simple festive addition to your pretty mantel.
Jane and Sonja
Friday 18th of November 2016
We are all about simplicity this month;)
Thea
Thursday 17th of November 2016
It is amazing what a coat of basic paint can do to improve the look and quality of an outdated frame. I now have something else to add to my 'things to look out for in the thrift store shopping list'. I have quite a few family member framed pictures in the living room. But they are the professional photographs... not the candid ones. But we do showcase hundreds of family photos through our Apple TV on the living room television. It is so lovely to see so many images stream of when the children were little, places we have been and so many other special moments.
Jane and Sonja
Friday 18th of November 2016
So true! Great idea to showcase your family pics on the TV, otherwise, those pics are never seen. I have so many pictures filed away on hard drives that I would love to go through again.
Laurie Dickson
Wednesday 16th of November 2016
I love it, so perfect for some holiday magic in just the right spot! And those red berries, perfection! xo
Jane and Sonja
Friday 18th of November 2016
I know, we're a little obsessed with those berries! They're perfect for the Winter holiday season but the pics were actually taken in the Summer!
Heather
Wednesday 16th of November 2016
this is so precious! a table of mugs with it filled with hot cocoa:) YUM!
Jane and Sonja
Friday 18th of November 2016
Mmmmm, I like your kind of thinking:)