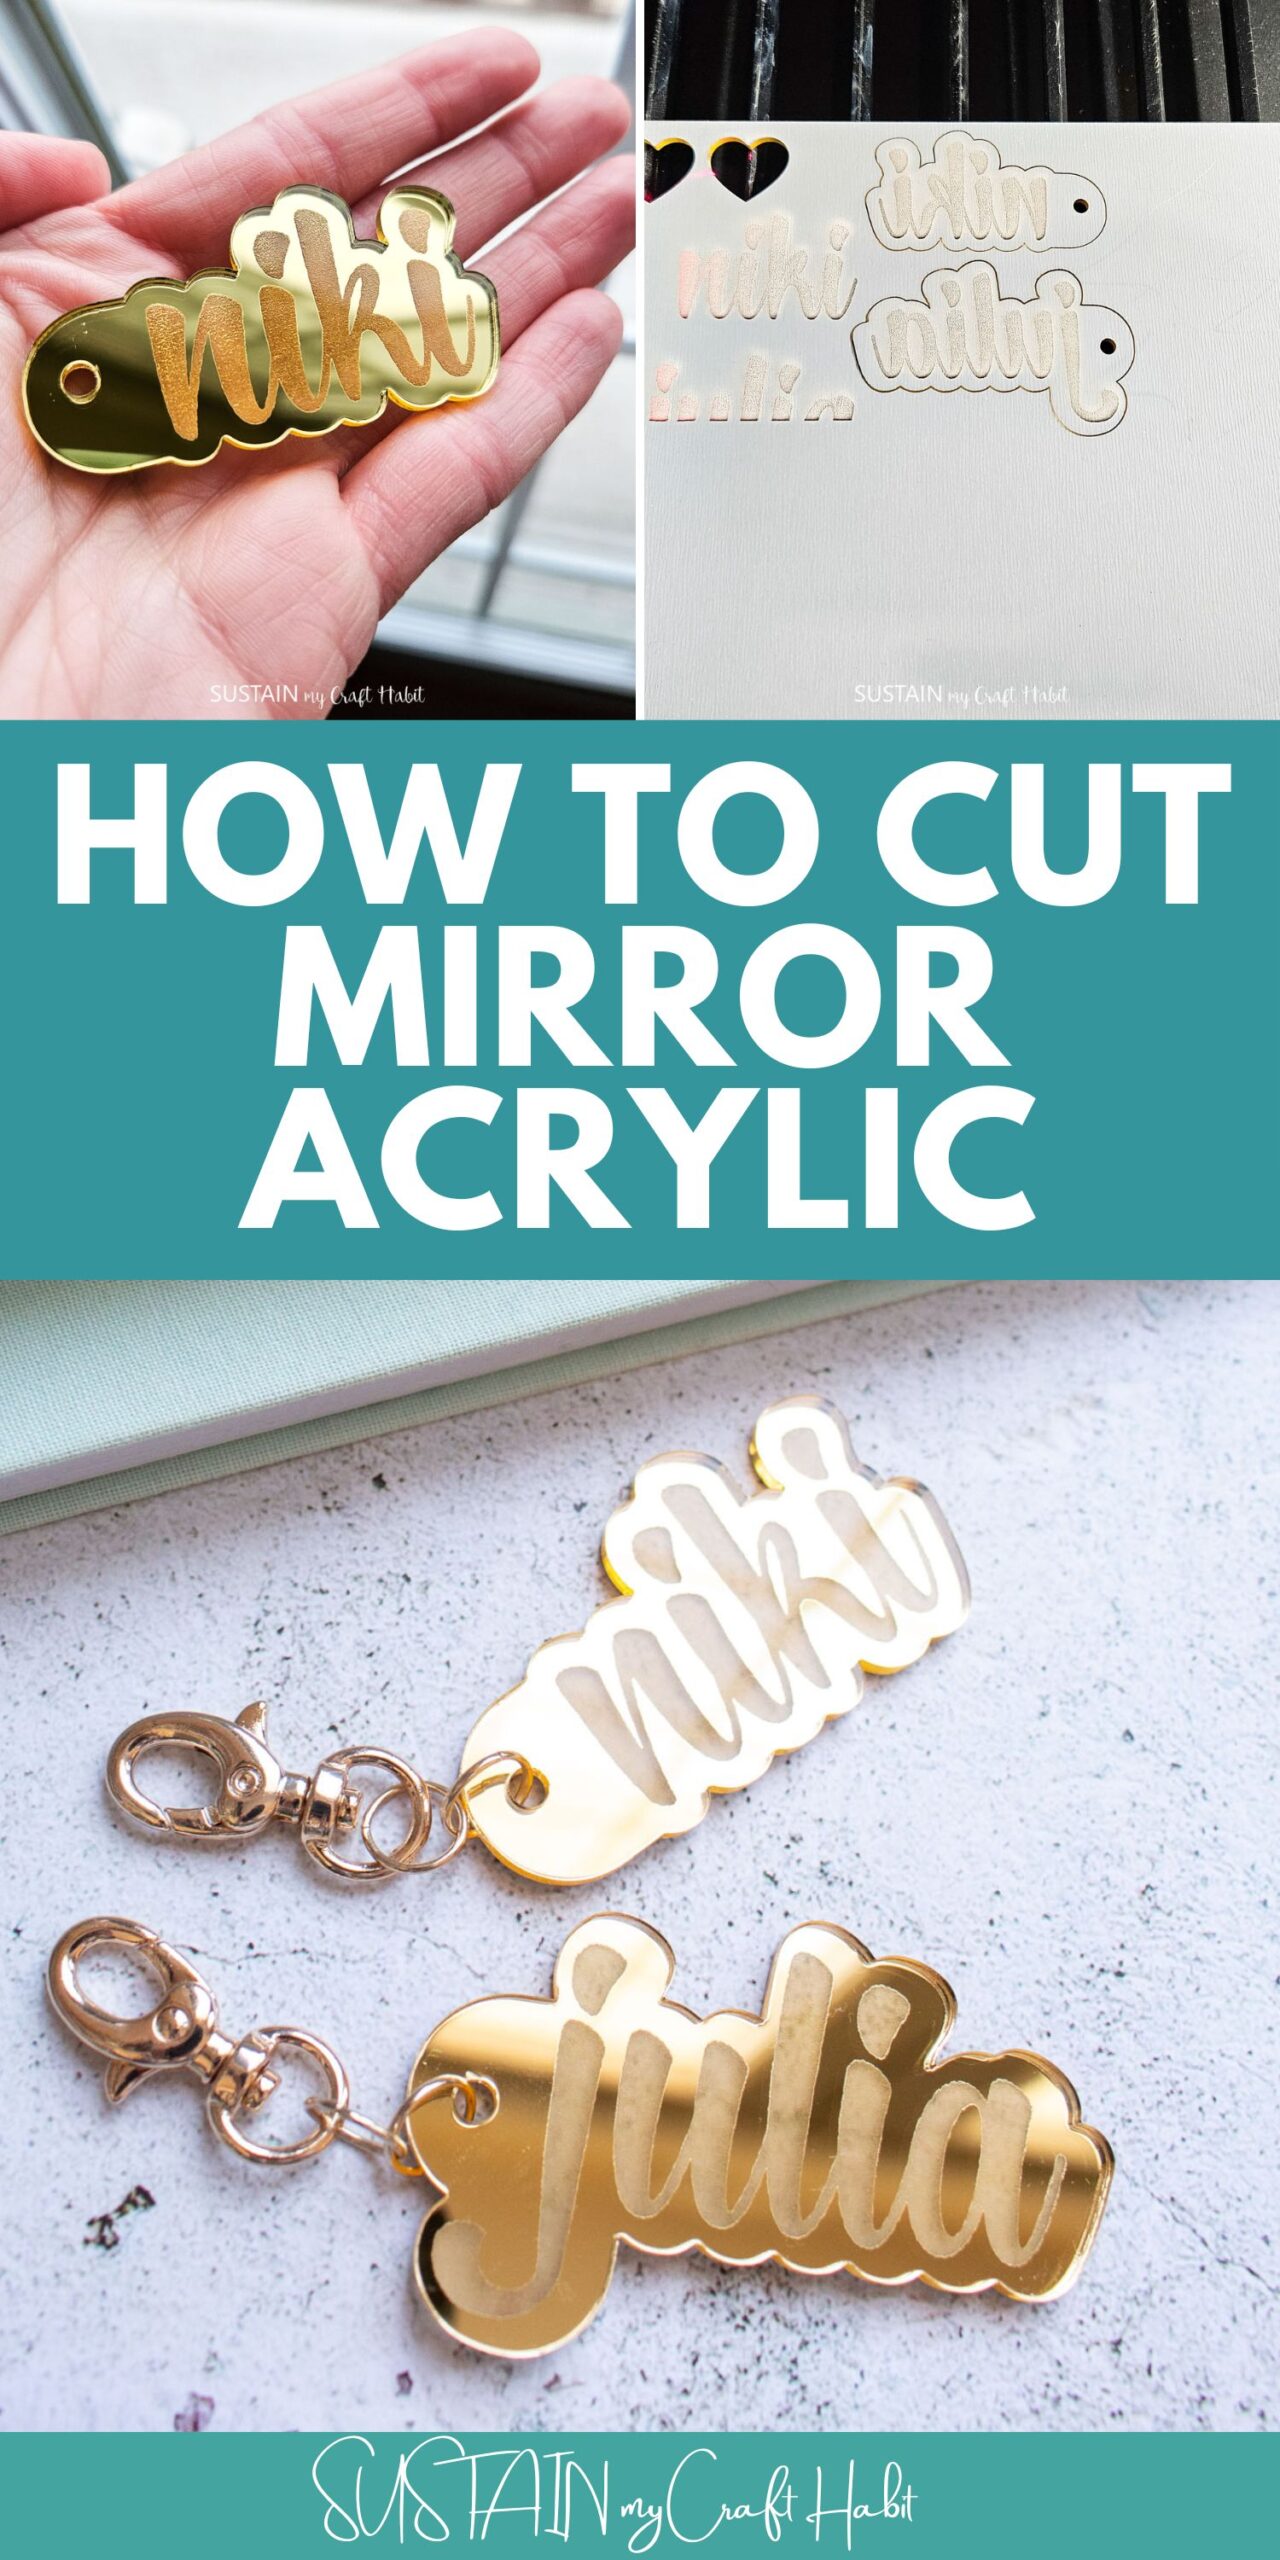
How to Cut Mirror Acrylic with XTool P2

We are sharing our best tips for cutting mirror acrylic the easy way using the xTool P2 CO2 laser cutting machine. It’s the perfect tool for flawless laser cuts every time!
And today we’re creating beautiful mirrored acrylic keychains to show you the step-by-step tutorial so you can make your own.

Laser Cut Mirror Acrylic Keychains
Have you seen mirrored acrylic sheets? They are seriously cool! They look just like regular mirrors with smooth, shiny reflecting material on one side and a matte grey solid backing on the reverse side. Today we are starting out with keychains that you can make using this neat material for friends, family, teachers, or anyone you want to surprise with a handmade gift.
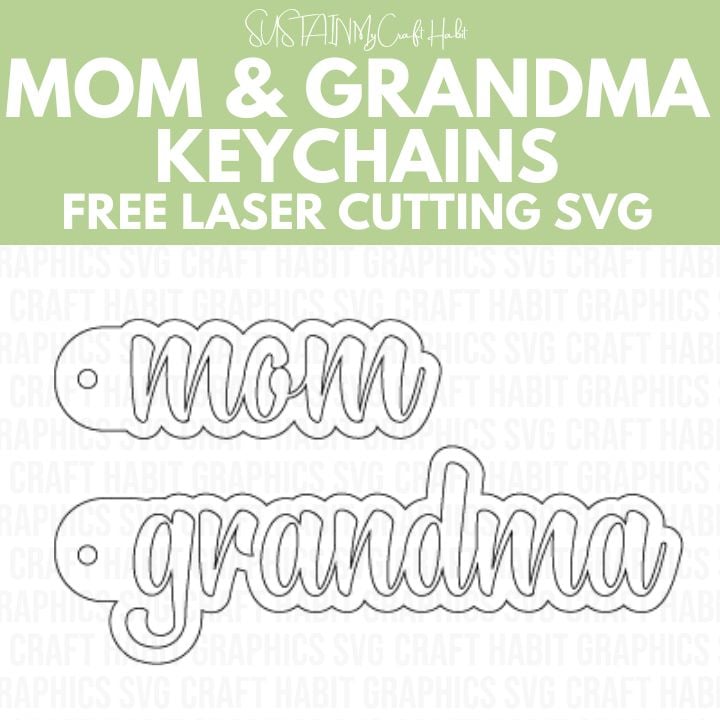
We’re offering this Mom and Grandma Keychain SVG file for FREE but I made personalized keychain designs for my nieces in the tutorial below. They turned out so cute! So, let’s get to it.
For a complete review of the xTool P2 cutting machine, visit our post here.
Stay in the know on our latest crafts, special offers and freebies by joining our mailing list.
Materials Needed
Disclosure: This post contains affiliate links for your shopping convenience. Should you choose to purchase through them, we will make a small commission at no extra cost to you. You can read our full disclosure policy here.
xTool P2 - Mirrored Acrylic Sheet, 3mm thick
- Mom and Grandma Keychain SVG
- Jump rings, 10mm
- Lobster Clasps, 30mm

How to Cut Mirror Acrylic with XTool P2
Open Creative Space app on mobile phone and turn on xTool P2.
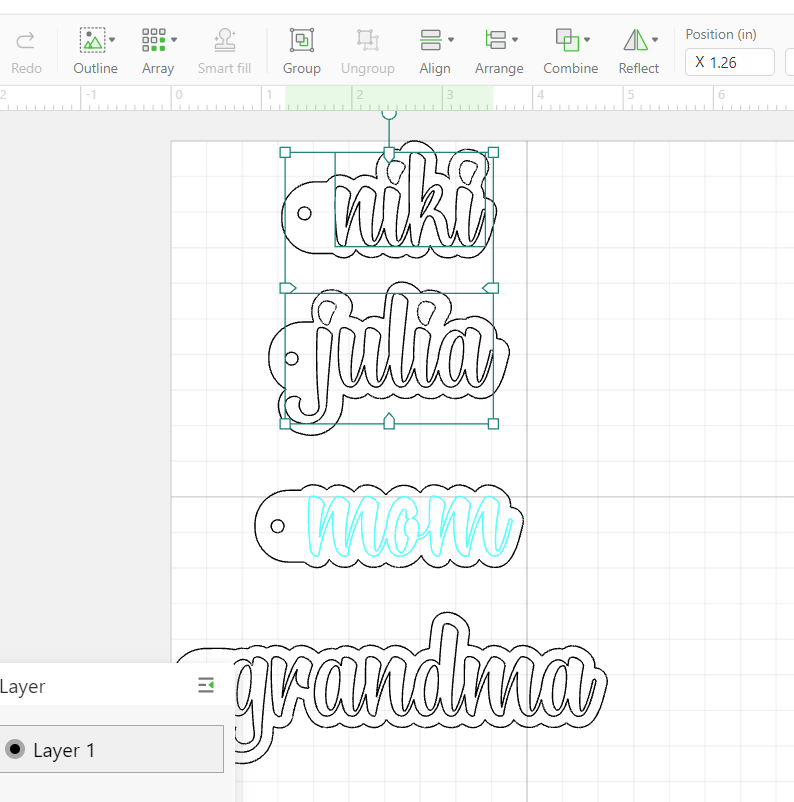
Connect Creative Space app to machine and import the downloaded mom and grandma svg file or in our case, I created a personalized keychain design for my nieces.
Leave the plastic protective layer on the mirrored side of the acrylic sheet. Load the sheet into the machine with the mirror side facing down.

Secure the sheet with the magnets on the sides.
Adjust the design to your desired size or maintain the size as per the original file.
Move to the home screen, set material type to “3mm acrylic sheet, white” (an xTool material). I was unable to find the mirrored acrylic option in the drop down menu.

Select ok.
For the outer shape (layer 1), ensure the machine parameter setting tab is set to “cut”.
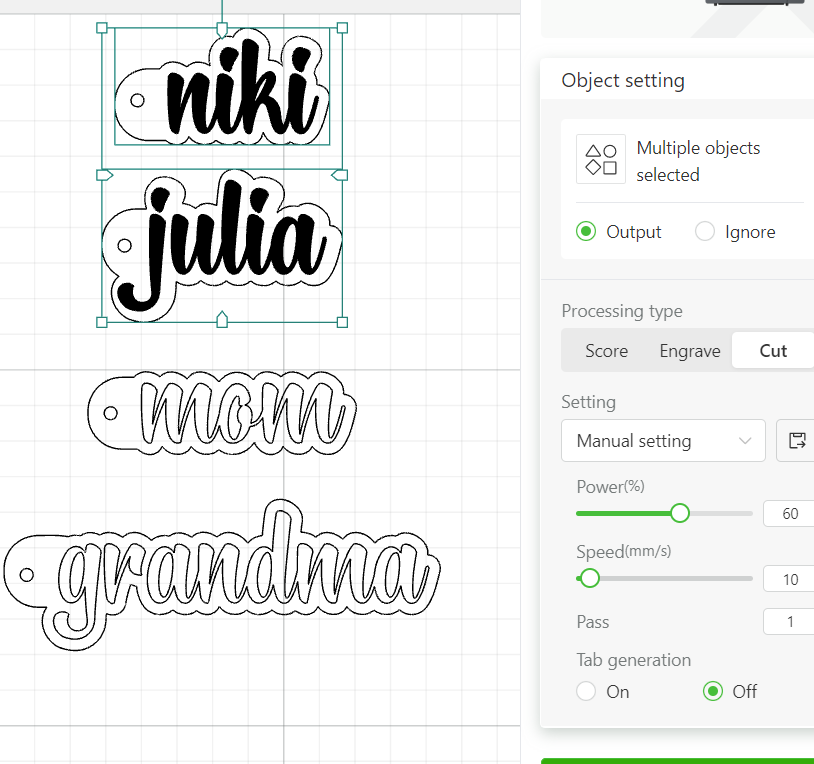
In our case, the best setting for cutting mirror acrylic is 60% power and 10 mm/seconds. But perform your own test grid to ensure the settings are optimal.
For the name or lettering (layer 2), ensure the machine setting tab is set to “engrave”.

In our case, the best setting for engraving mirror acrylic is 20% power and 400 mm/seconds, 1 pass and 200 lines per cm. But again perform your own test grid to ensure the settings are optimal.
Most important! Flip the design so it appears backwards on your screen. This is a must for cutting mirrored acrylic.


Double check the placement on the sheet and hit process.
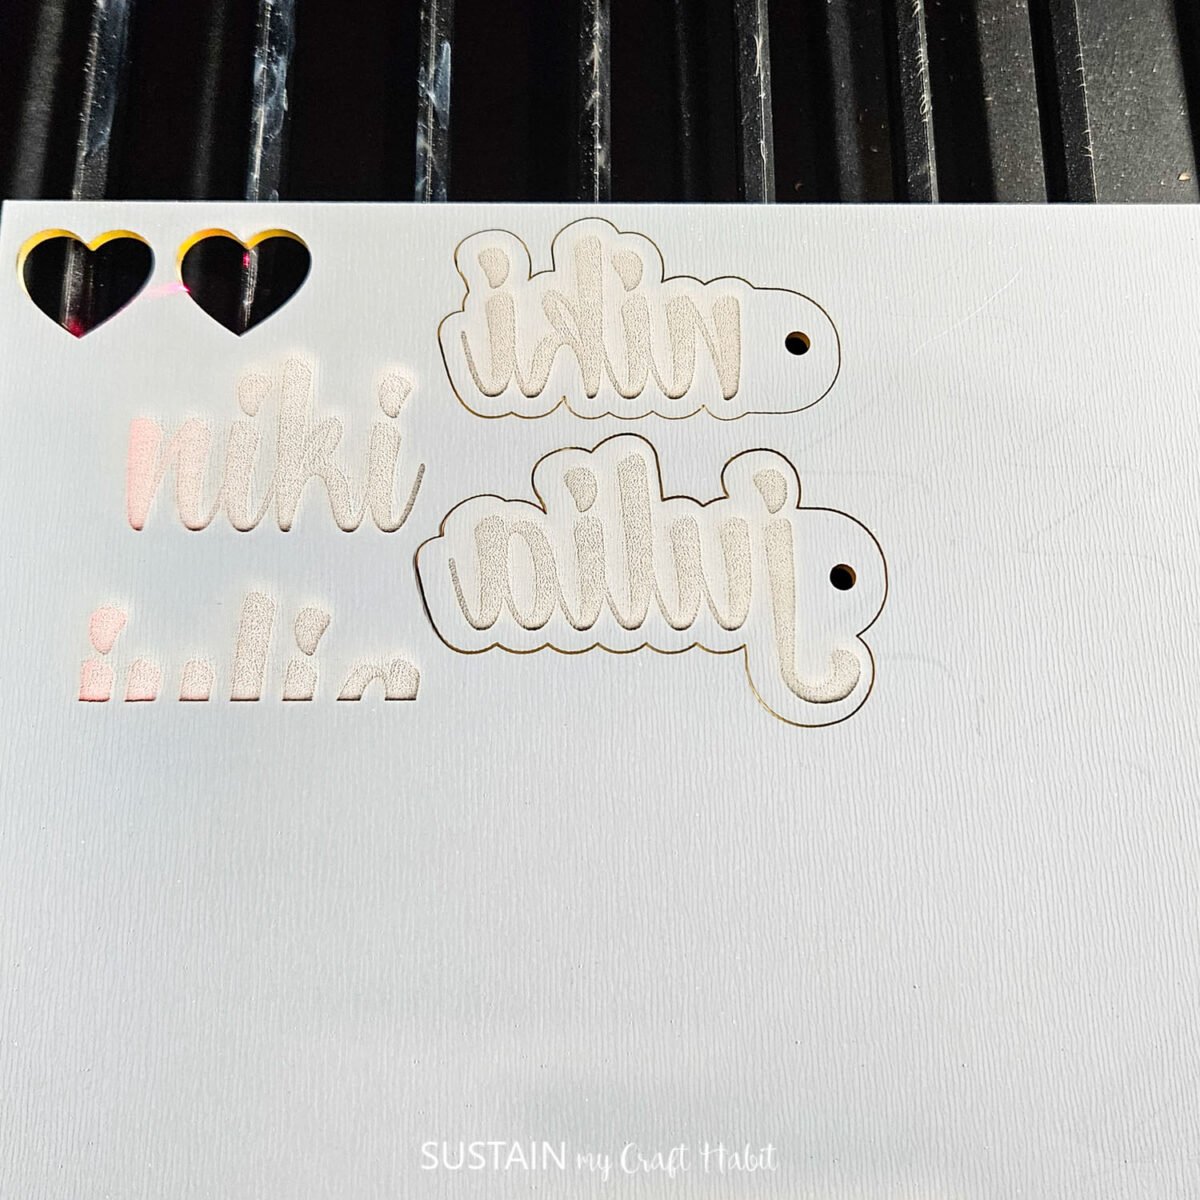
Remove when engraving and cutting is complete.
Wipe away the build up on the back of the keychain from the engraving. You will find it is dusty from the backing material being engraved.

Assembling the Keychain
Peel away the plastic protective covering and then attach a ring and lobster clip to complete the keychain.

That’s all there is to it. The cut designs come out so crisp and clean. We hope you found this tutorial helpful. The possibilities truly are endless with this nifty machine.
Let us know in the comments below if you give these a try. Please share it with us by tagging us on Facebook or Instagram. It really does make our day!
More Crafts to Make with xTool
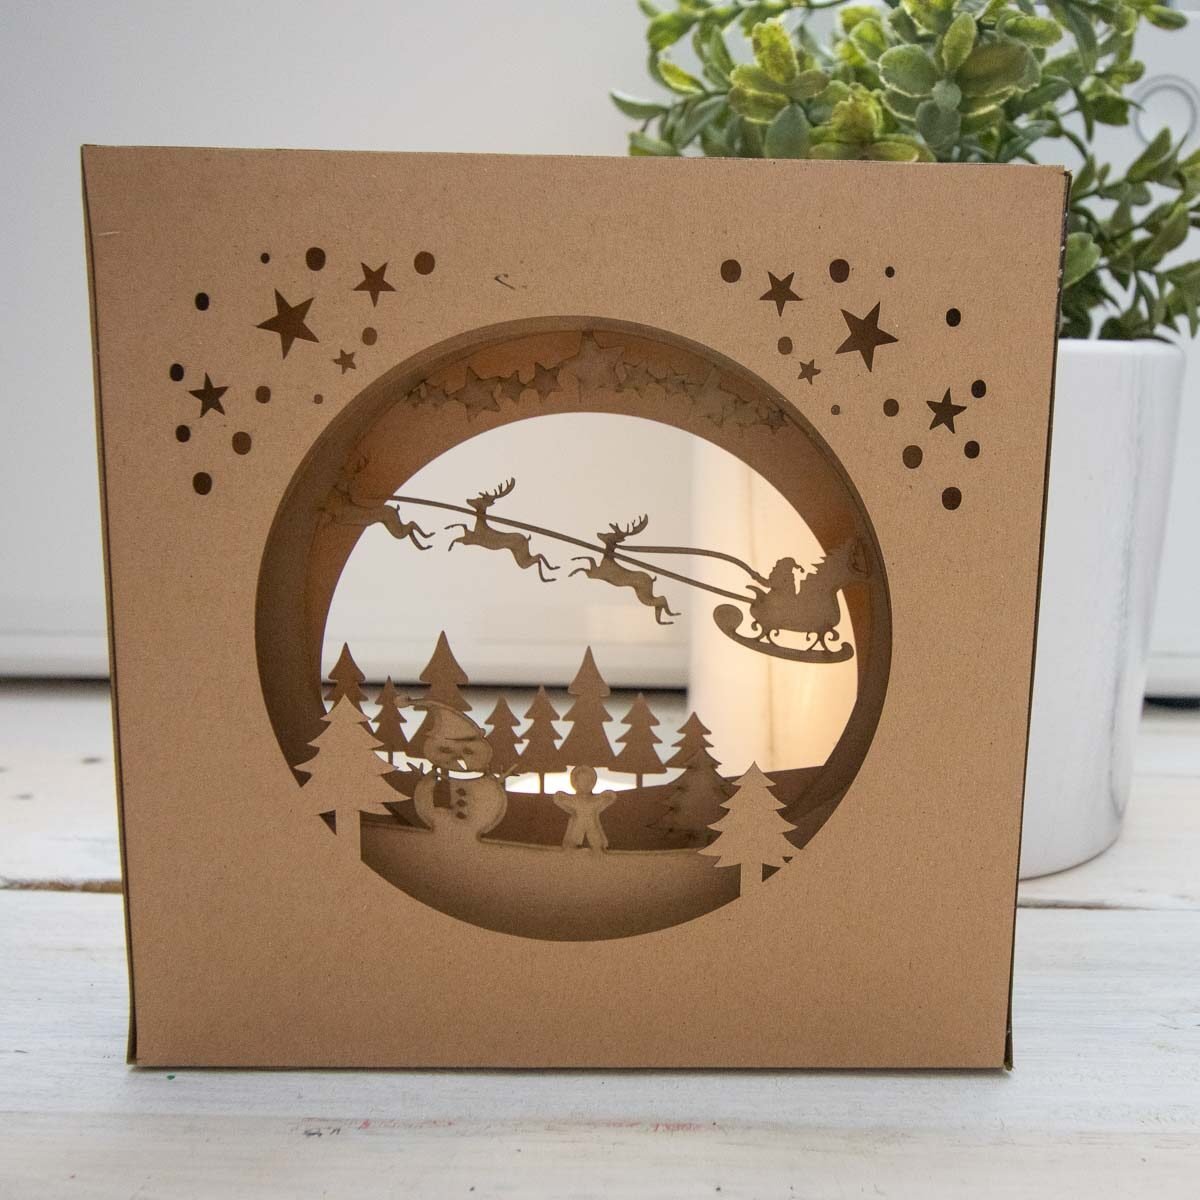
- Laser Cut Wood Pumpkin Ornaments
- Kraft Paper Night Light
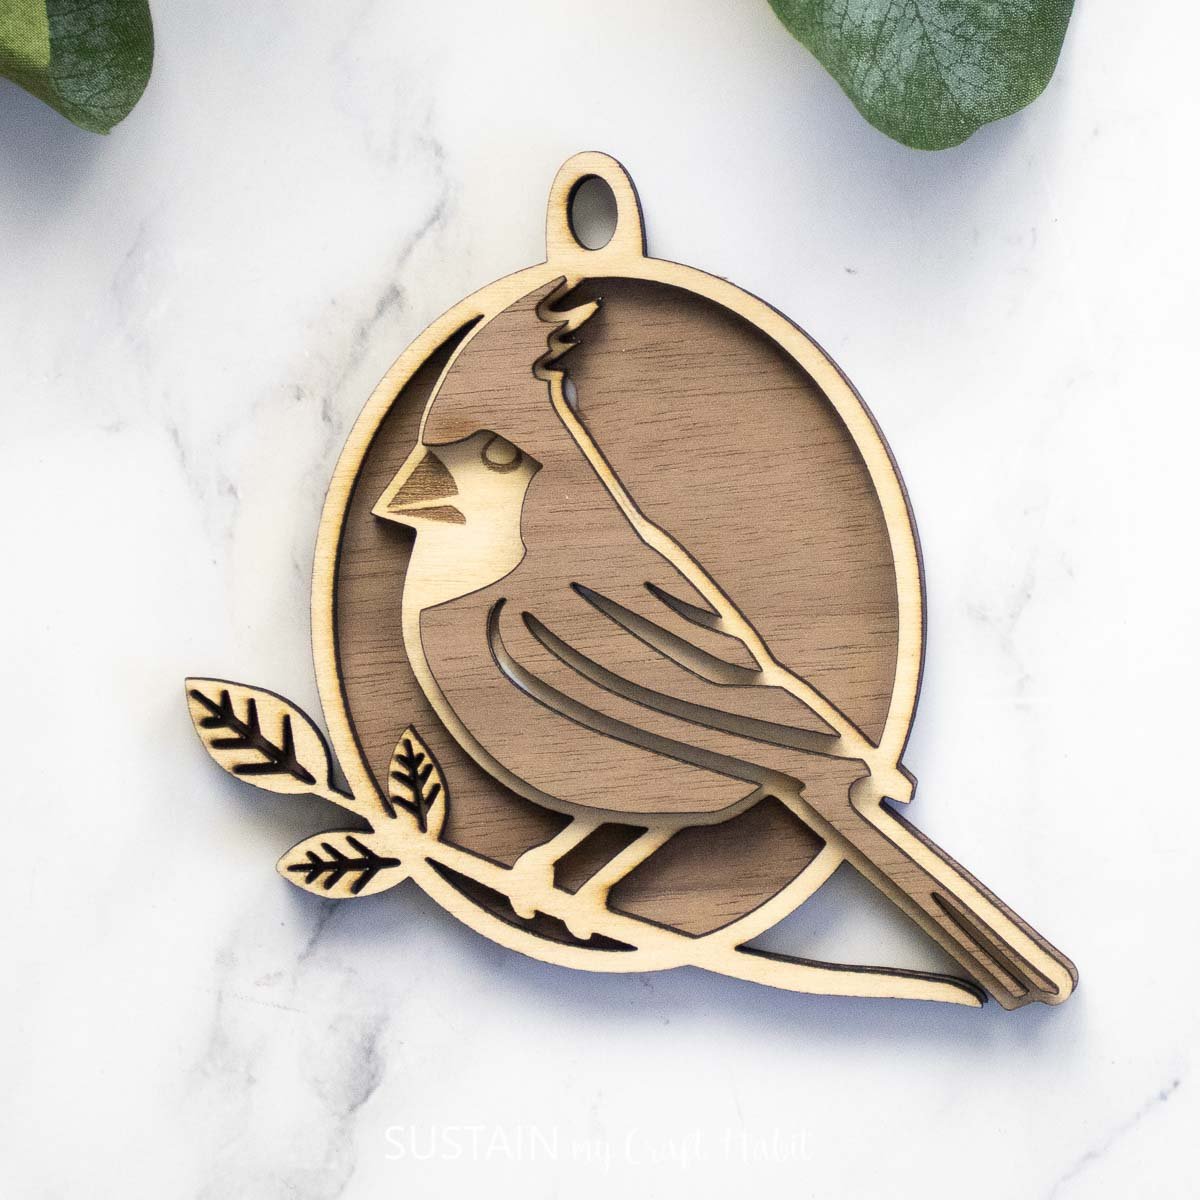
- How to Laser Cut a Layered Bird
- XTool M1 for Laser Engraving Jewelry
- Engraving Acrylic Earrings

Get access to our resource library filled with cut files and other xTool craft ideas!
Like it? Pin it for later!

How to Cut Mirror Acrylic with XTool P2
Materials
- XTool P2
- Mirrored Acrylic Sheet 3mm thick
- Mom Keychain SVG
- Grandma Keychain SVG
- Jump rings 10mm
- Lobster Clasps 30mm
Instructions
- Open Creative Space app on mobile phone.
- Turn on XTool P2.
- Connect Creative Space app to machine.
- Import Image – “Mom Keychain” SVG.
- Leave the plastic protective layer on the mirrored side of the acrylic sheet. Load the sheet into the machine with the mirror side facing down.
- Secure the sheet with the magnets on the sides.
- Adjust the design to your desired size or maintain the size as per the original file.
- Move to the home screen, set material type to “3mm acrylic sheet, white” (an XTool material). Select ok.
- For the outer shape (layer 1), ensure the machine parameter setting tab is set to “cut”.
- For the name or lettering (layer 2), ensure the machine setting tab is set to “engrave”.
- Most important! Flip the design so it appears backwards on your screen. This is a must for cutting mirrored acrylic.
- Hit process.
- Remove when engraving and cutting is complete.
- Attach a ring and lobster clip to complete the keychain.