
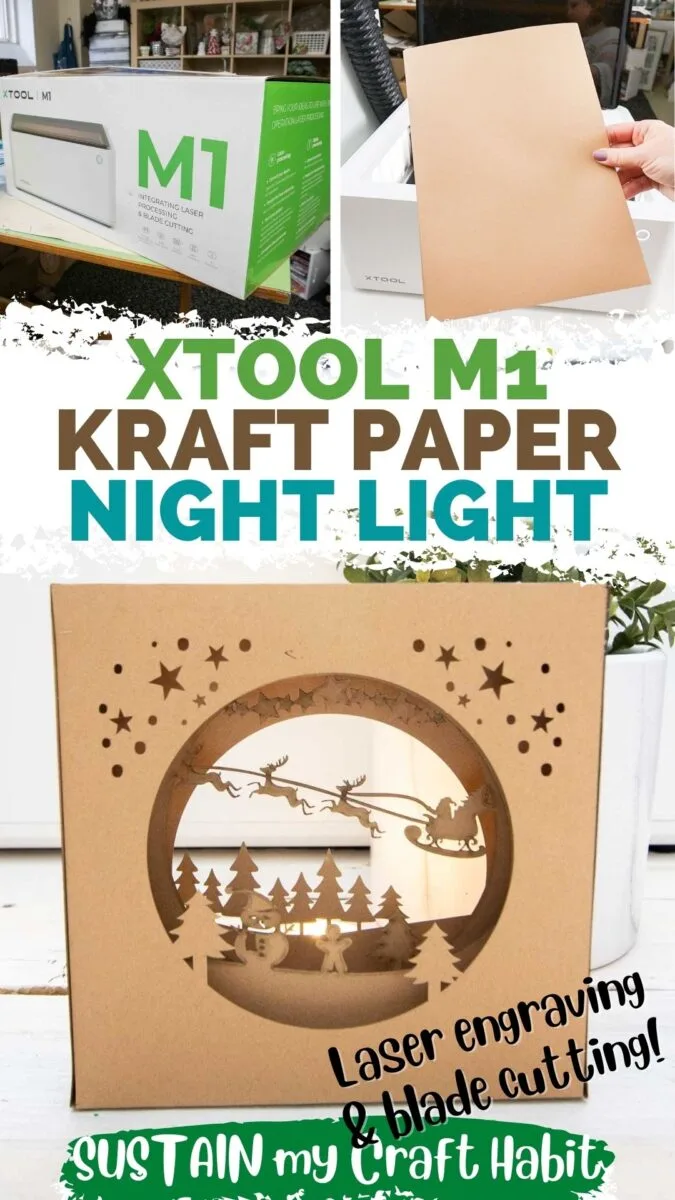
With layers of intricately cut brown kraft paper and a sturdy wood frame, this adorable DIY night light is a sweet beginner craft to try with the xTool M1!
Disclosure: This post is sponsored by xTool. All opinions are our own.


DIY Night Light with Kraft Paper
We recently received the new xTool M1, a first-of-its-kind hybrid laser and blade cutting machine. We have a full review of the xTool M1 and YouTube unboxing video of the machine.
After trying my hand at engraving some coasters, I was keen to try cutting some different materials with the laser. So I picked a cute DIY night light project from the xTool Creative Space project gallery and got to cutting!
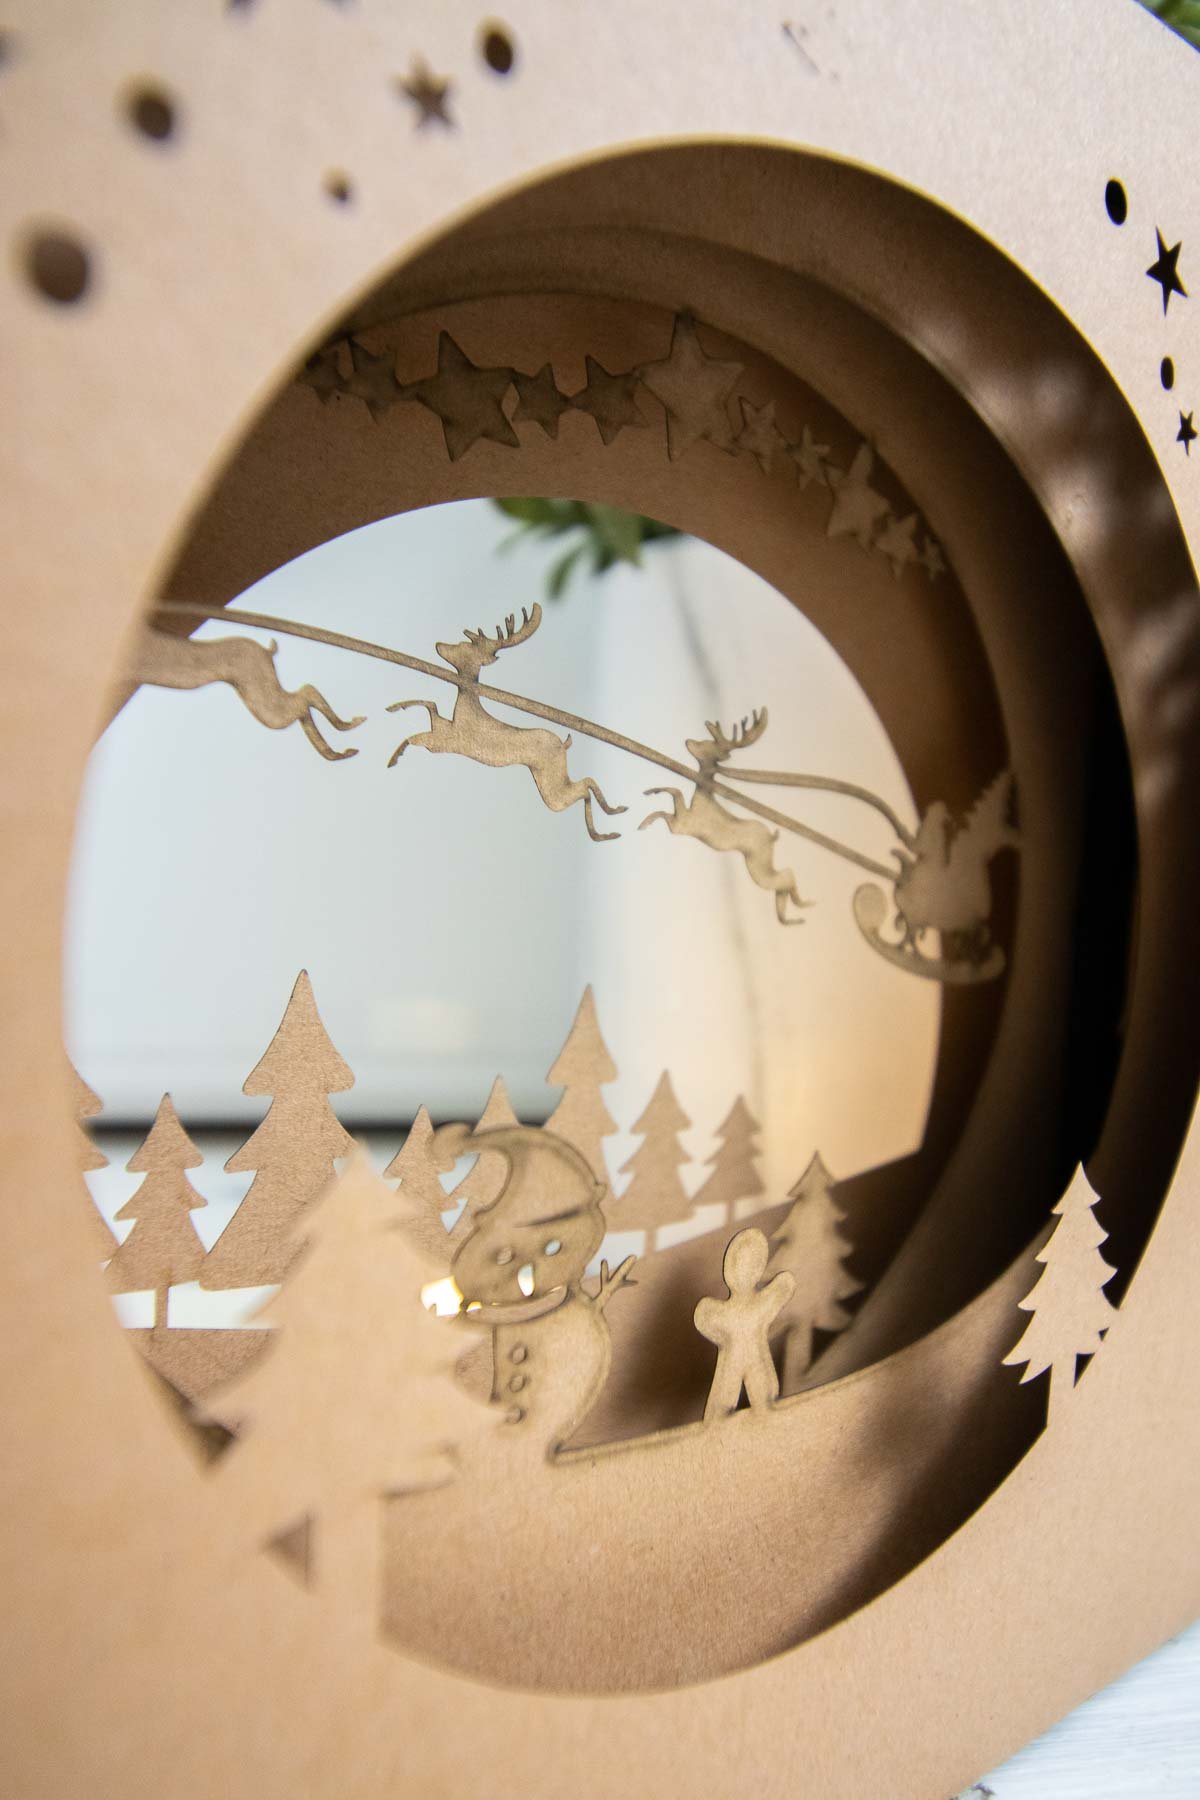
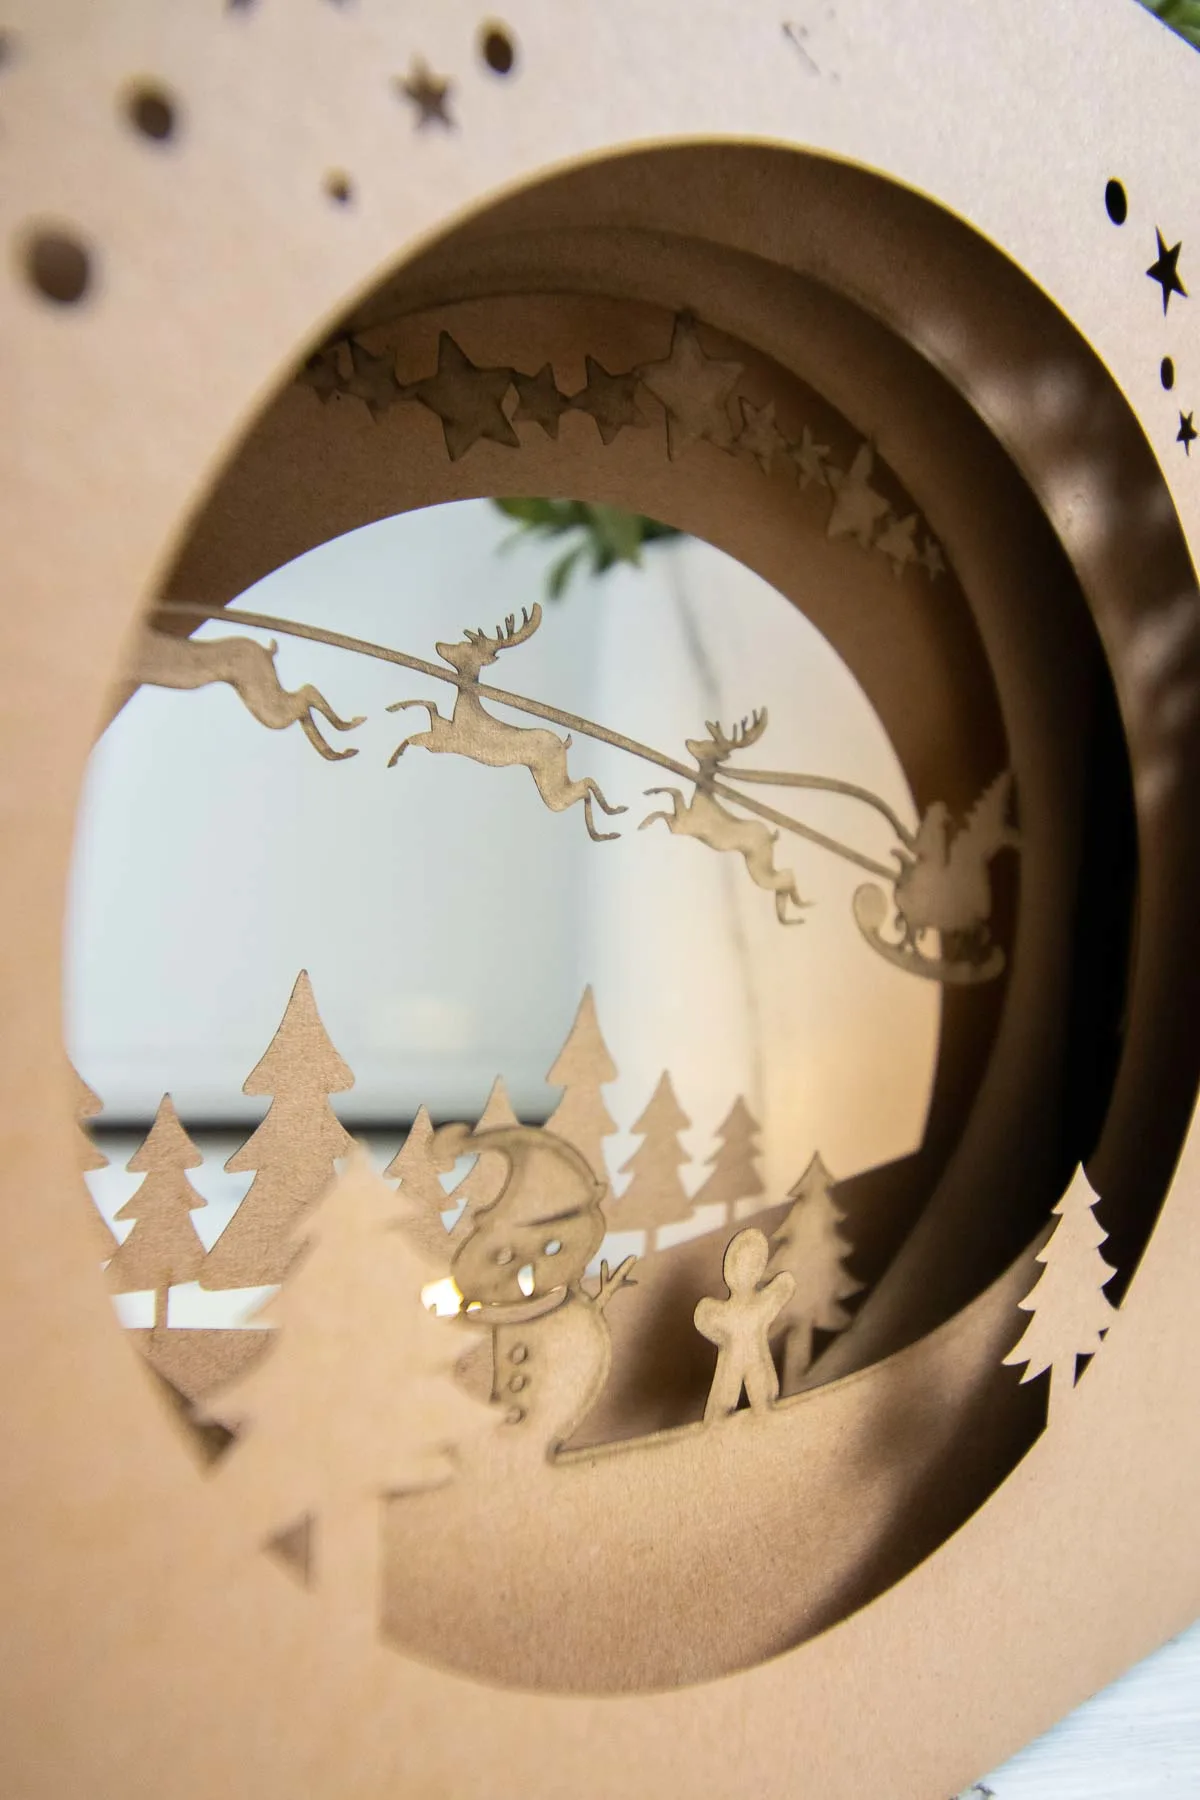
I couldn’t believe how precise and intricately the laser cut both the kraft paper and basswood for this project. In less than an hour I made this adorable 3D scene. With a little LED candle placed in behind, it makes a beautiful DIY night light.
Get additional free SVG’s and stay in the know on our latest crafts, special offers and freebies by joining our mailing list.
Materials Needed for this Easy xTool M1 Craft Idea
Disclosure: This post contains affiliate links for your shopping convenience. Should you choose to purchase through them, we will make a small commission at no extra cost to you. You can read our full disclosure here.
- xTool M1, ideally with the riser base and honeycomb panel
- Brown kraft paper
- 3mm basswood plywood sheet
- Kraft paper night light project file in xTool Creative Space
- hot glue gun with clear glue sticks
- battery operated twinkle lights or LED votive candle

A Note about Cutting Paper with the xTool M1 Laser
As this was one of my first projects I made the mistake of placing the kraft paper right on my xTool M1 base plate. This ended up etching the base plate as the laser cut through the sheet of paper.
For the second and third cuts I placed some additional pieces of thick paper underneath. However, the ideal solution would be to use the riser with honeycomb base add-on. This helps to dissipate the heat from the laser which is also a safer way to cut paper with the laser.
How to Make a DIY Night Light
Note: Never leave your laser unattended while it’s cutting.
Cutting the Materials with the xTool M1
Open the xTool Creative Space Software and click the “Projects” tab. Find the Kraft Paper Nightlight project. This will add your design on to the Creative Space canvas.


At the bottom of the screen you will find four different tabs in this project file: one for each layer of cutting.


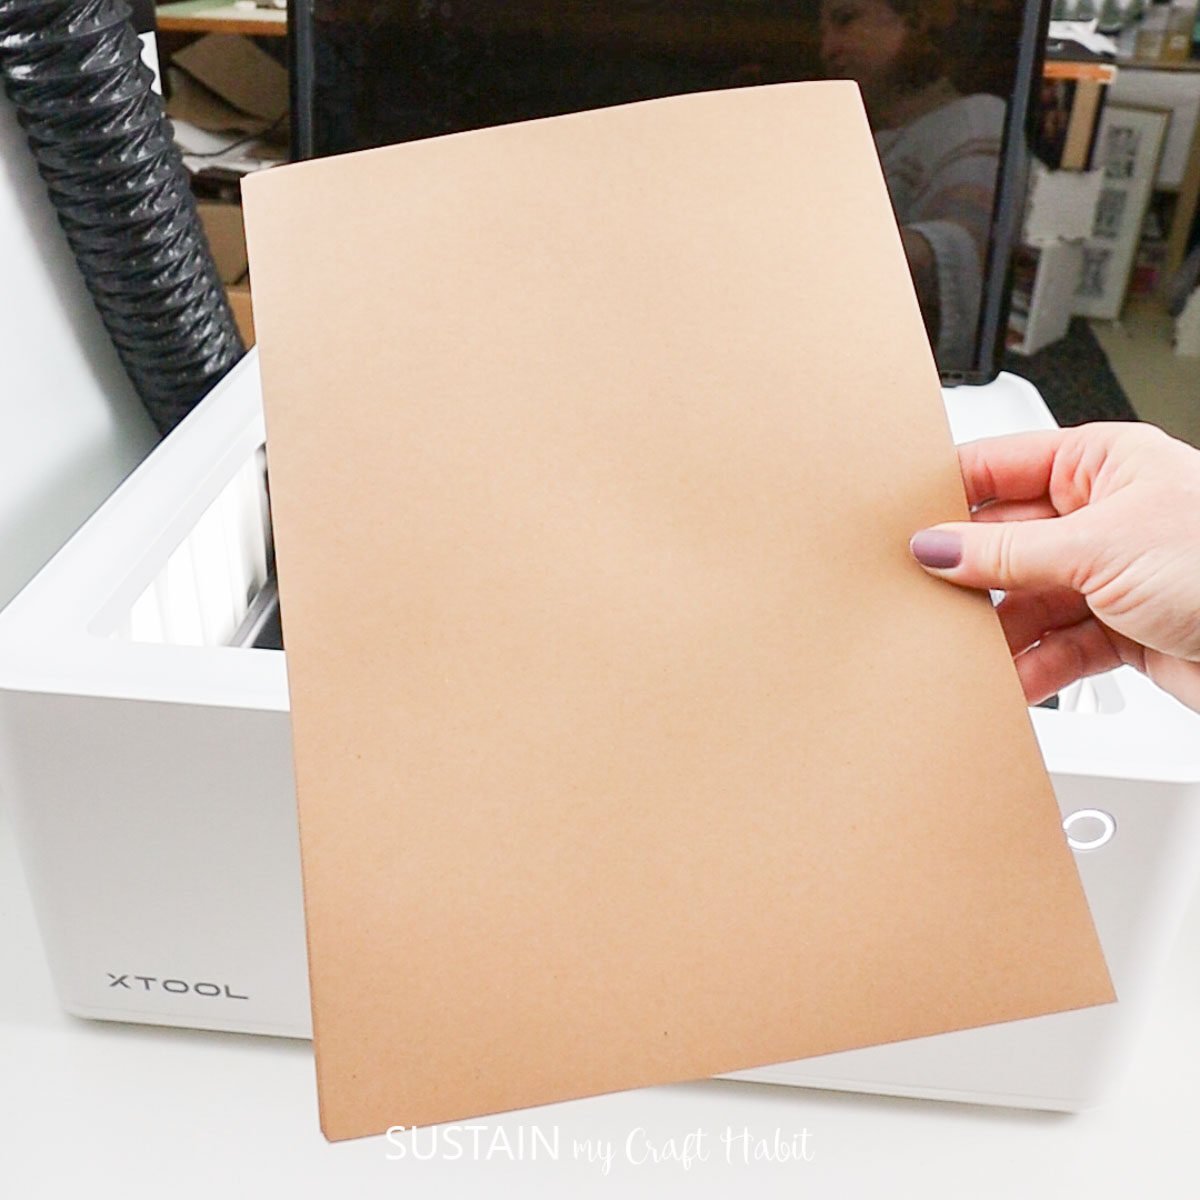
Select the first tab which says Kraft paper 1. On the right panel of the screen make sure that it’s set to “Laser flat” and the material is “Brown Kraft Paper”. Place your sheet of paper inside of the machine and close the lid. You’ll see a photo of your paper on the Creative Space screen – simply position your first design on the image and press “Process”.


Repeat this for each of the “kraft paper” tabs.
Next, select the “basswood” tab. Ensure that the Material is properly set on the right panel.


Select “Triangular prism” for “Height raised” and place the bars in the base of the machine.


Position a sheet of 3mm basswood on the bars and close the lid. An image will appear on your screen- position the design onto the wood sheet. Select “Process” and then “Start” the cut.


This cut took quite a while (about 40 minutes) as there are actually a lot of little pieces. Next time I’m going to try cutting the basswood with the Air Assist Set accessory which is meant to make the cutting more efficient and reduce charring.
I decided to paint the pieces black to cover the little bit of charring that happened on the wood pieces. However, this step isn’t necessary because you don’t even see the wood frame in the assembled night light.


Assembling the DIY Night Light
I then folded the front and back panels along the score lines and glued them together along the top edges with some hot glue.


Next I assembled the wood frame. You basically use the small pieces to join the long pieces to create a double-layered frame.


Once the wood frame was assembled I glued one of the middle panels to the front side and the other to the back side.


Next, place the assembled frame inside the outer panels.


Finally, glue the panels to enclose the frame inside the box.


It’s such a beautiful craft and would make a lovely gift. I placed a battery operated LED votive in behind to achieve the “night light” effect. You could instead weave through a set of fairy lights which would also look lovely.


I’m so excited to try my next project with the xTool M1. Any suggestions on what we should make?
Become a Sustain My Craft Habit insider to receive fun freebies and get notified of our next xTool M1 project ideas!


I’ve used the xTool M1 to make this upcycled home sign and engraved slate coasters. You can watch the full tutorial for both of them over on our YouTube channel!


If you try it, make sure to tell us and show it off! Tag us on Facebook or Instagram– we can’t wait to see it!
Like it? Pin it for later!

